Close
0%
0%

Simple Nosepoke

This is a simple "nosepoke" trigger for use in mouse behavioral training

Similar projects worth following
This is a description of how to use a Sharp GP1A57HRJ00F photointerrupter as a simple "nosepoke" trigger for training mice. The "nosepoke" is a switch that is designed to be triggered by a mouse in operant conditioning paradigms. For information on these paradigms see: https://en.wikipedia.org/wiki/Operant_conditioning

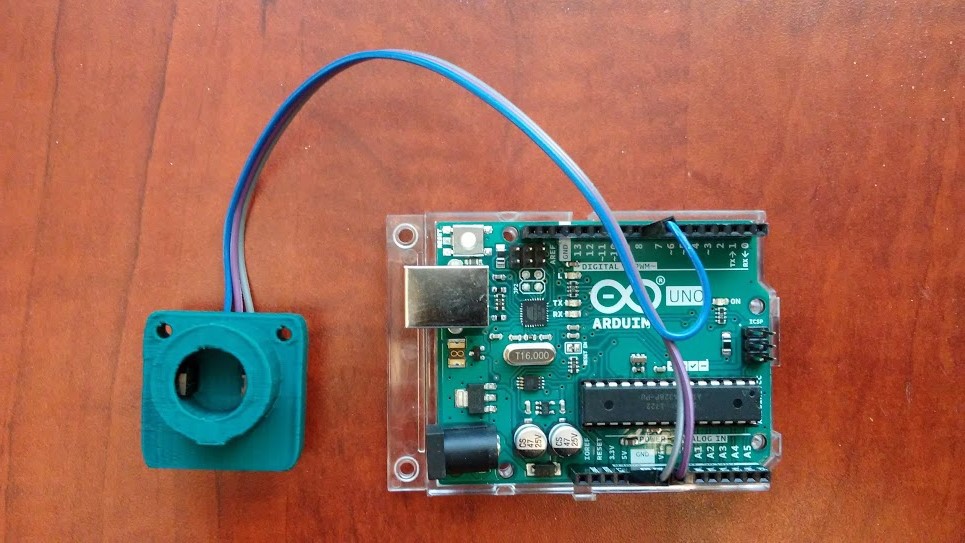
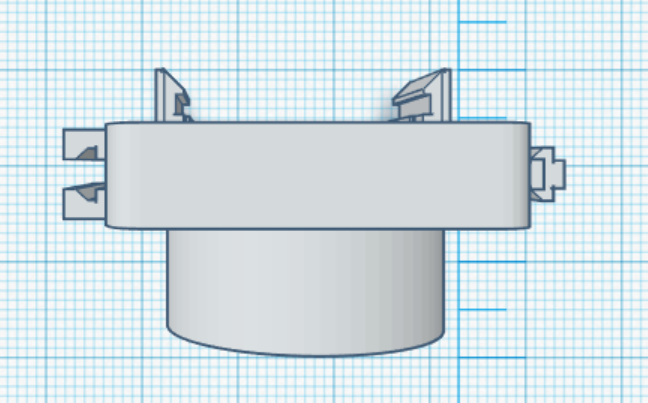
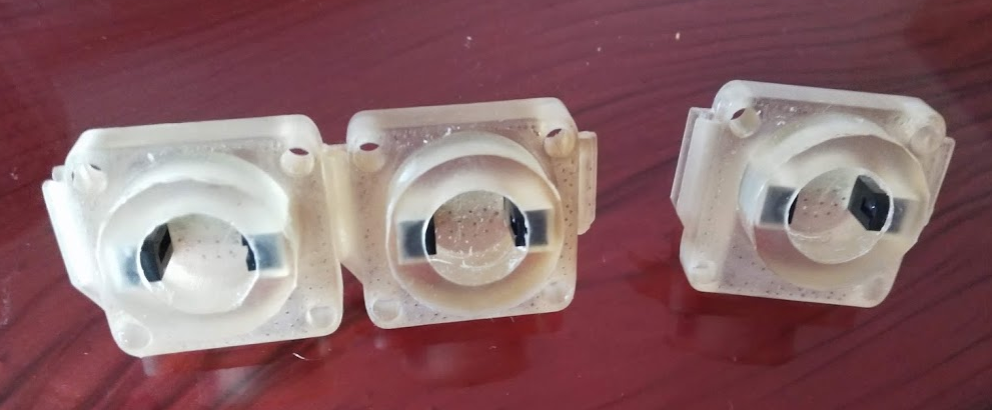
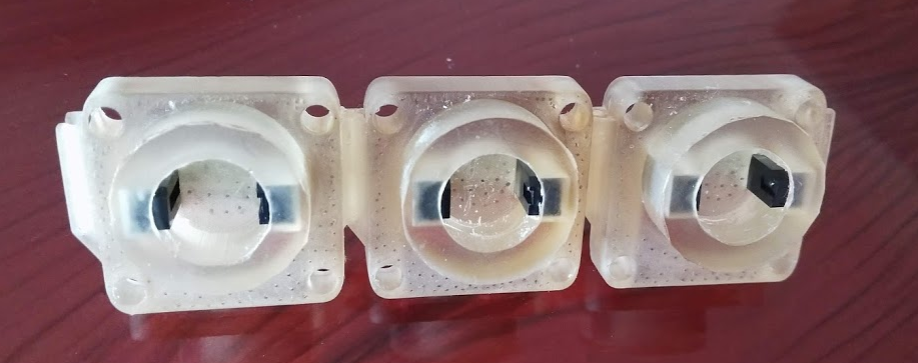
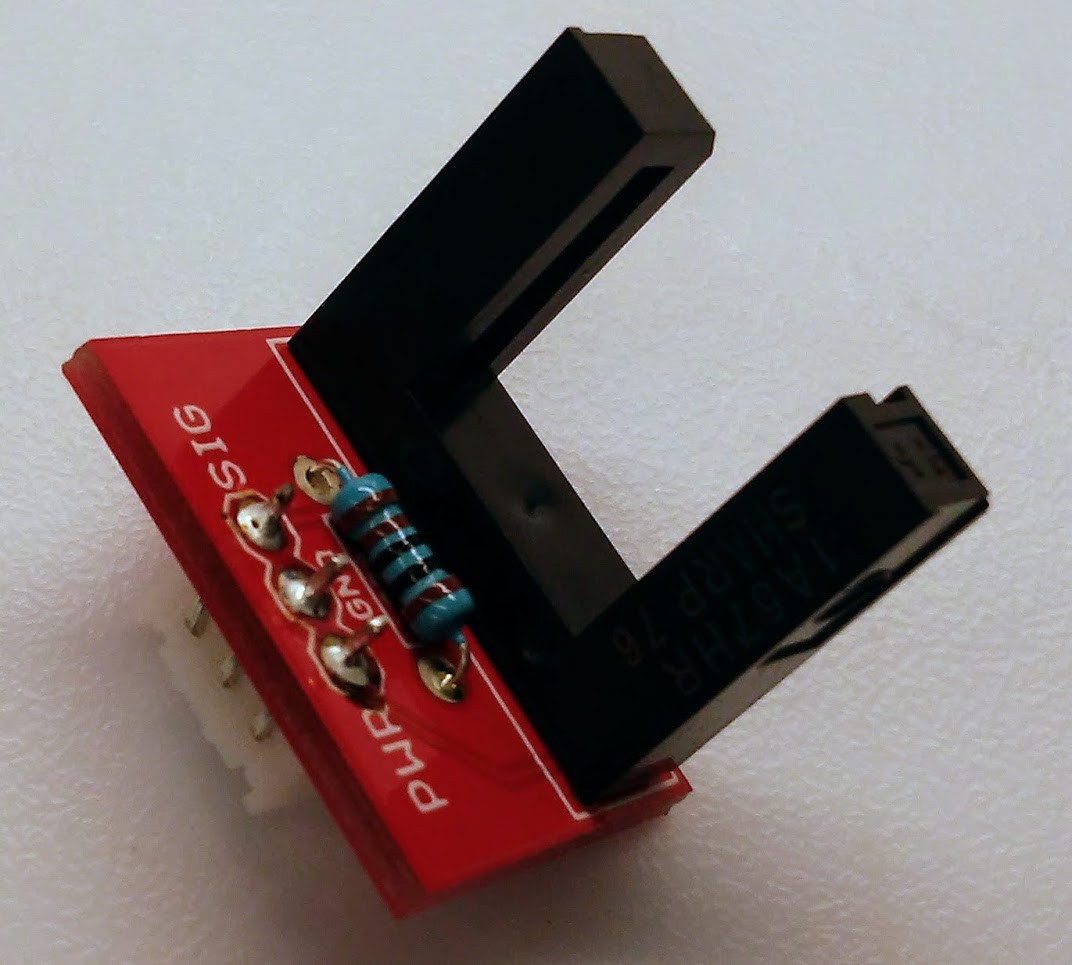
This "nosepoke" is made to interface with an Arduino board for facilitating operant training in mice.  Essentially this is a switch to trigger a digital input on the Arduino.  The Arduino can be programmed to detect this switch and activate a pellet dispenser or other reward dispenser.

Photointerrupter Nosepoke.stl

3D mount for photointerrupter and Sparkfun breakout board

Standard Tesselated Geometry - 41.00 kB - 03/26/2018 at 13:56

Download

  • Tweaked design for multiple modular nosepokes

    Lex Kravitz06/28/2019 at 13:19 0 comments

    I made a small tweak for a colleague, giving the nosepokes slide connectors so they can be physically connected in a line.  This print requires a high resolution printer, such as a resin-based printer to make use of the slide connectors.  (I tried it on a PLA printer not nearly enough resolution for the slides to work well).

    This is a modular design that allows for any number of nosepokes to be connected in a row like this:

View project log

  • 1
    Assemble the photointerrupter

    Solder the photointerruper into the breakout board, and a resistor in place.  The board suggests a 220Ohm resistor, we have found that up to 3KOhm works fine, and will reduce power consumption for battery-powered settings.

  • 2
    Pop assembled photointerrupter into the 3D part
  • 3
    Program Arduino and train mice!

View all 3 instructions

Enjoy this project?

Share

Discussions

Similar Projects

Does this project spark your interest?

Become a member to follow this project and never miss any updates