 Ajmeri Jaimin
Most of you
would have started with beta testing using Arduino IDE by following the setup here.
Here is a utility that does the setup to start with Arduino. All you have to do is download the package and follow the installer instructions.
- Installs the Explore M3 Arduino libraries.
- Installs USB boot loader and USB serial drivers.
- Flashes a RGB Led blinker program.
Download Windows/Linux package. Extract the zip package and run the installer.
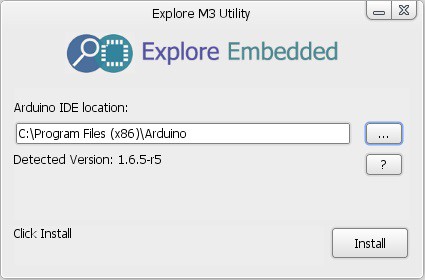
1. Click browse button, select the Arduino IDE directory. Click Install. Click Next.
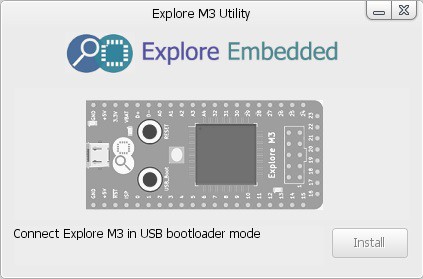
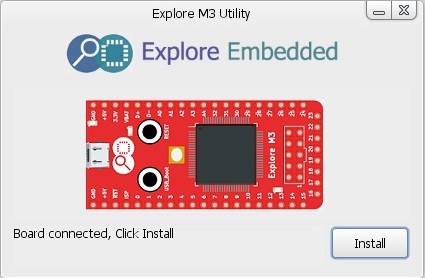
2. Connect the board in USB bootloader mode. After the board is detected click Install button.
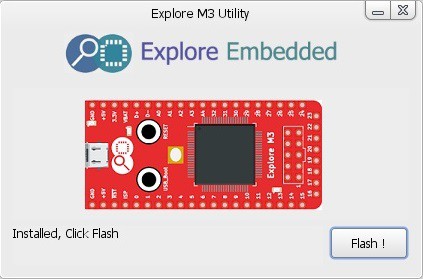
3. Click Flash button, this will flash the test sketch and install serial driver
4. Click Done button, setup is complete that’s it !
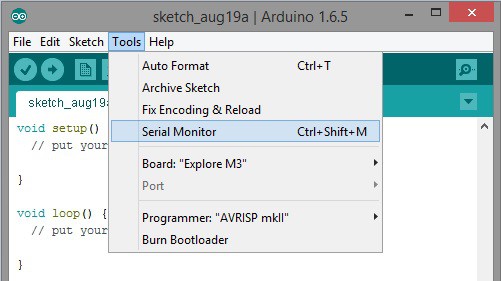
The RGB LED on the board should now start to blink. Open Arduino IDE and open Serial Monitor. You should be able to see "Explore M3" on the serial monitor.
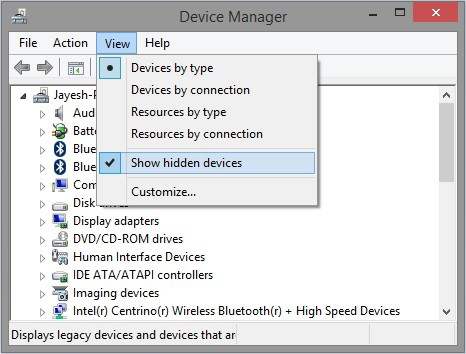
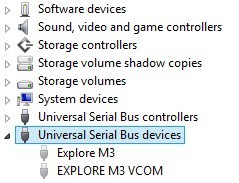
To verify the drivers installed,
 2. Explore M3 device must be listed as show in the below image. (This screenshot was taken when board was disconnected)
Discussions
Become a Hackaday.io Member
Create an account to leave a comment. Already have an account? Log In.
i just got this error when i compile test code in arduino
{runtime.tools.arm-none-eabi-gcc.path}/bin/arm-none-eabi-g++": CreateProcess error=2, The system cannot find the file specified
Are you sure? yes | no