 Nixie
NixieWhen we left, this was the general idea I wanted to achieve:
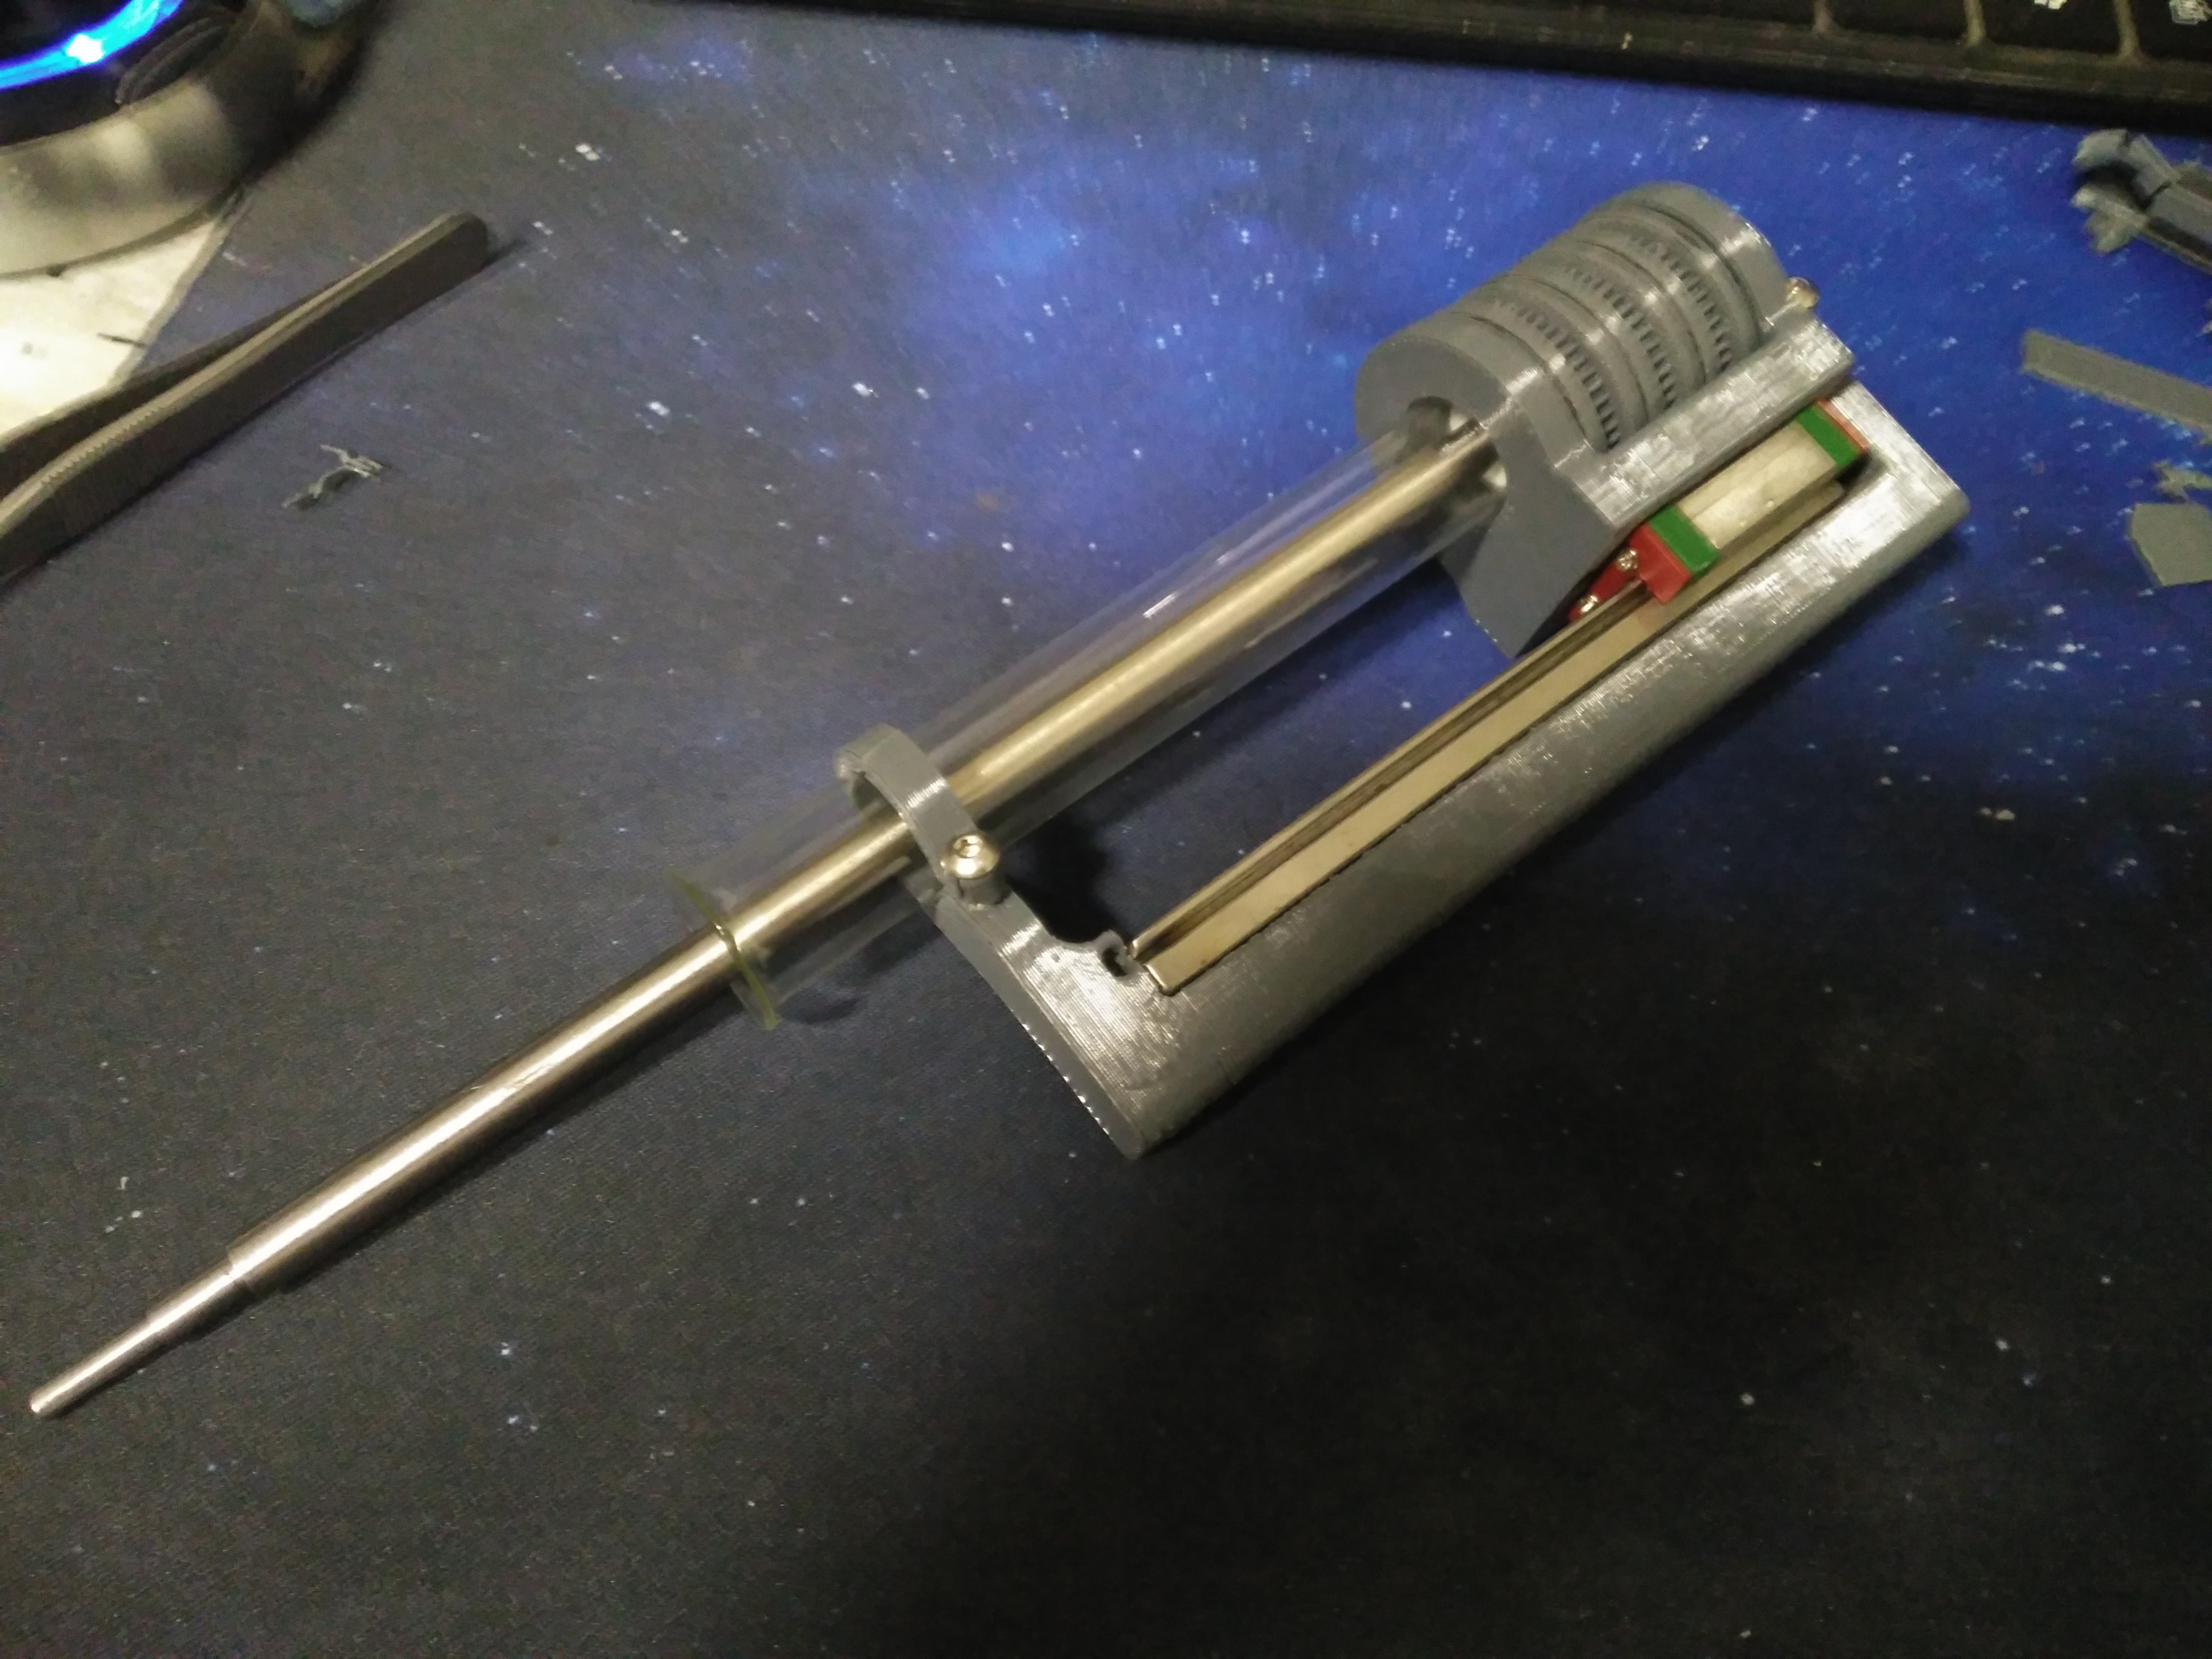
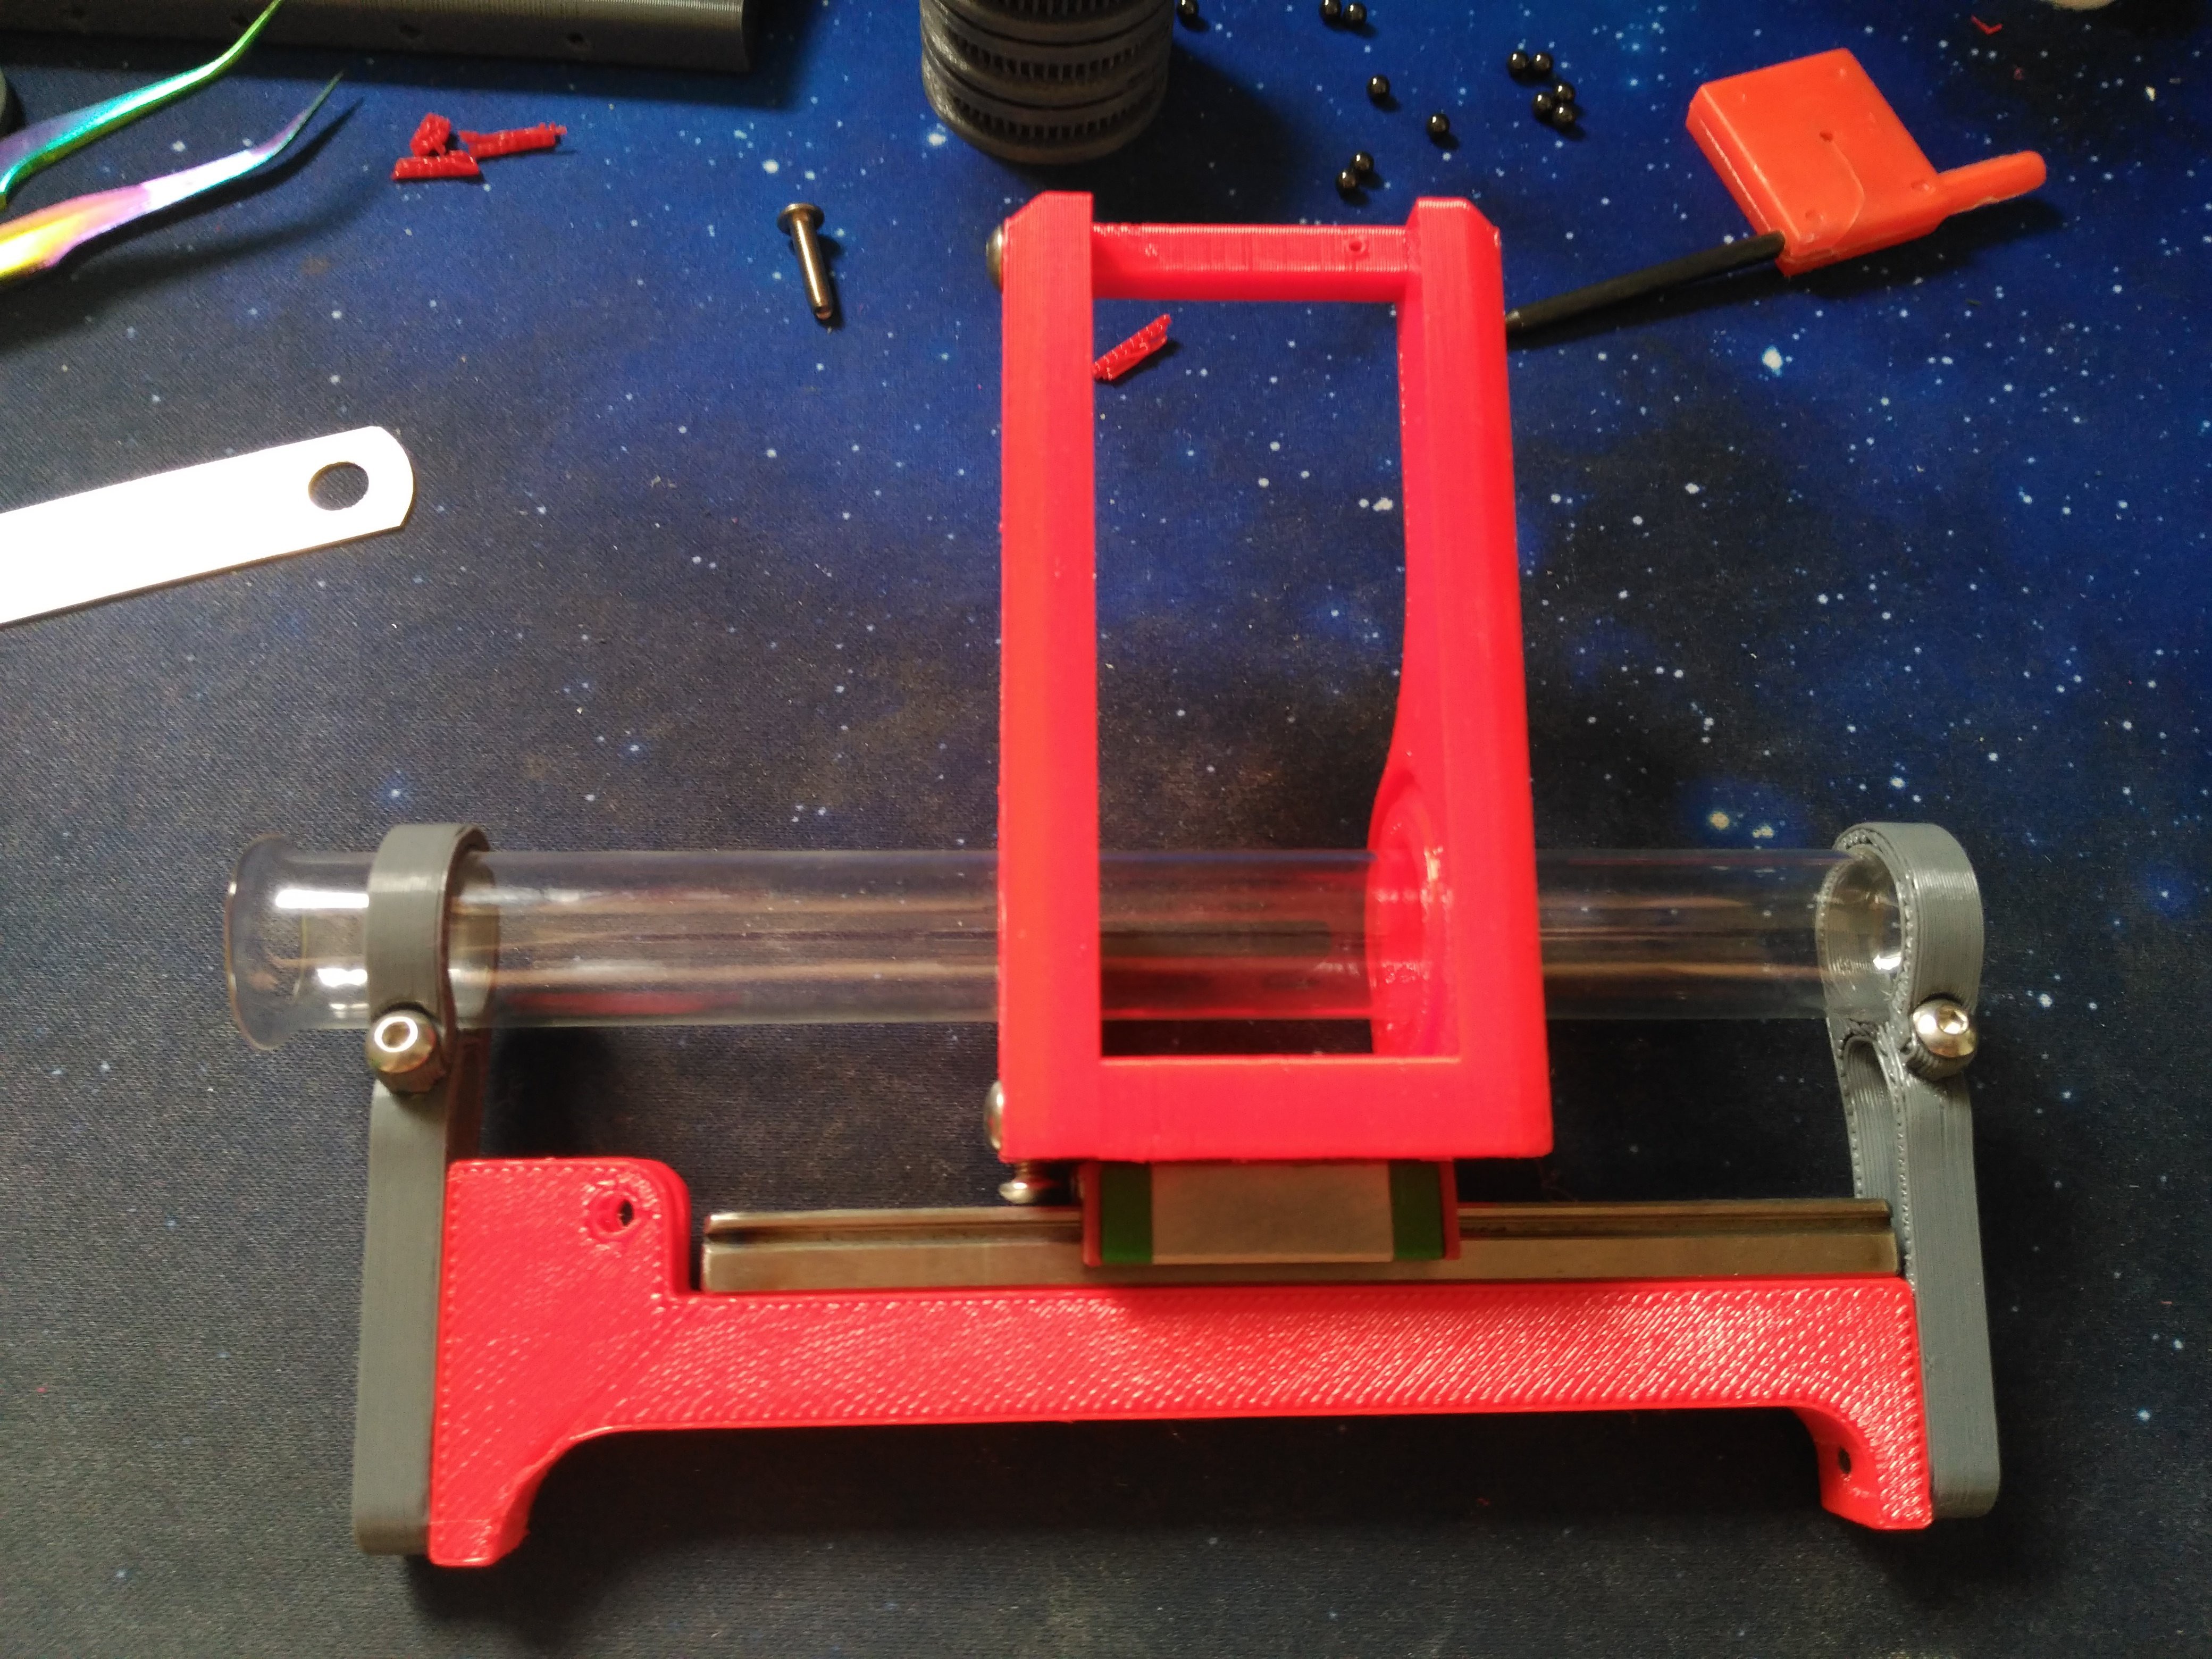
A magnetic HVAC interface using a (modified) glass test tube for vacuum holding.
First thing I adressed was the driver holder/actuator. Gear/rack mechanical coupling proved impractical, so I switched to bowden drive:
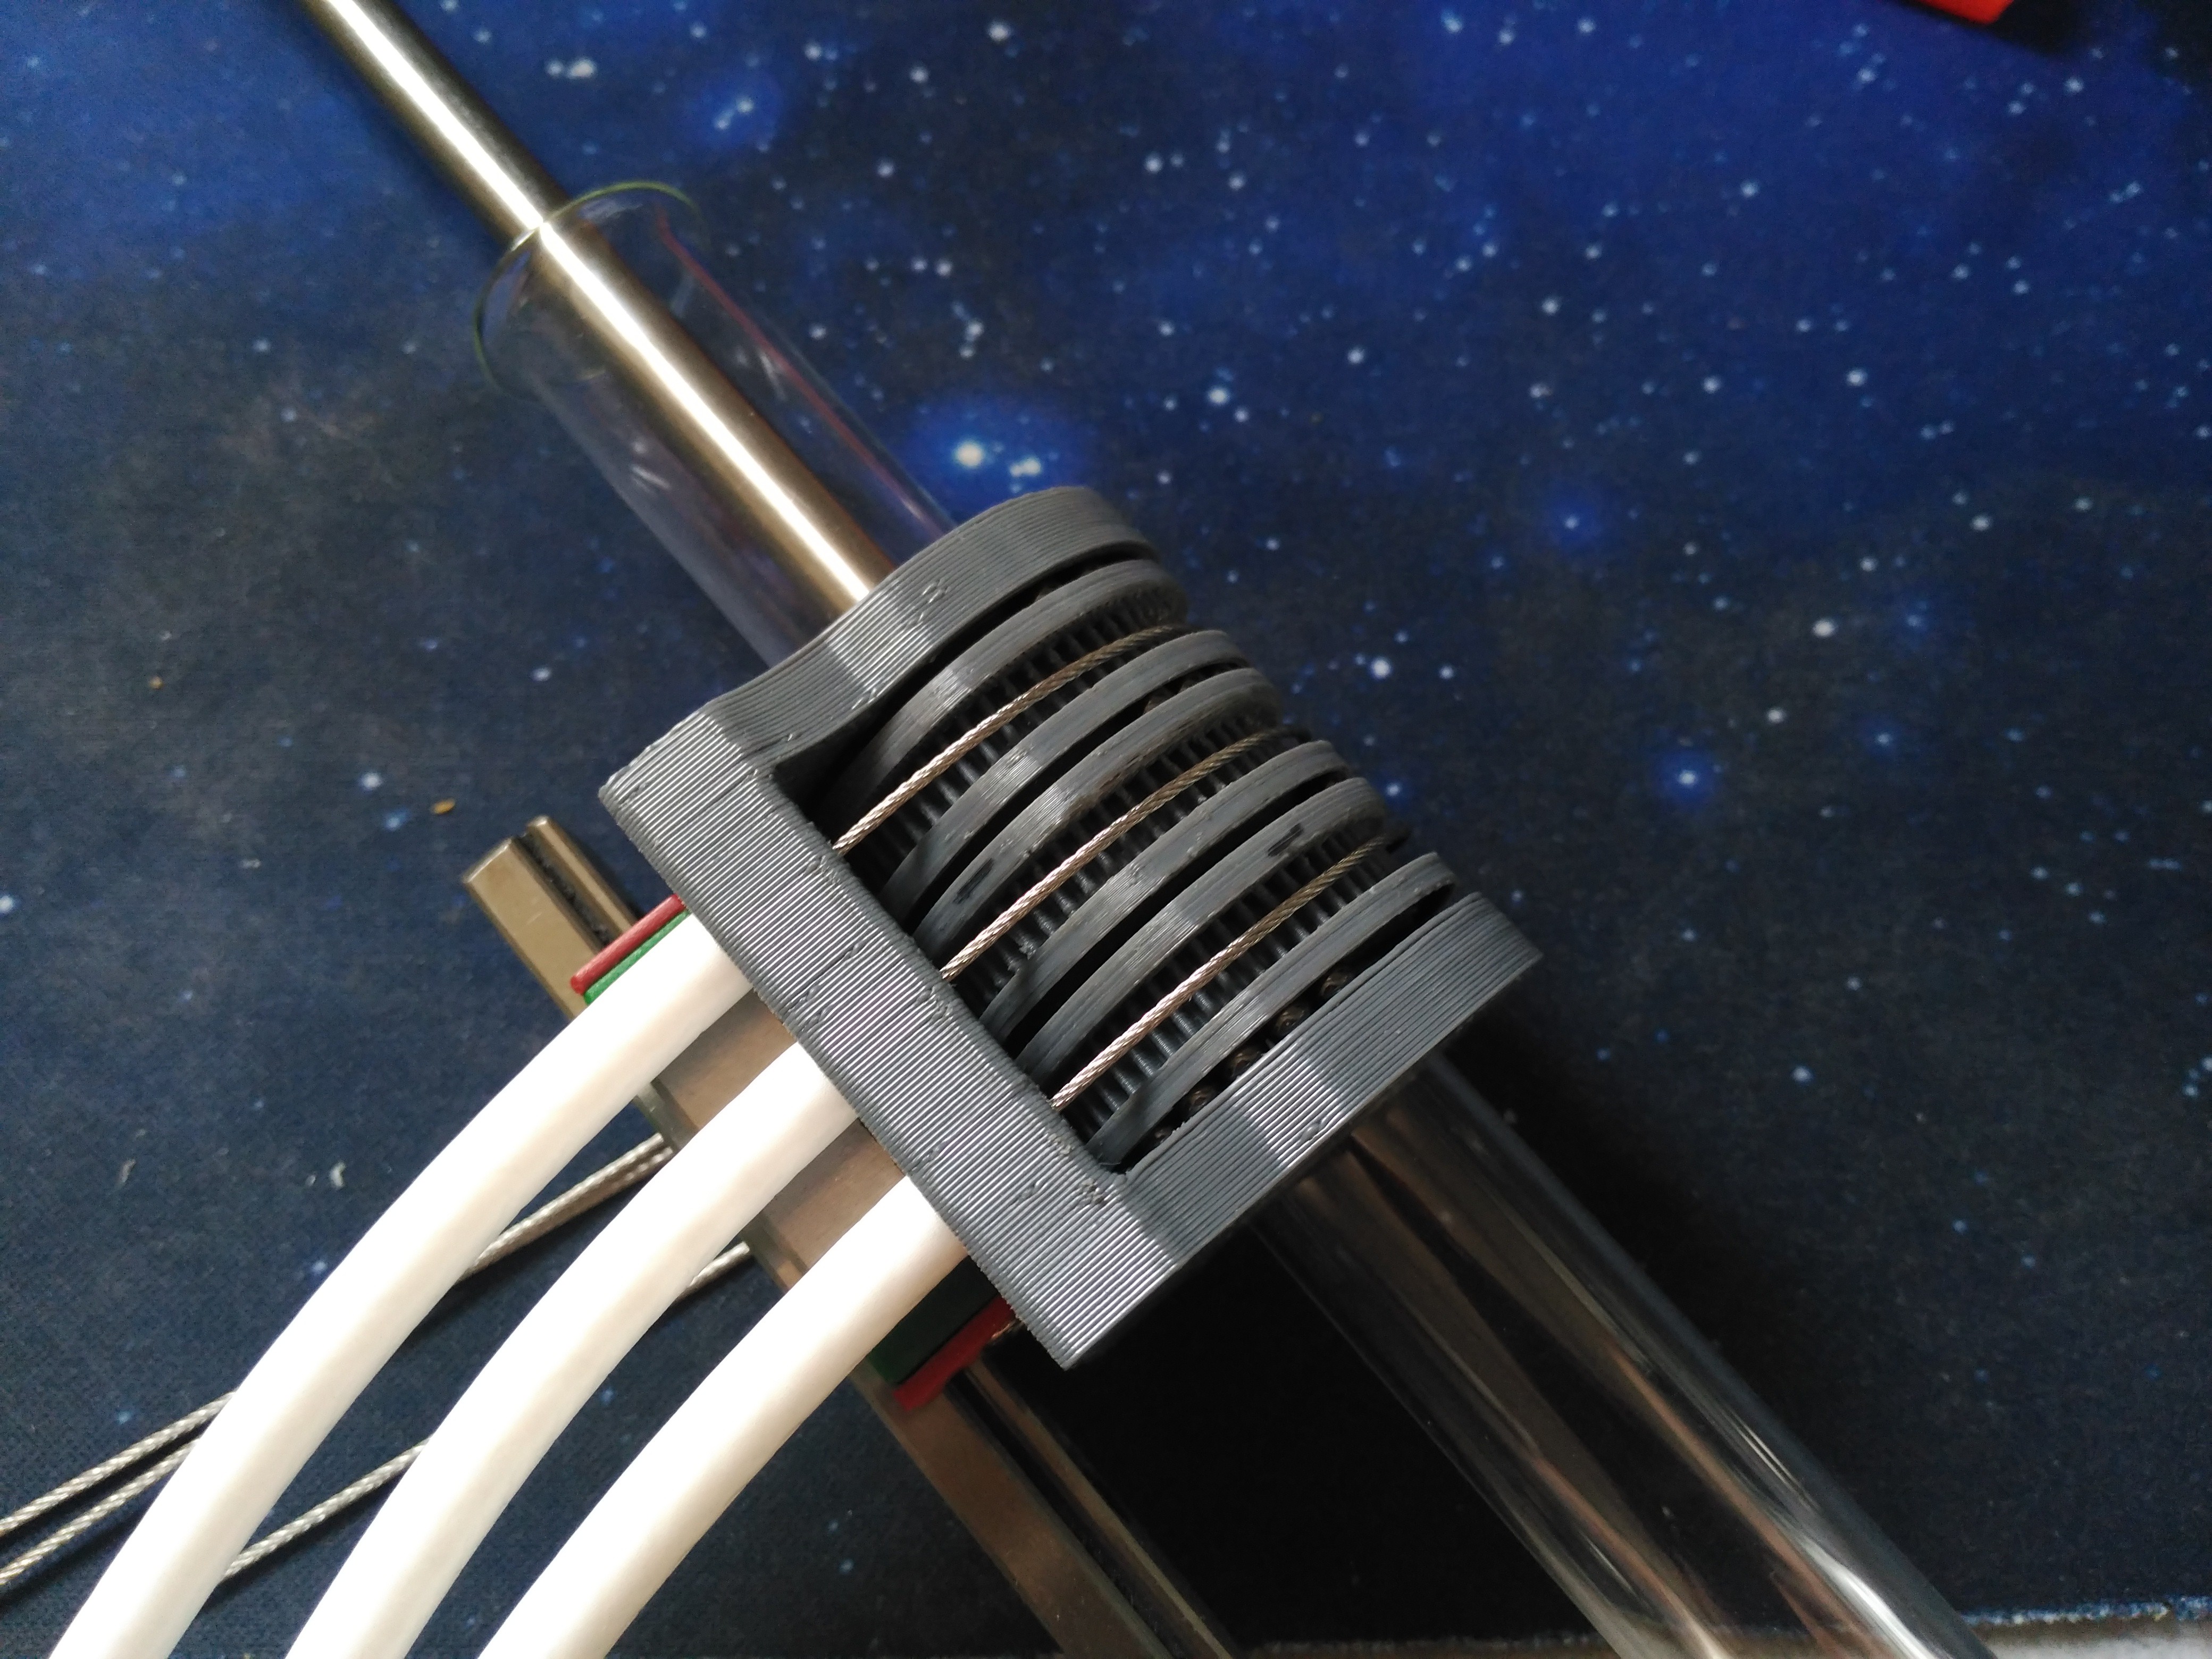
I had thin braided steel cable in my workshop, for pneumatically pulling things in other projects. What I did not have was bowden tube of any kind!
Coaxial cable, help me!
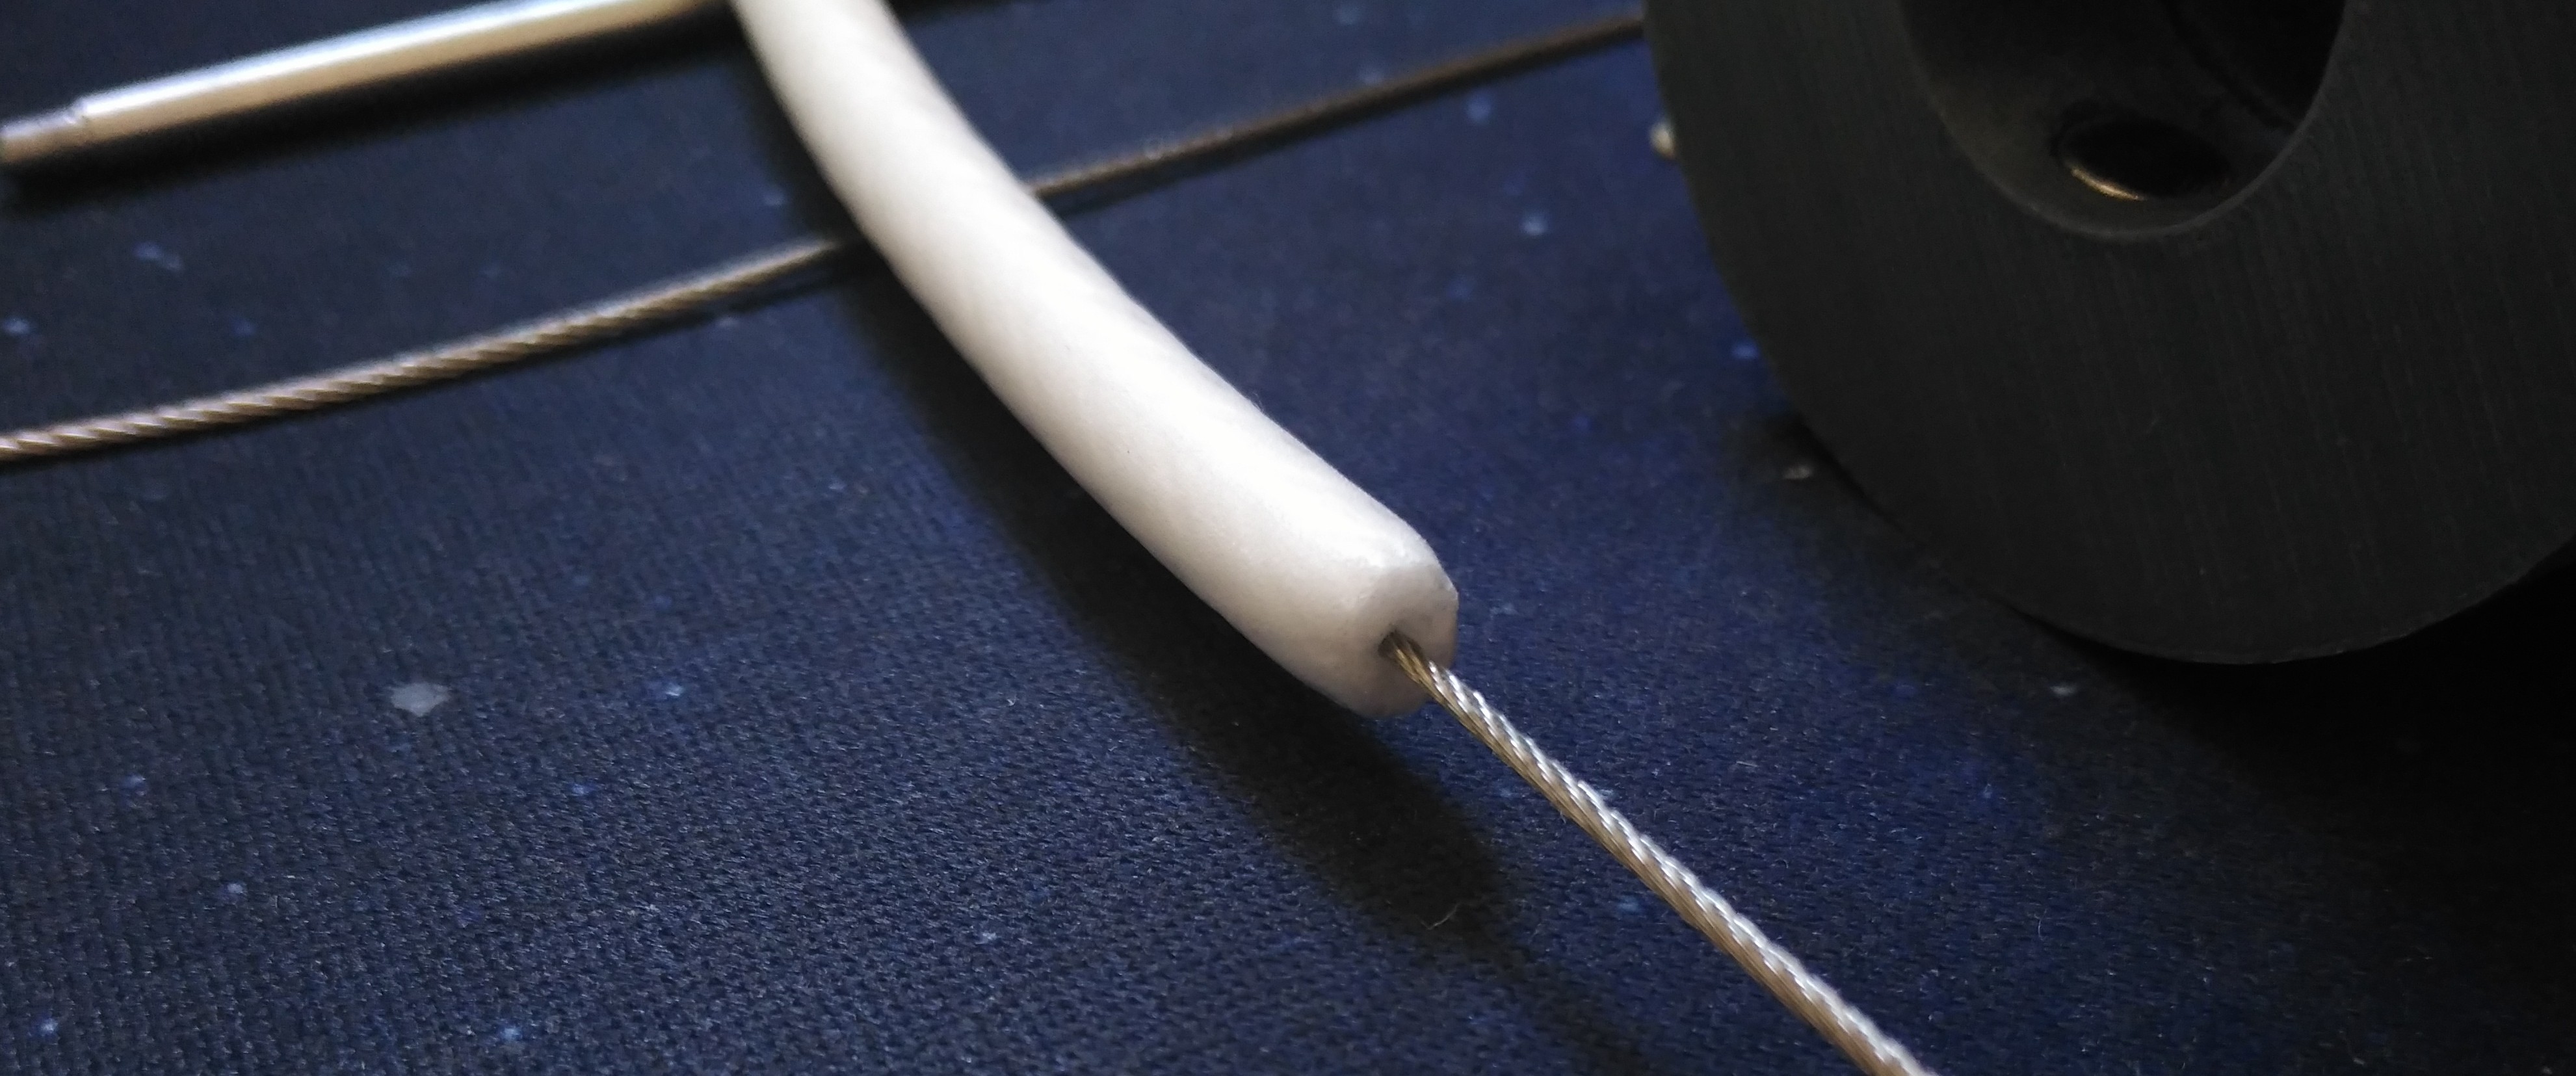
UHF cable core is usually made either of poliethilene foam or, in higher grades, from PTFE. I wasn't as lucky as the second choice, but for short distances and small forces, PU foam would work fine. (for future projects I did order PTFE tubes)
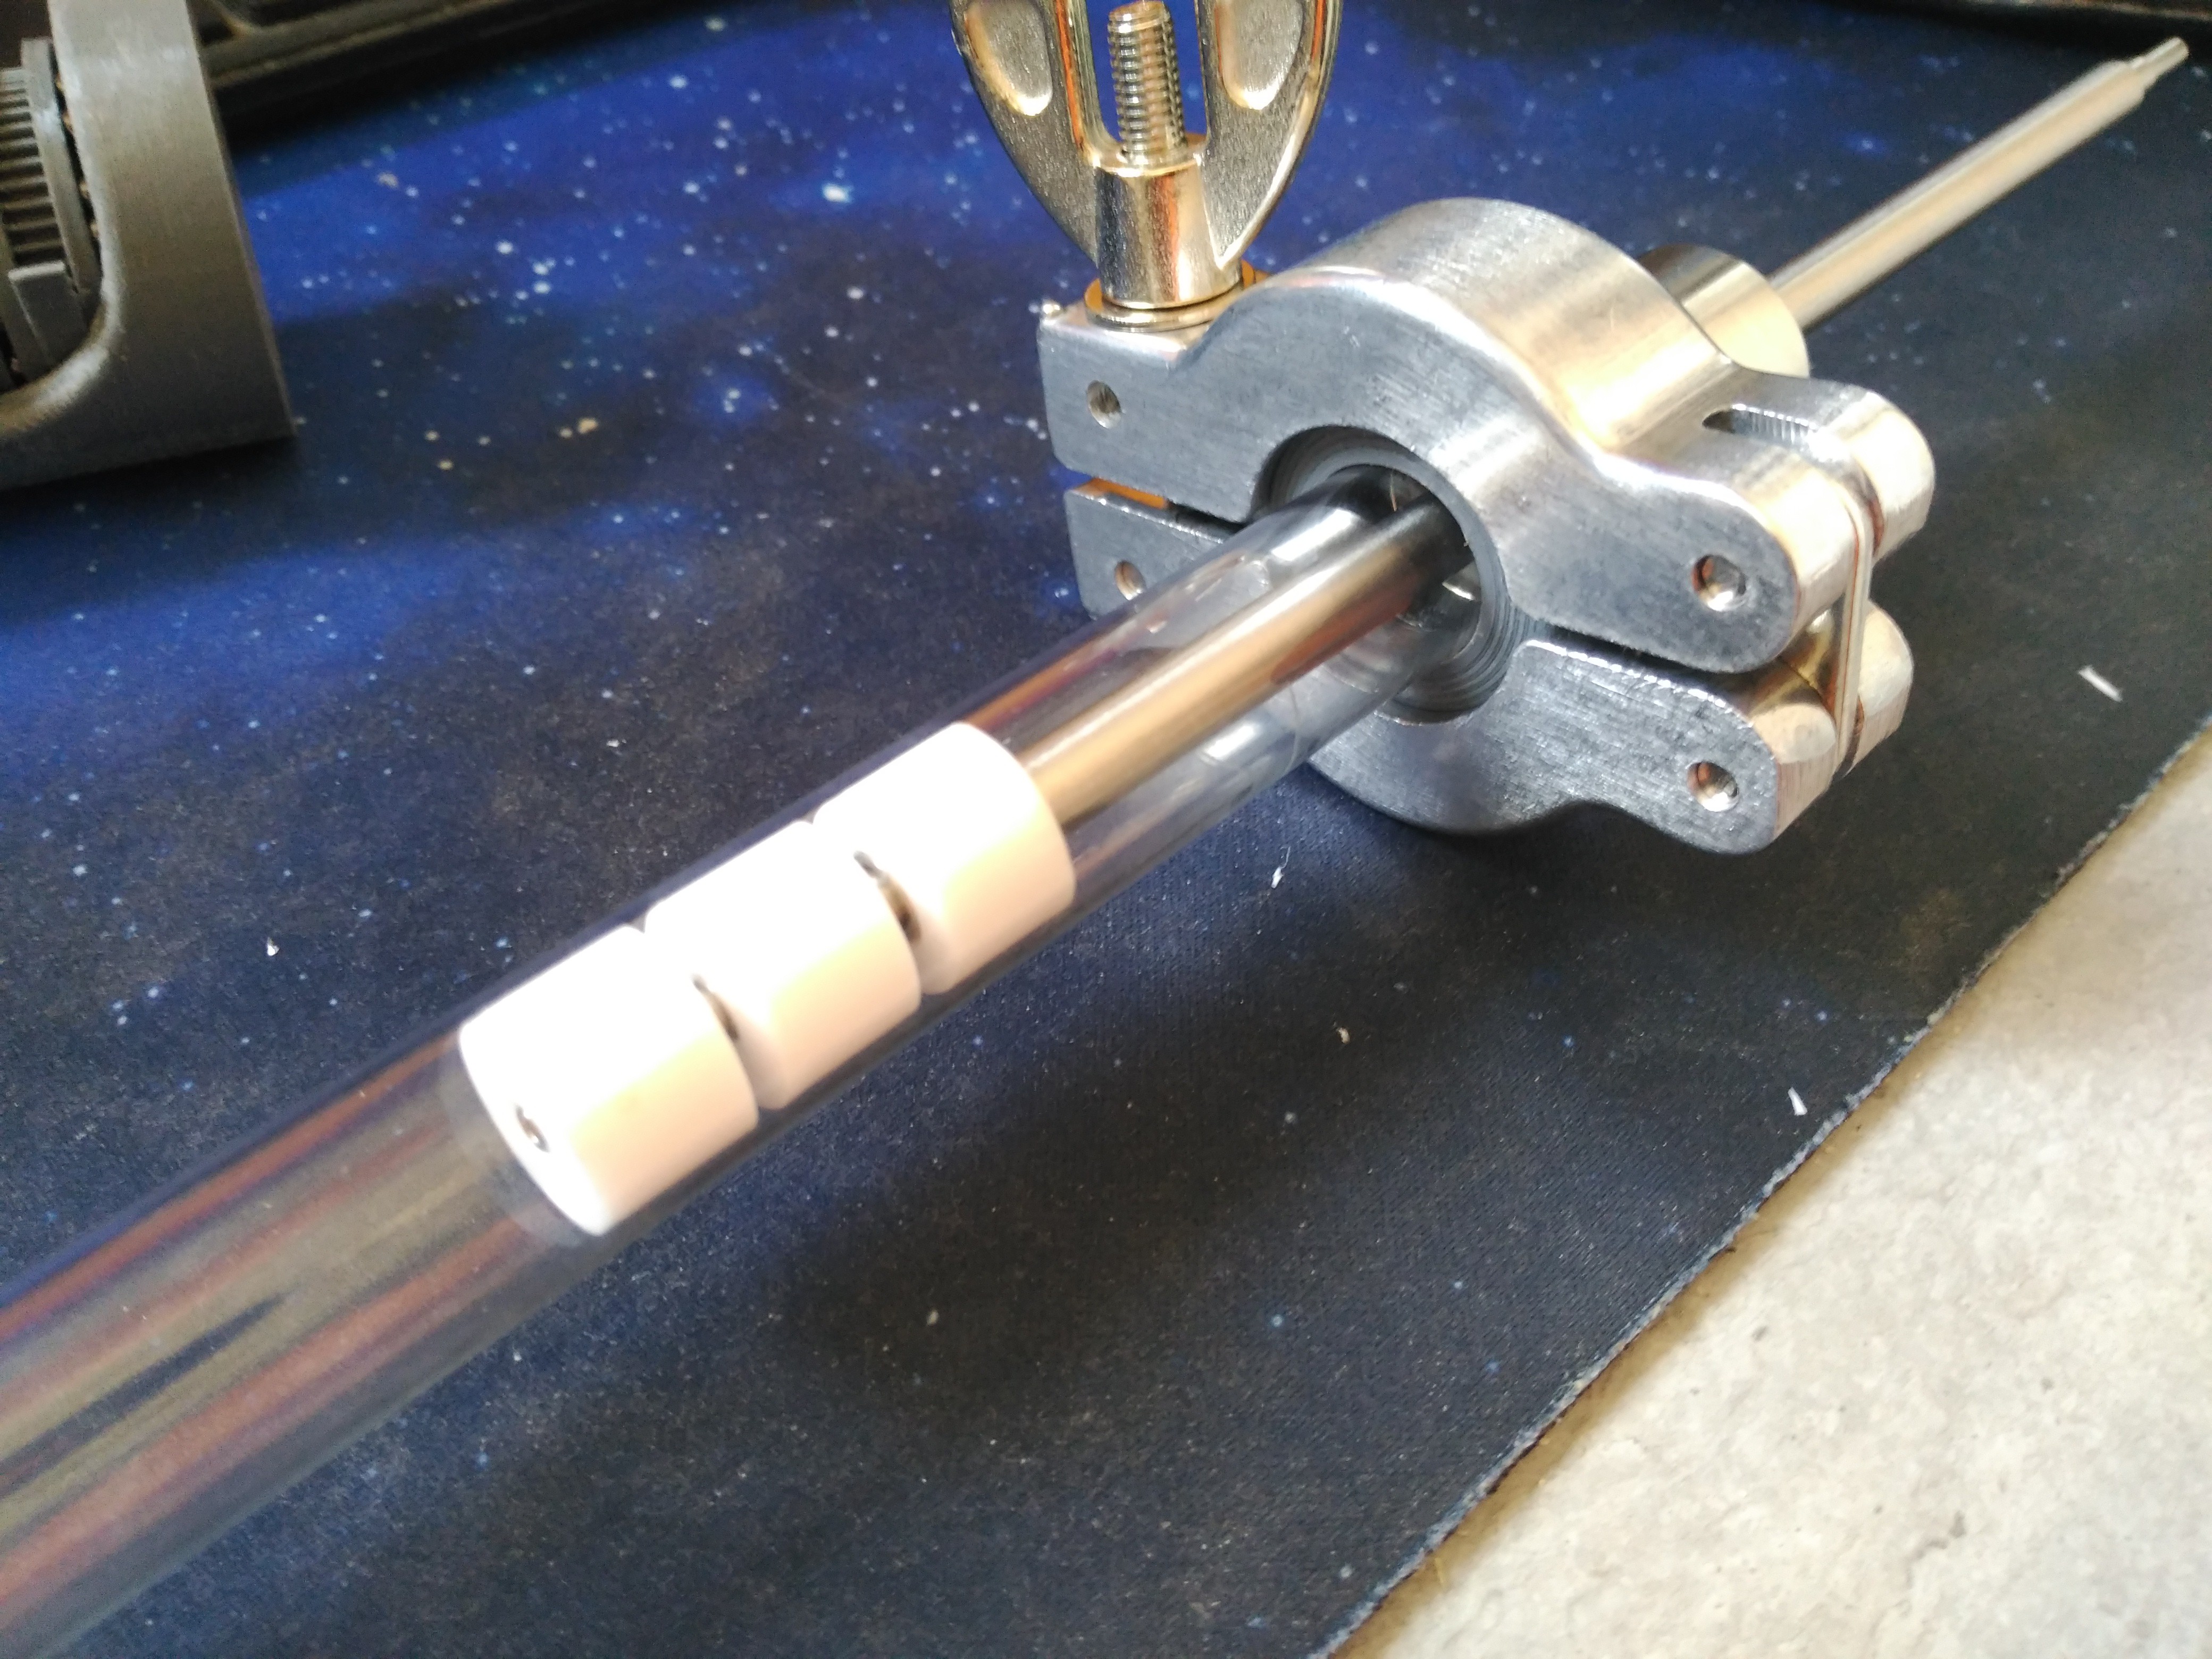
A linear rail was added to the back to attach the motion driver to the test tube and provide Z axis movement/control.
Wich would also be bowden controlled:
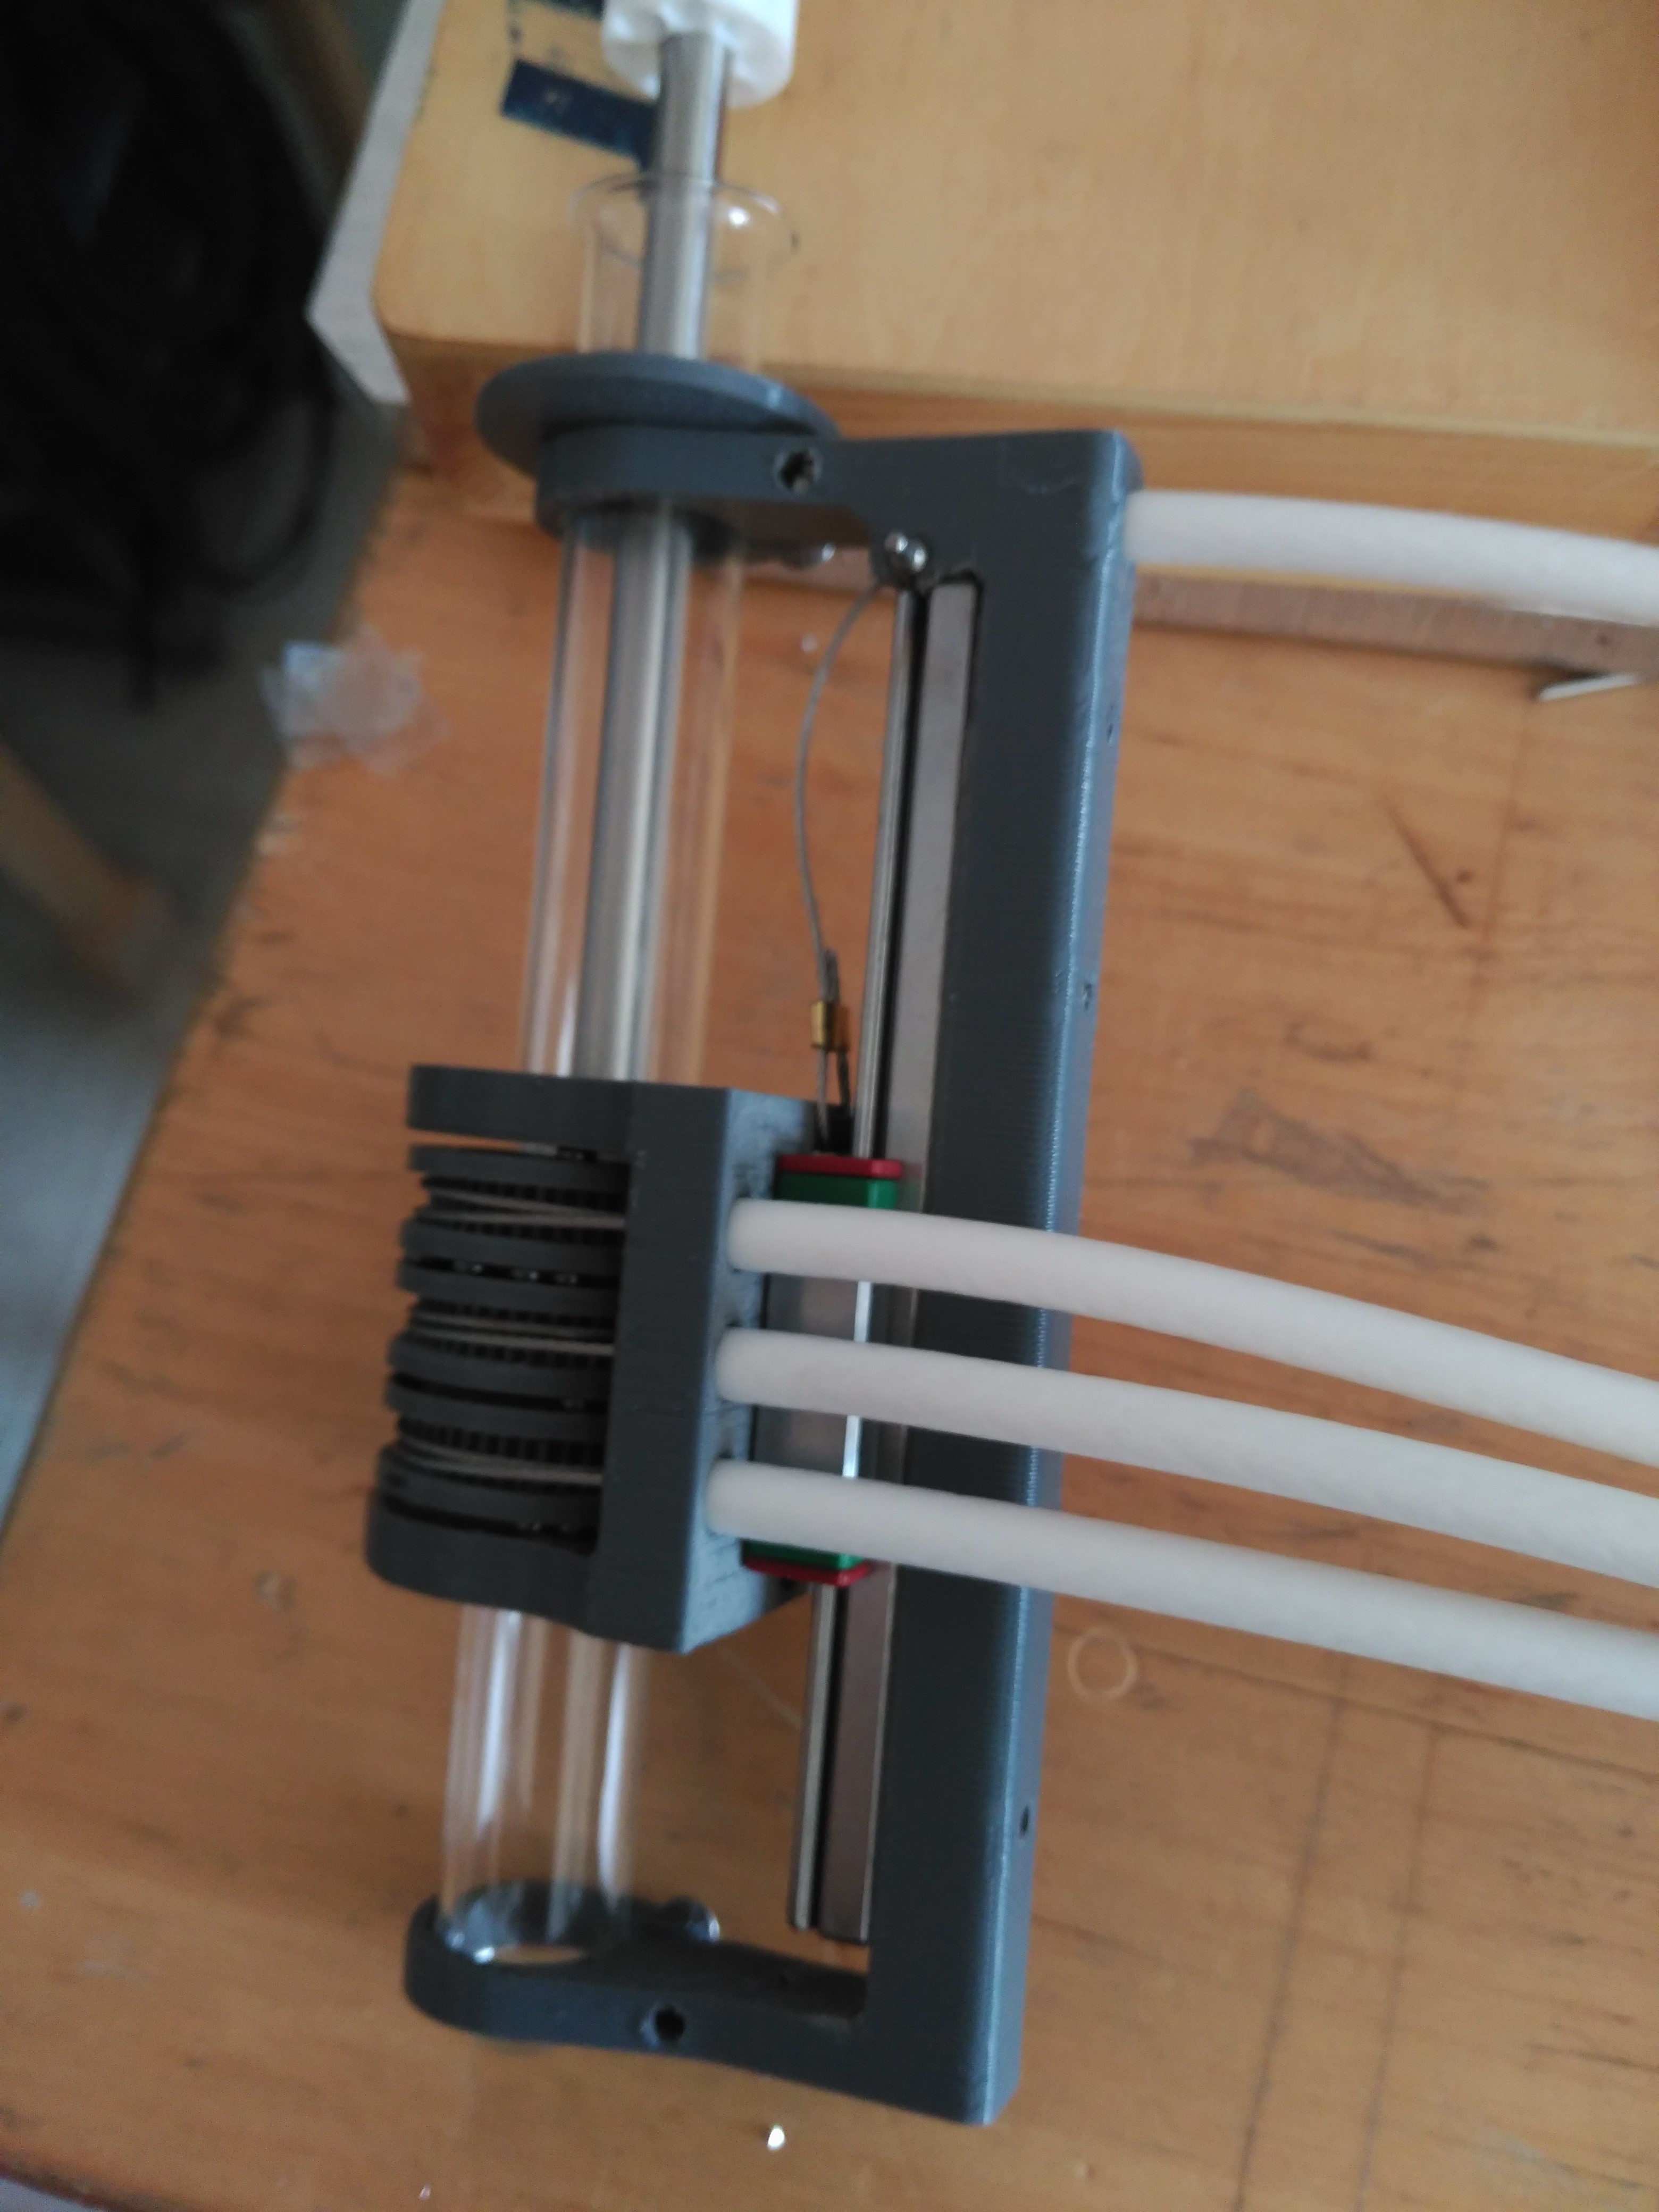
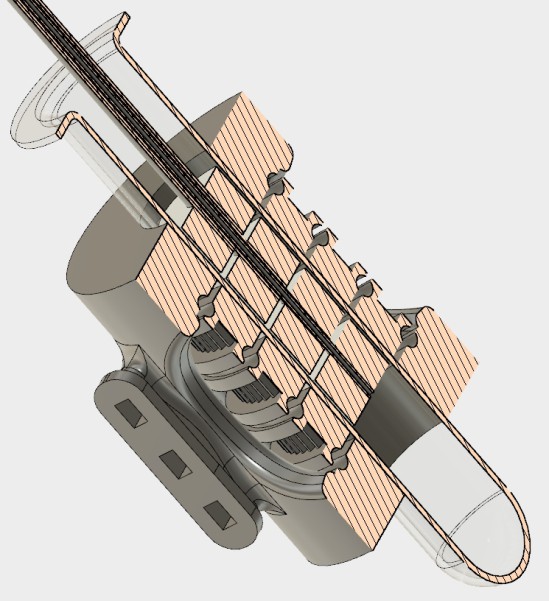
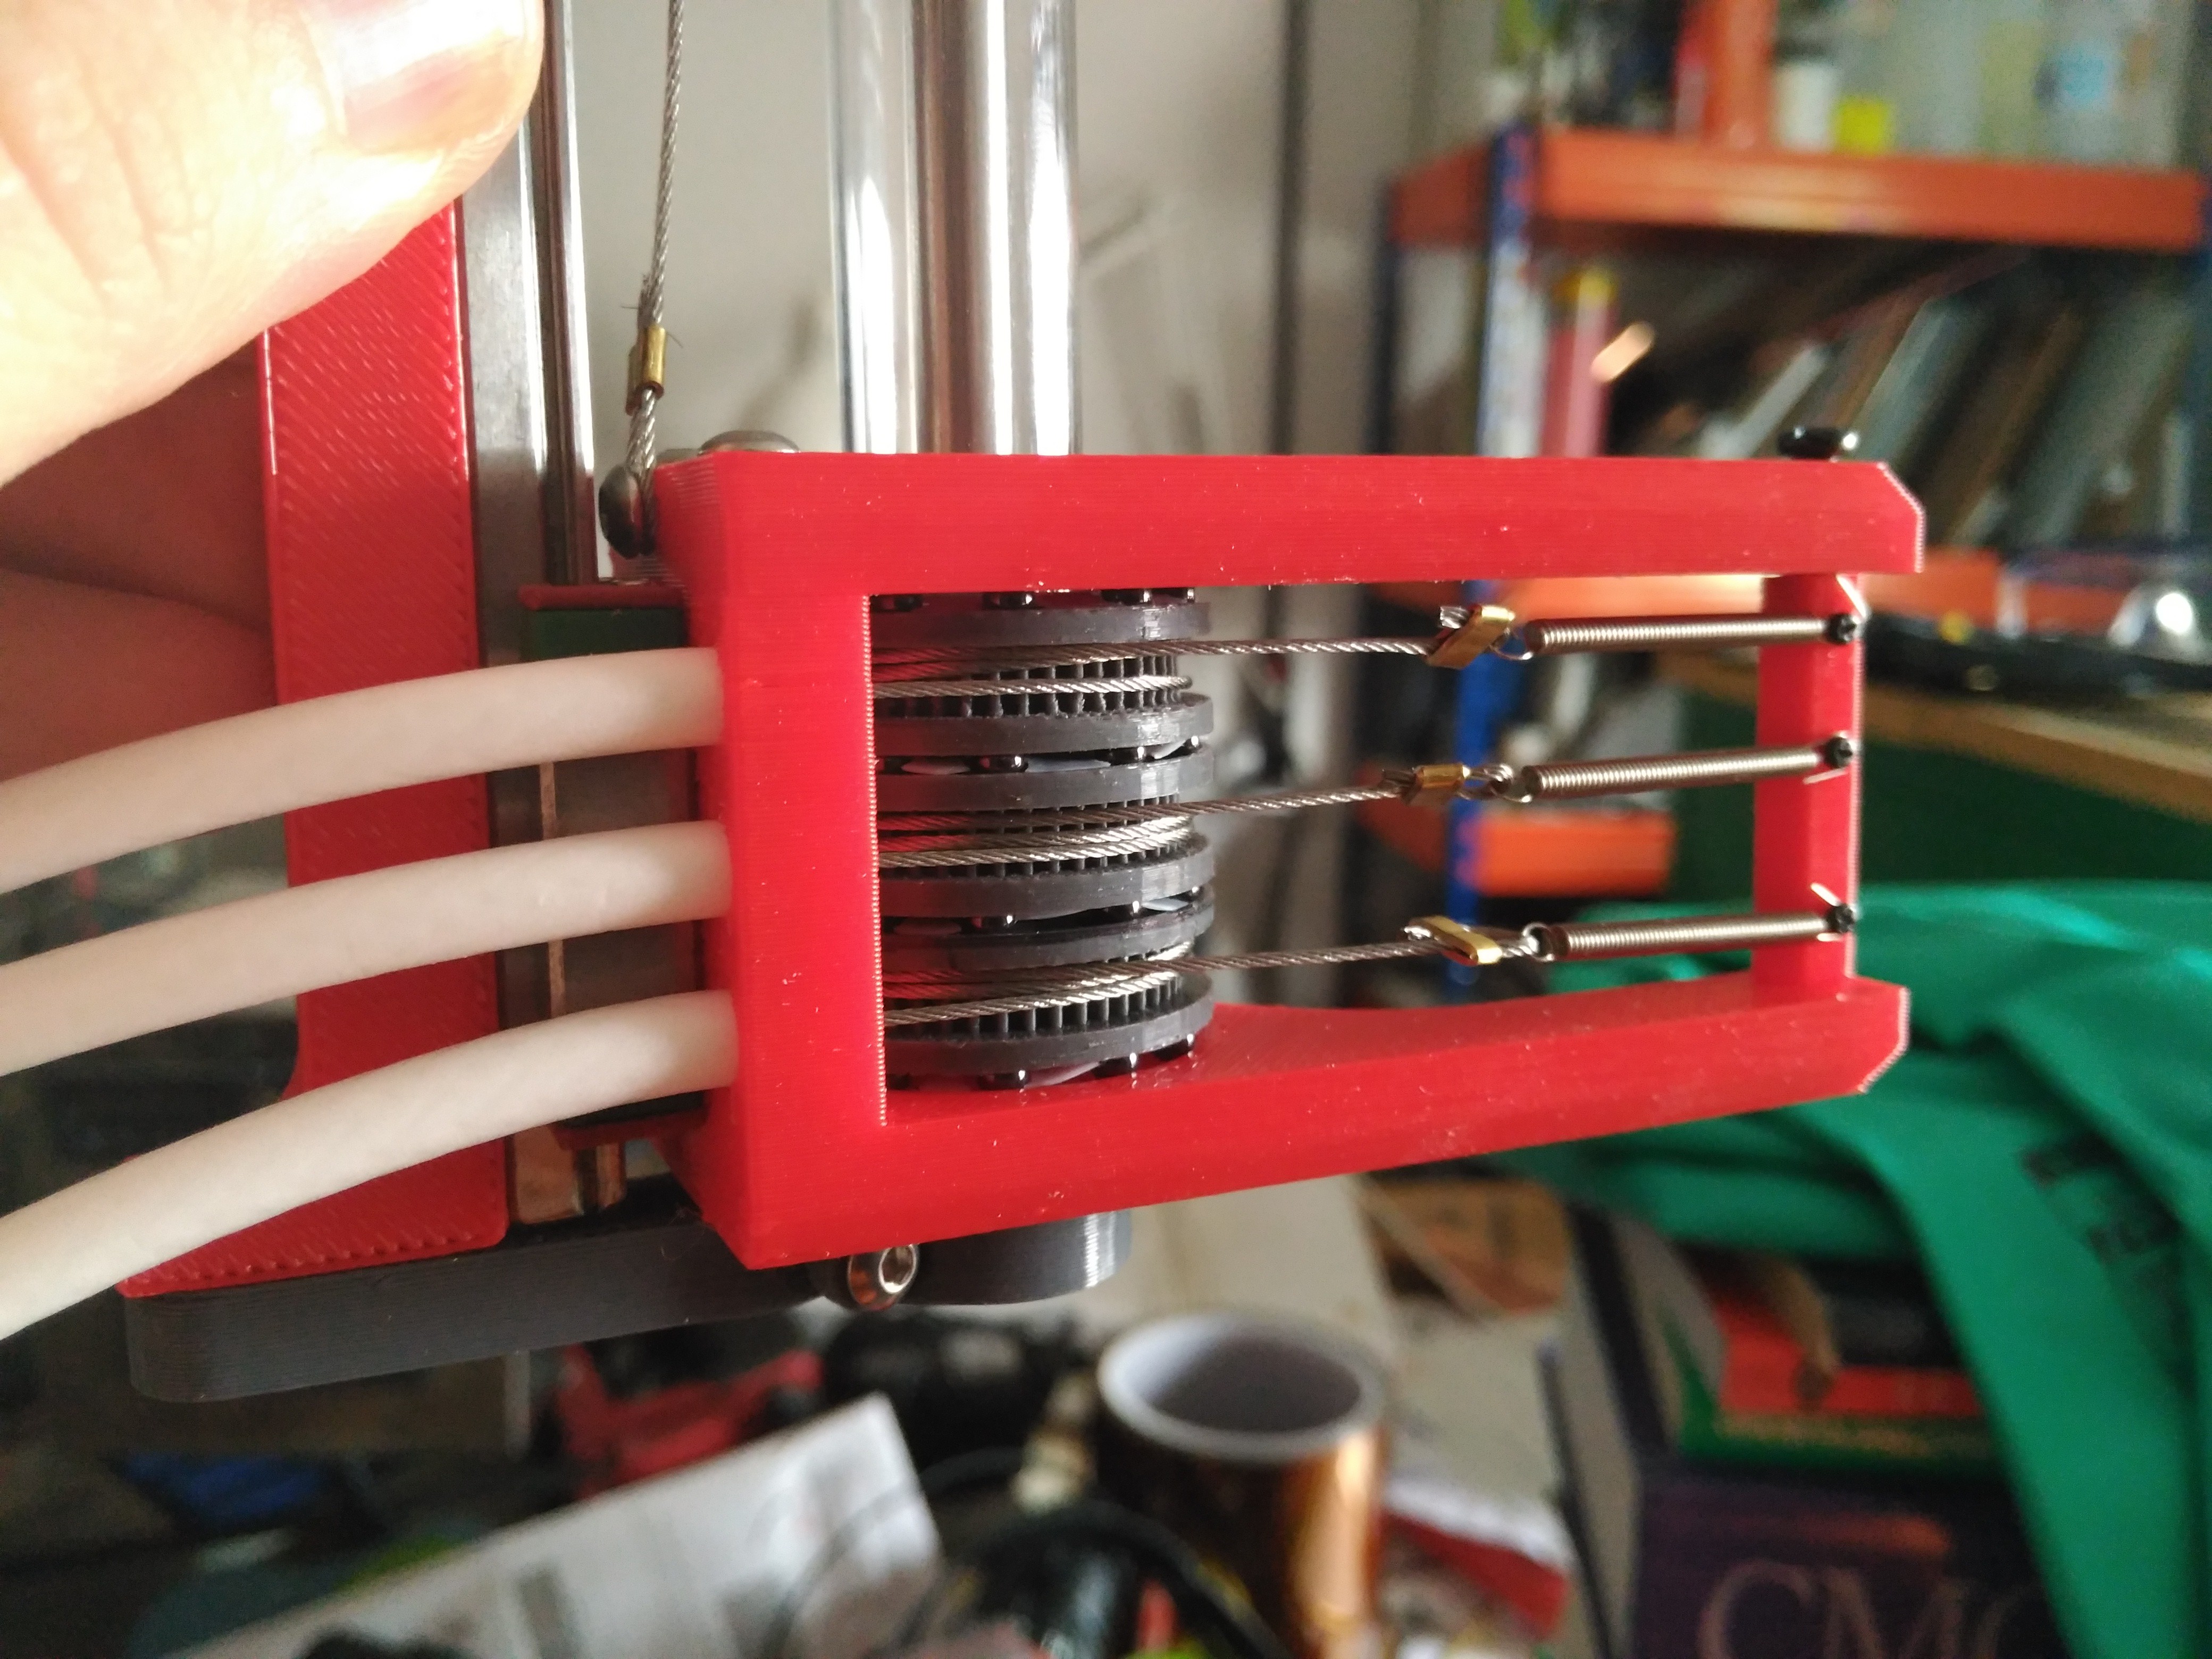
Springs on the other side of the bowdens would provide cable tension. However, altough the bearings could take it, they exerted much lateral force in the pulleys, binding the rotary motion, so, a second version with zero radial net force was implemented.
The axis of the push/pull force in the cable sit in the same plane, nullifying the force exerted on the pulley (technically, it generates a twisting motion as the cable does not alignt with itself, but the bearings can cope with that easily)
Also, the fixed test tube holder didn't really work, as each test tube is slightly different, so, the linear guide holder was made as separate pieces, making the tube supports adjustable.
Teflon ball cages where scissor cut so the balls would sit properly in the pulleys:
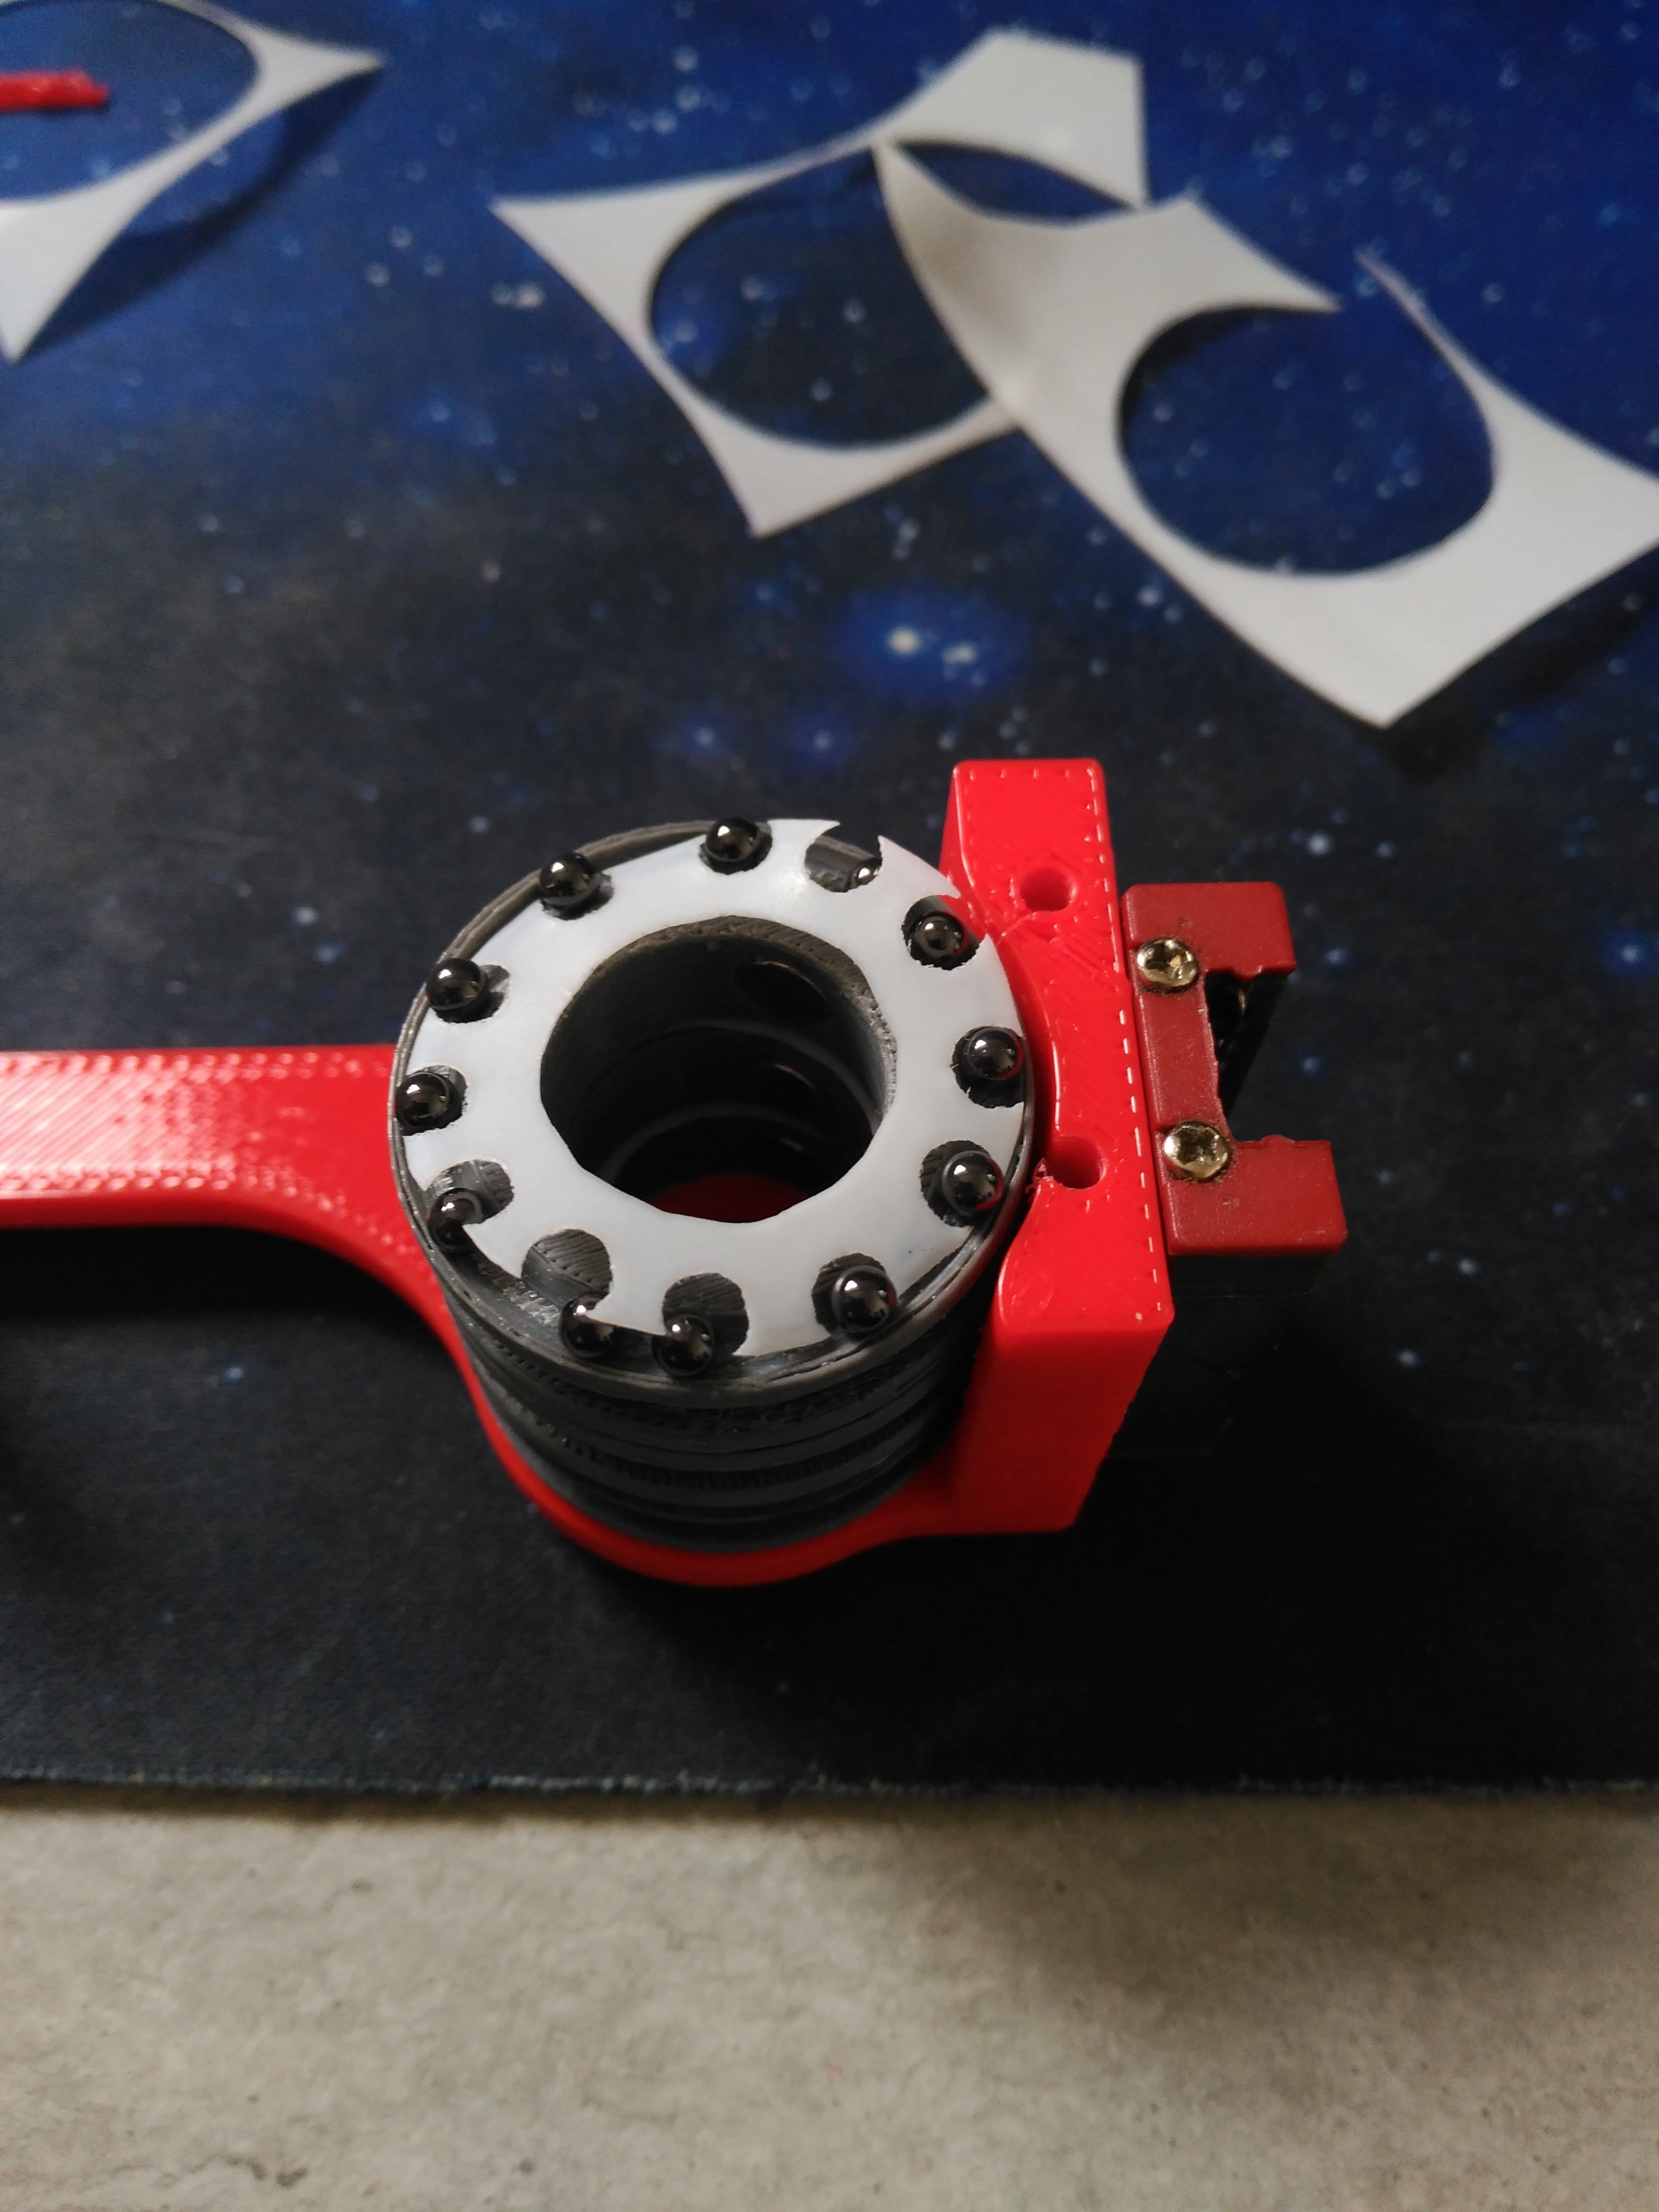
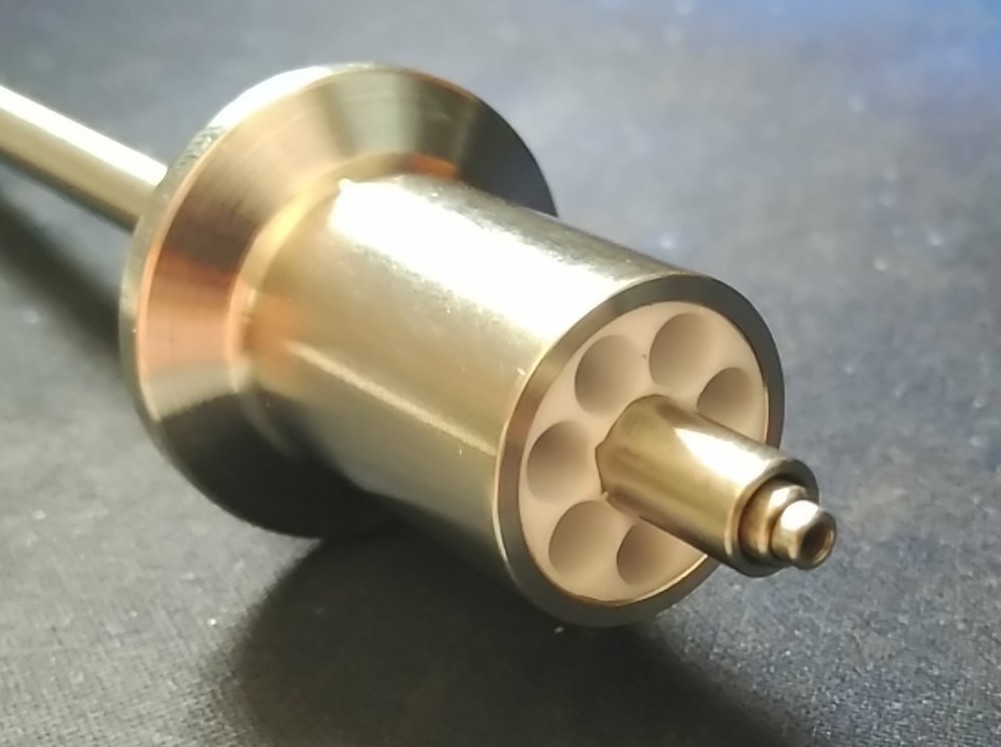
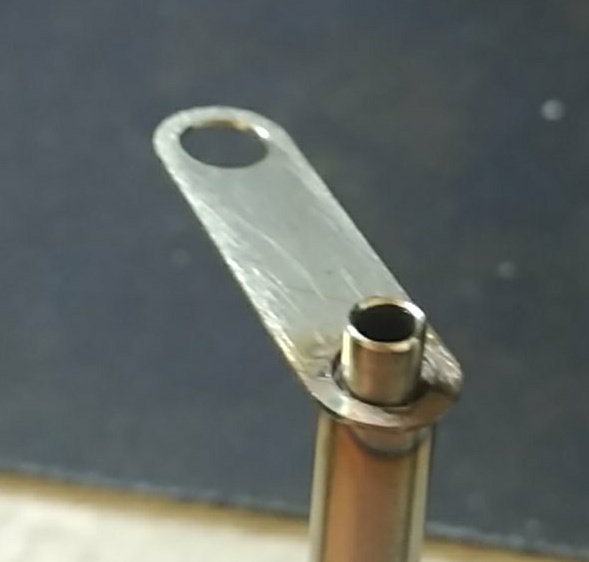
Small sections of brass tube would be flat clamped to the cable to make connections.
In action:
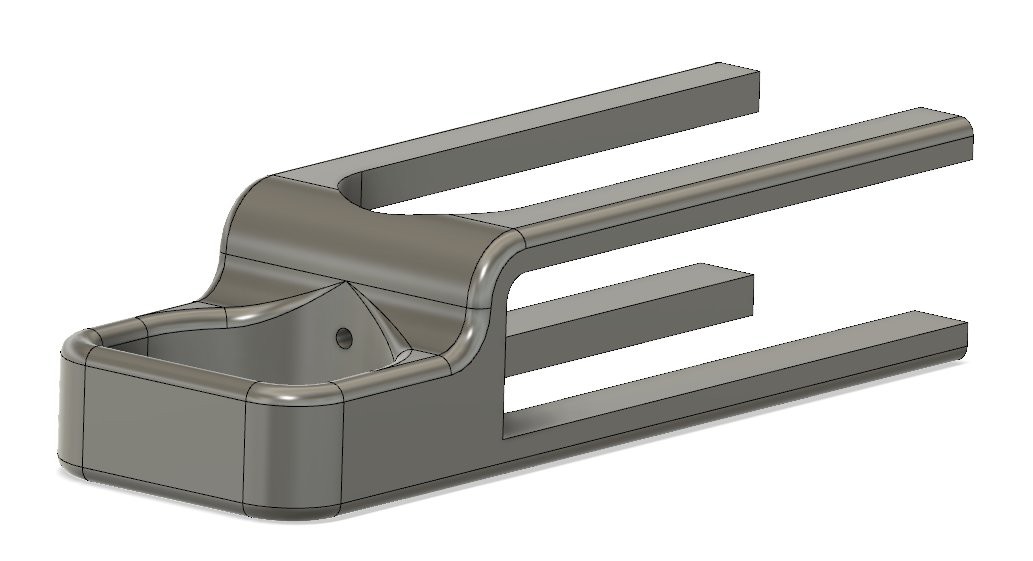
After that, it was time to make a hand controller for it. So I mostly went nuts with the chamfer tool in fusion 360:
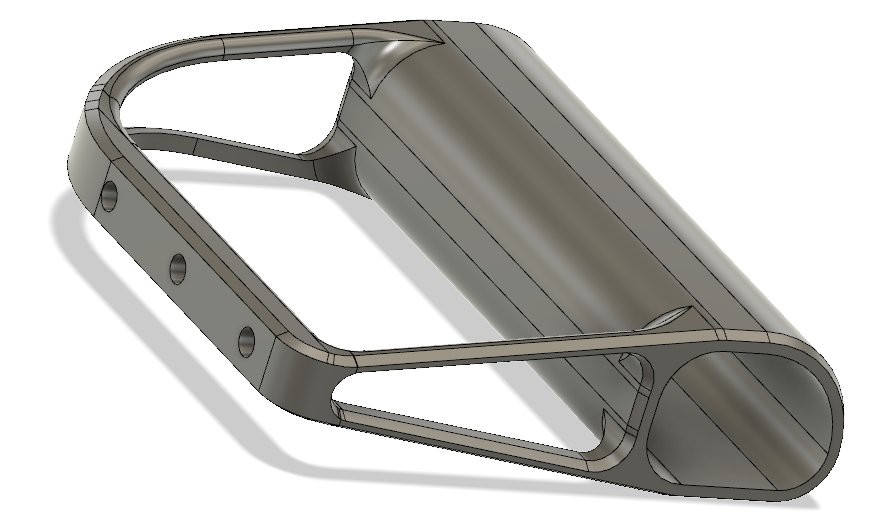
That hand piece would get attached to a linear rail with an adaptor, wich in turn would be directly screwed to the sputtering table.
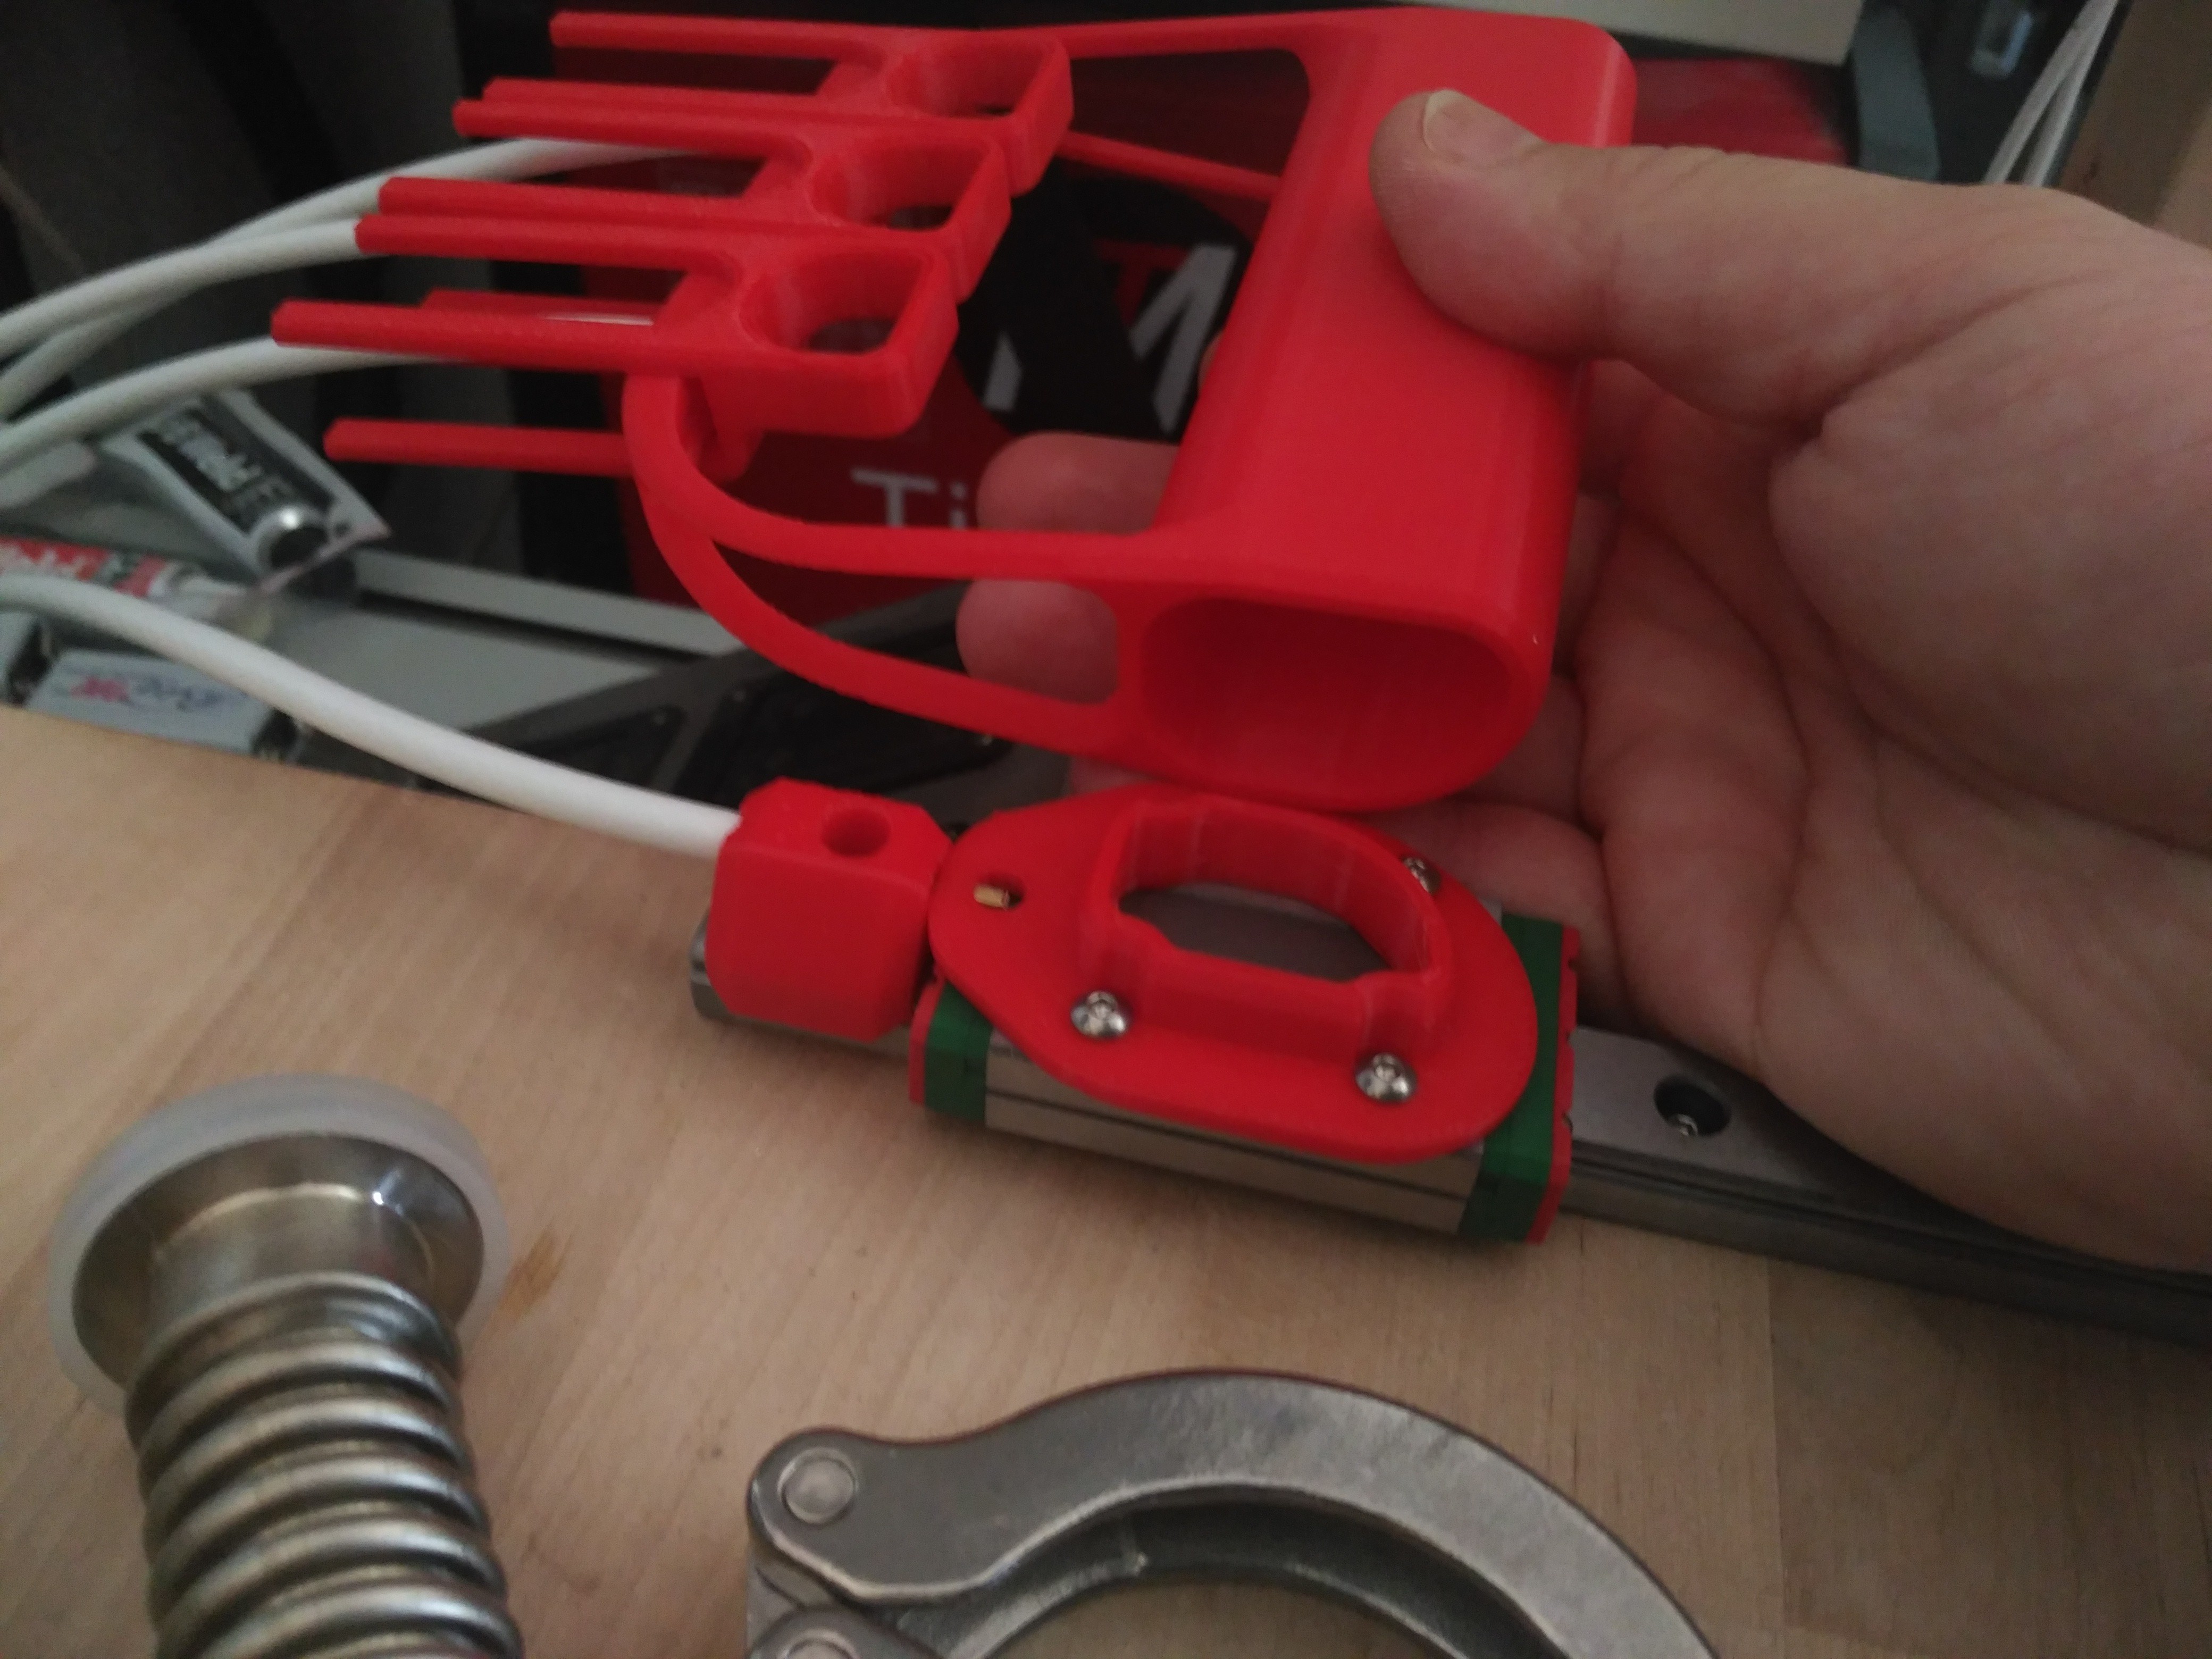
The whole hand will move the Z axis, whereas each finger will have direct control of one of the pulleys with these finger cable pullers:
And how does it work?
AMAZING, if I can say so:
Here's a bottom view of the assembly coupled to the vacuum chamber:
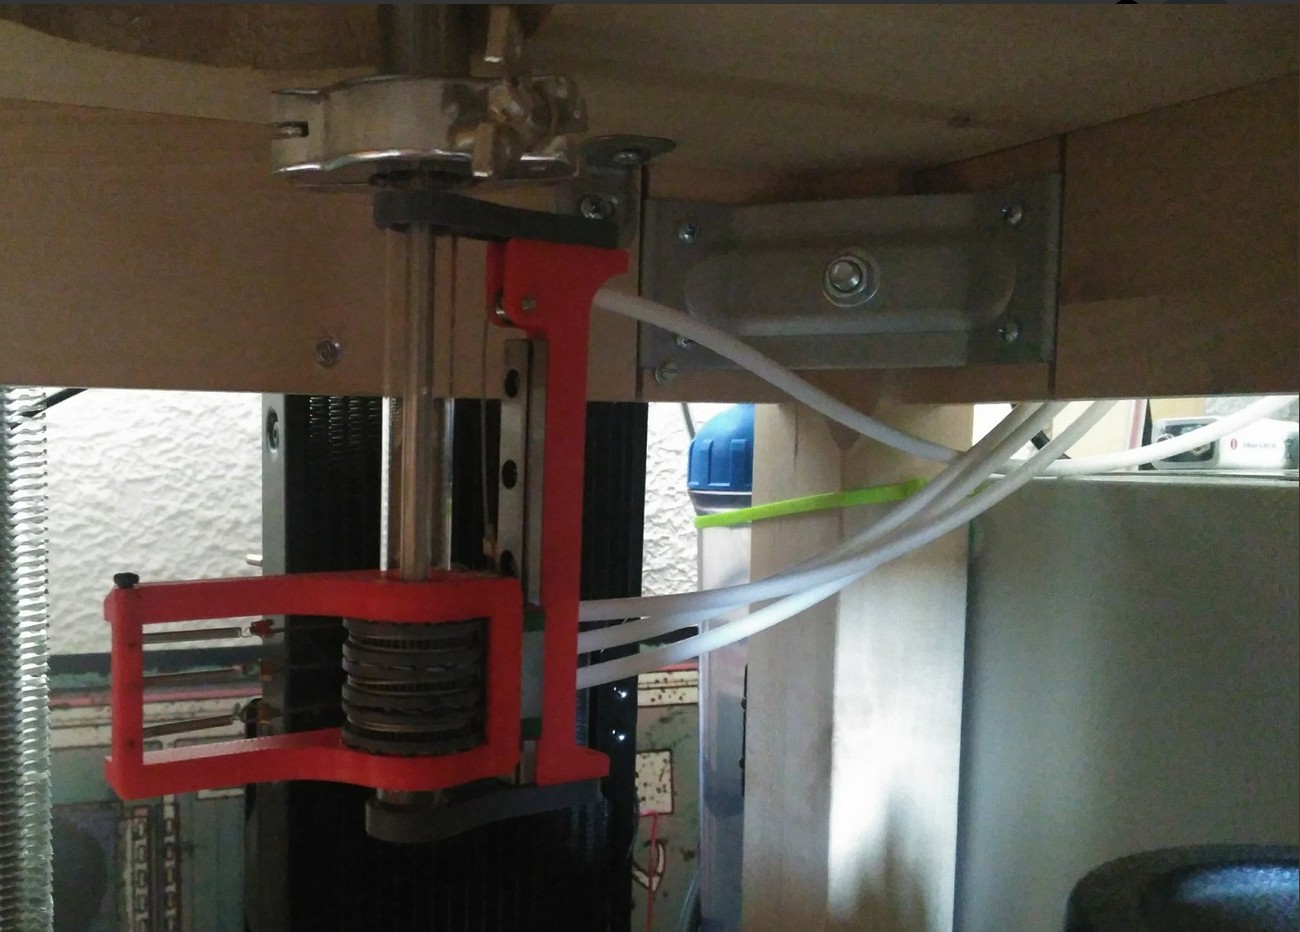
All the bowdens where cut to the minimal lenght and lubed with silicone oil. For upper guidance/parallelism a PTFE guide for the metal parts was cnc cut:
So what does all this accomplish?
I now have a modular system with 3 coaxial axles with Z movement that I can employ for anything inside the vacuum chamber, WHILE it is operating.
I can have different motion groups for different purposes and all I need to do is remove the internal magnet assembly, wich slides out into the chamber, and put a new one, with different end effectors/holders/targets.
Here, for example. I'm spot welding a small strip of stainless, in provision for the small arm that can move samples around:
Instead of an arm, I can use it to put a plate over the samples and cover them until the sputtering is stable and clean.
Or:
I can have one arm with targets, and switch them at my convenience, while a second arm covers the samples meanwhile the changes (leftover sputter of a different material) stabilize.
There are infinite possibilities for this, It is just a matter of what work I need doing inside the vacuum environment.
Glass details:
The glass test tube is hand-modified with an Oxy-torch in the lathe, so you can do everything at home, no need to depend on anyone for weird pieces.

Discussions
Become a Hackaday.io Member
Create an account to leave a comment. Already have an account? Log In.