 TK
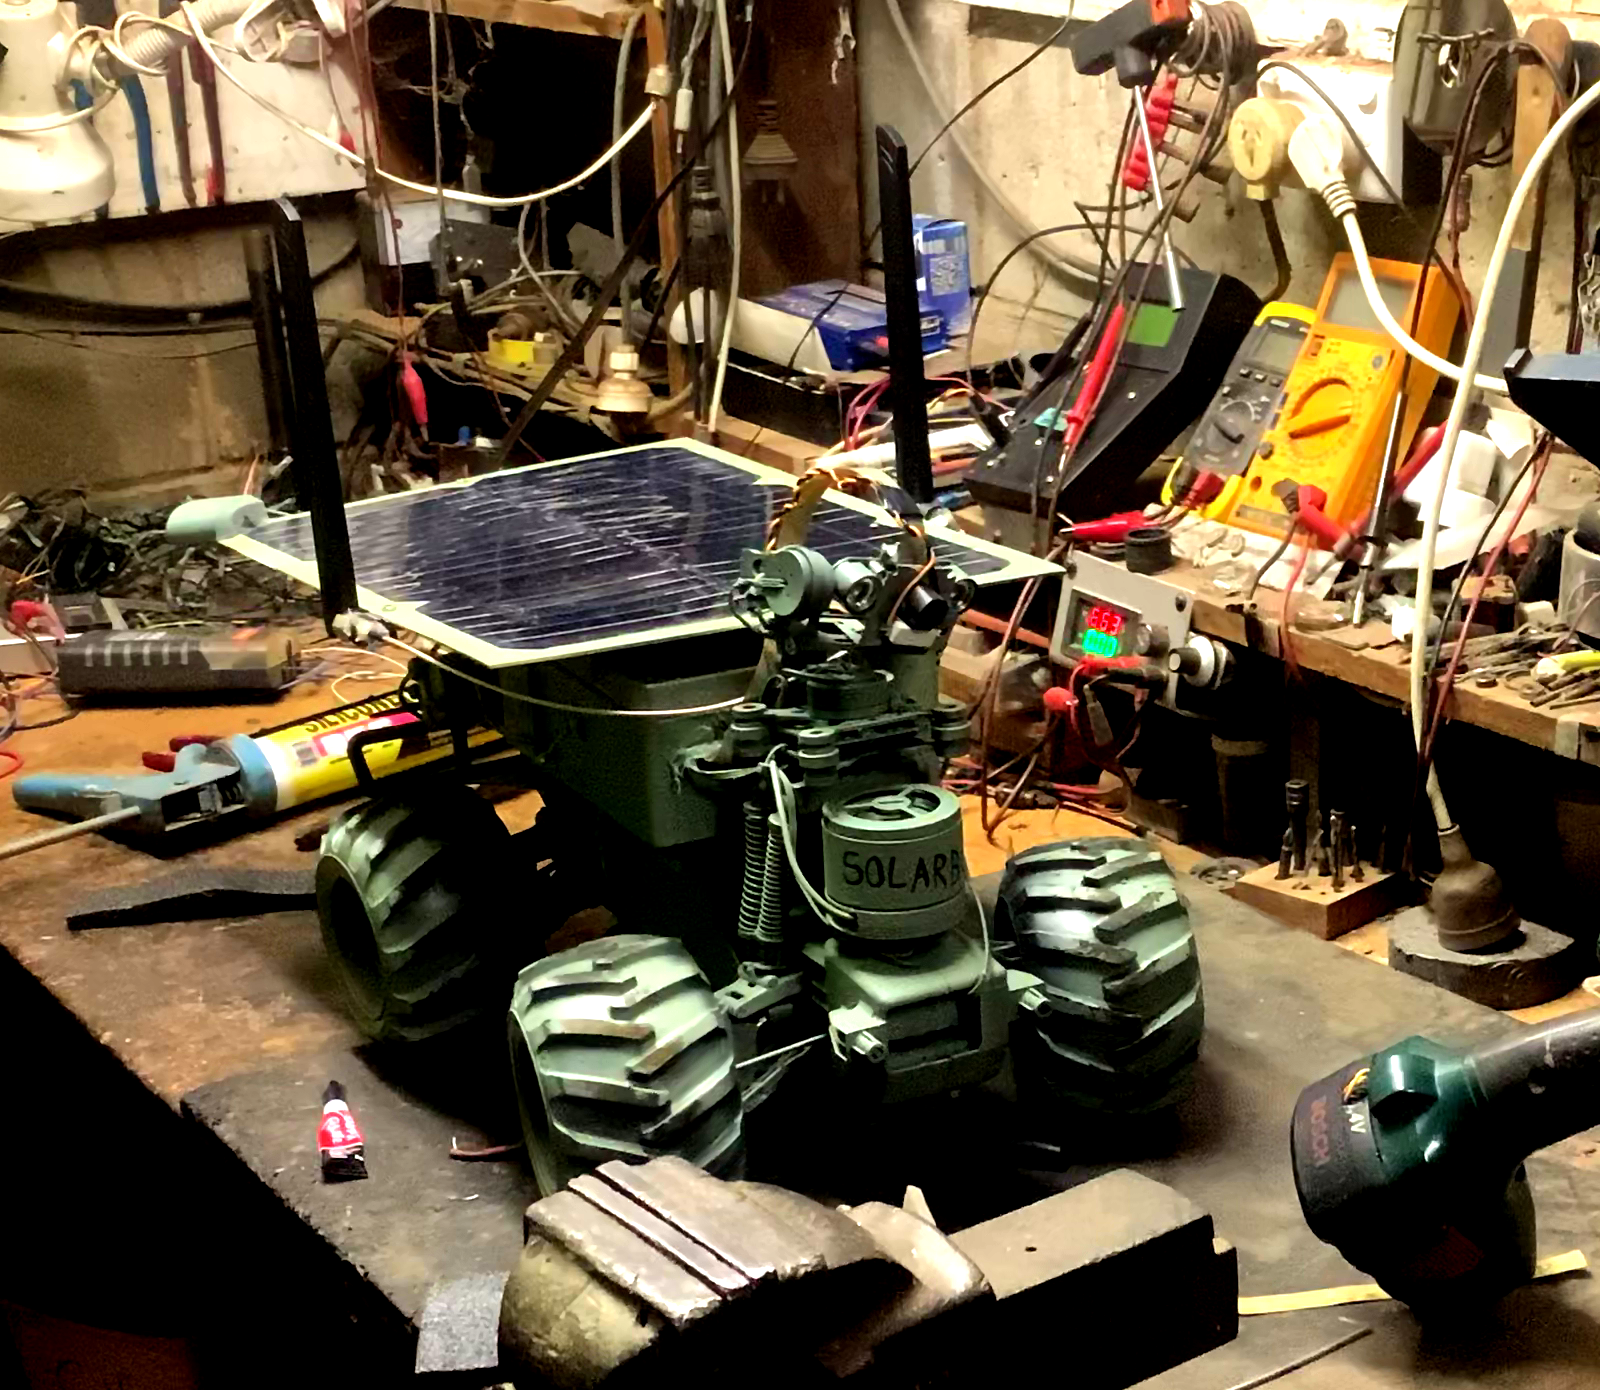
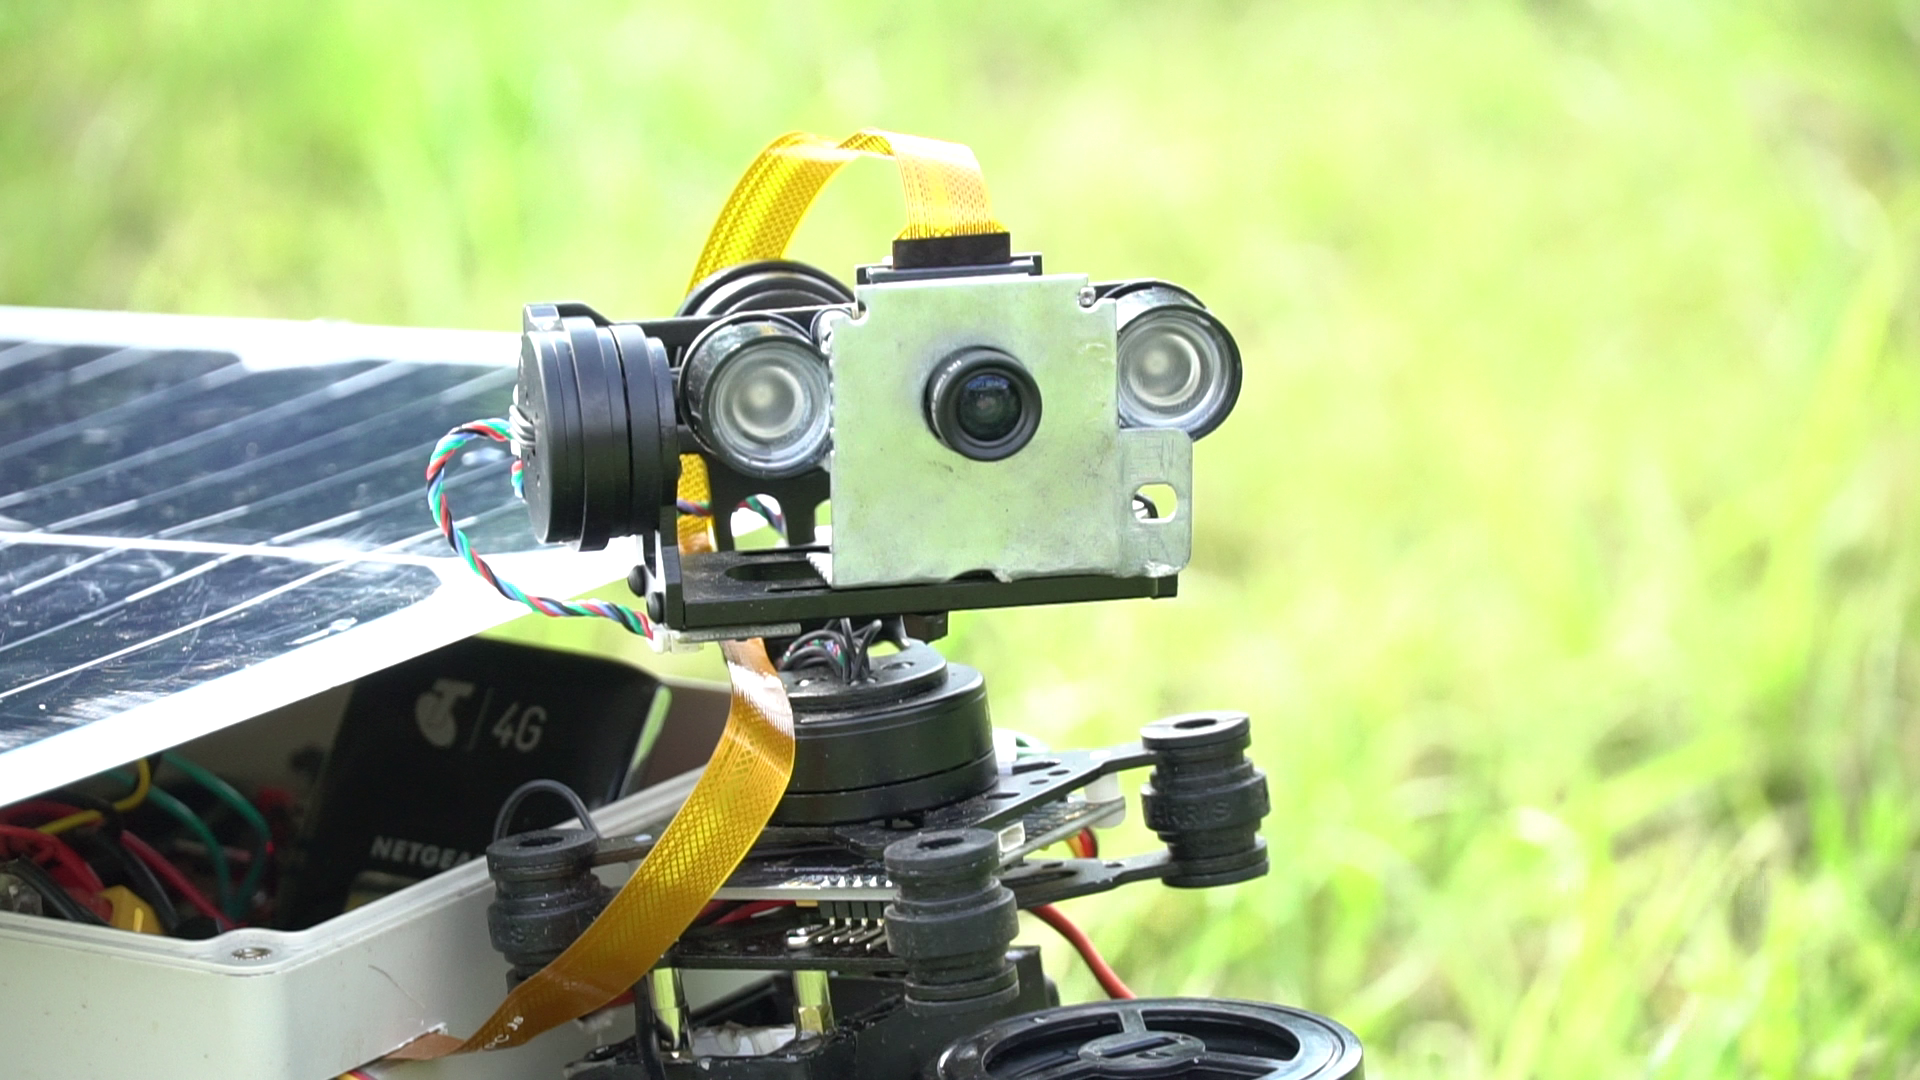
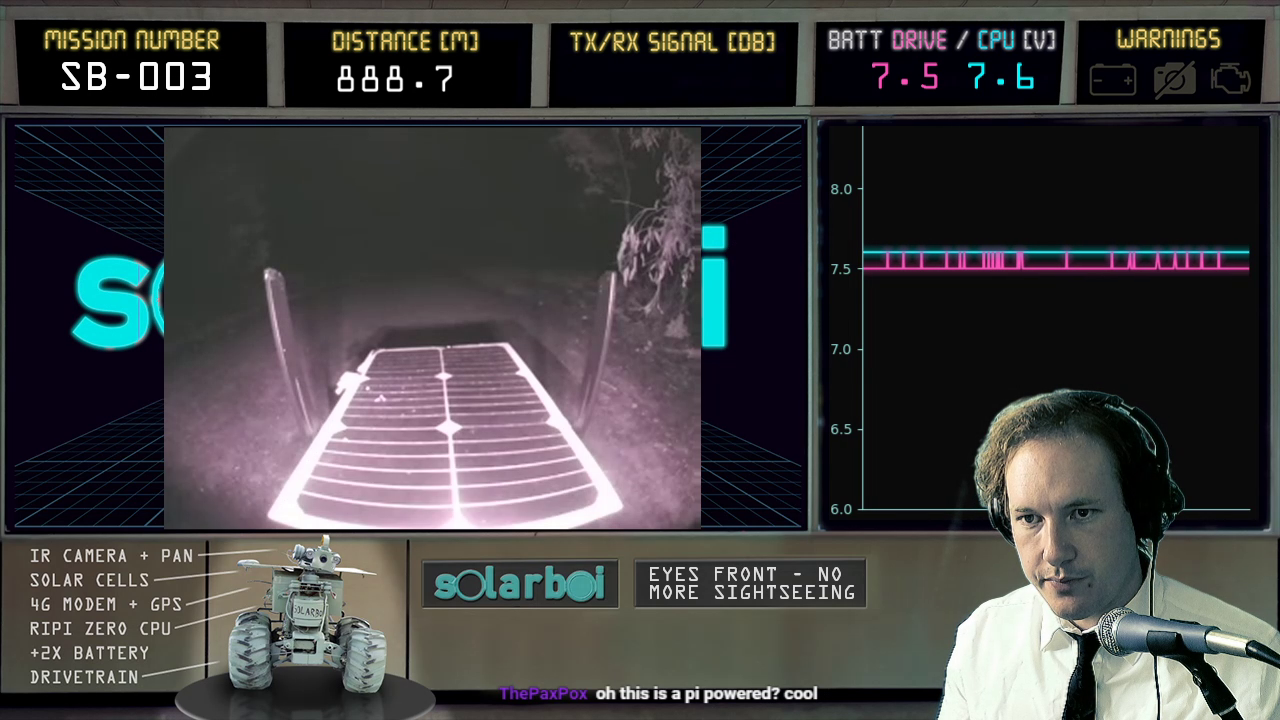
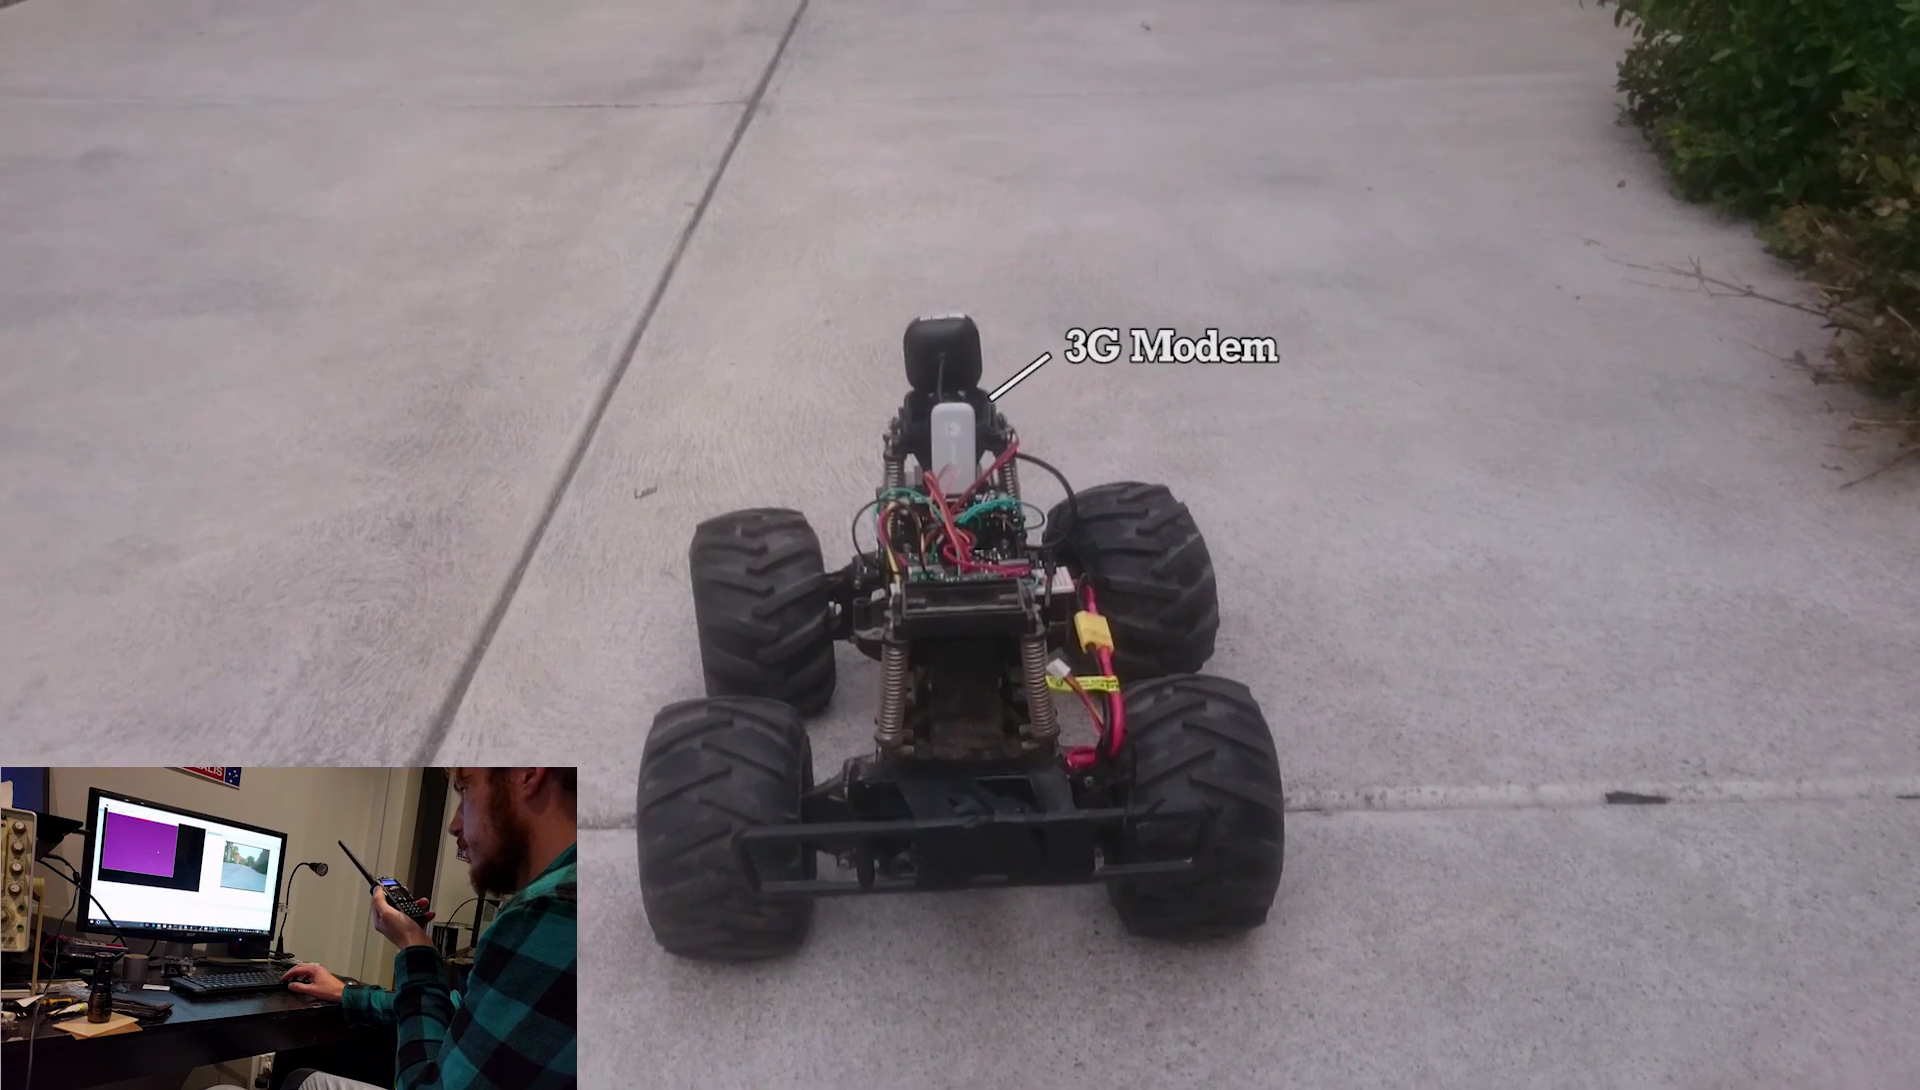
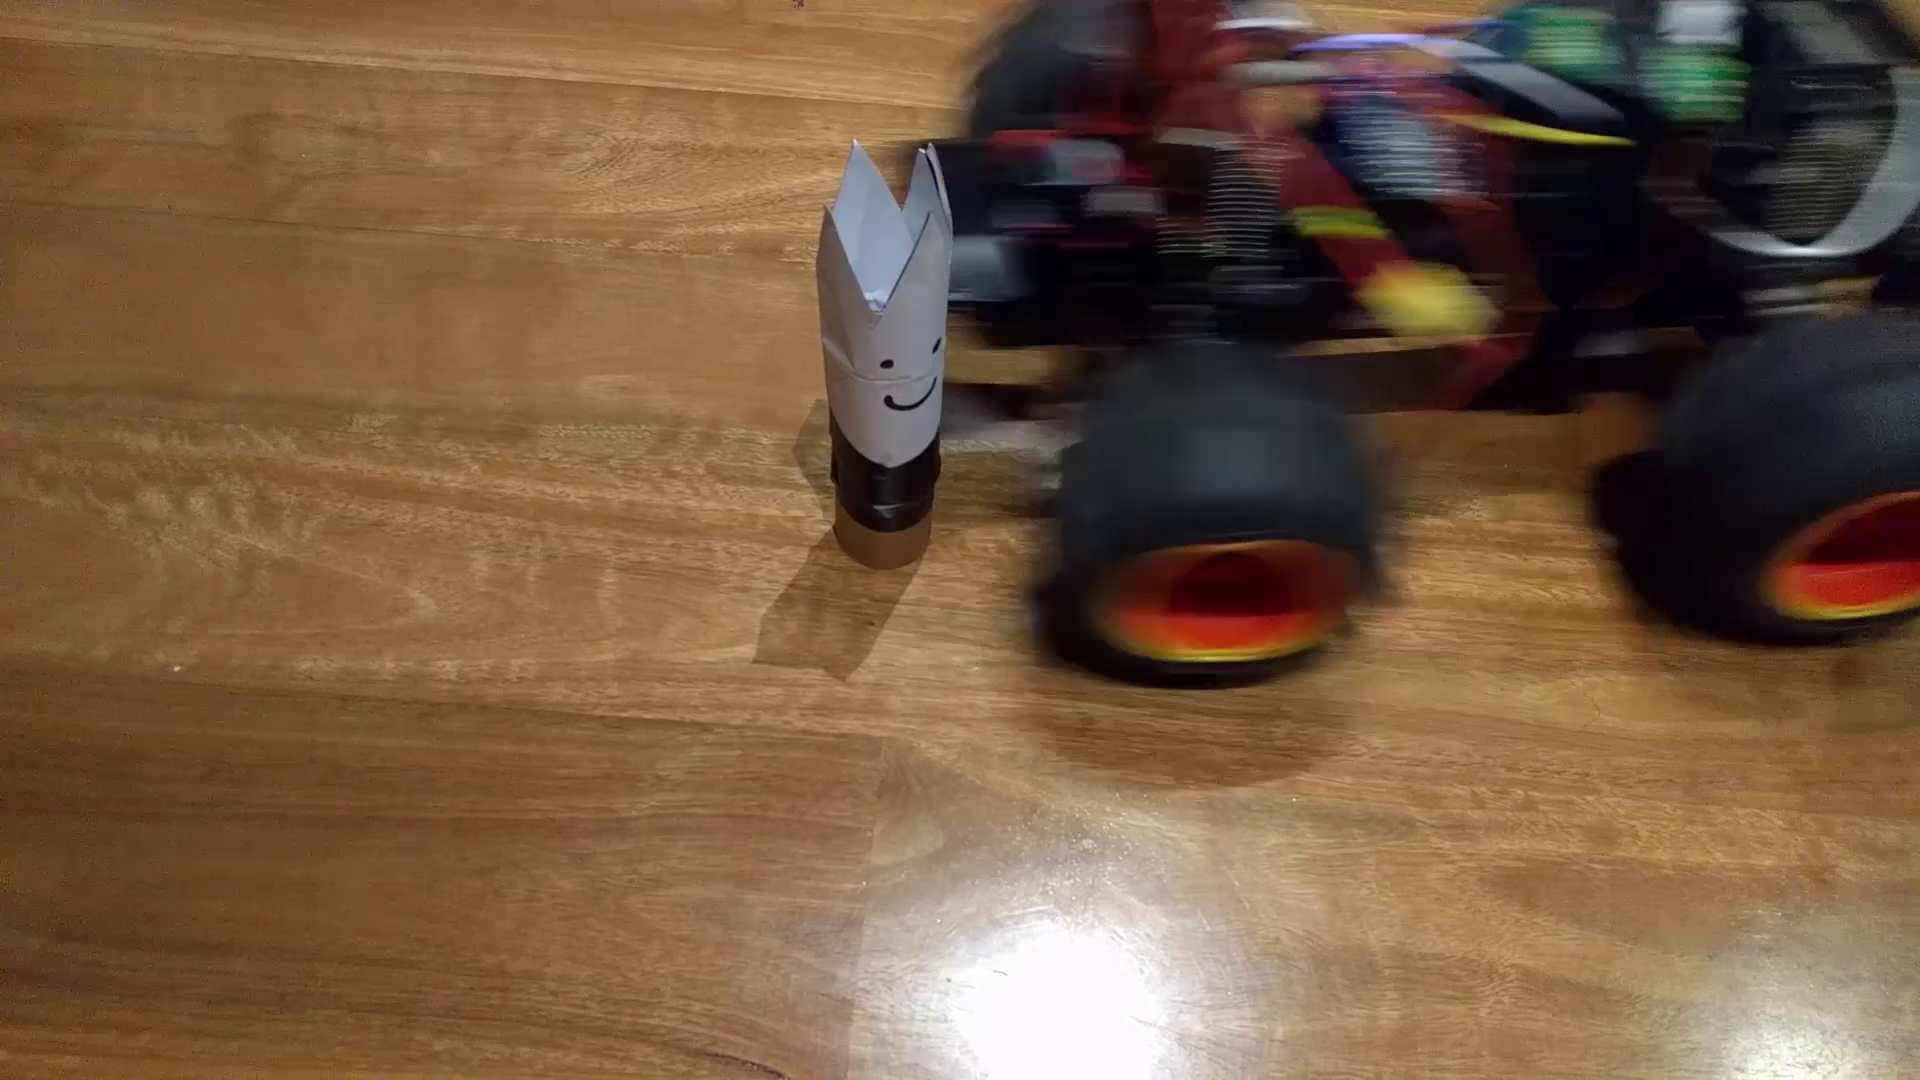
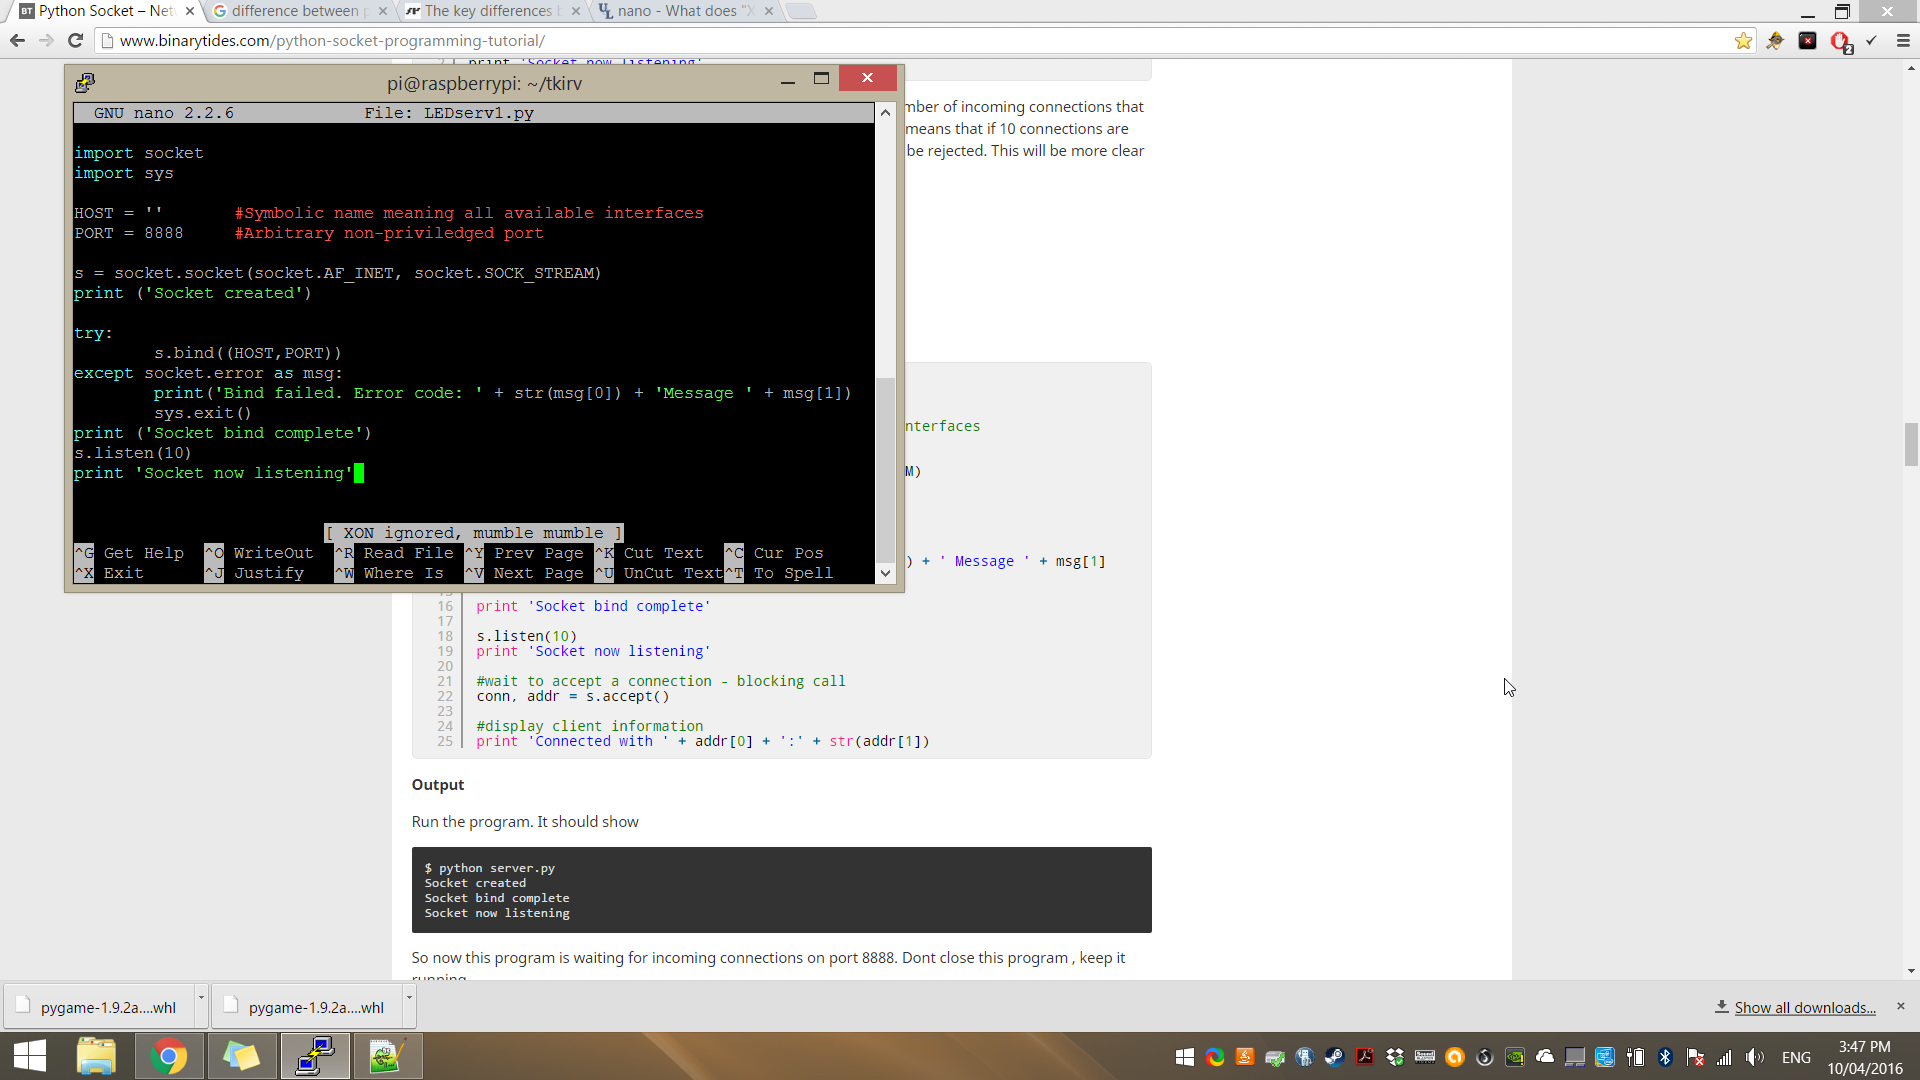
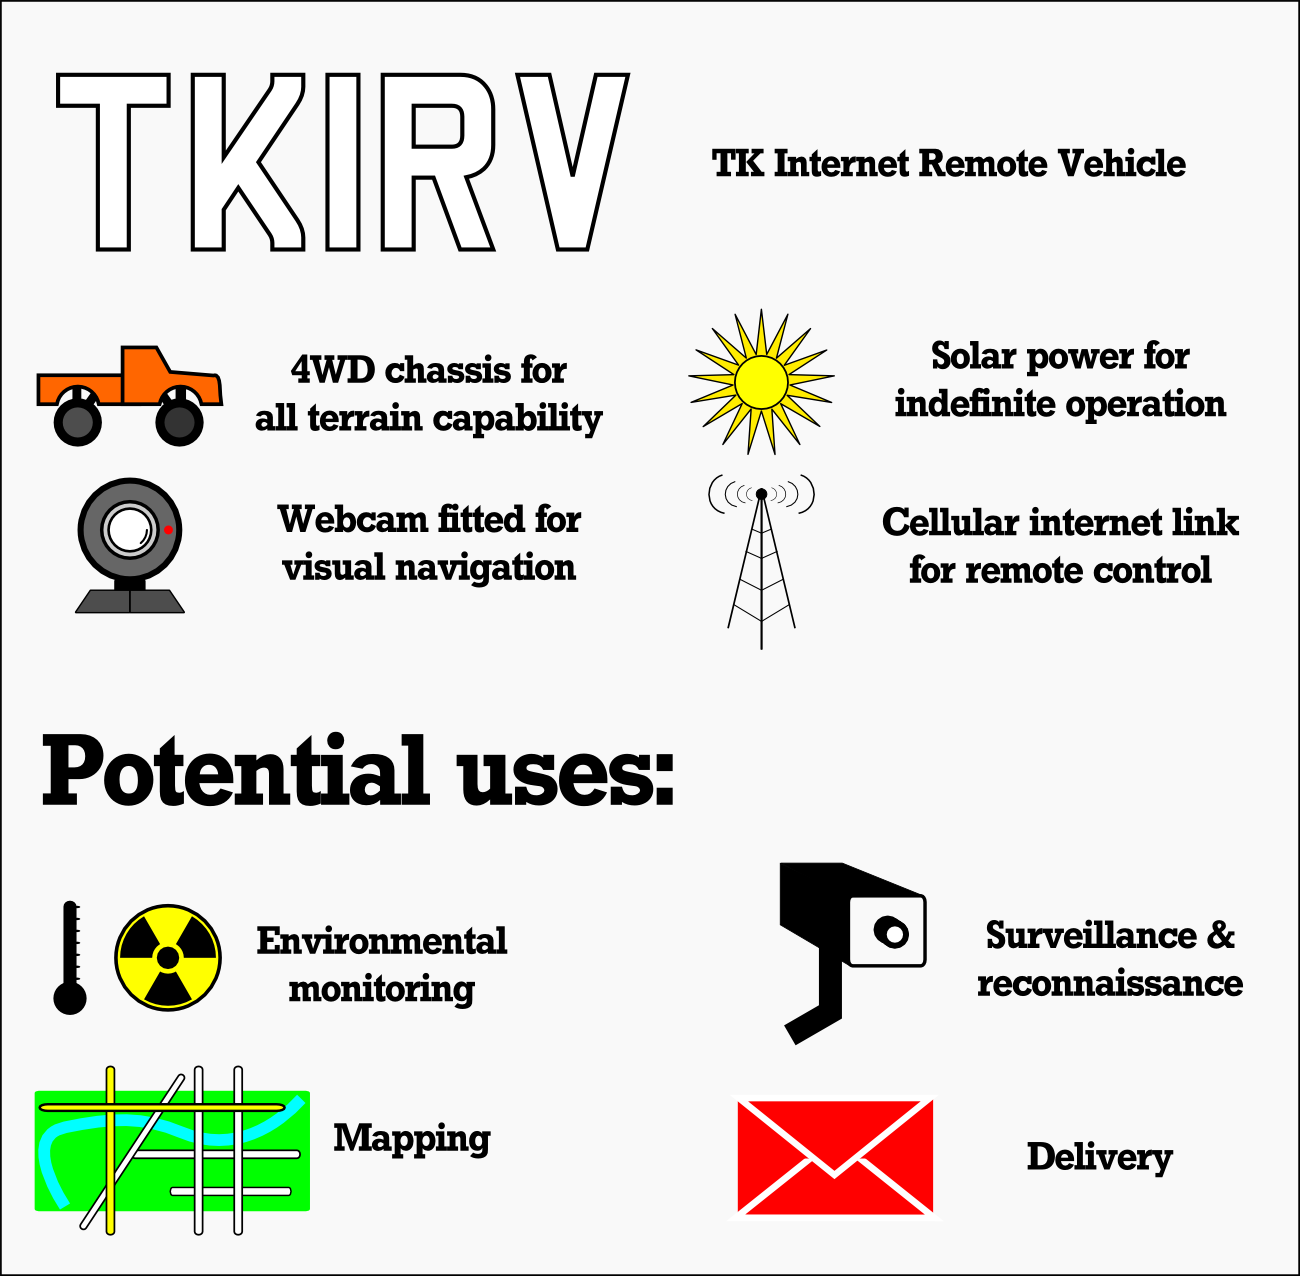
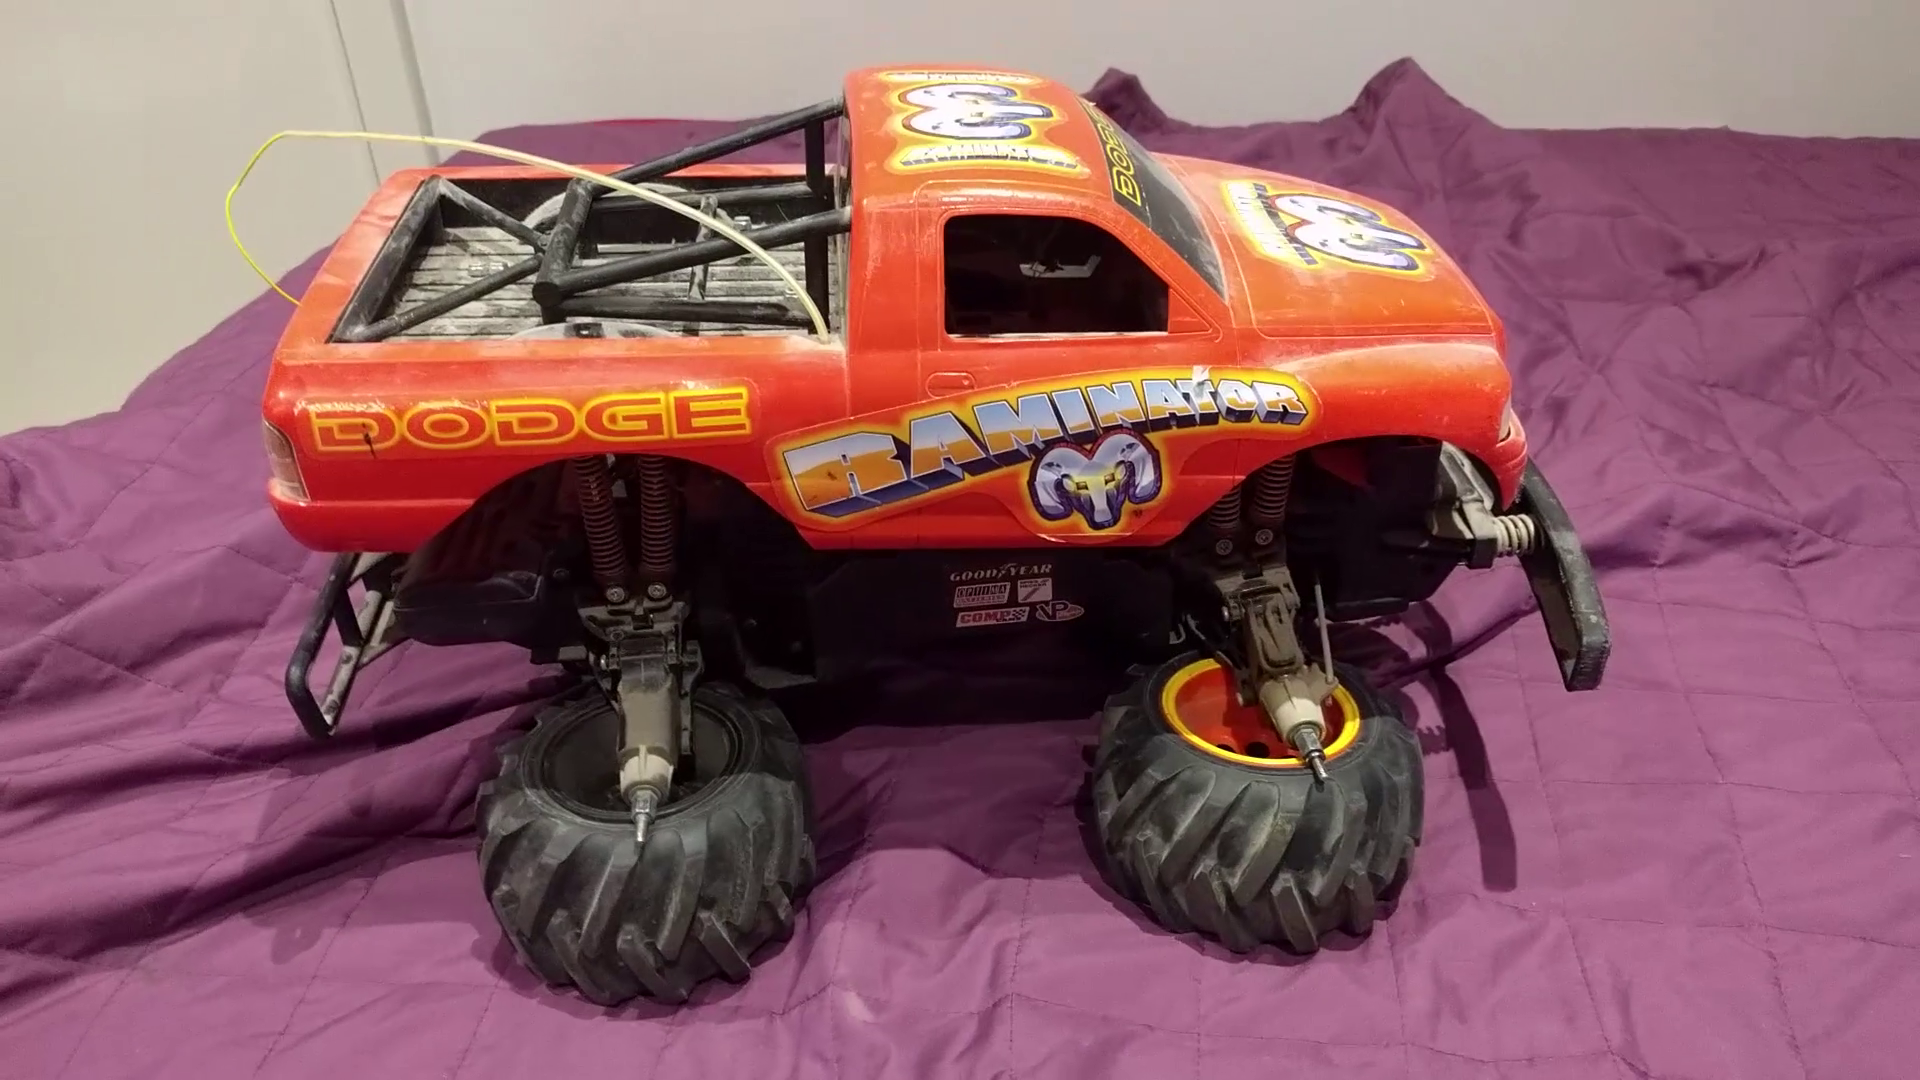
TKTKIRV (TK Internet Remote Vehicle) is a project I've wanted to do for a long time now. The idea is first and foremost to build a remote control car that can be controlled over the mobile network. Throw together a webcam and a Raspberry Pi and we should be in business. But it's more than that, too. The idea is to leverage solar power and smart power strategies in order to allow the device to operate out in the field for an indefinite period of time, potentially allowing the vehicle to traverse great distances over time.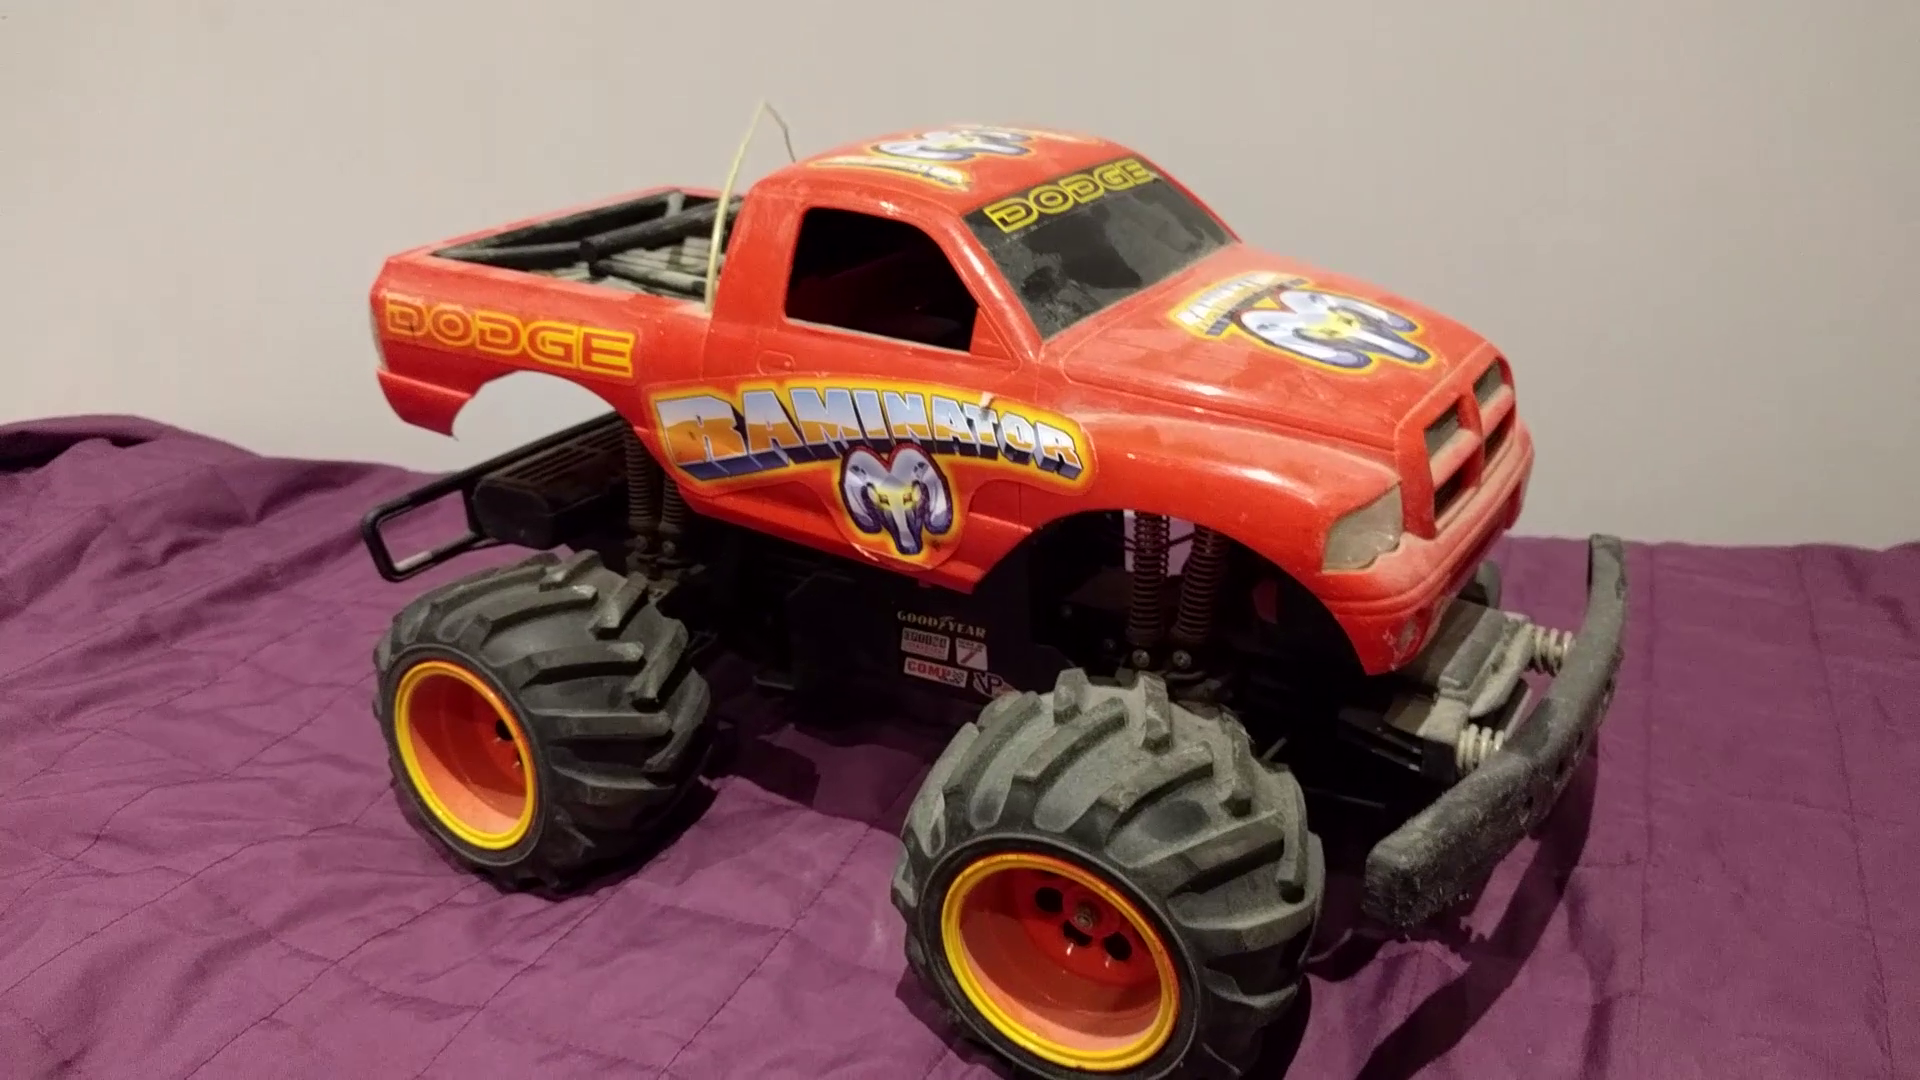 TKIRV is built around an early 2000s Radio Shack RC car. It's got four wheel drive, suspension, and handles urban terrain like concrete, asphalt and grass pretty well. There's plenty of room to lace it with a Raspberry Pi for control, an Arduino for power management, and a webcam for vision. At about 500mm long by 300mm wide, it's a good size and pretty much the perfect platform for what we want to do.
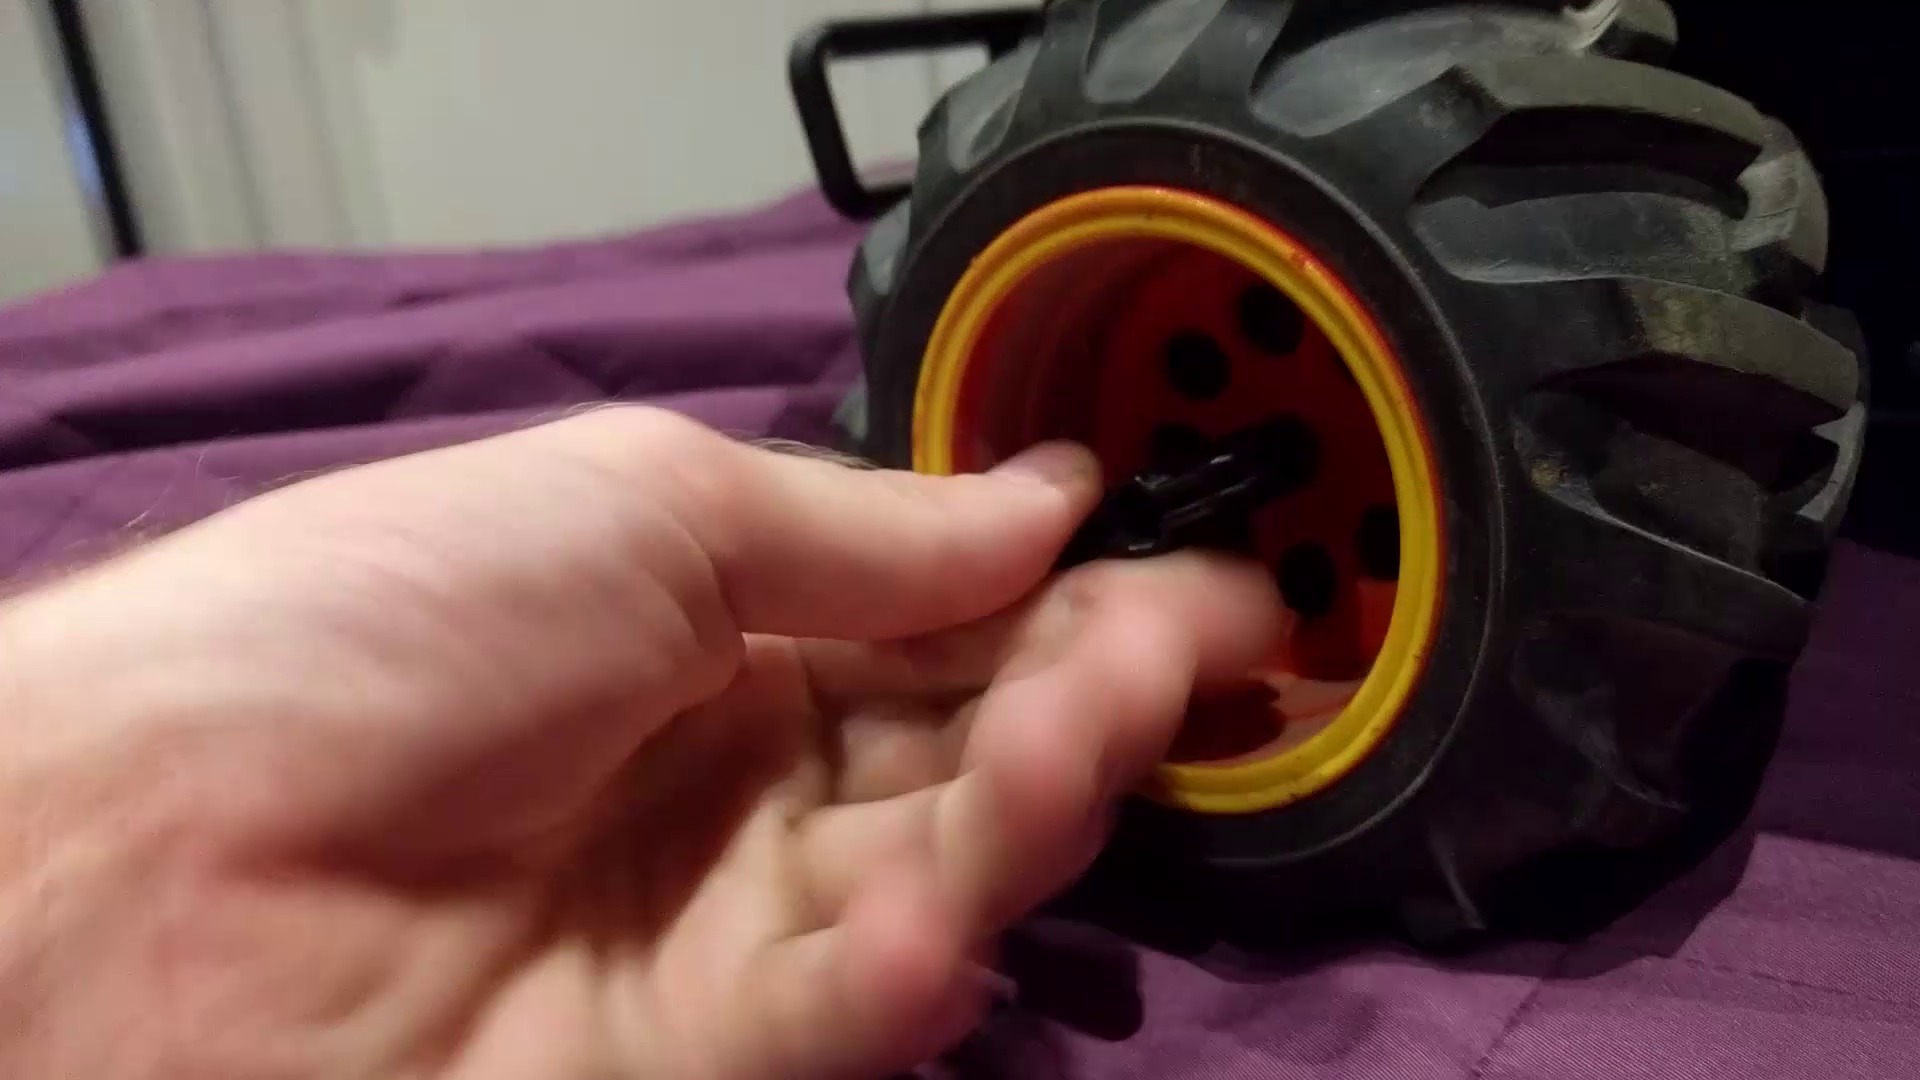
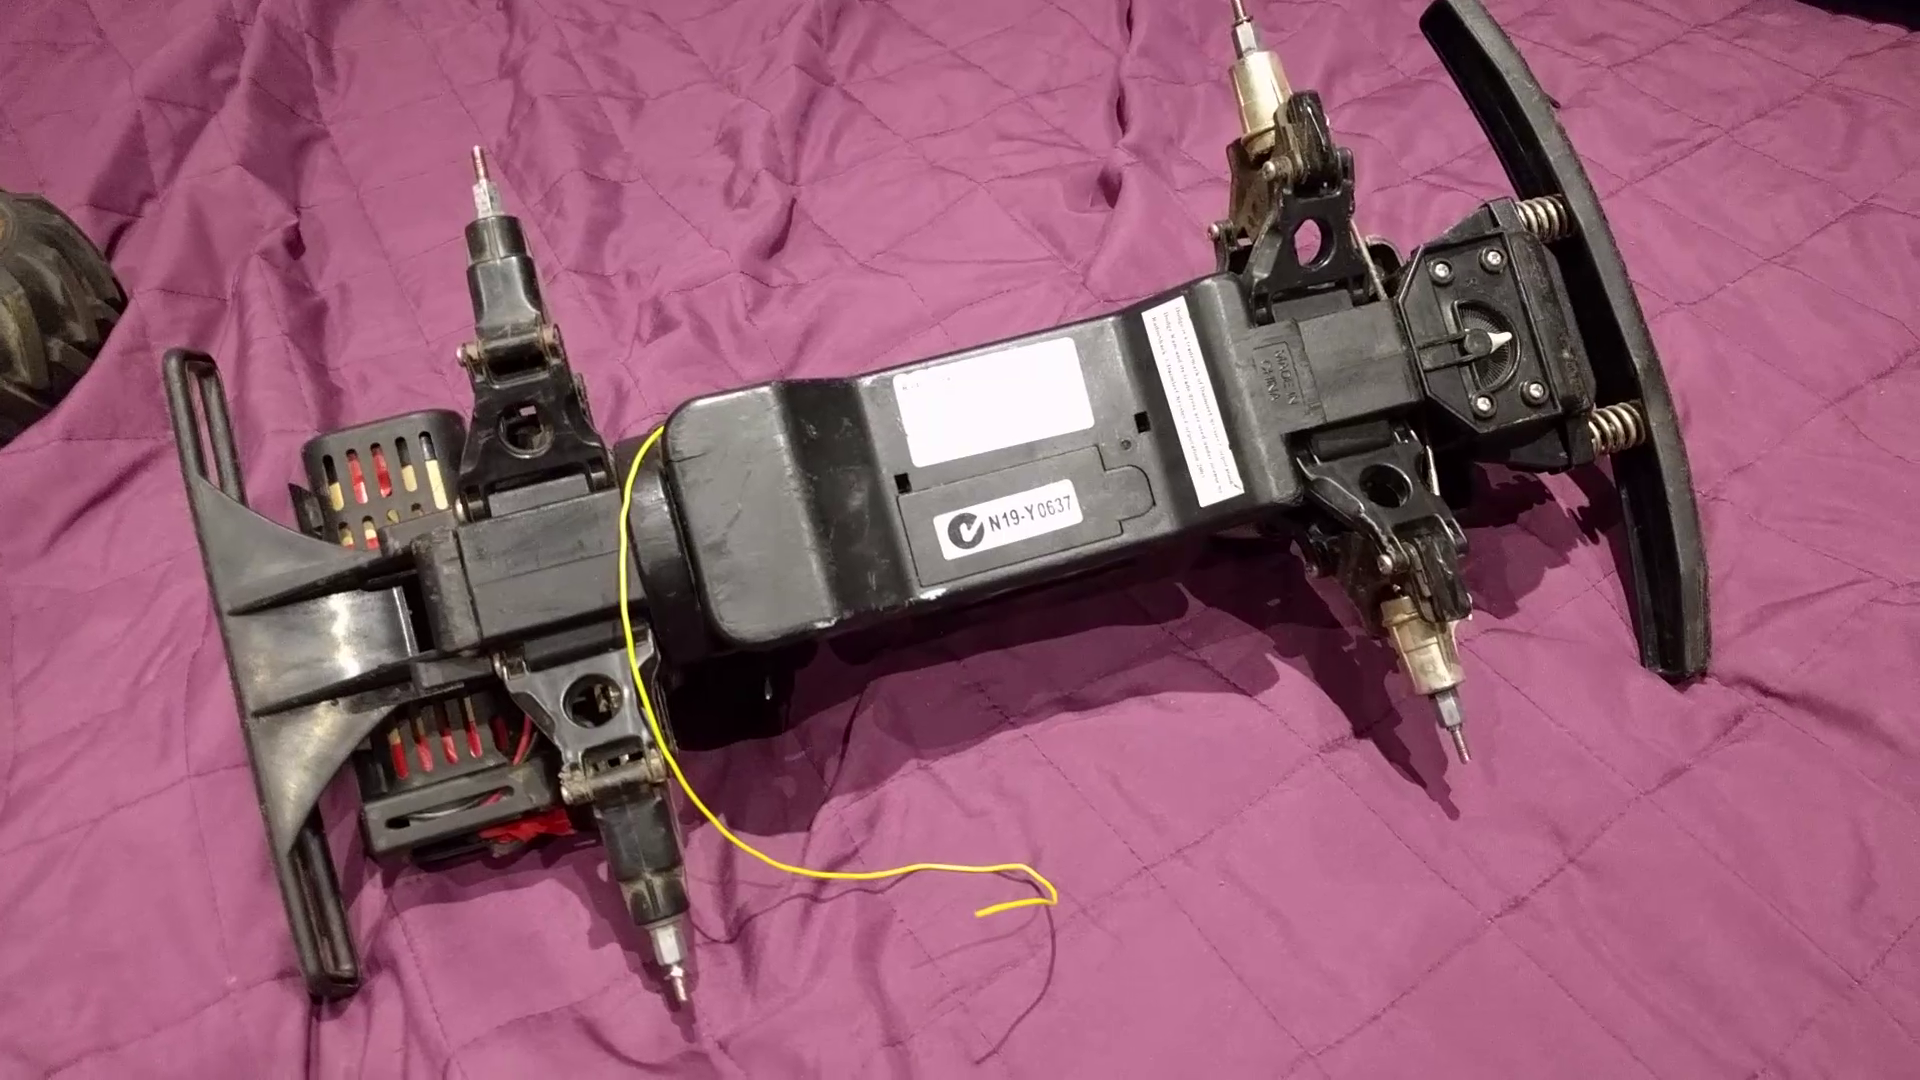
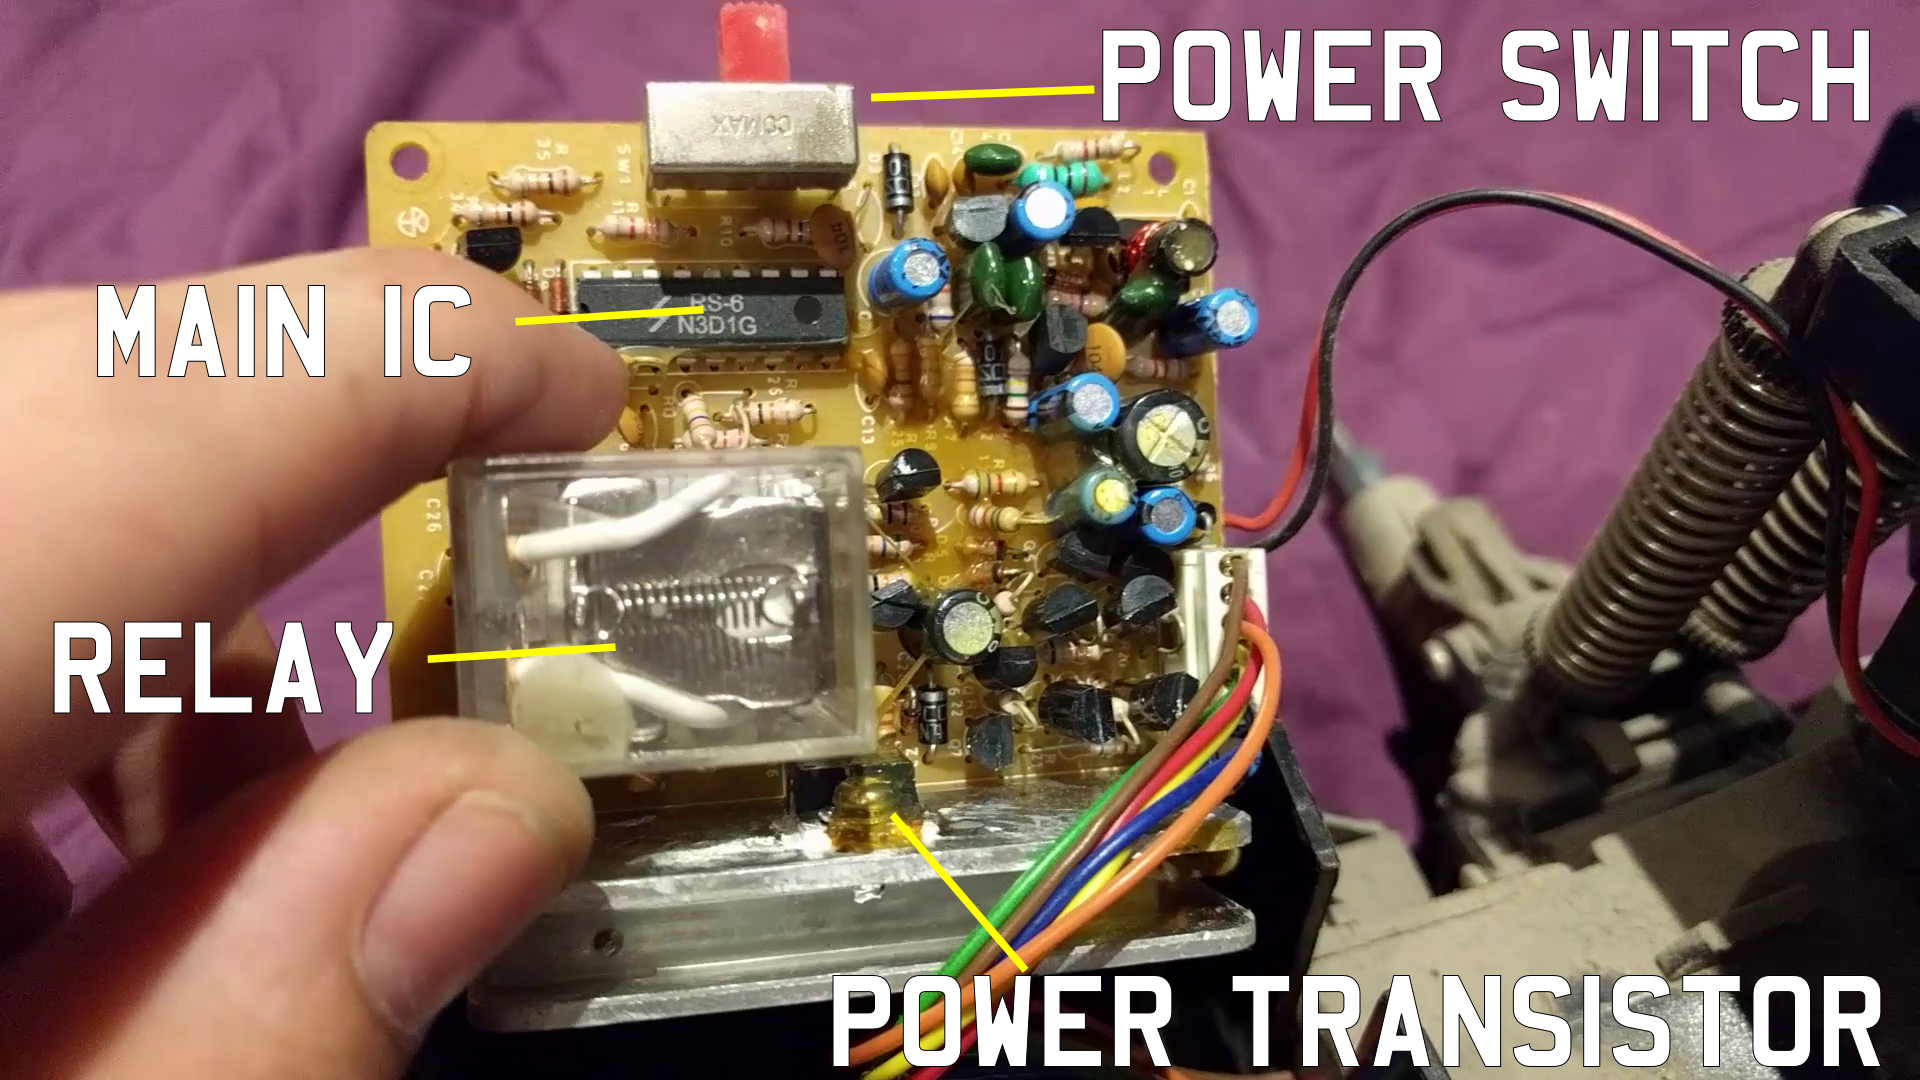
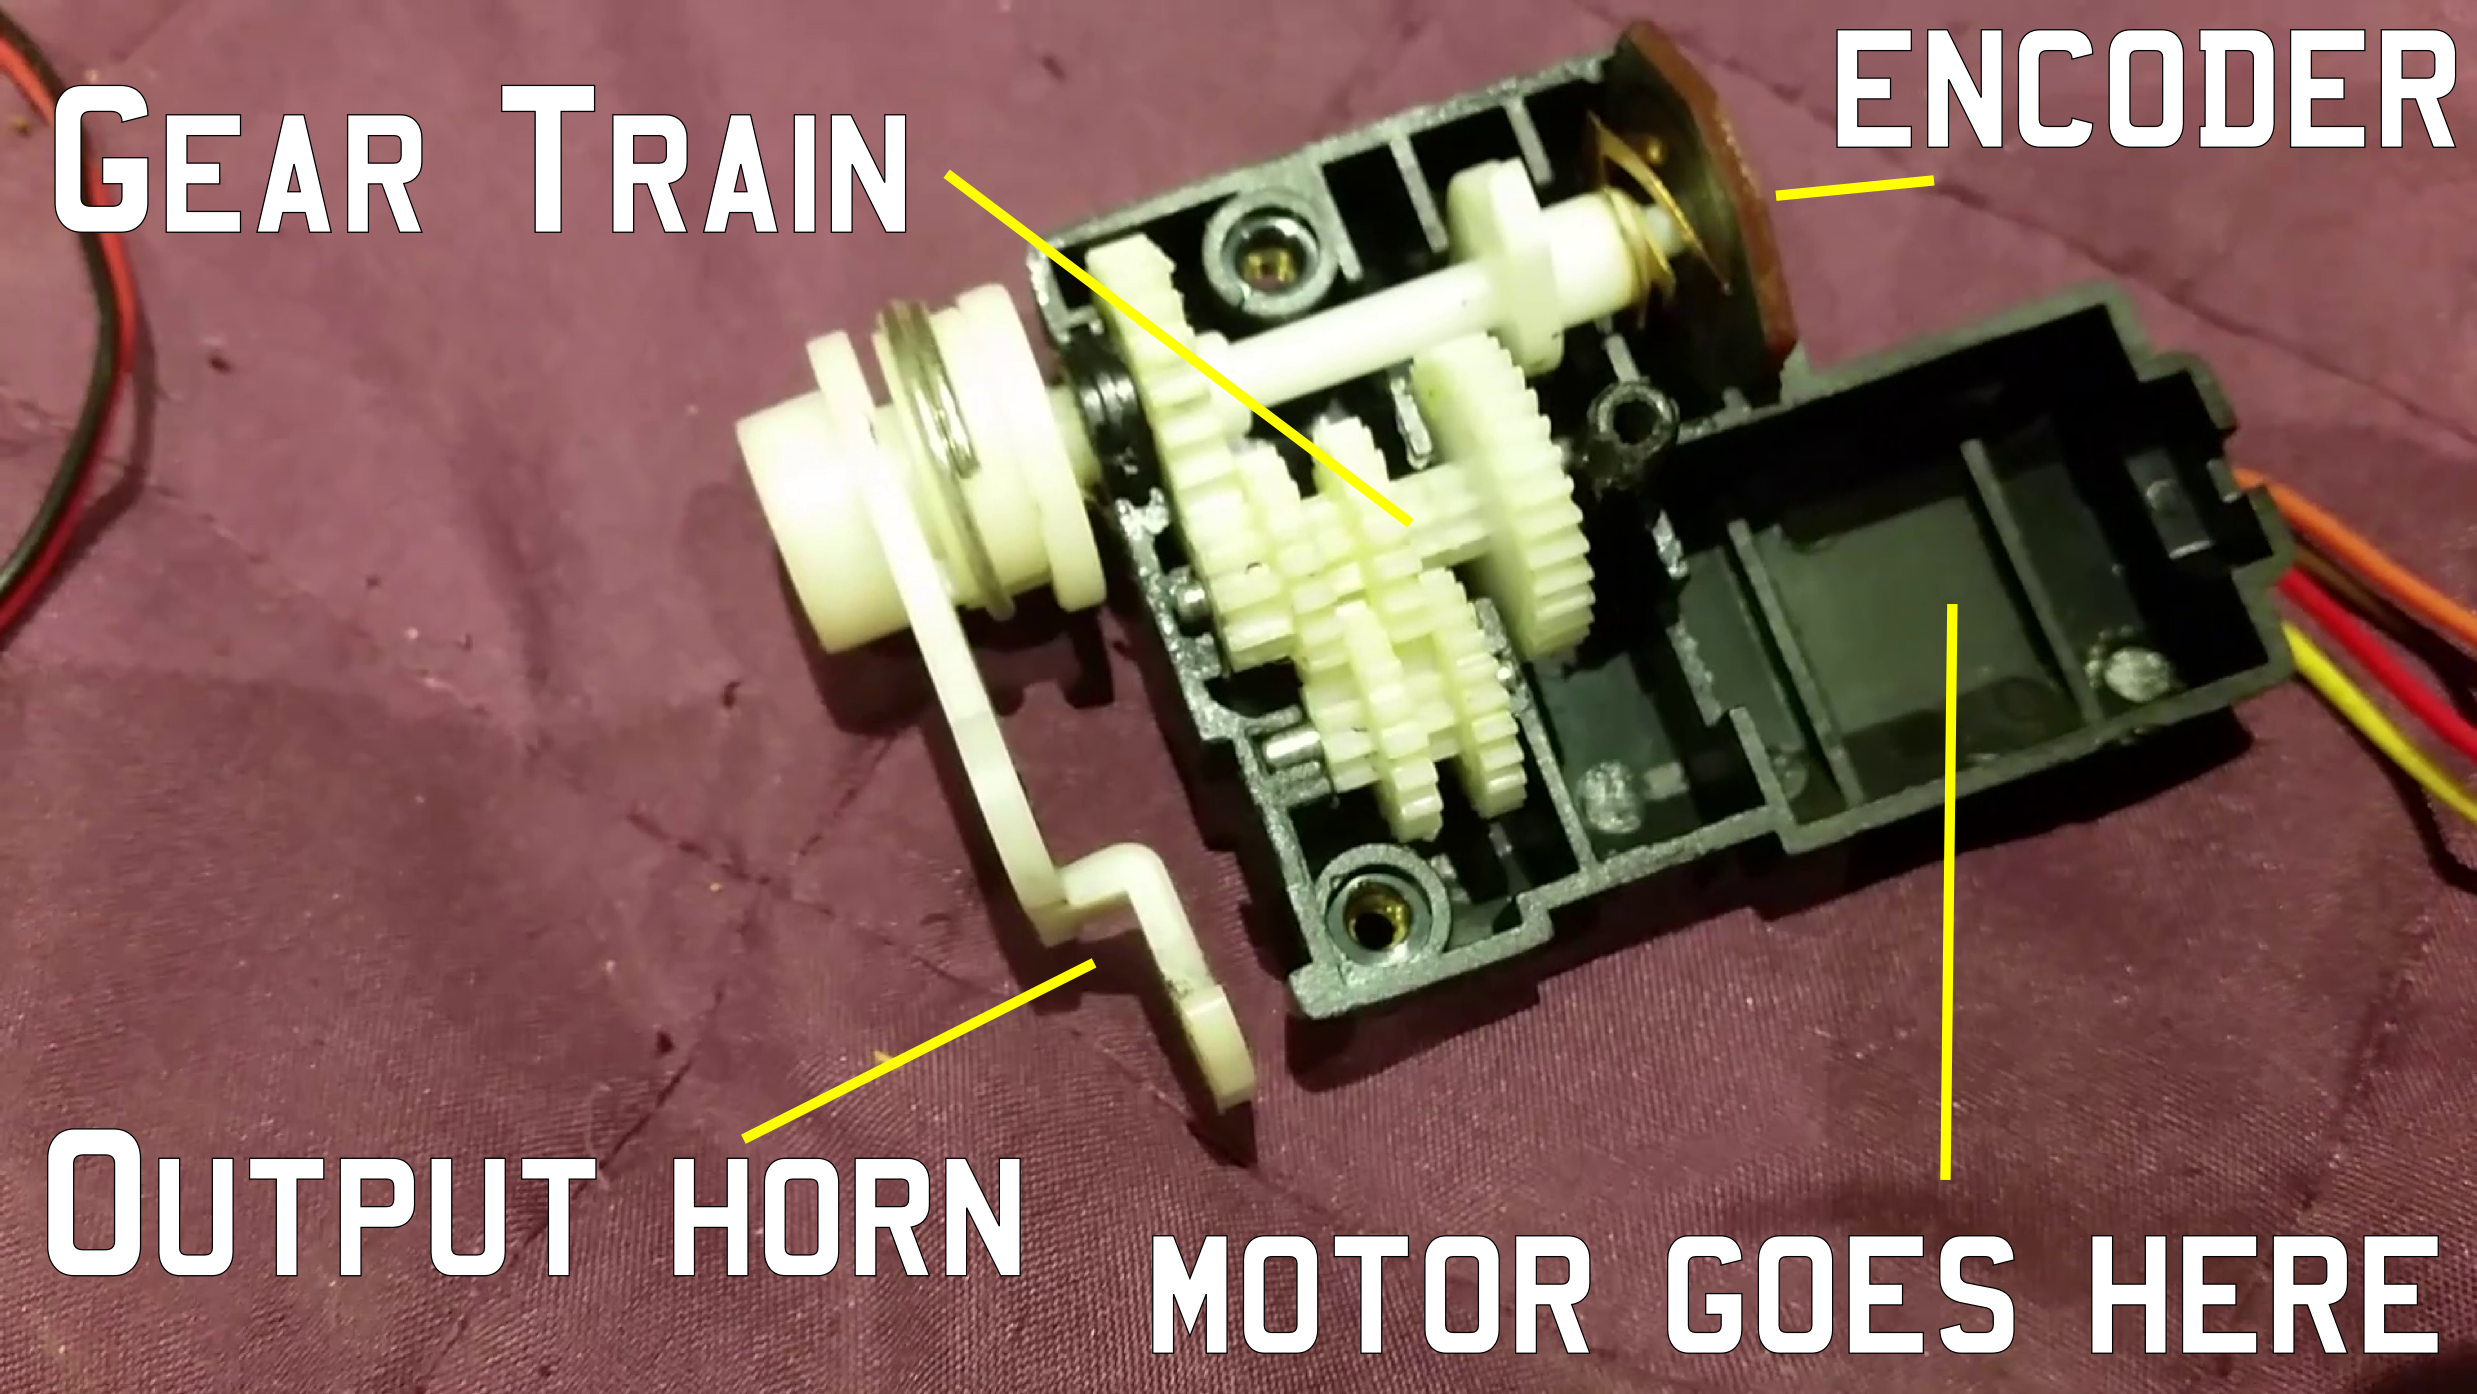
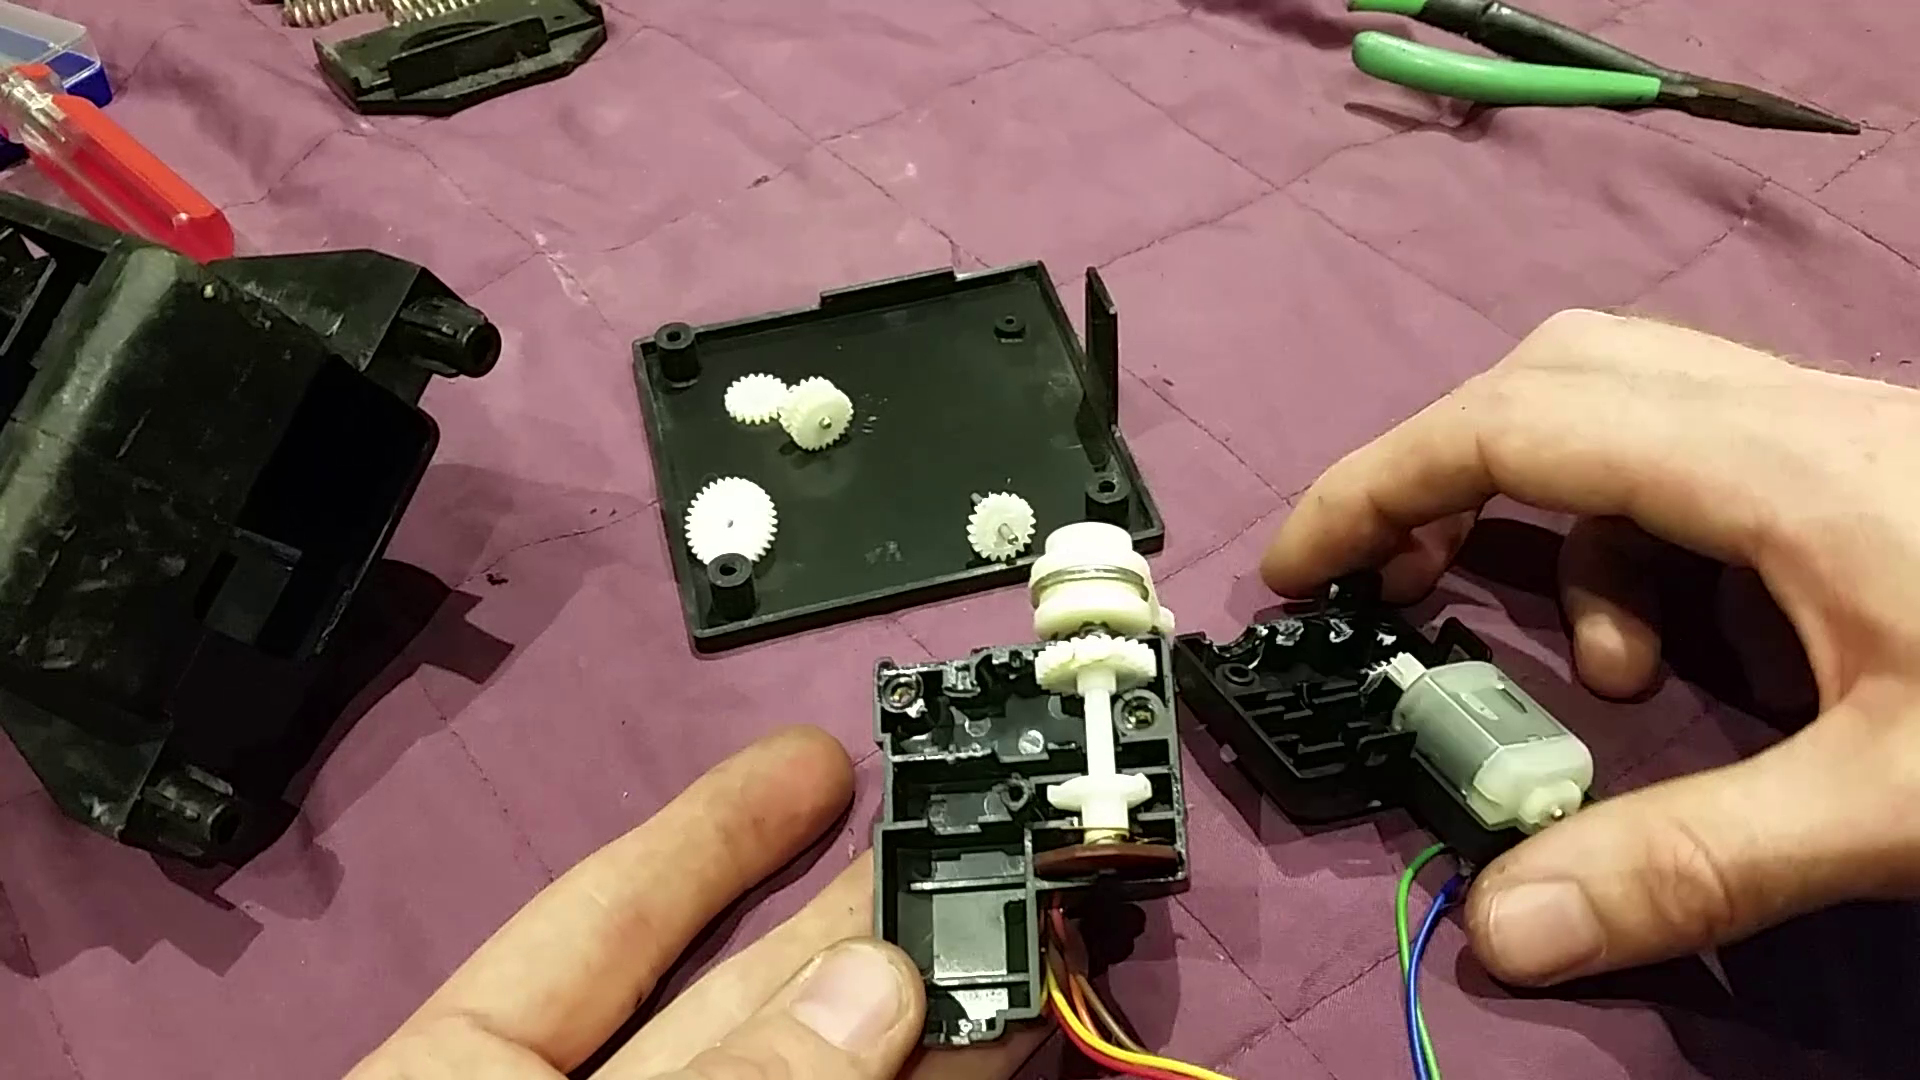
By remaining dormant during the day, TKIRV will spend the sunlight hours charging its batteries, before switching on its Raspberry Pi brain and mobile data connection at night. This will then allow TKIRV to be remotely controlled over the internet and driven around. After carrying out its night mission, TKIRV will then be parked in a hopefully inconspicuous area, to charge up during the daylight hours once more before recommencing its mission after sundown.
Through the use of this power strategy, it is hoped that it will give TKIRV an indefinite operation capability, without it needing to return home to charge its lithium batteries. This would allow TKIRV to carry out operations over long distances, travelling a small amount each night and stopping to charge during the day, getting ever further out into the field.
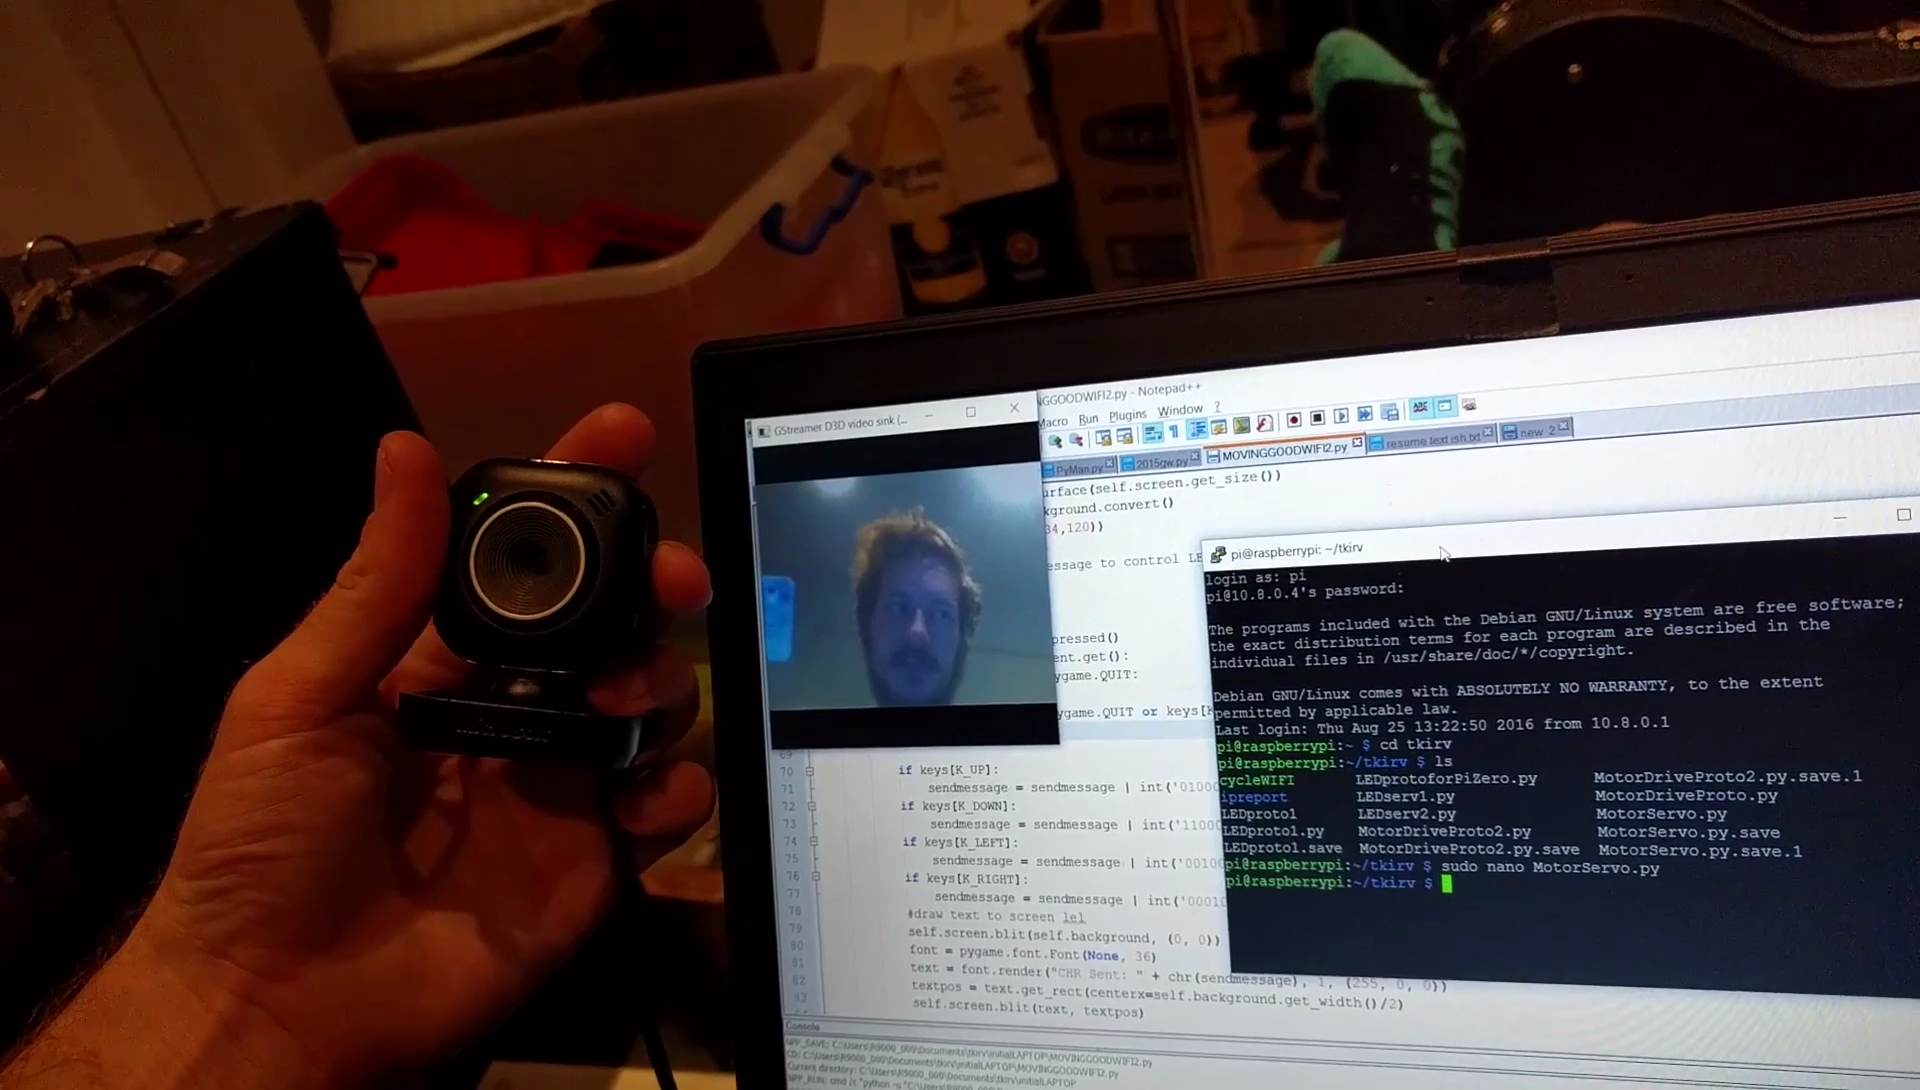
Stage 1 of the project will involve getting the car to the point where it can be remotely controlled over the internet and can send back a video feed from an onboard camera. Stage 2 will then involve the implementation of solar panels and the power management systems. Stage 3 will then wrap things up by adding extra features - a GPS for navigation and headlights to make night driving easier.
We have a fairly good idea as to how we'll implement all this functionality, but it is often said that no plan survives first contact with the enemy - and electronics is no exception to this rule. Watch this space to see how TKIRV develops!


 Craig Hissett
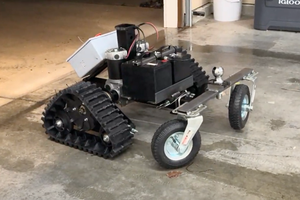
 Jim Heising
 thesebelik
 Kevin
Kevin
Keen to see where this goes! I have seen a couple of the 3G RC cars floating around the interwebs, some people have had good luck using a cheap as chips android phone (maybe even grab a second hand one) and a IOIO [https://www.sparkfun.com/products/retired/10748], but I think a RPI + 3G modem may be cheaper.
If you want to squeeze everything out of your solar panels it would be worth looking into MPPT modules (or roll your own), there are a couple examples of this floating around here, I think this may be overkill as this will be extra weight, blah blah blah.