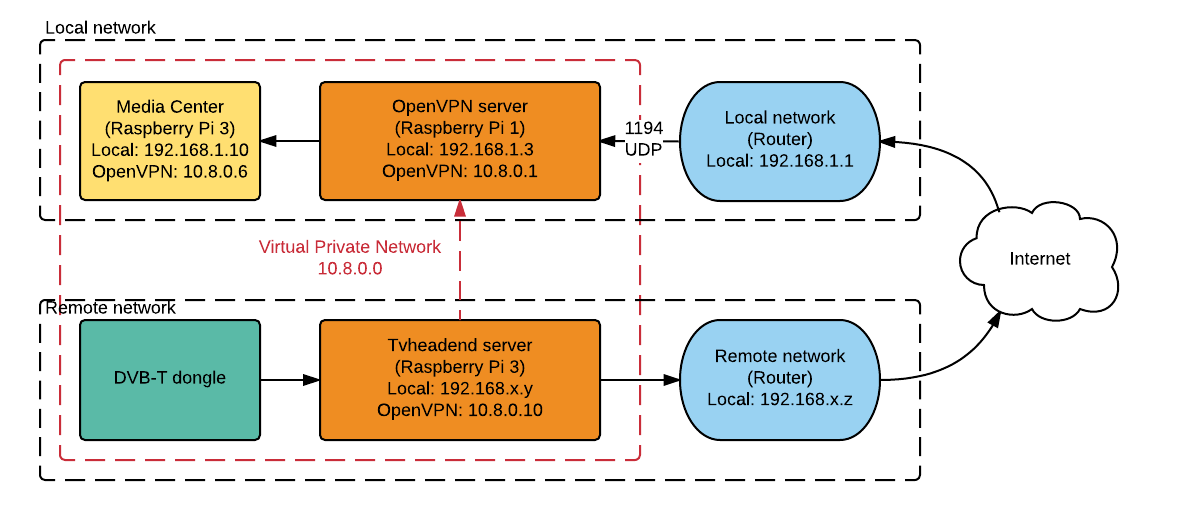
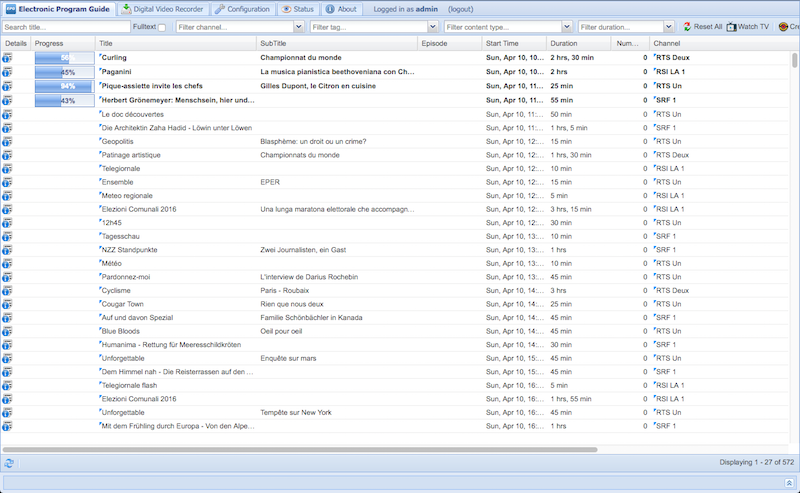
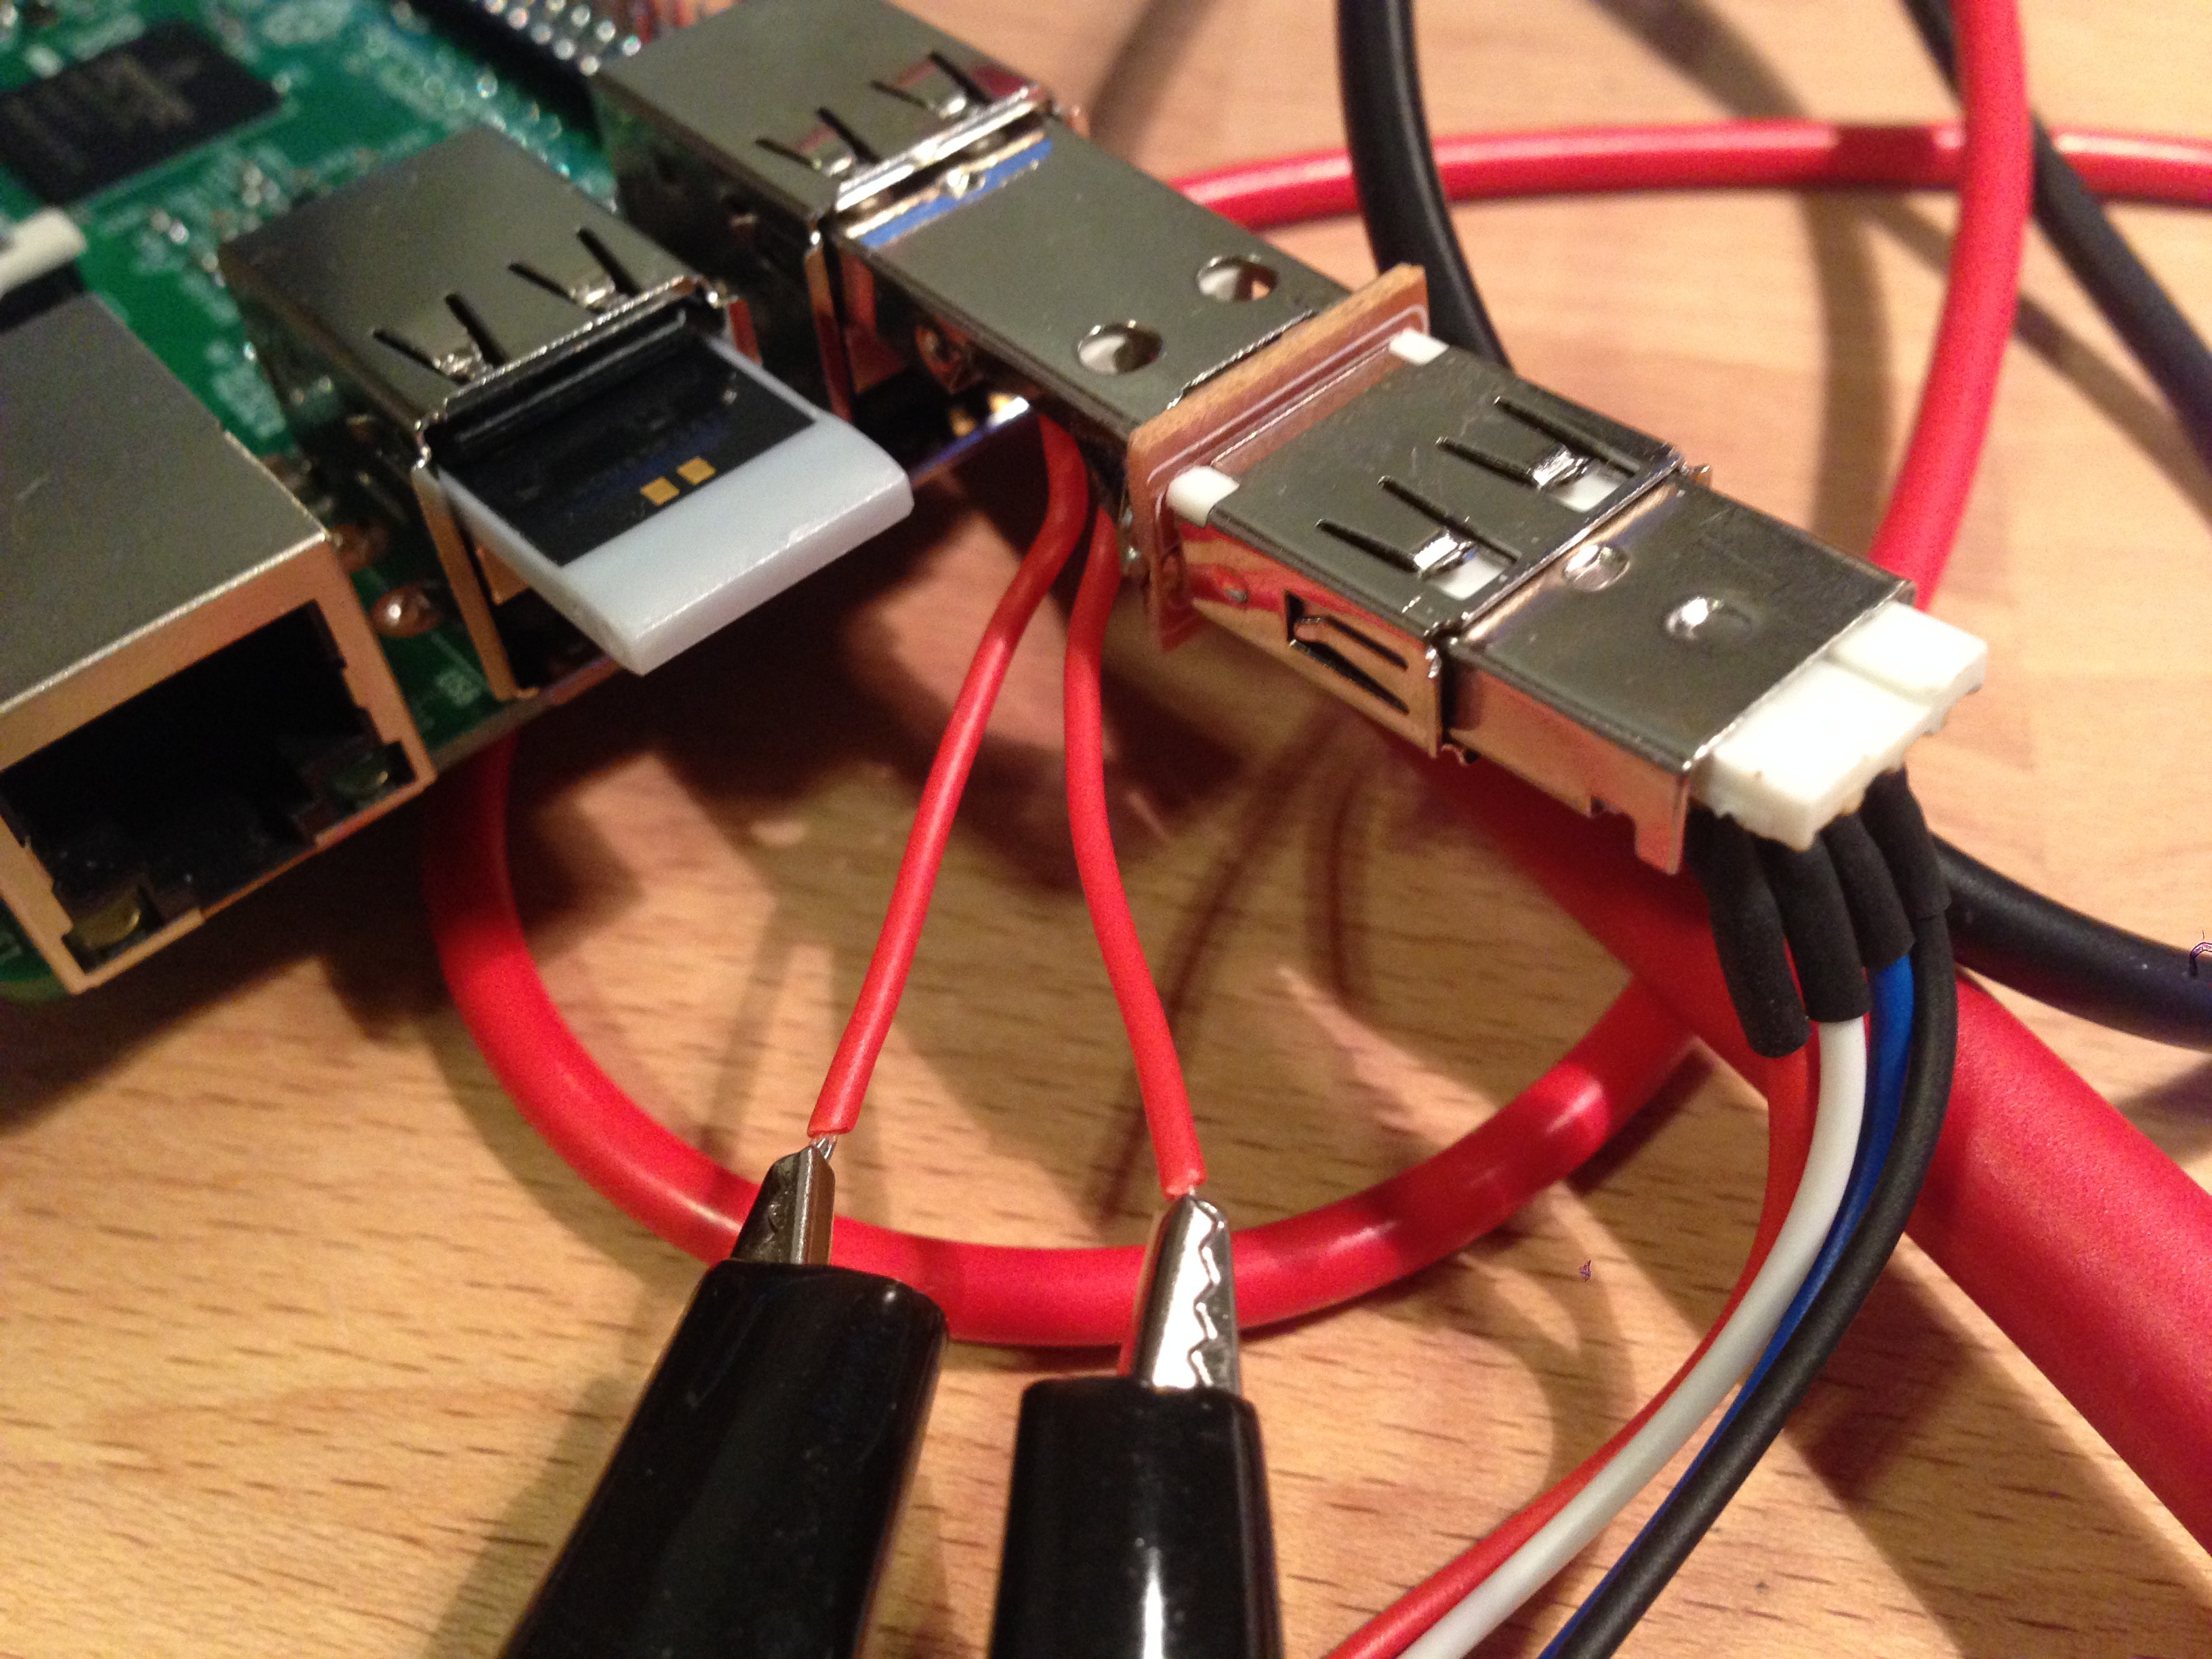
Television broadcasts have geographical restrictions because of licensing and whatnot. This is annoying as some people (my dad for one) prefer channels from places they are not living in, especially with all the people moving around the planet all the time now.
As far as I'm concerned geographical restrictions should be a relic of the past, but TV stations are still not keen on broadcasting their shows over the Internet, or they only broadcast some of them. Radio channels are mostly accessible everywhere now, but for TV it's still not there yet.
There are probably laws that still disallow this kind of broadcasting, but it is strictly meant for personal use, so no issues there.
Personally I couldn't care less about television, the garbage media and forced advertisements have left a foul image of the idiot-box, but I still consider it a fun project.


 Chris
Chris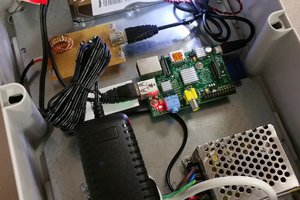
 robheffo
 tomwsmf
 Danny
Danny
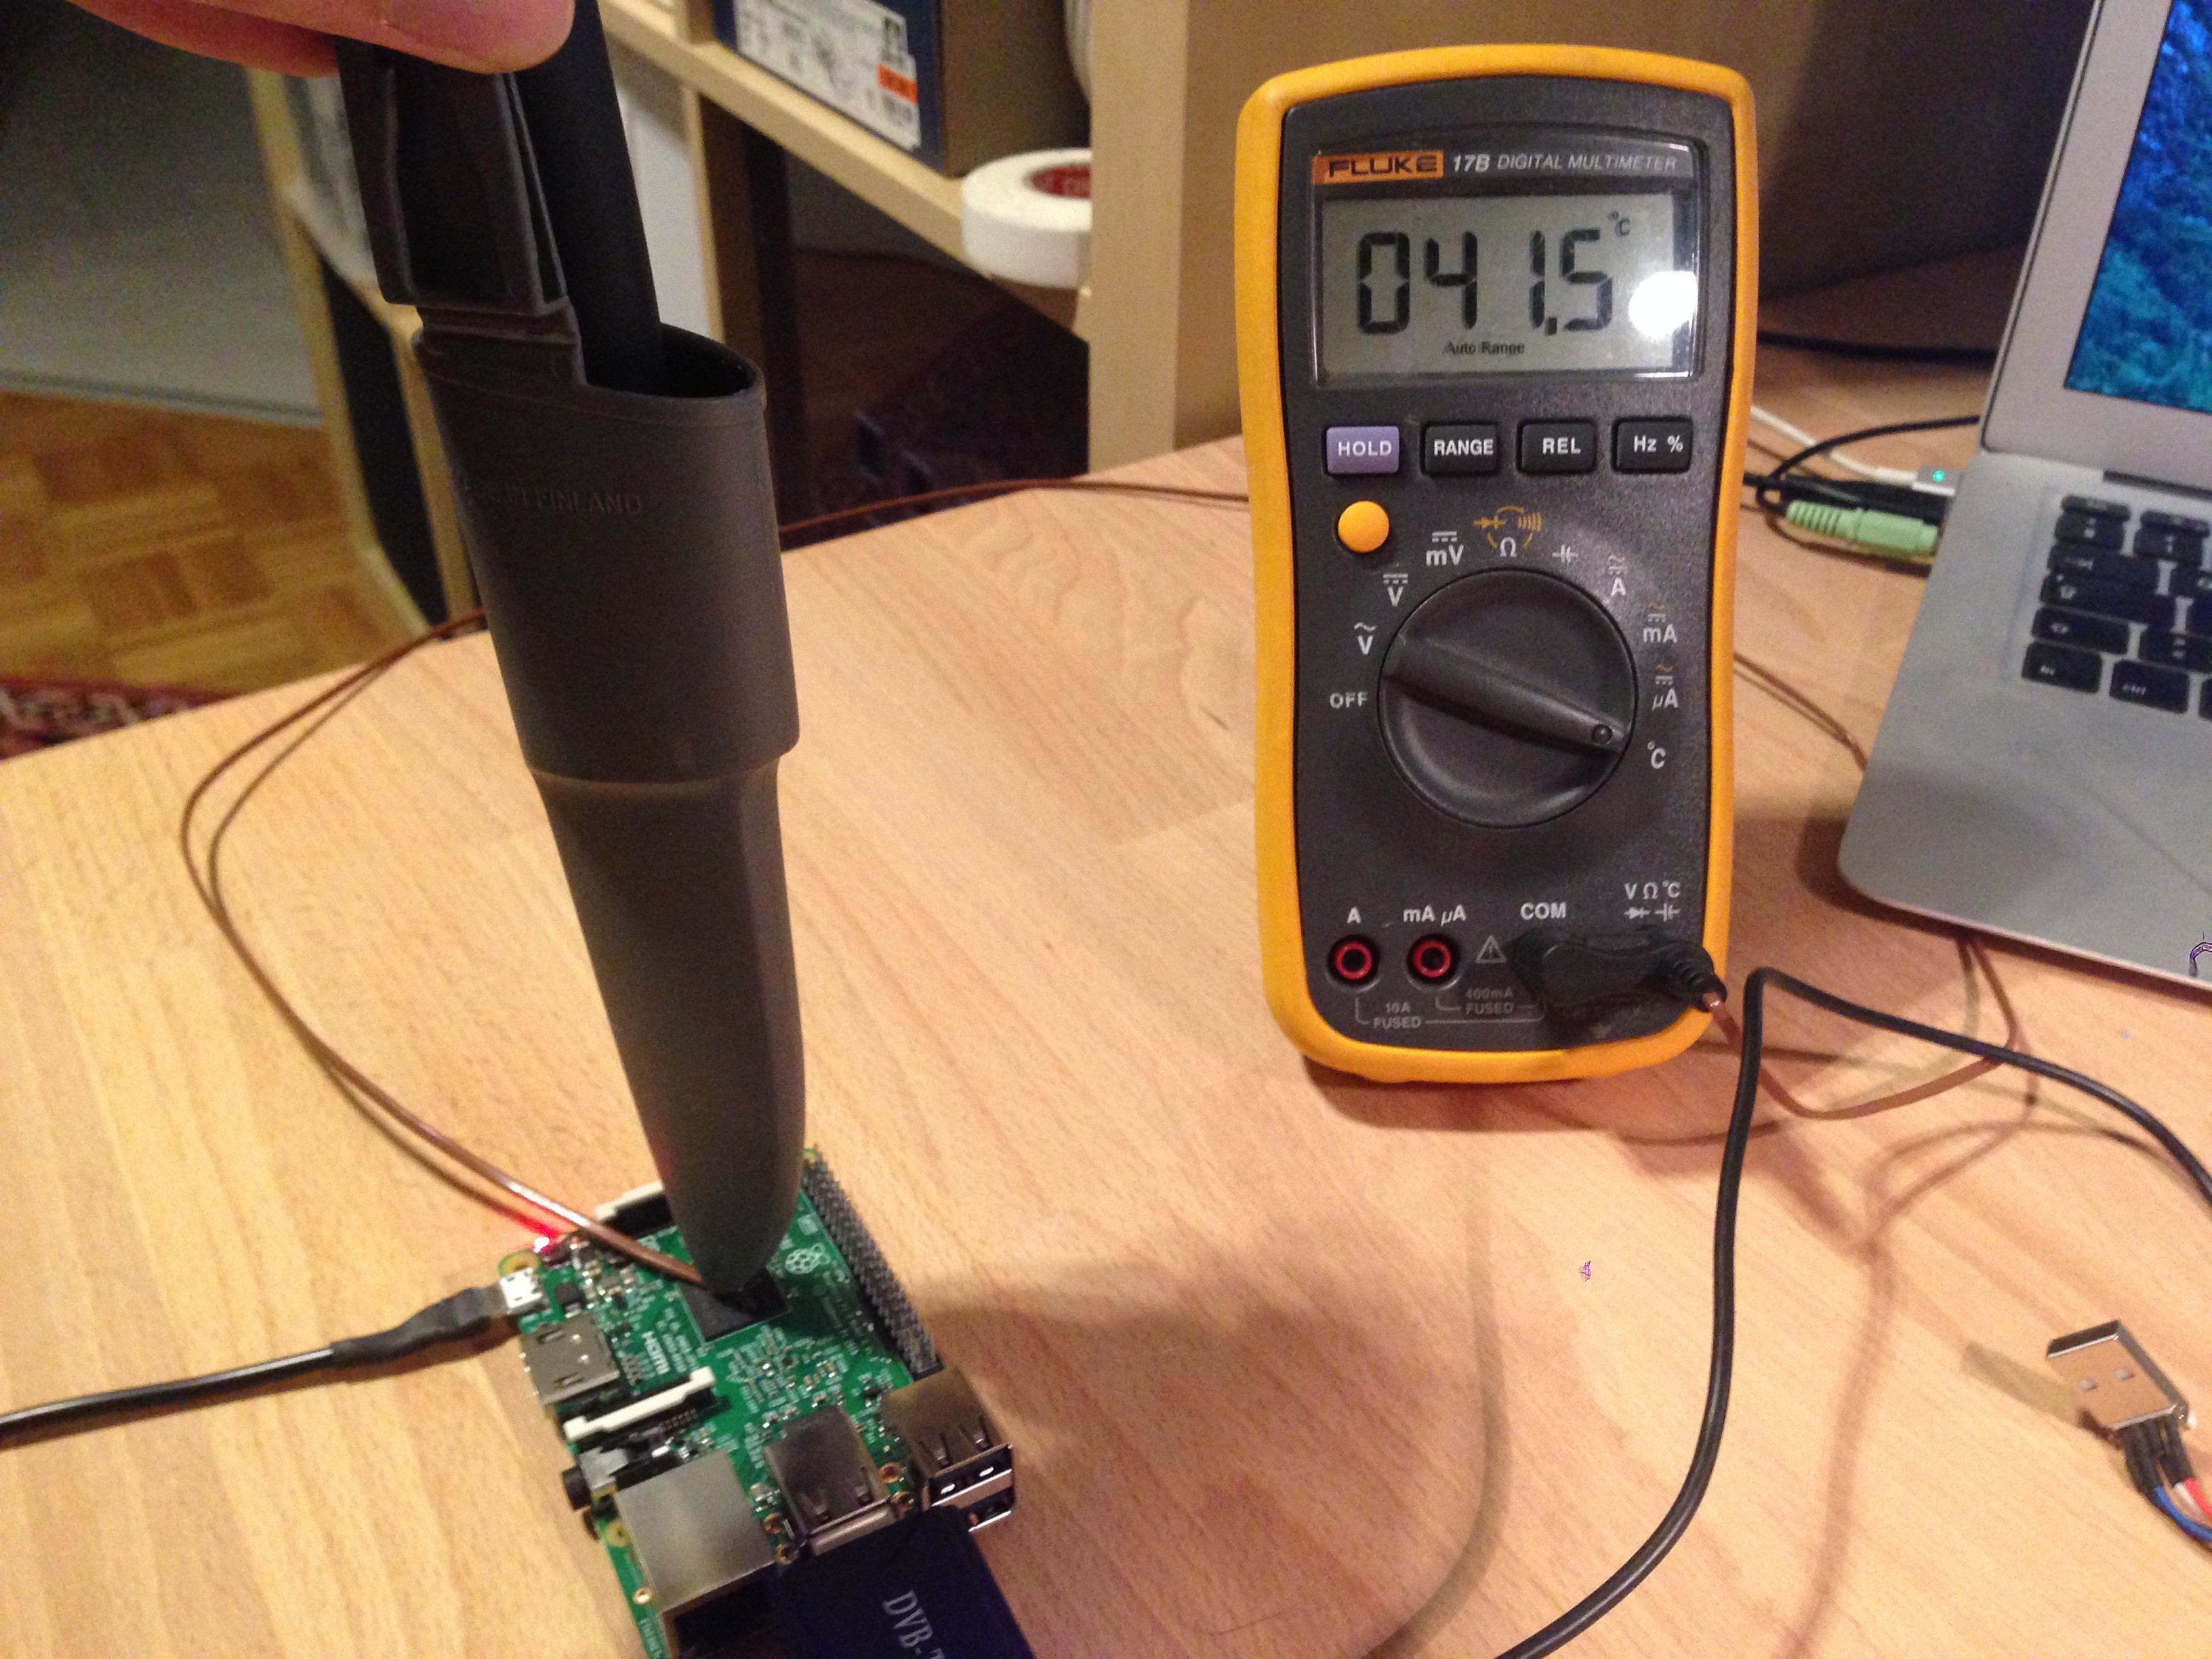
I saw you were manually measuring the temp for the CPU, you know the Broadcom chip has that inbuilt? :) https://app.ibomma.asia/