 Bobby Feather
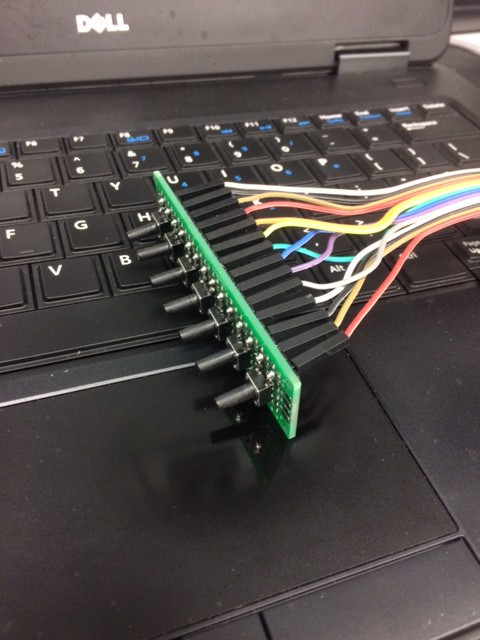
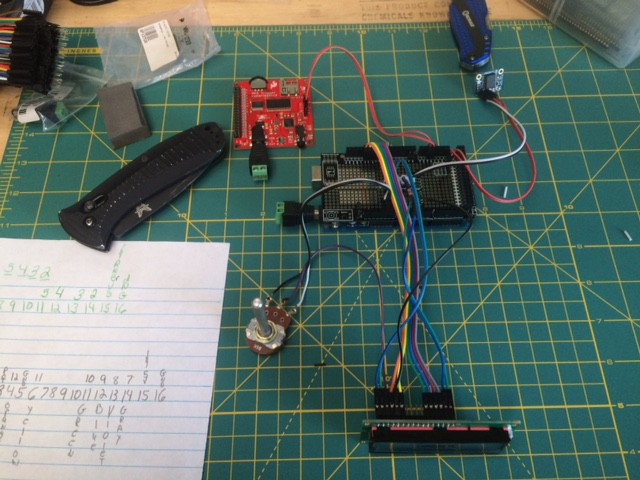
I first plan to have the arduino check the time from the RTC, from there It will display the time and or date on the LCD wile checking the alarm set points in the code to see if its time to activate the Mp3 trigger to play the corresponding bell chime for that set time. On the Mp3 trigger it has selectable play positions for Mp3's named with that corresponding position I will wire them up to momentary buttons so the files can be independently selected and played. This will lock out the serial connection from the arduino so that it will not be interrupted ( or I hope it does). I will be switching the type of RTC this time around to a better stable one, as for the one that I use now drifts a lot. I have always had to go up and change the code when ever Day Light Saving time comes around (twice a year), so I would like to add a switch to move the time ahead or back with out interfacing with it. Wile working on this I hope that I can clean up the Code that I have or write better code that is easier to fallow.---------- I will update the details better as I go along I just wanted to give a general direction of where I was headed with this project
0%
0%
Church bells
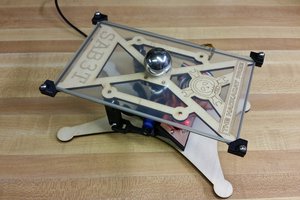
To rebuild a old church bell system that I have already built once. This time I hope to clean it up and document it.
Become a Hackaday.io member
Already have an account? Log in.
Just one more thing
To make the experience fit your profile, pick a username and tell us what interests you.
Pick an awesome username
hackaday.io/
Your profile's URL: hackaday.io/username. Max 25 alphanumeric characters.
Pick a few interests
Projects that share your interests
People that share your interests


 Michael R Colton
 Tim
Tim
 Andy
Andy