 Austin Marandos
Once all the adjustments had been made it was time for the final construction. The parts were once again cut out on my School's laser cutter. All the perspex pieces were glued together using perspex glue.
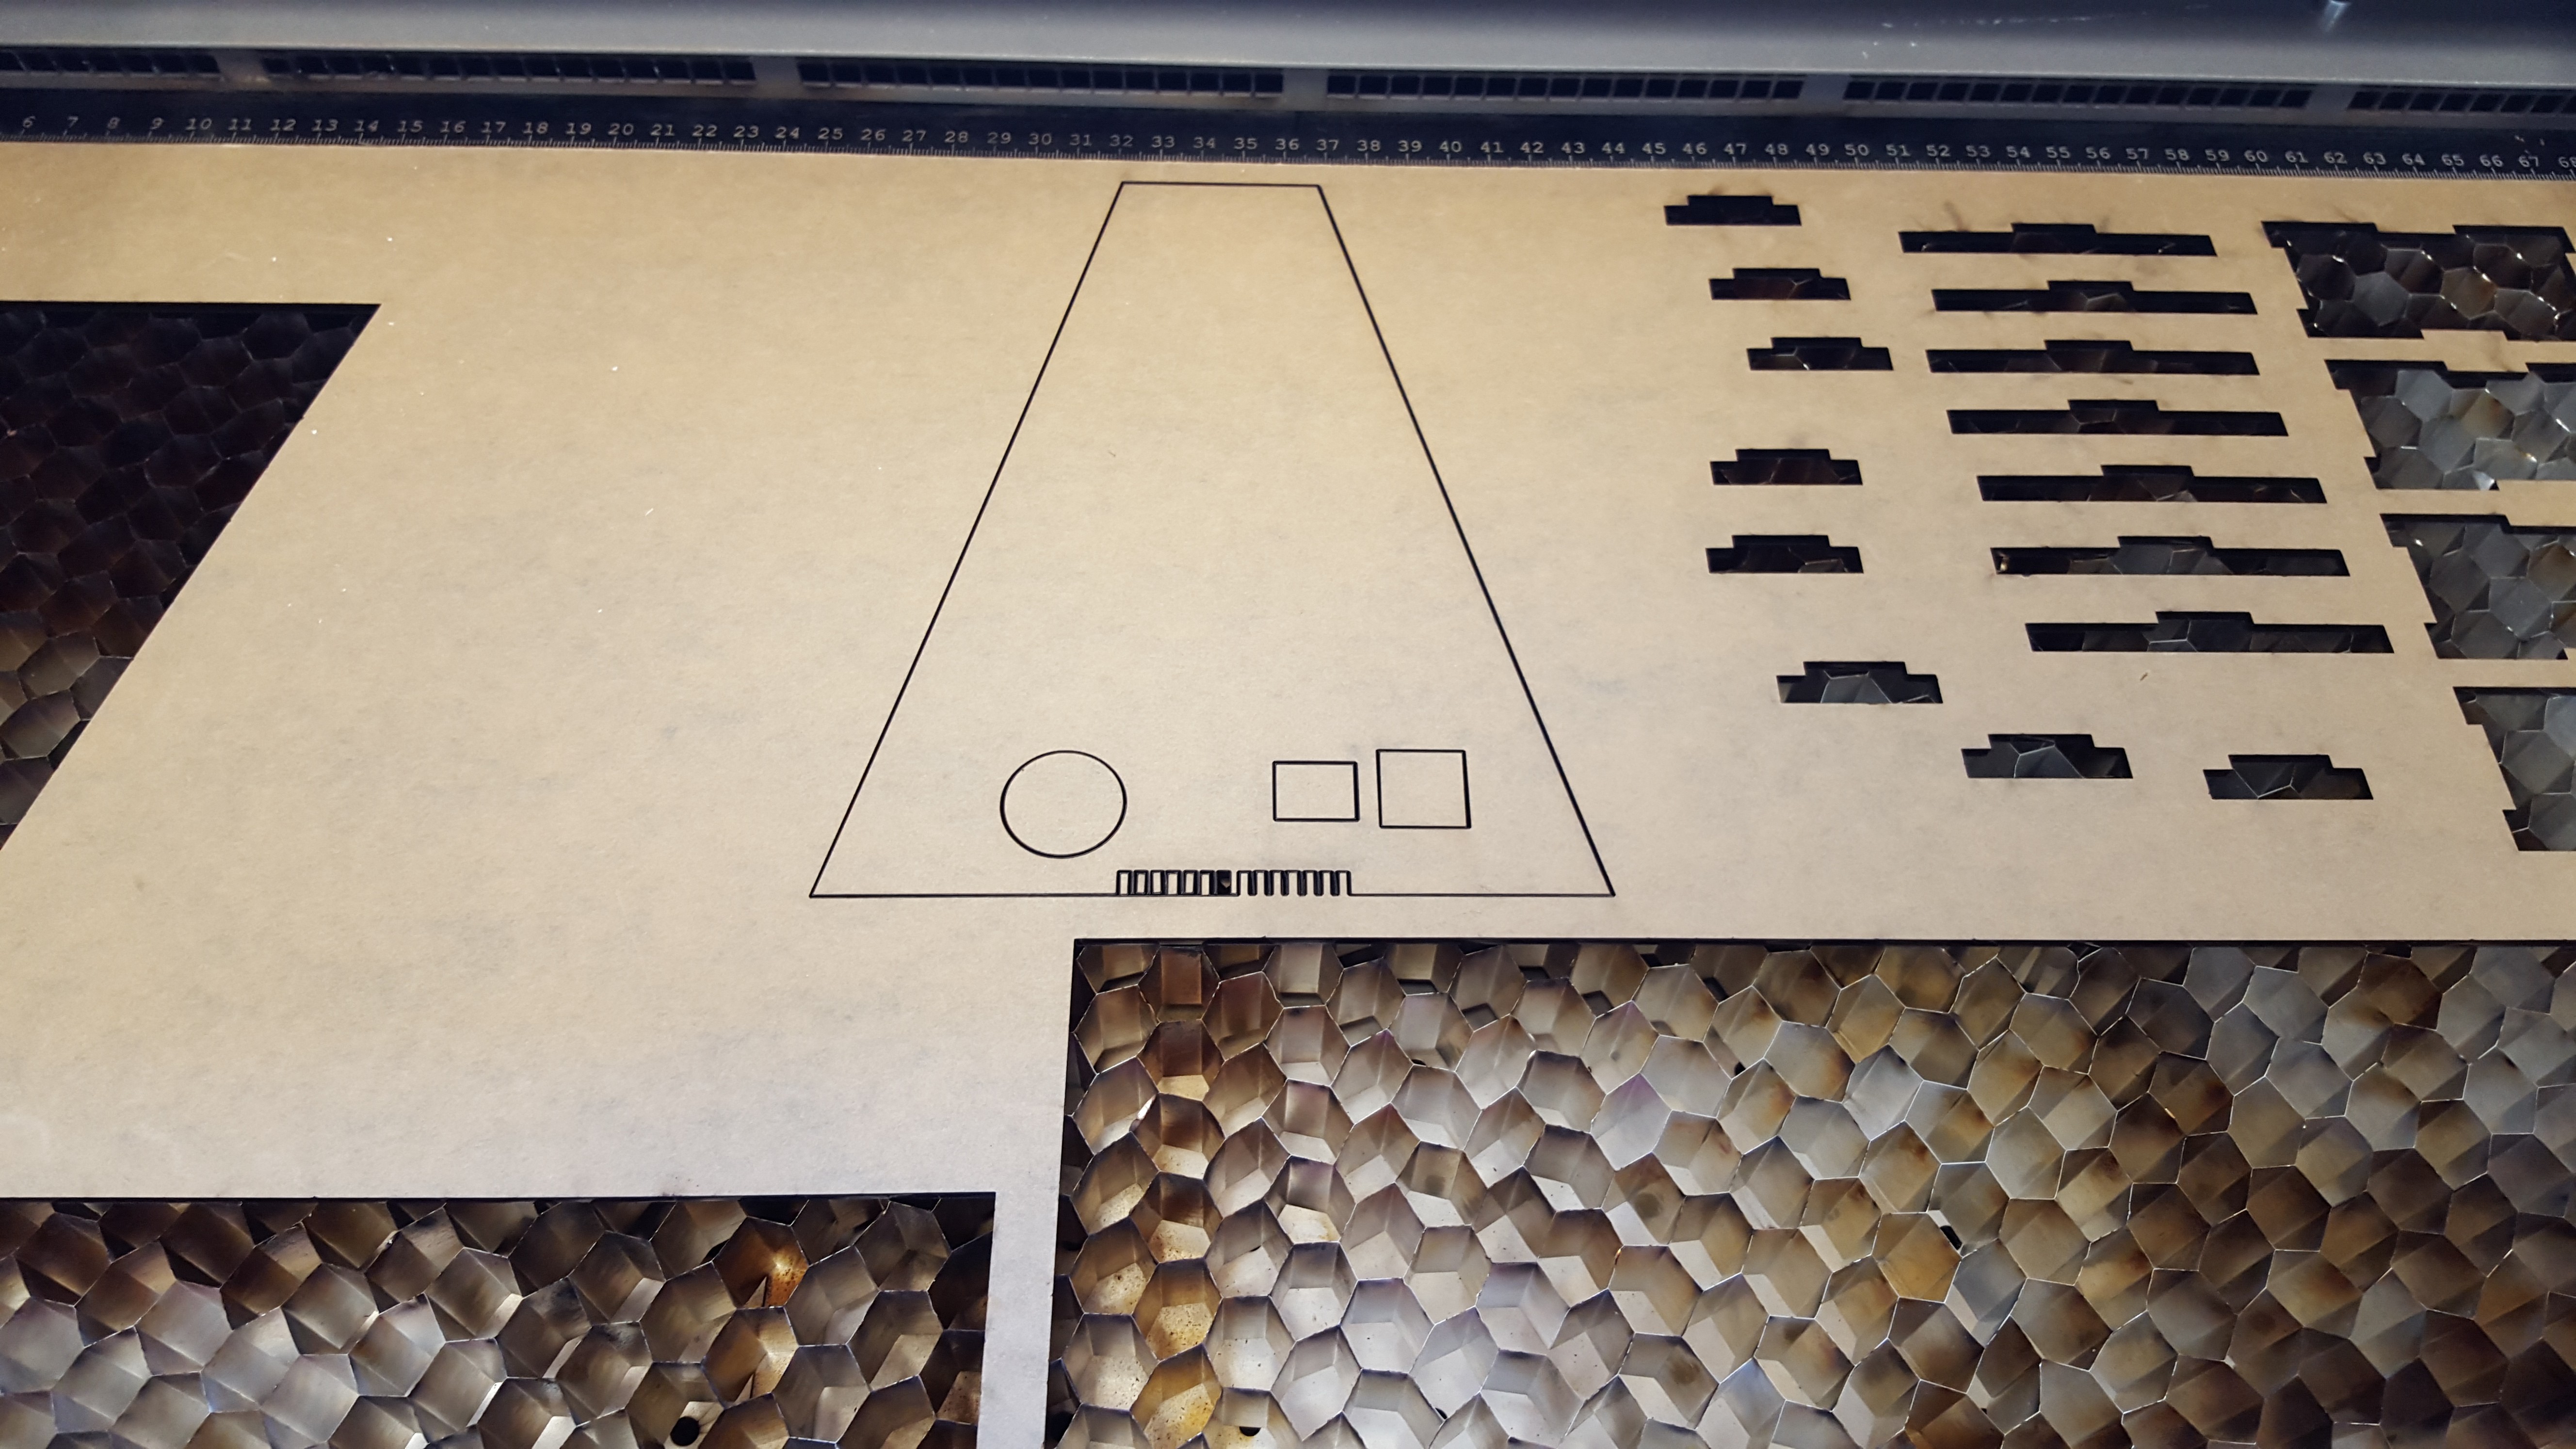
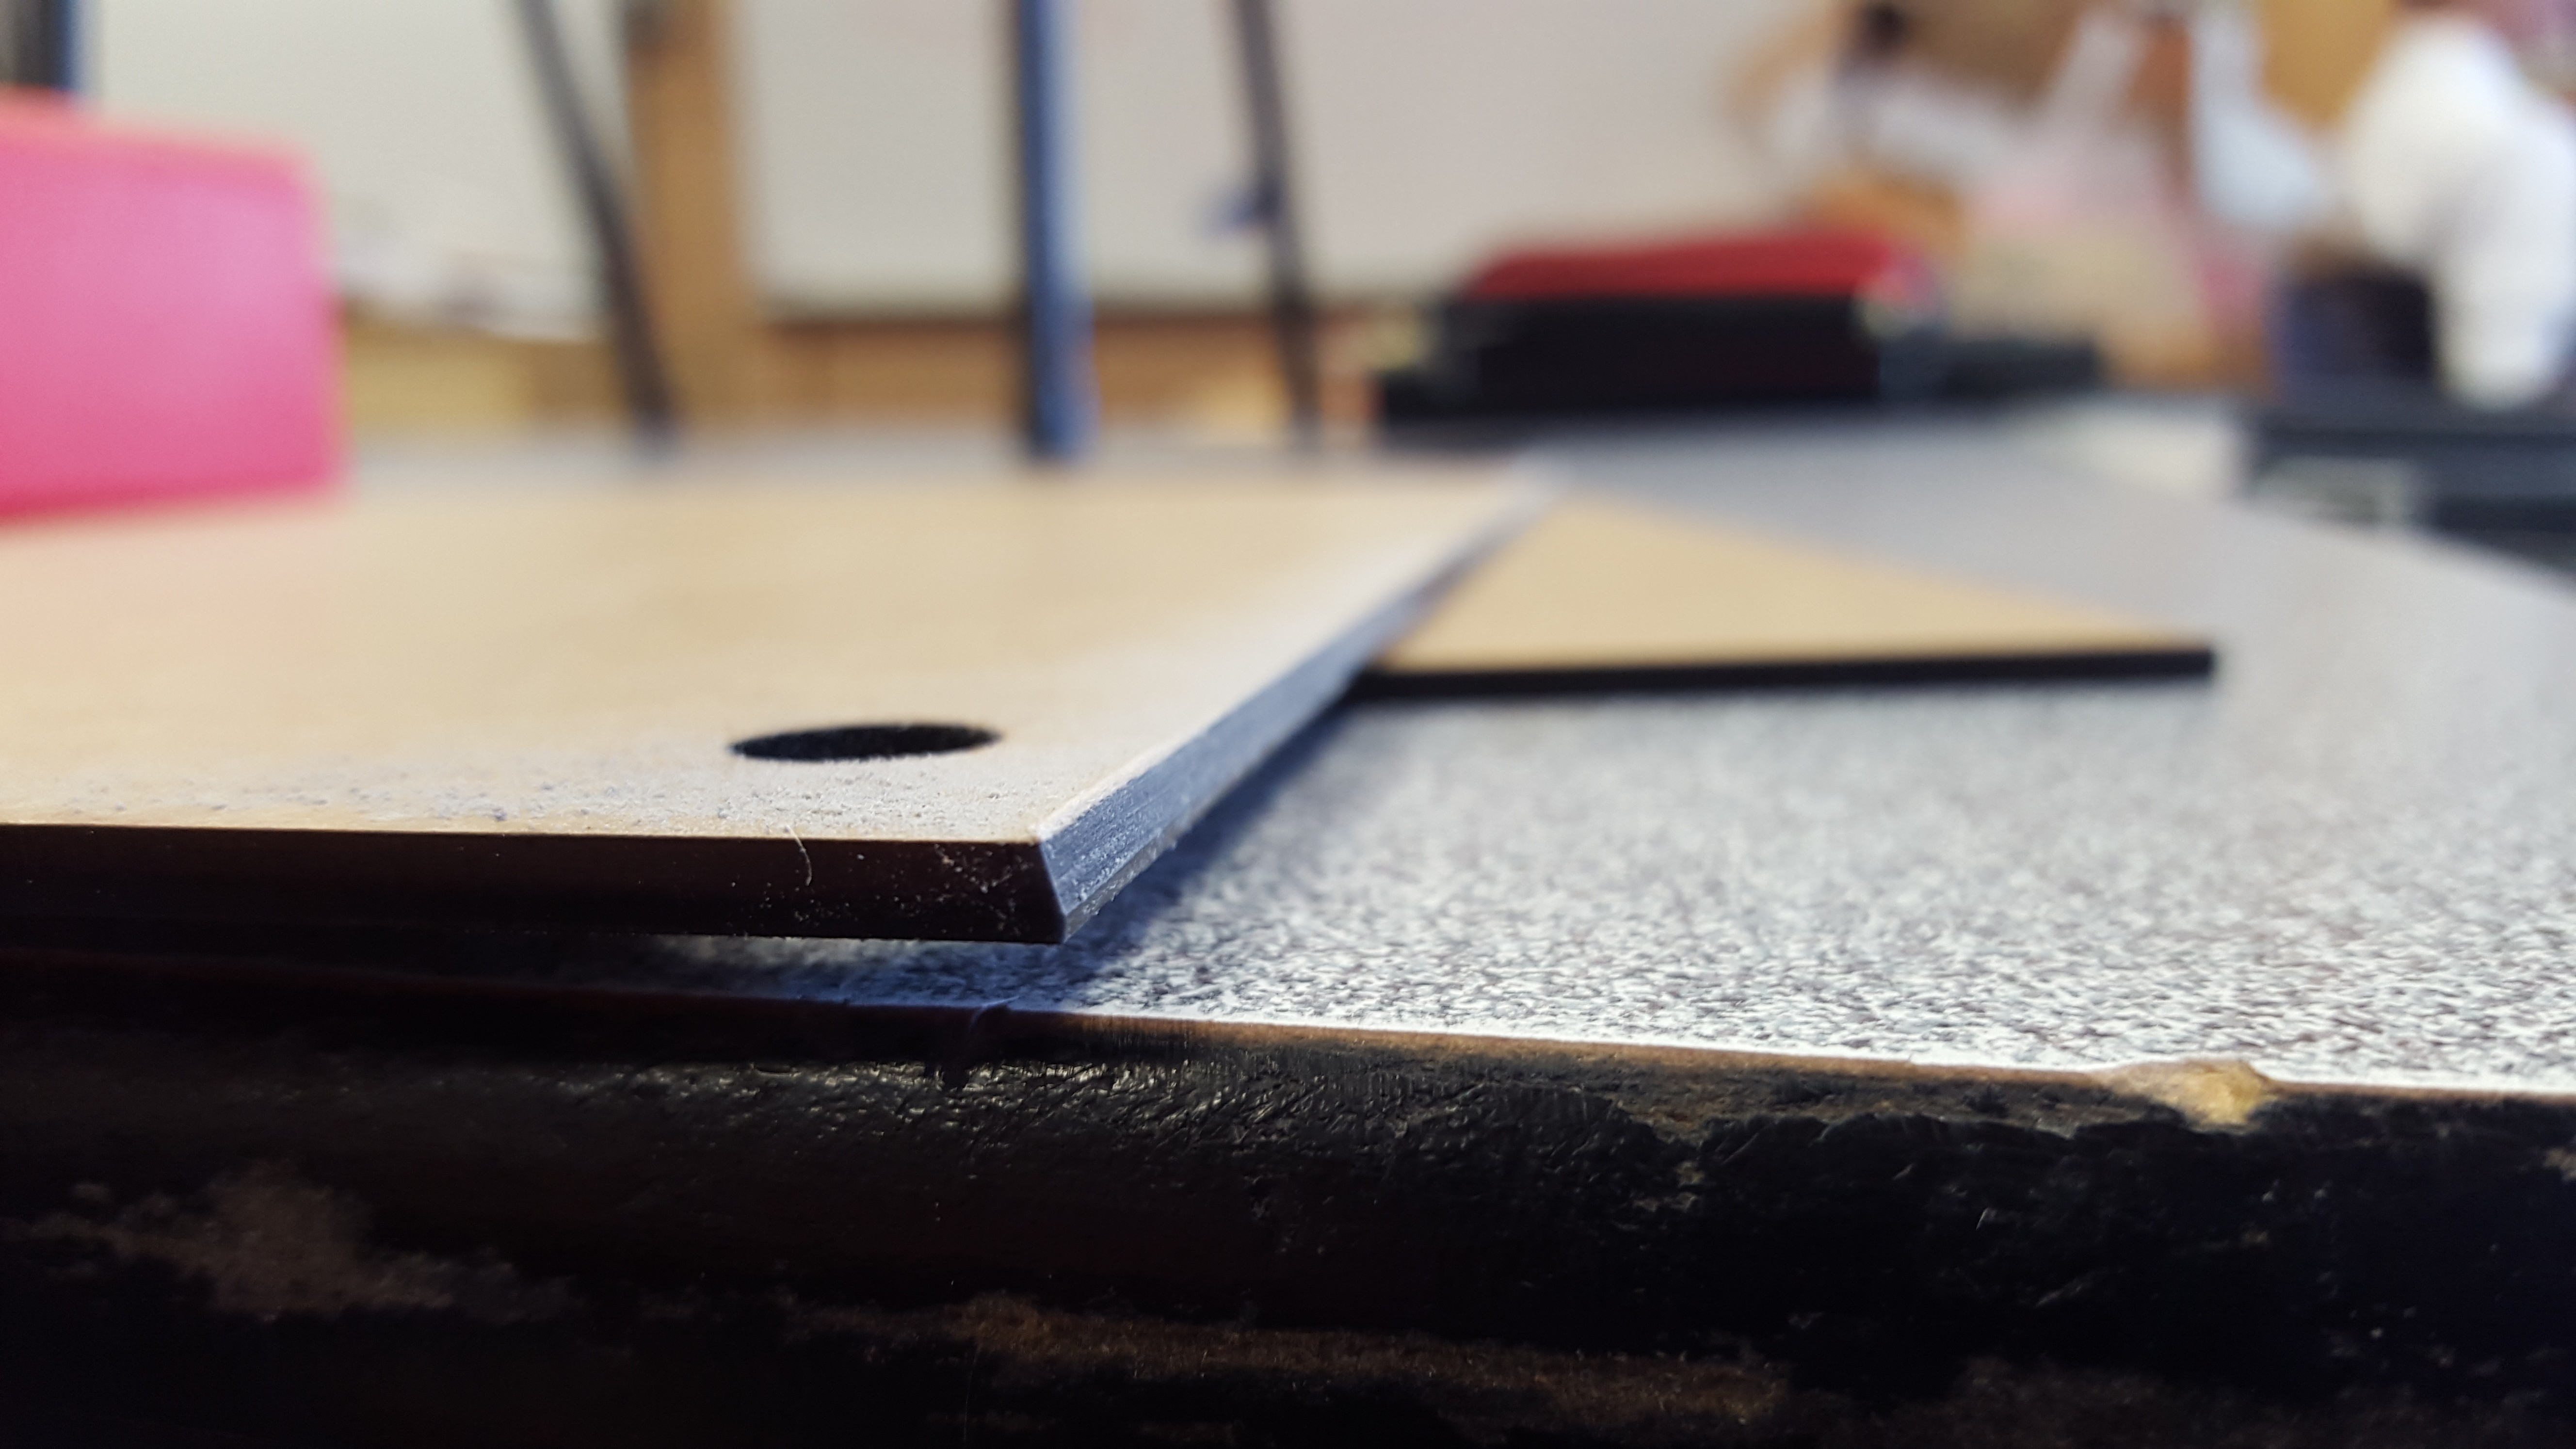
The front and back panels had to be sanded down by 75 degrees since it is shaped like a trapezoid:
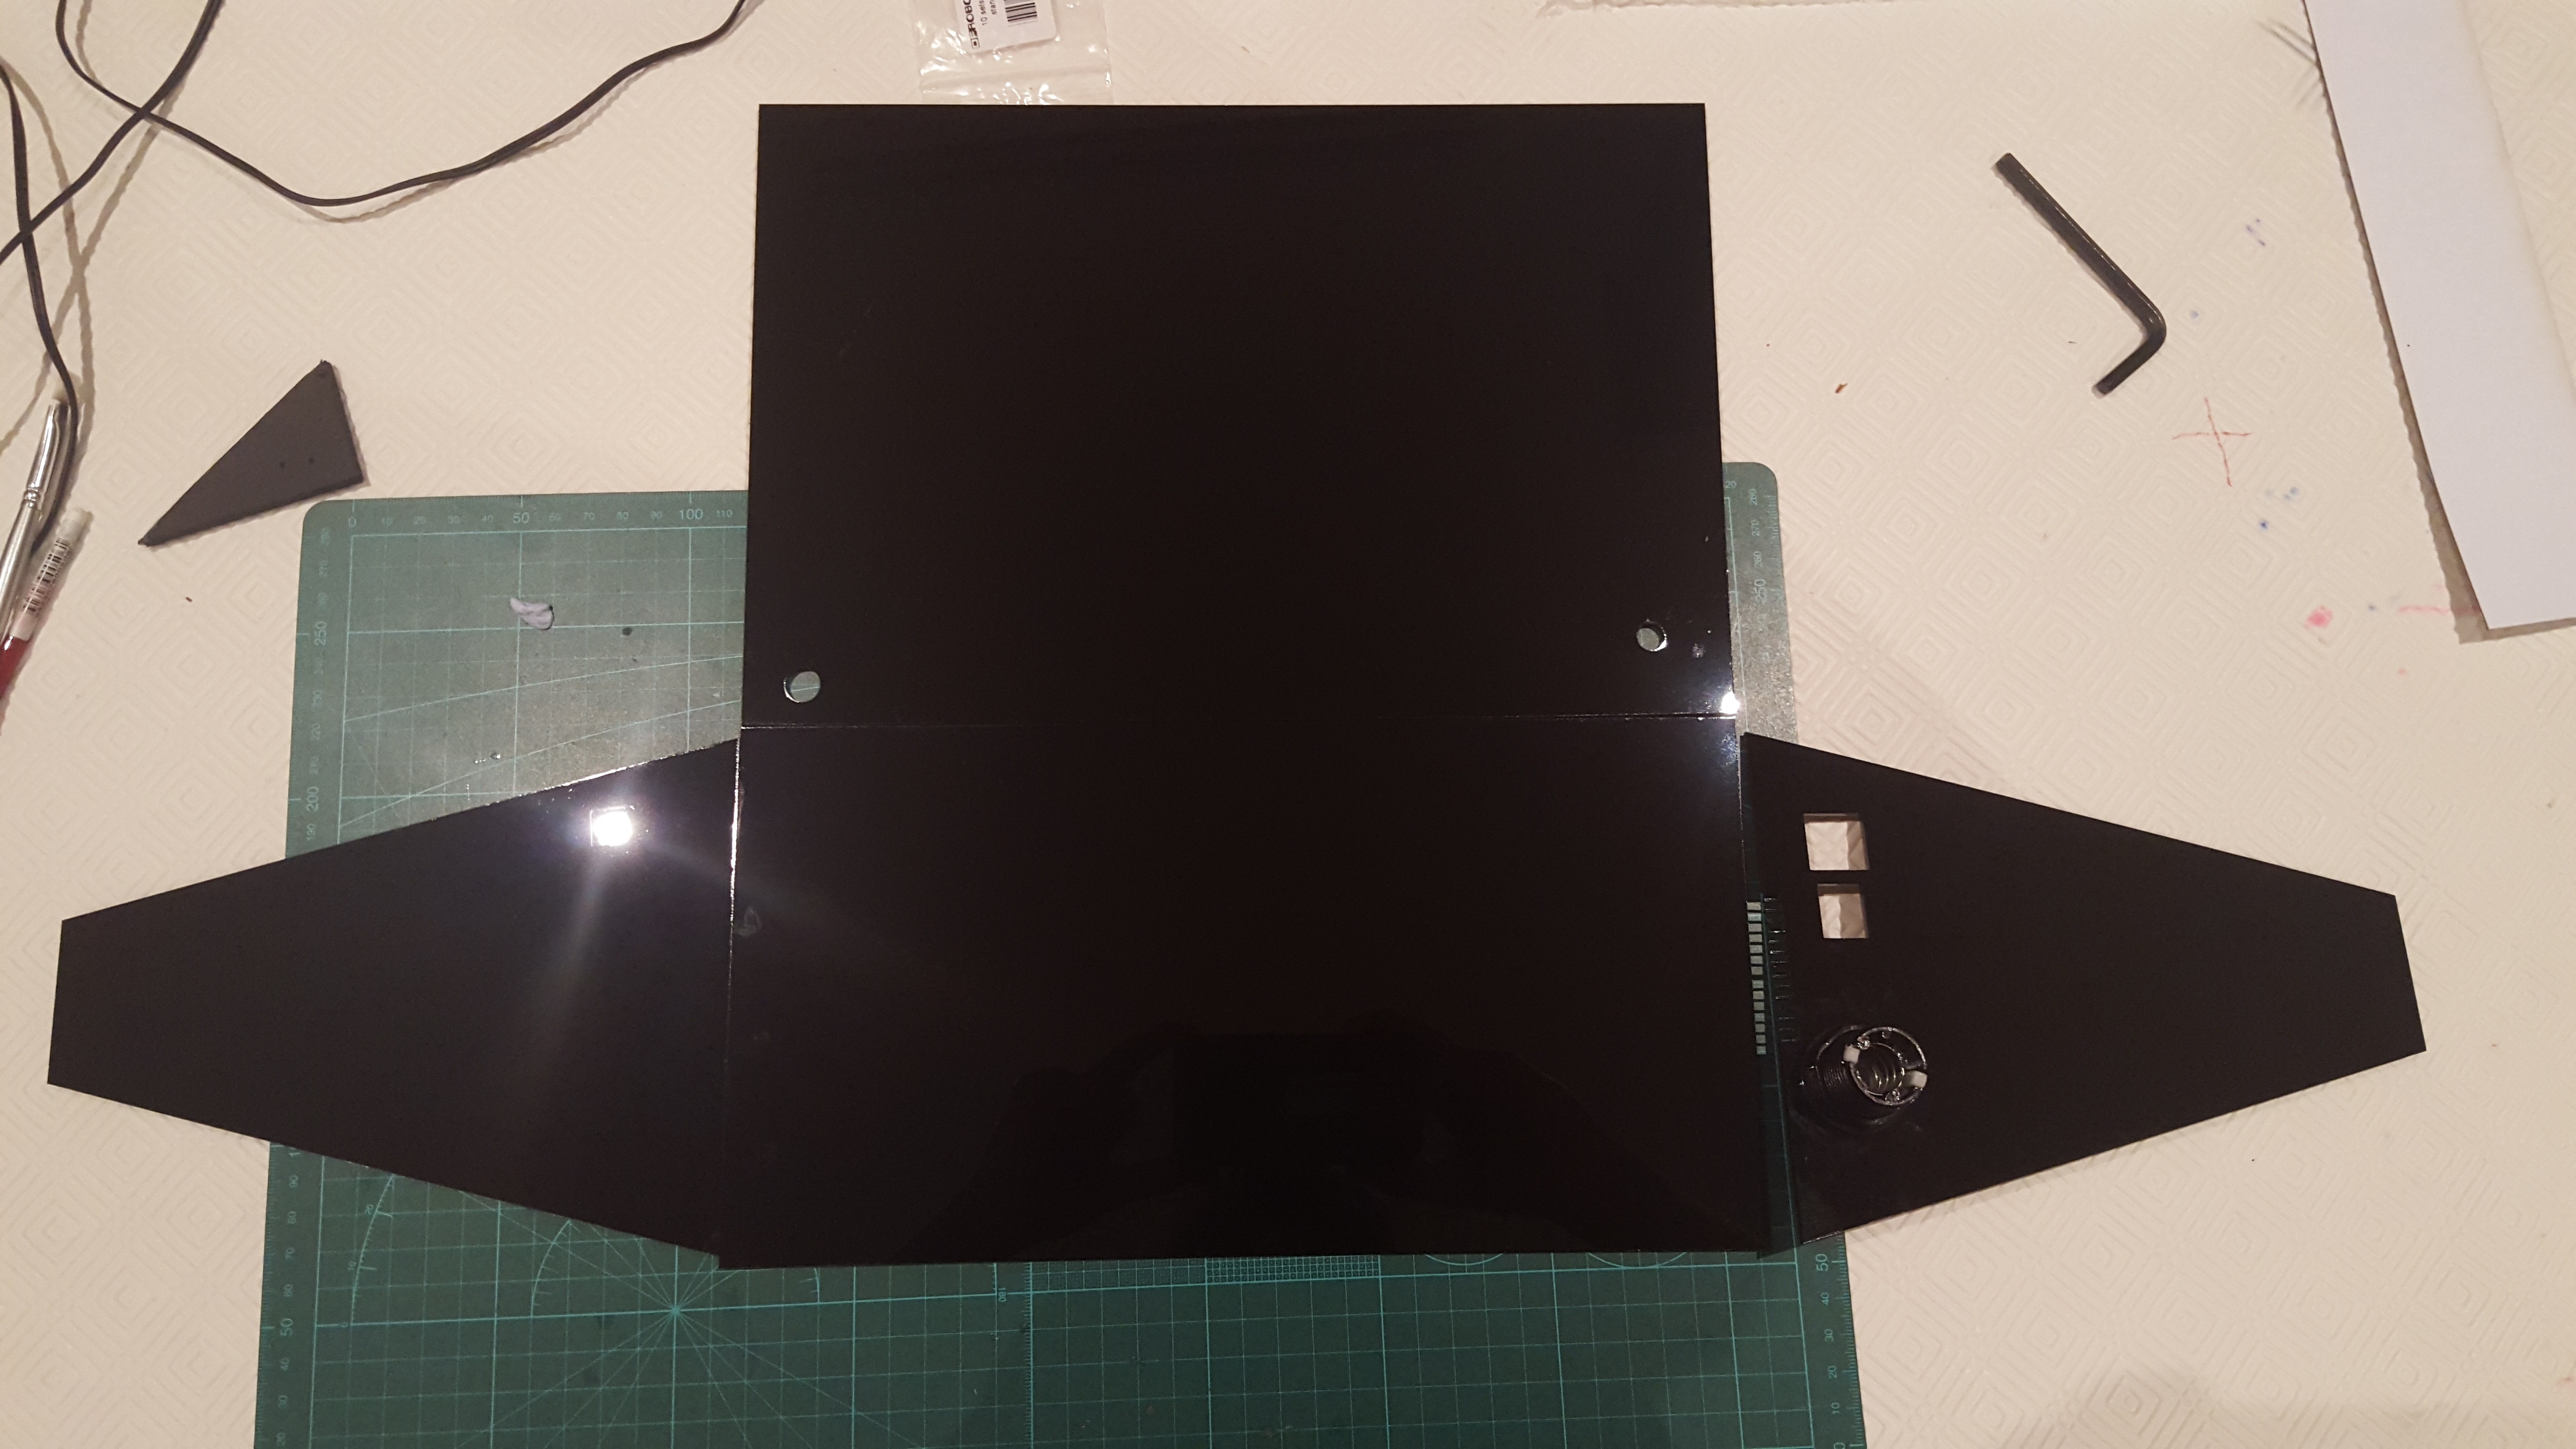
 Construction of Perspex pieces:
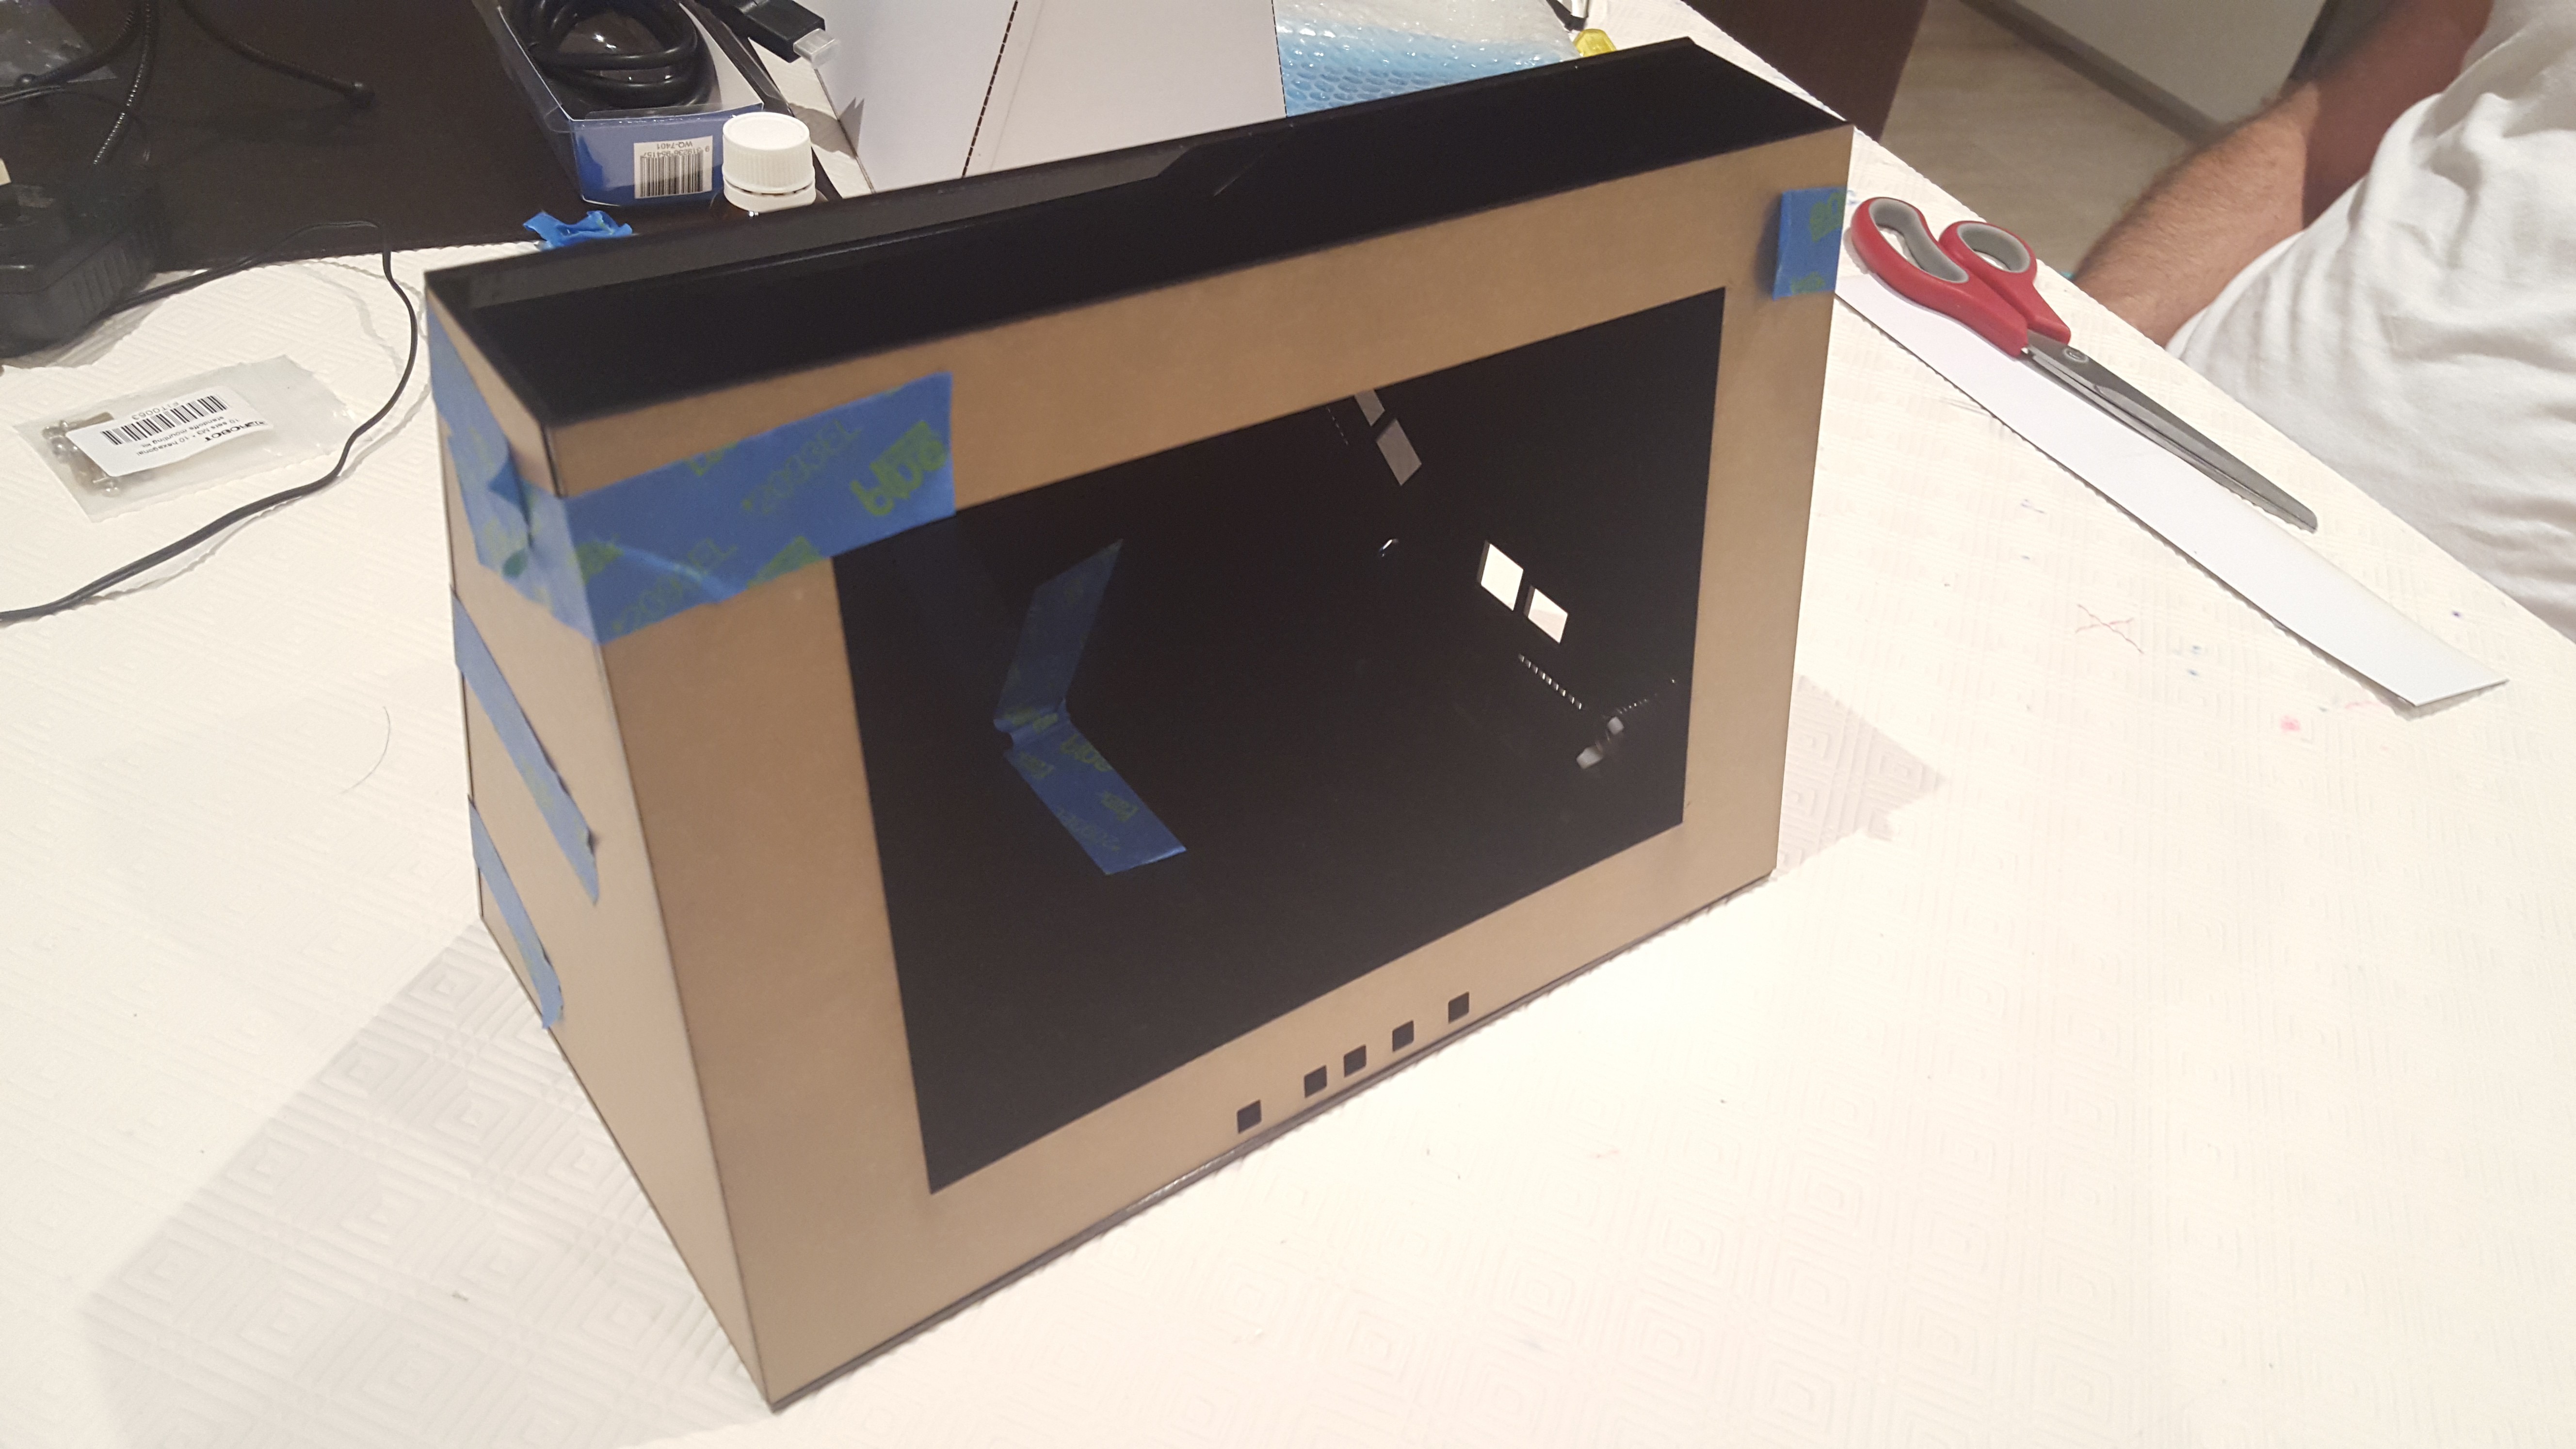
 All pieces assembled (with protective cover on). Note: it has not been glued yet since not all the electronics had been installed
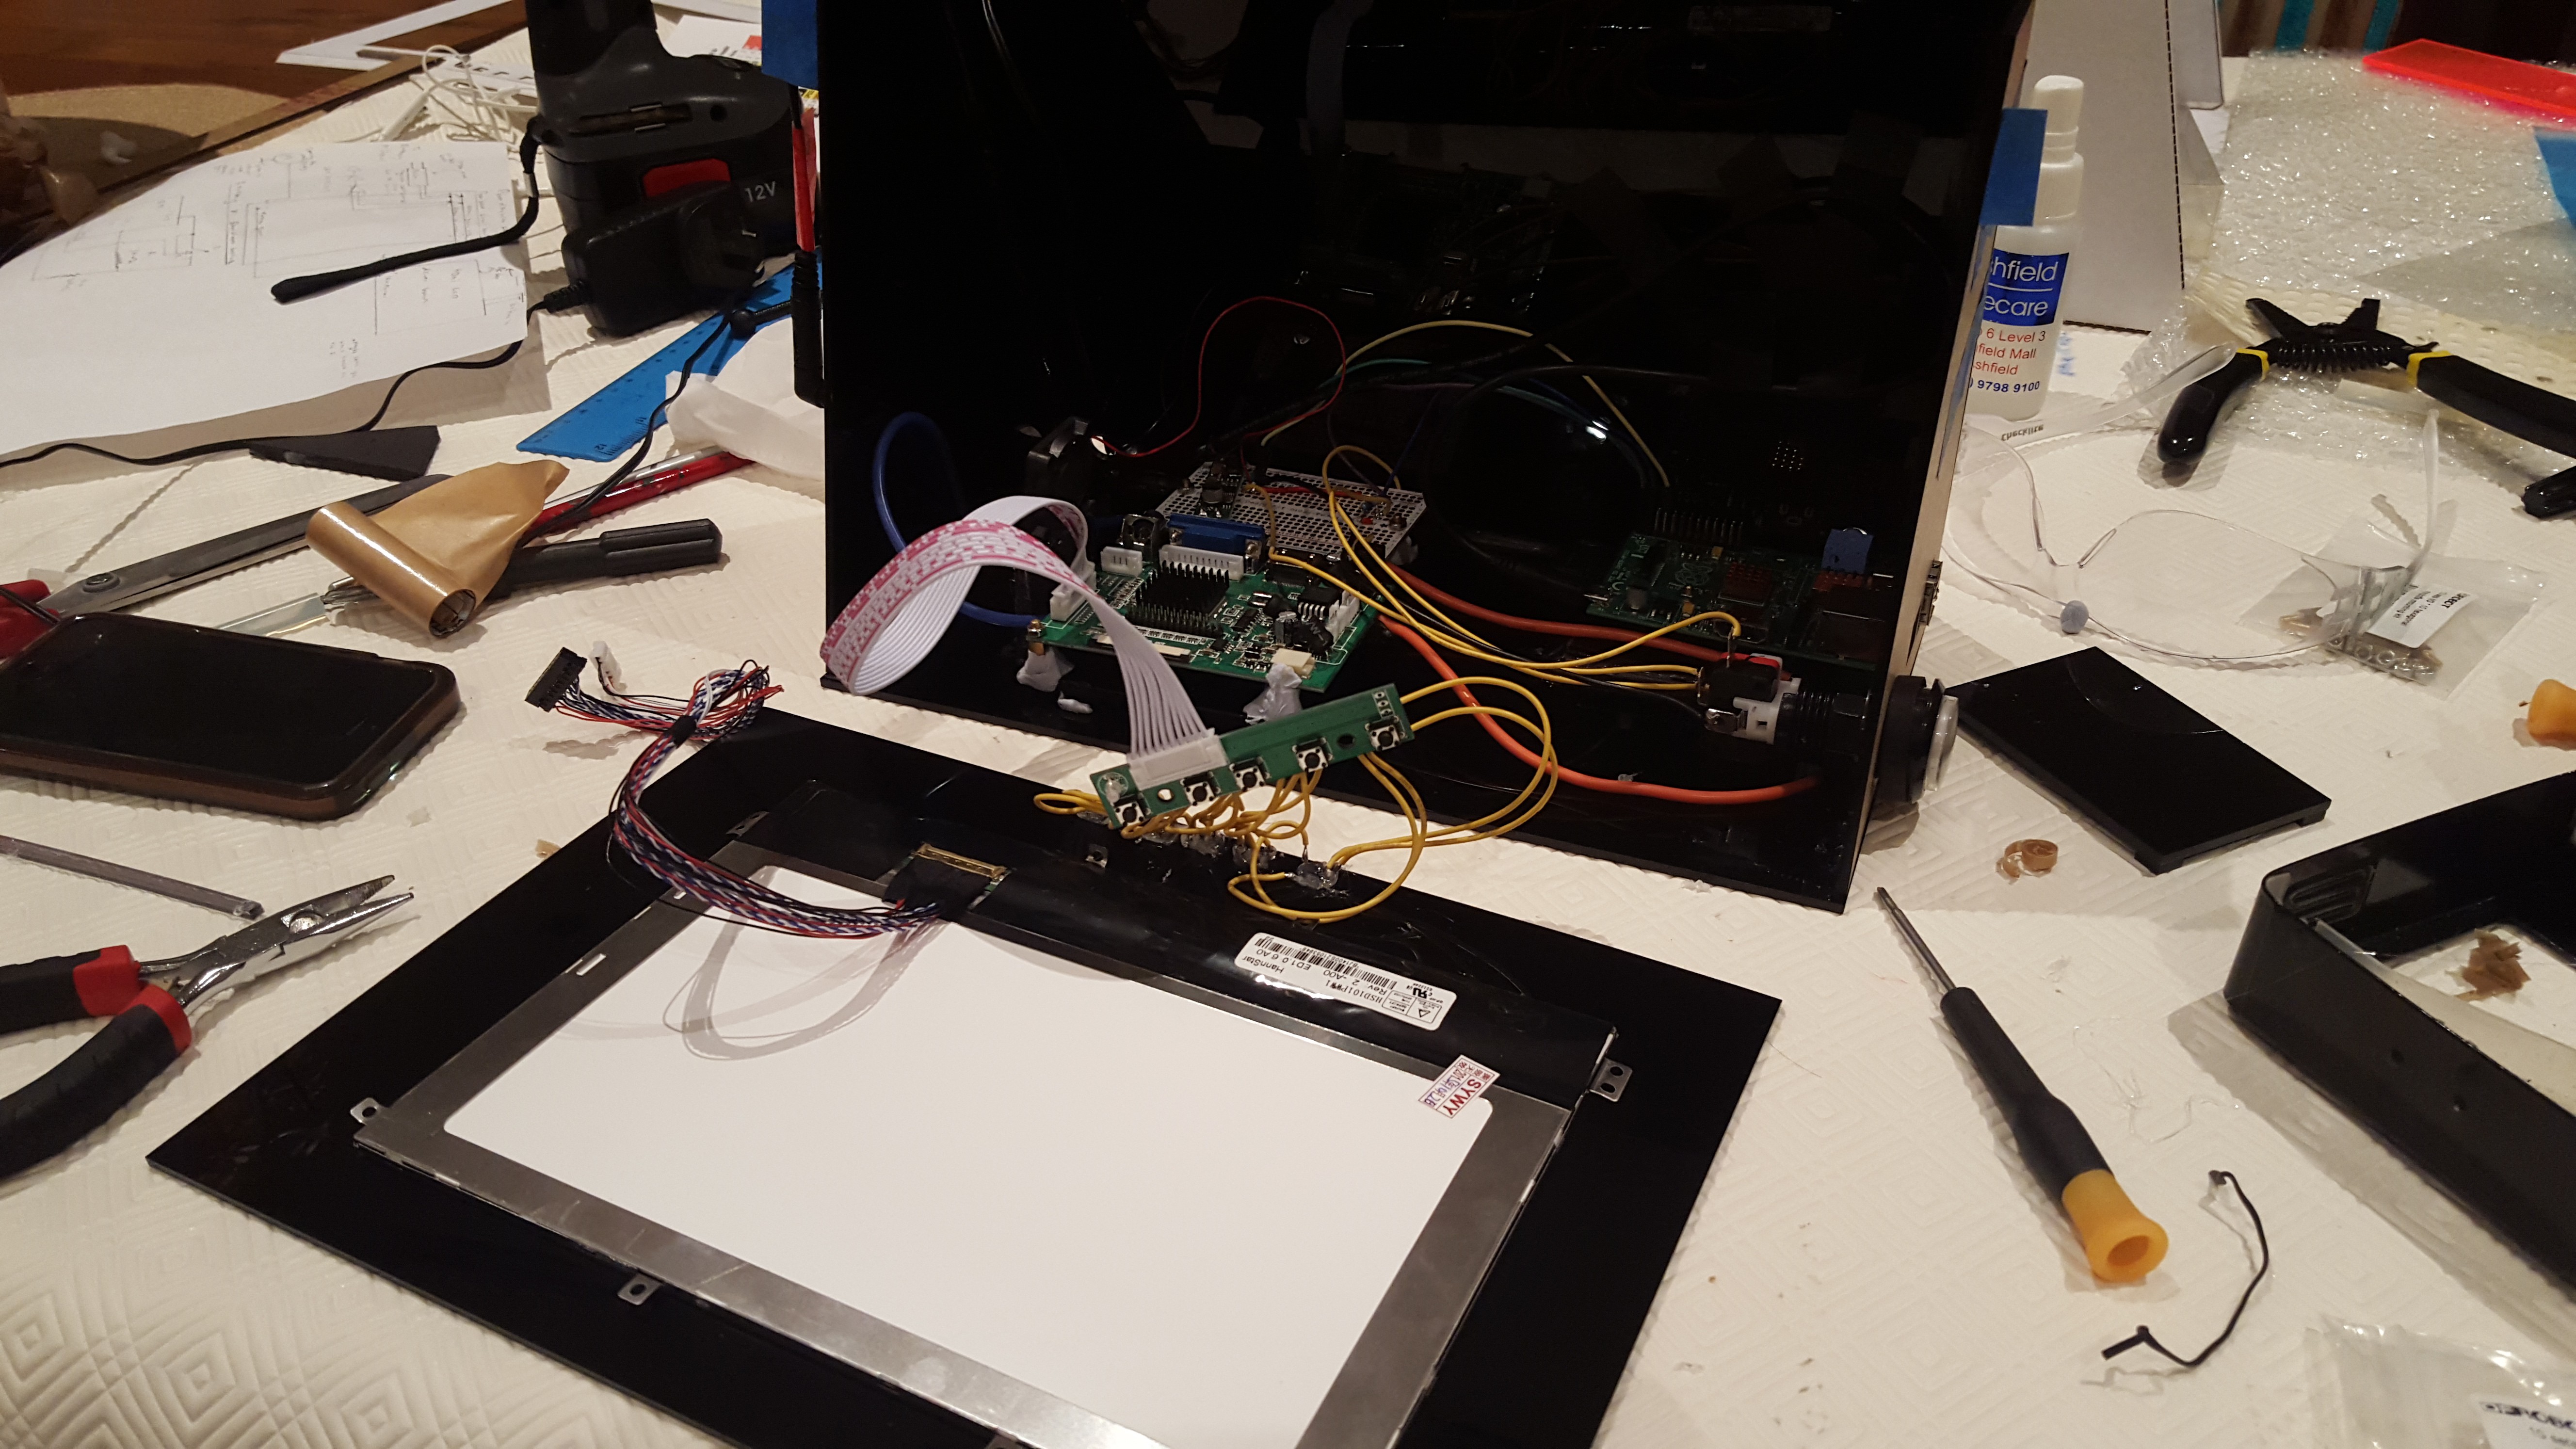
 Installation of LCD and Electronics:
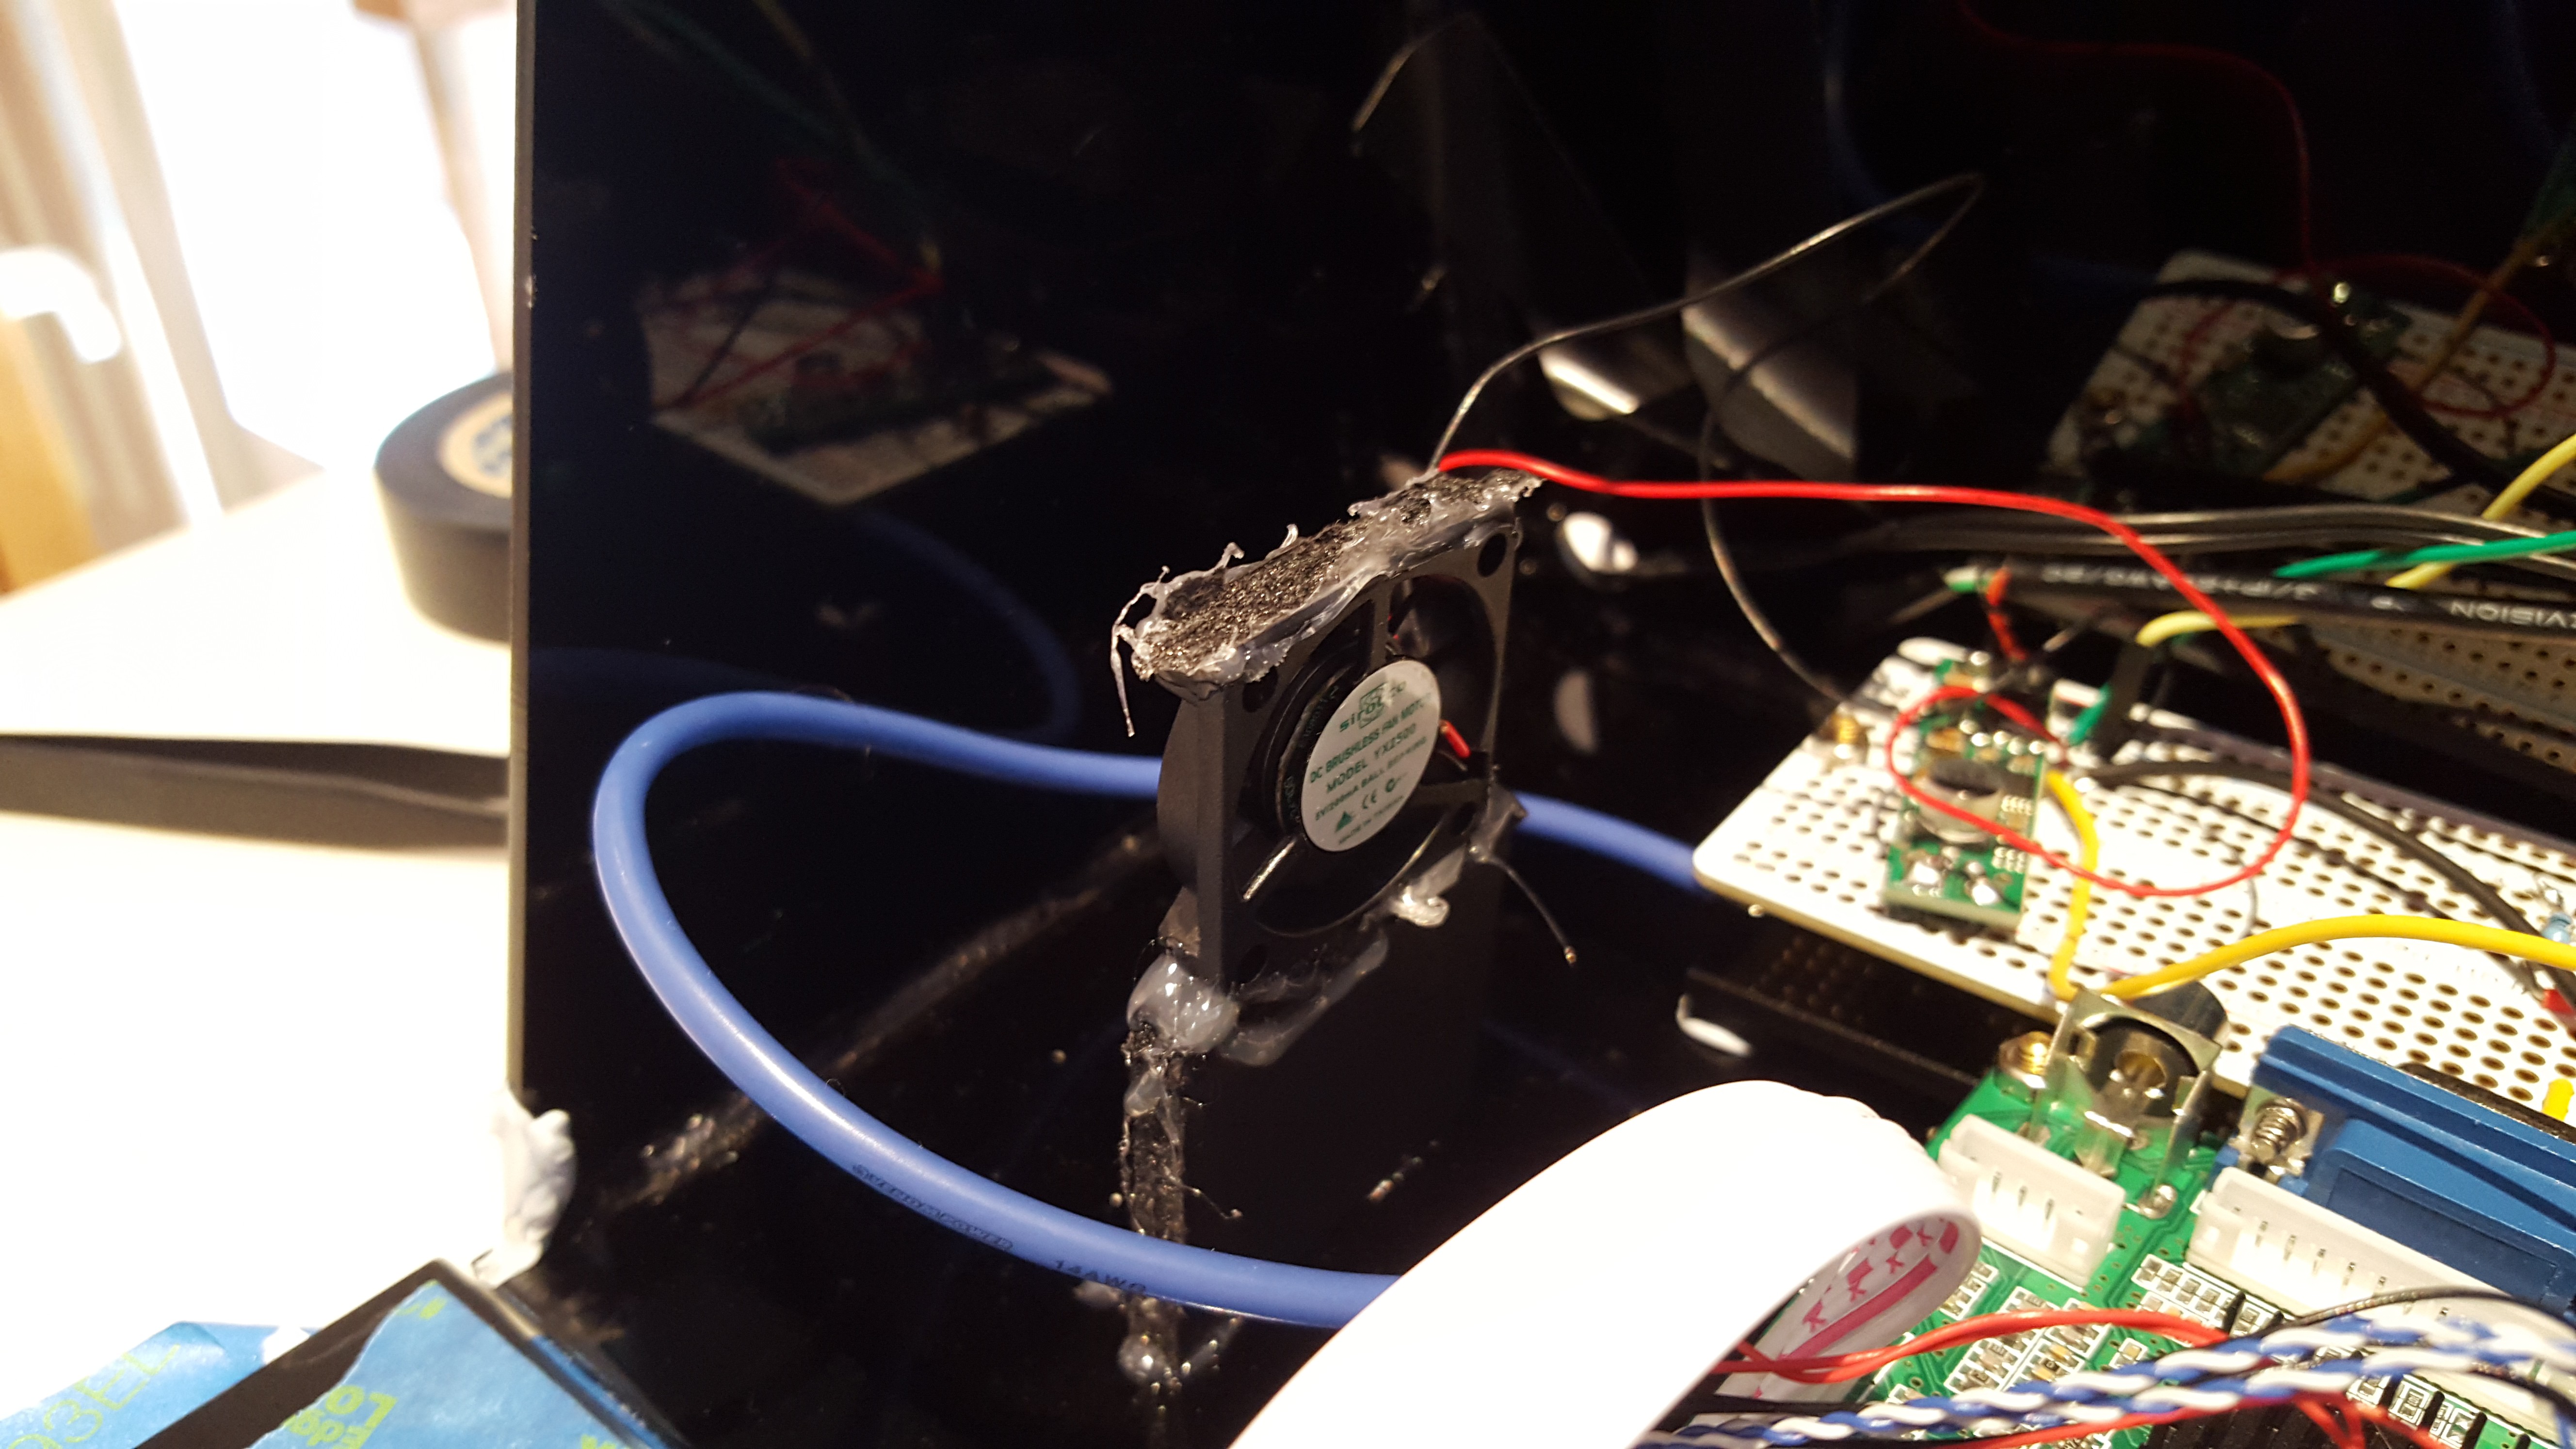
 Fan installation: (the fan was pointed directly at the LCD driver IC). There was also a vent on the opposing side.
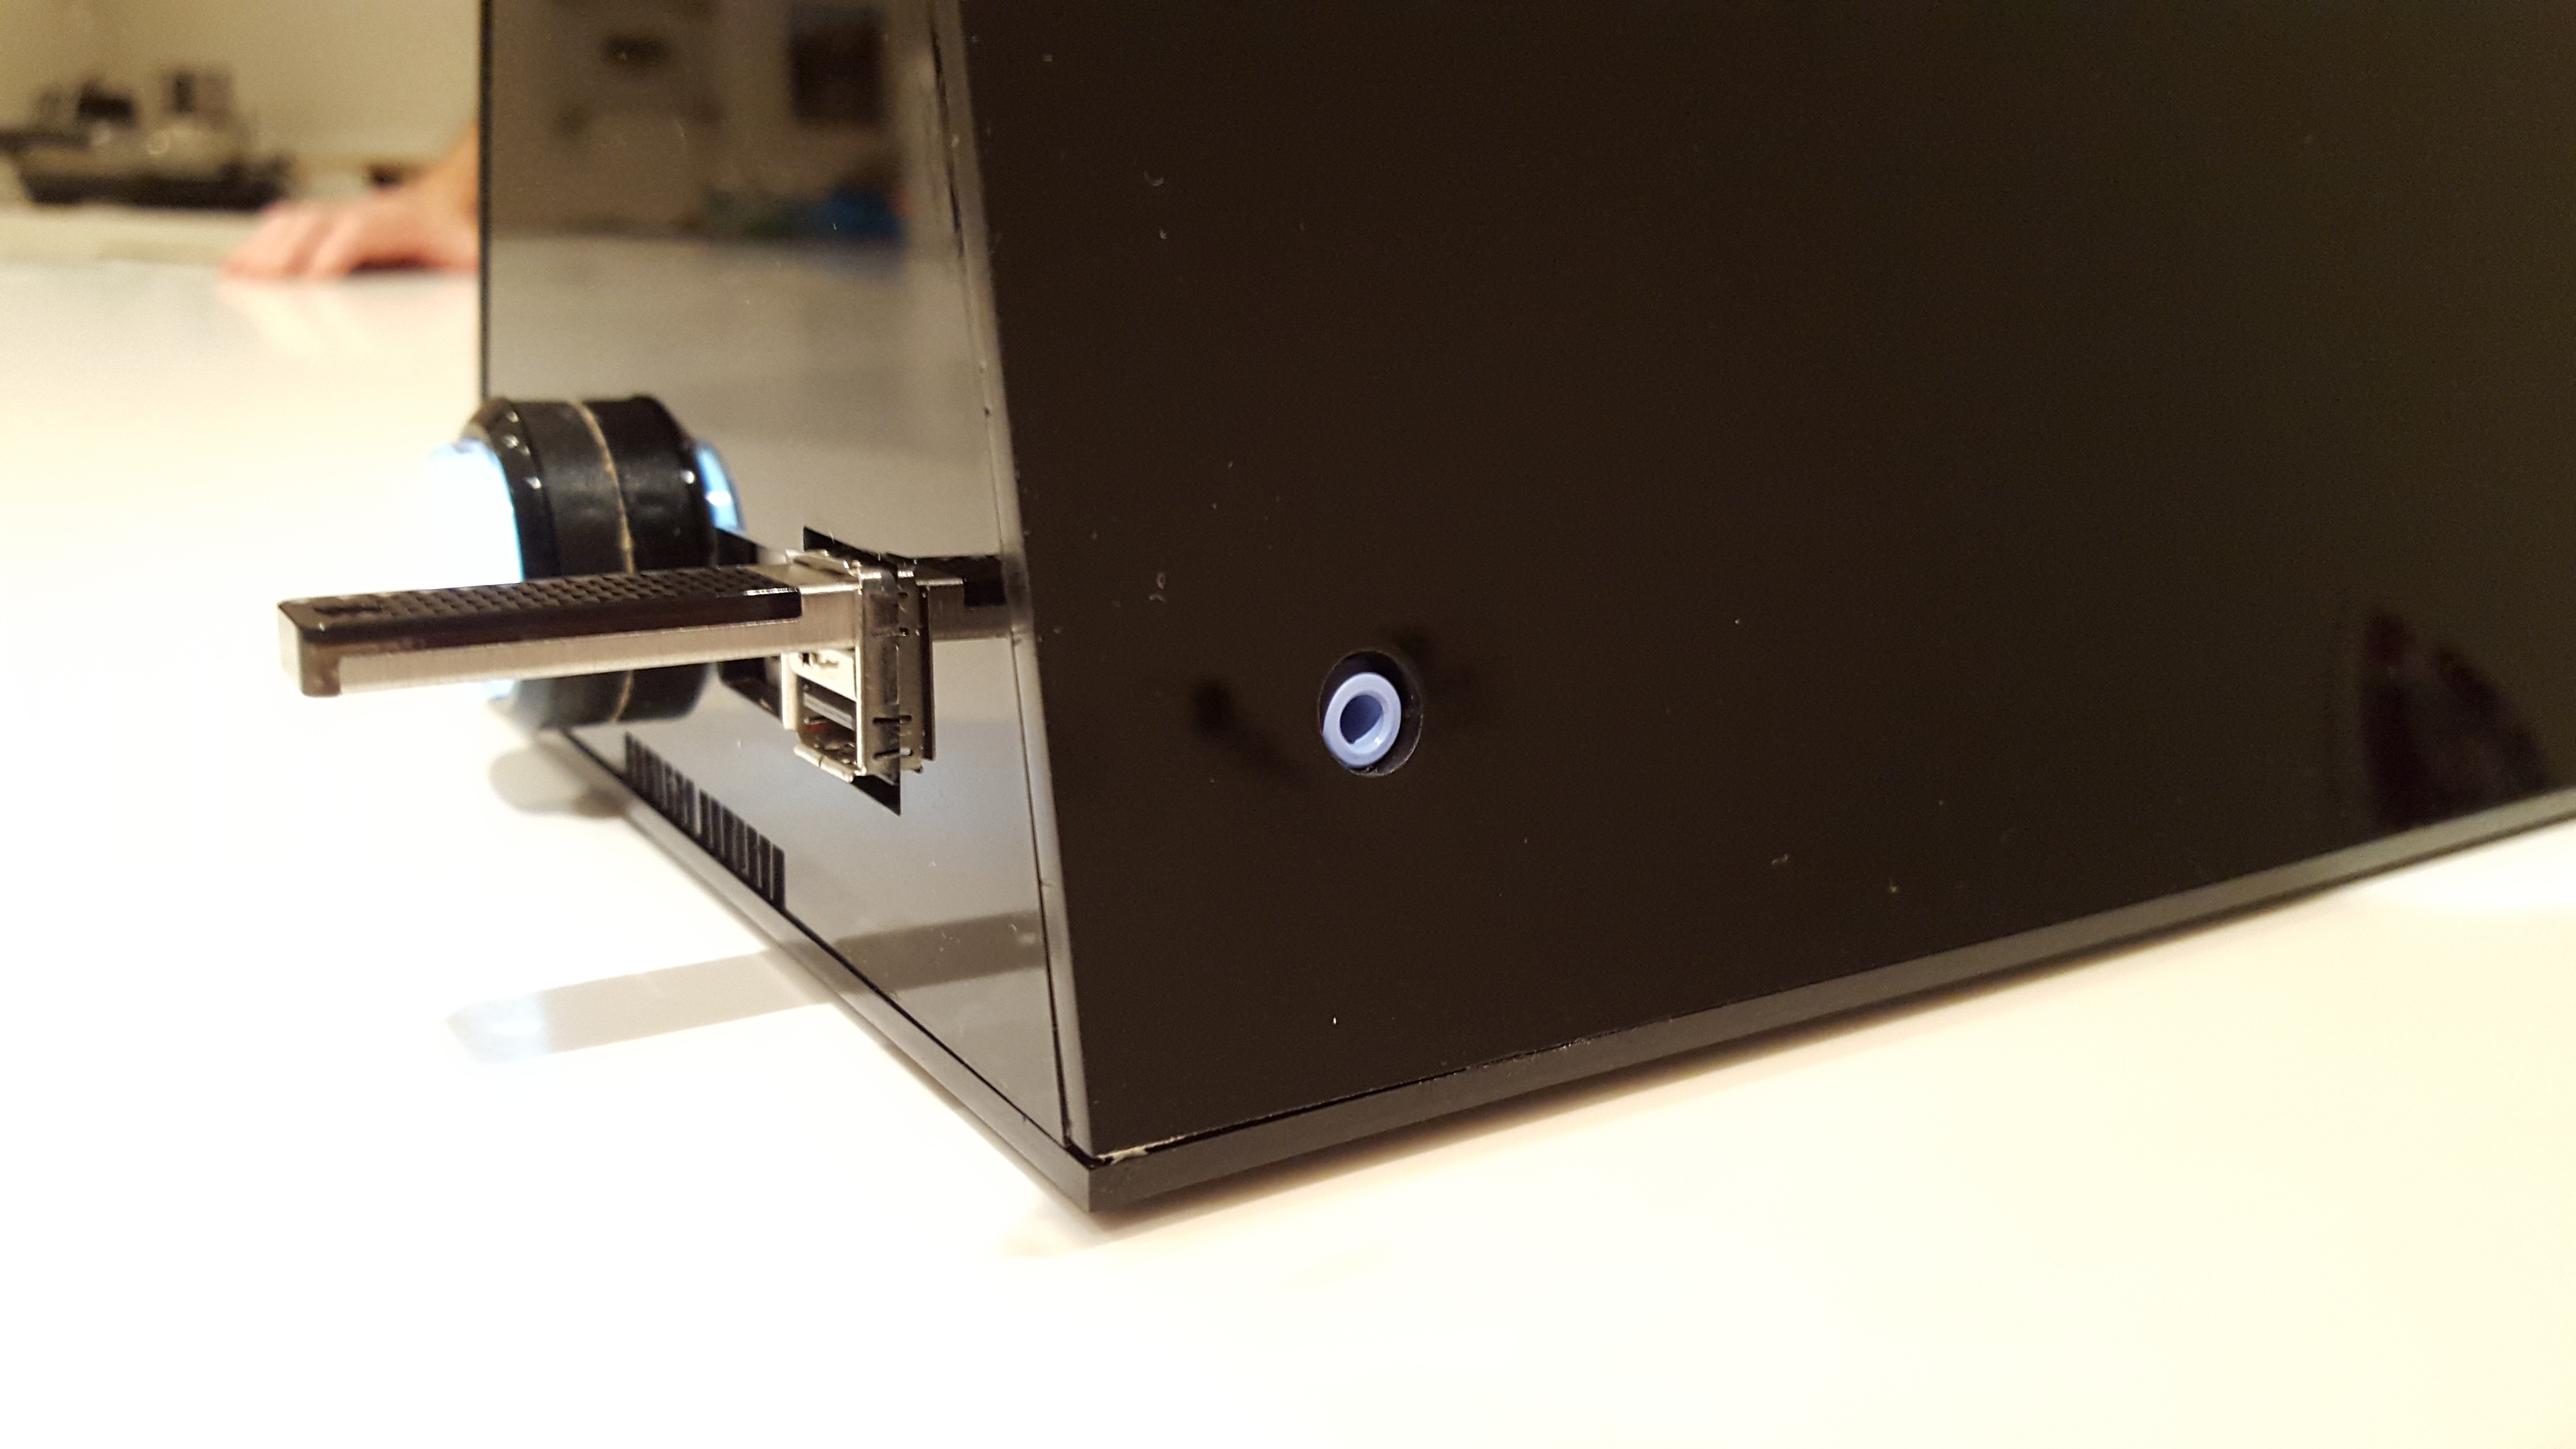
USB, Internet, audio connections and illuminated power button (arcade button from Adafruit).
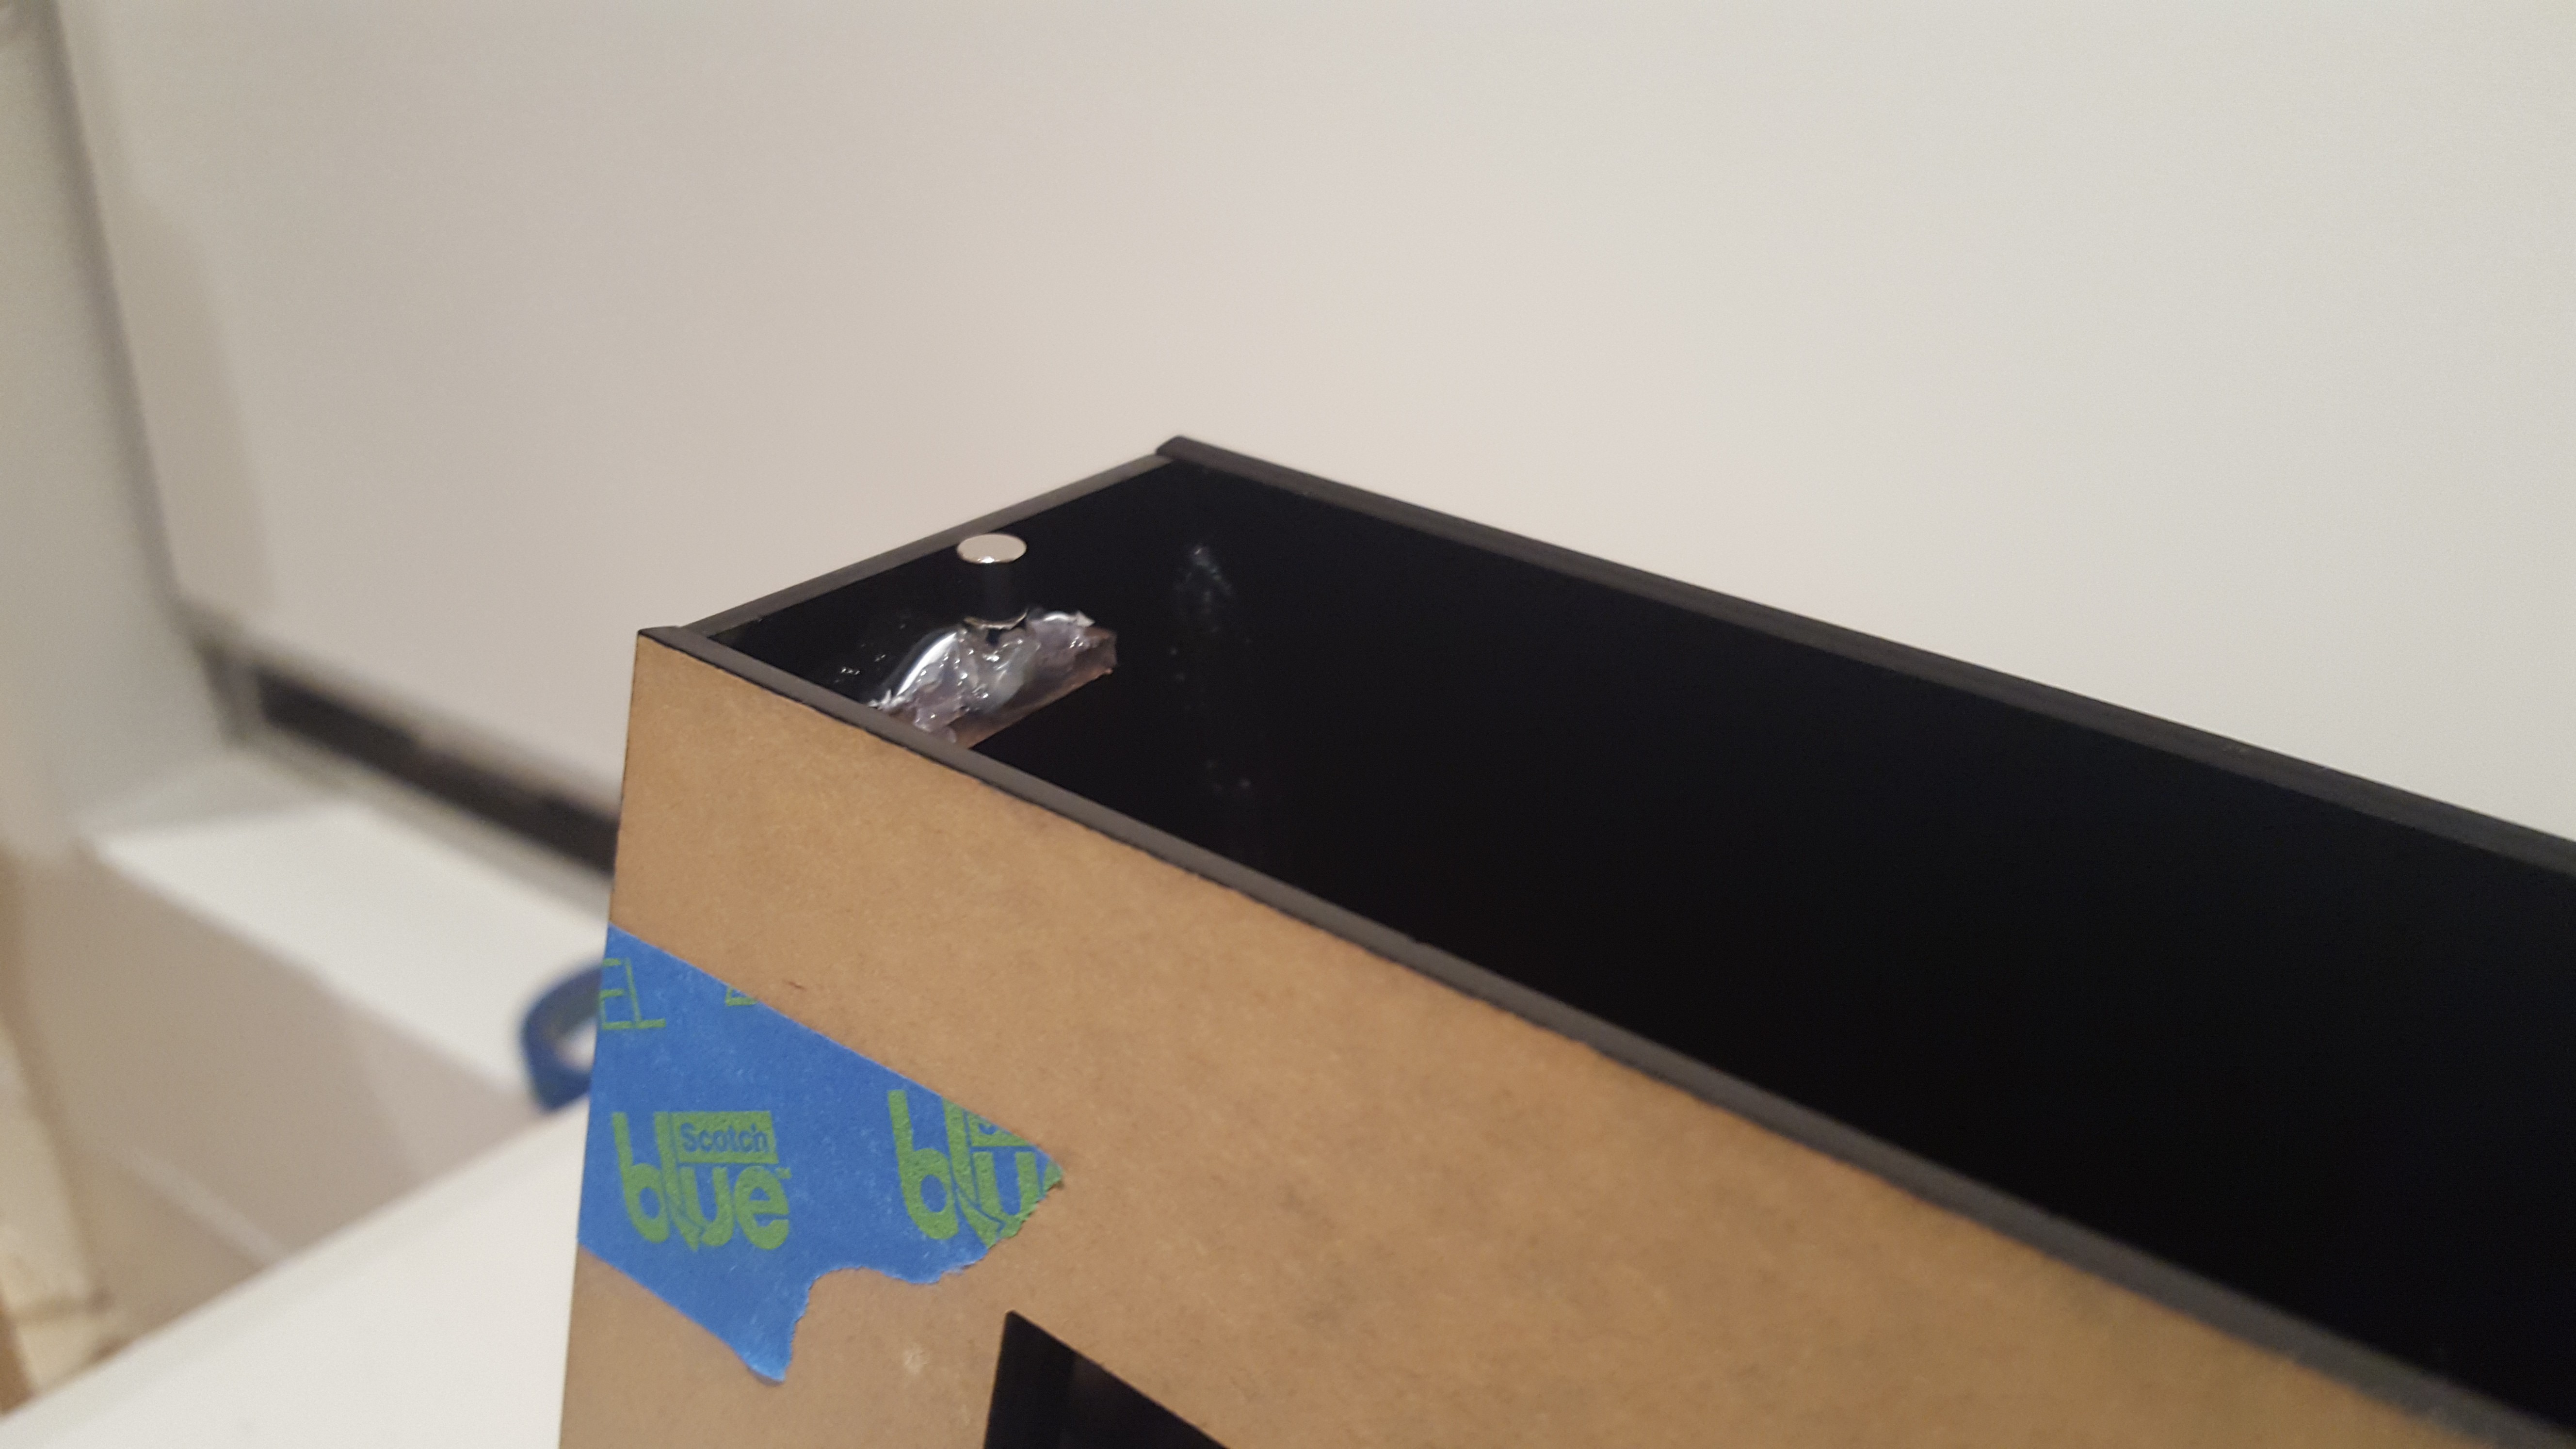
 The top panel had two magnets, this was essential as there was no other way of accessing the electronics.
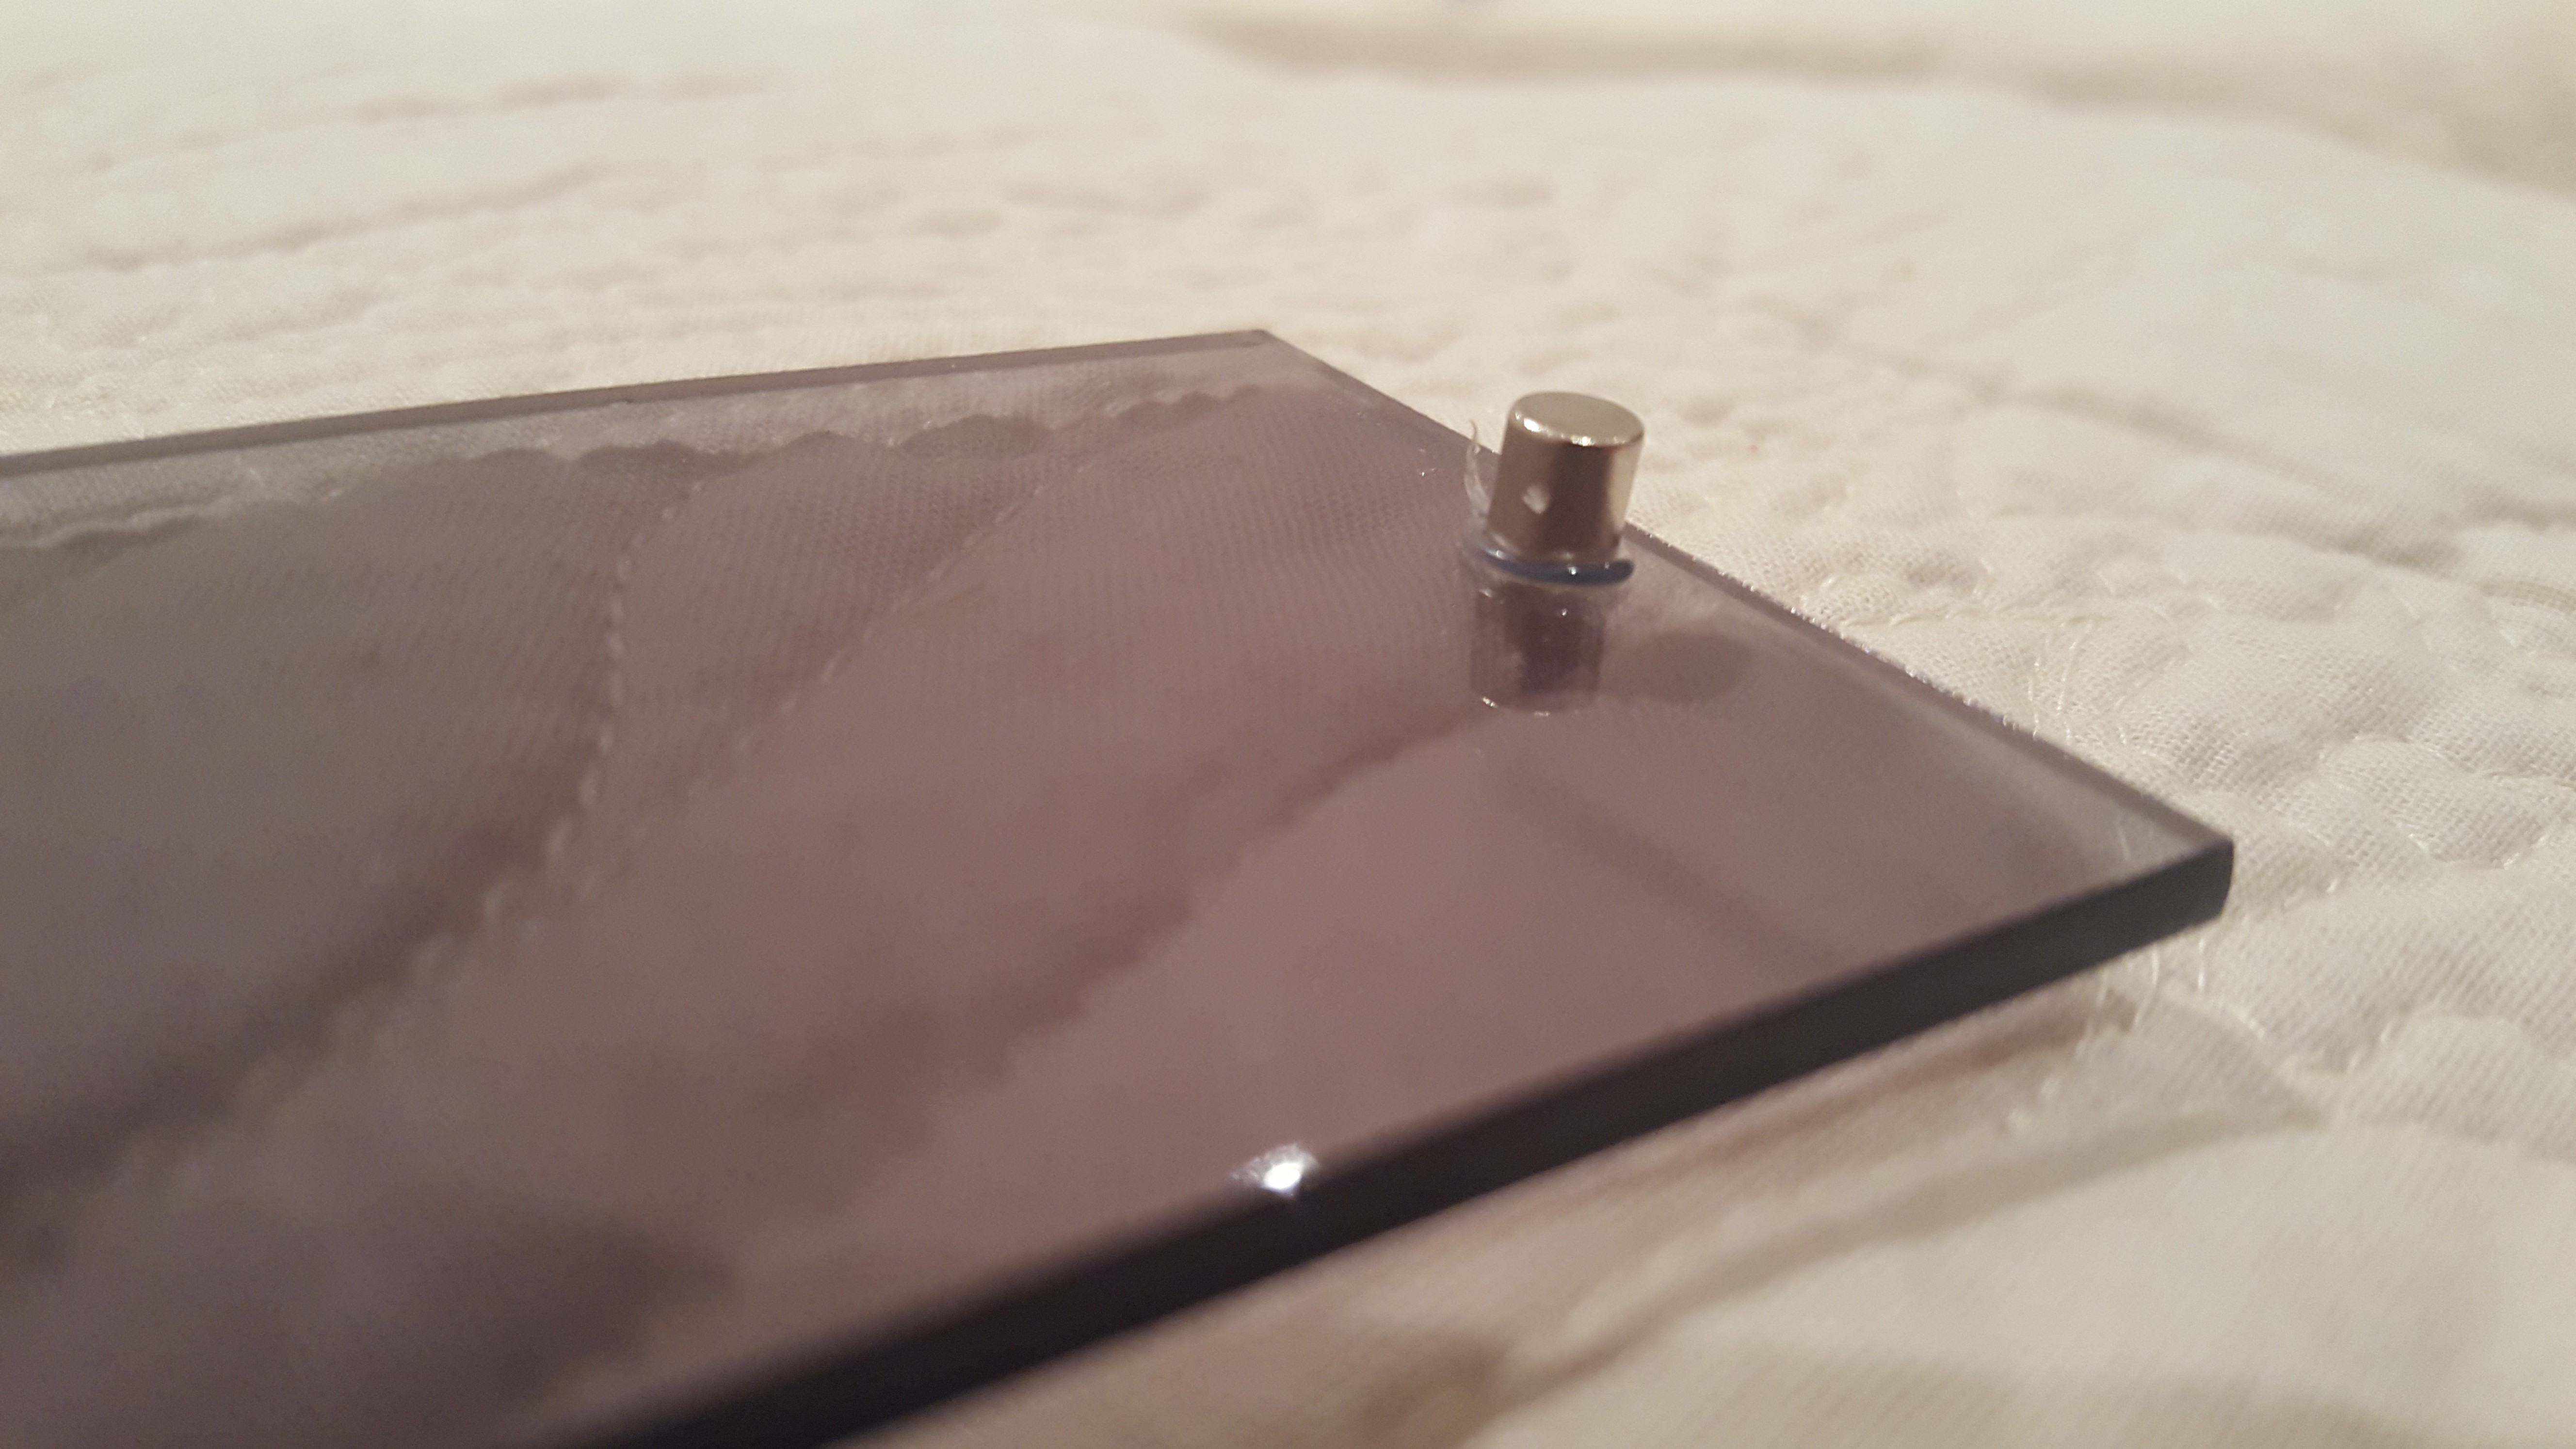 Matching interior magnet:
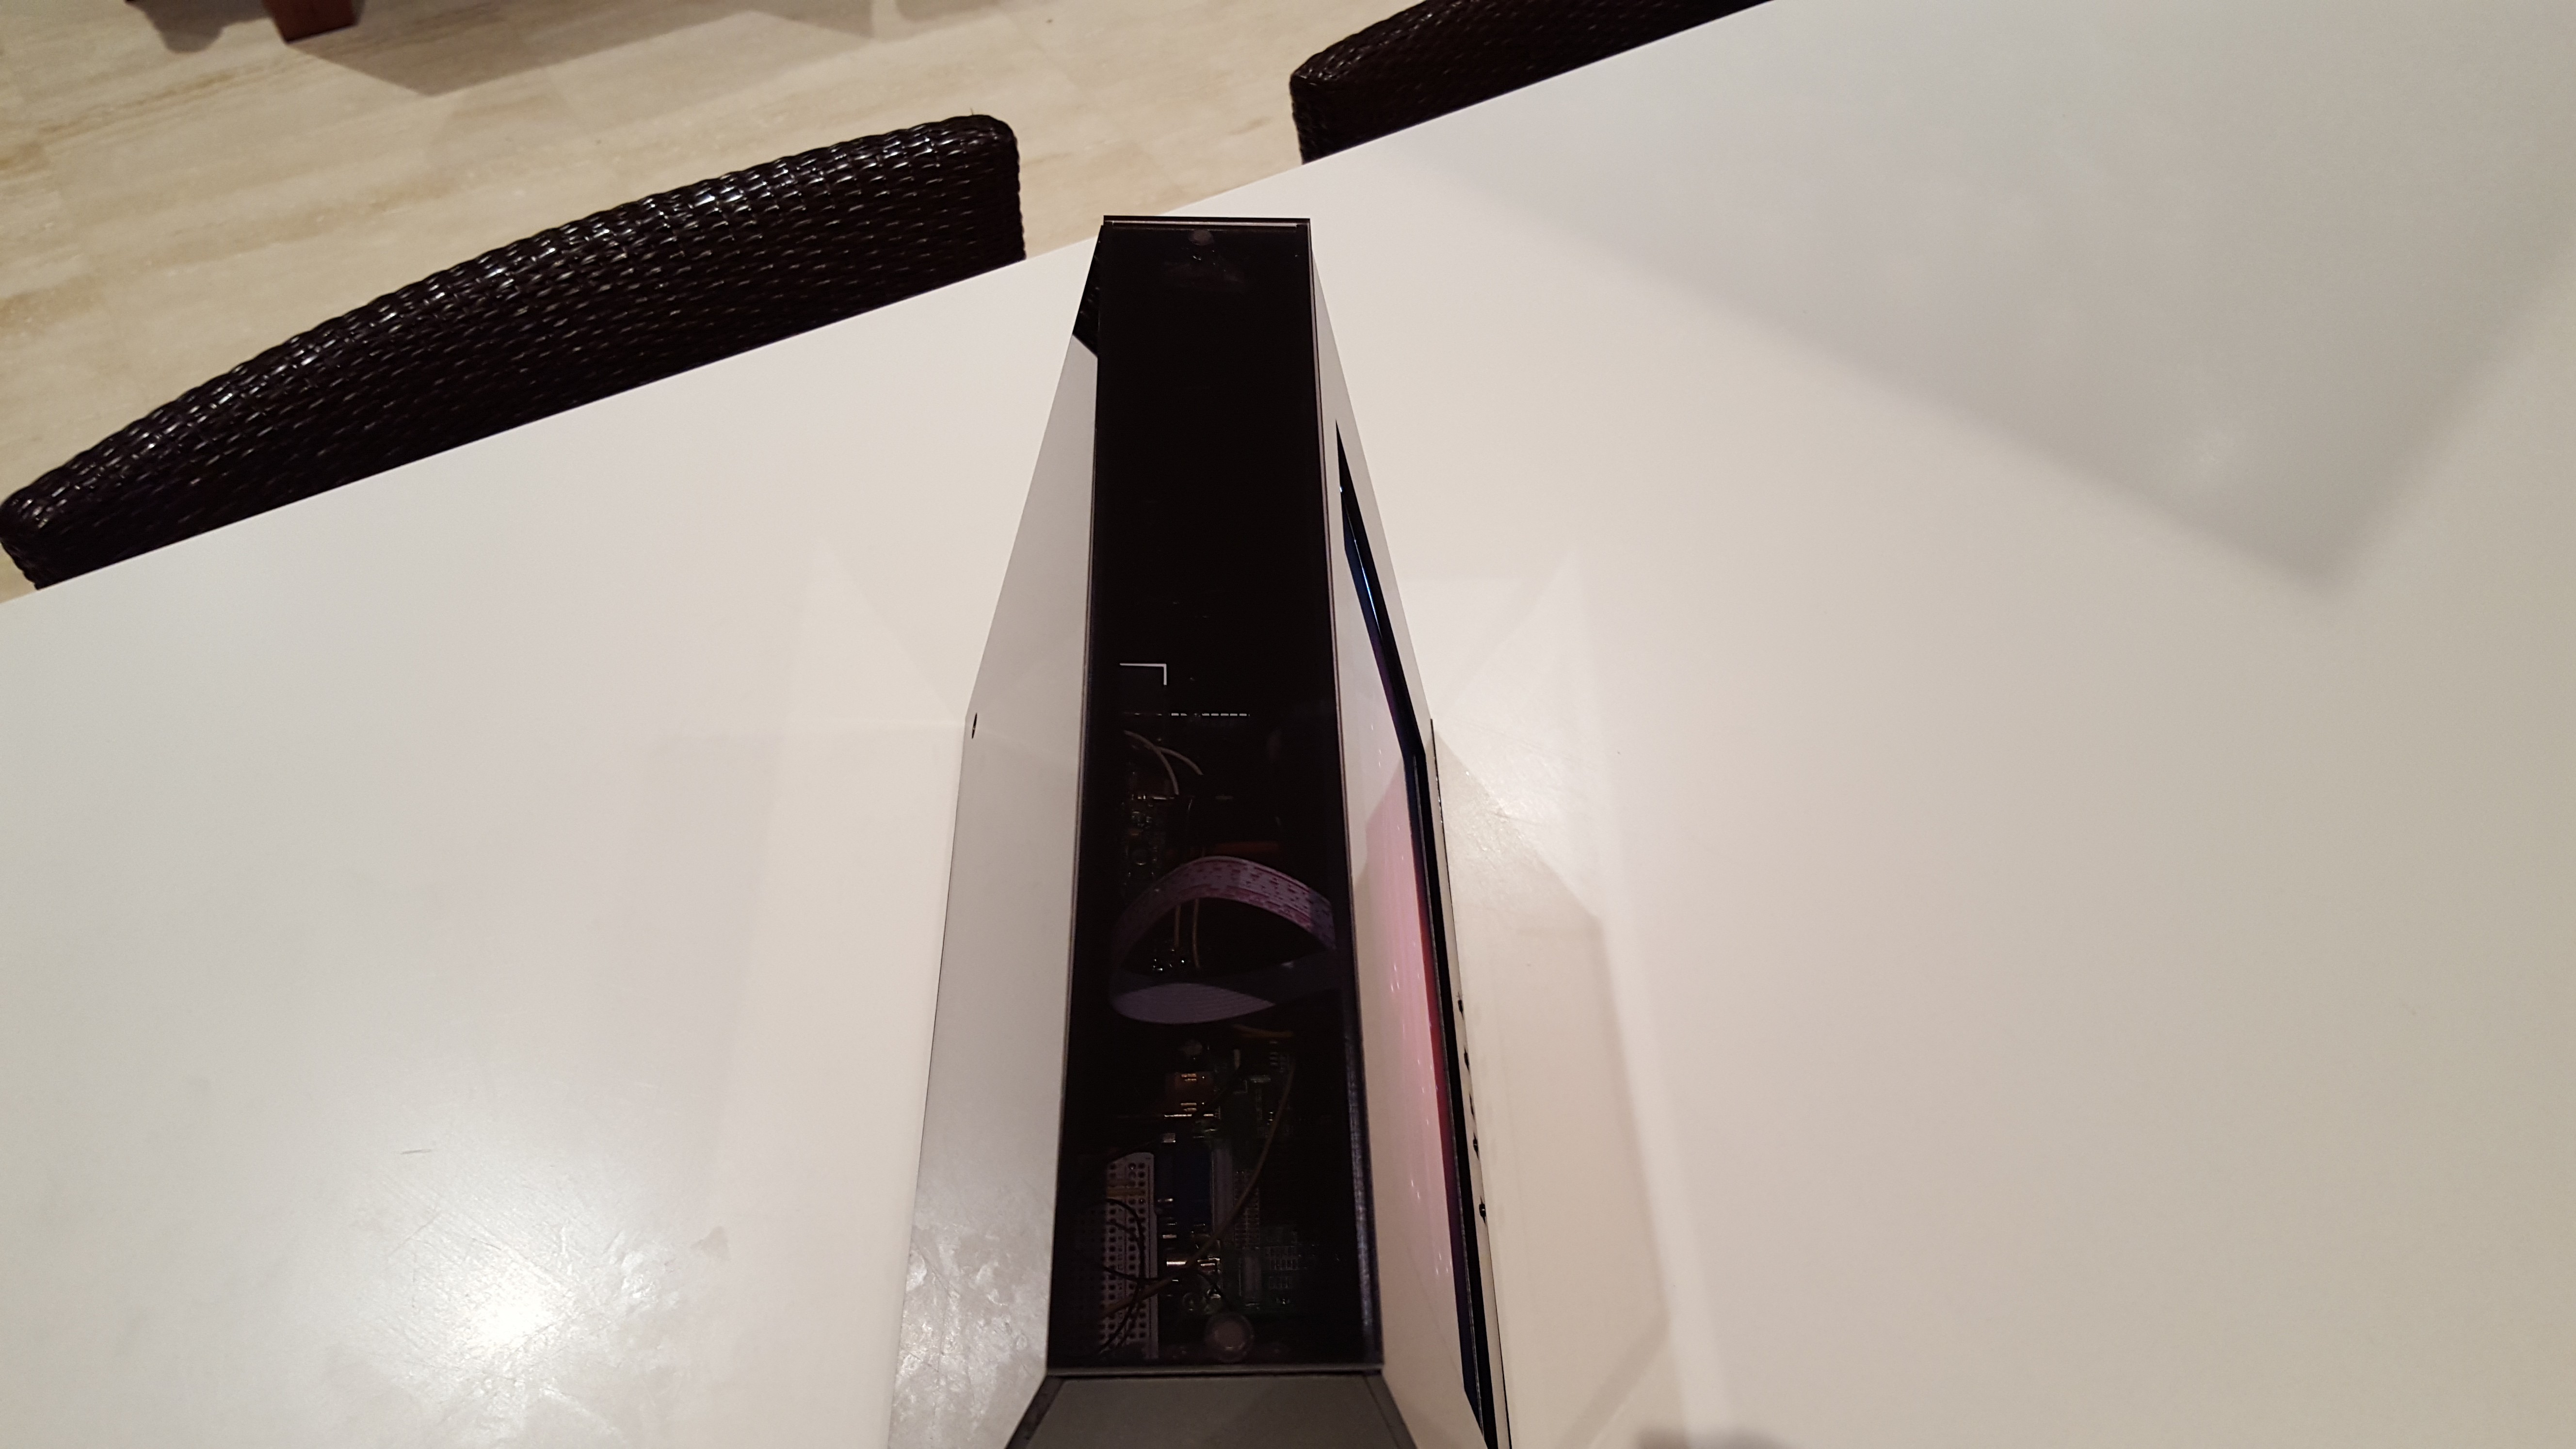
 "See through" top panel:
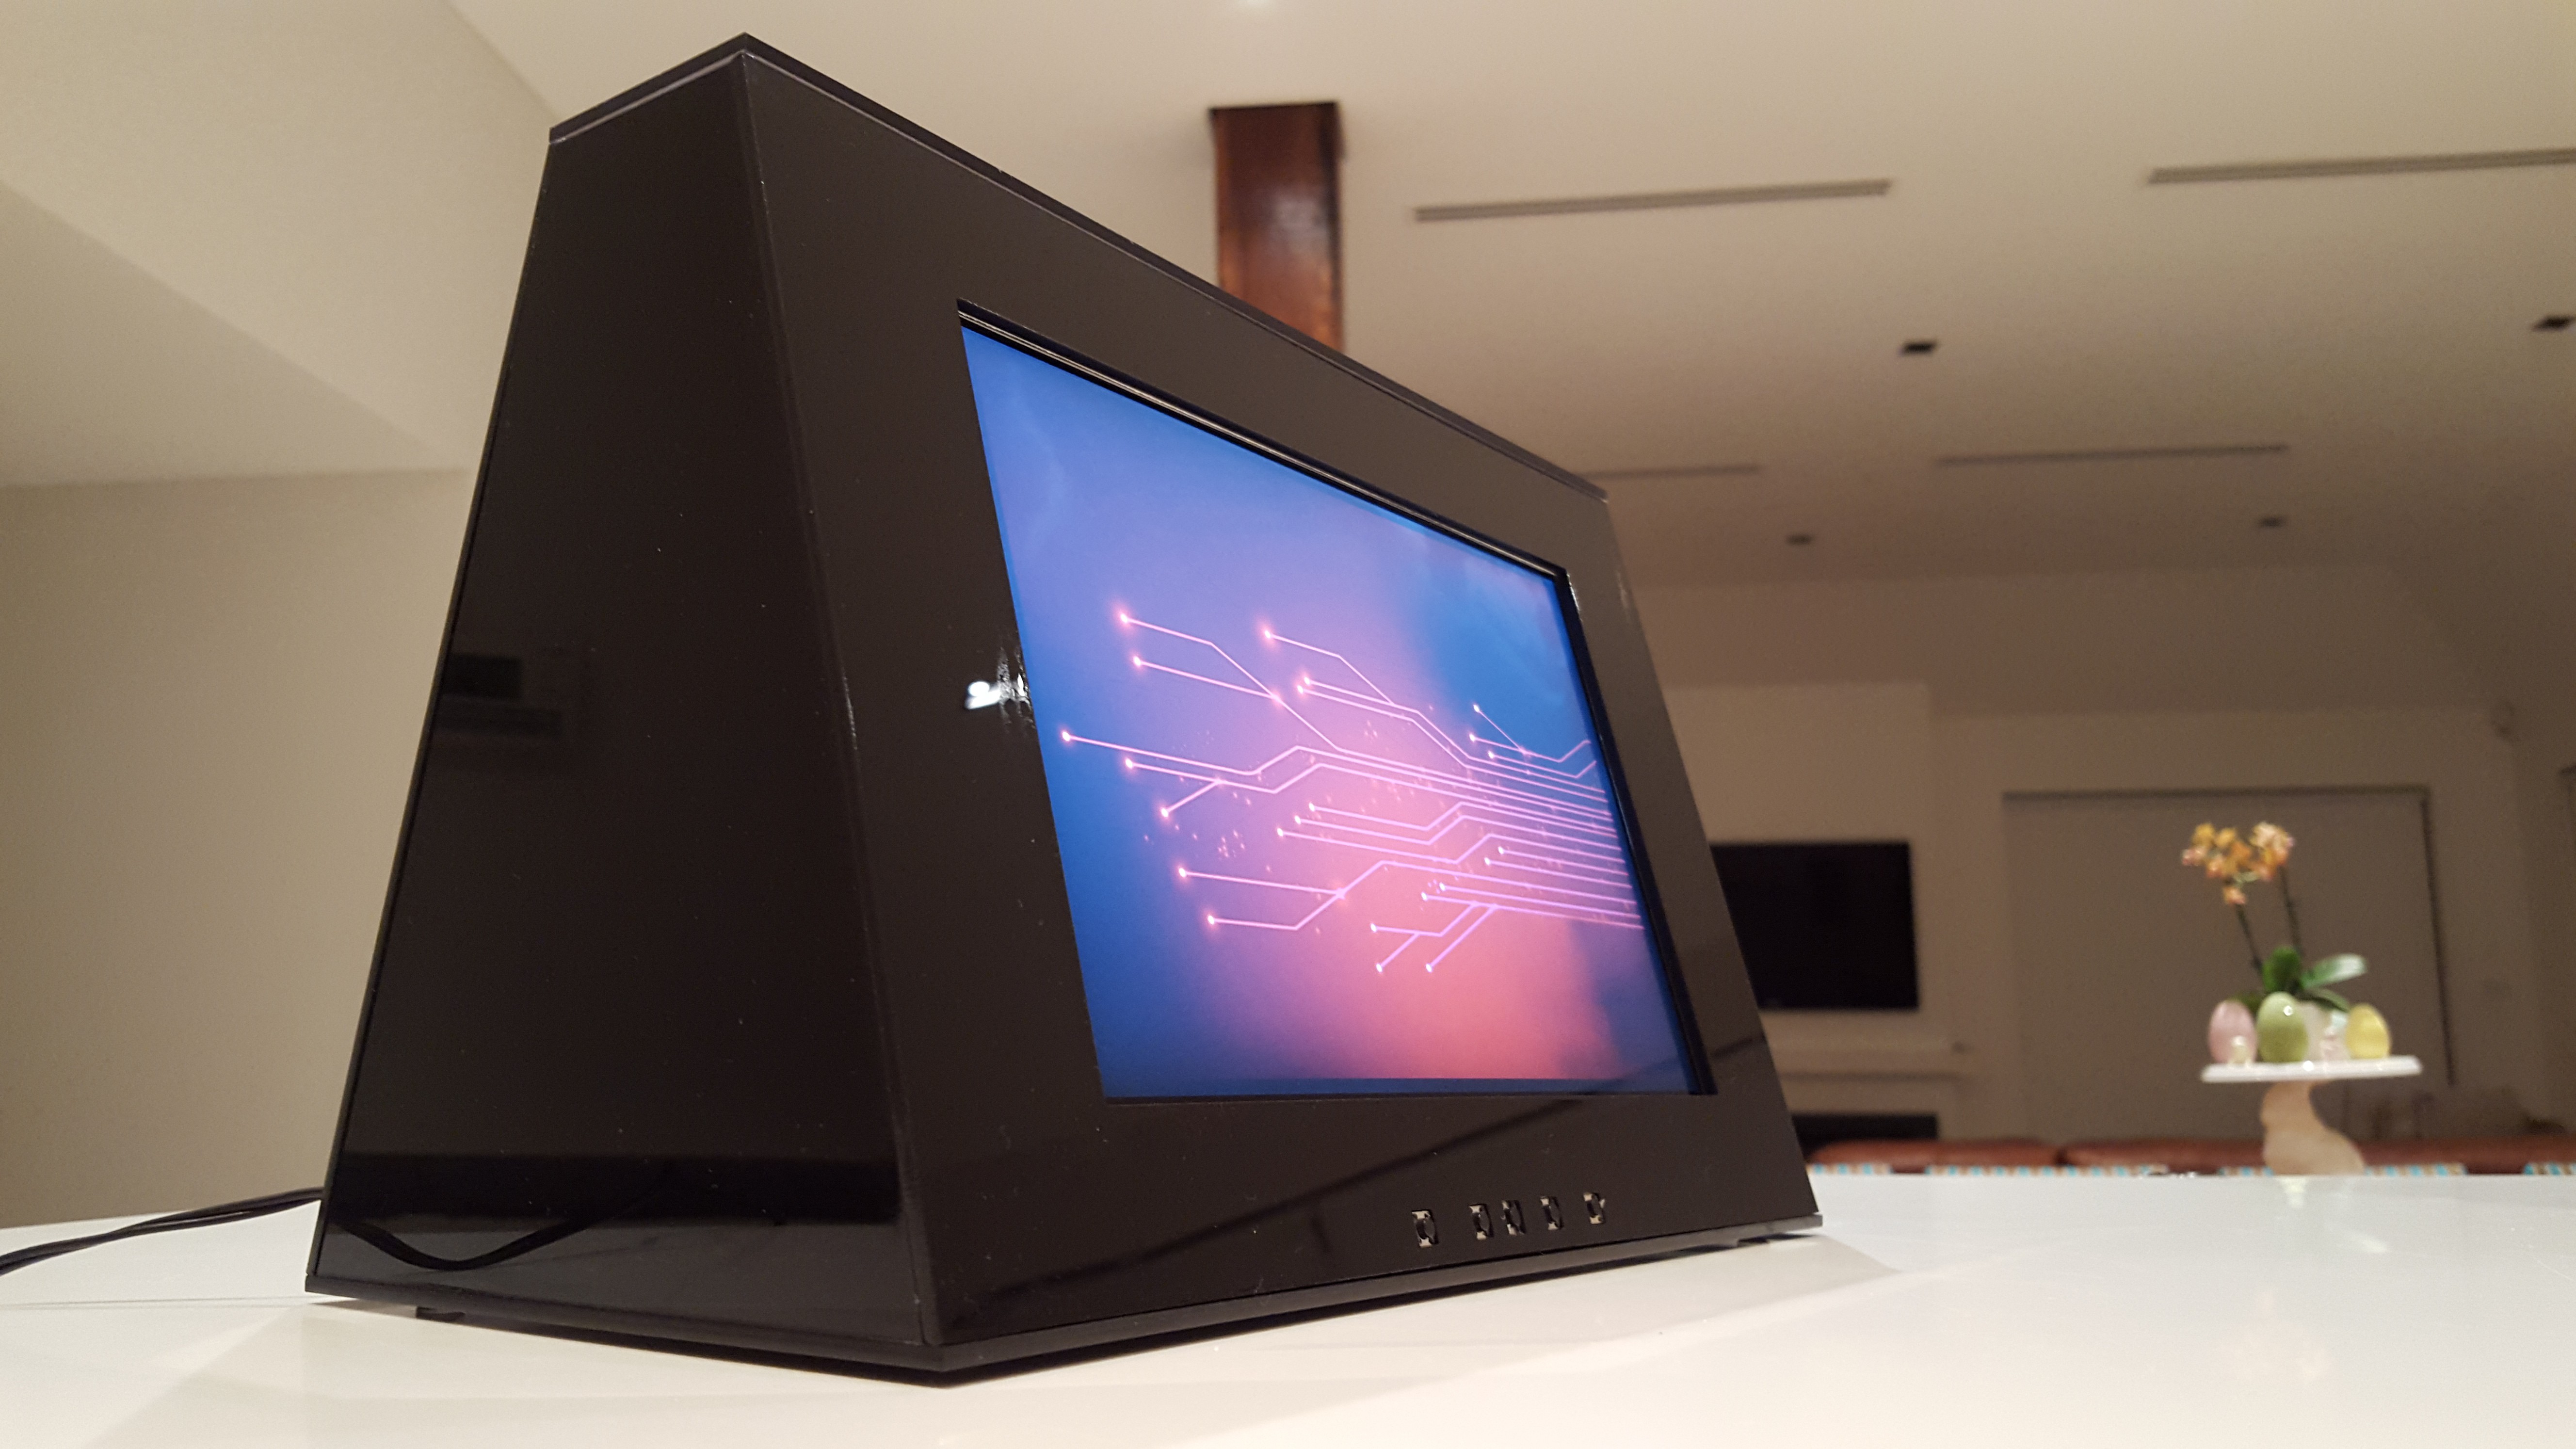
 Final design:
Discussions
Become a Hackaday.io Member
Create an account to leave a comment. Already have an account? Log In.