0%
0%
/dev/analog0
Primitive analog output device for a Raspberry Pi.
Become a Hackaday.io member
Already have an account? Log in.
Just one more thing
To make the experience fit your profile, pick a username and tell us what interests you.
Pick an awesome username
hackaday.io/
Your profile's URL: hackaday.io/username. Max 25 alphanumeric characters.
Pick a few interests
Projects that share your interests
People that share your interests


 ziggurat29
 Nick Sayer
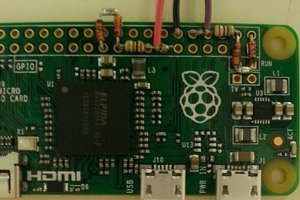
 Marcel
I know this project is a bit old, but this is the first project I've ever seen which shows that programming GPIO-related stuff for Linux isn't nearly as complicated as I thought. I've always wanted to get into using Linux for embedded work, but I love being in control of the CPU directly so I've almost always done all my work in C. But projects like this keep making me think I'd better learn something about this sooner or later...
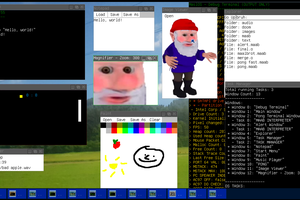
Really neat idea for a school project. I bet having hardware made your project stand out for sure! Though it's pretty crazy that someone wrote a shell...
Cheers!