The camera lenses is part of a backflow preventer on a sump pump.
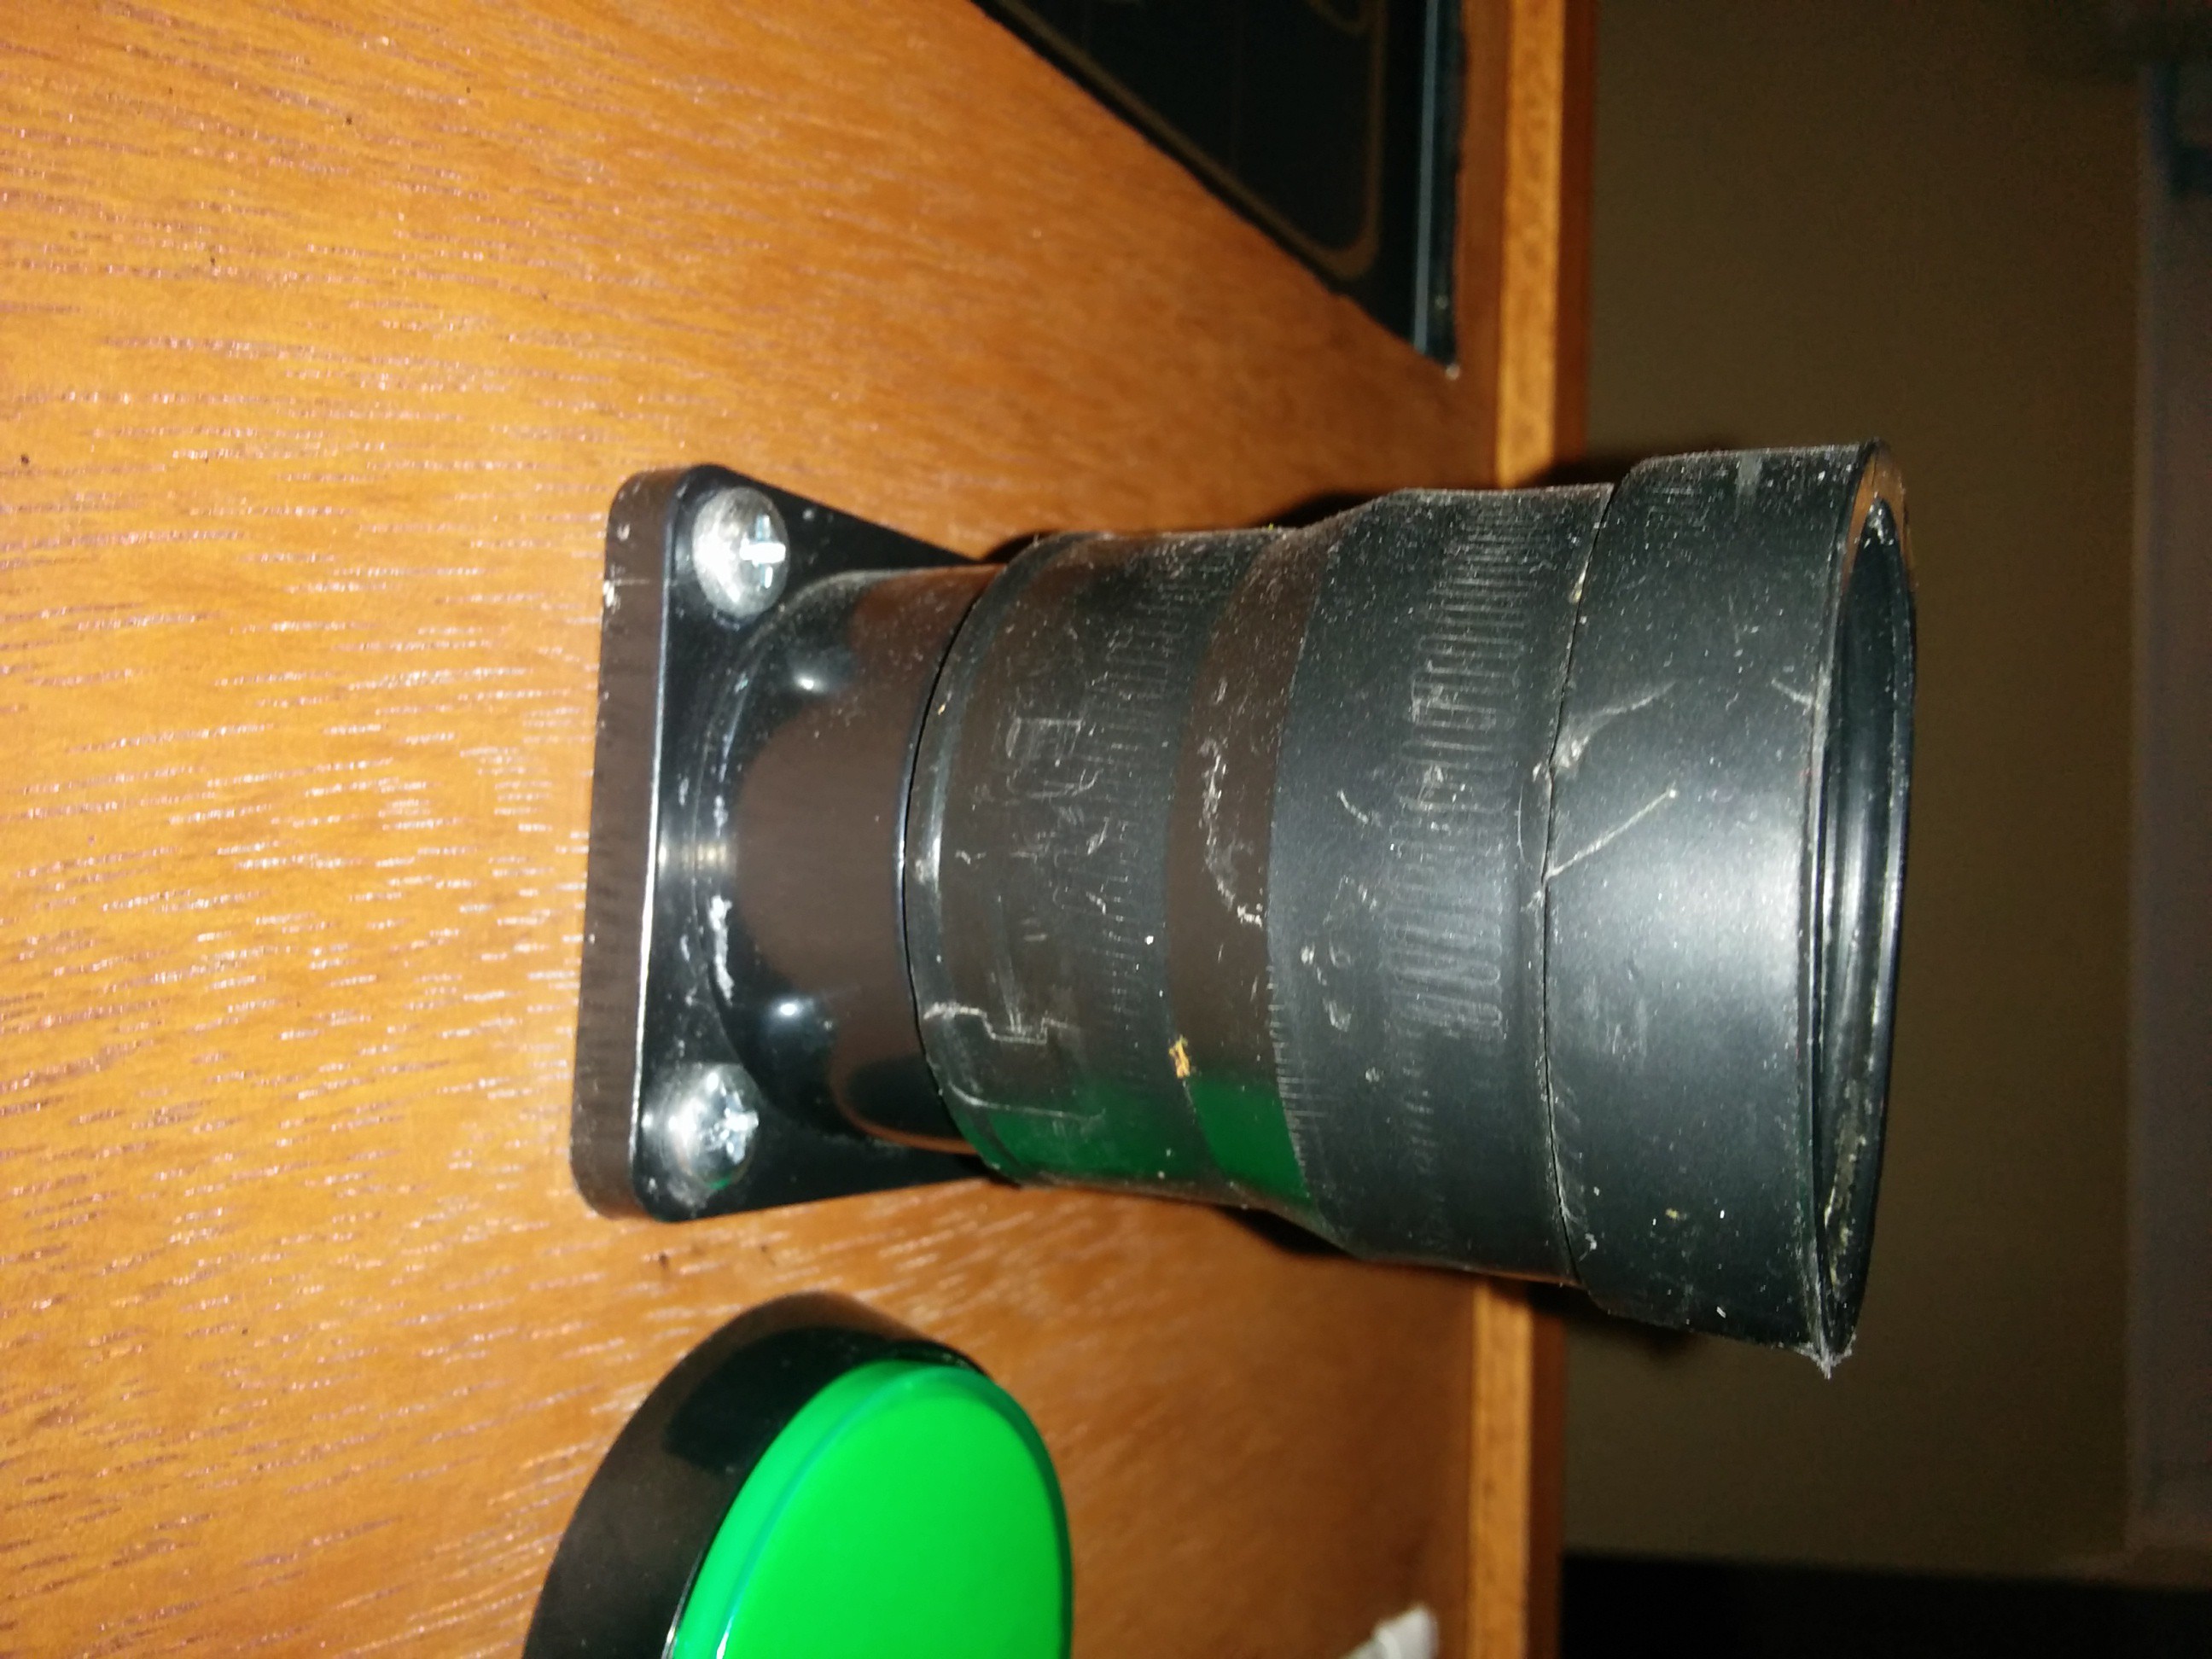
The glass lenses was chiseled off a halogen bulb and superglued.

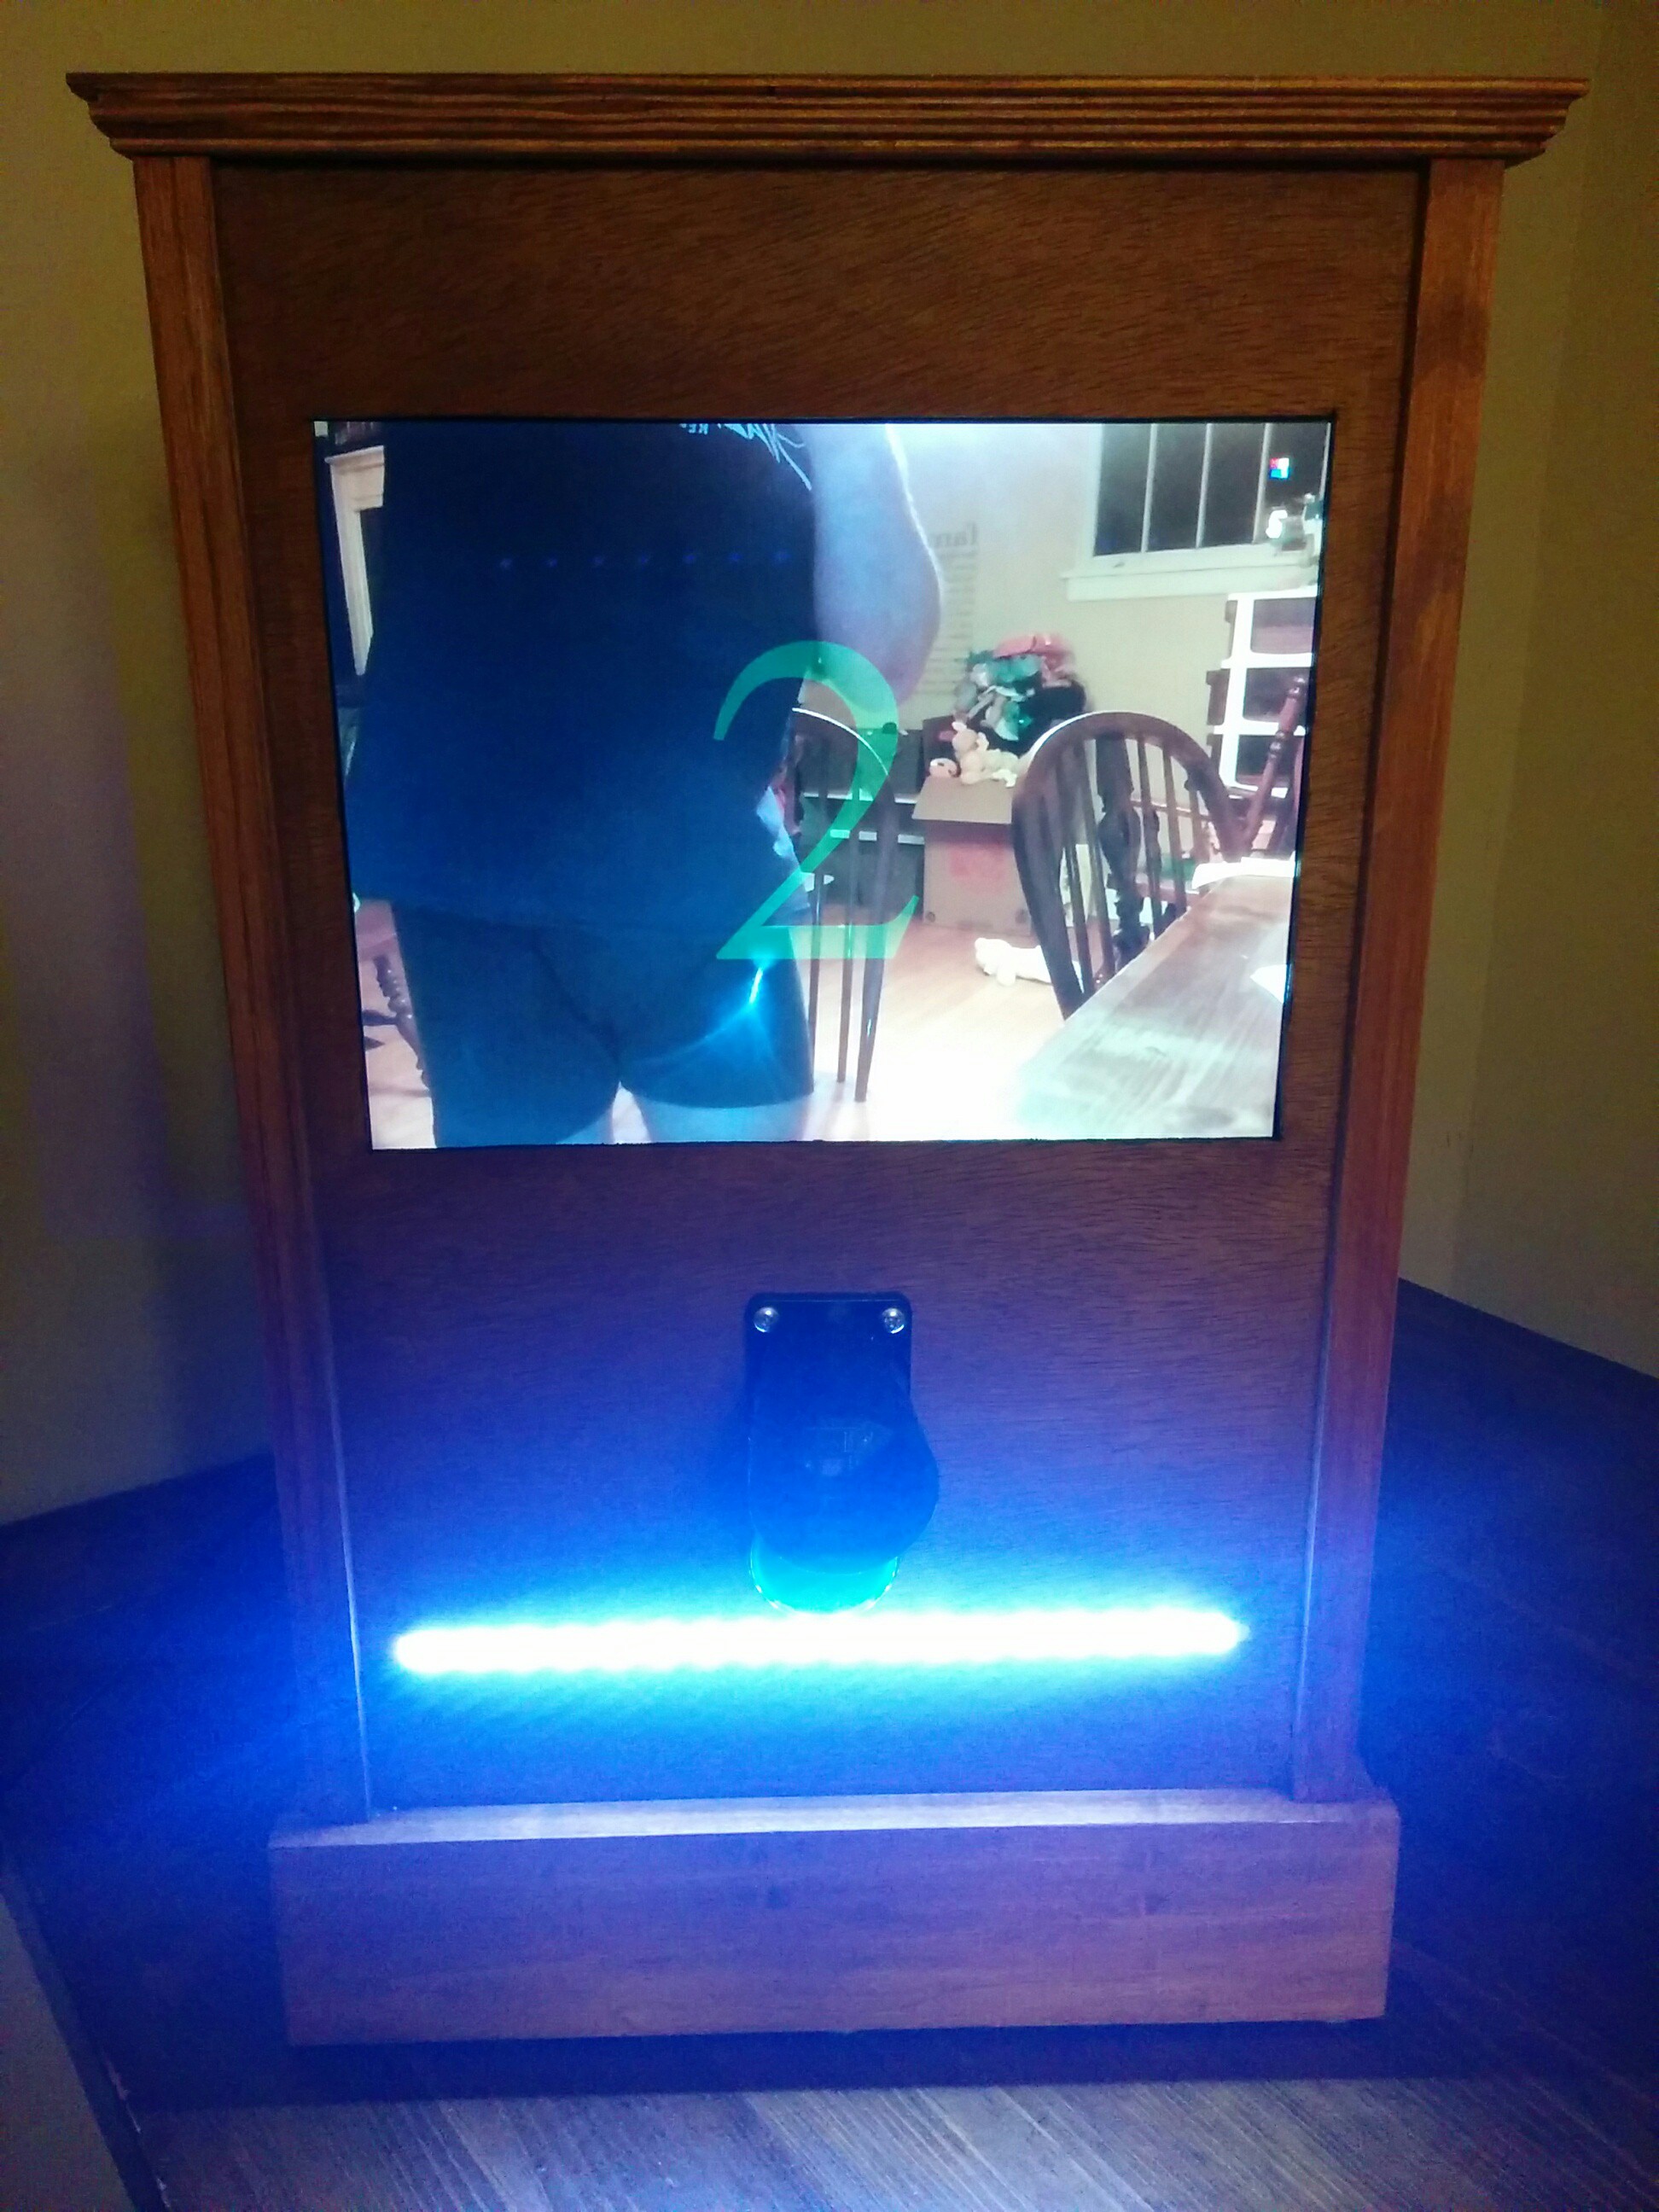
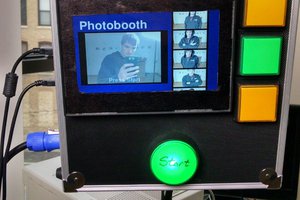
The LED strip comes only for the preview and photo.
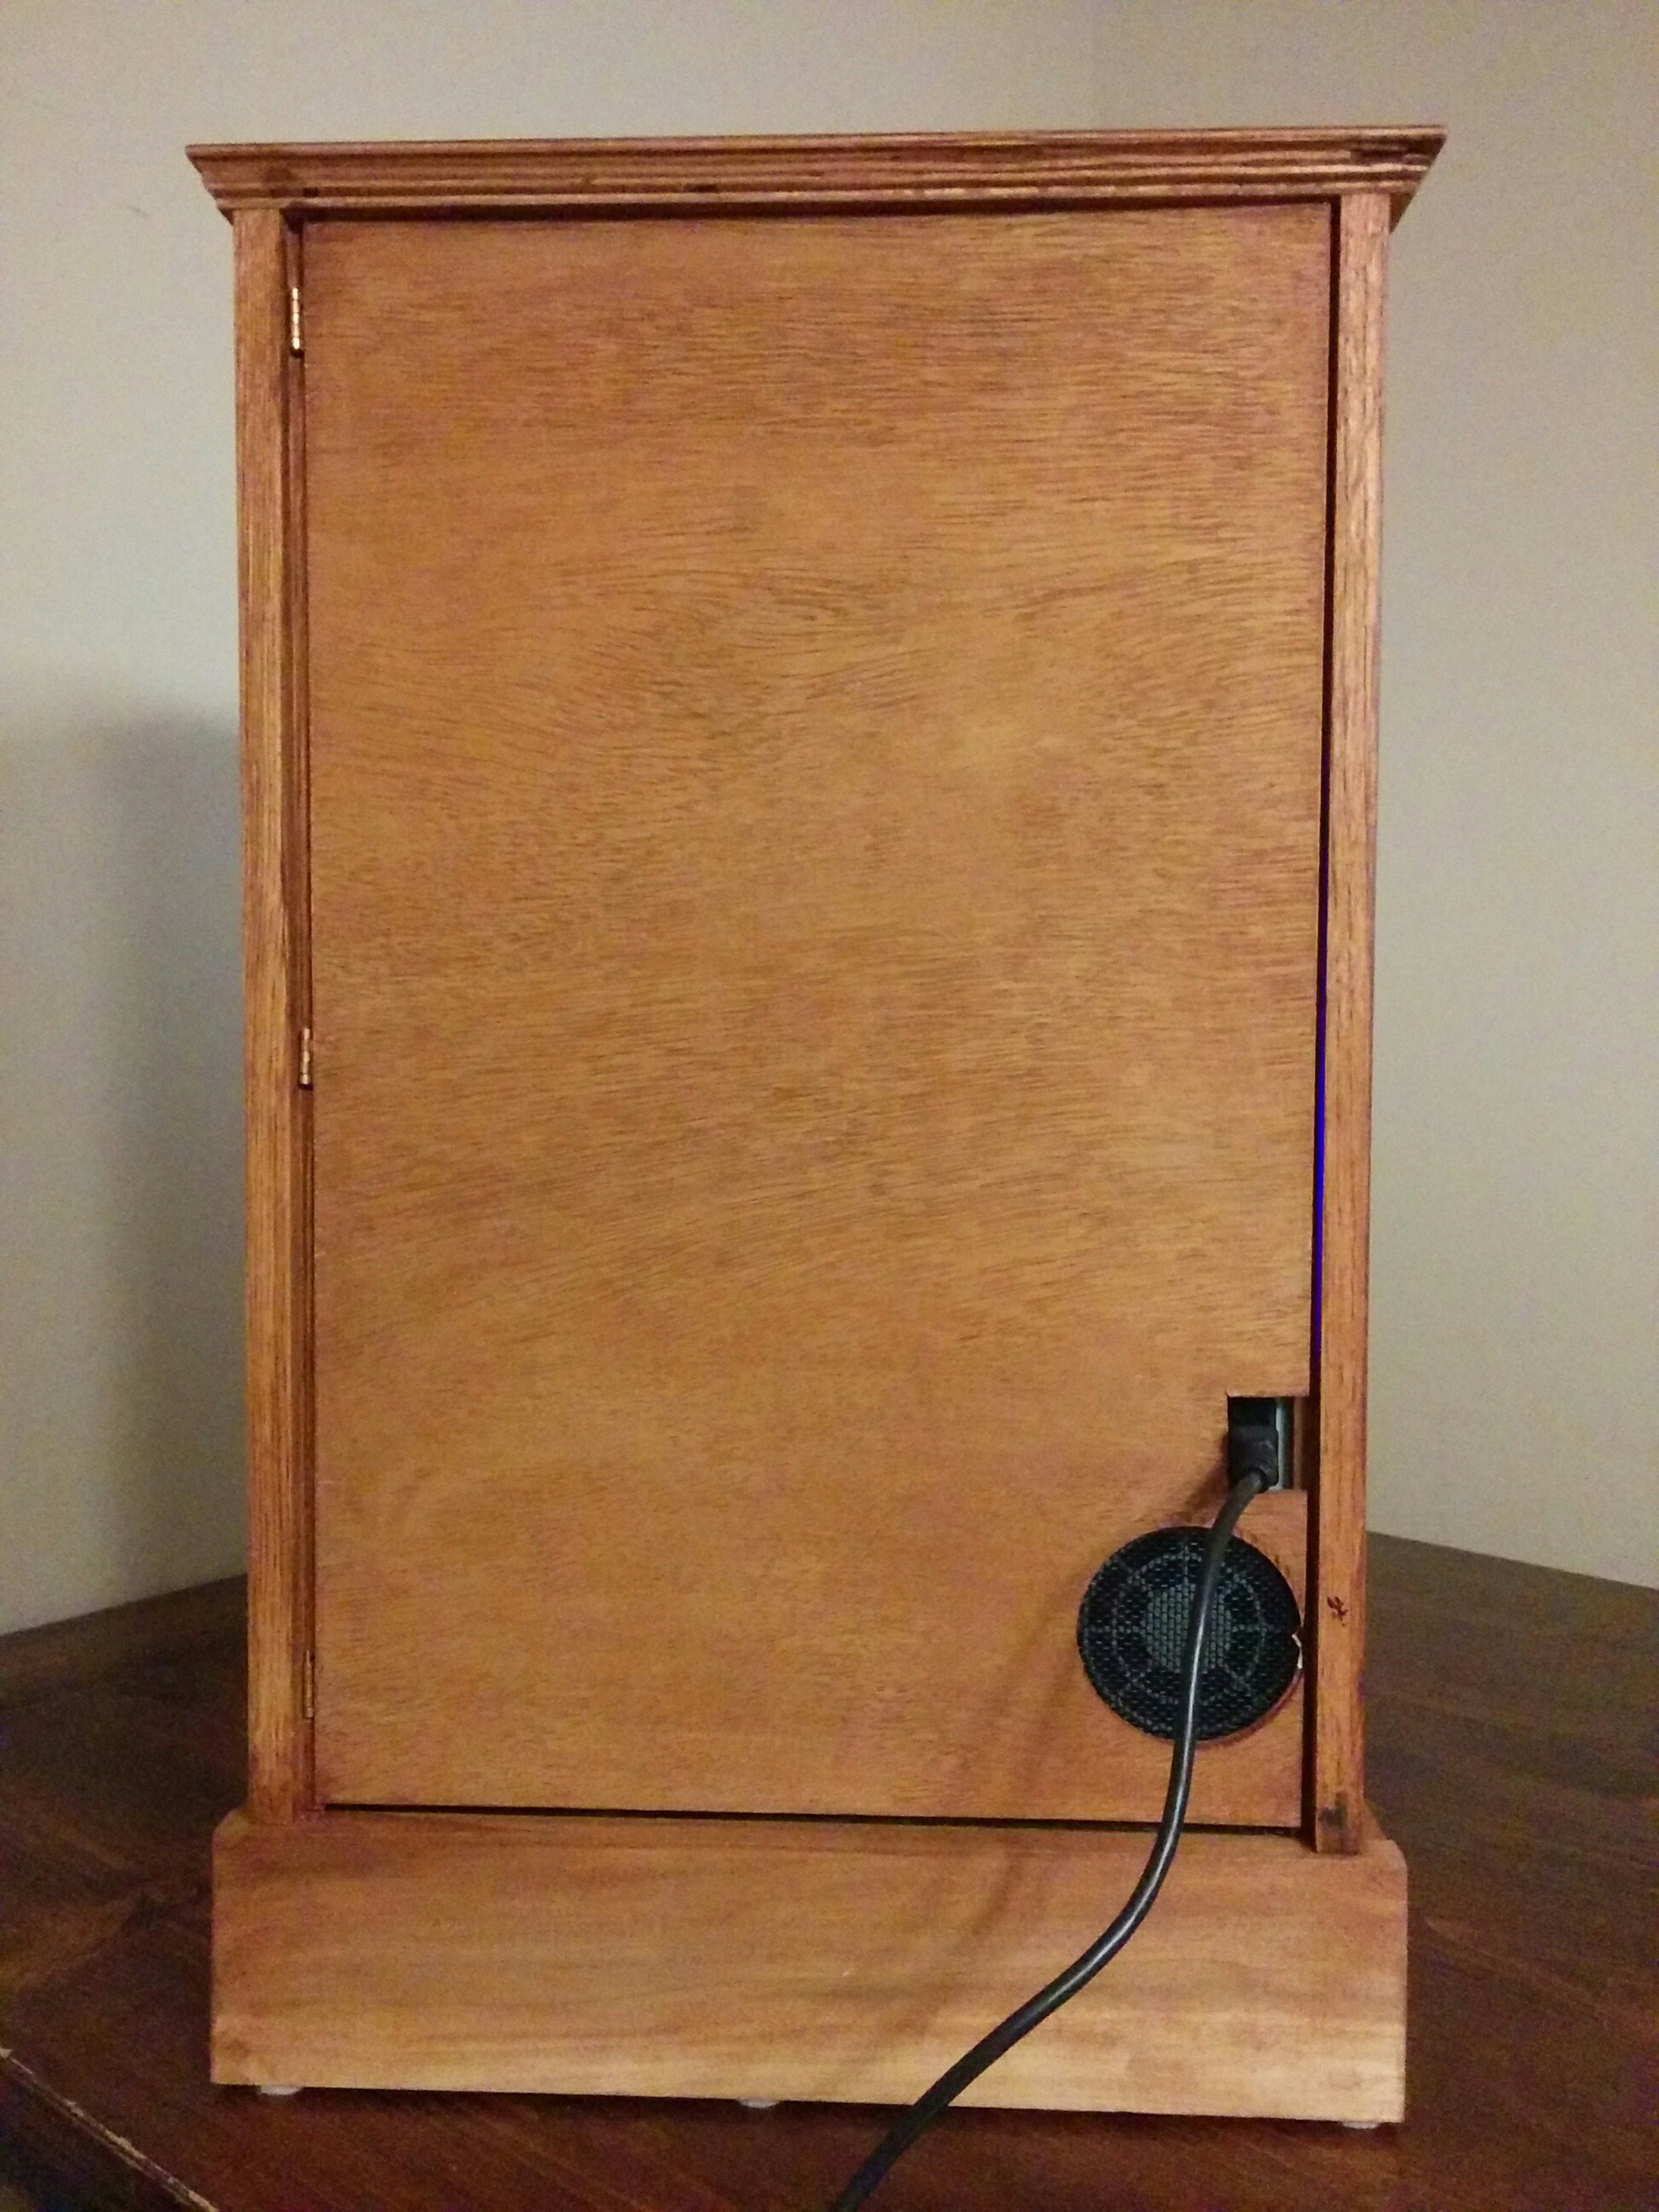
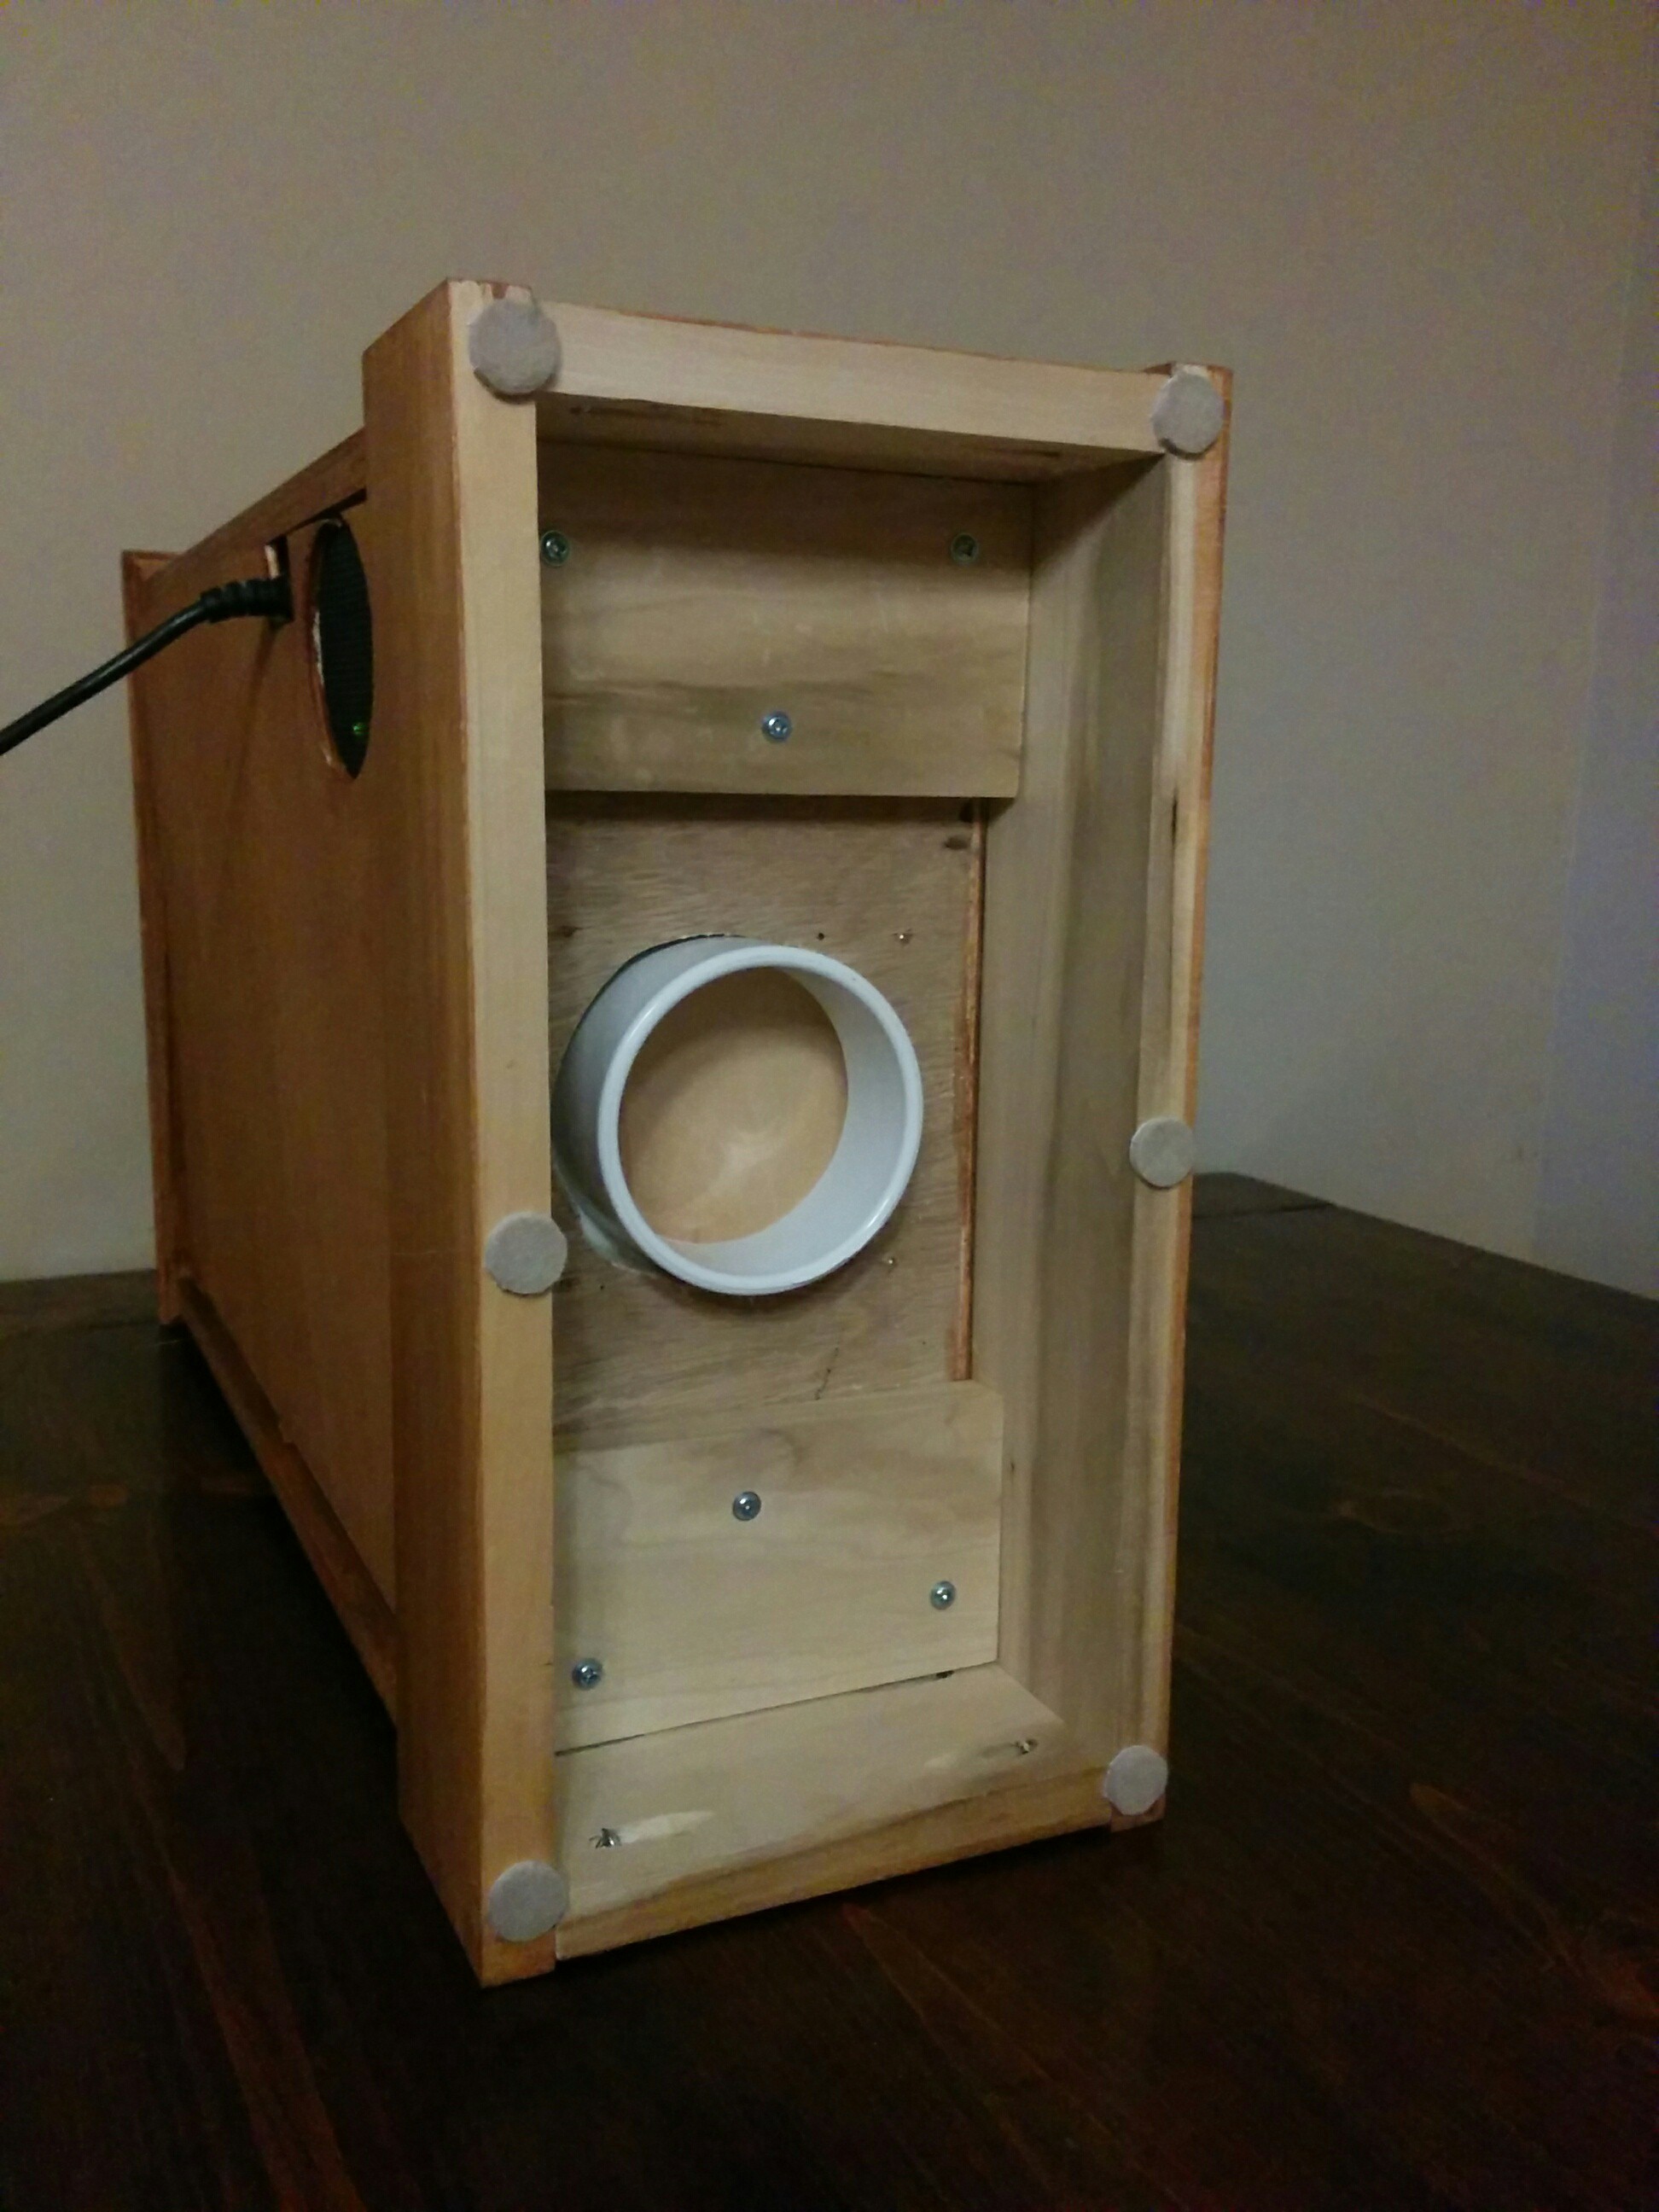
The back has the fan opening, leftover screen from a window was used.
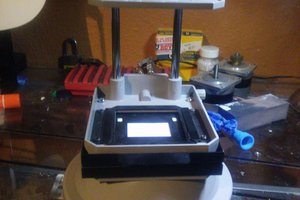
The back door opens to all the magic.
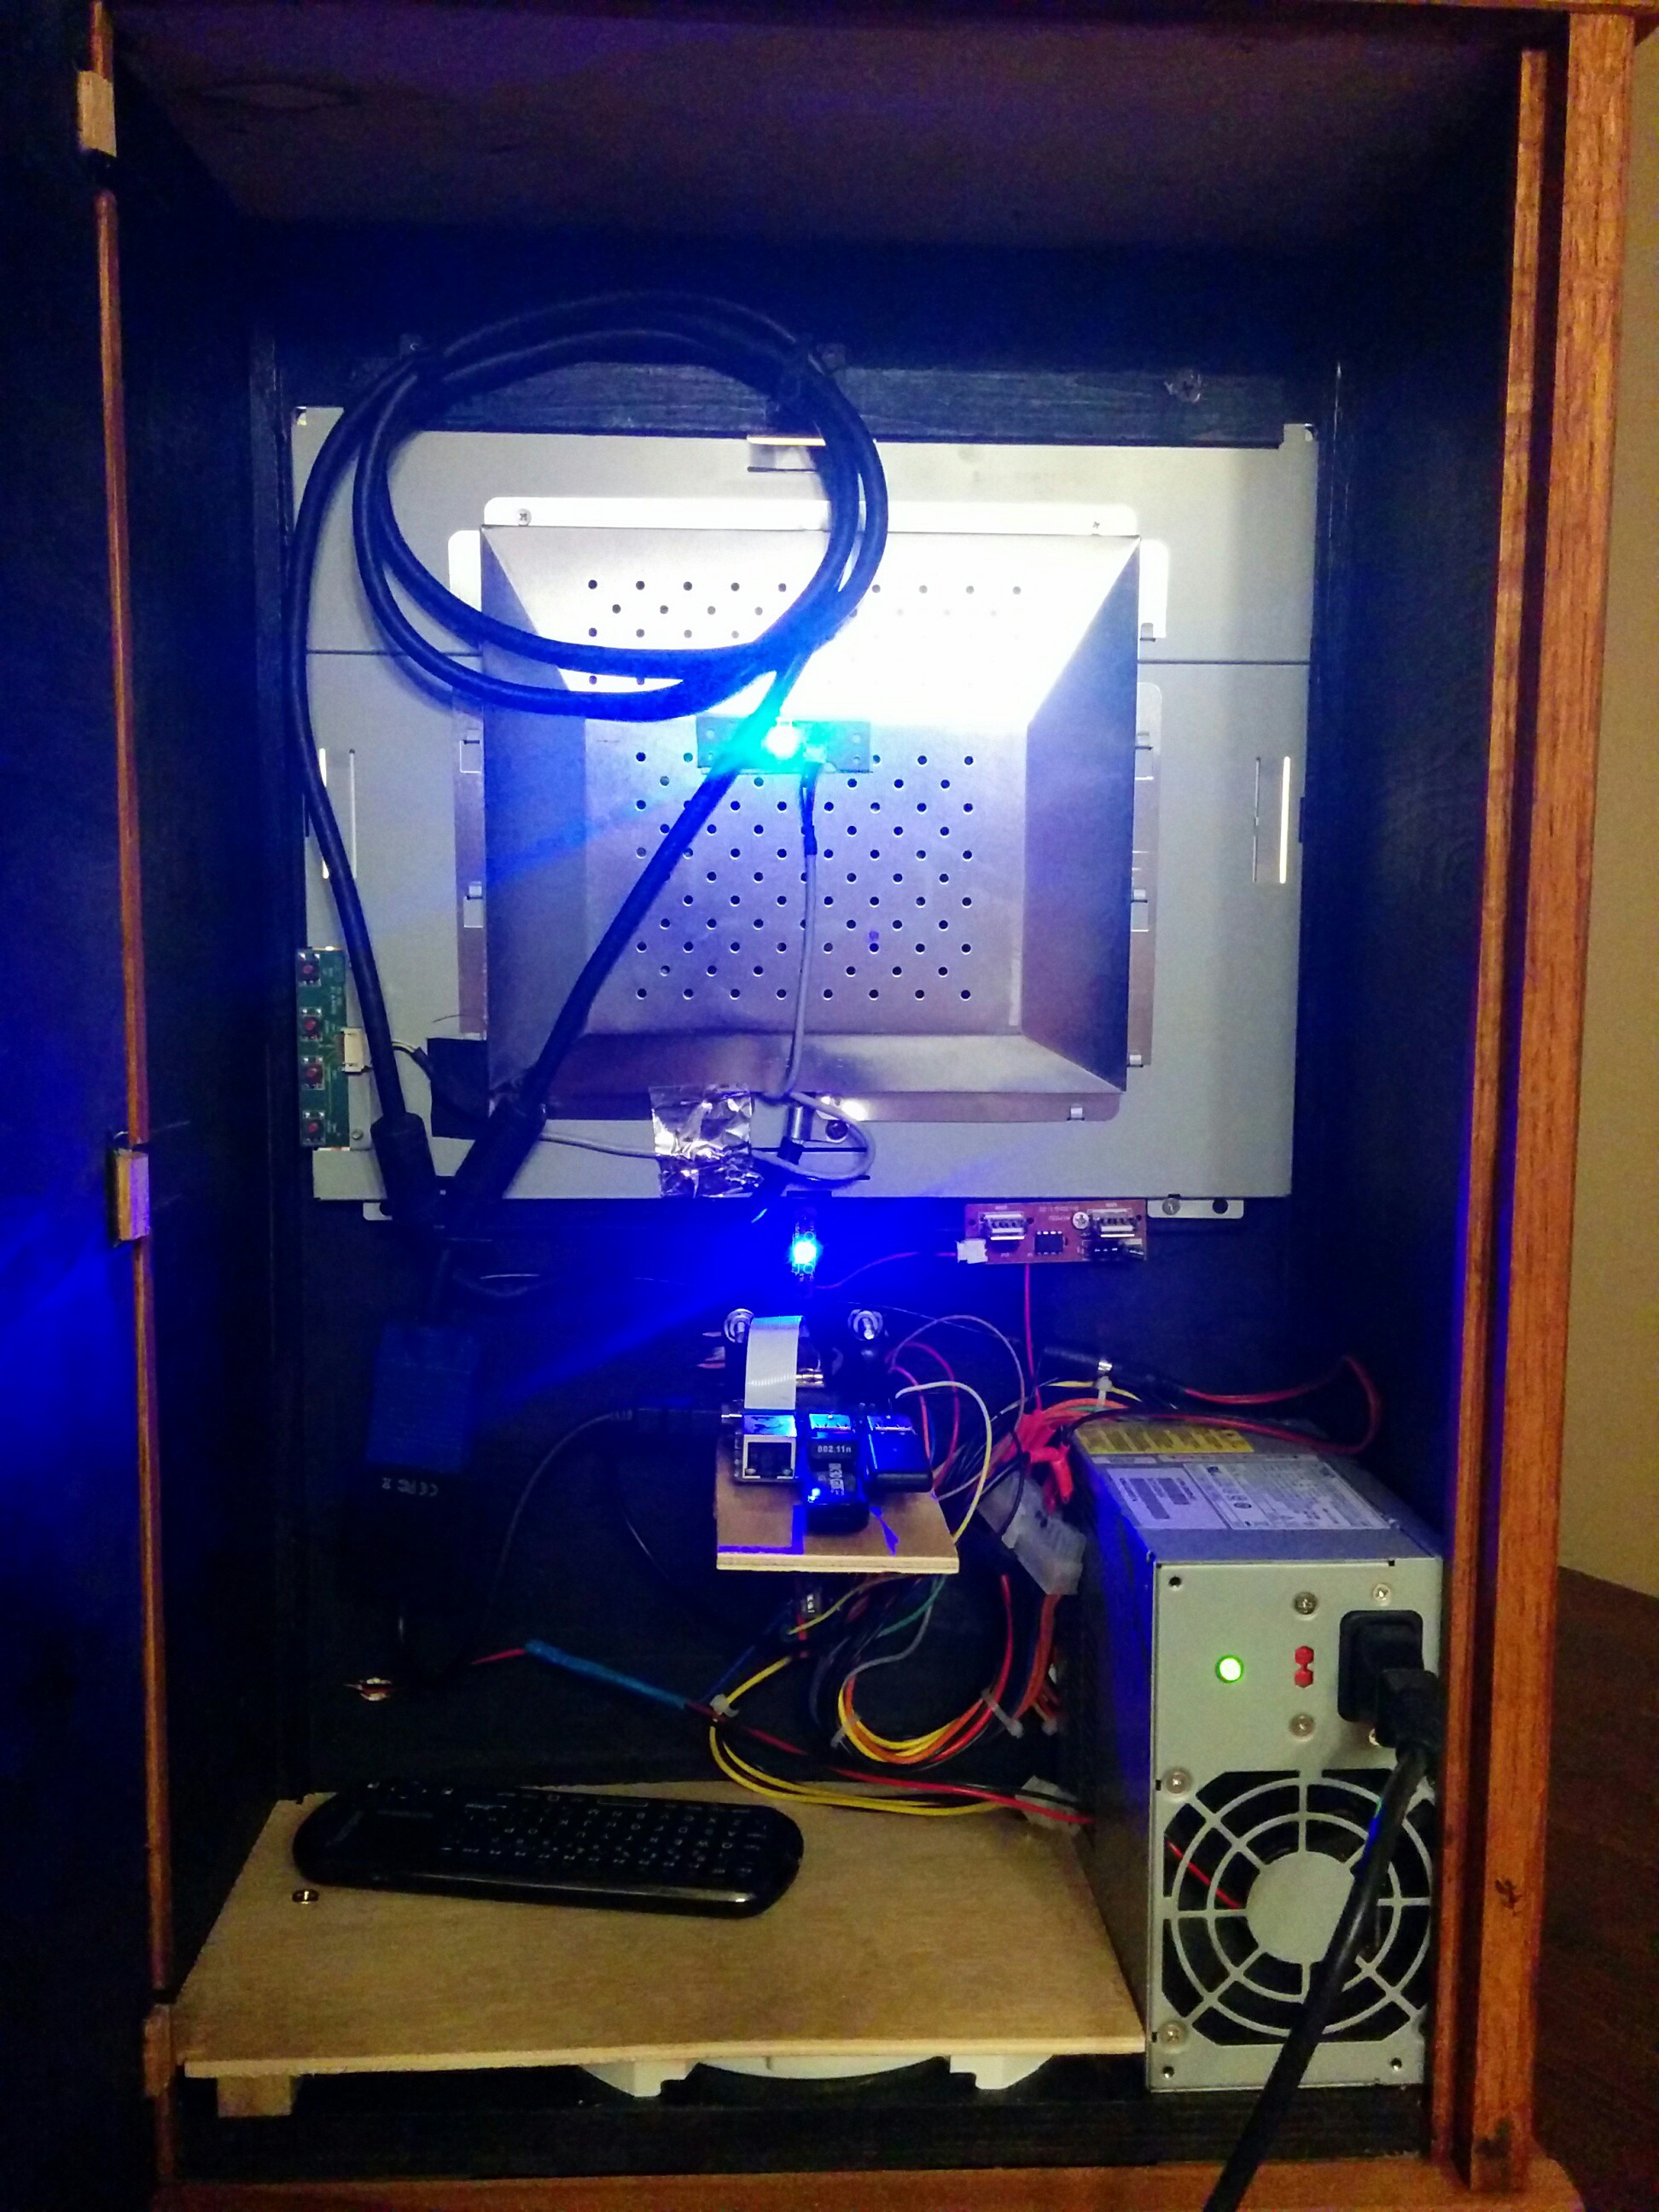
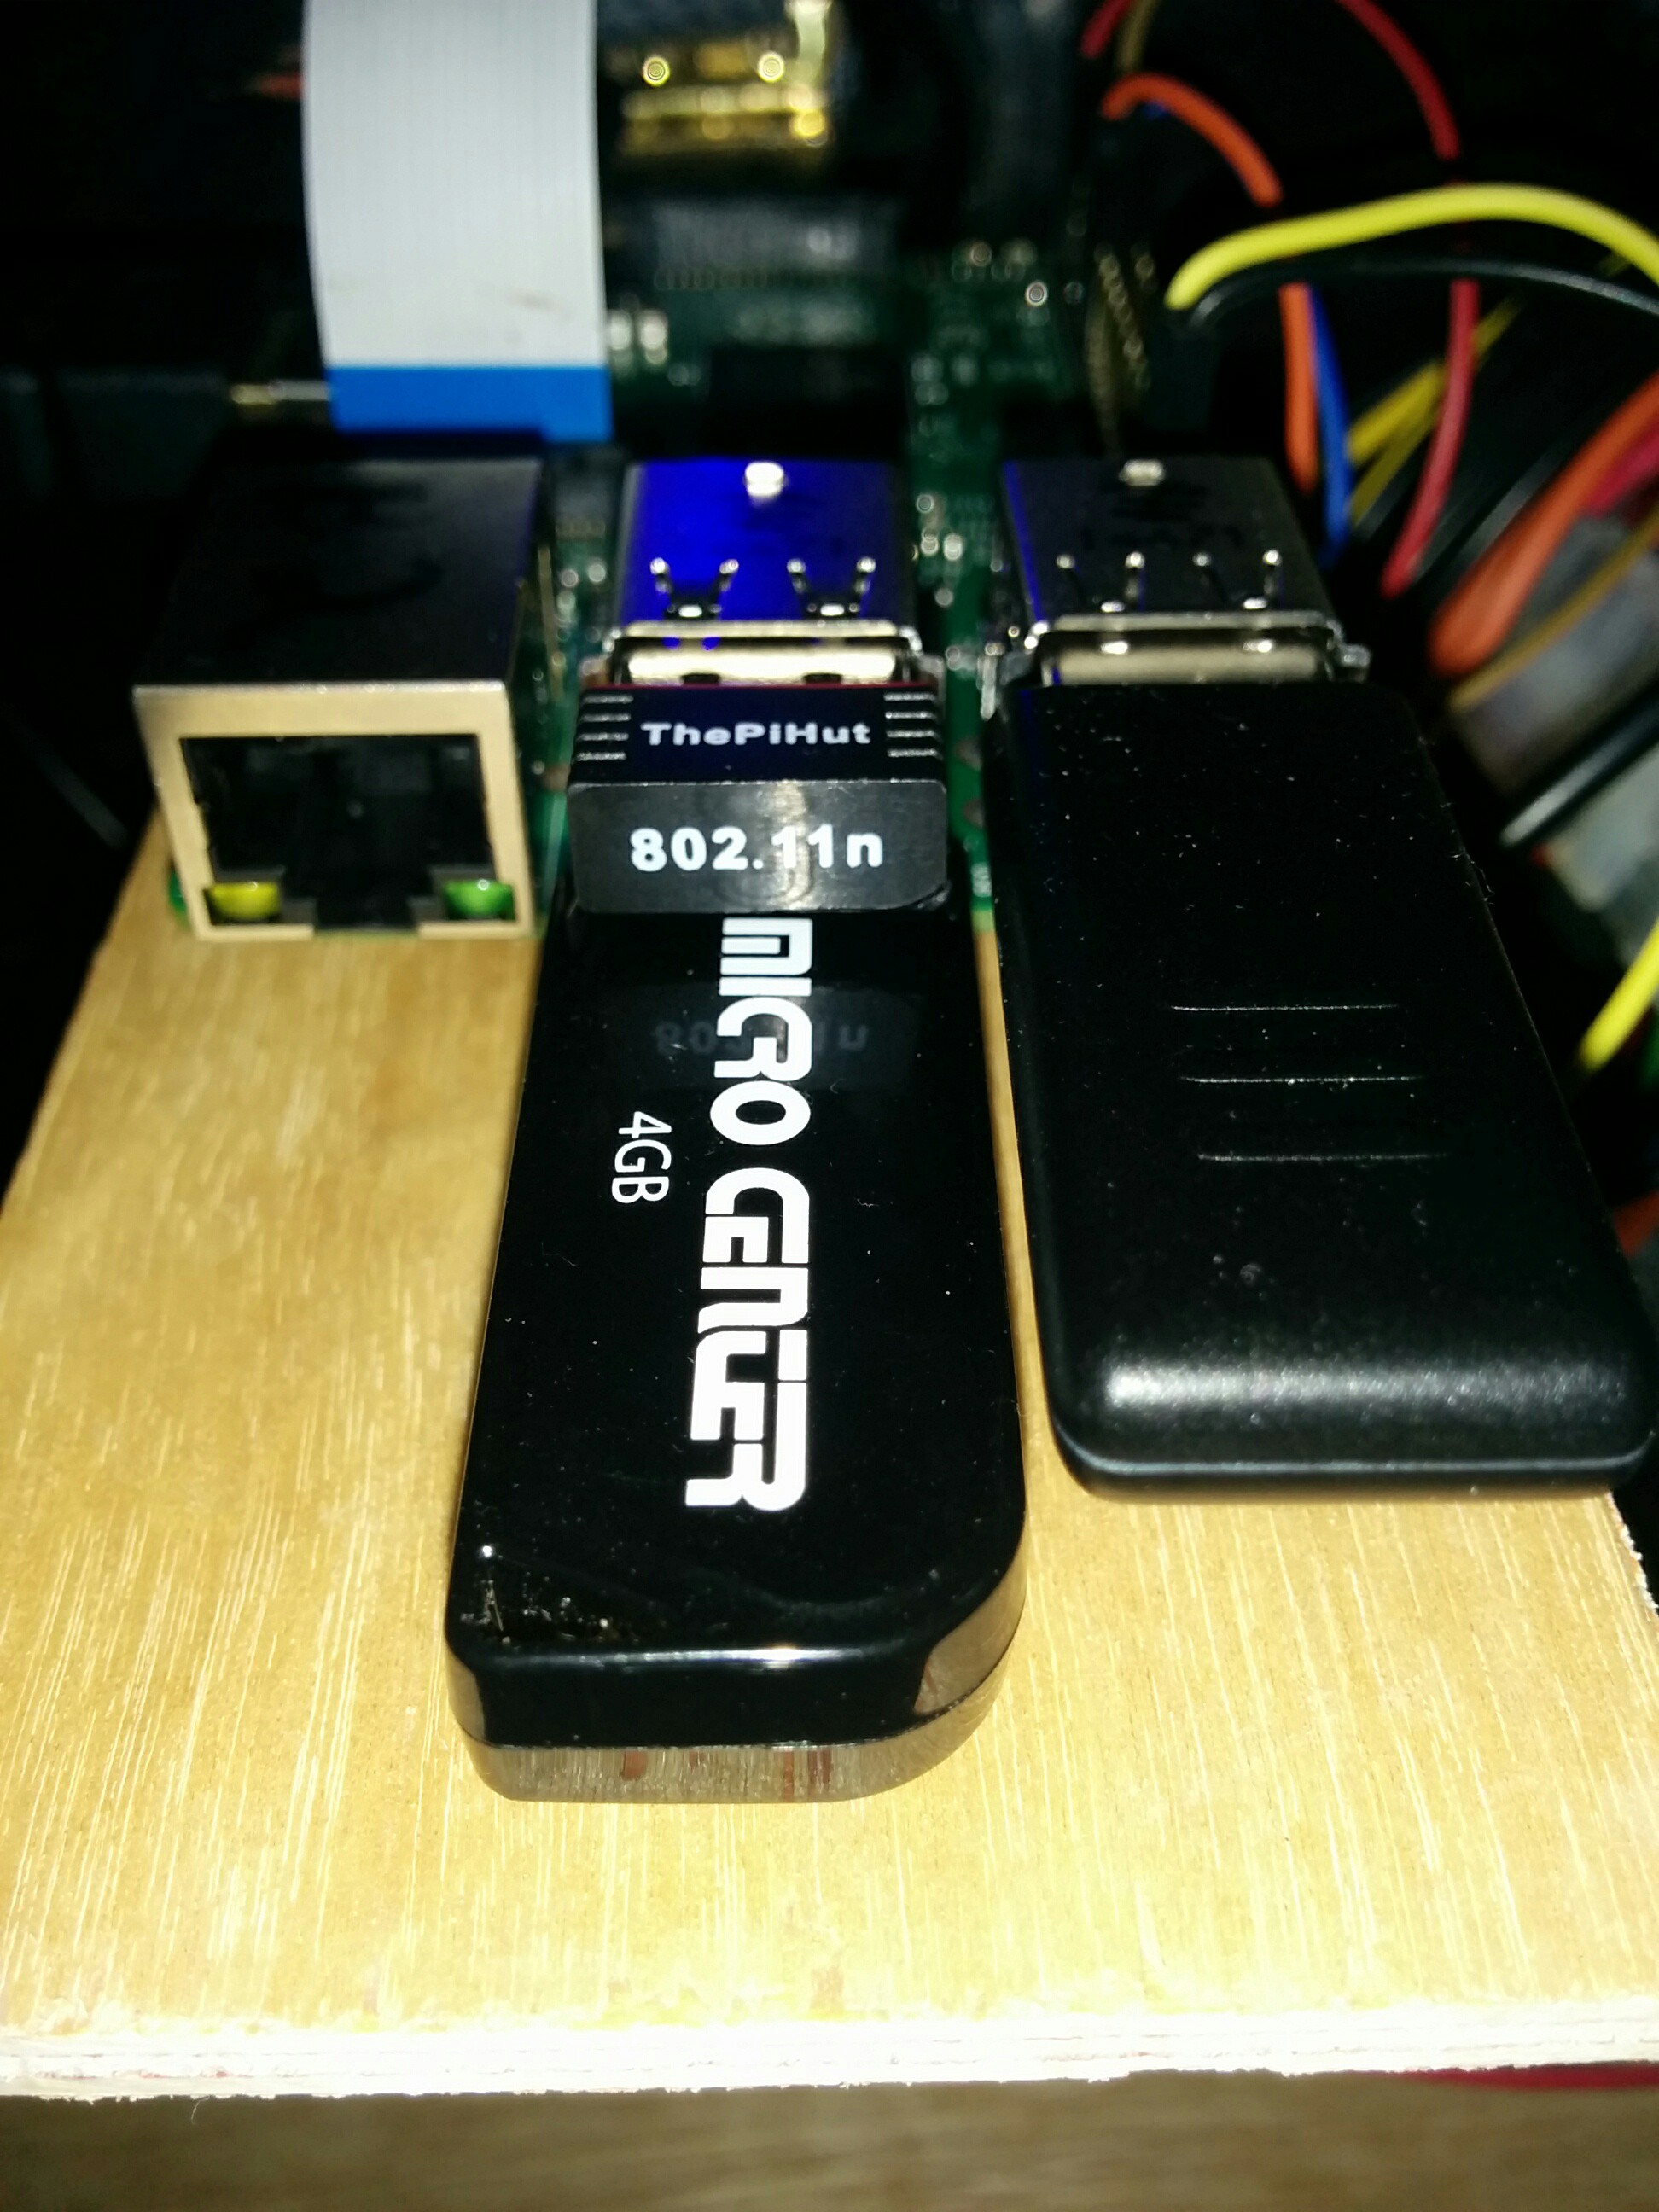
On a small piece of wood is the PiB2. USB wifi, USB stick, and a small keyboard are plugged in.
The bottom of the cabinet has a 6" toilet flange so that it can be mounted on a post.
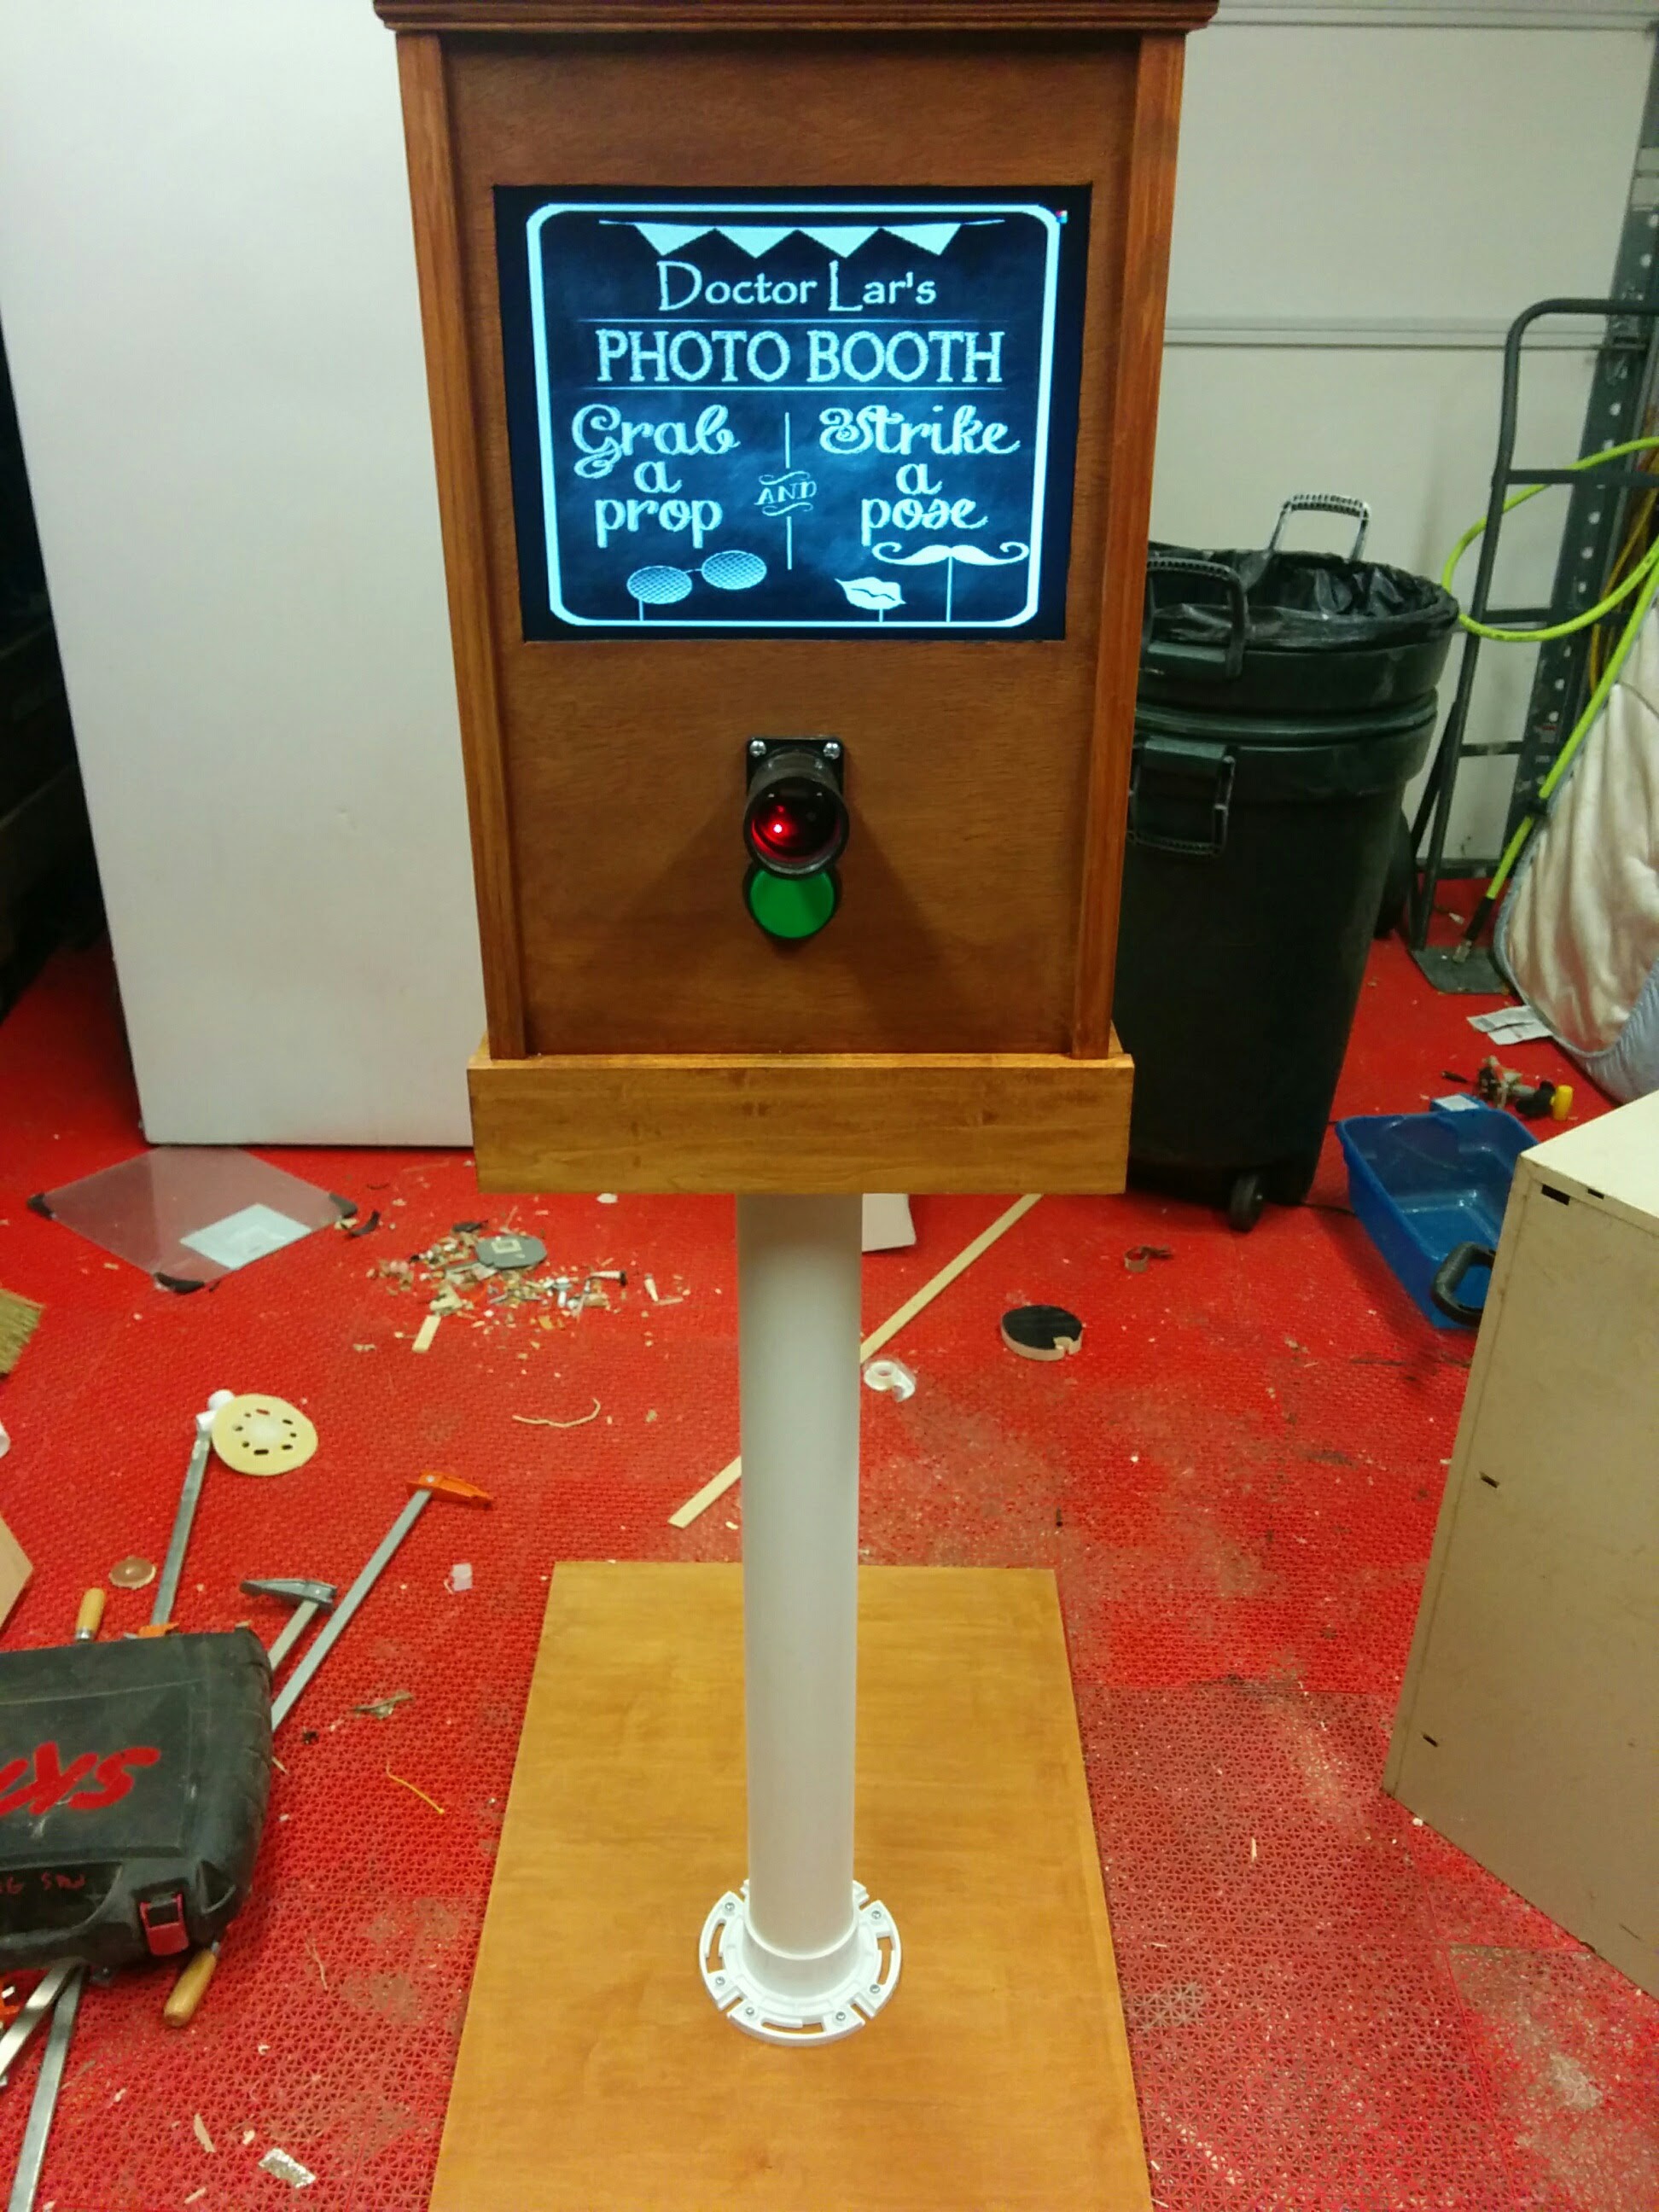
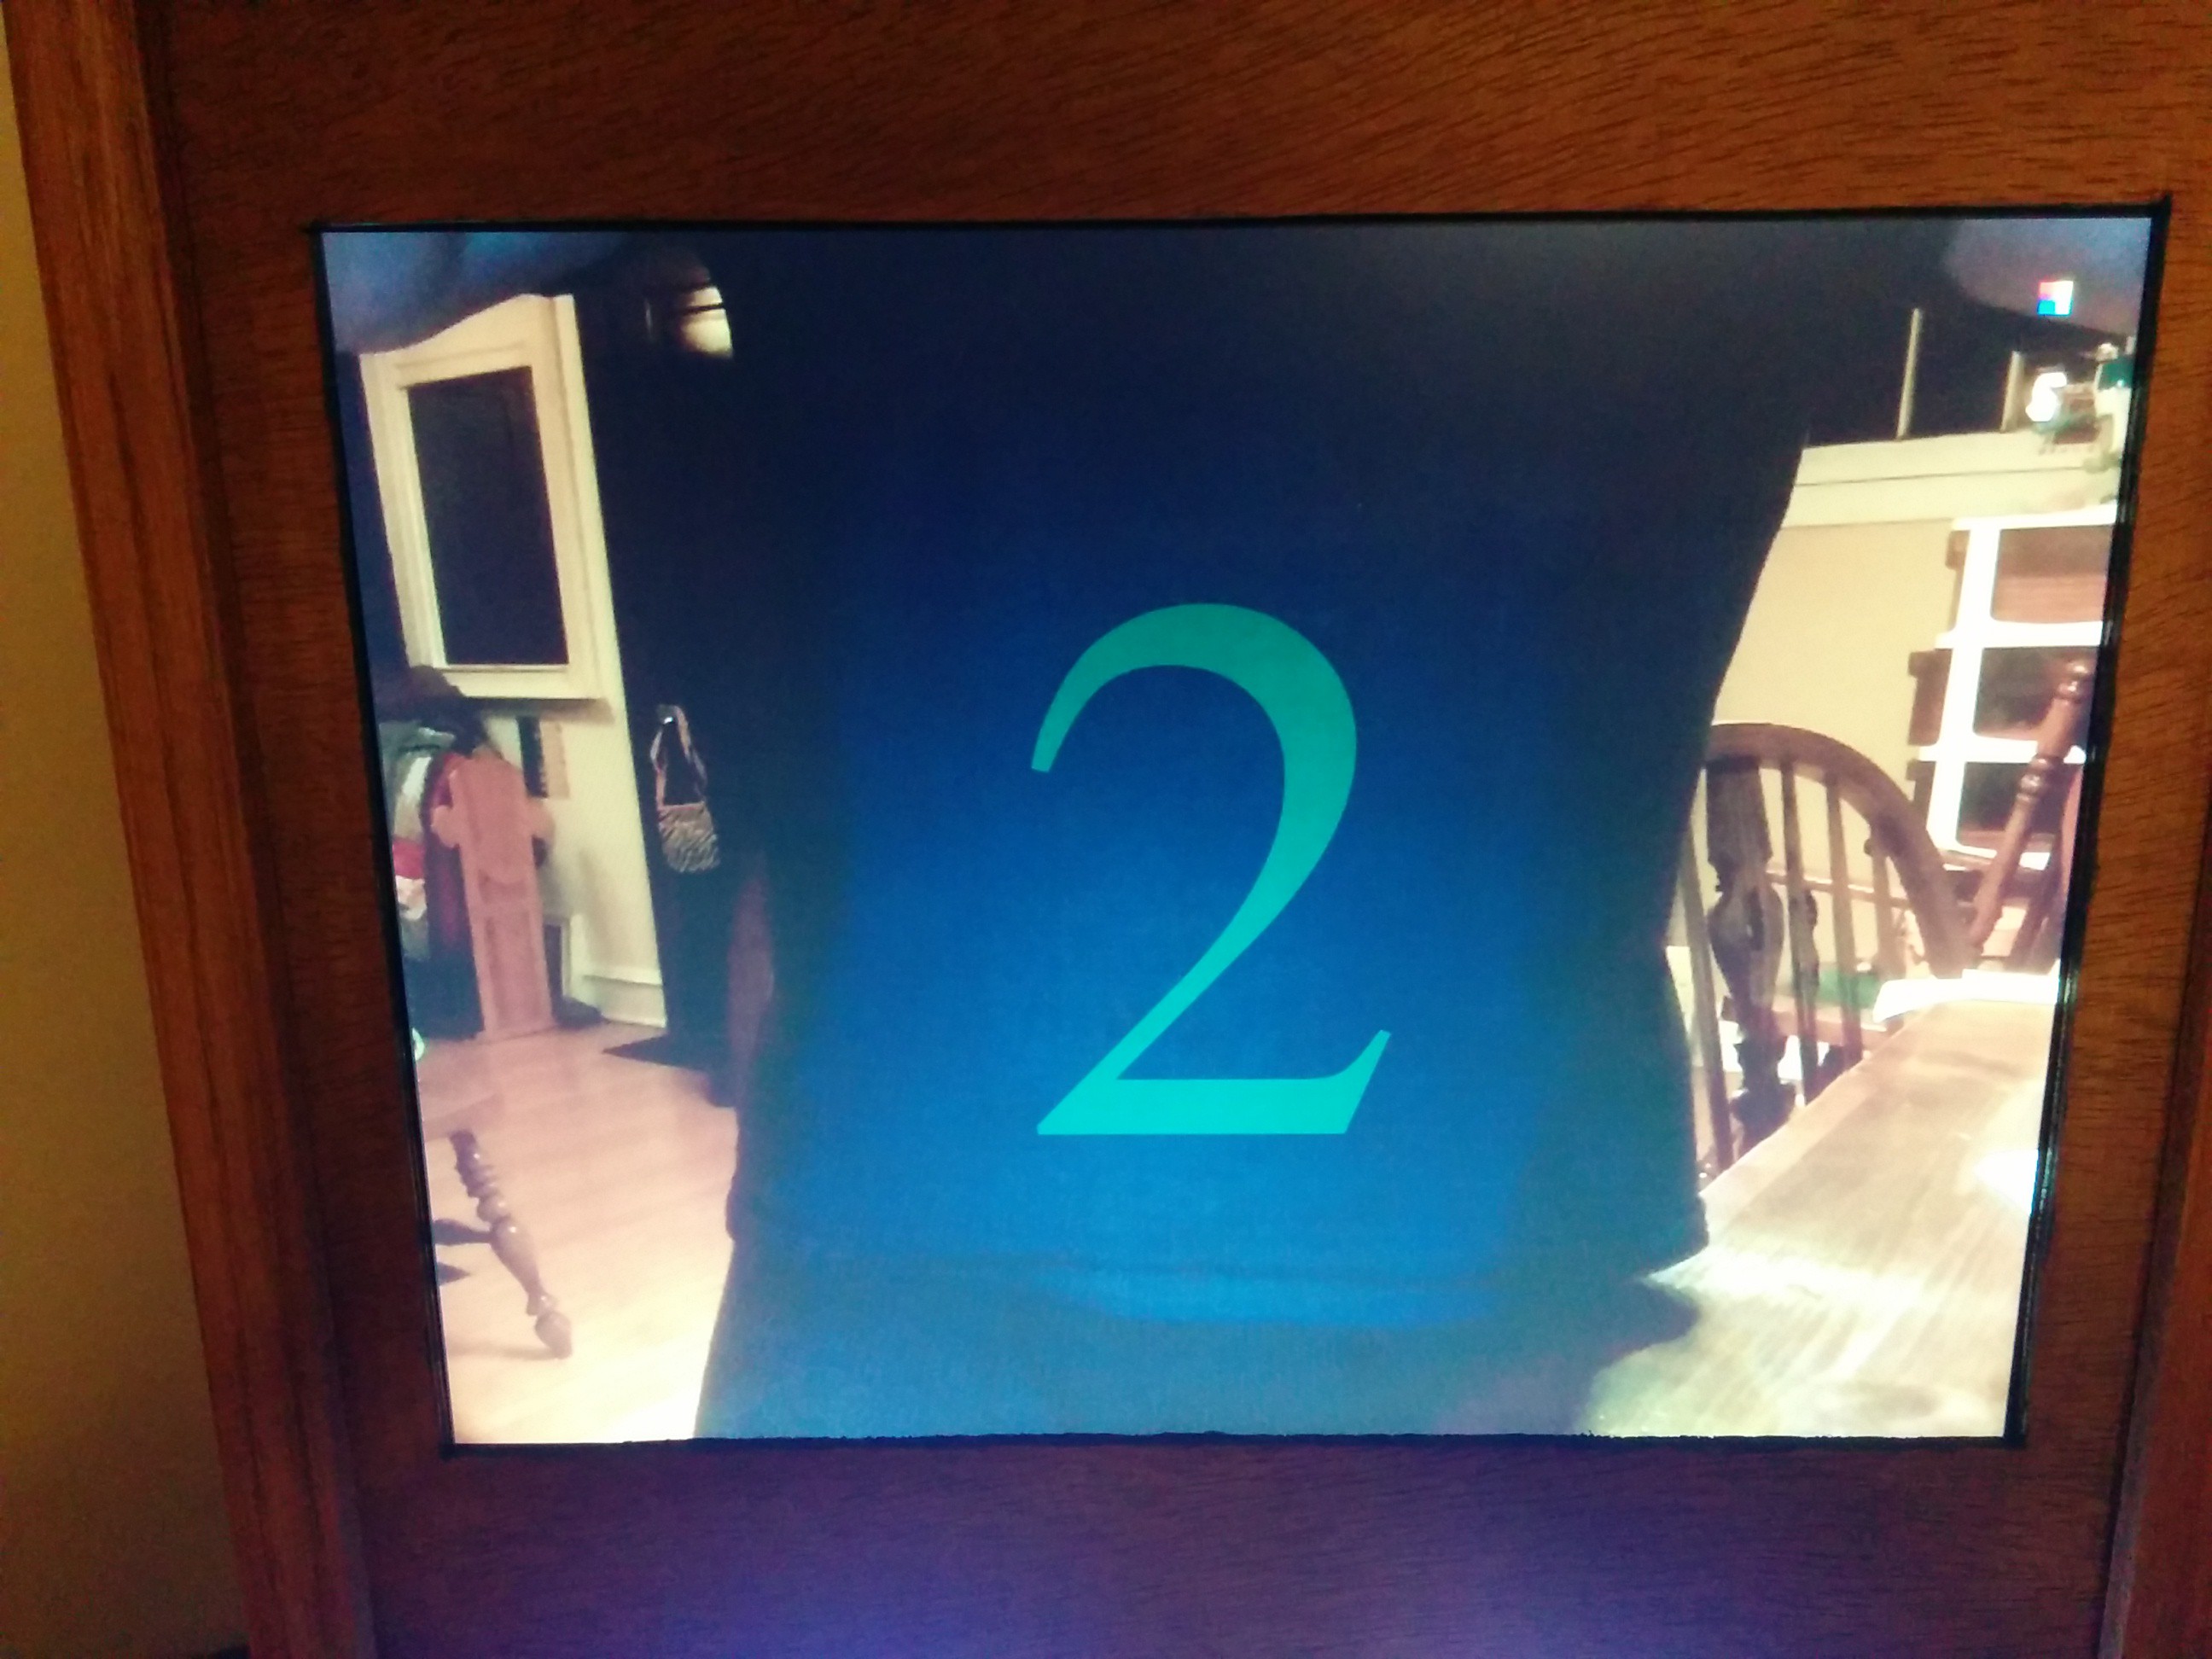
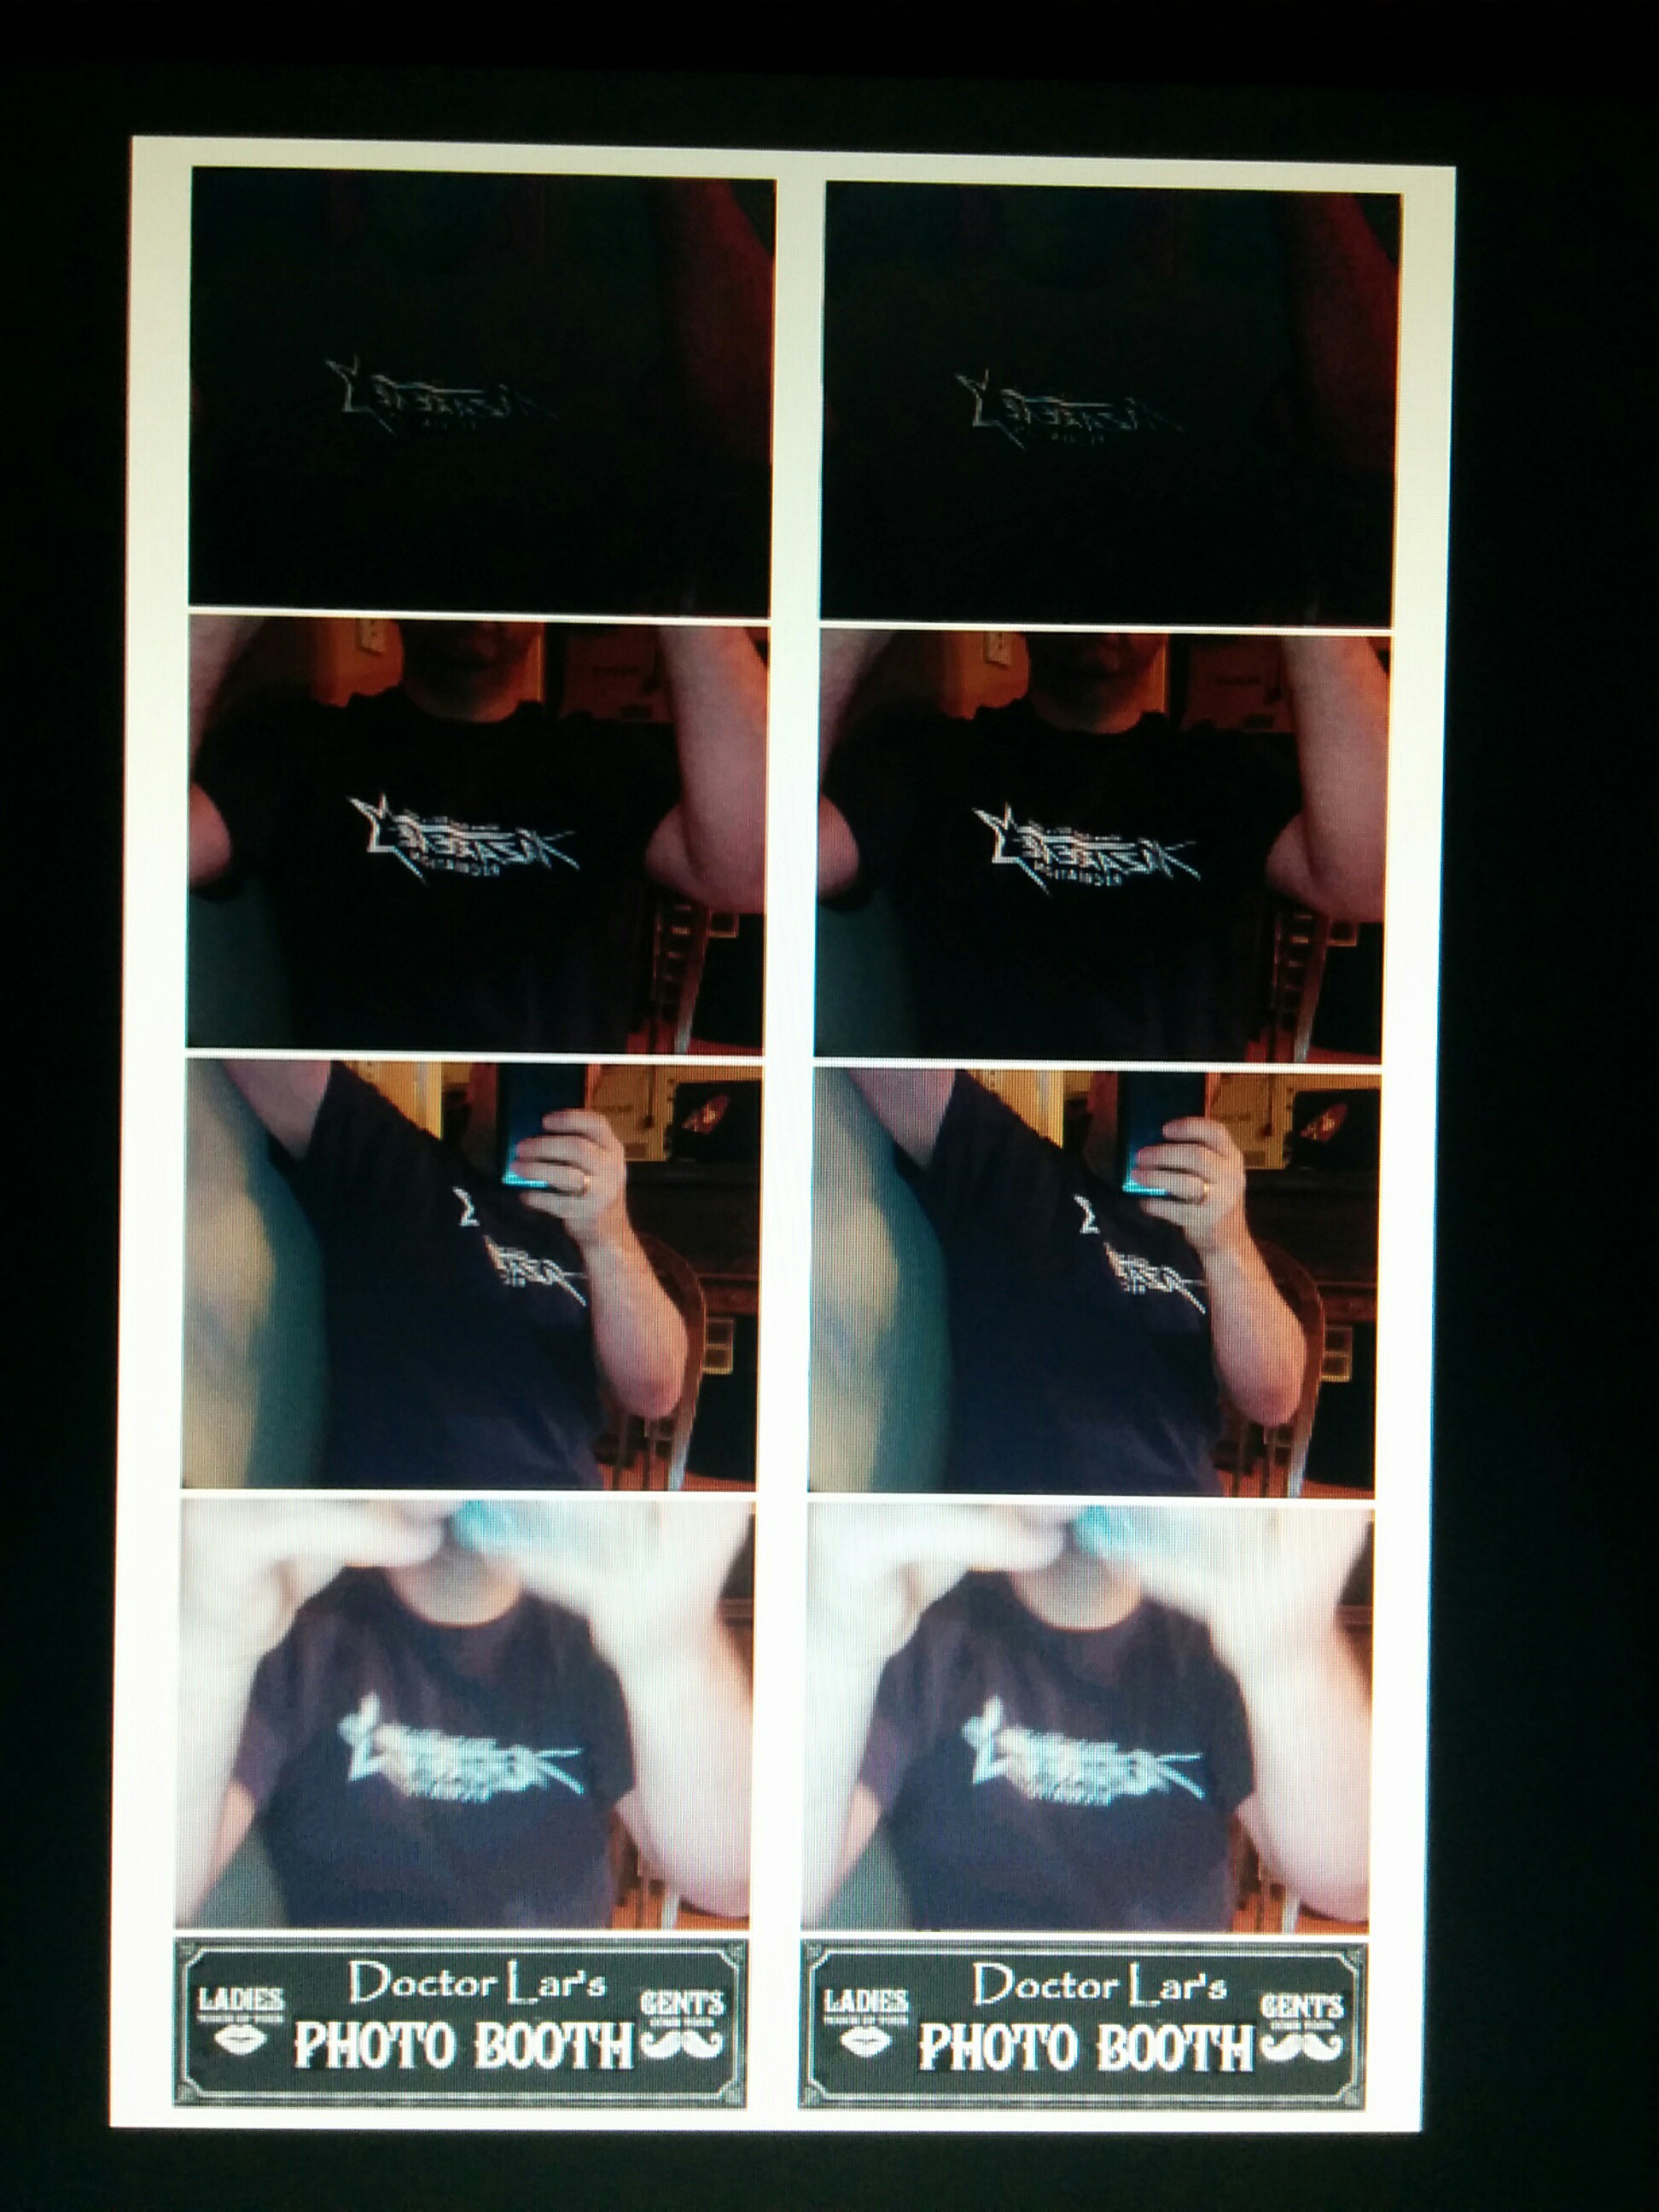
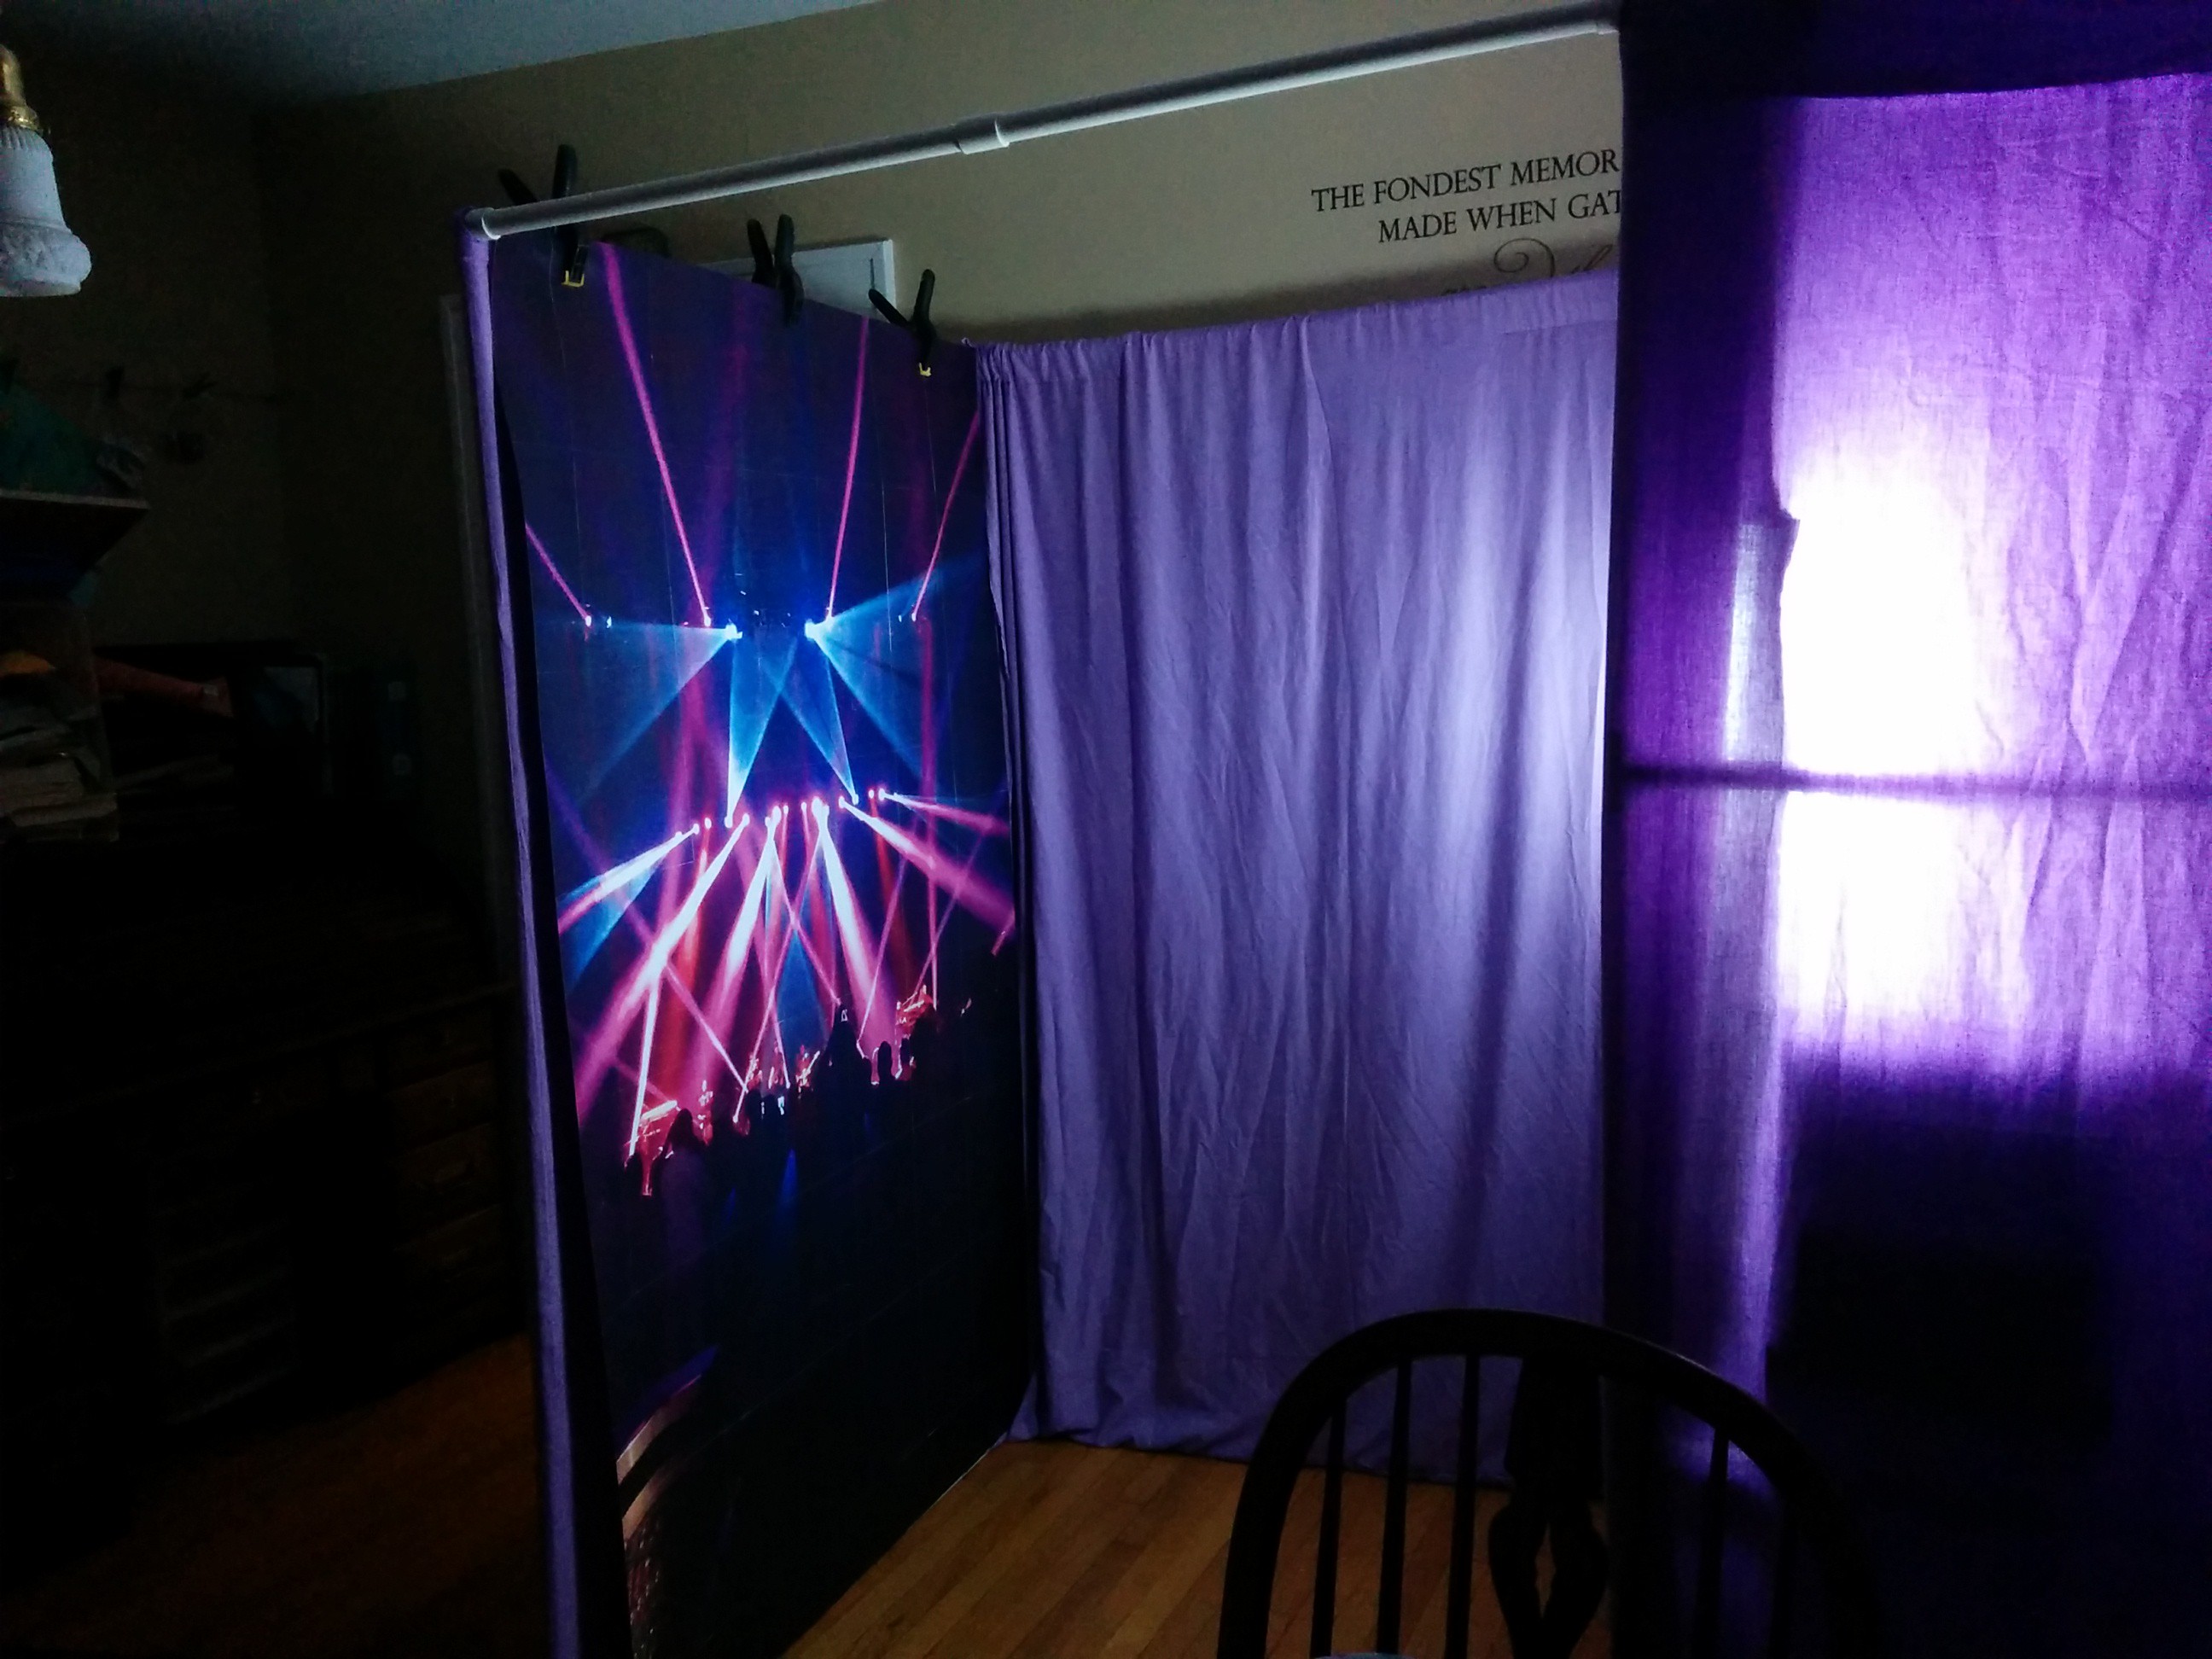
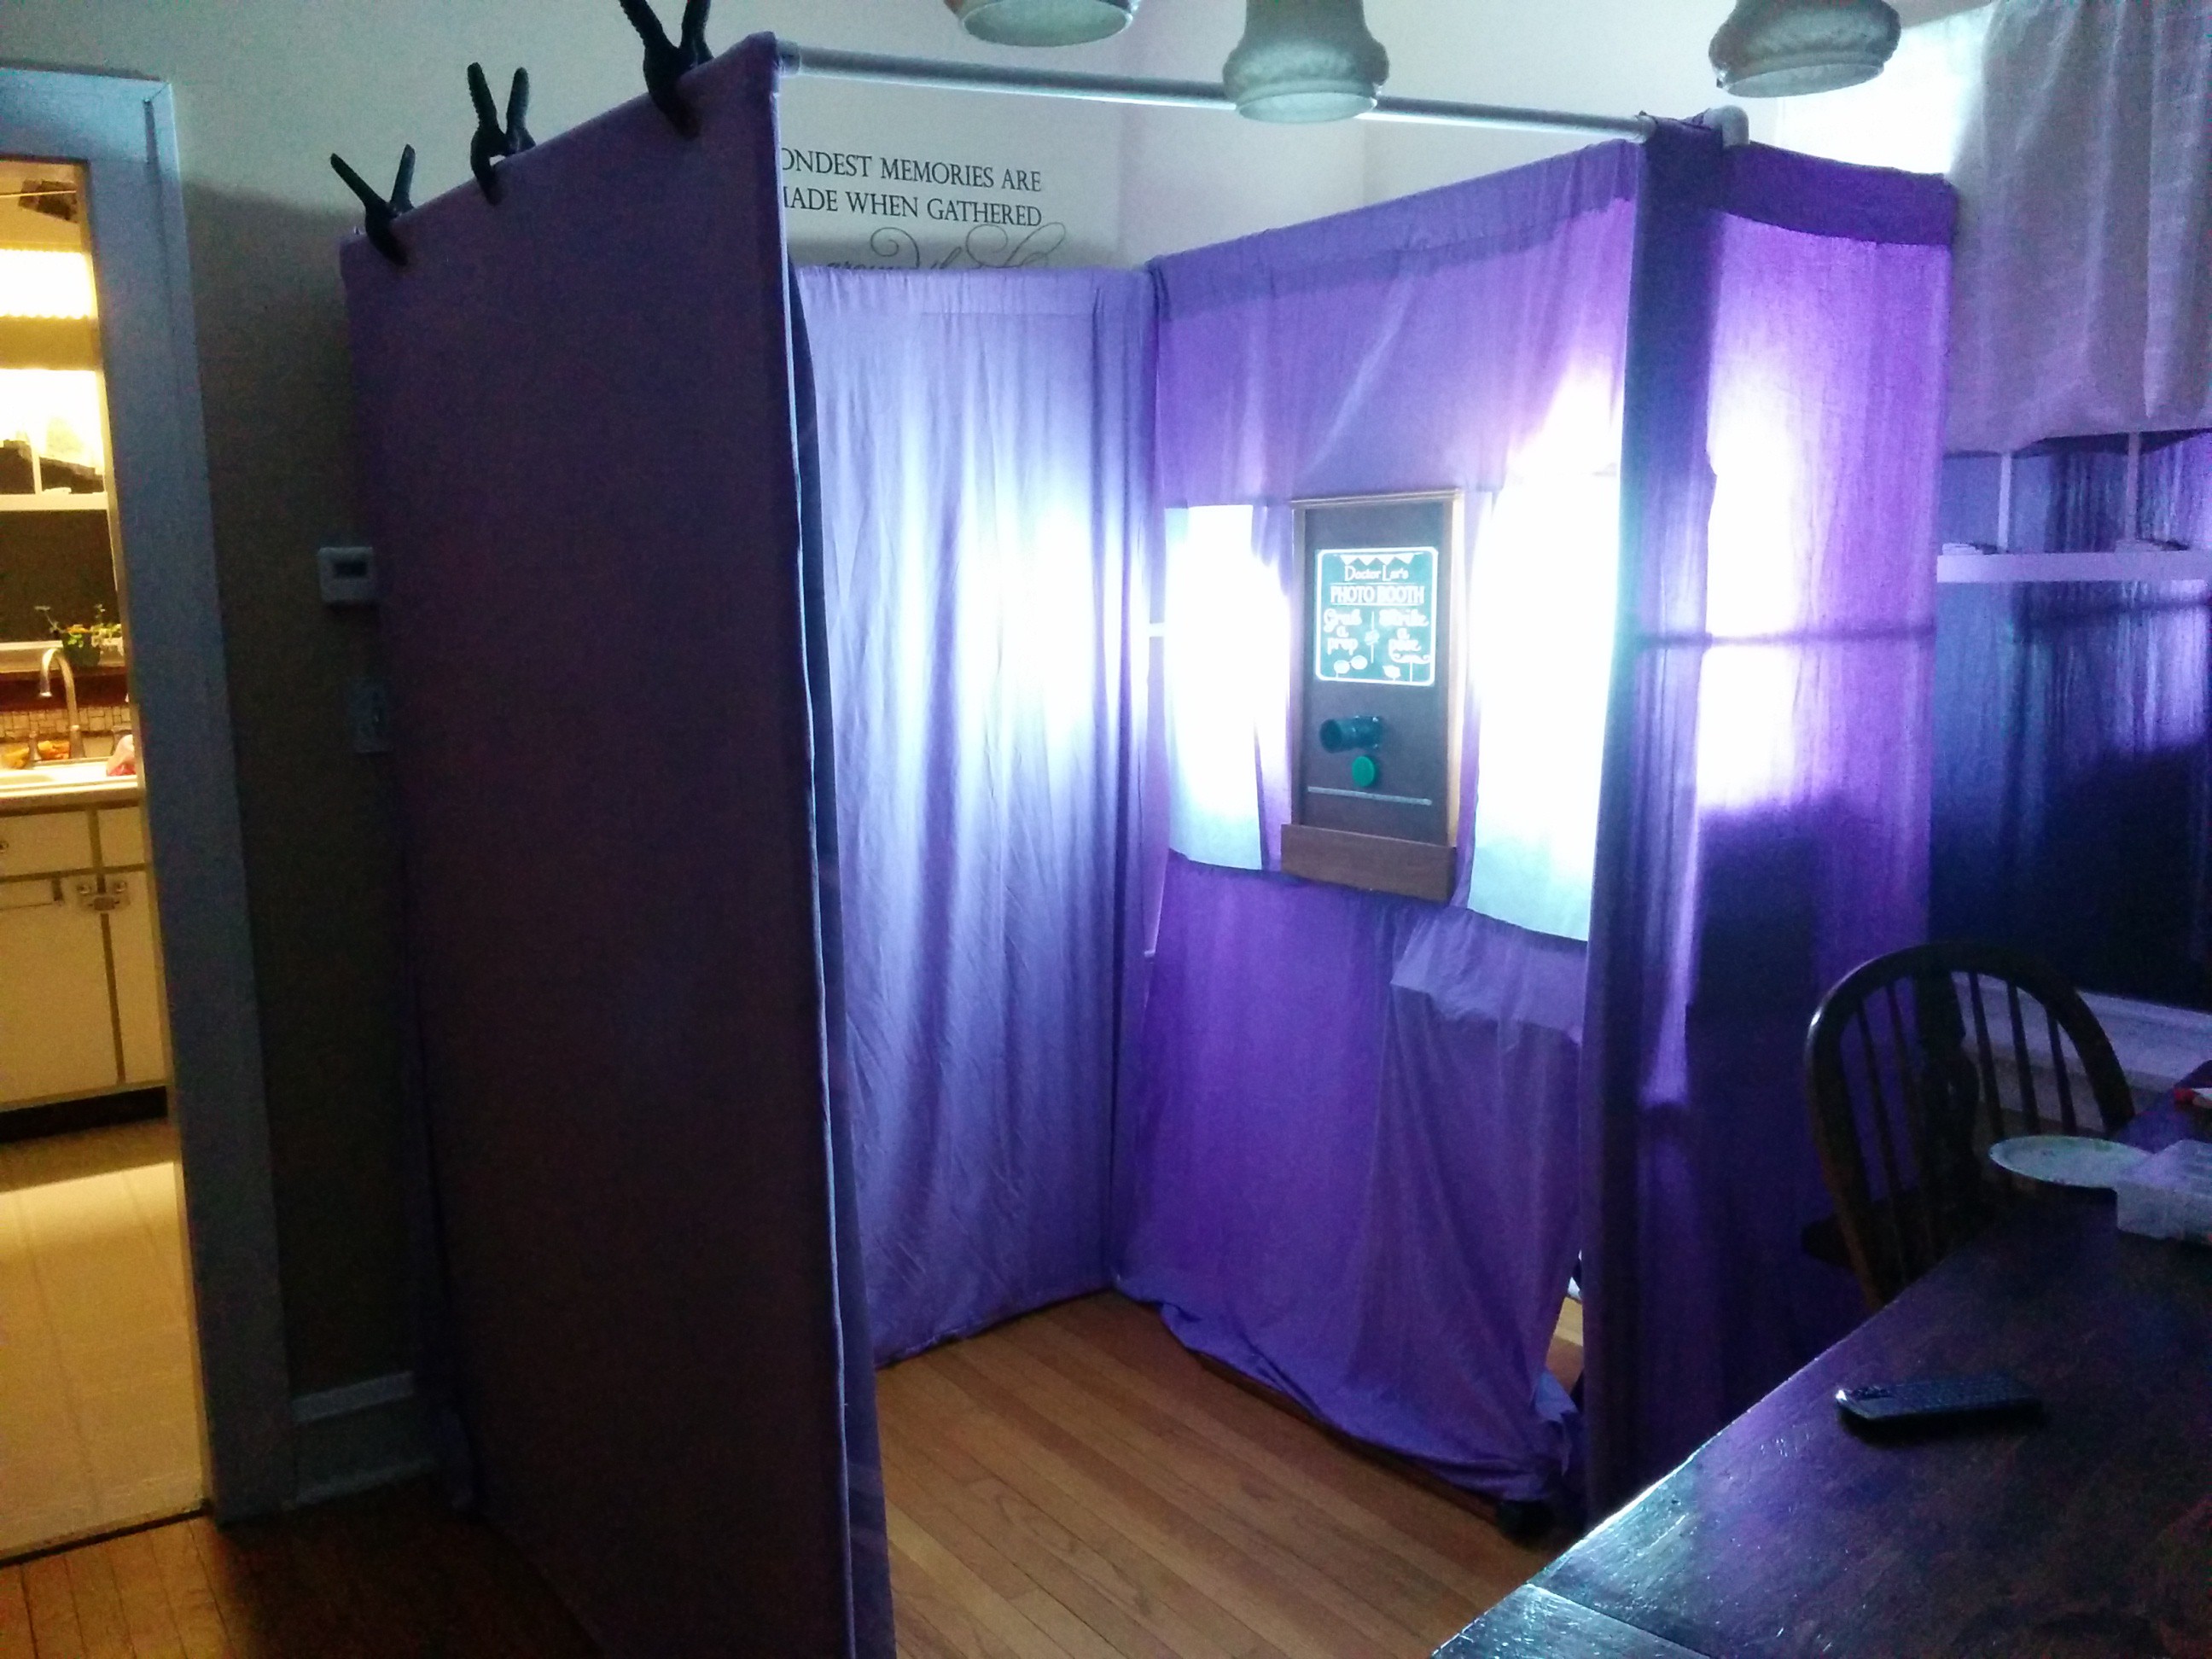
Here are some pics of it working.
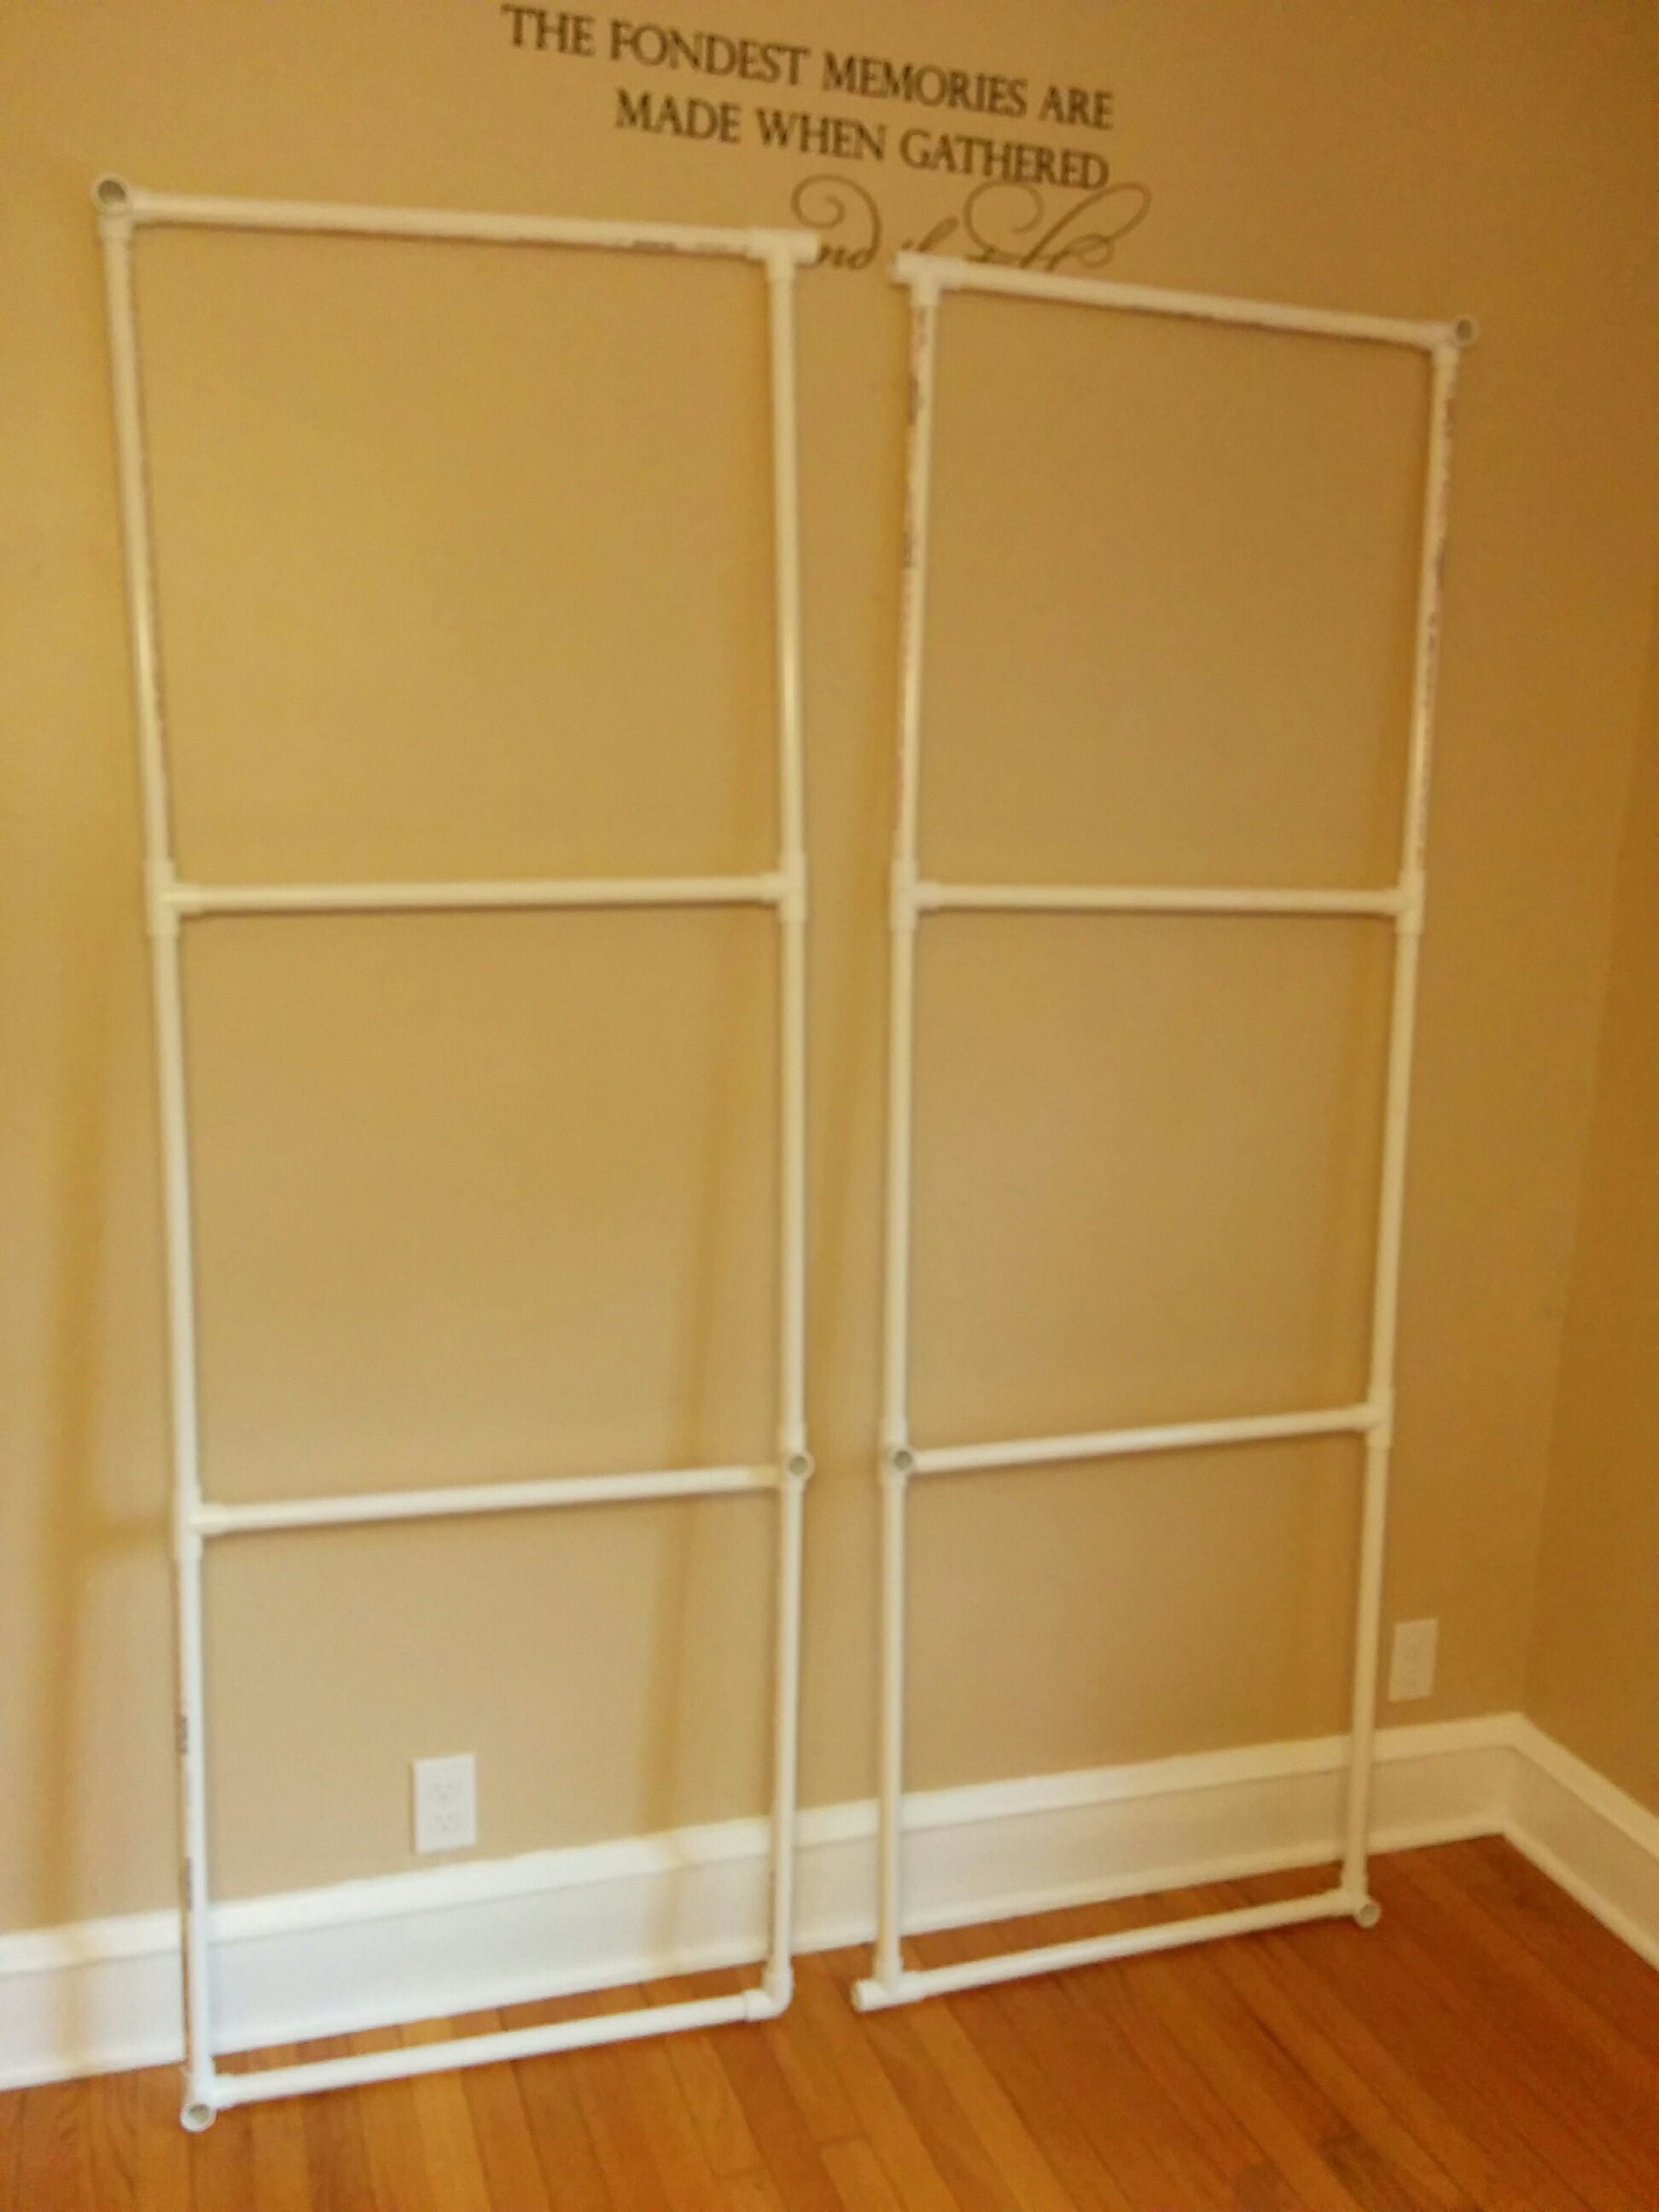
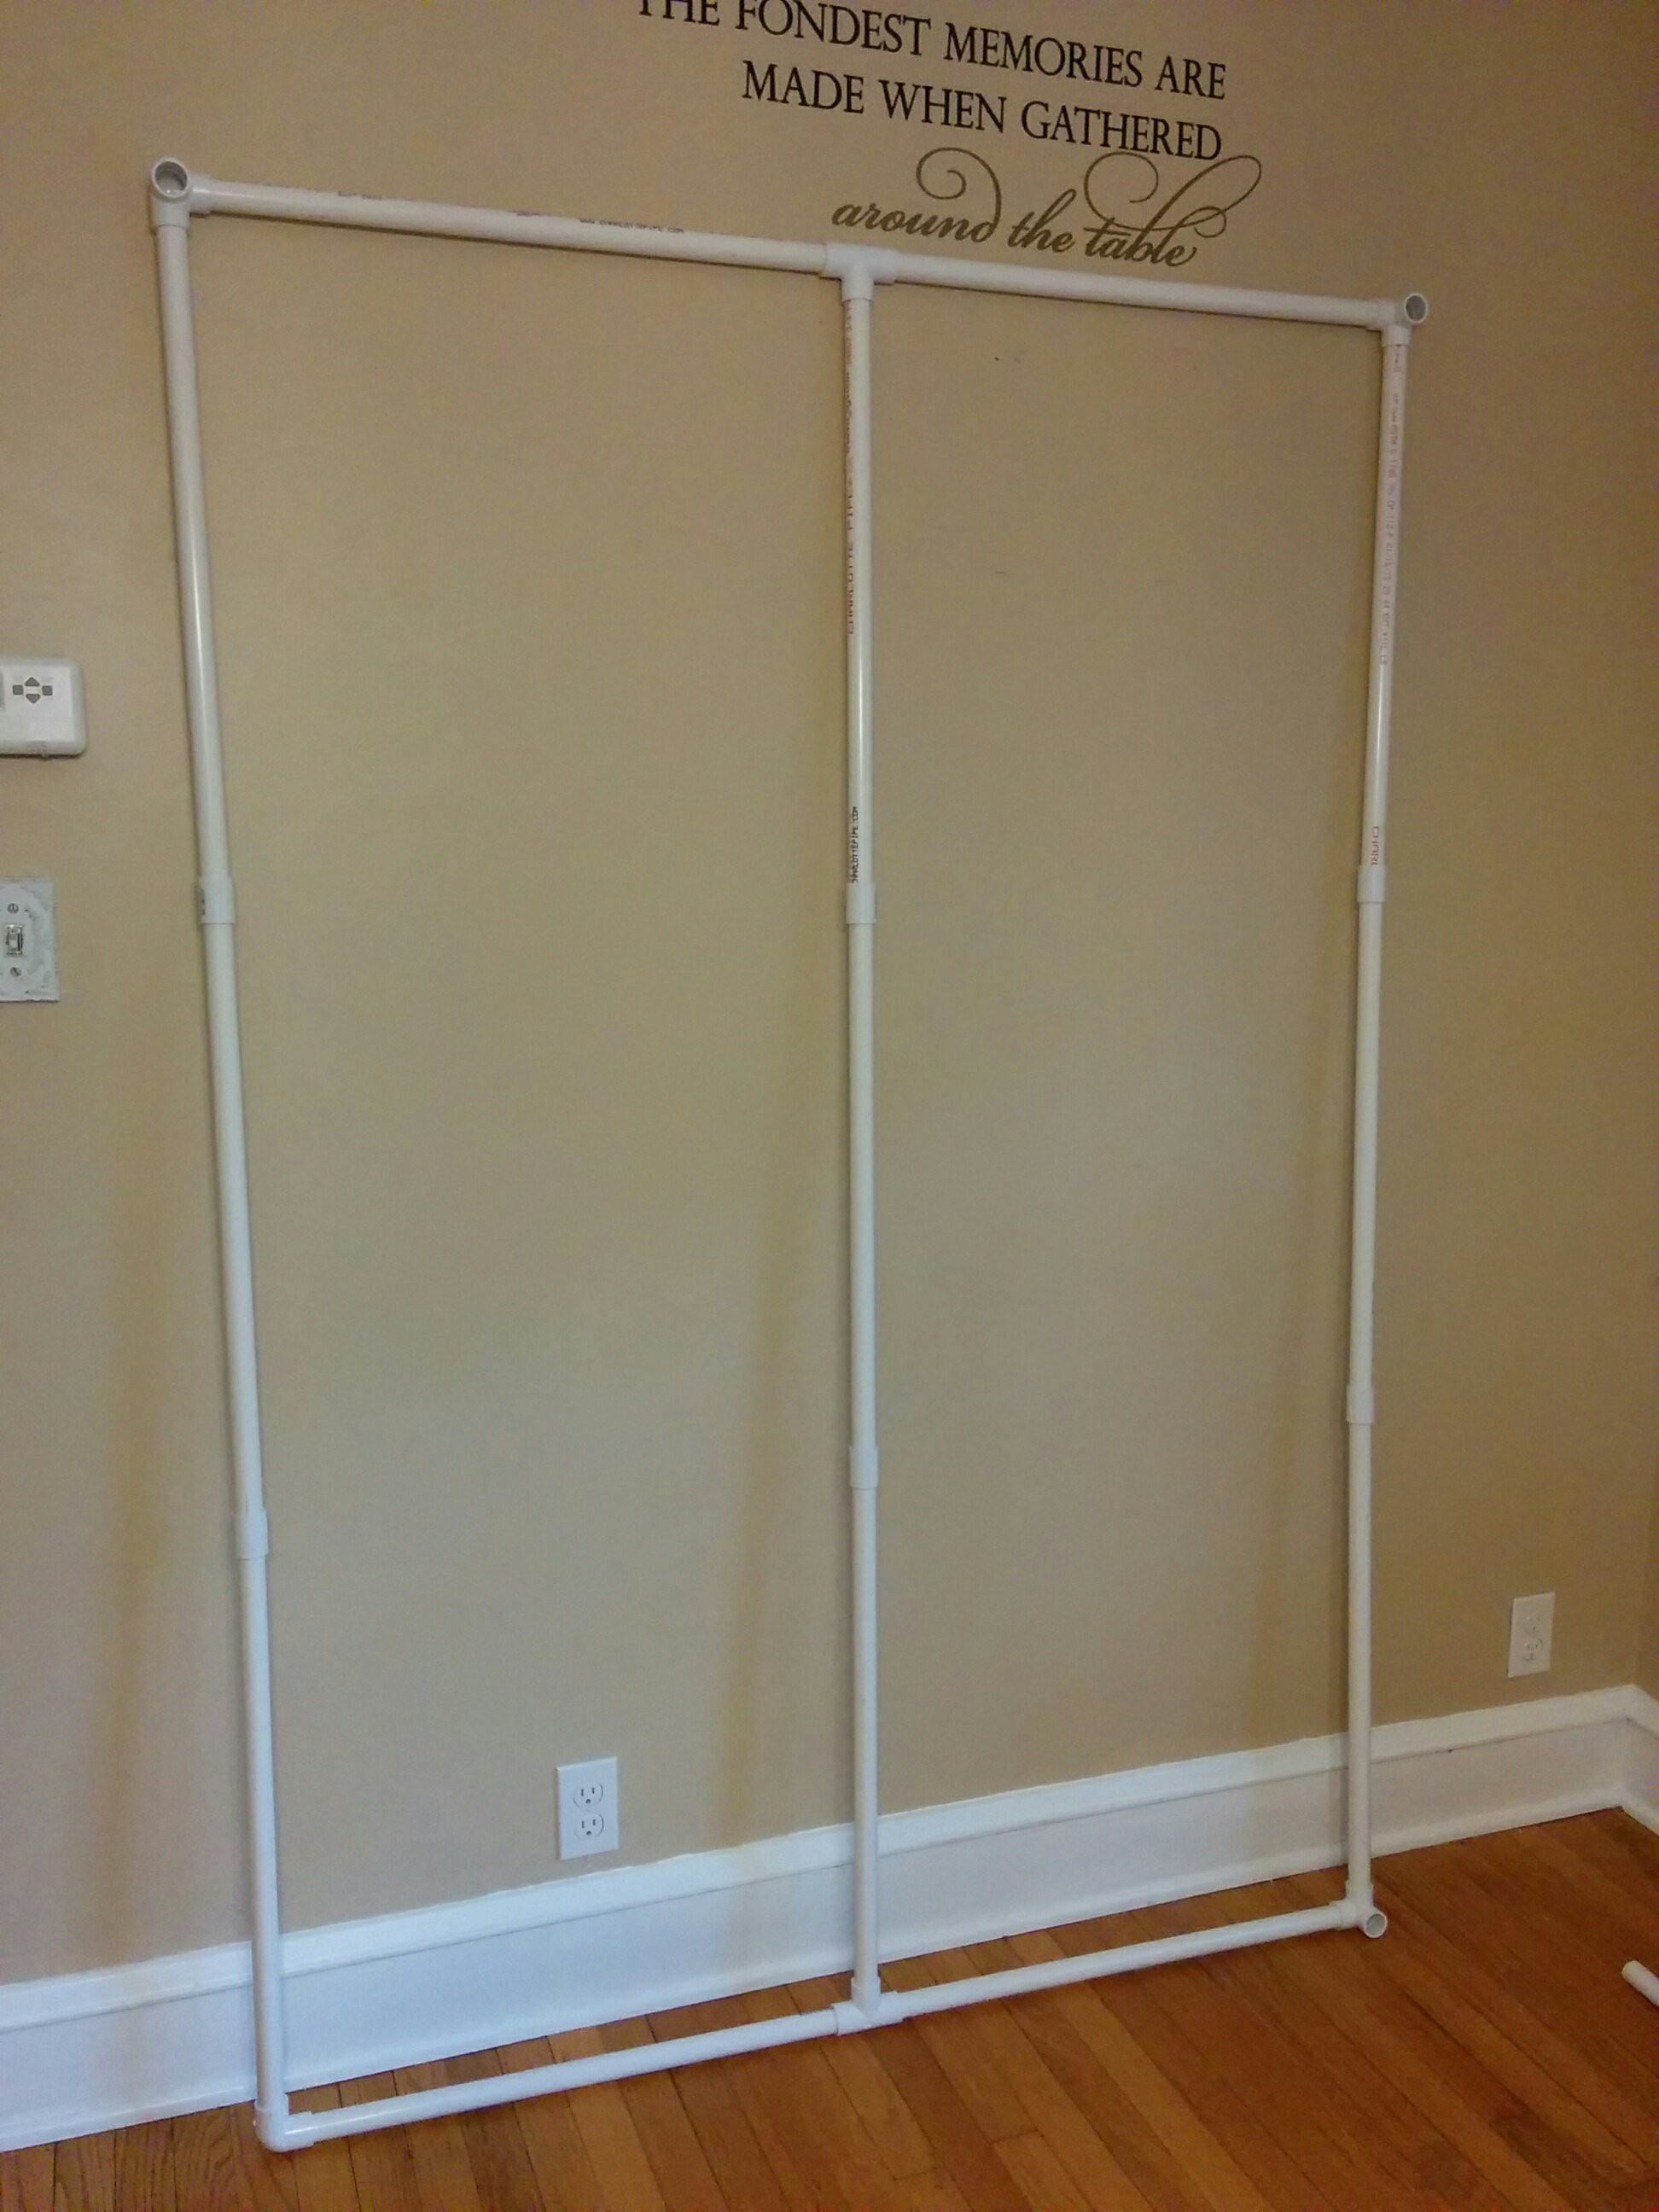
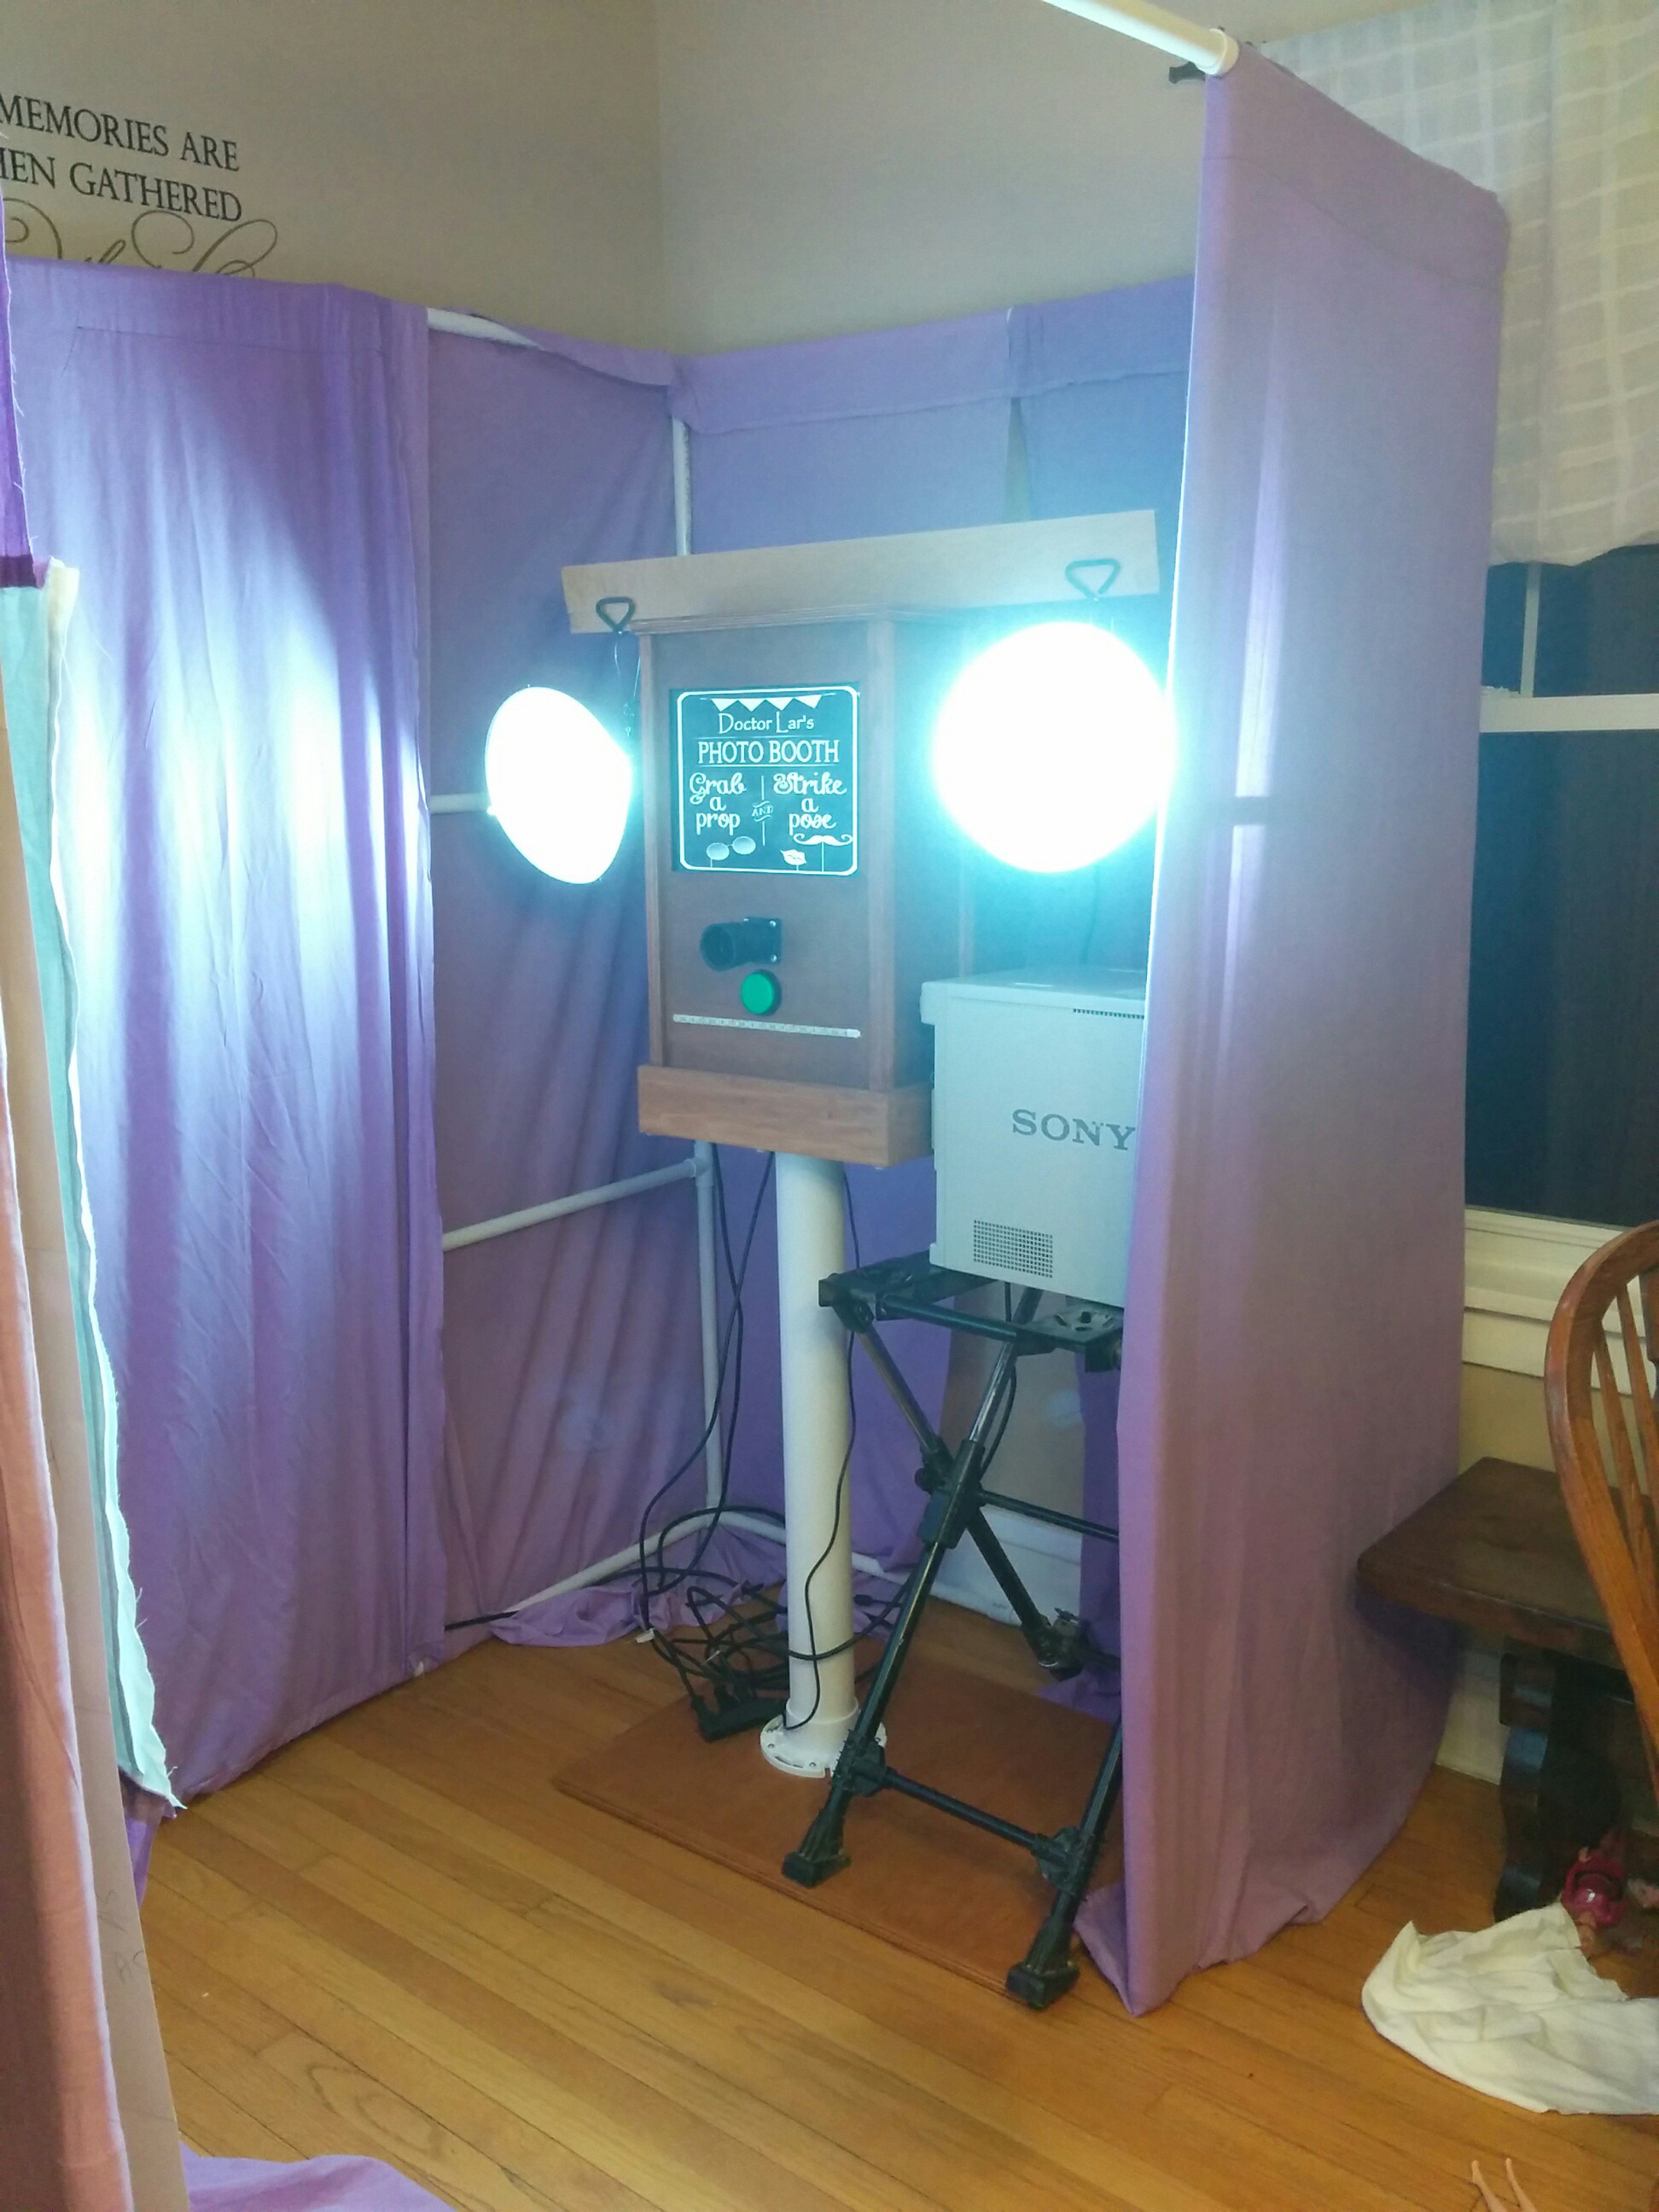 I kept one of the hospital sheets white. I doubled it up and sewed it on the sides of the screen to diffuse the two lights. 1" elastic was sewn into the bottom of the hole for the screen so that it would hold snug.

 michaelalink
 Leandra Christine
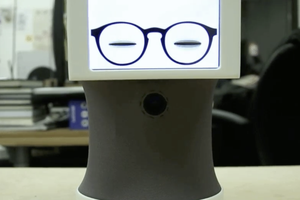
 Abhishek
I have a picamera for hardware (I was going to copy your setup). And I like the look of the software you have pictured above, (looks like you wrote it) how do I get that?