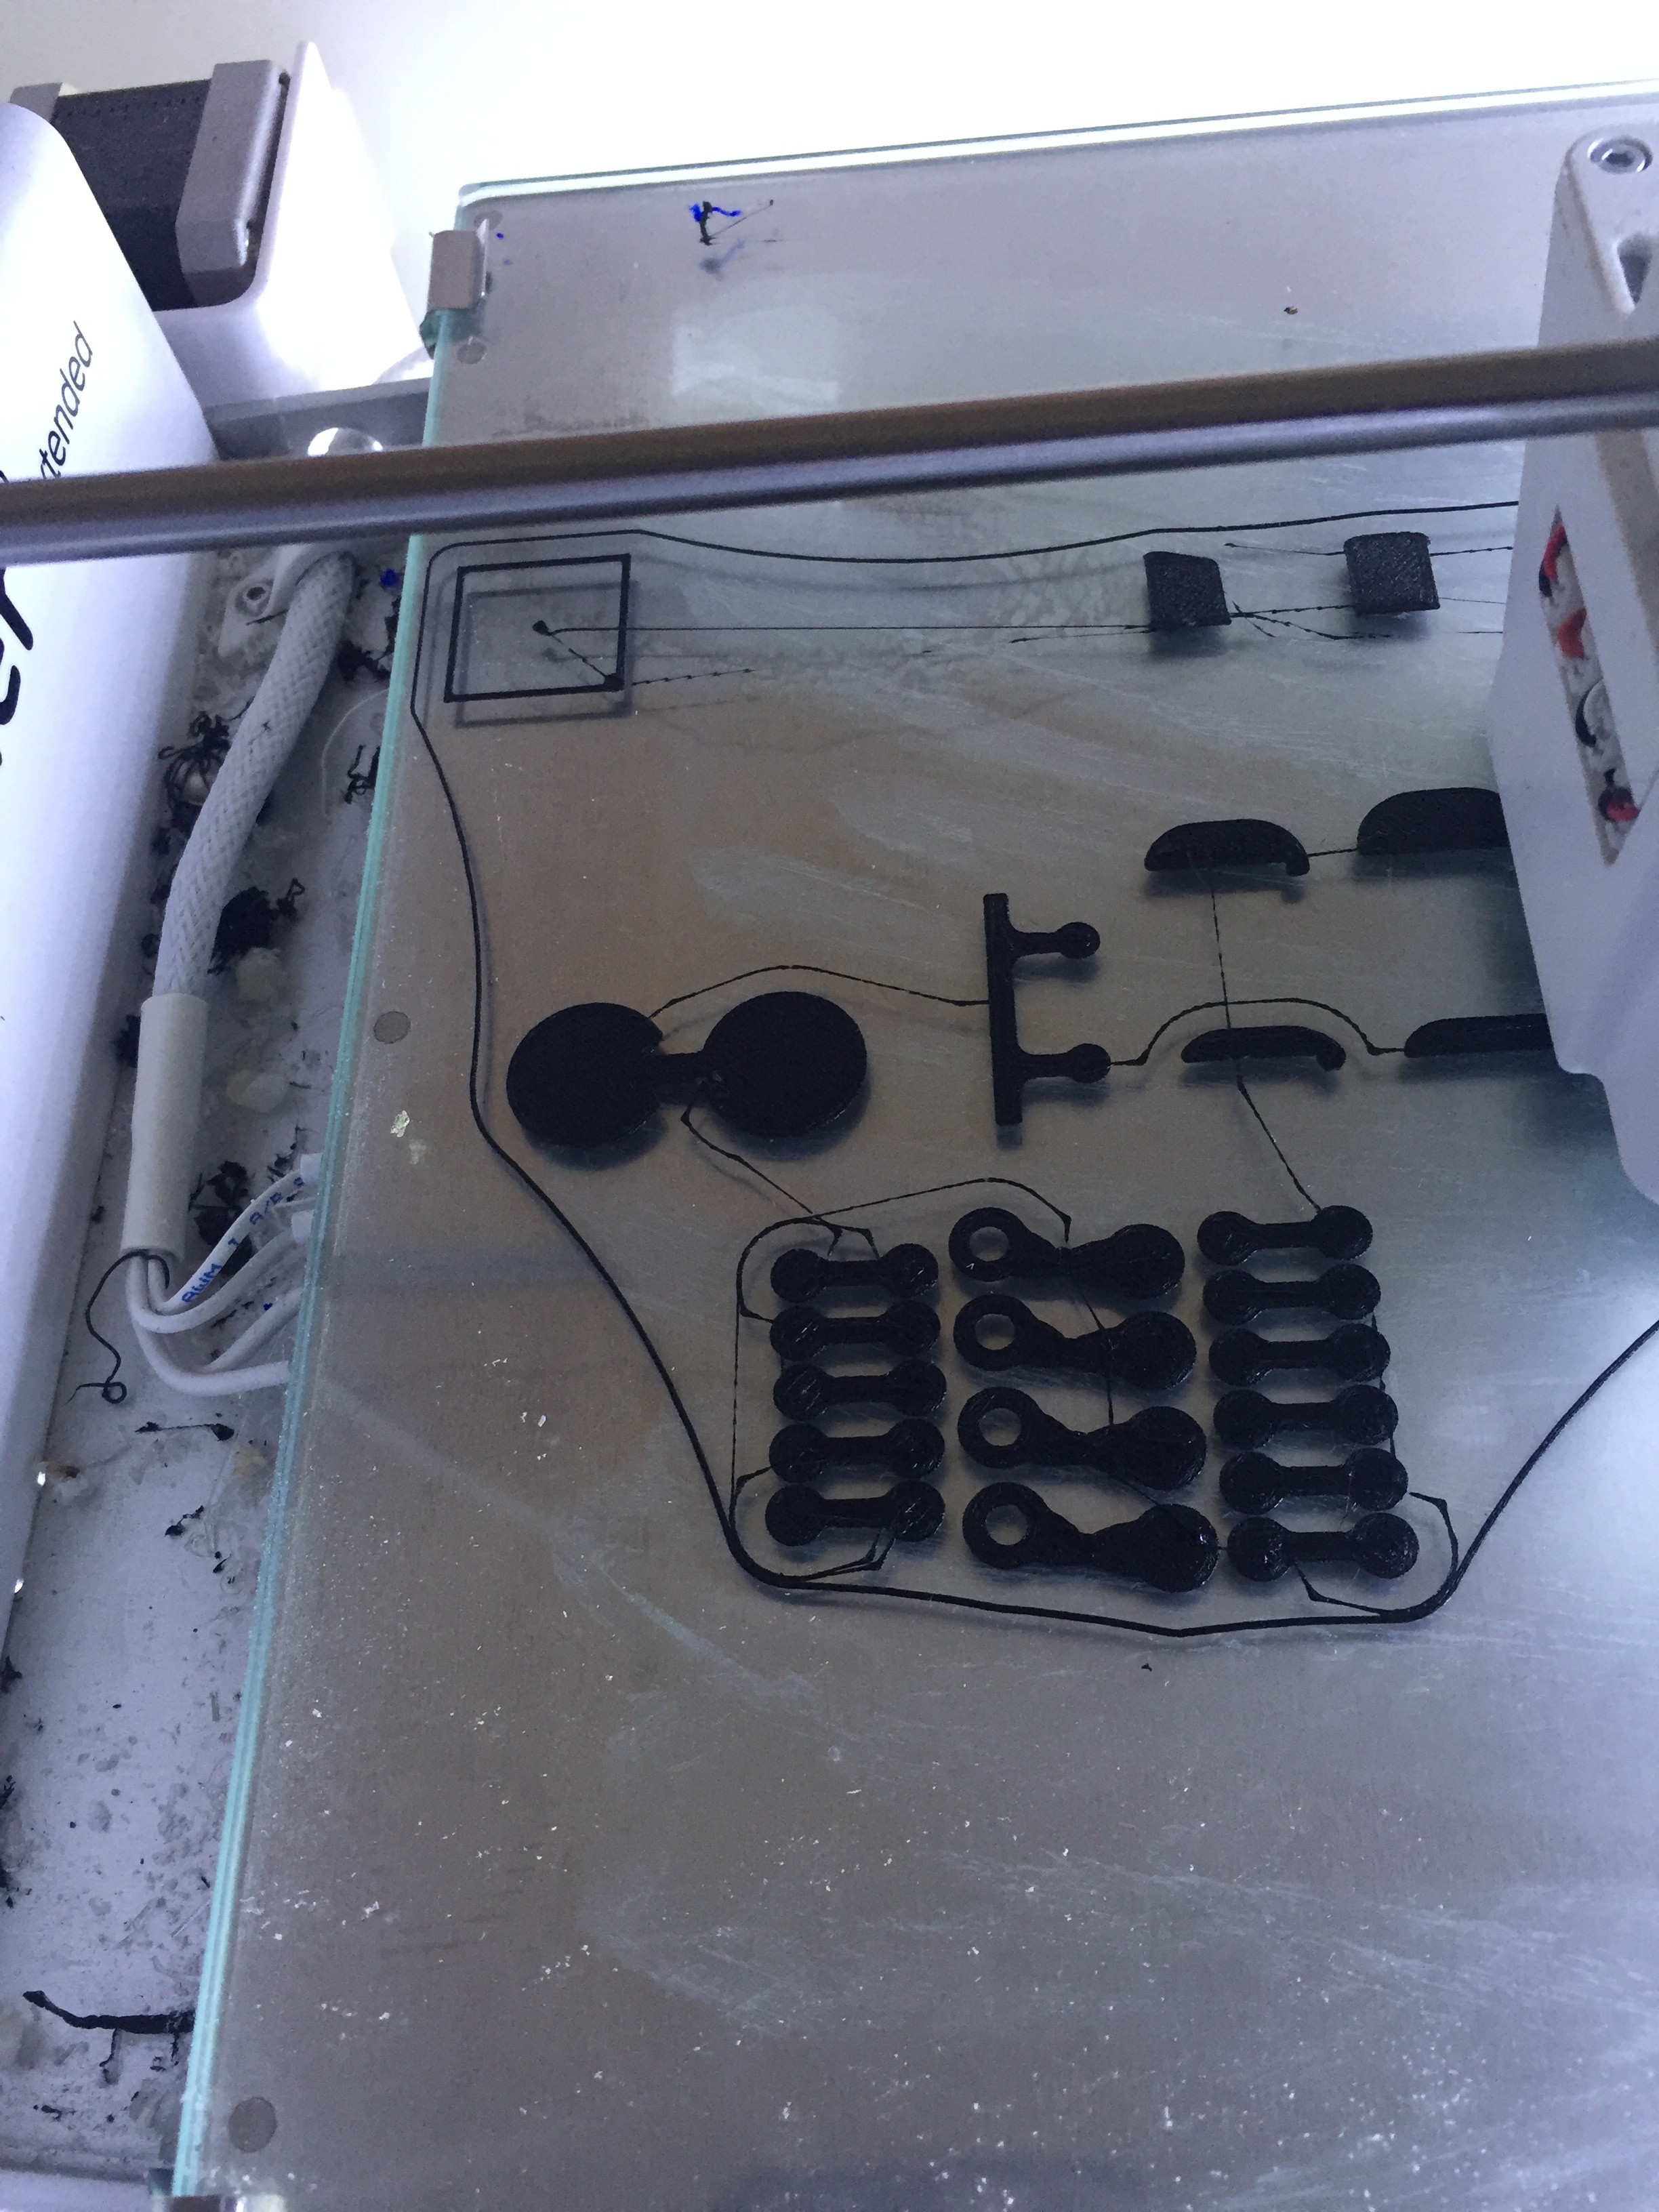
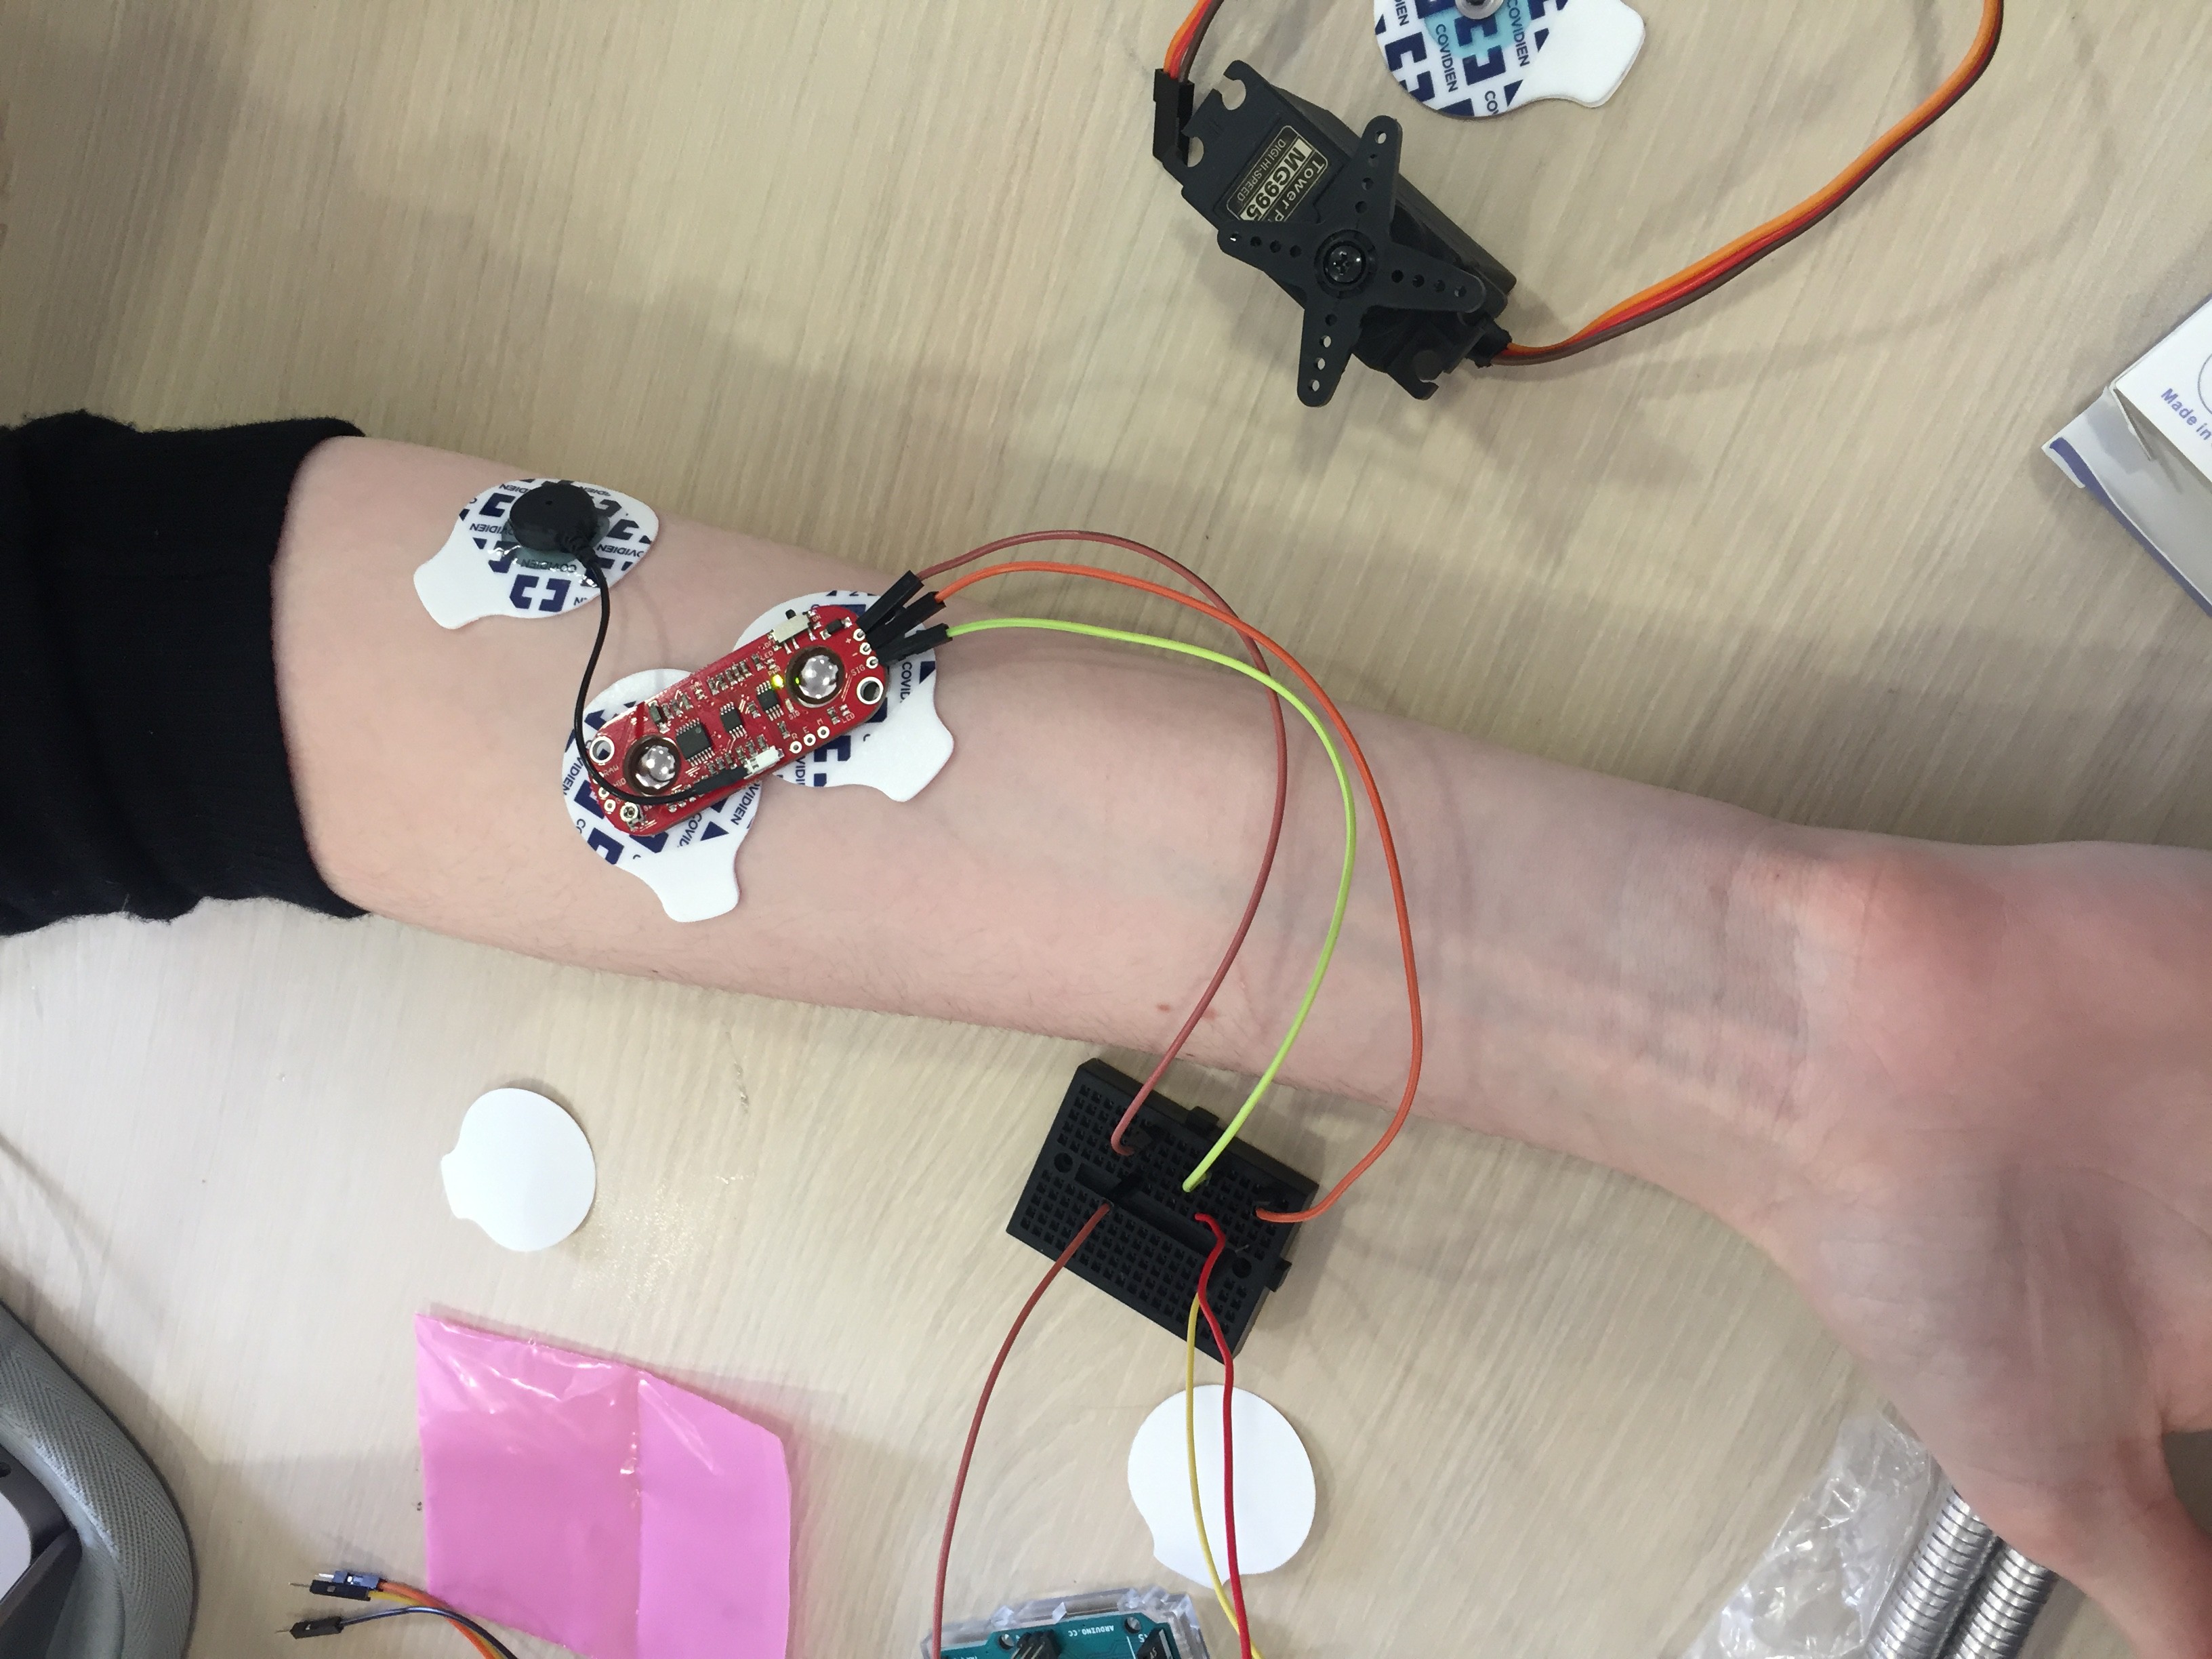
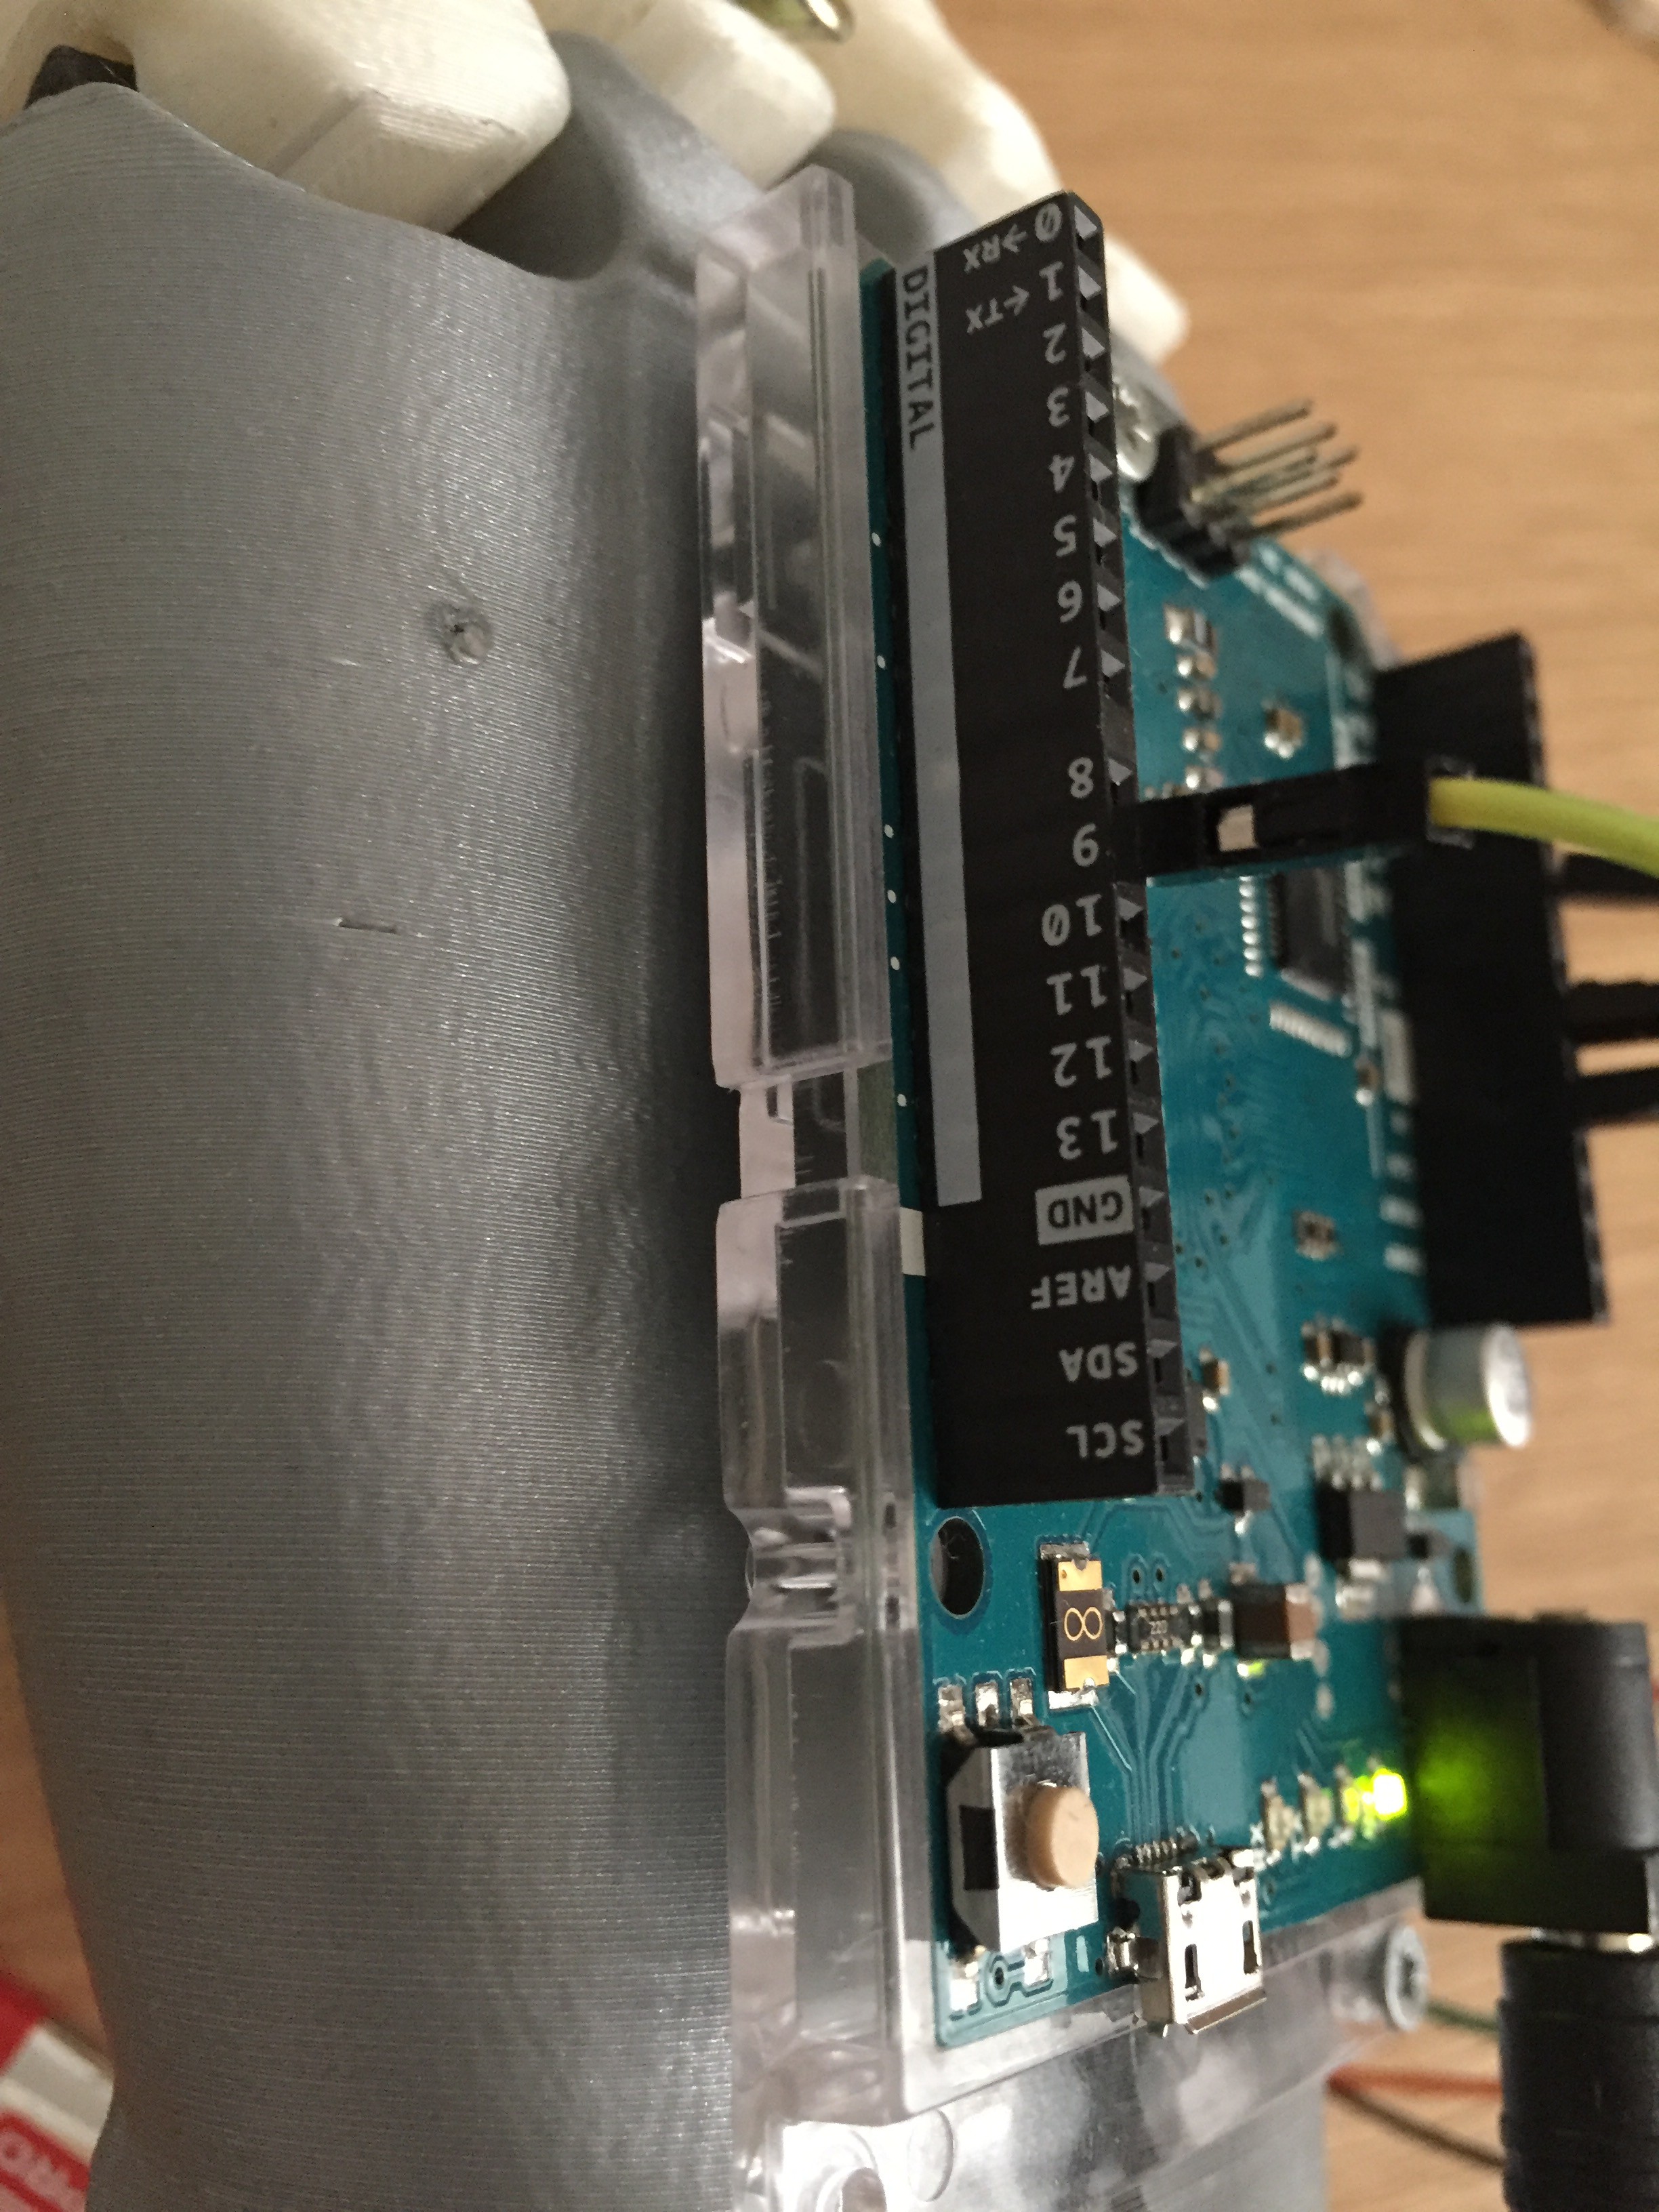
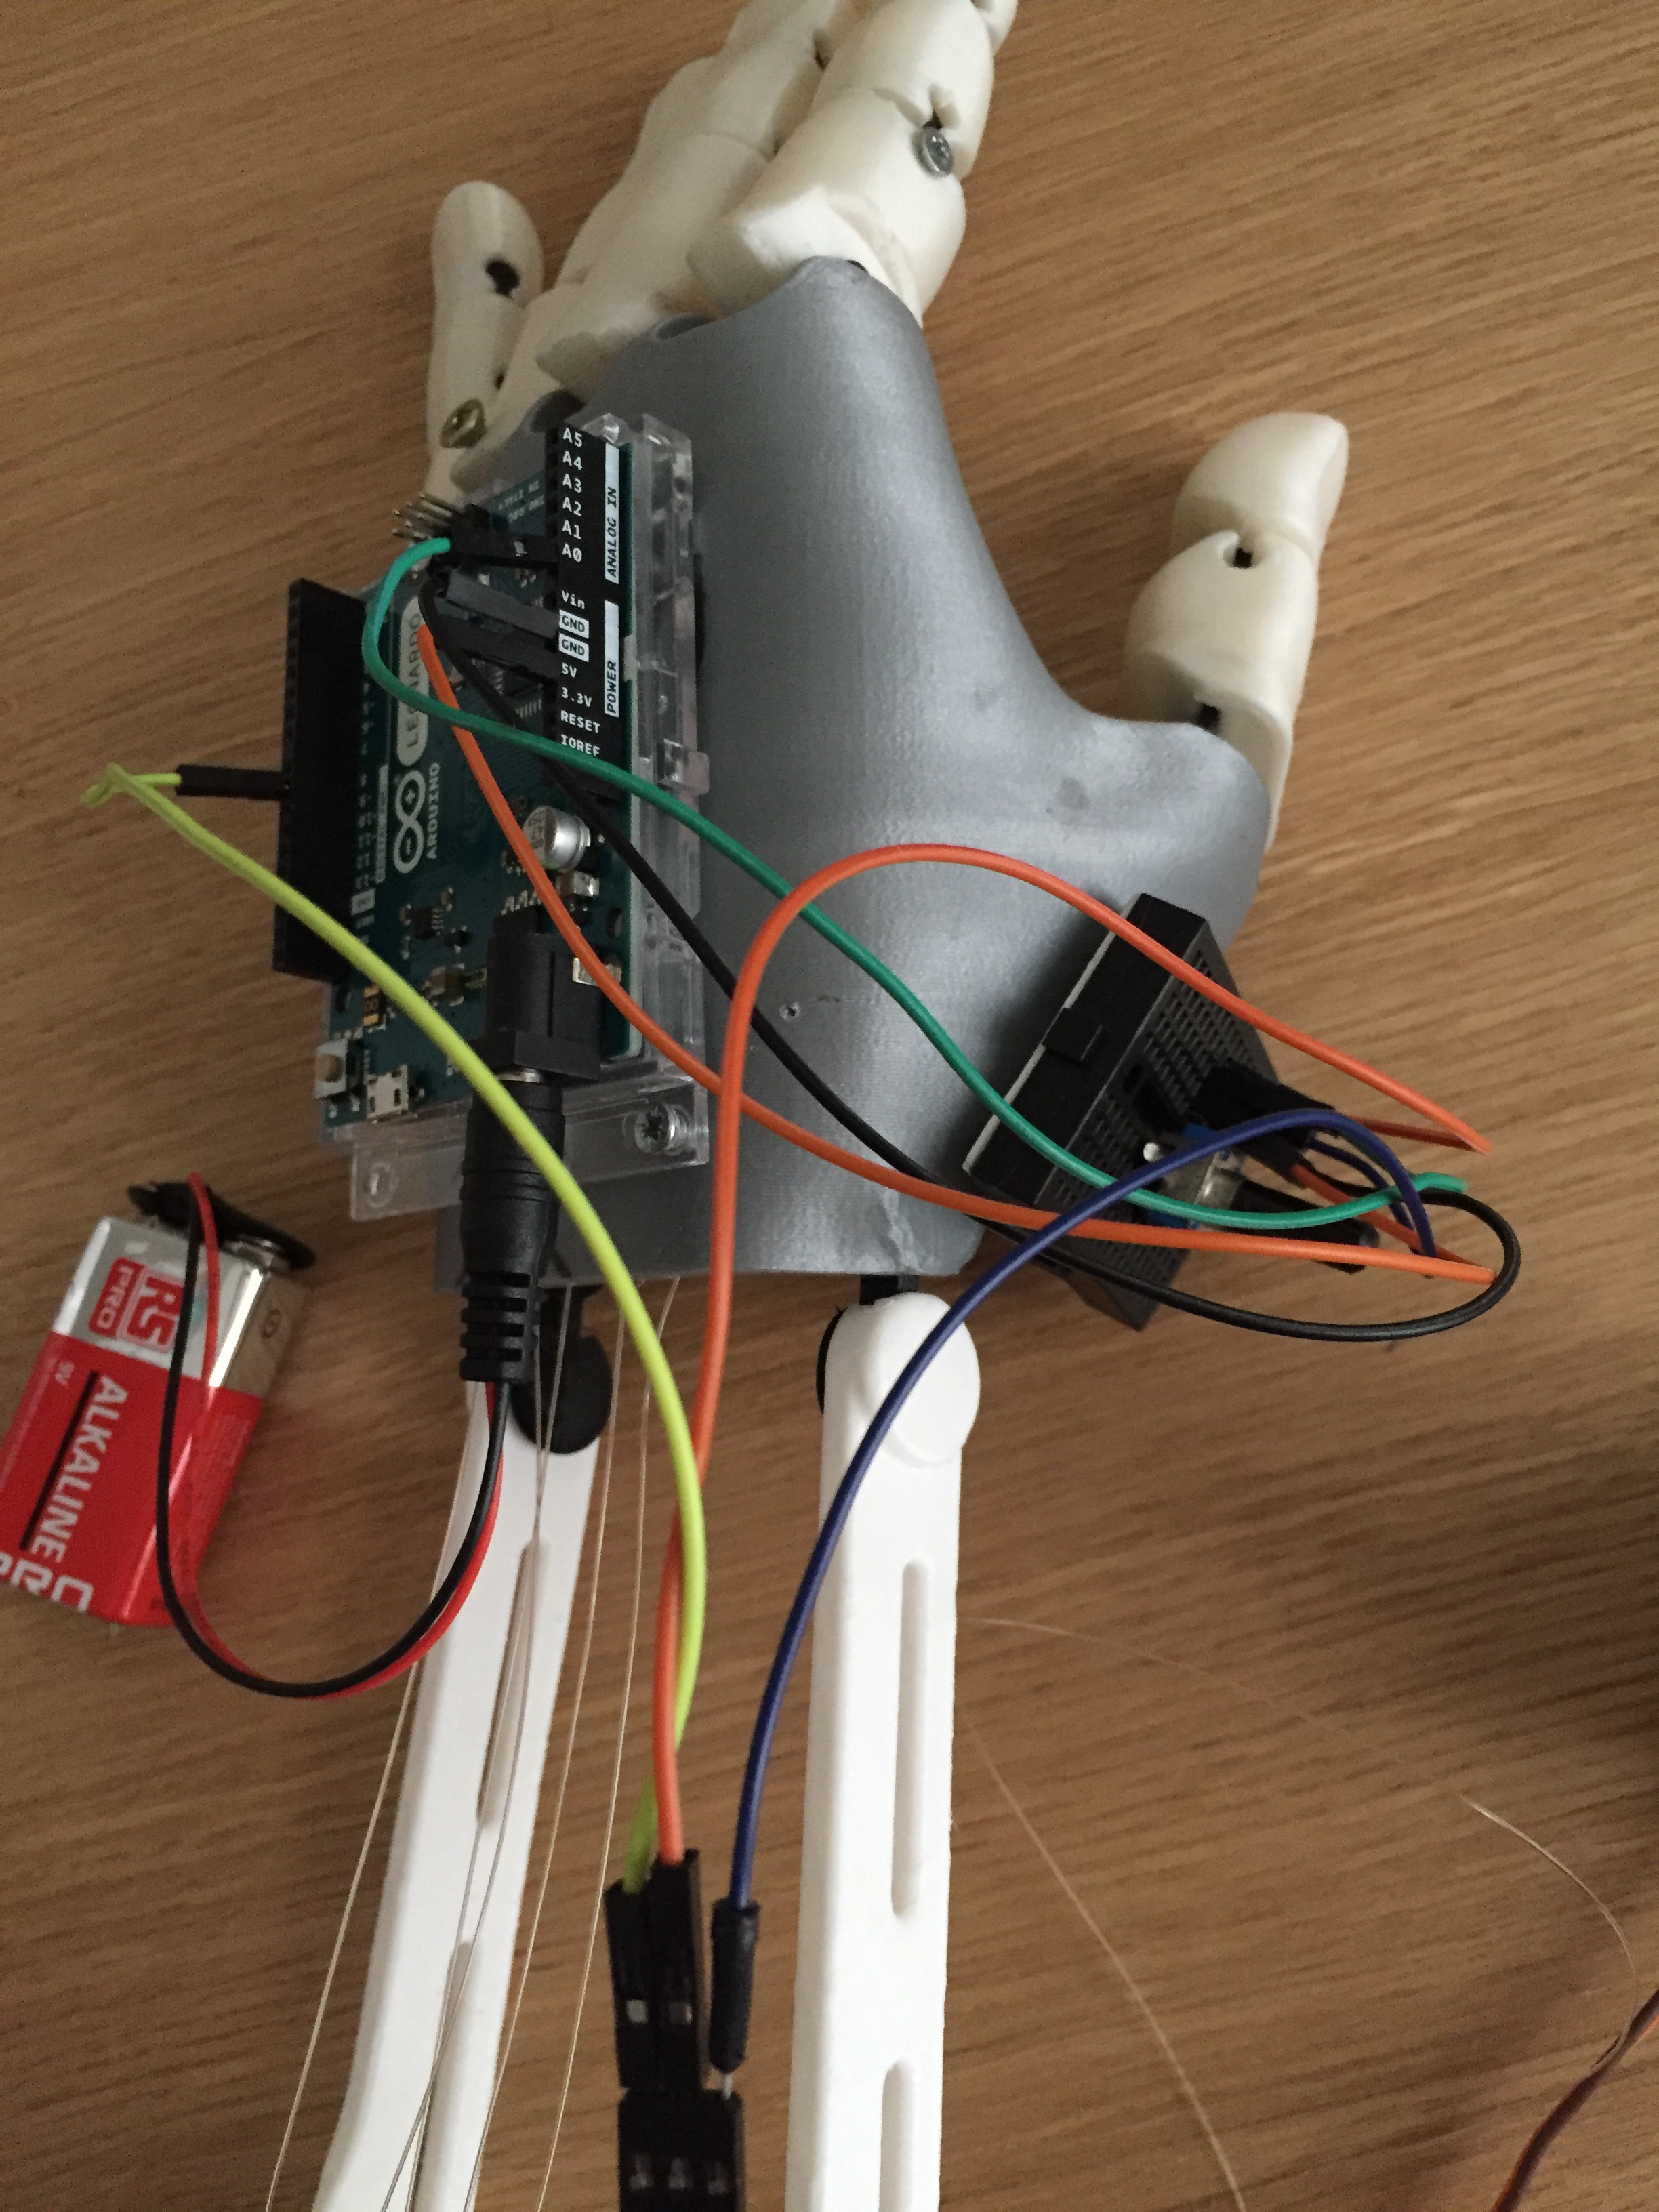
What we wanted to create was a prosthetic hand that anyone could customize and that would give you the ability to control your grasp on things. To do so, we came up with the idea of associating a muscle sensor with a servo motor and strings. The muscle sensor would interact with the motor so that everytime you contracted a muscle it would make the motor turn so that it tightened the strings.
0%
0%
WEI ahead
Making the world a better place one prosthetic hand at a time
Become a Hackaday.io member
Already have an account? Log in.
Just one more thing
To make the experience fit your profile, pick a username and tell us what interests you.
Pick an awesome username
hackaday.io/
Your profile's URL: hackaday.io/username. Max 25 alphanumeric characters.
Pick a few interests
Projects that share your interests
People that share your interests


 Dan
Dan
 Electroniclovers123
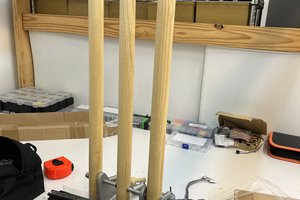
 Swaleh Owais
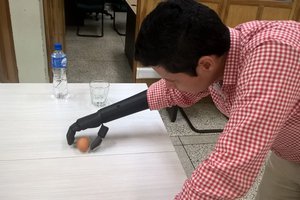
 Giovanni Leal