 kelley
 The problem -
Security cameras are still complicated to install, setup, and use. Most require a technician or a handful of frustrating calls to various tech support places. And the average person may still not be able to see a video feed outside of their local home network.
2 primary components that all video cameras require are power and data. For medium to higher end setups this means running cables. Even cams that have Wi-Fi still require a power source that better be somewhat close to an outlet unless you want to change batteries (wireless power hasn’t hit the big time yet).This could get even more complicated if you want to put this security cam outside. Now it needs to be weather proof, within Wi-Fi range, and power source.
The Solution –
What if there was already a convenient but over looked power source in all the locations you would want to place a security camera around a house?
Enter the humble light bulb socket… There is at least one in every room, by the front door and the back door, even in front of the garage.
The security camera form factor just needs adapted to take advantage these locations…
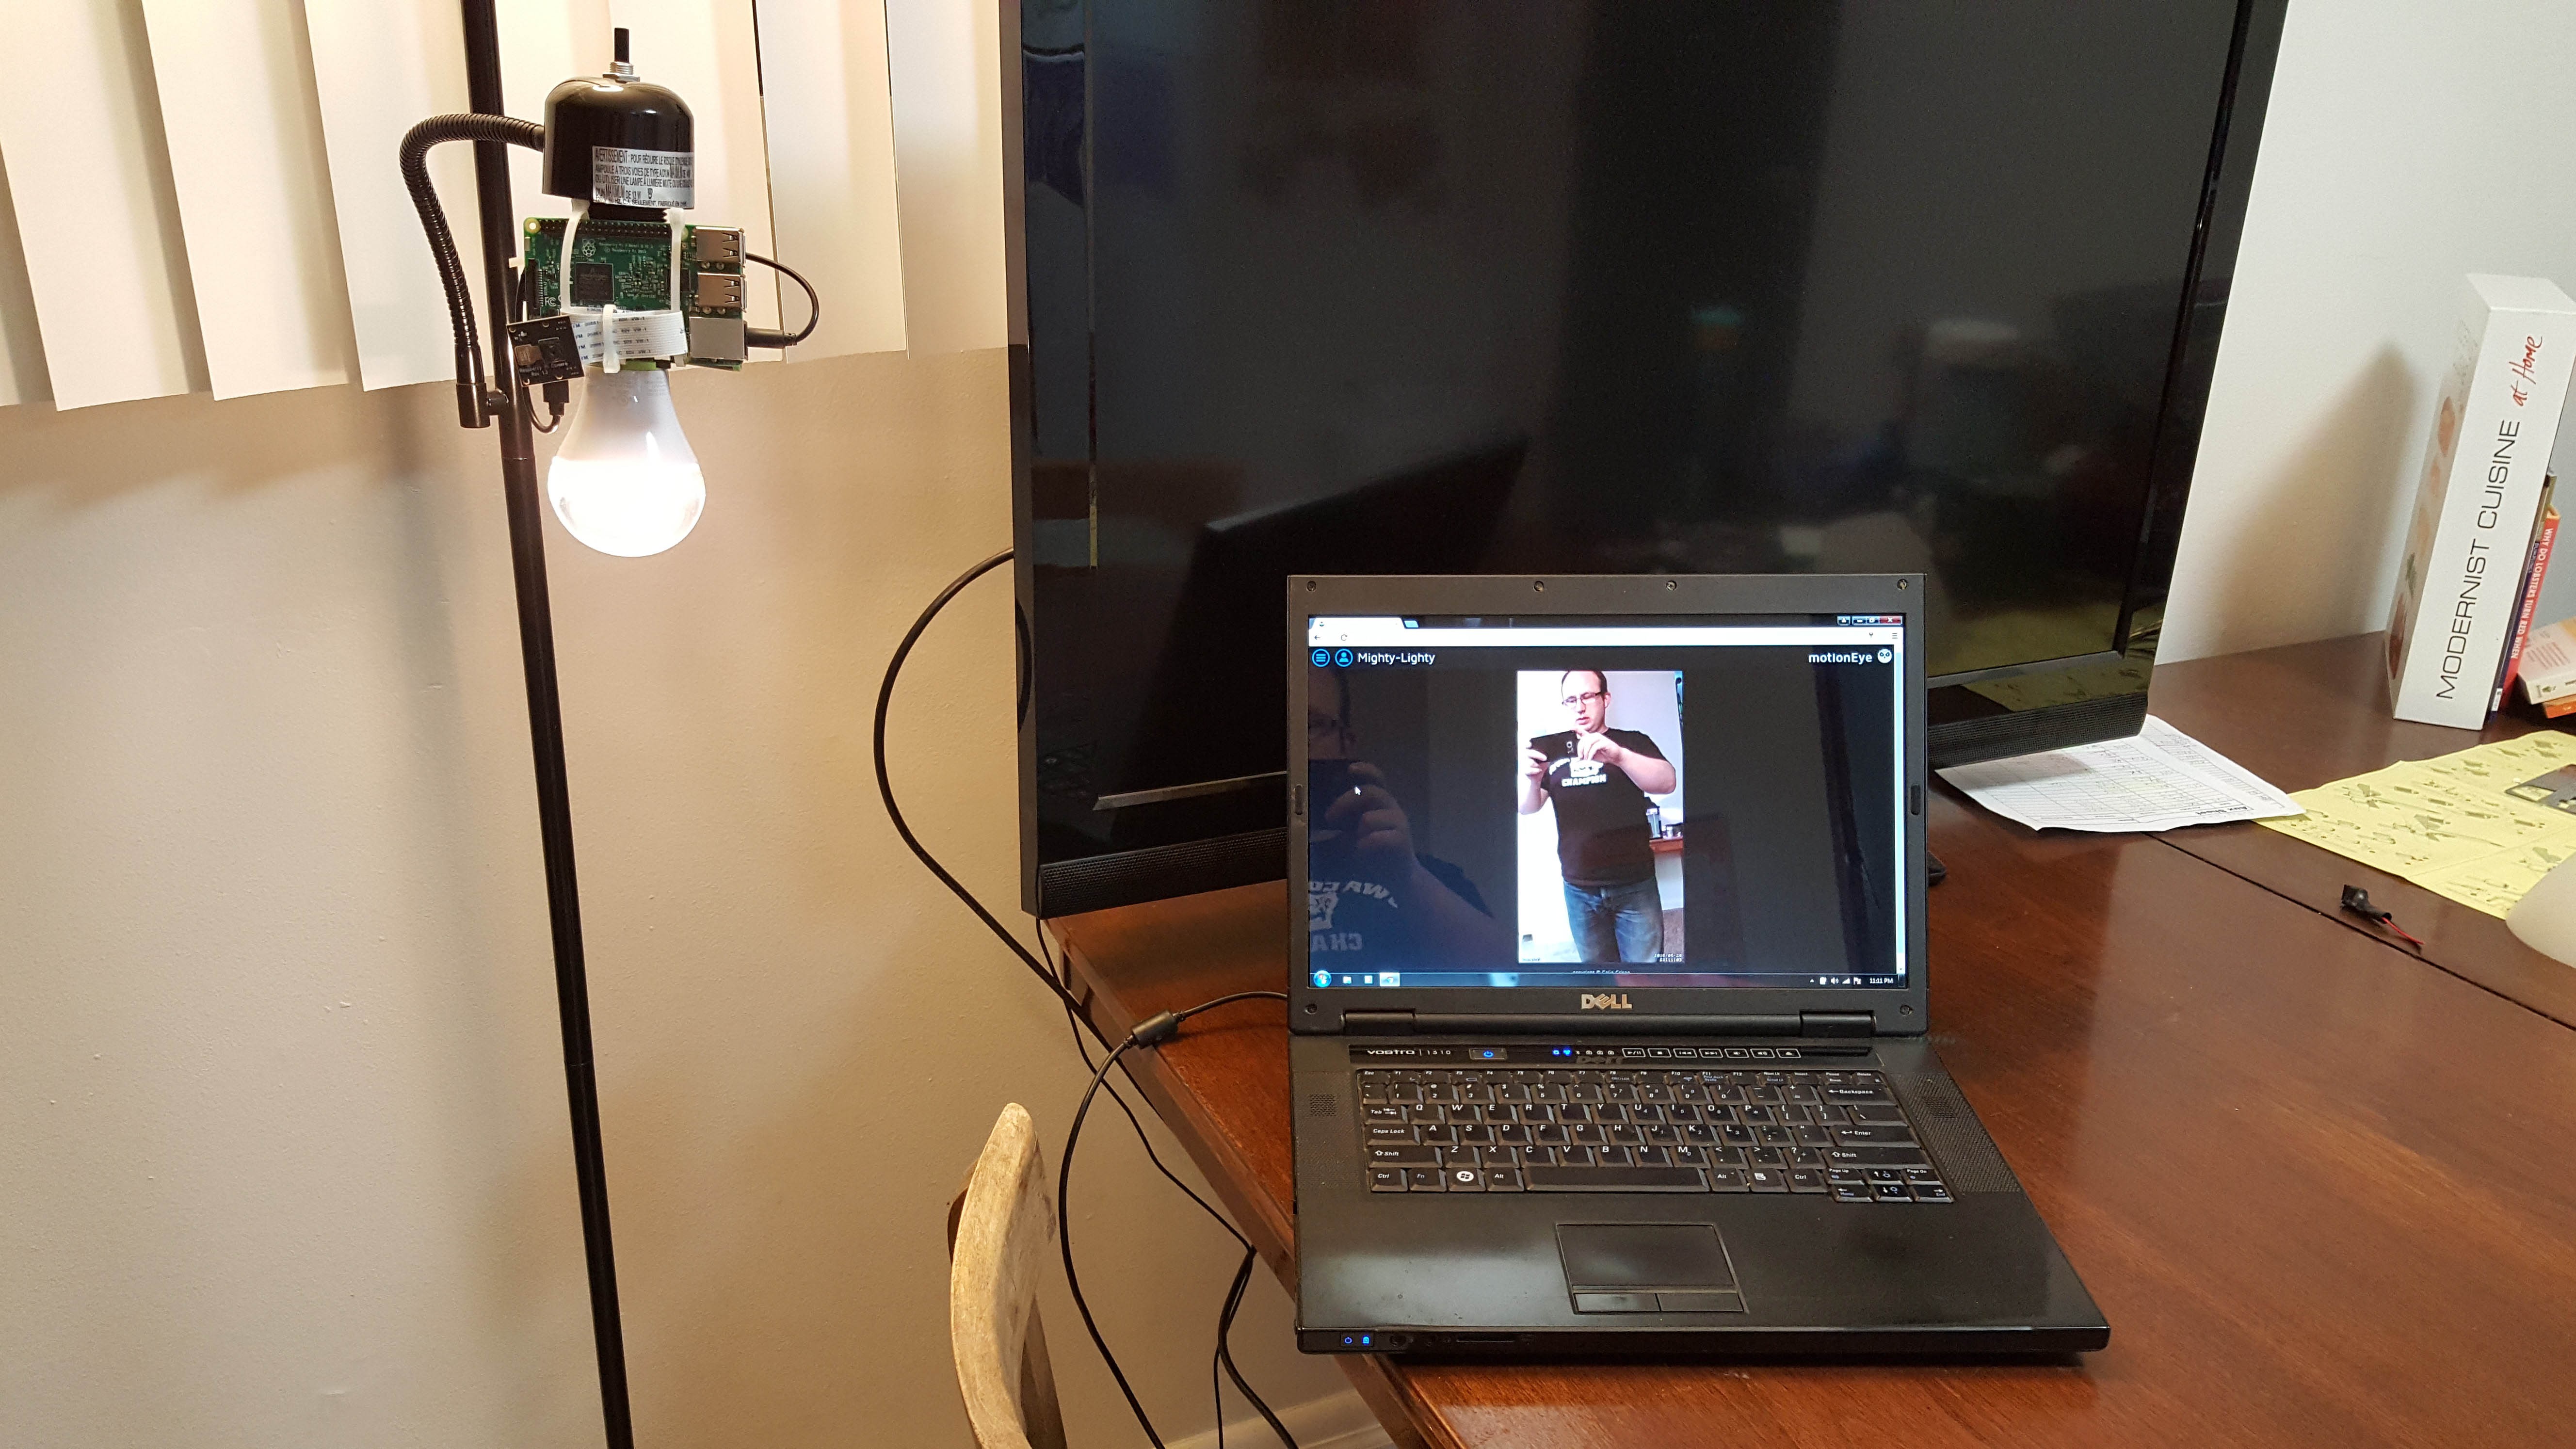
An indoor/outdoor security camera that you can plug into any light socket and remote control from any phone, tablet, or laptop.
Ideally it would have no moving parts… if the wide lens camera sensor does provide the best viewing angle the enclosure may have to be slightly flexible or have 2 image sensors
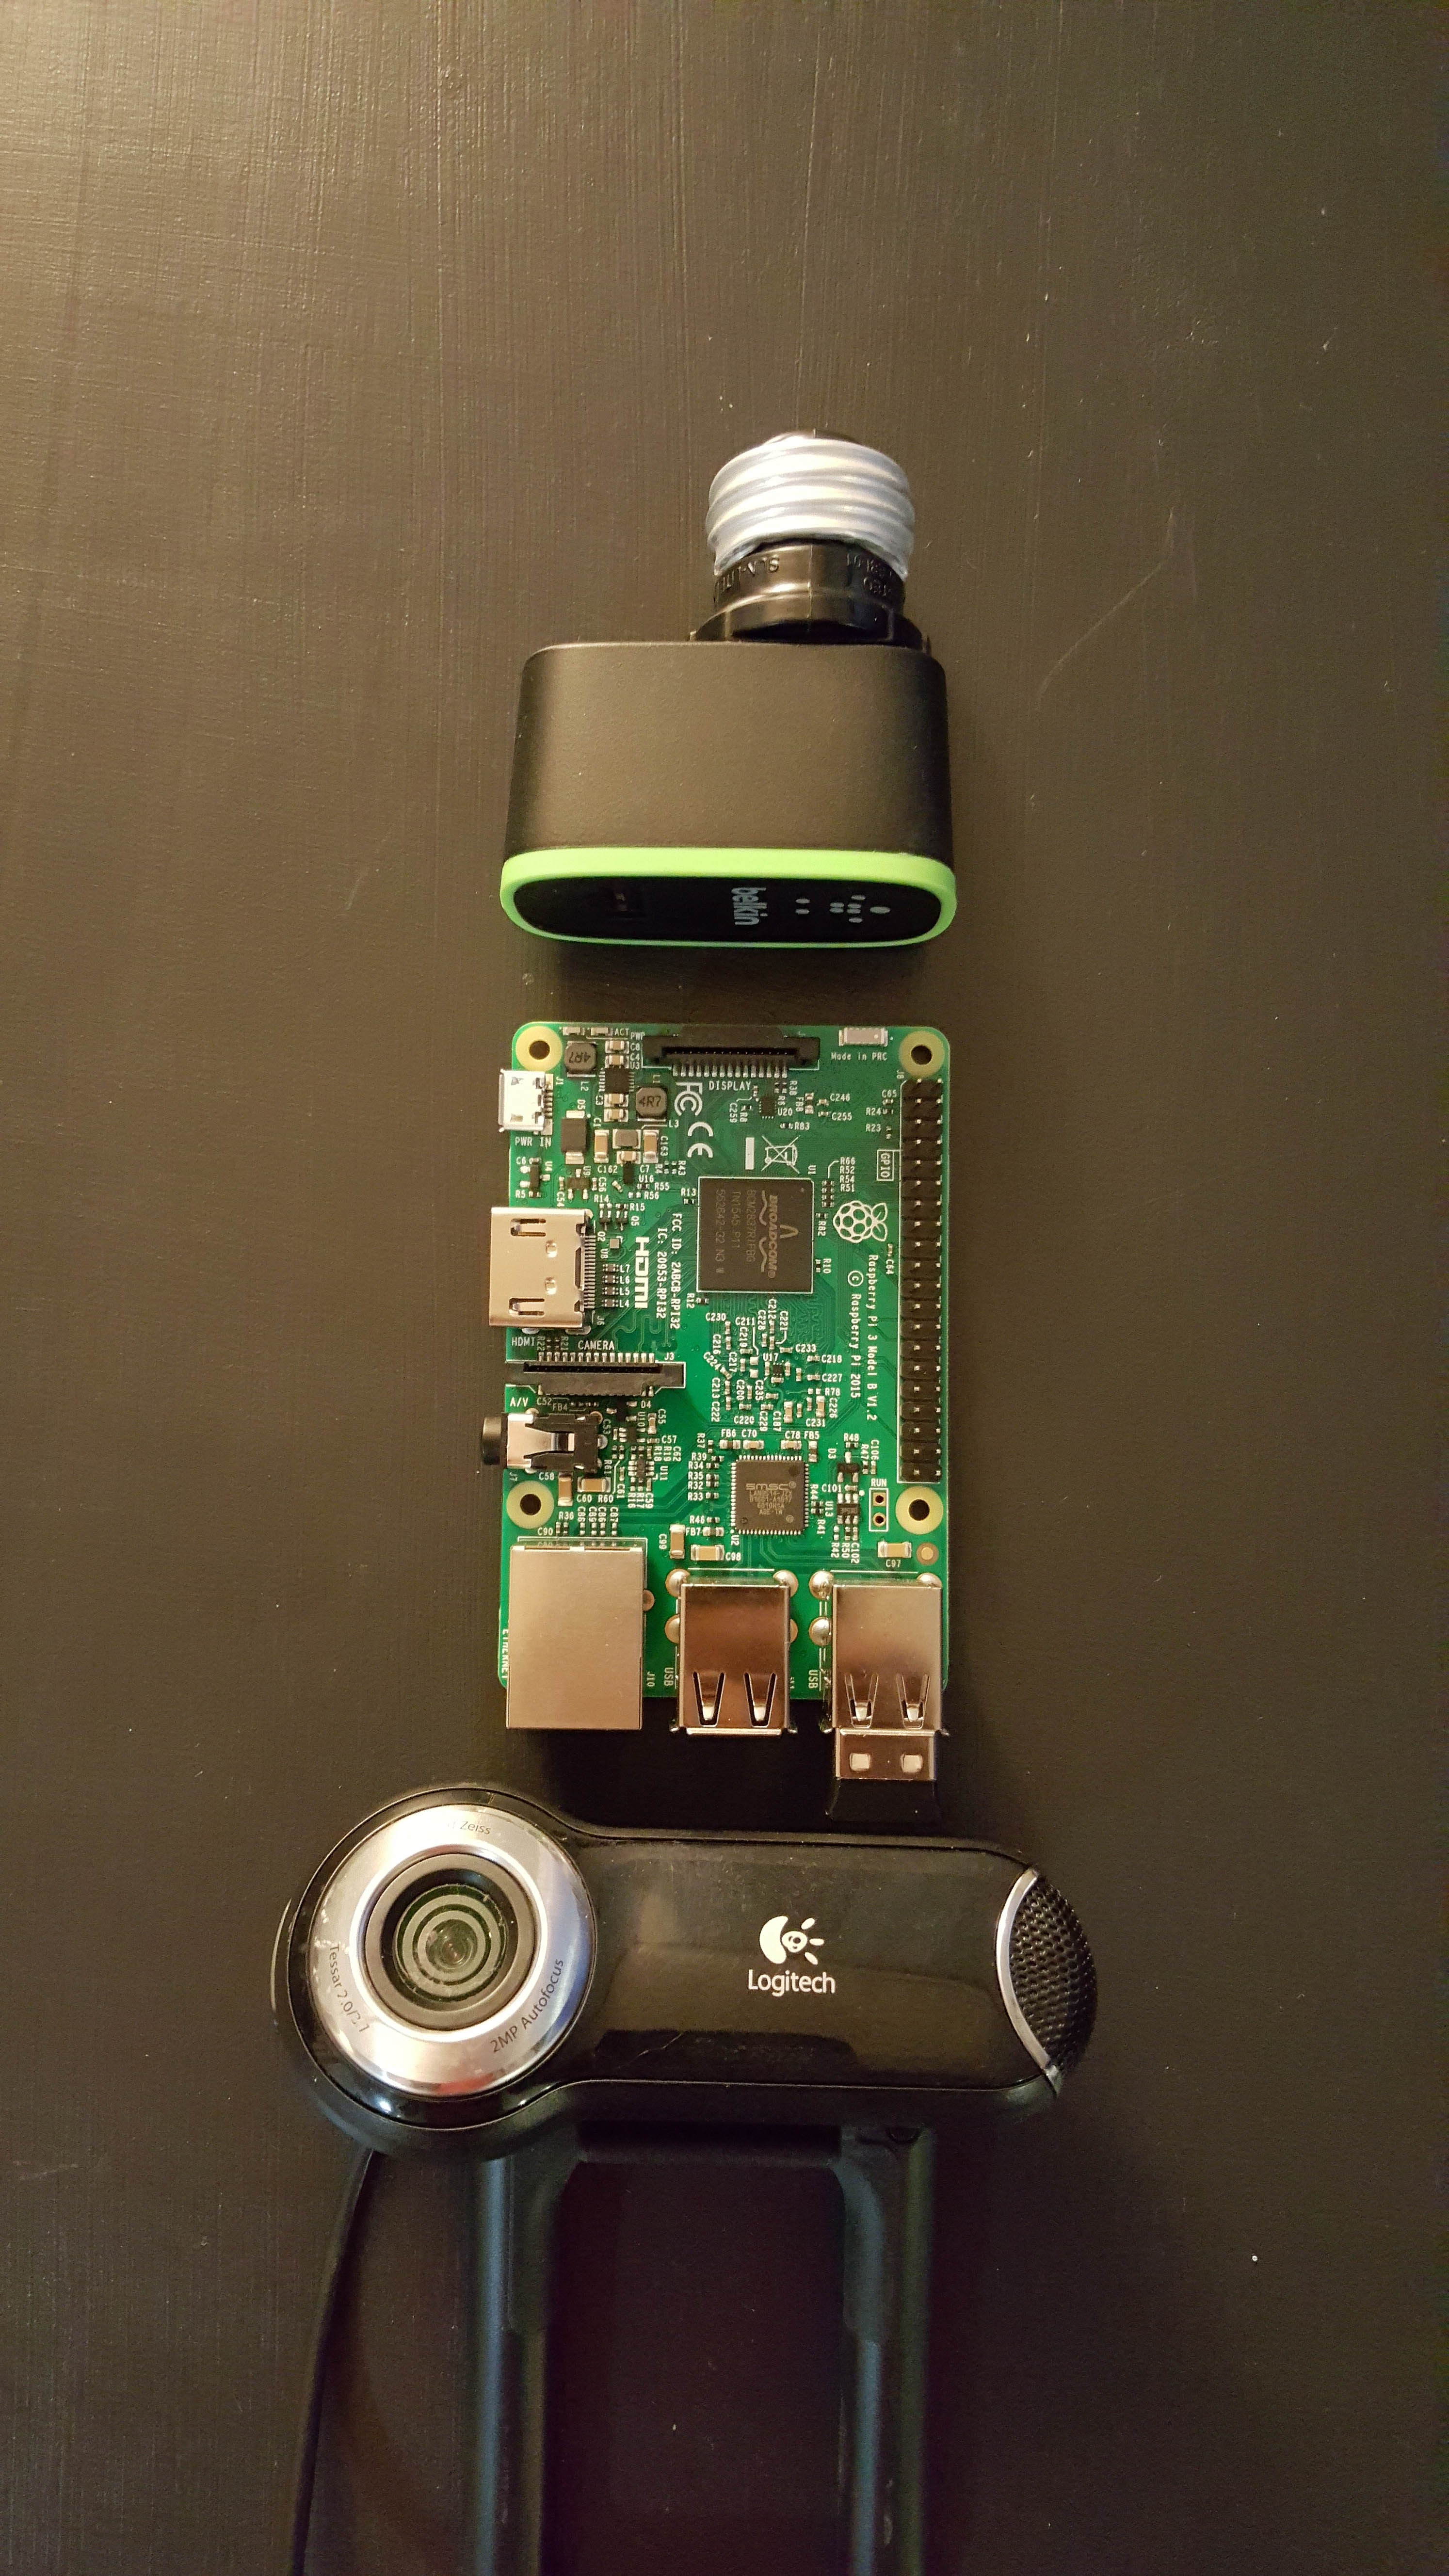
Concept for Alpha version or proof of concept parts list …
- Light socket to 2 prong plugin adapter
- 120v to 5v 2.1amp adapter to power raspberry pi
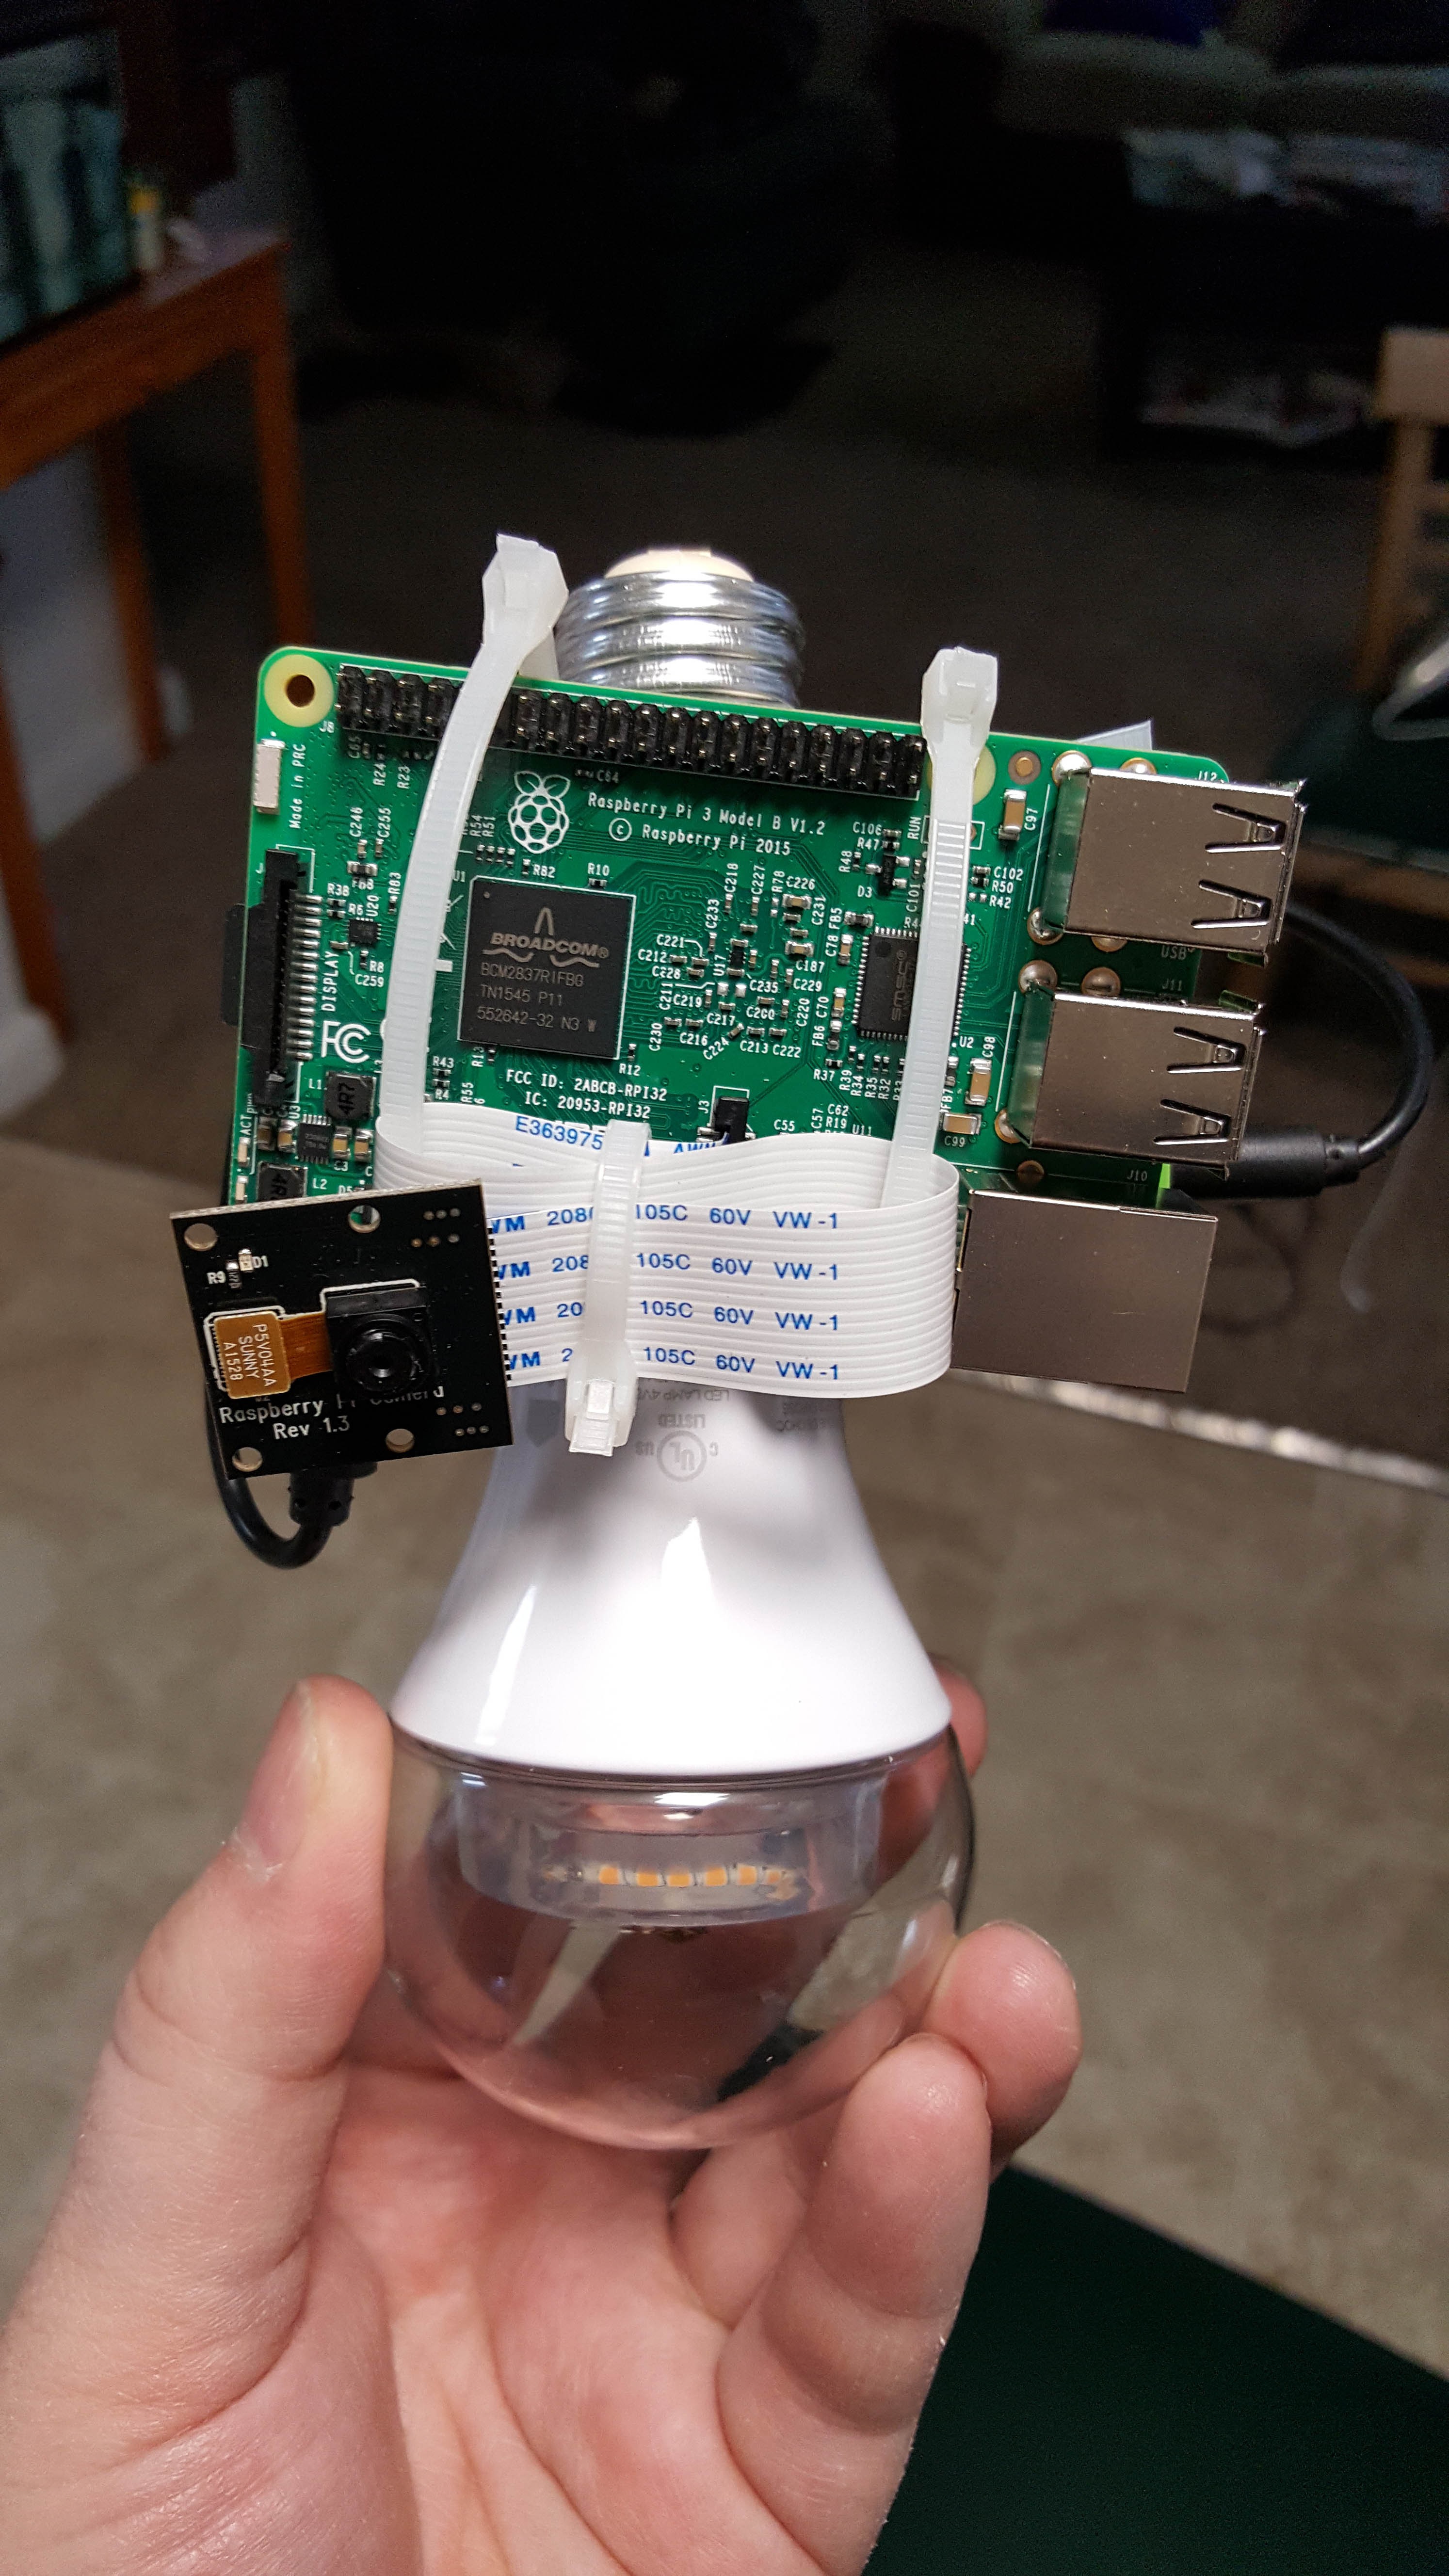
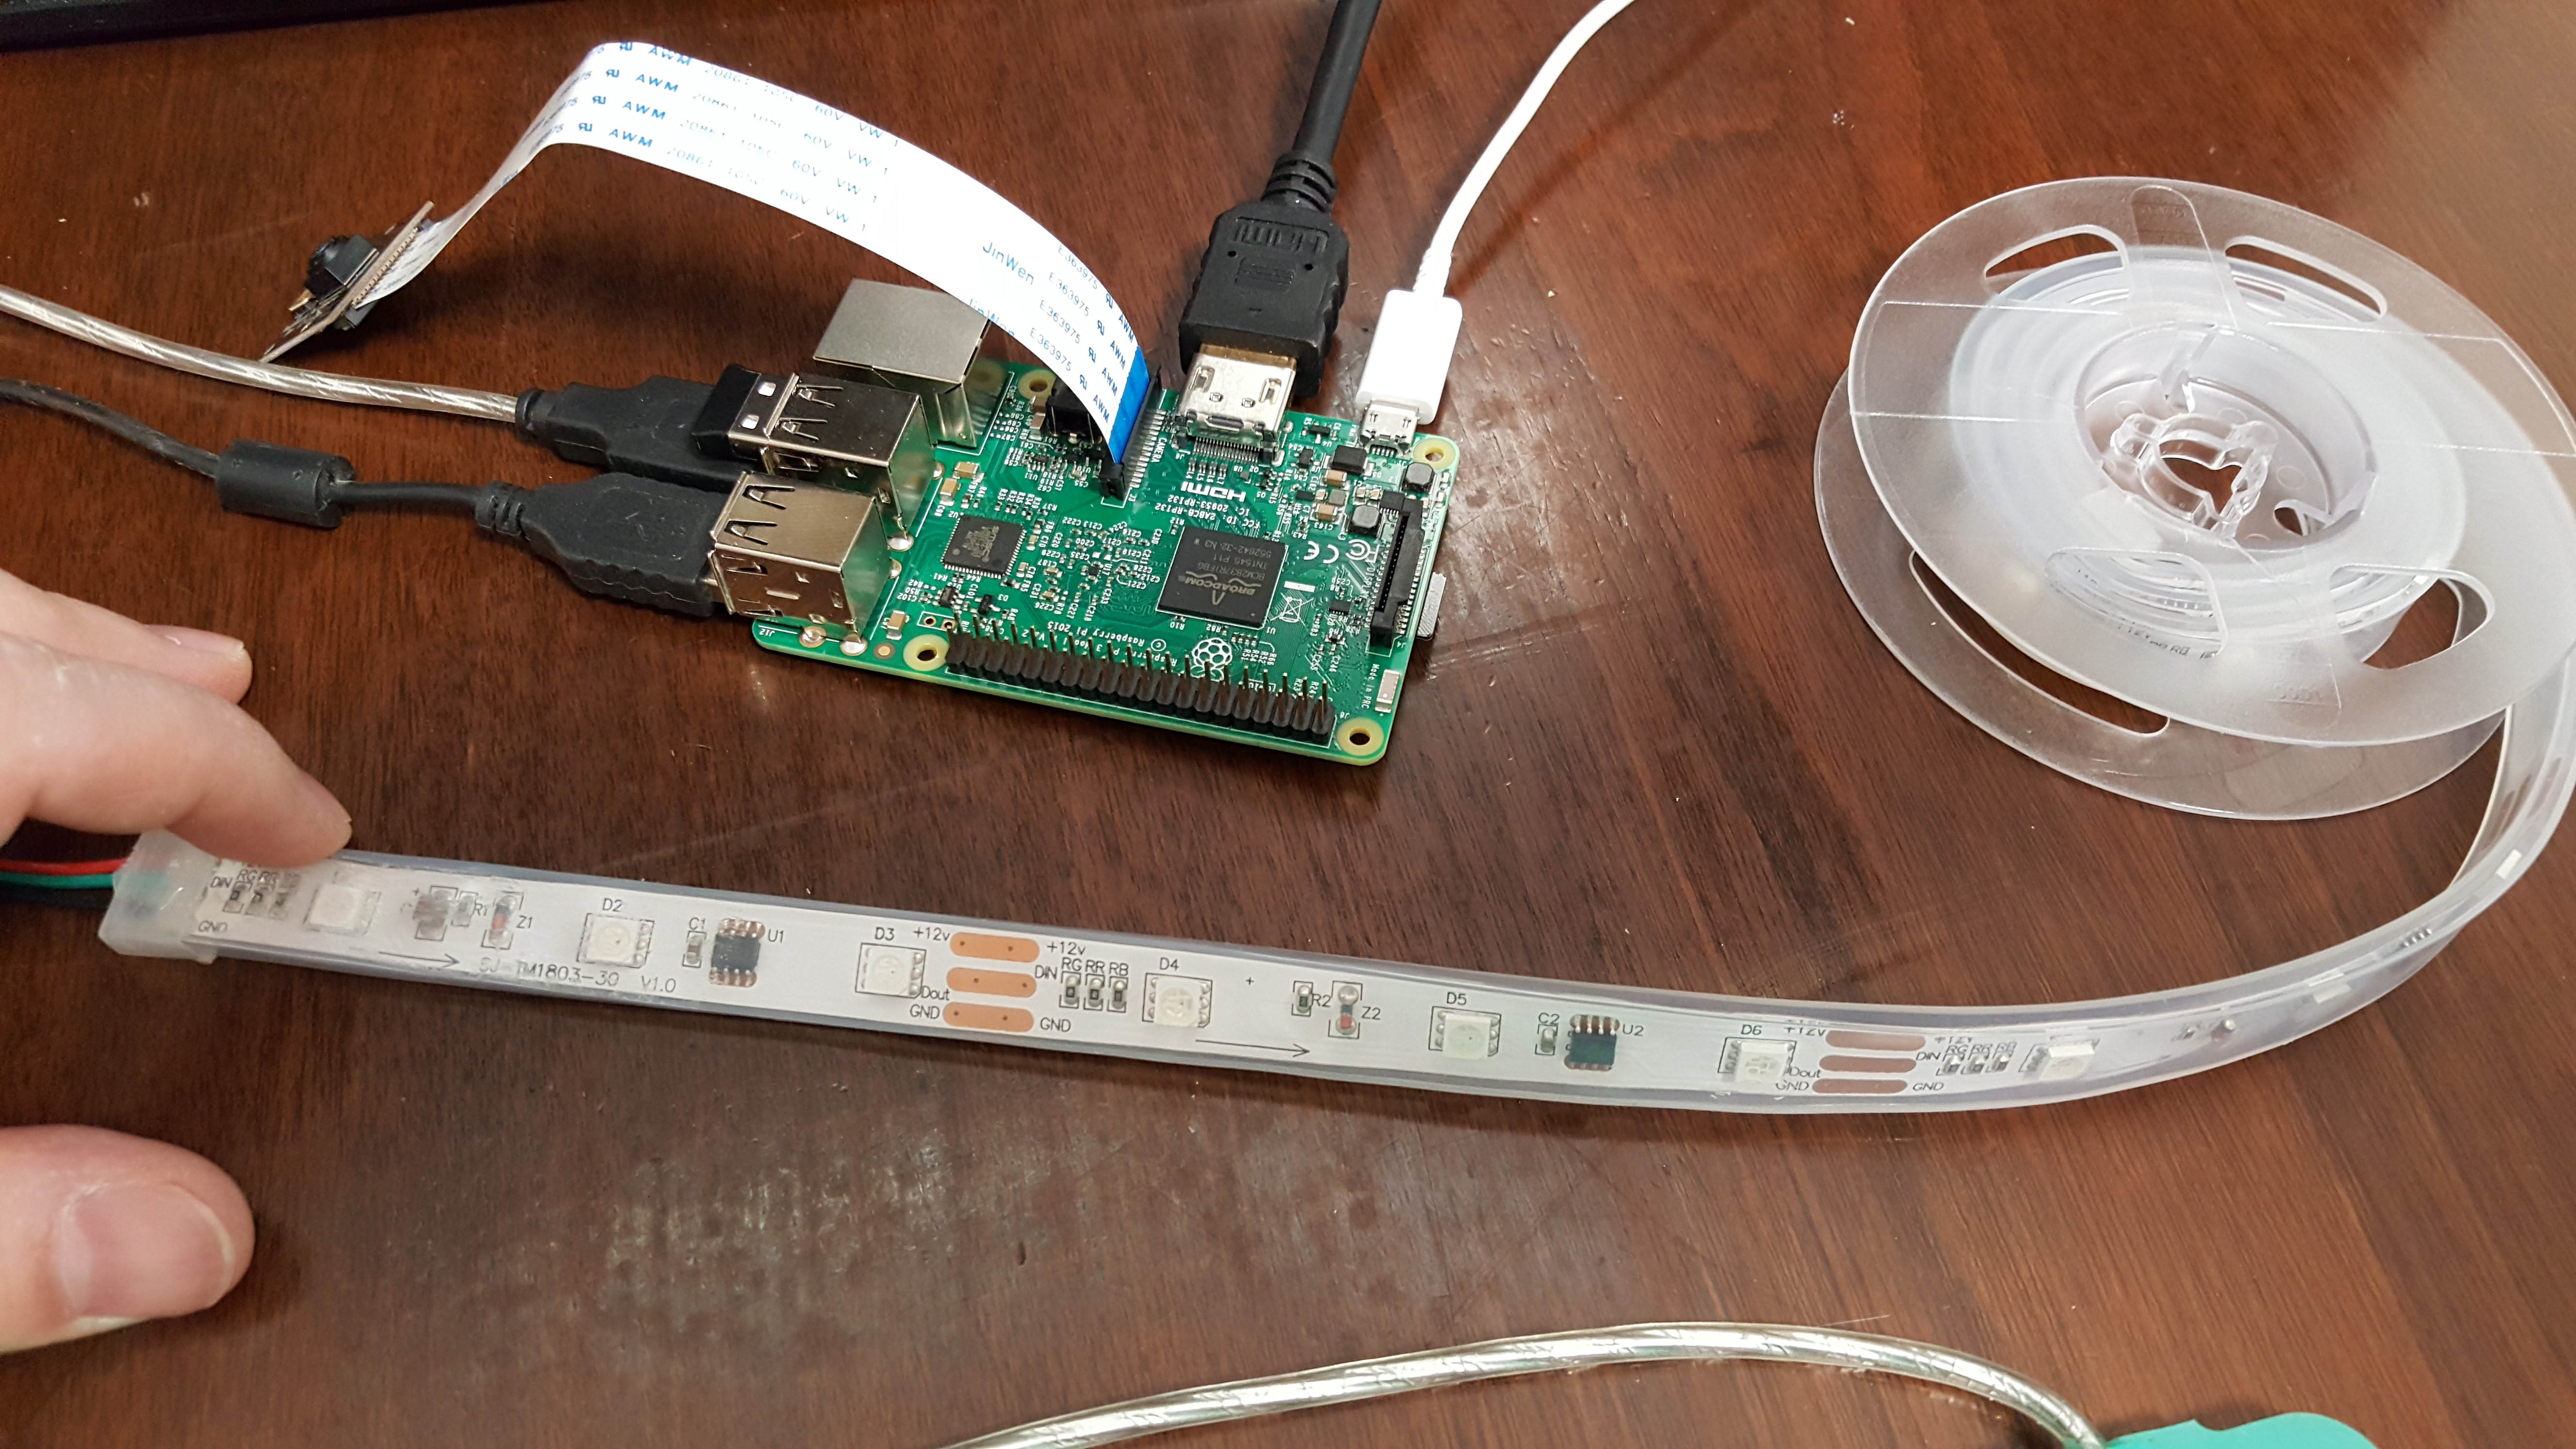
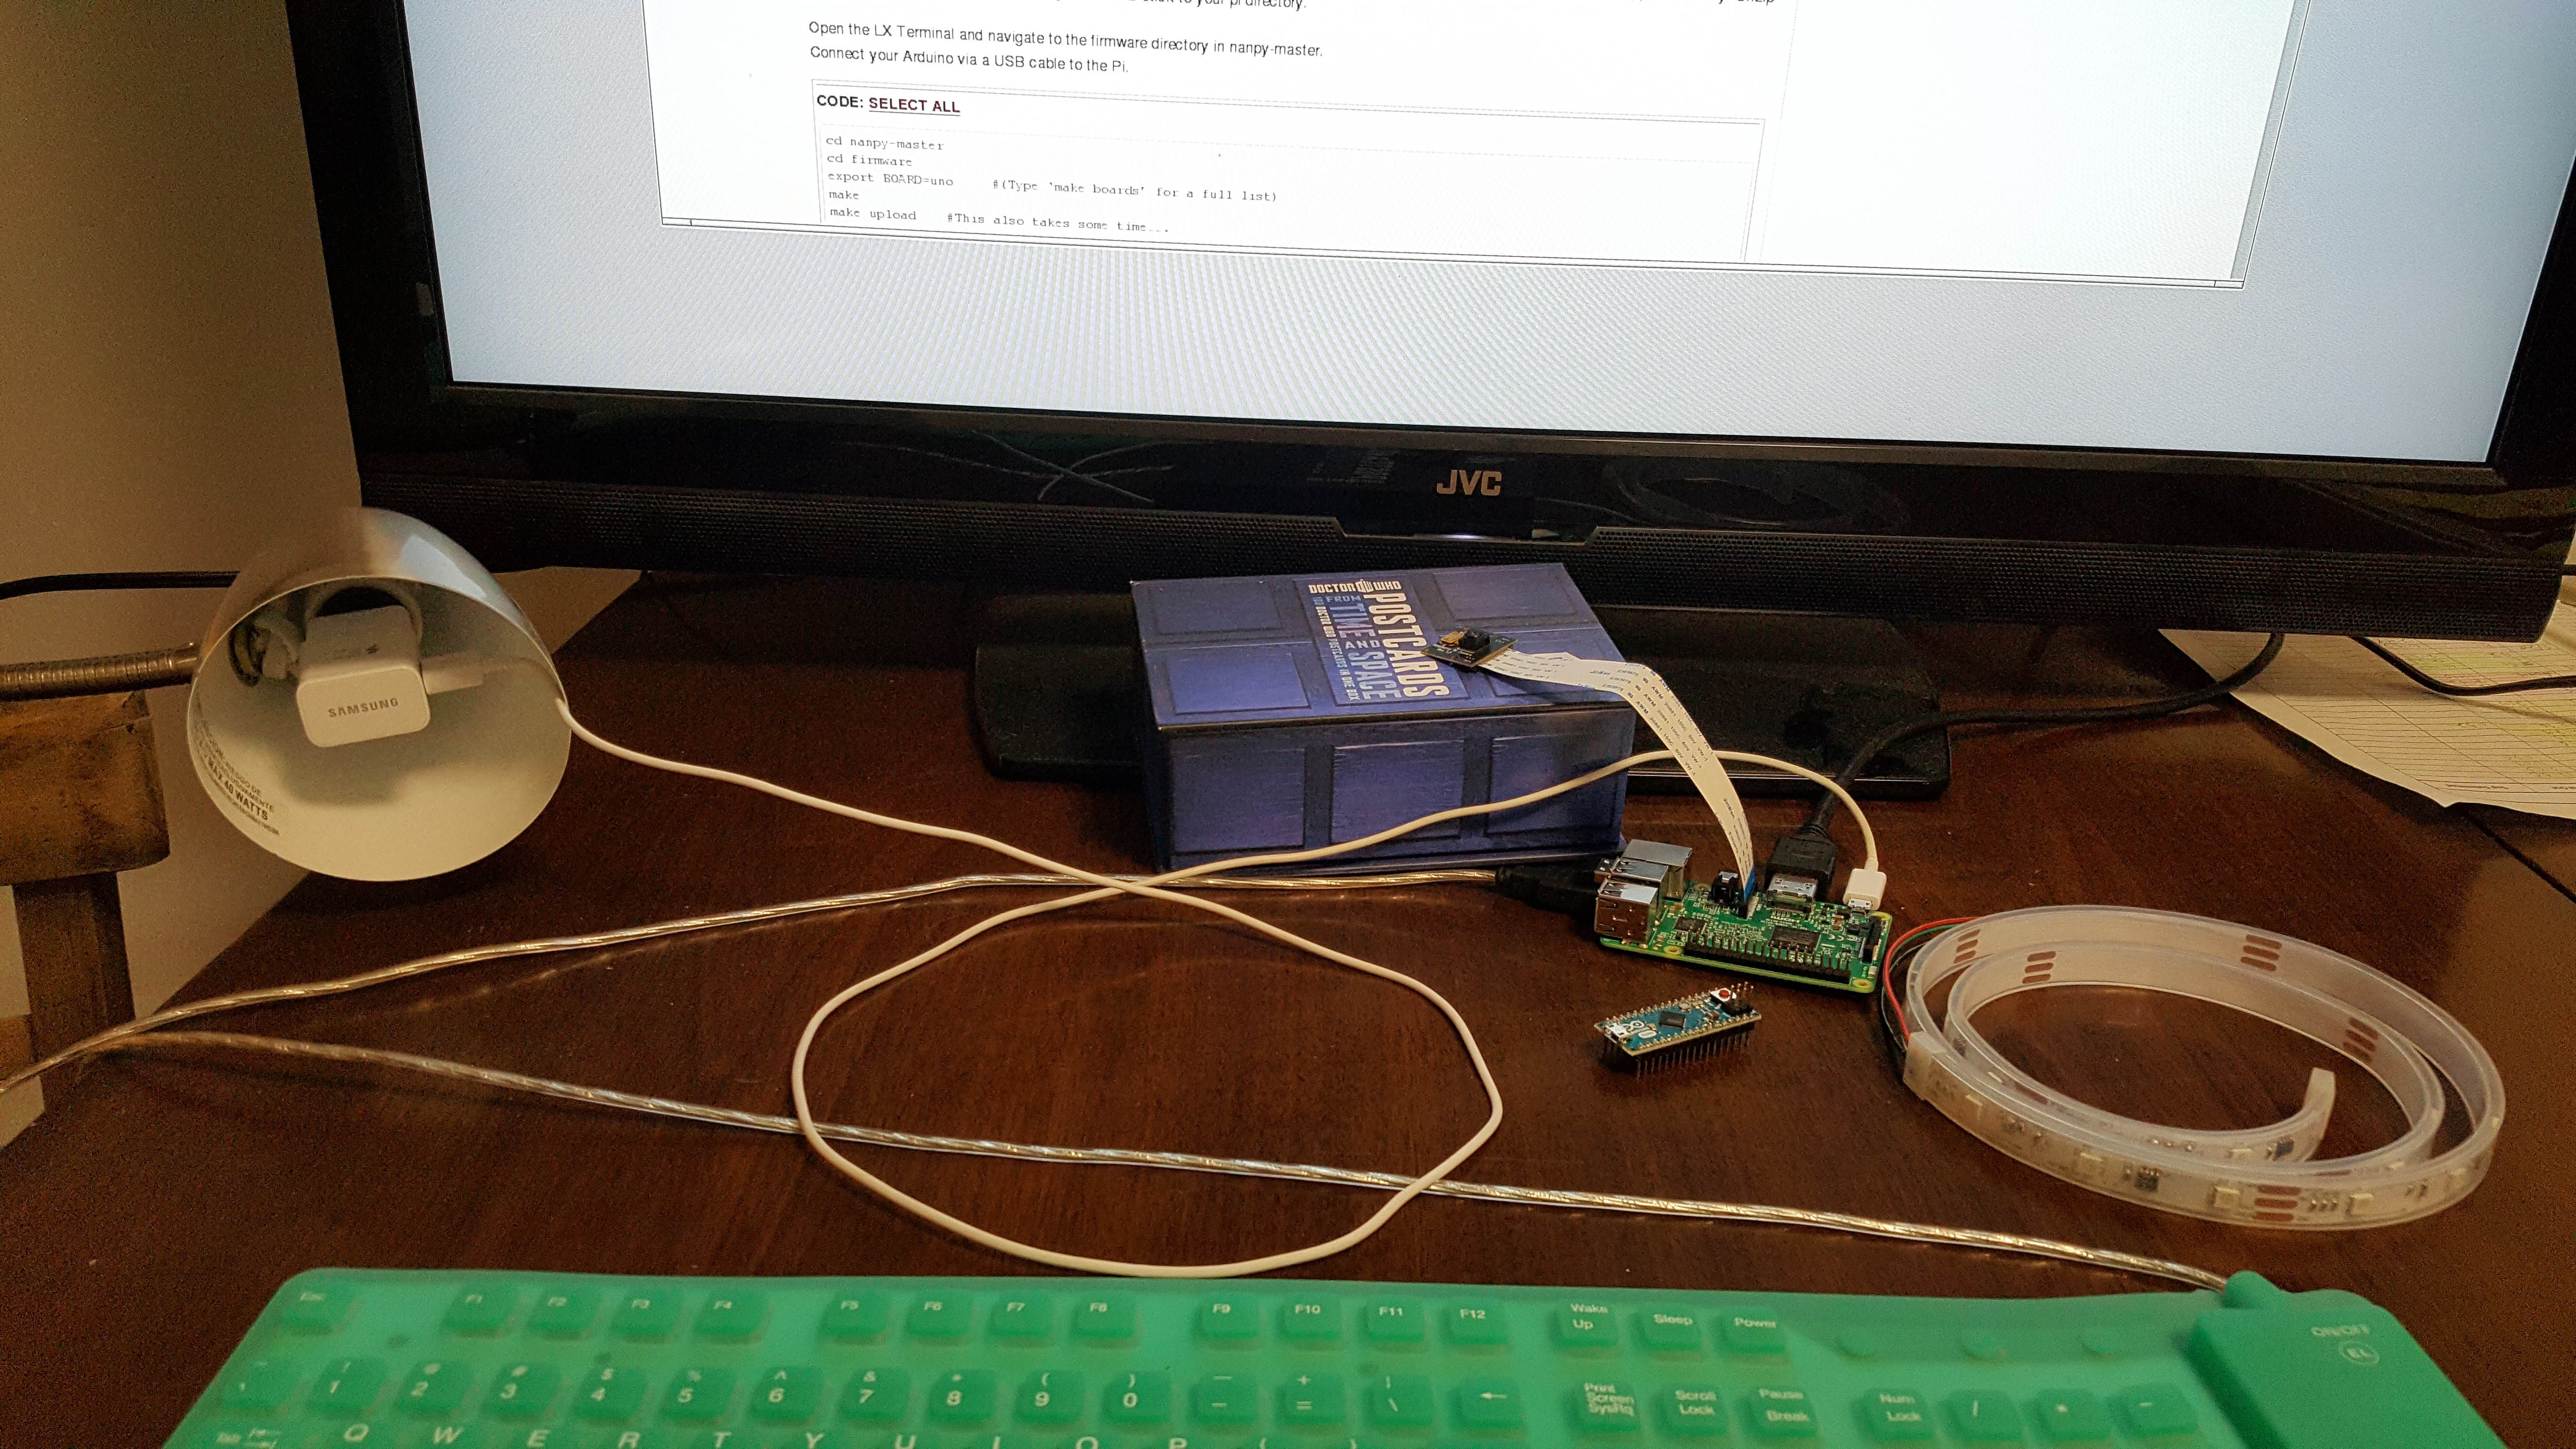
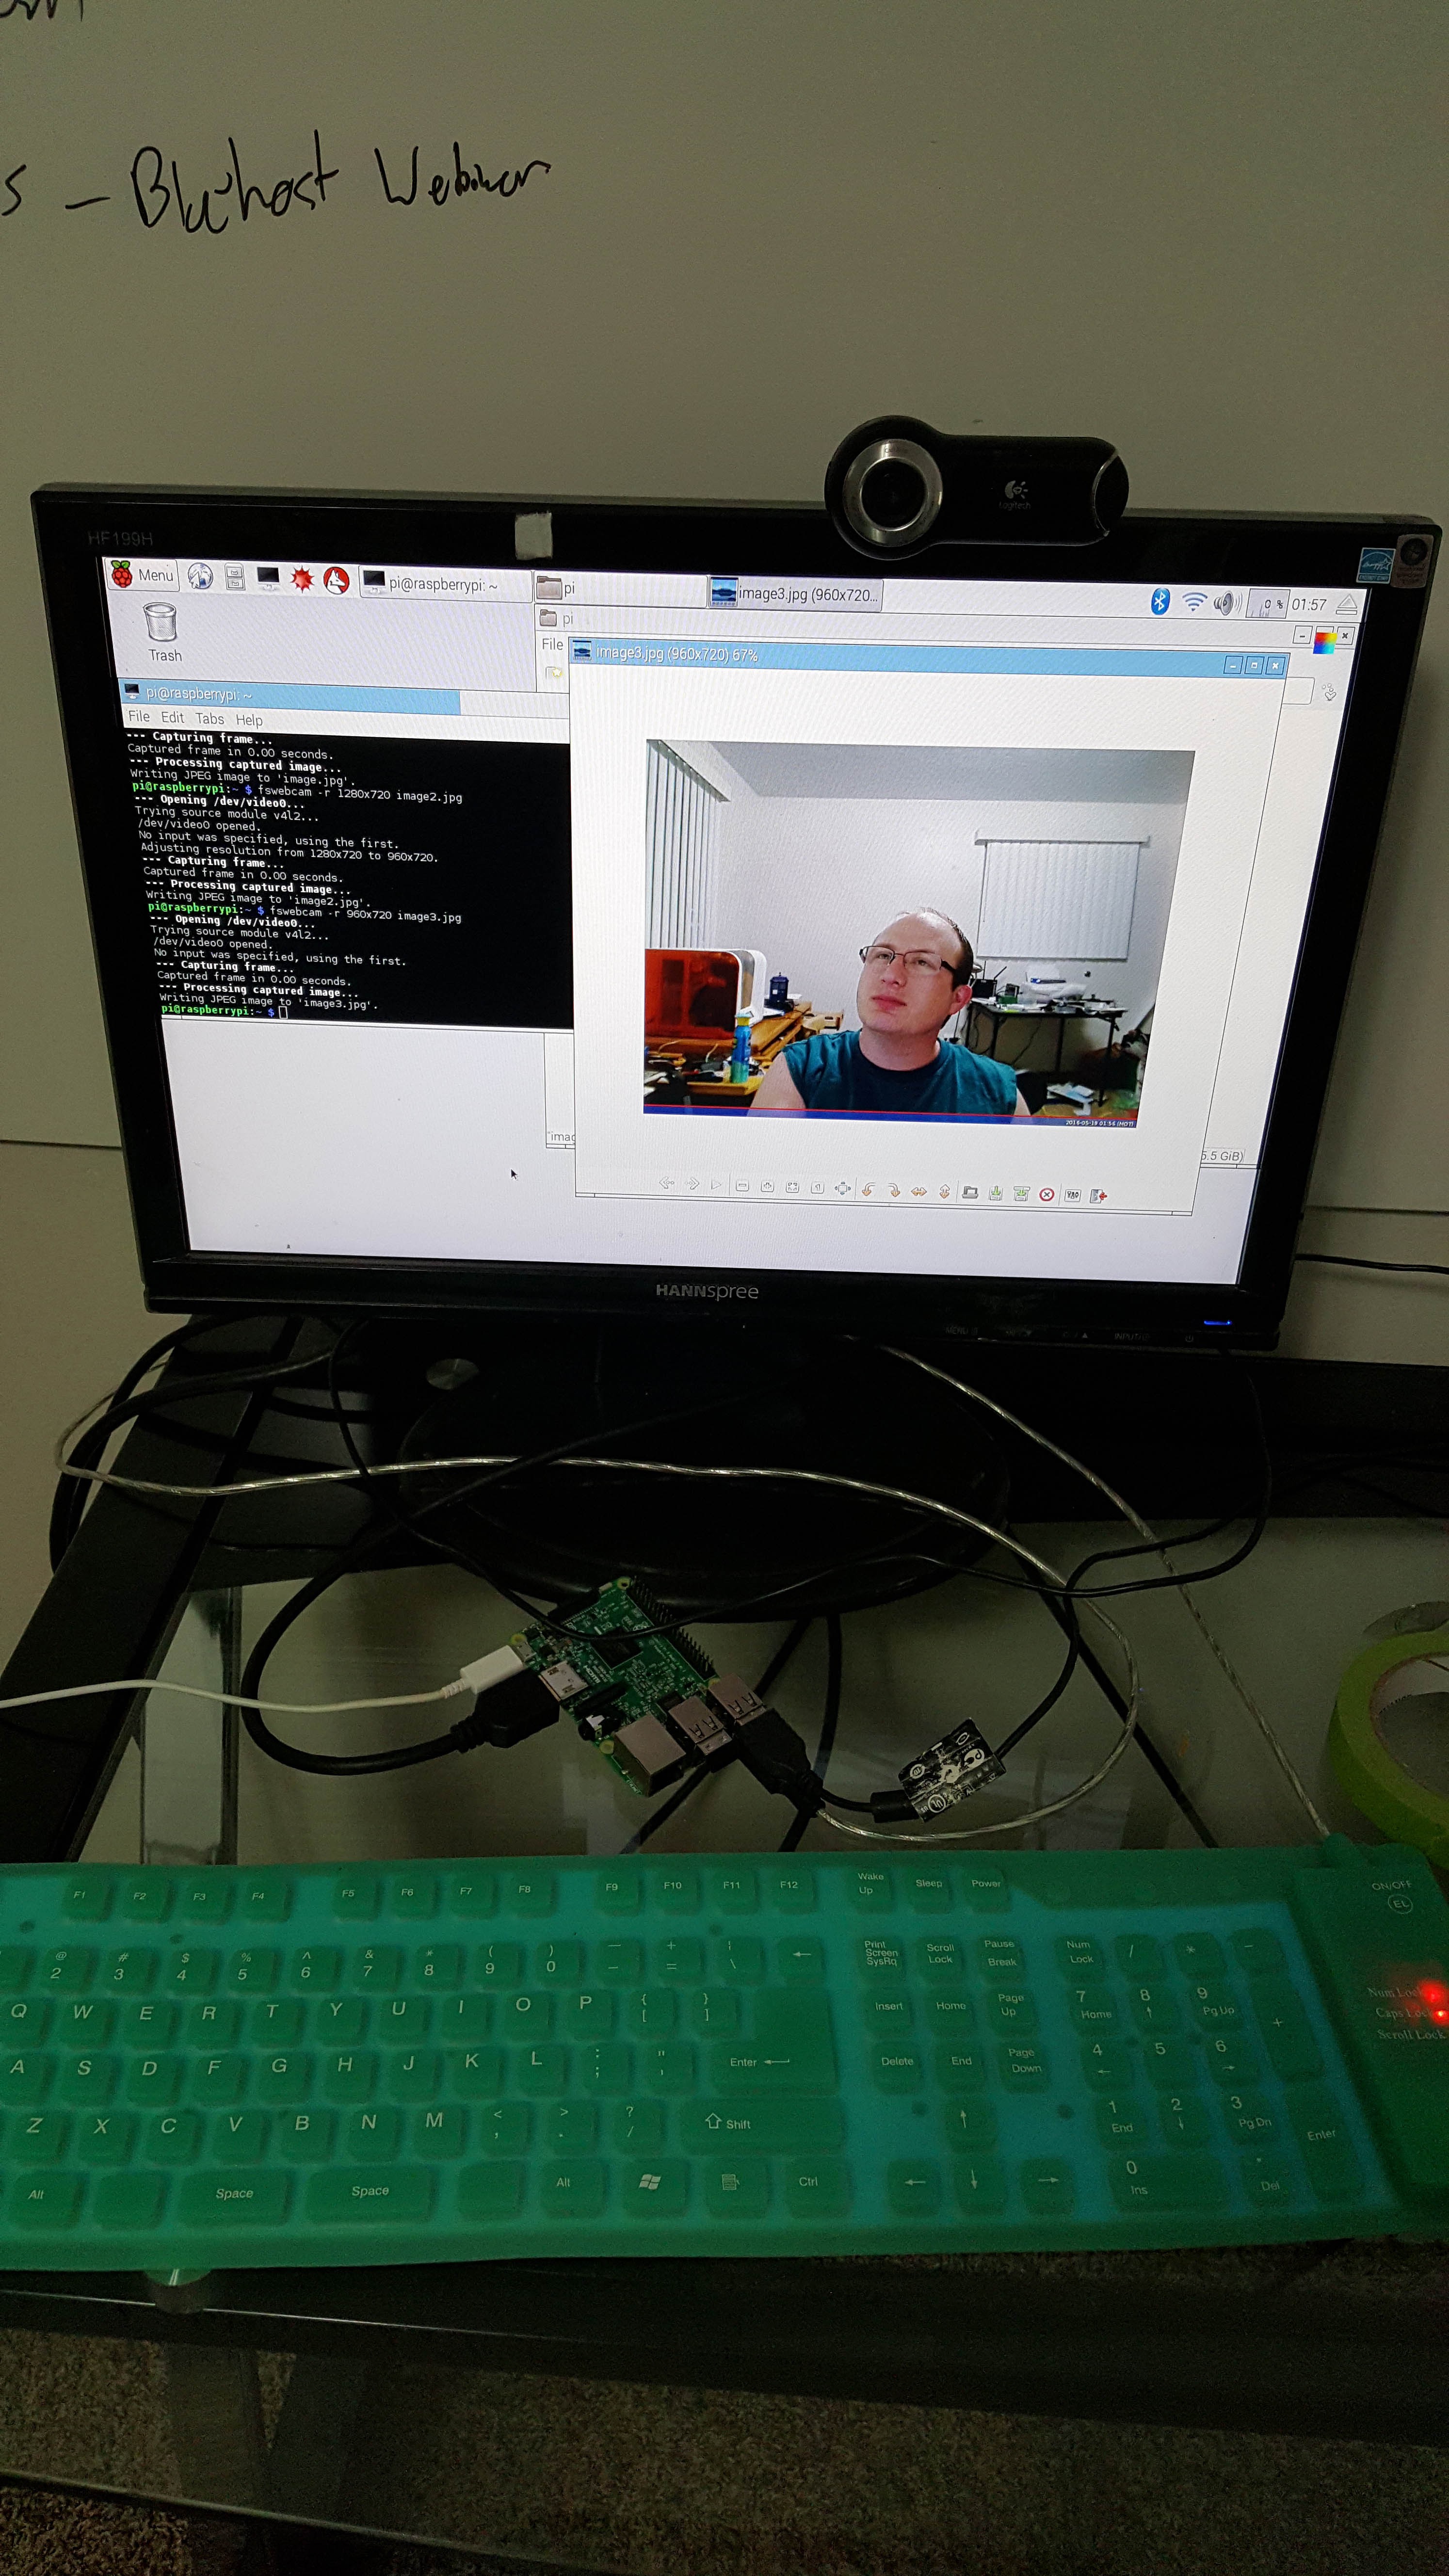
- Raspberry pi 3 board for Bluetooth/Wi-Fi
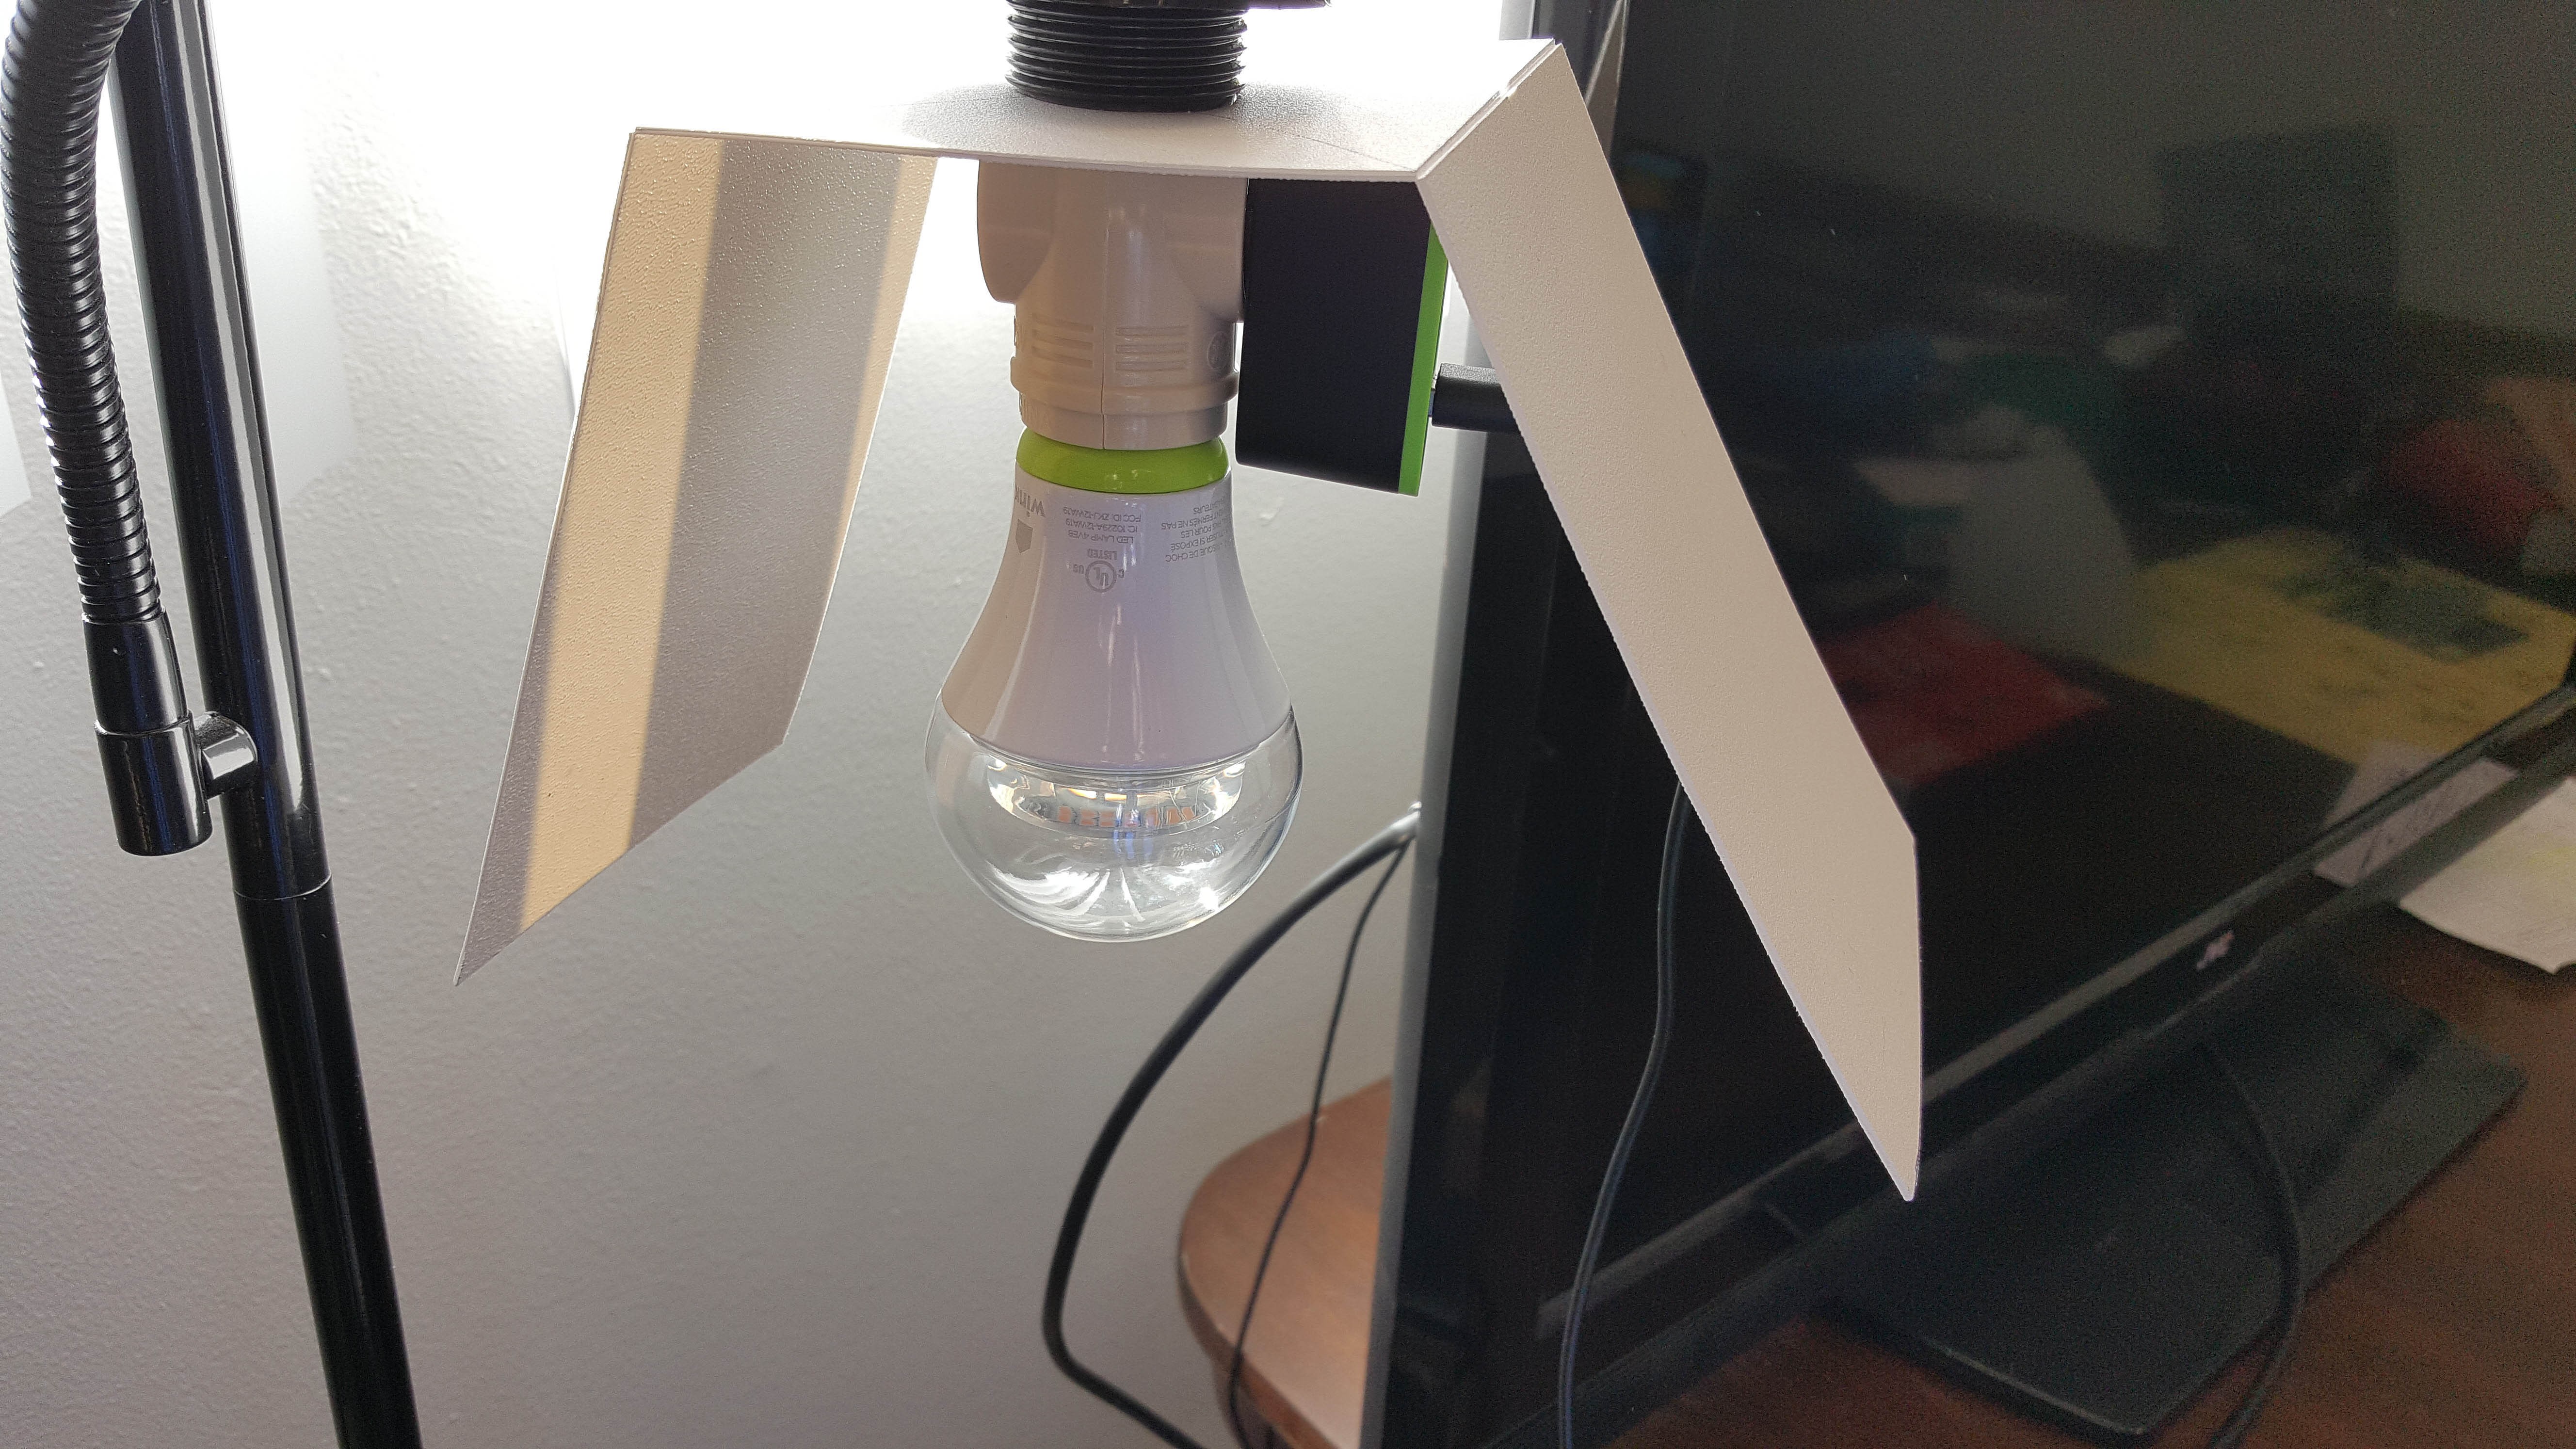
- Wide angle 180 degree camera or raspberry camera module
- Led light or small led panel
- Back up battery
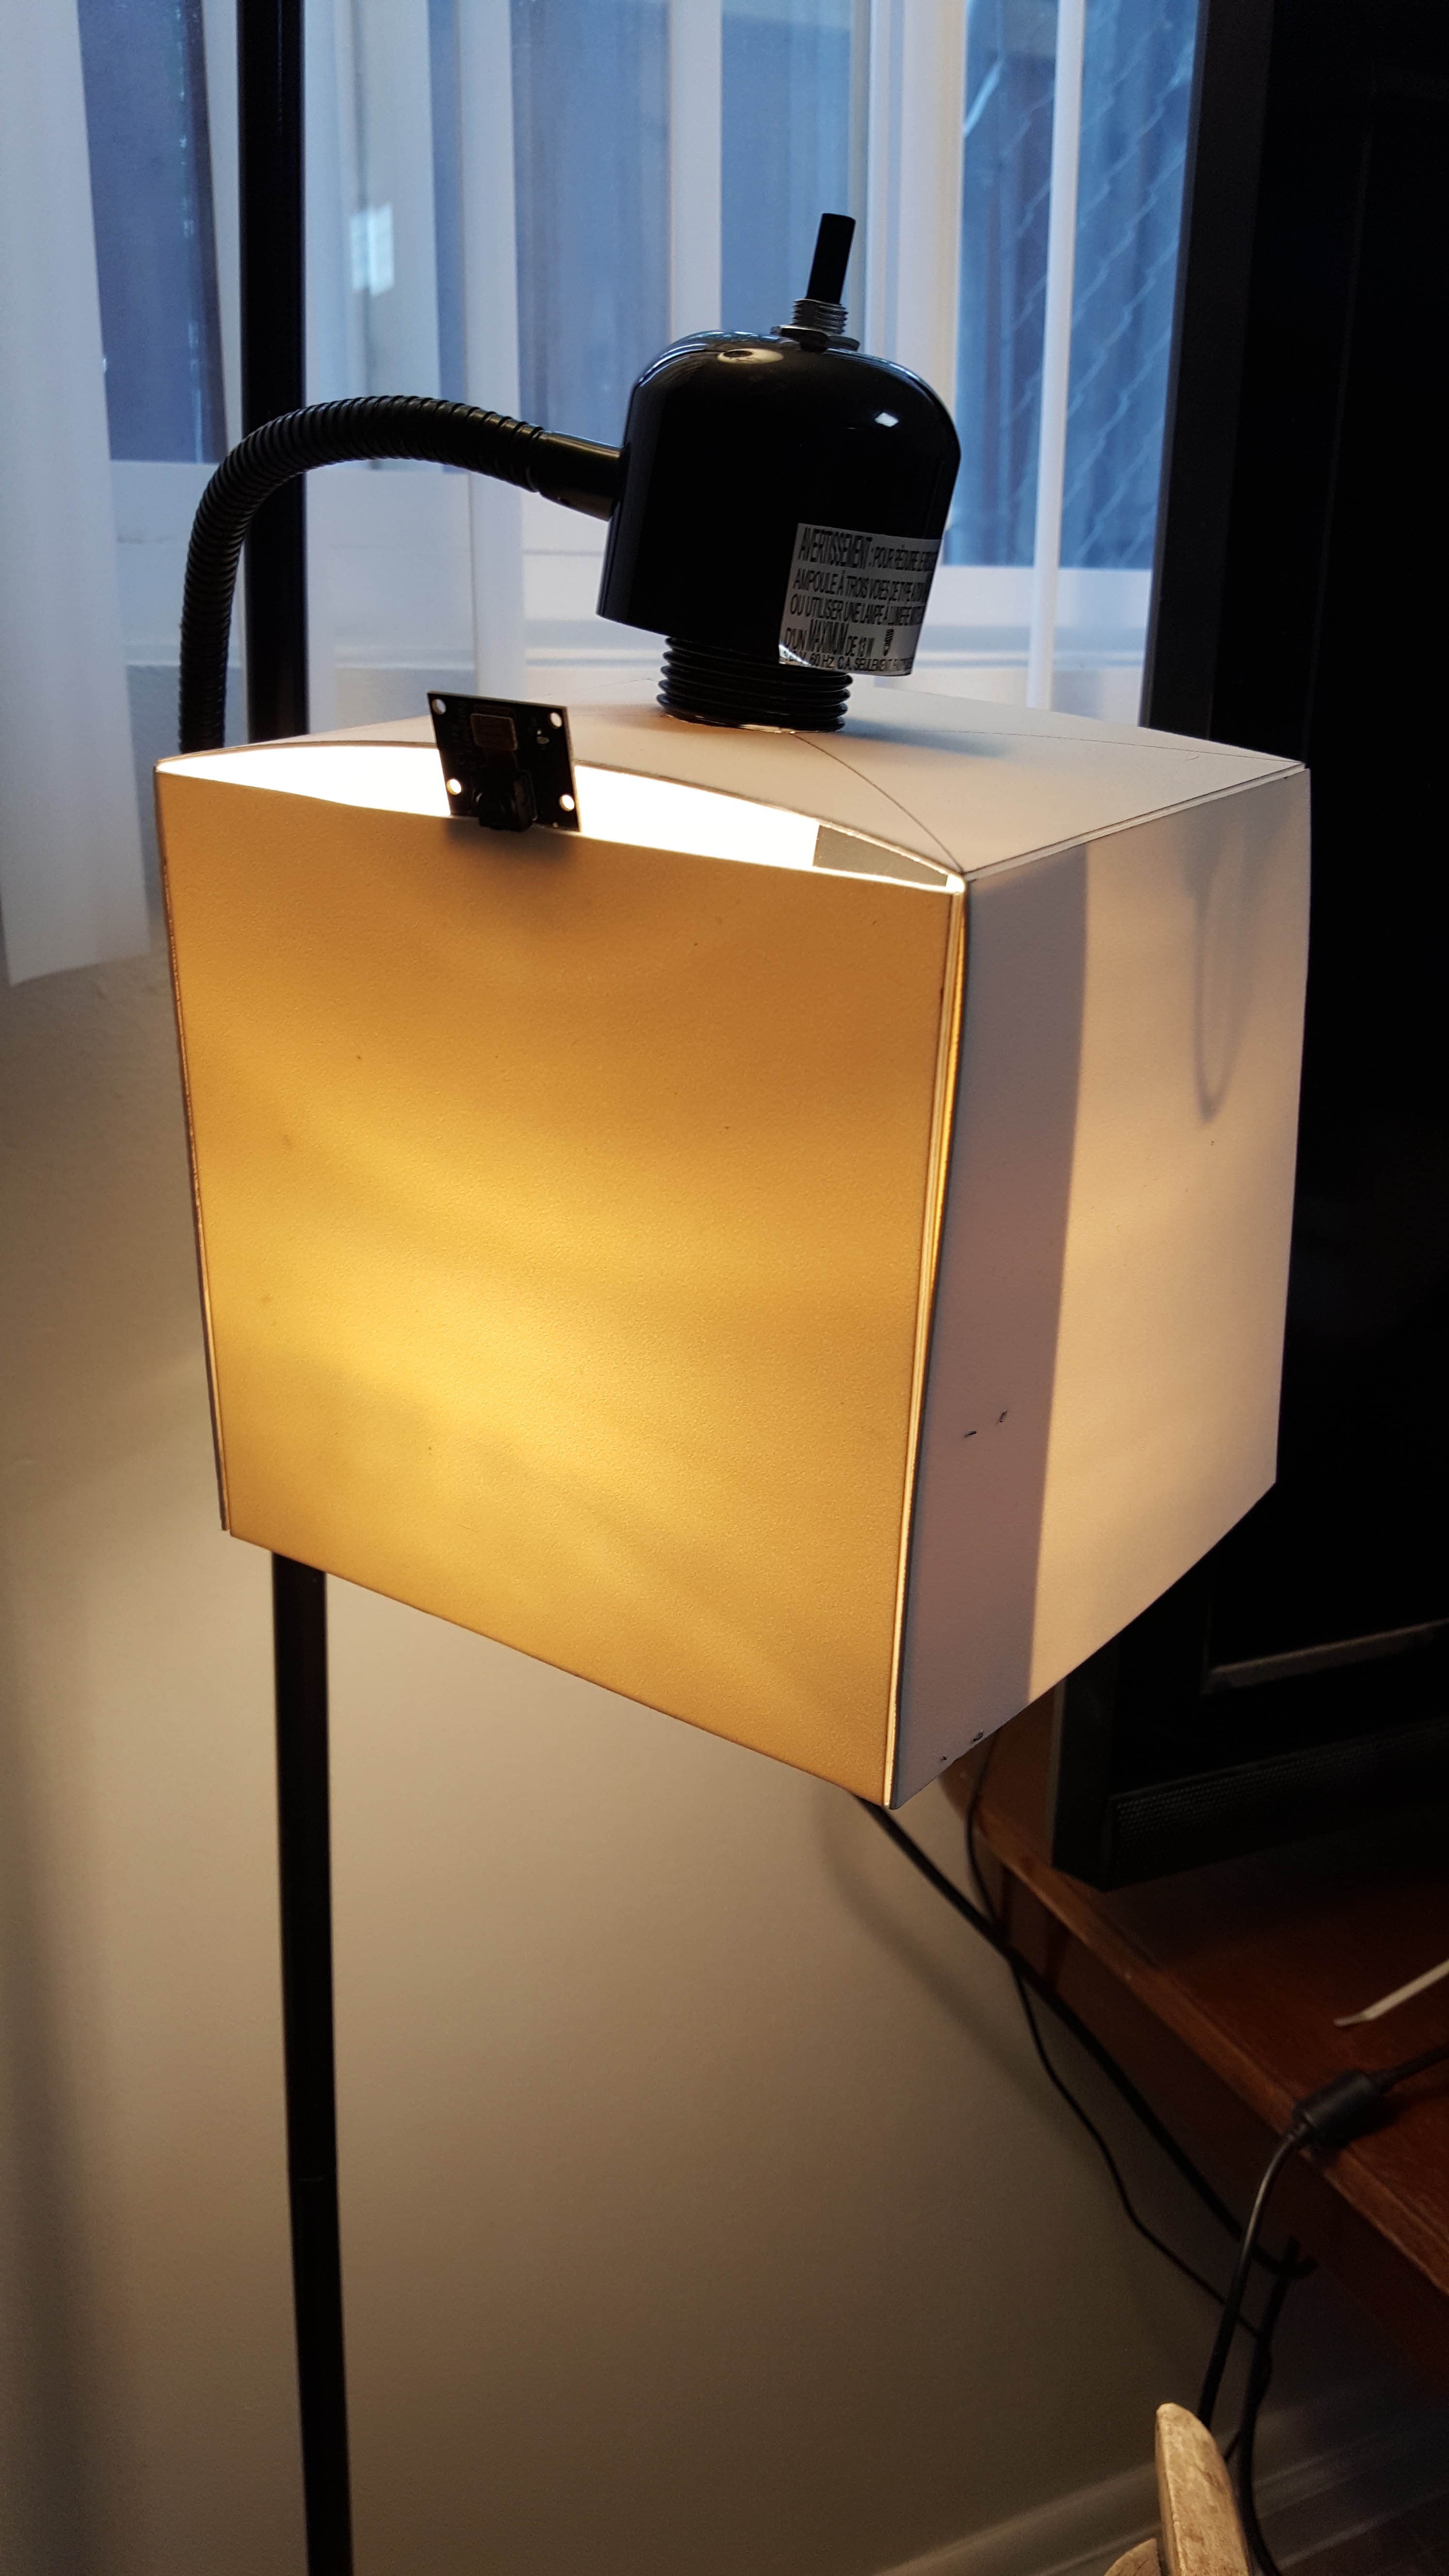
- 3d printed enclosure for modern light fixture
- For location outside of Wi-Fi coverage an Ethernet over power line option could be included
- For outdoor models weather sensors could be included
- Day or night vision
*Obliviously with a proper pcb layout much of this could be combined and reduced
*Heat dissipation could be a problem enclosure may have double duty of heat sink functionality
Software…
Android and ios apps and internal web accessible menu
Painless pairing … connect to a mighty lightyjust like you connect a phone with a new chrome cast.
Remove old light bulb … screw in might lighty … download /open app … add camera to app with painless pairing… and you have just installed a smart security camera in less than 5 minutes
Raspberry pi could run either linux or windows 10 IOT ….
Would need video server functionality
Light web server functionality …
possibly node.js
H264 streaming
Upnp networking
And opencv for people and pet detection or googles new image detection ai service
Video and image capture would not be locked down to any one destination…
Save video or images to your cloud storage of choice… box… drive… s3 … or local nas on network
Put video on any tv in house via dlna or chrome cast
Even set the video of a might lighty to your choice of streaming services… youtube etc
Get notifications from the apps… object detection emails, texts or twitter
Notification if someone inevitably turns that light switch off .. warning running on battery power
Also works with nest or other smart home hubs
We can’t forget the light source… configure light timer … dusk to dawn … motion activated … etc

 Brenda Armour
 Robert Gowans
 Arducam
 J. Peterson