 Ricardo Quesada
-
1Step 1
Build the WiFi receiver circuit using this schematic:
![]()
And this PCB file:
![]()
What the receiver does, is to open/close the c64 joystick connections with three 4066 switches.
Since each c64 joystick has 5 inputs (Up, Down, Left, Right and Fire button, not including the potentiometers) we need three 4066, since each one has 4 switches.
With the ESP8266 it is possible to control two joysticks at the same time, since it has 11 GPIOs. Five GPIOs are needed per joysticks.
Once the circuit is built, connect it to the Commodore 64 control ports:
All the EAGLE files (schematic + board) can be download from here:
-
2Step 2
Clone the esp8266 firmware:
$ git clone https://github.com/ricardoquesada/unijoysticle.gitThe firmware is located in the "esp8266_firmware/firmware" folder.
You should compile it using Arduino IDE (or compatible like PlatformIO). Make sure to add the ESP8266 support in the Arduino IDE (instructions here).
And finally upload the firmware to the ESP8266 module (using Arduino IDE or PlatformIO).
By default, it will enter into Access Point mode and it will create a SSID named "unijoysticle-XXYY", where XXYY are the last two characters of its mac address.
-
3Step 3
Download the UniJoystiCle iOS client from the App Store:
Or download it for Android from Google Play:
Or download and compile it yourself. It is open source:
-
4Step 4
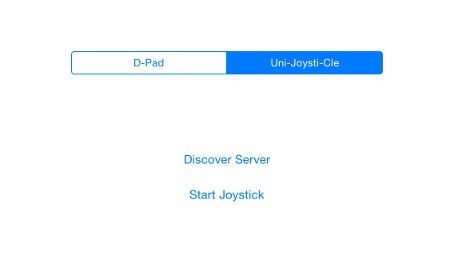
Open the UniJoystiCle Controller application from your iPhone, and set it in UniJoystiCle mode:
![]()
![]()
Attach your iPhone into the unicycle pedal using gaffer tape (duct tape will work as well):
![]()
It is important to open the UniJoystiCle iPhone application before you attach the iPhone to the pedal. Otherwise you won't be able open the application.
-
5Step 5
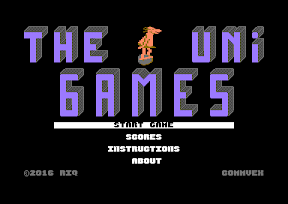
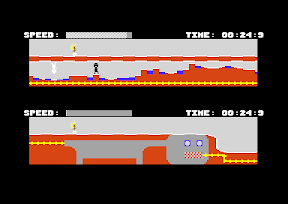
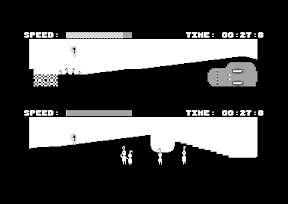
Load and run the "The Uni Games" in your Commodore 64.
The latest binary can be downloaded from here:
But you can clone it and compile it your self:
$ git clone https://github.com/ricardoquesada/c64-the-uni-games.git $ cd c64-the-uni-games $ make![]()
![]()
![]()
-
6Step 6
Done. Just ride your unicycle to start playing the game!


Discussions
Become a Hackaday.io Member
Create an account to leave a comment. Already have an account? Log In.