 Trey German
In my last post, I hinted that I will be strapping these things to some kind of moving contraption. I'm still not quite ready to tell you what that contraption is (Why ruin the surprise?), but in any case I'll need a case to hold the PCB as well as some method of attachment.
Thankfully we live in a world where there are open source 3D CAD tools and cheap 3D printing services. Previously, I've played around with FreeCAD so I started by building a 3D model of the board in this tool. While I don't explicitly need a 3D model of the board, it will help in the long run by ensuring that all of the enclosures I design fit the board before I ever send the enclosure out for printing. After playing around with FreeCAD for an hour or two I came up with this model.
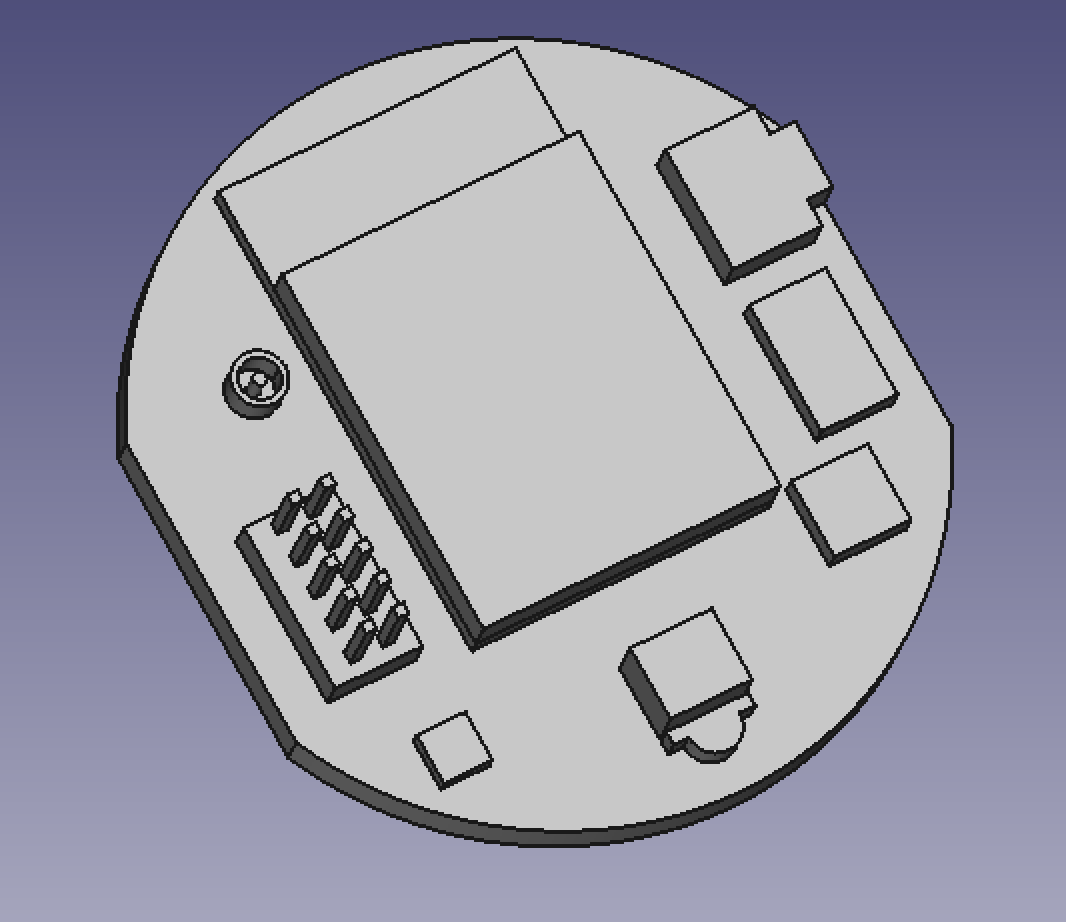
While it lacks color and exact models of the parts, the overall model is dimensionally accurate, which will allow me to make sure the enclosure and board fit together without any interference.
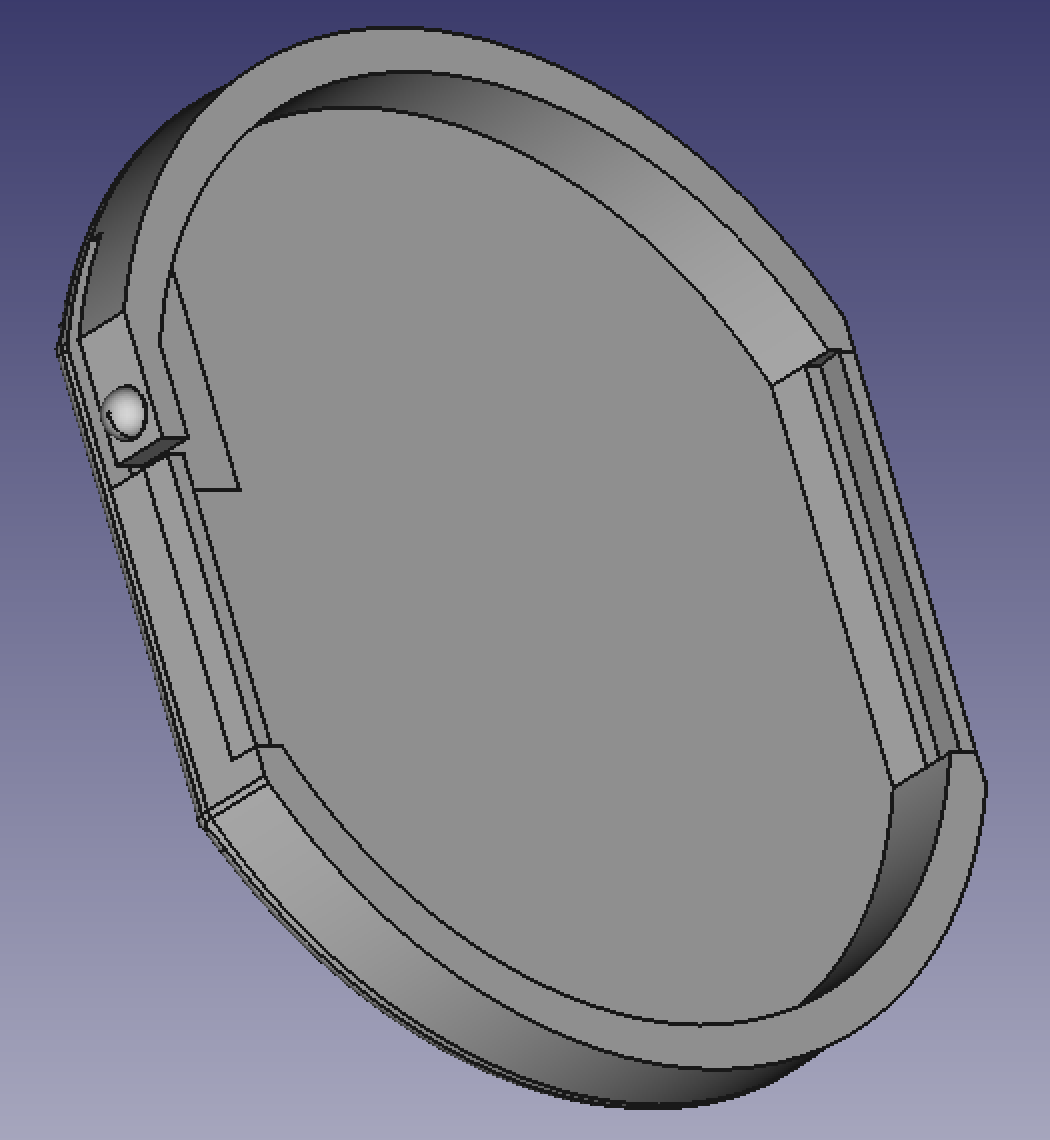
Once I had the model of the board, I started designing the bottom half of the case. I begun by stripping down the model of the board until I had just the outline of the PCB sketched. I then increased the size of the board a bit (for tolerance reasons) and extruded the board outline so I had a ring that was shaped like the board. I then added a bottom as well as some cutouts for magnets. The final step was to add some taps to the top side such that this half of the case could snap together with the top half.
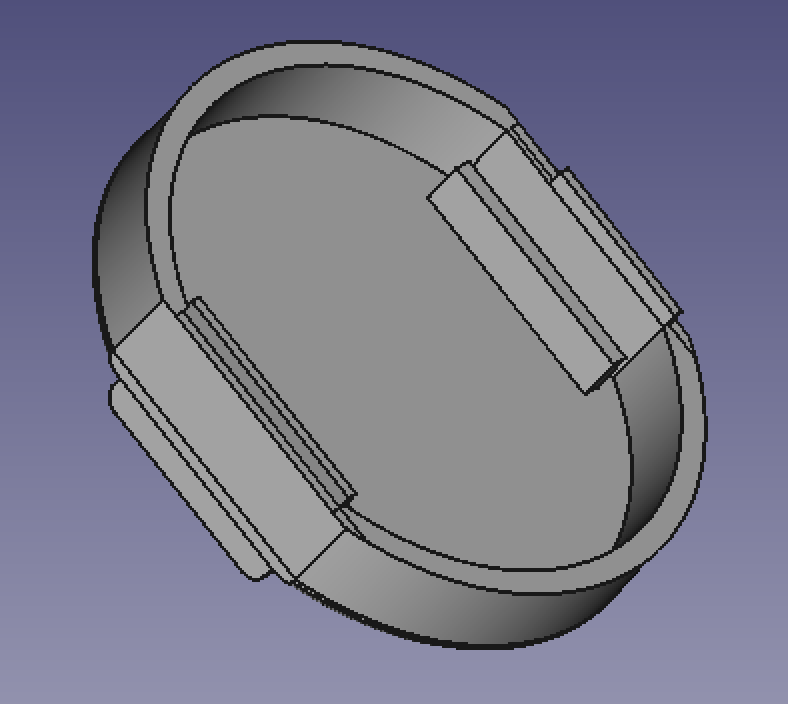
The top of the case followed almost the exact same design flow, but instead of including holders for magnets I added some strategic cuts such that the board's pushbutton could be pressed by squeezing the side of the case.
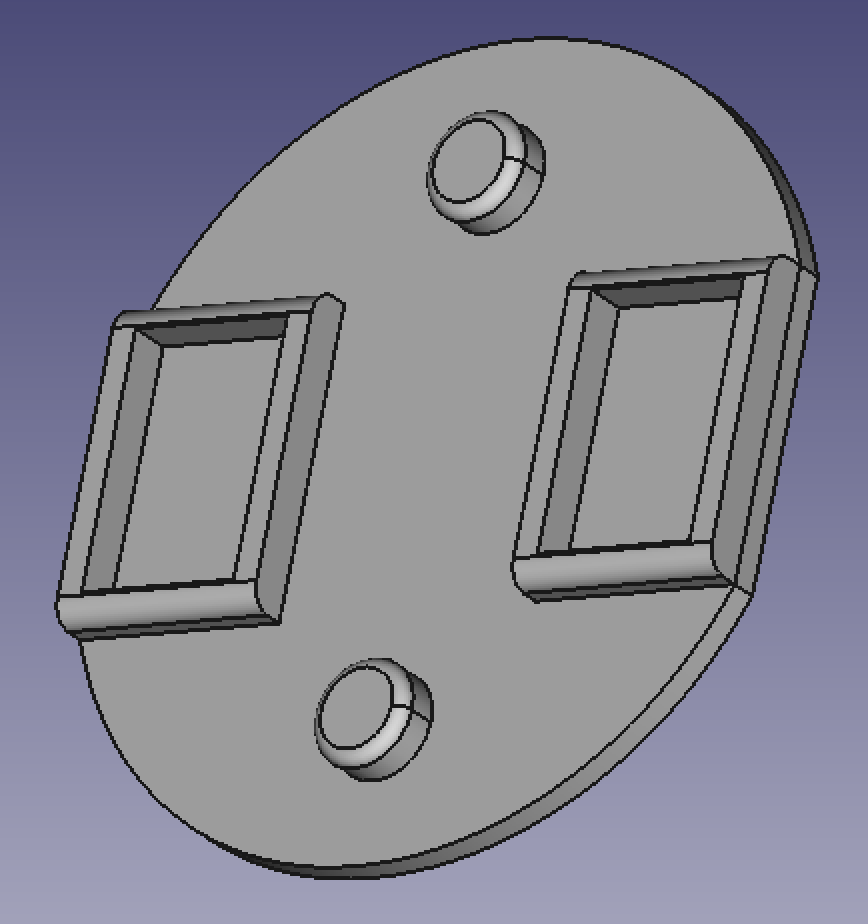
The final piece of the enclosure was the magnetic mount's back. This piece of the case will sit behind a piece of fabric and allow the case to clamp to the fabric using magnets. Design for this piece was straightforward. I started with the model of the bottom of the case and simply trimmed off everything but the bottom side that included the holders for the magnets.
Now that I had a model of my case, I needed to get it printed. Many of the details on these models are finer than the resolution of most consumer FDM printers so I elected to use a professional service which would give me access to industry grade 3D printers. I've used Shapeways in the past with great success so I chose to use their frosted detail plastic service.
Literally 3 days after uploading my models and placing my order, I have the finished parts in my hand! I have no association with Shapeways, but I've got to give them props on their quality and turnaround time!
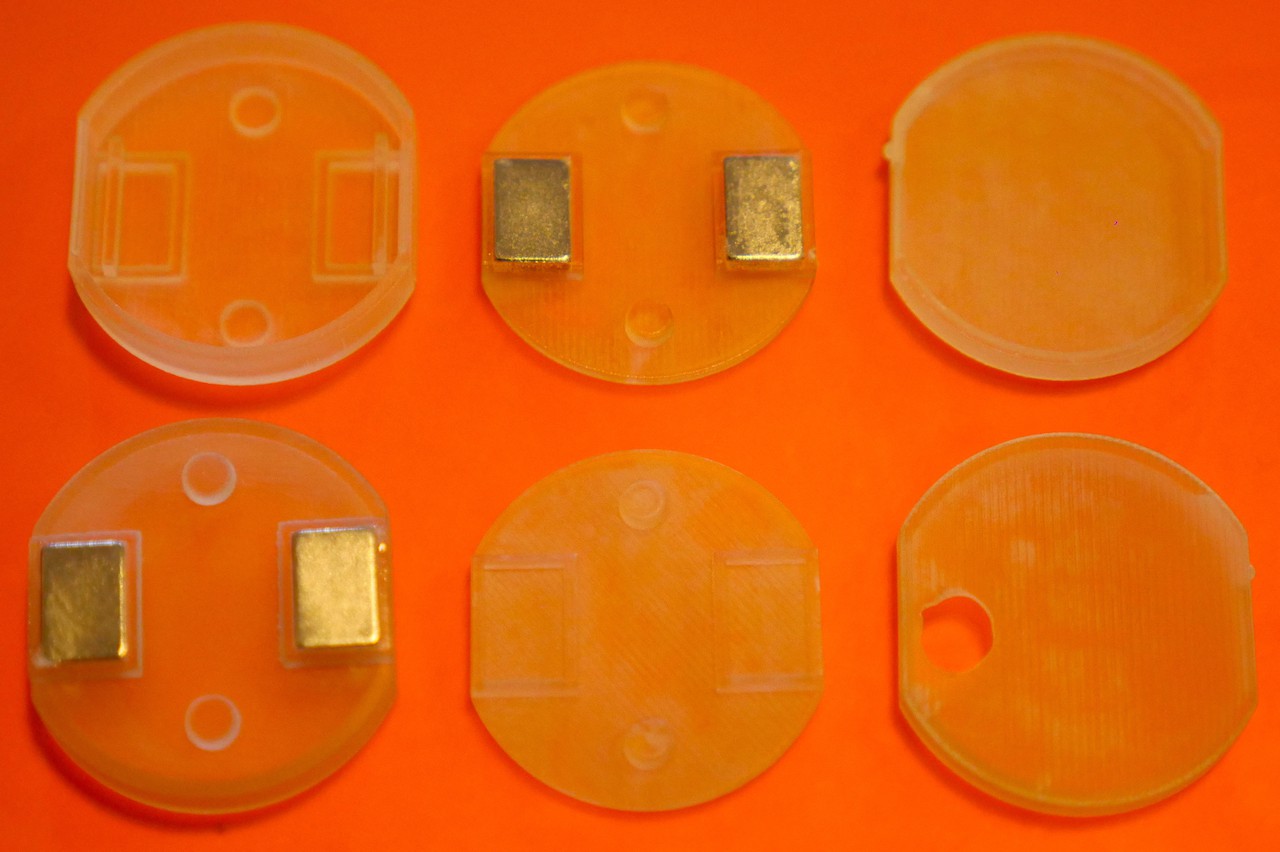
After inspecting the finished parts and doing some test fits, I tried to snap together a case with a board inside. To my surprise, I couldn't snap it together! What had happened?
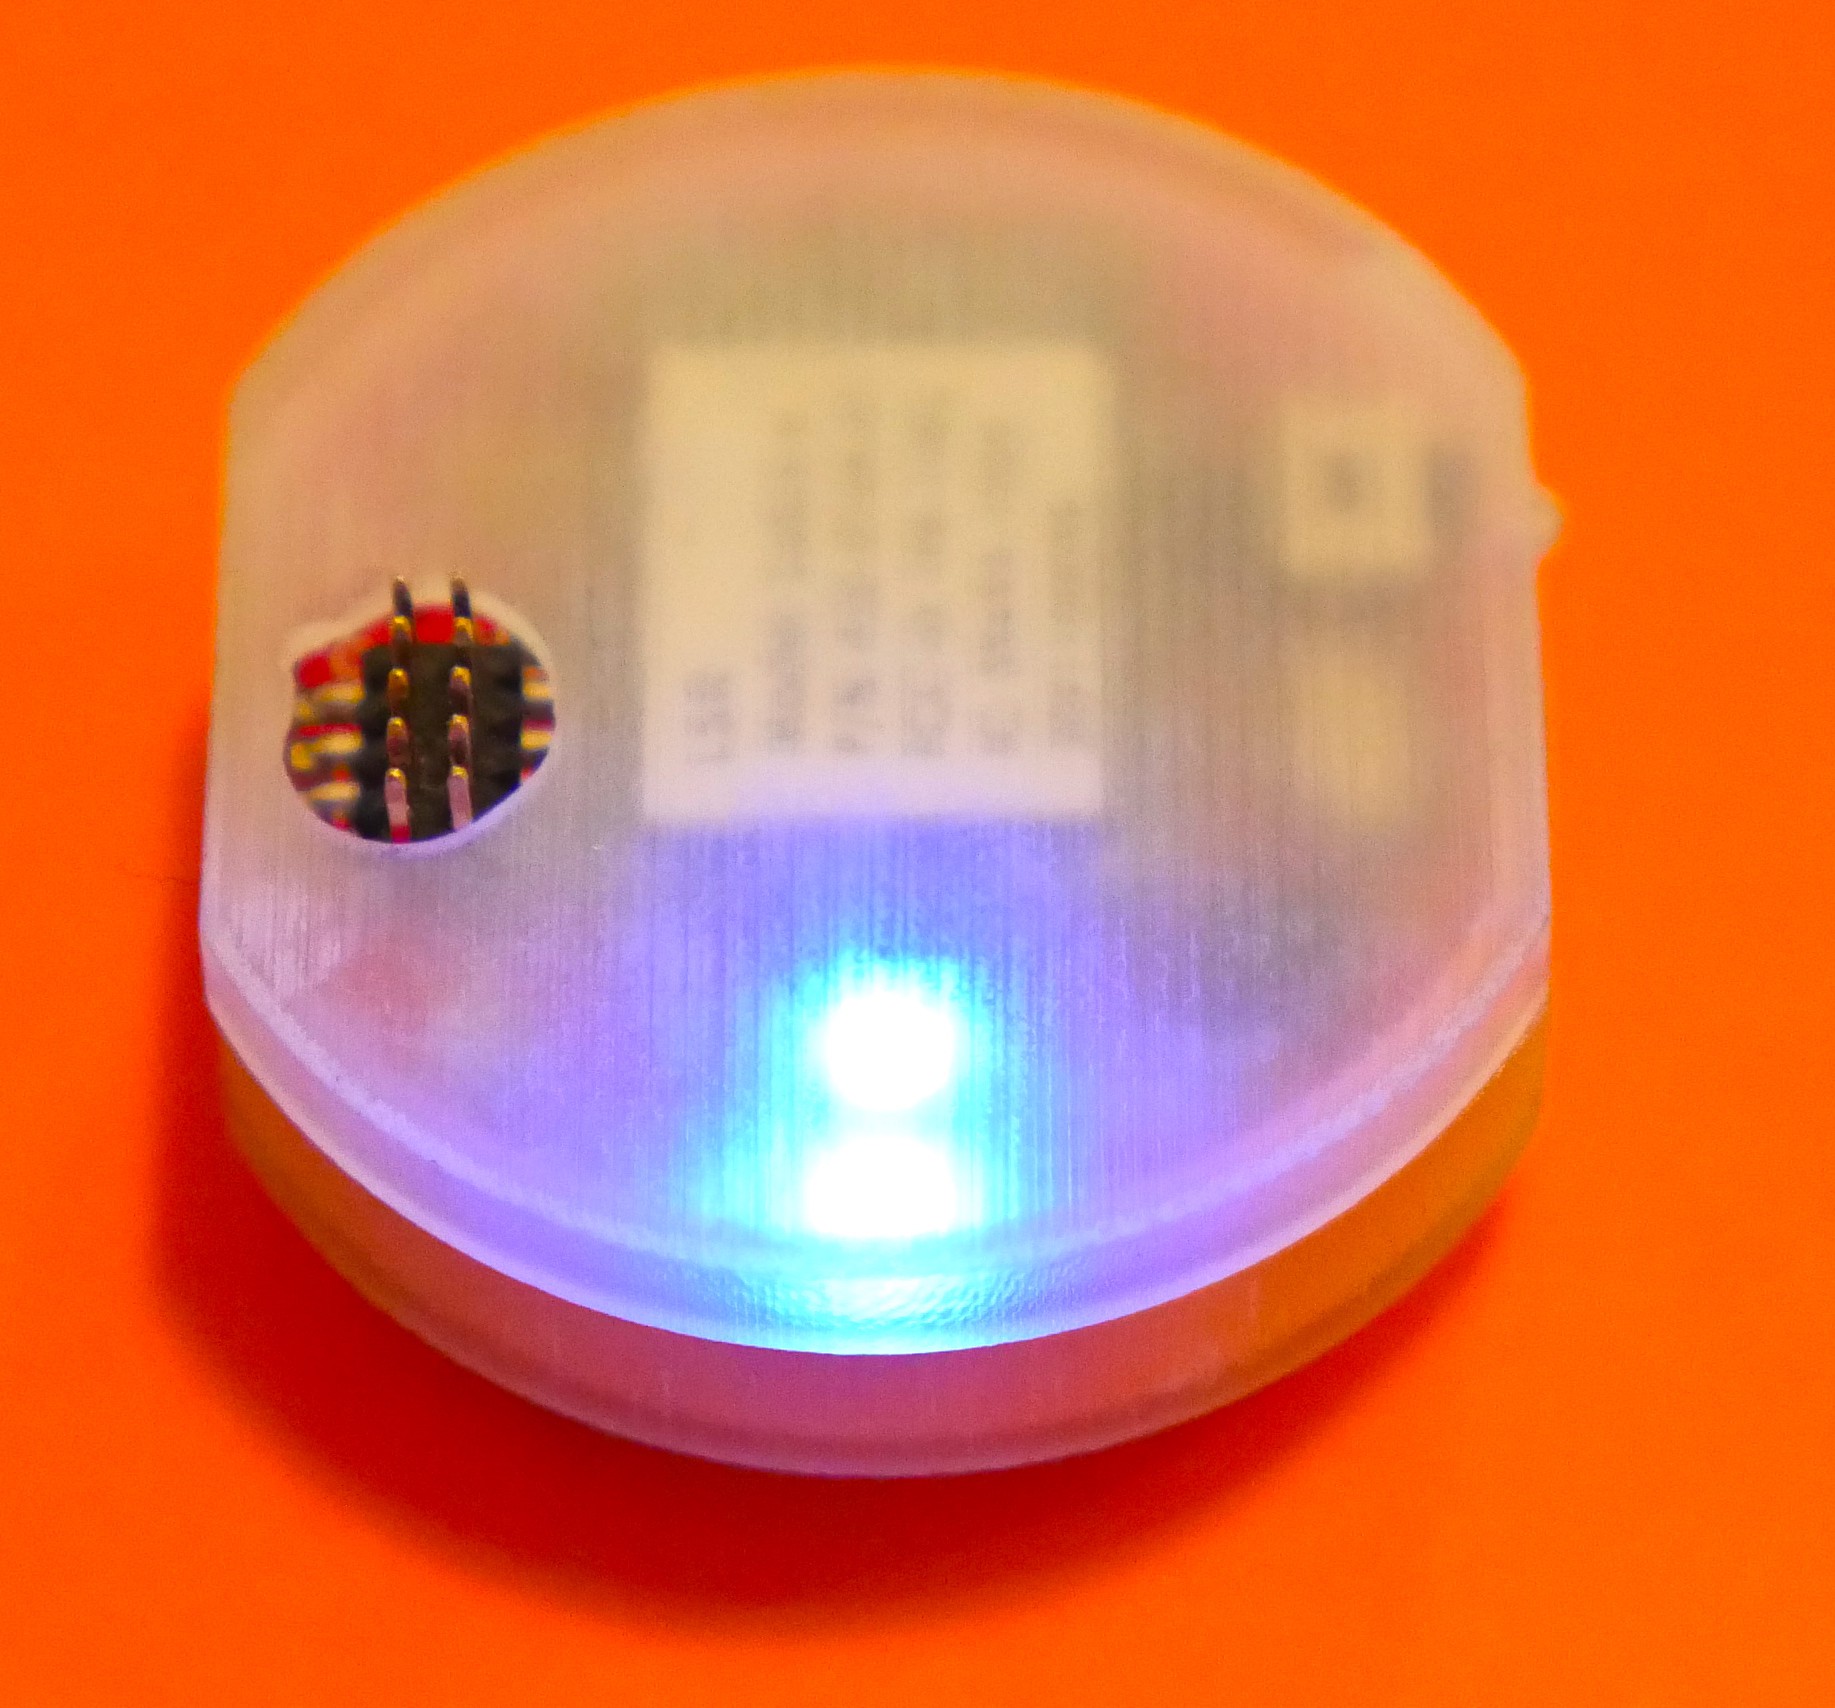
Remember that tall JTAG header in the model of the PCB (near the top of this log entry)? Well it turns out I had forgotten to cut a hole in the top of the case so these pins could stick out. Like any good hacker, I saw this as an opportunity to use power tools instead of a problem. A few seconds after the case met my drill, I had a hole big enough to squeeze the pins through.
The moment of truth was upon me. Would the board fit in the case? Would the case snap together? Would the pushbutton be push-able?
I snapped the case together and sure enough everything worked according to plan! The case snapped together and I was able to turn on the board by squeezing the case around the button.
With that said, there is some definite room for improvement. I will of course be adding a cutout to the top of the case so that it works out of the box without any modification. The other big issue I noticed was the snapping mechanism. While the two halves of the case and snap tabs fit together perfectly, the snap tabs are extremely small and prone to breakage.
In the coming week, I'll be revising the case to fix these two issues. It's critical I get this done quickly, so that I'll be ready for the 160 mile race I'm competing in in 2 weeks. Do you have any ideas on what I'm going to attach this to yet? Put your guesses in the comments and stay tuned to find out!
Discussions
Become a Hackaday.io Member
Create an account to leave a comment. Already have an account? Log In.