 zapwizard
Today I came home to the Qualcomm DragonBoard 410C waiting for me. I want to get cracking on using this board, but that will have to wait until the weekend. I also need to design a board that attempts to connect the MIPI interface to the iPhone 4S LCD.
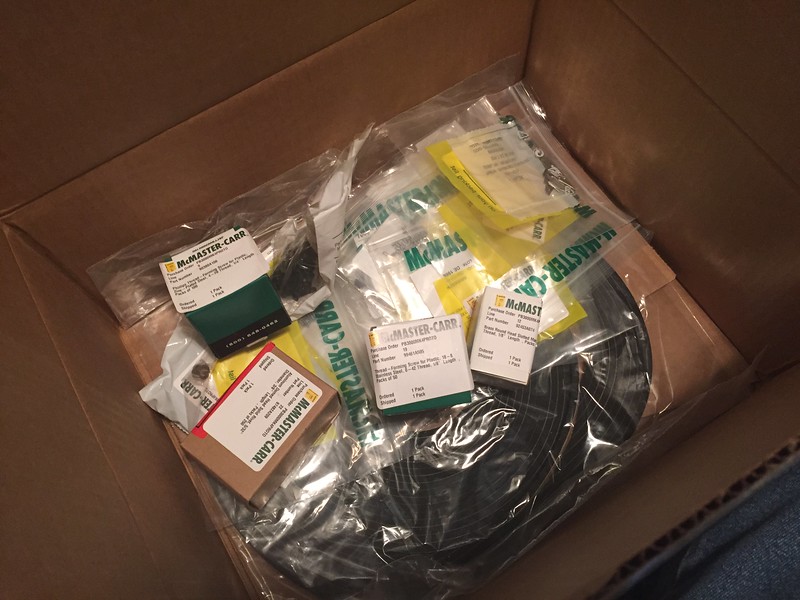
I also received a box of parts from McMaster-Carr. Note that the Bill-of-Materials lists that all these parts should cost around $40, but due to minimum quantities it actually costs $180 to order all these parts.
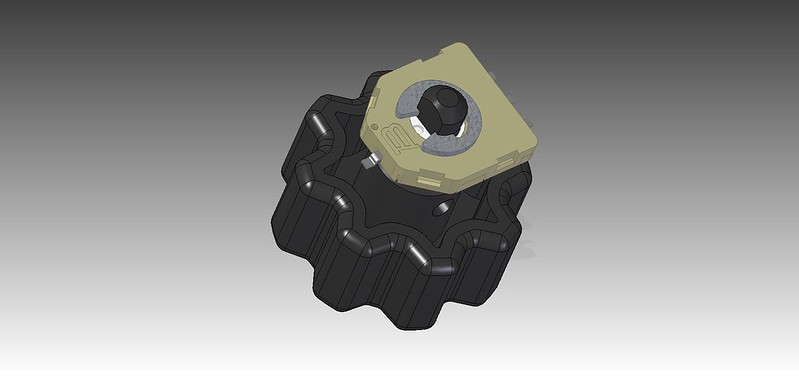
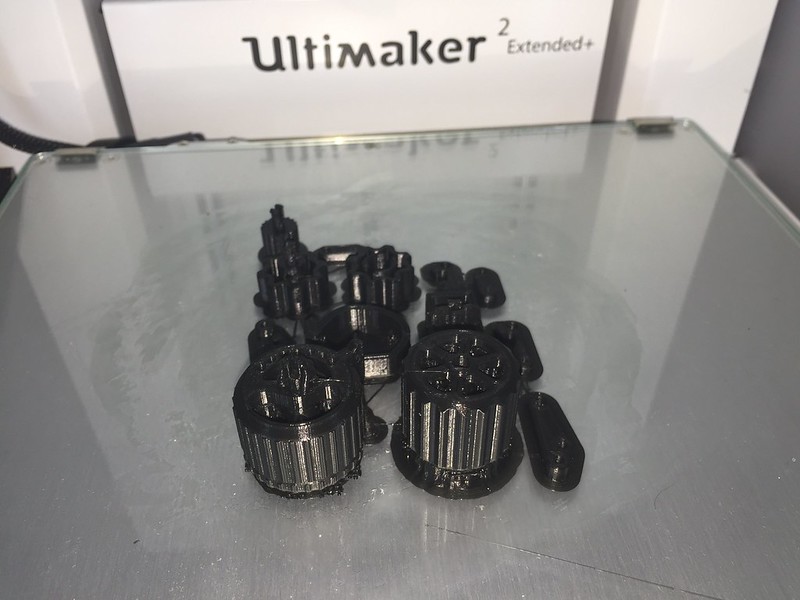 I also 3D printed my first set of prototype parts. These were printed at 0.1mm layer height with a 0.4mm nozzle on a Ultimaker 2. It took over three hours to print the parts. My goal here is to get a feel for the parts before I order them in SLS Nylon. My first impression...these parts are smaller than I expected
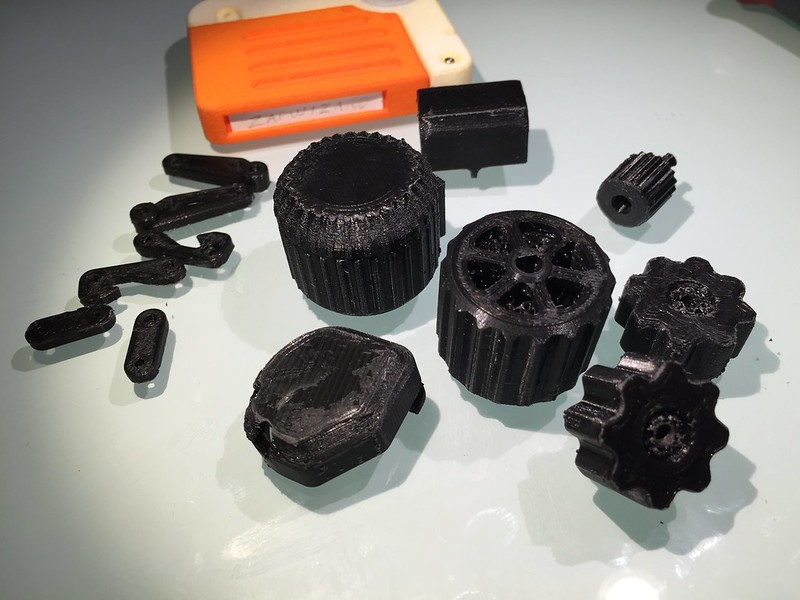 I cleaned up the 3D prints. For the most parts these are accurate enough to determine if I need to make any changes to the CAD model. As you can see even at 0.1mm resolution, the parts just don't compare to the smooth finish of the SLS printed Holotape above.
 First I attached the button cap to the switch. It fits perfectly. The PLA plastic did crack, as it is fairly brittle, but it did work.
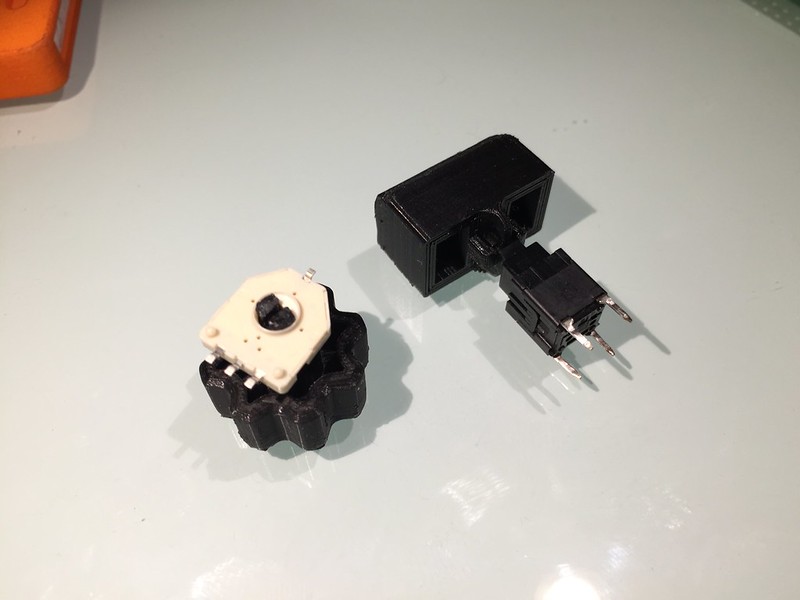
I then tested the snap-fit connection on the Potentiometer. The problem is that to make the snap-fit work, I had to remove material from the middle of the shaft, which also in-turn weakened it. So this won't work even in flexible nylon, not without risking the shaft snapping.
 My solution is to beef up the shaft all the way to the body of the pot. Then the smaller D-shaped portion passes through the shaft. Finally a C-Clamp will hold the shaft in place behind the pot. This way the assembly can also be tested without worrying about a snap-fit failing after a few uses.
 Now onto some of those new McMaster parts. And no that isn't a novelty sized lighter, sneeze and these parts go flying.
Above is a 2mmx8mm Captive pin. These pins are normally used sheet metal, but they will work well in plastic. However, because the PLA plastic shrinks, the pin doesn't fit into the hole. The solution is to heat up the pin using a lighter. Then once the pin is hot, very carefully push the 3D printed piece onto the pin.
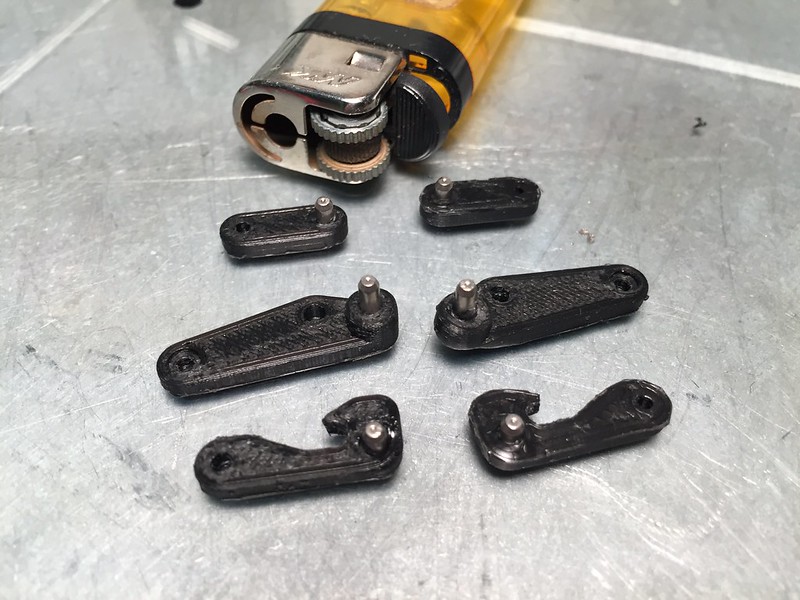 The pin will melt the plastic enough to pass through. As you can see above, a few parts got a bit too hot. But they will still serve their function well enough. Once cooled the pin is a tight fit, but can pull out. Some superglue can be used will set it forever.
Using this method you can set in small metal pins into plastic. And they won't snap off like a plastic formed pin, and will turn much easier.
Discussions
Become a Hackaday.io Member
Create an account to leave a comment. Already have an account? Log In.