 zakqwy
I originally intended to dive right in to Phonetroller II PCB design. I have a few important issues to figure out there; namely, how to make the USB power port swappable (uUSB vs Type C) and adjustable, along with how to generally configure the rest of the chassis. However, after using the existing controller prototype for an hour or so with fresh ALPS switches I feel this build strategy may be premature. The new switches are light-years more comfortable than the tiny thumb-denters I originally installed, but they're a bit too linear for my taste. And a quick survey of the vast array of PCB-mount switches I've purchased or salvaged over the years suggests all tactile switches have some issues; the travel is too short, the force requirement is too high, the actuator is too low, etc. Time to re-examine the prevailing gamepad industry button: the rubber dome.
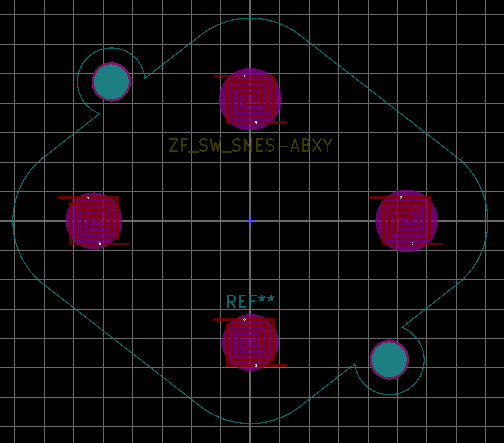 Above, some time ago I played around with KiCad footprints for a set of replacement rubber dome elements I found on eBay. These particular parts were designed as generic drop-in replacements for SNES gamepads; enough sellers were around (and enough knockoff SNES controllers are still produced) that I thought this could be a good starting point (or, alternatively, I could use a handful of solderable rubber-dome switches and make my own arrangement). The footprint itself hasn't been tested and I'd like to round off the edges of the spiral traces, but if made with ENIG finish it should get the job done.
 My main concern with rubber dome switches involves the ancillary requirements: namely, one needs to provide an actuation surface and the mechanical support that keeps that actuator in line with the button, retained, etc. Even the clearance between the button and the sidewall scares me; I don't want switches that bind. I think the answer here is to see what other folks in the community have 3D printed and laser cut and start with that.
The other issue with the current prototype, which I haven't addressed at all yet, is the joystick. I can't get used to the PSP-style 'nub' joystick; maybe my thumbs are clumsy, but it's just too small for any sort of precision work. And I'm starting to feel the need for two joysticks. I don't play a ton of dual-analog games, but such a setup does allow for far more sophisticated play. Hmm.
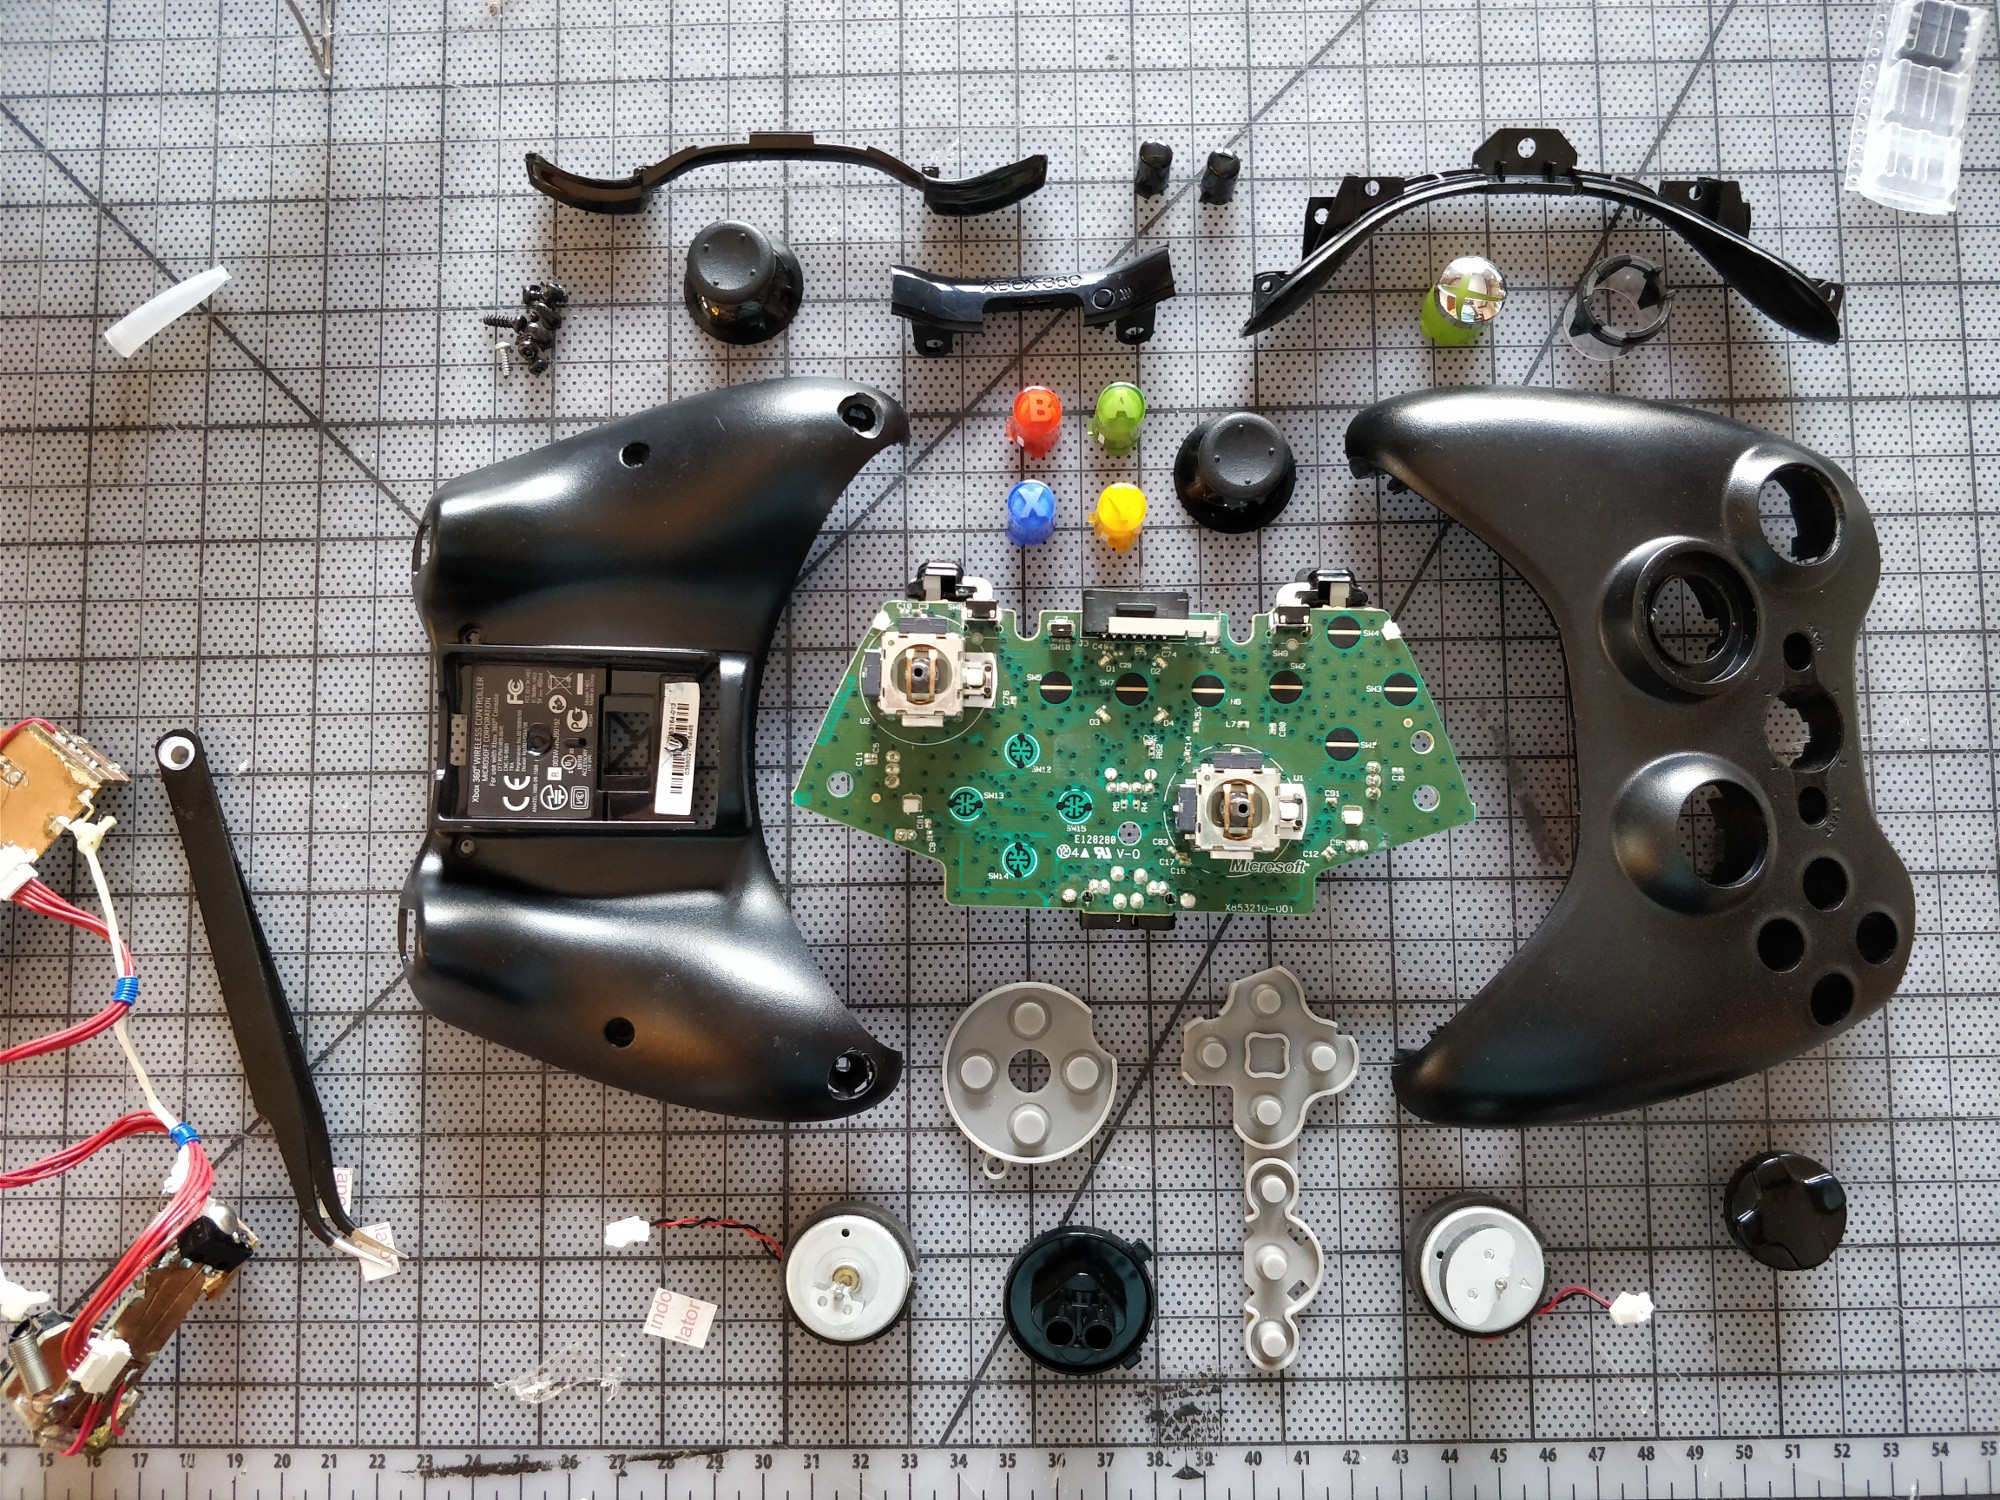
I need a prototype _now_, so it's time for some more destructive franken-prototyping. Years ago I purchased a number of XBOX 360 wireless controllers for my PC. Soon after I took one apart and dumped the parts in a box; today I exhumed this unlucky controller and gave it a closer look:
The last prototyping run focused on remove-ability, compactness, and FR4 construction madness. This one will focus on adapting what I feel is an excellent interface platform to my phone in a similar manner to the previous design. I need to get over the hump of poor usability and actually enjoy playing games on my phone with the damn thing. Normally I'd just fire up the soldering iron ( / glue gun / band saw) and go, but in this case I think a bit of advanced planning will make the result much better.
The plan is to carefully hot-air off all the components, cut the main board in half, wire up the switch contacts and potentiometers (6! crazy!), cut the case in half, and kludge everything together so it's durable enough to survive in my bag for a month. After a closer look at the controller's design, I think this is a reasonable path despite being fairly destructive. The PCB isn't FR4; it seems like some cheaper composite. With any luck it will survive the hot air treatment. The wireless SoC looks pretty proprietary; even the SOIC-8 to the left of the main processor is laser-etched 'XBOX'. My guess is that the latter chip is an EEPROM and the former is a slightly customized off-the-shelf microcontroller with an onboard radio, but I'm not interested in playing around with either as even in the event of success that would make this a mostly firmware exercise (far from my strong suit). And besides, I need to cut a section out of the PCB to keep the joysticks as close to the screen as possible. And even without a datasheet I can tell that the microcontroller wouldn't survive a trip through the band saw.
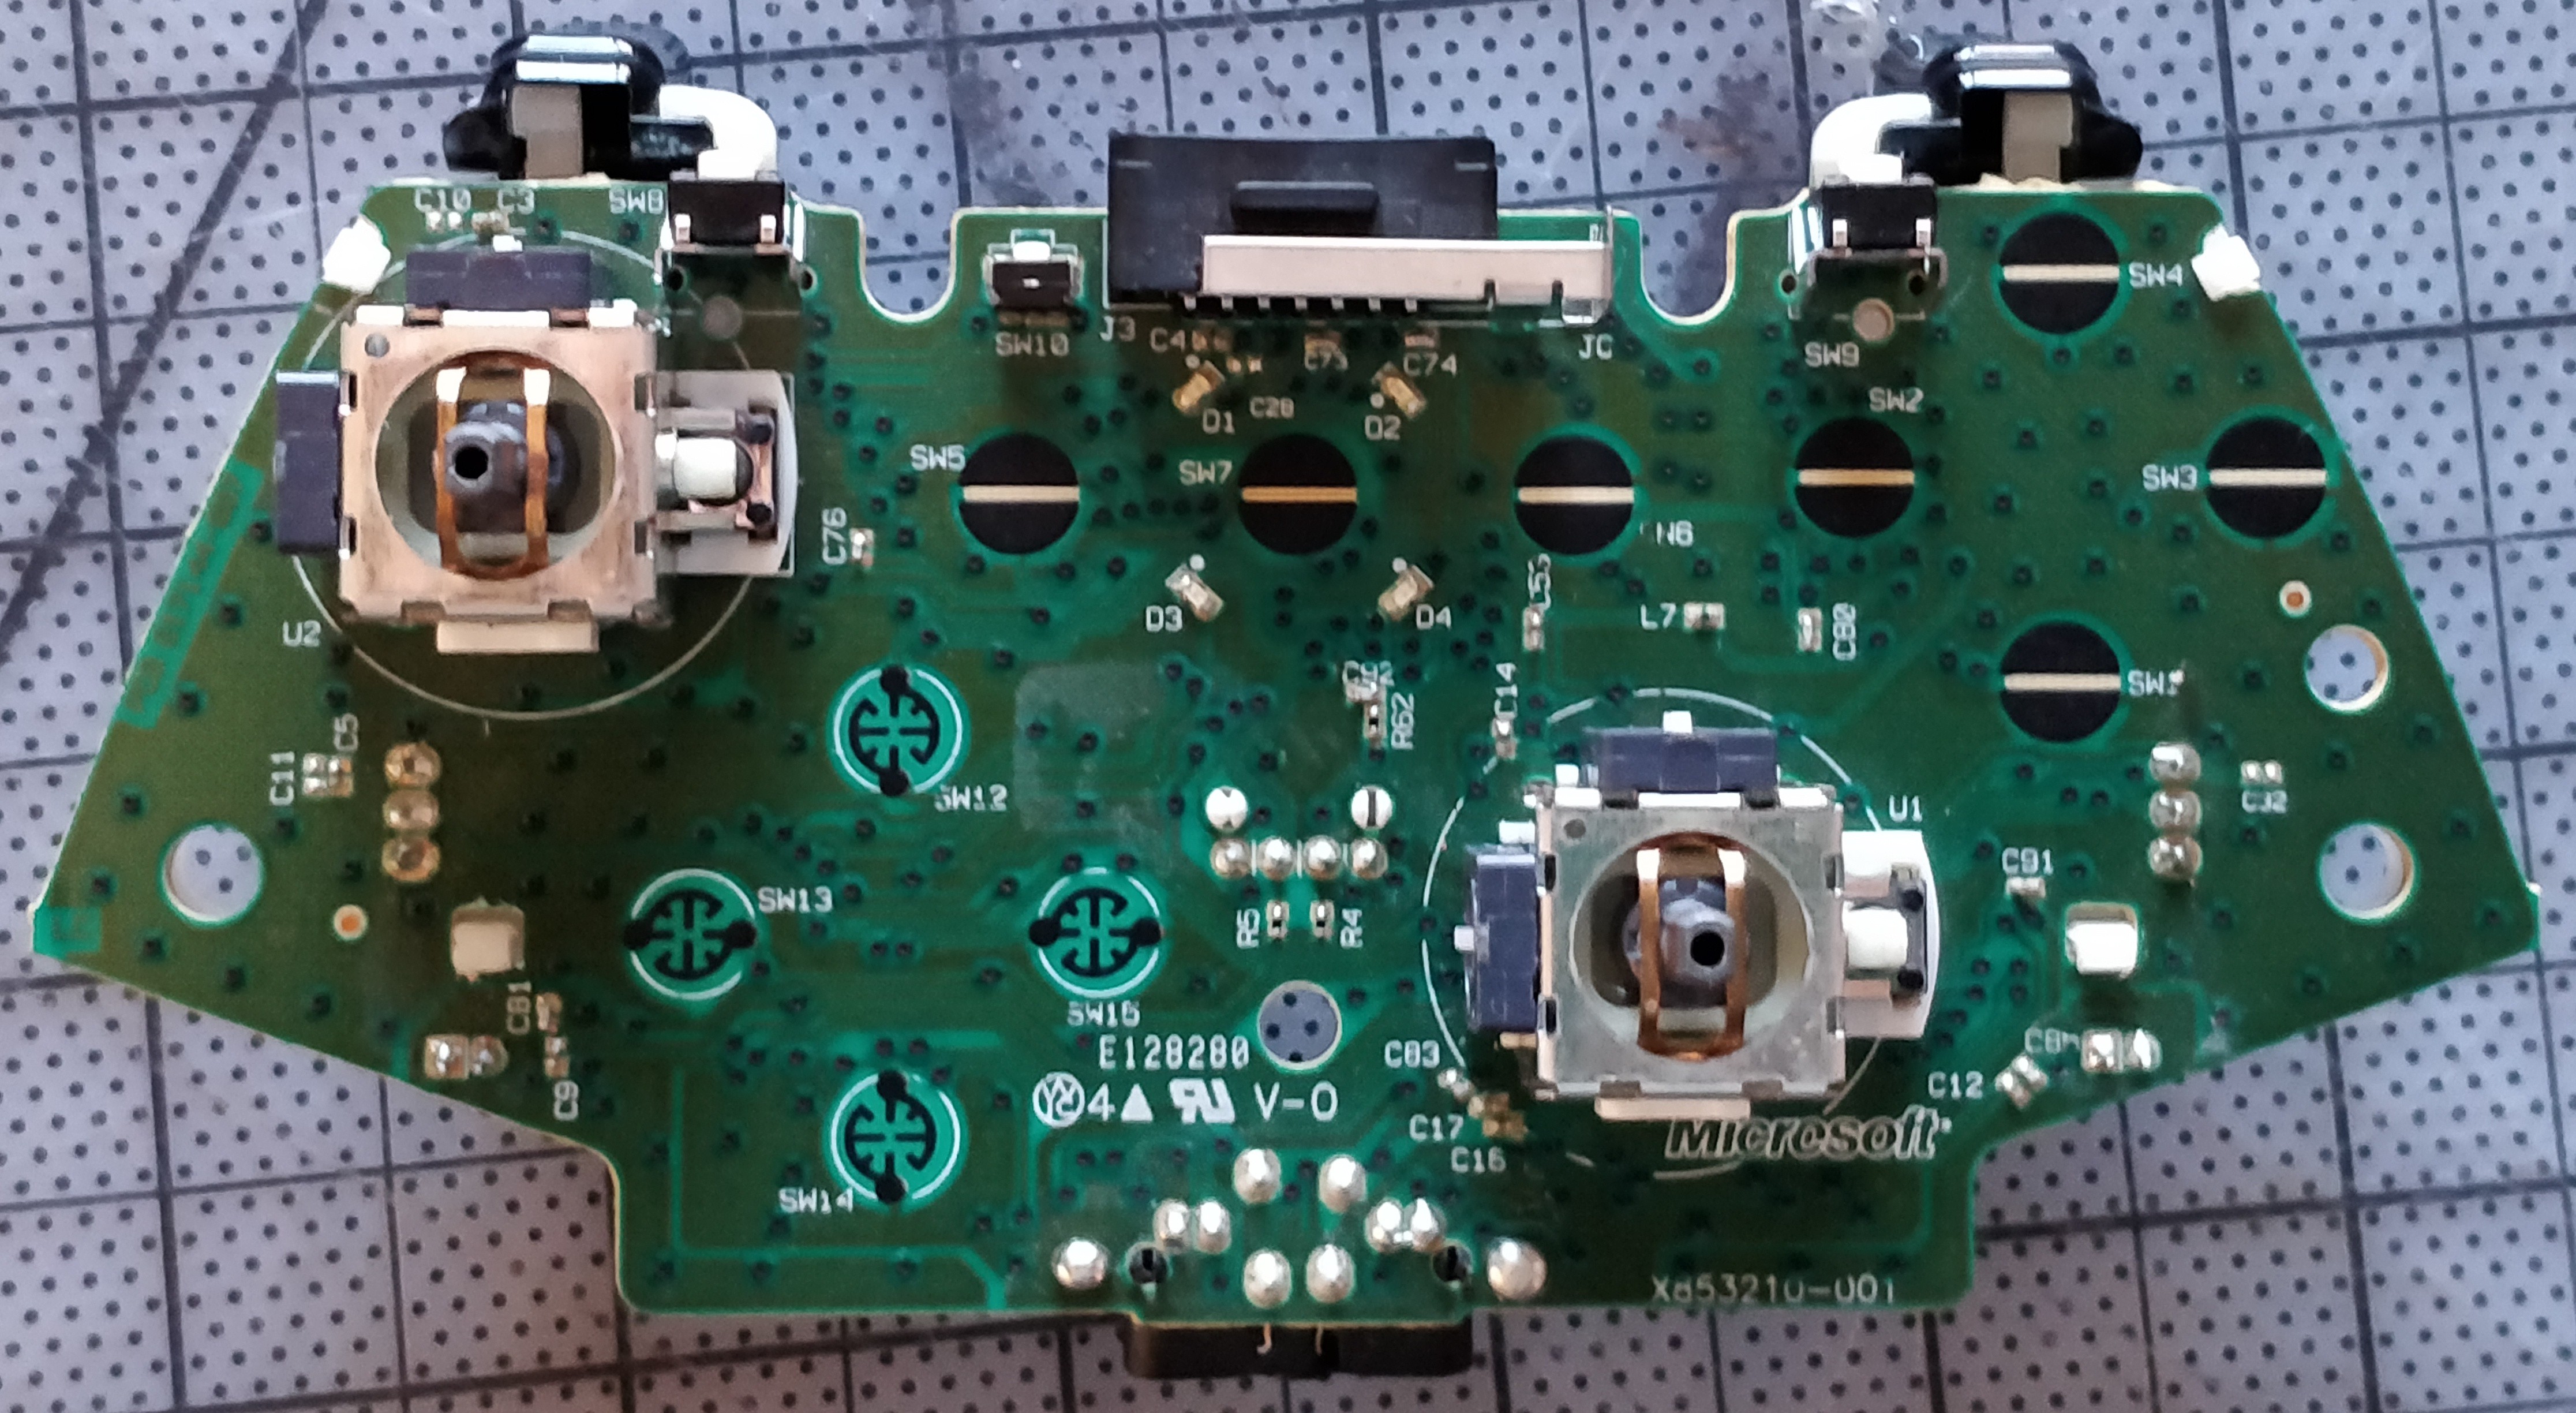 The rear of the controller PCB shows the membrane button traces and a few mounting details. I don't need anything between the D-pad (marked 'SW12 - 15' above) and the right joystick, so I'd like to cut that PCB region out entirely. The hole in the middle (above the 'V-0' silkscreen) is one of half a dozen mounting points for the PCB and probably plays a big role in preventing PCB flex when the controls are used; my planned cut eliminates this hole, so I'll need to shore the board up elsewhere.
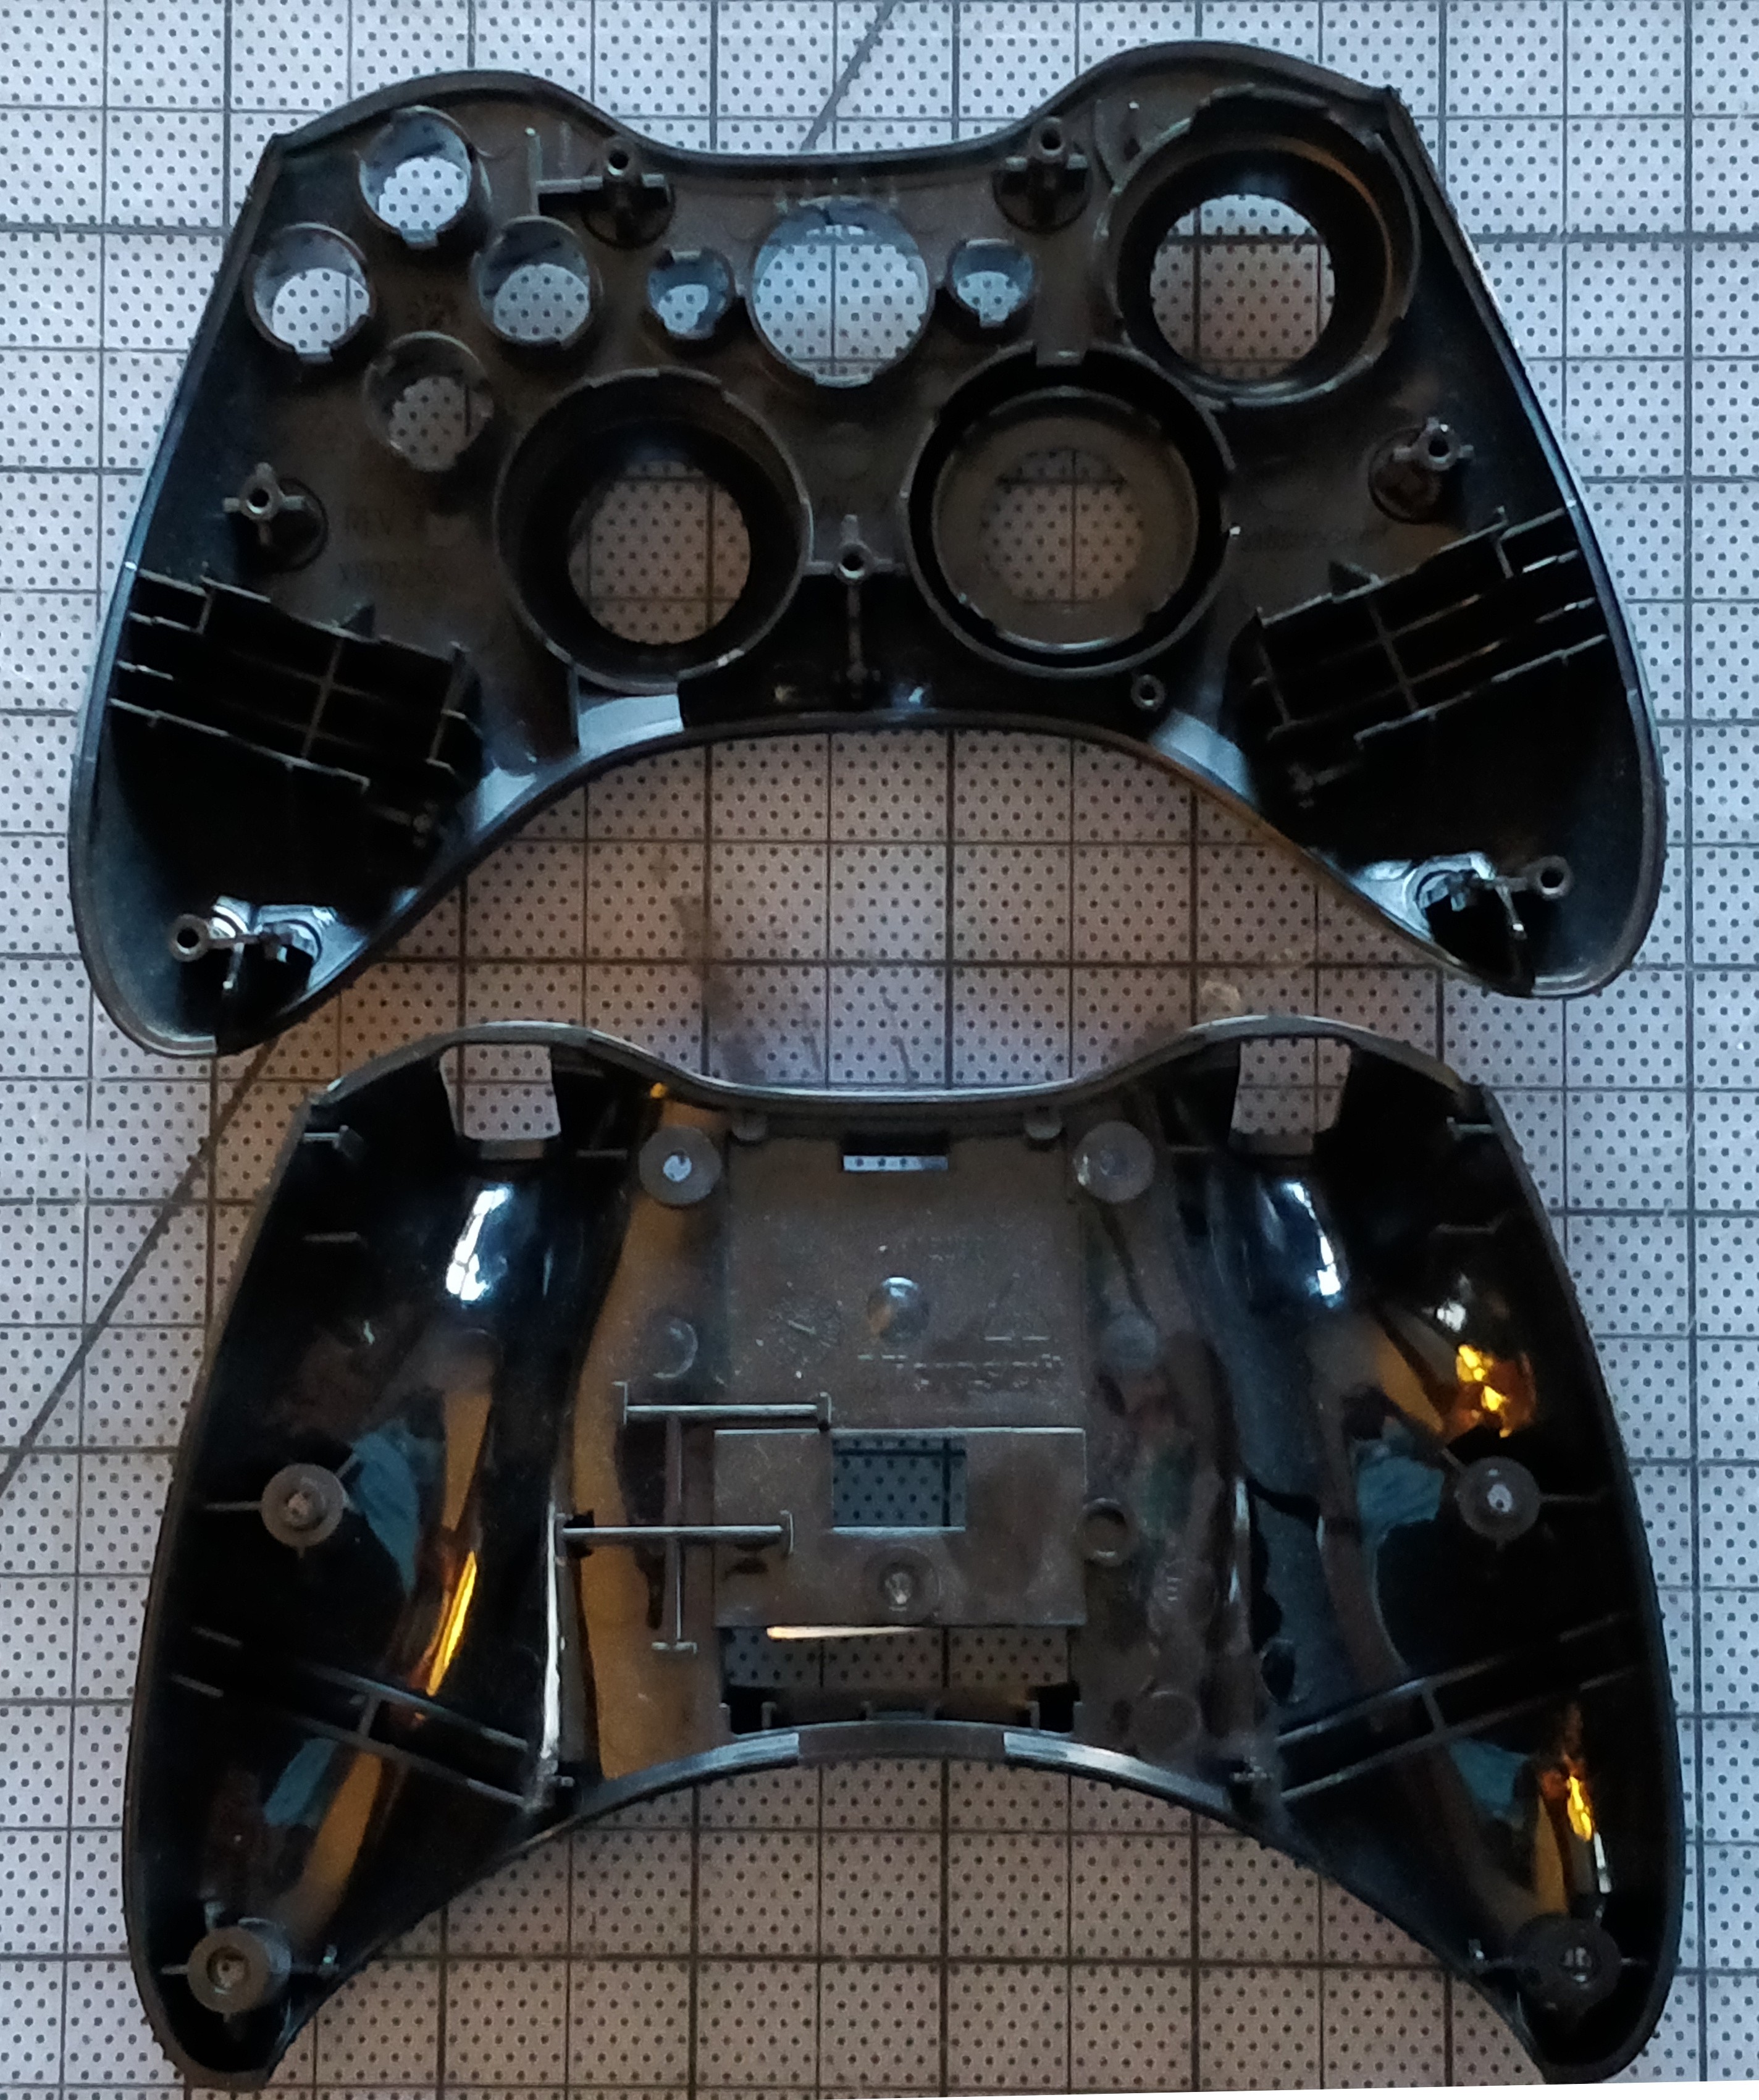
Electronics should be fun. Ripping parts off the boards means I can probably pick up the momentary and resistive contacts wherever is convenient, and the traces are all generous enough that re-using the board won't be nearly as difficult as I've encountered in the past. Stay tuned...
Discussions
Become a Hackaday.io Member
Create an account to leave a comment. Already have an account? Log In.