 Michael Barton-Sweeney
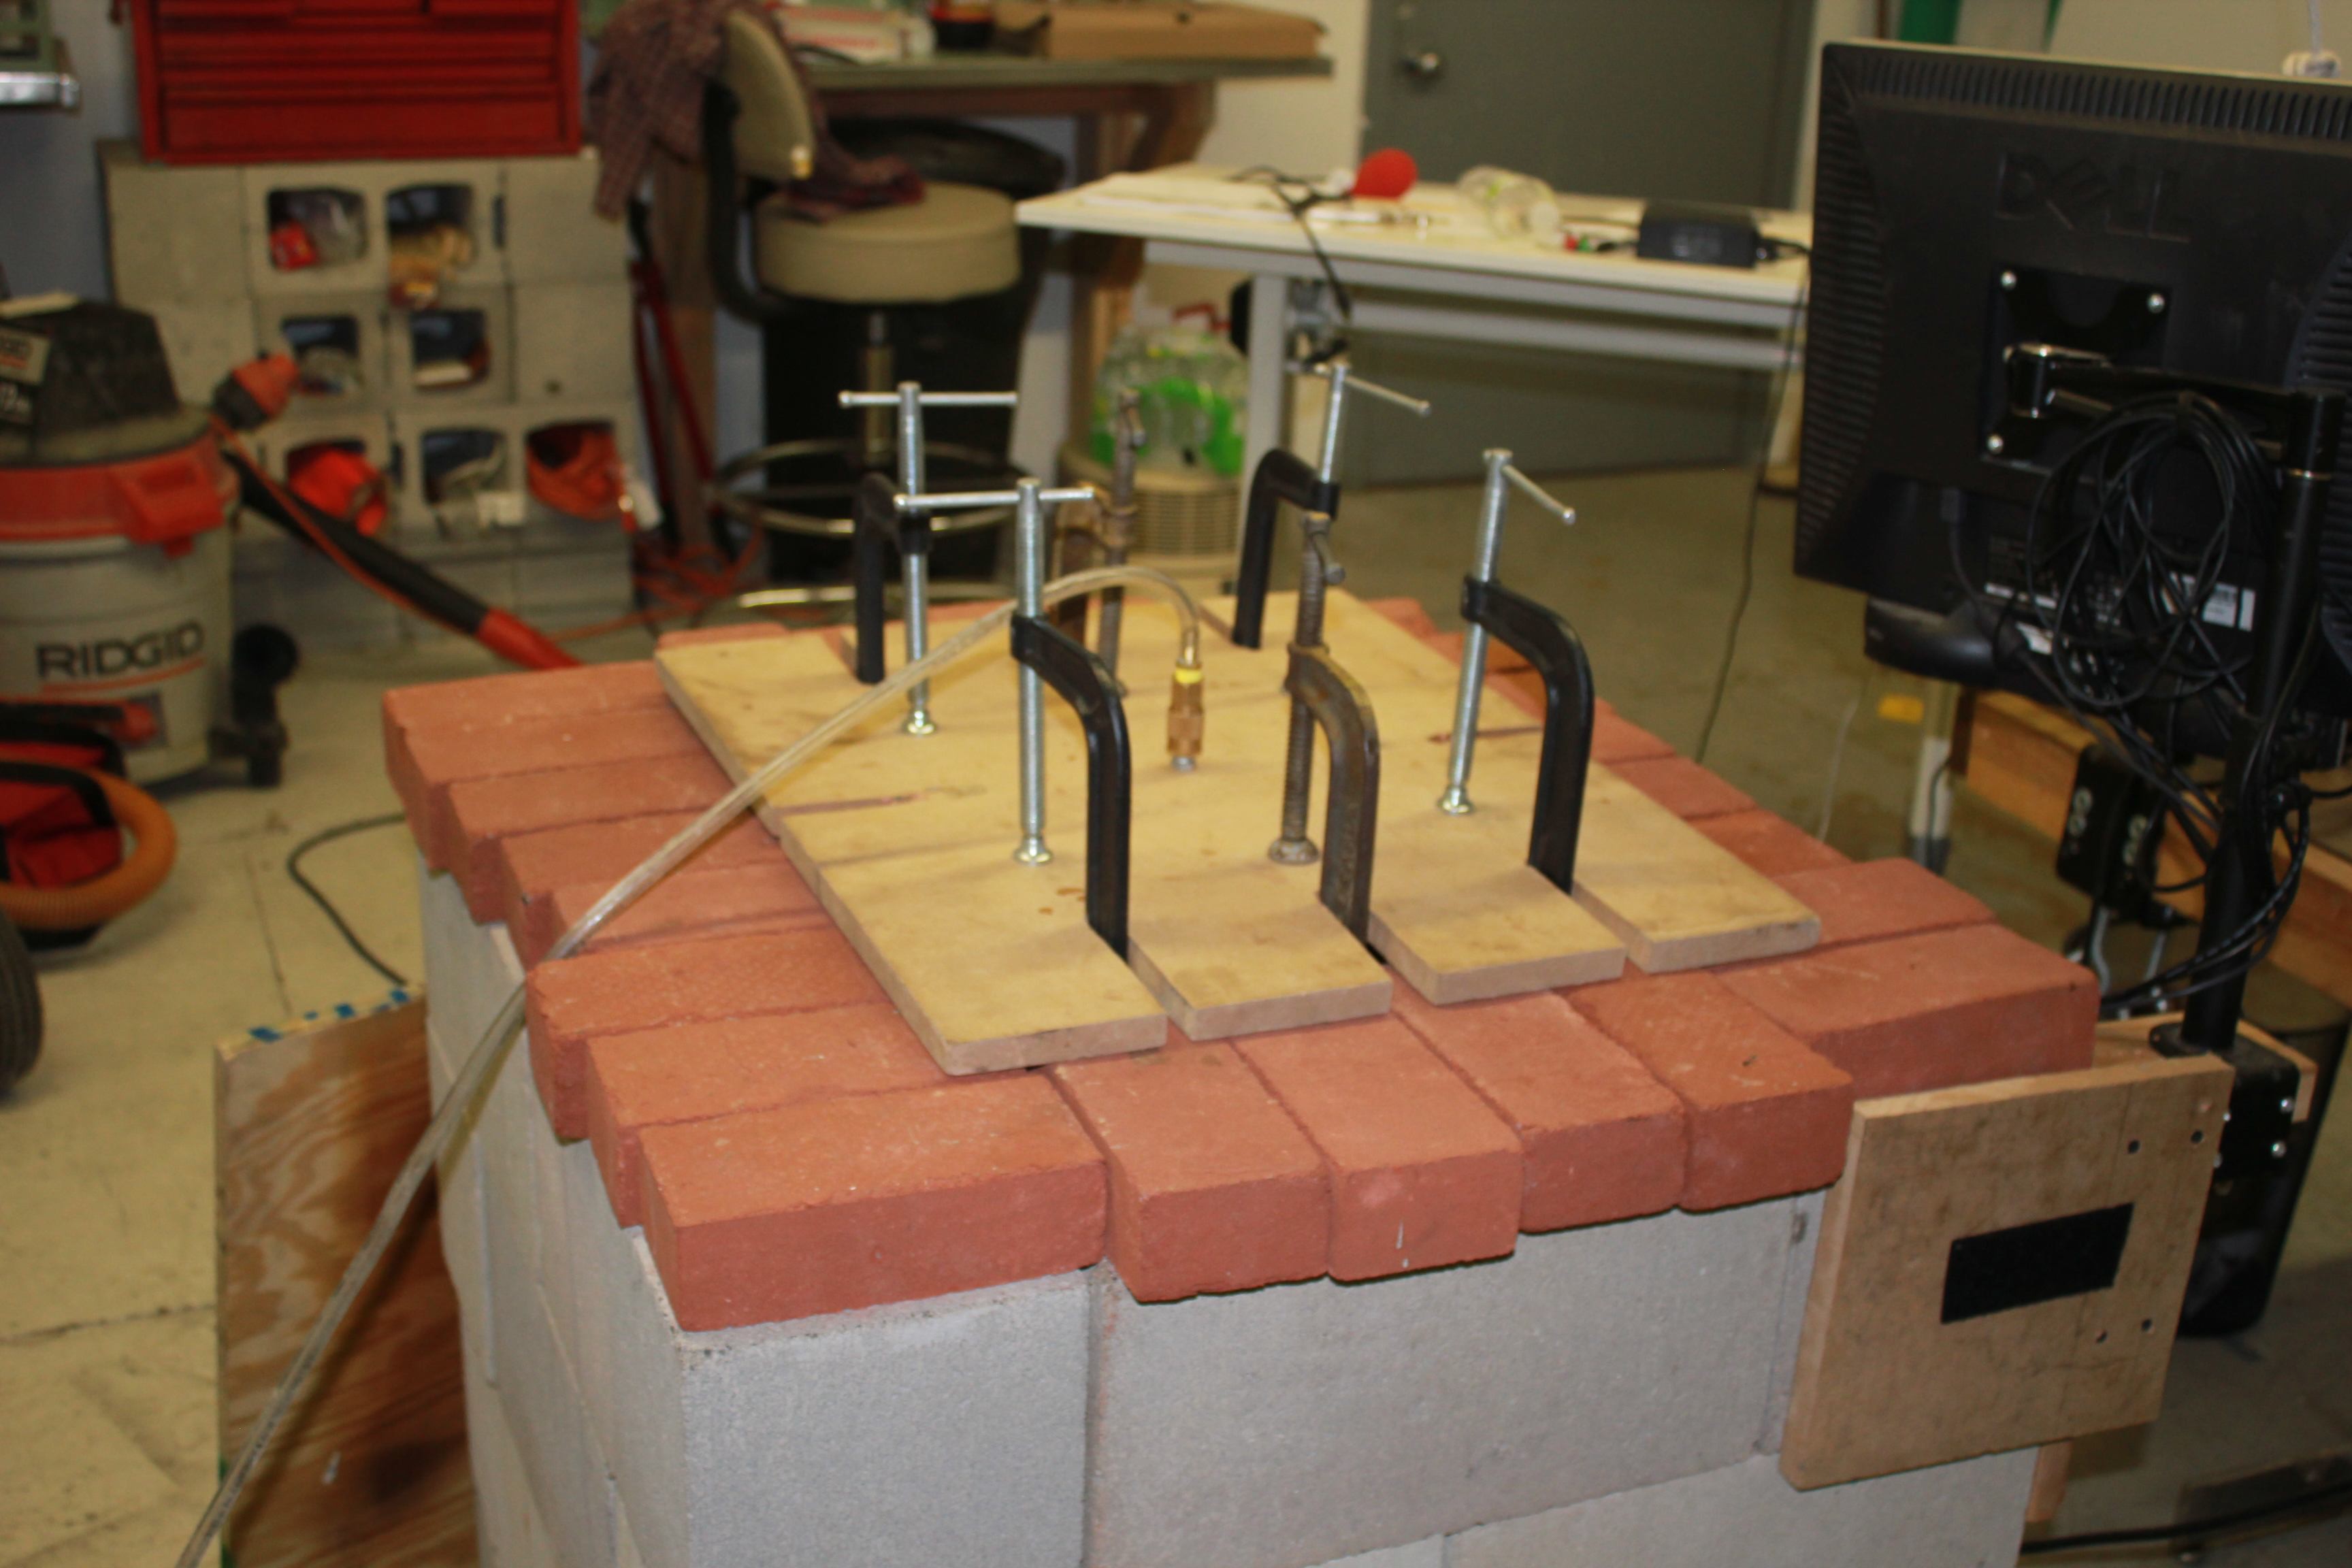
I built my first ovens out of CMUs (cinder blocks). I already had a bunch of CMUs in my studio, and they had the advantage that they could be rearranged to change the shape of the oven, or taken apart and used in different projects when I was done. The disadvantage of using CMUs is that they suck up a lot of heat, and make the oven slow to heat up and slow to cool down.
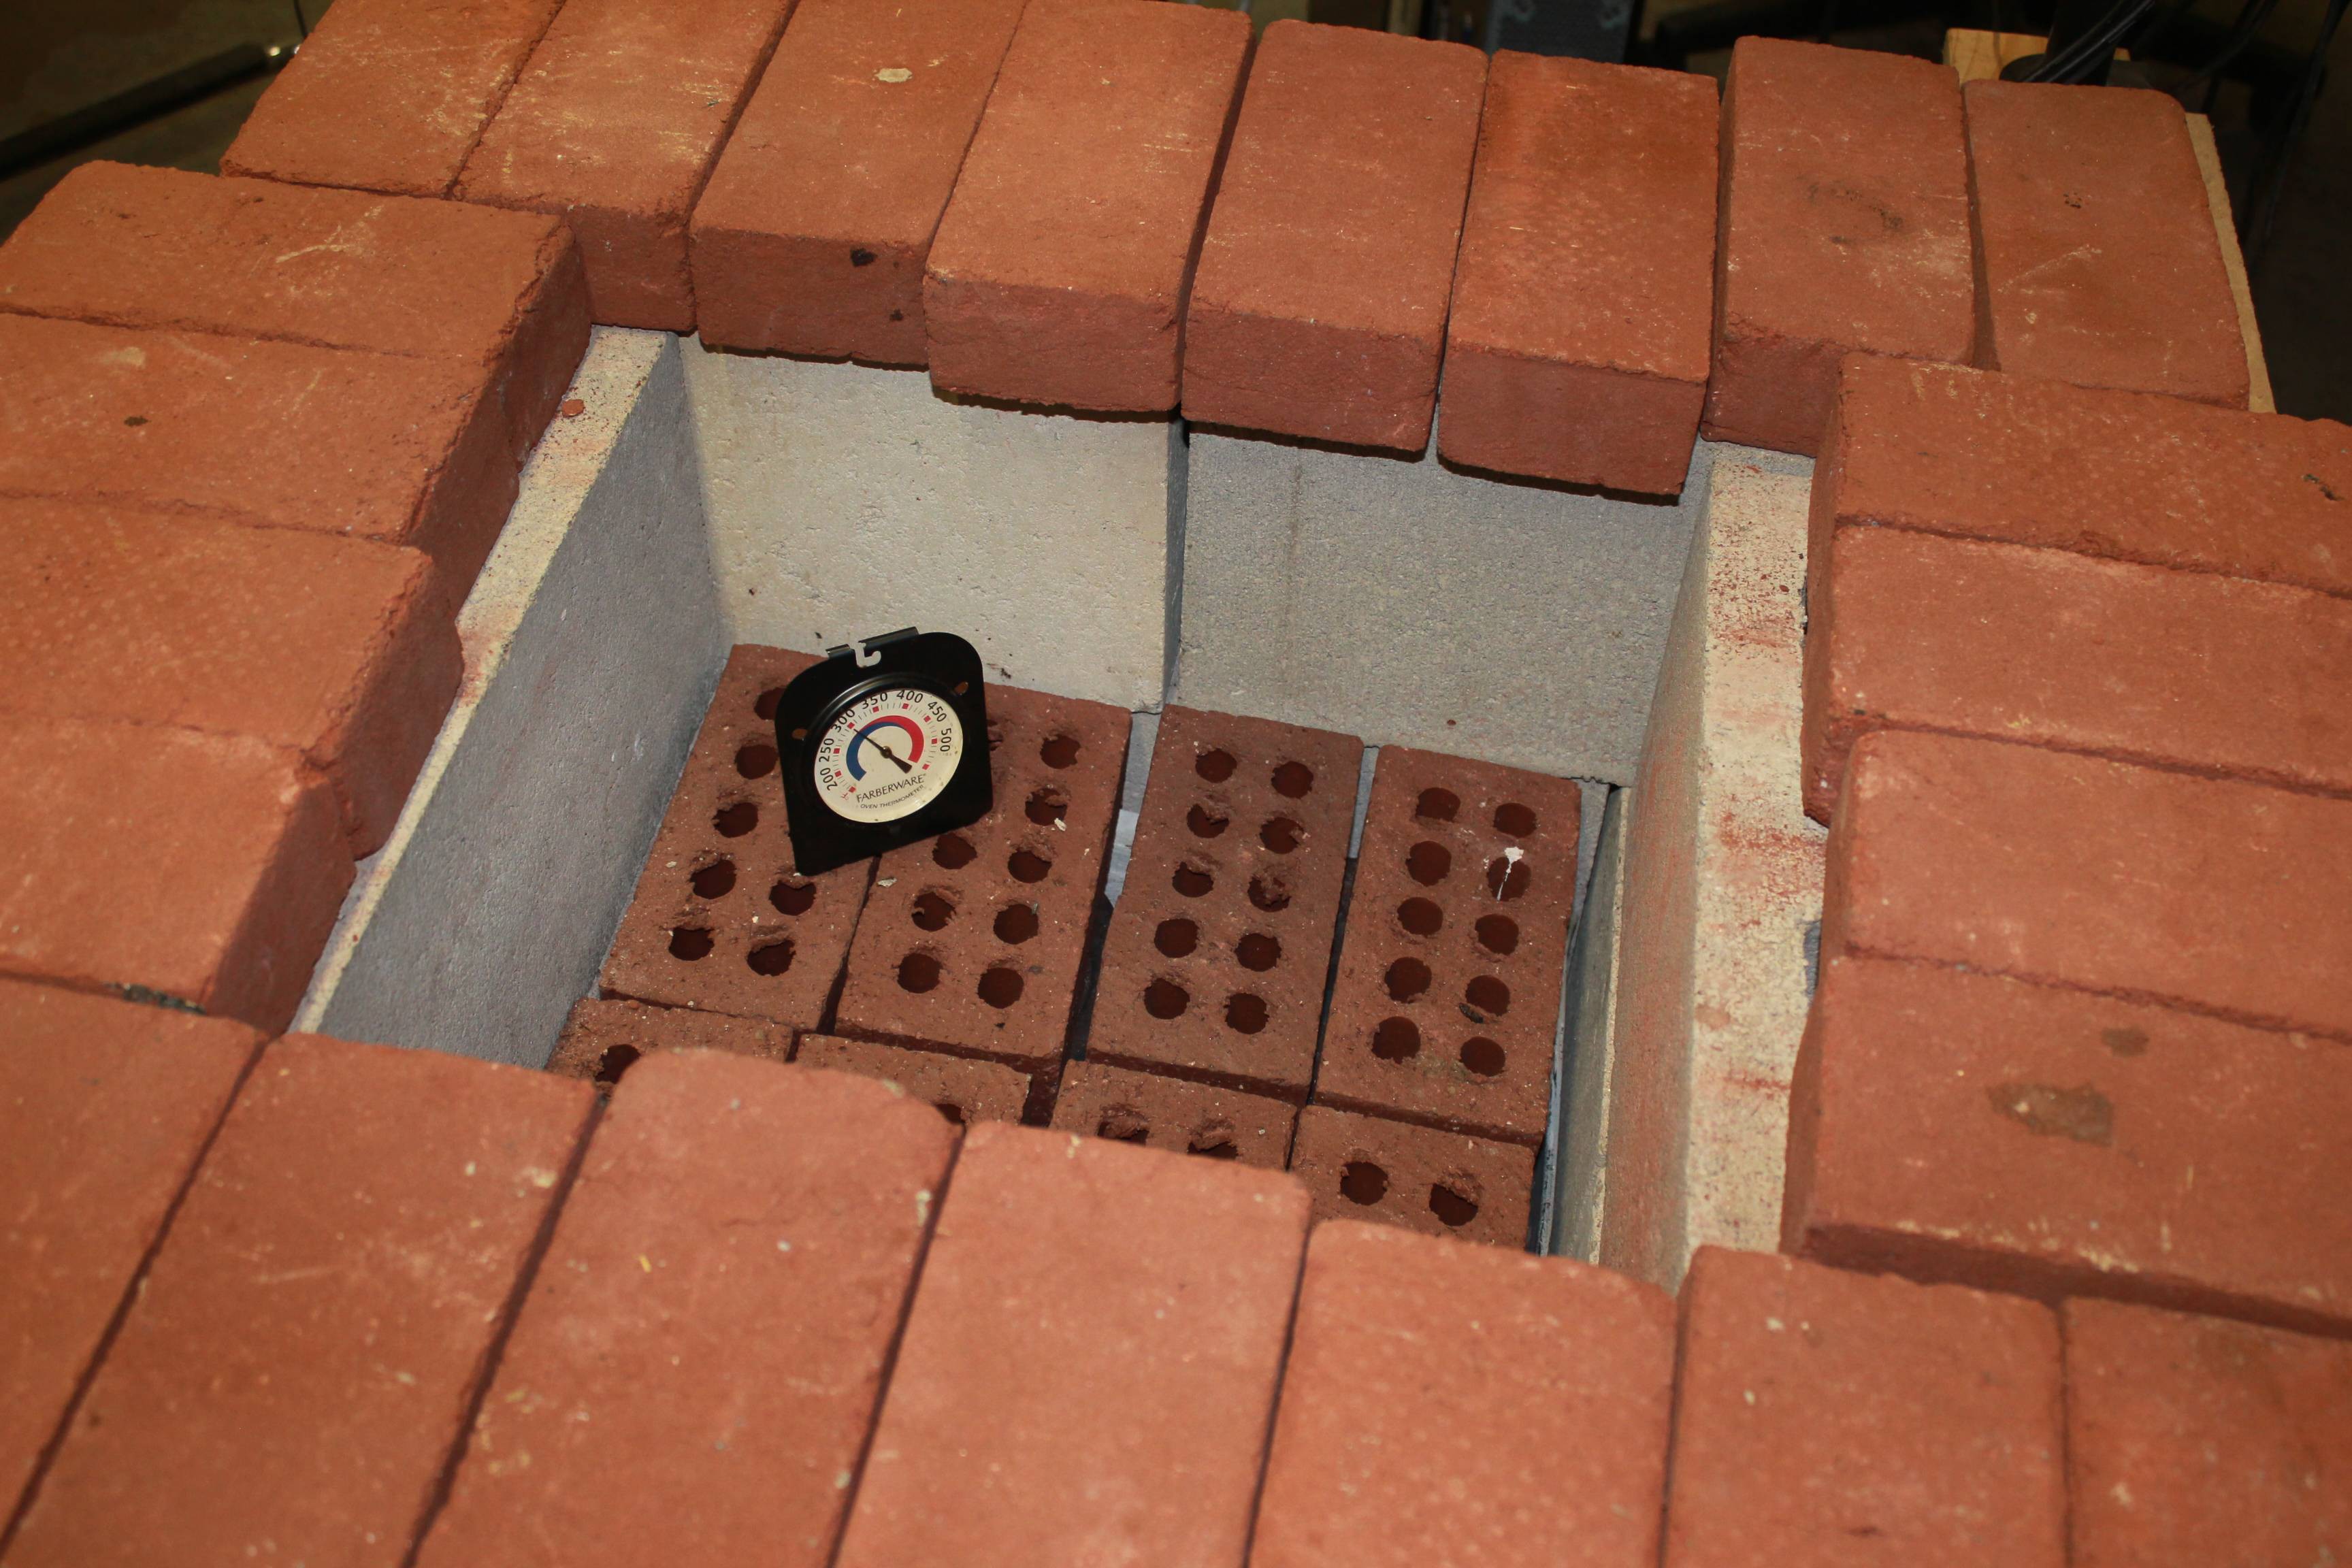
Inside the CMUs, I put a propane burner as the heat source. This was not the ideal heat source, but I already had one from a previous project, and it was easy to use. The main problem with the propane burner was that it could not be run while the plastic was in the oven. The combusted gas would cause uneven heating and bubbling on the surface of the plastic sheet. I mitigated that problem by using the propane indirectly. I put a flat cast iron pan over the burner and made a layer of extruded bricks to retain heat. In order to heat the plastic, I would first use the propane burner to heat up the bricks, then turn off the propane, load the plastic into the oven and use the bricks to heat the plastic.
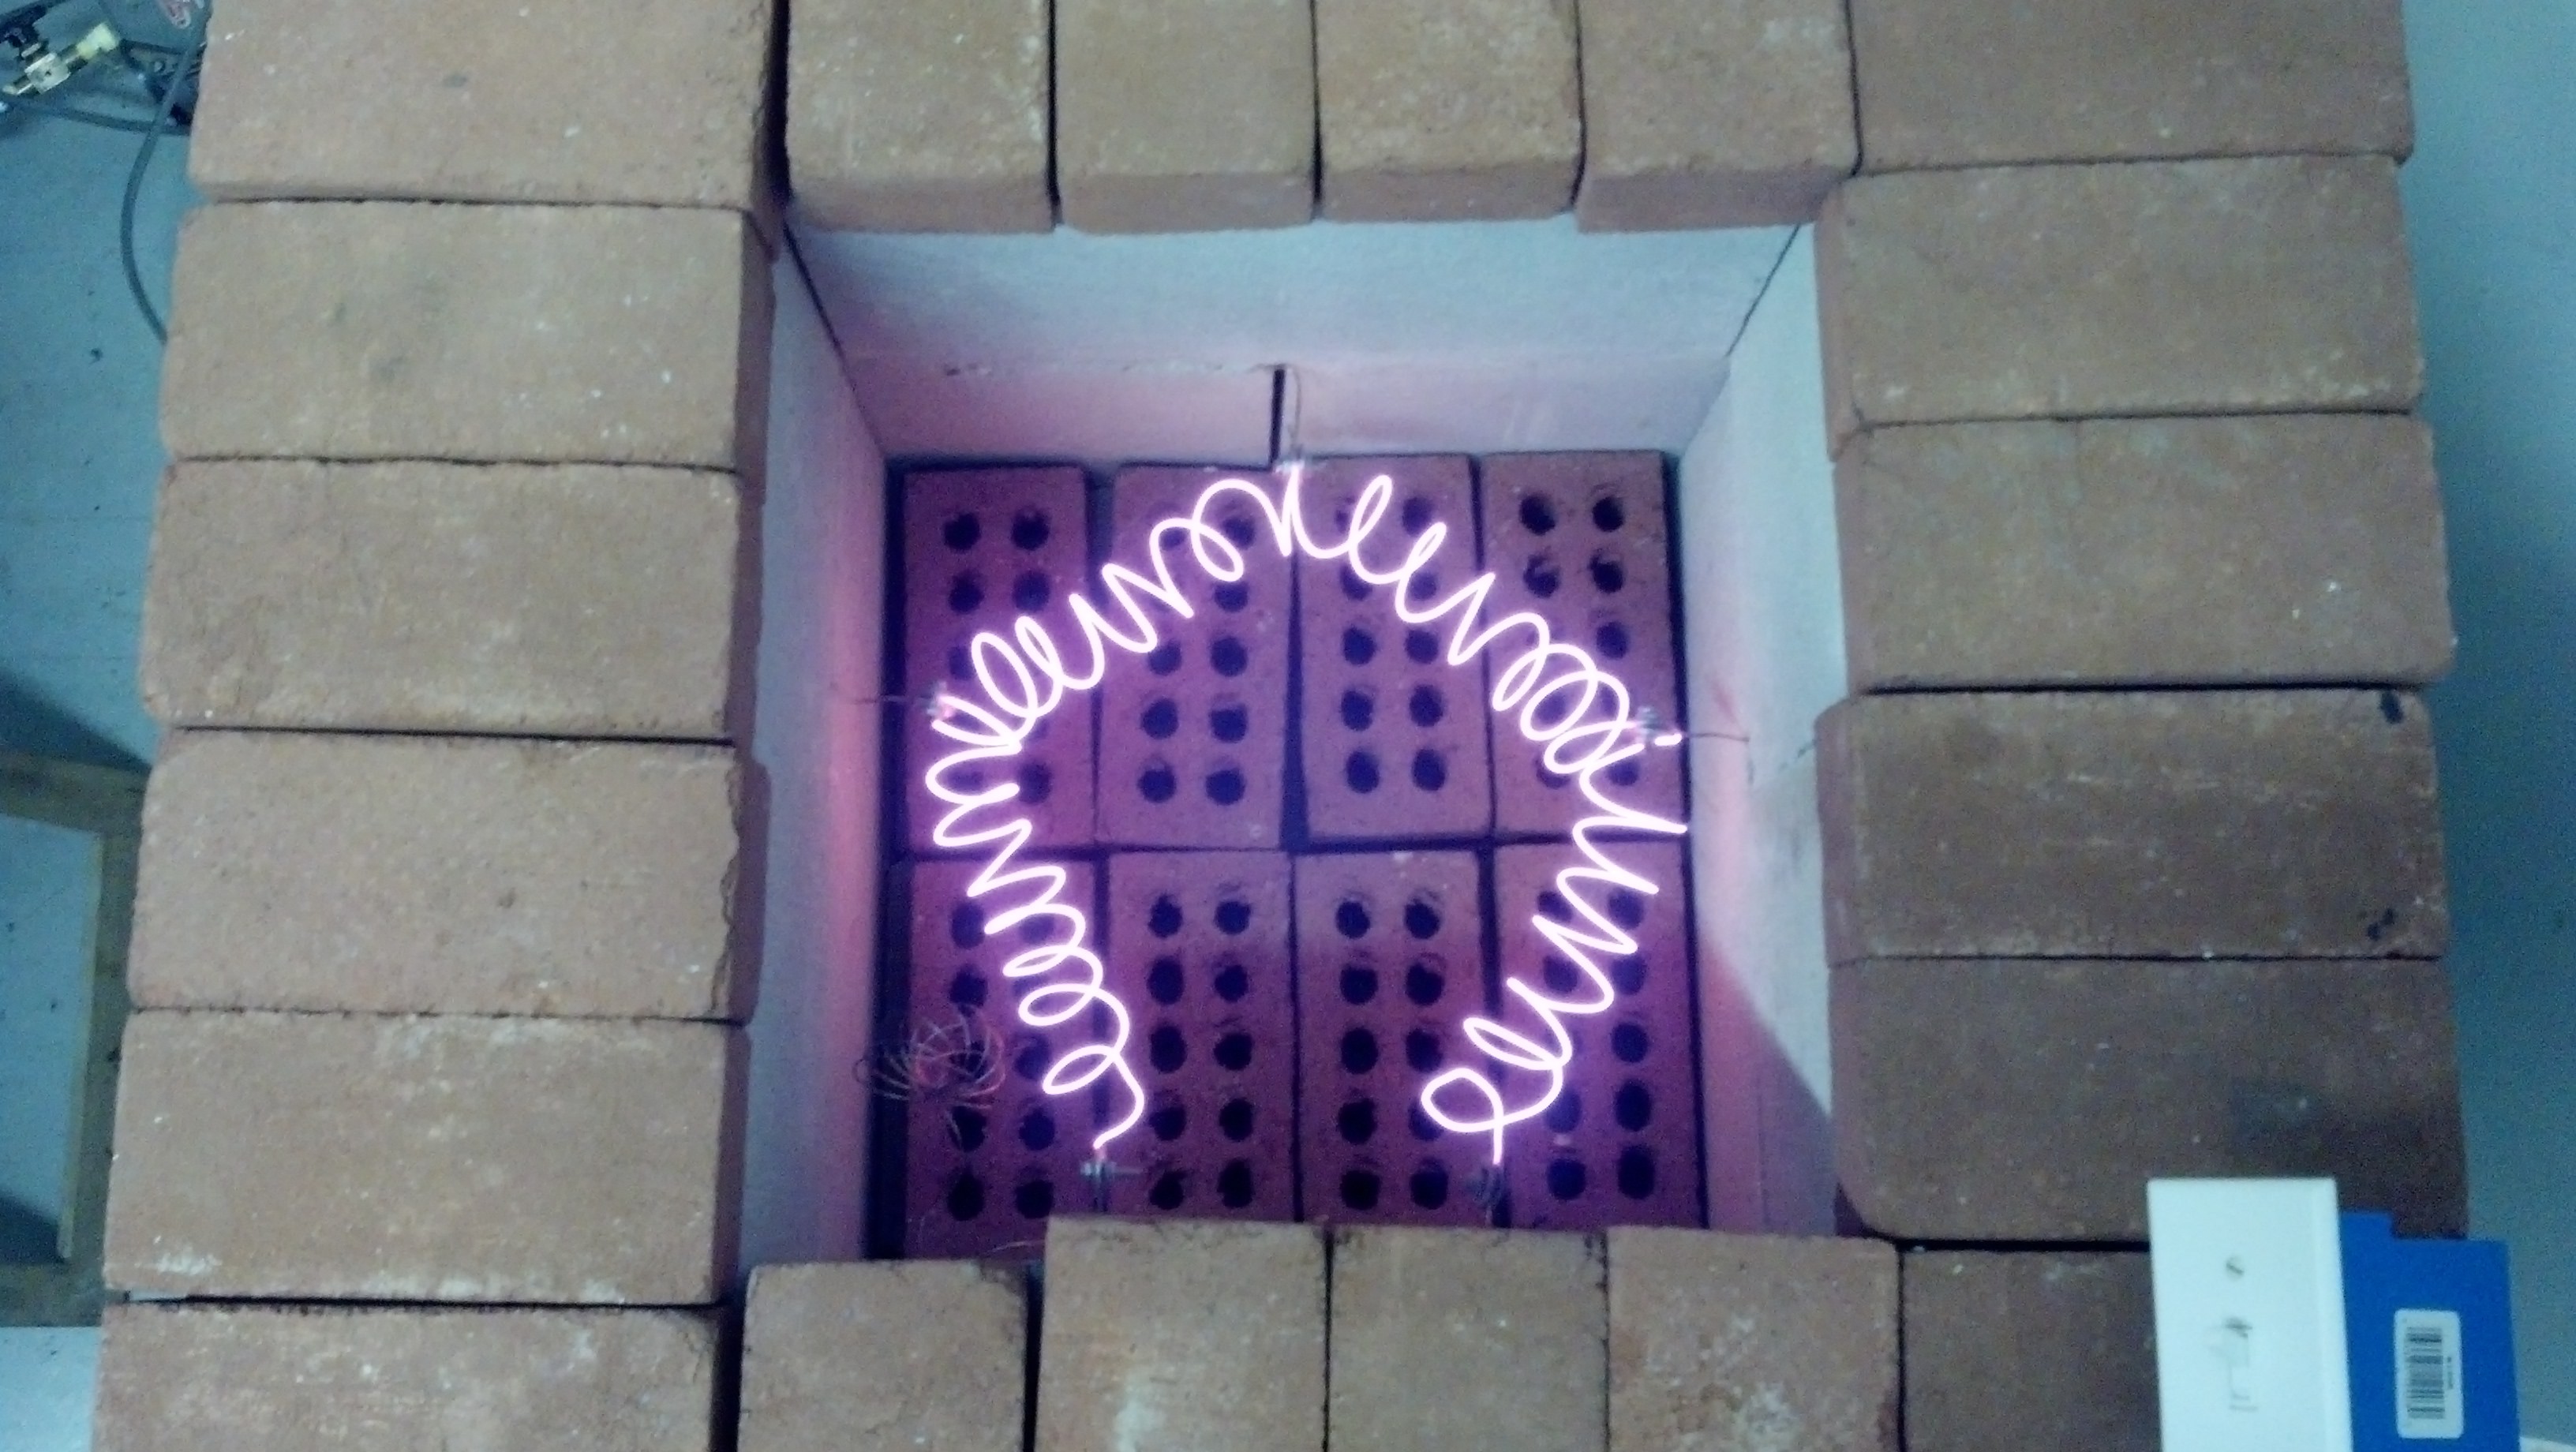
The propane burner worked reasonably well. I was able to build the oven and get started blowing bubbles in a weekend, but using propane was not ideal. I replaced the propane burner with Kanthal wire, which meant that I could run the heat while the plastic was in the oven. I used nuts and bolts to make the connections for the Kanthal wire inside the oven. I coiled the Kanthal and supported it with a few pieces of isolated copper wire, stuck into the cracks of the CMUs. I connected the ends of the Kanthal to Romex, which then went outside of the oven to a junction box with a power switch. I measured the resistance of the Kanthal heating element to make sure that it would not draw more than 10A while on mains voltage.
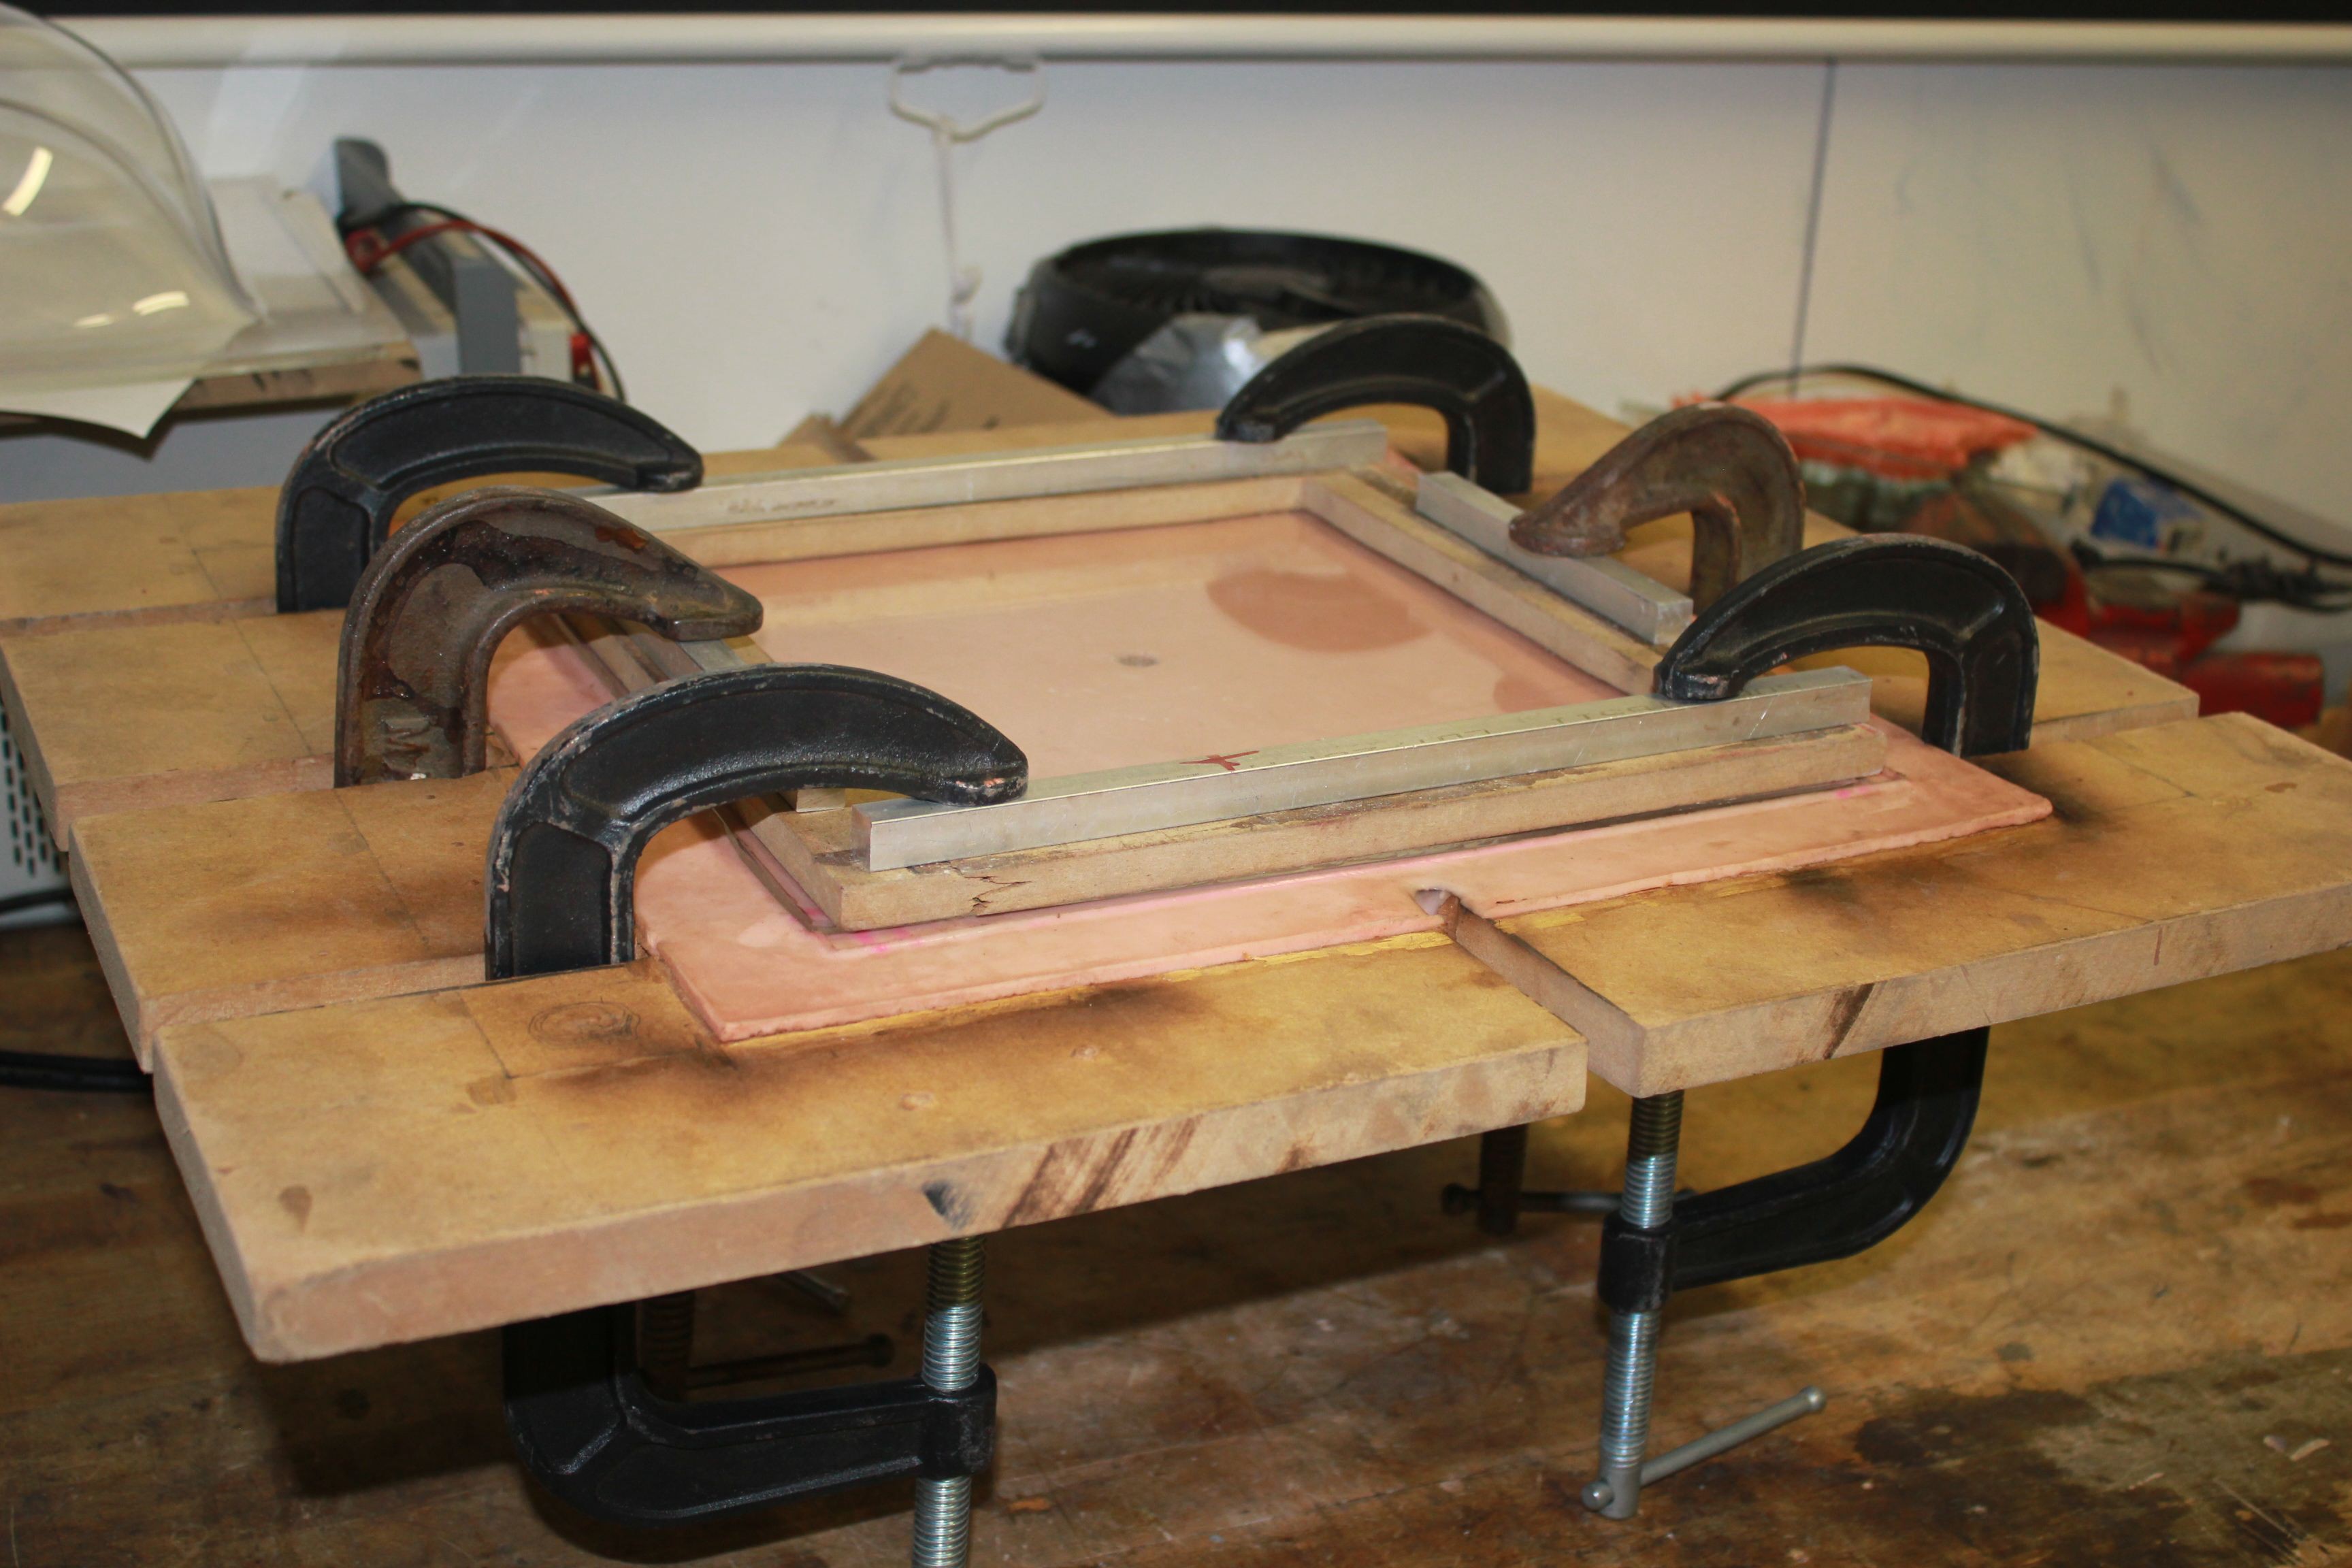
The plastic sheets were loaded into the oven by clamping them to a lid made out of MDF. I was able to use MDF because the temperature had to stay below 320F, the temperature that acrylic melts. I drilled a hole in the lid and put an air fitting on it. On the underside of the lid, I poured a pad of silicone to create a seal for the plastic. I made a solid pad, instead of a seal around the edges, so that I could use different sized apertures. I used leftover two-part silicone that I had from another project making molds, but another option was to Oogoo made from silicone caulk and cornstarch. An Oogoo seal would probably deteriorate faster than two-part silicone, but the lid is cheap and can easily be repaired or replaced. The plastic sheet was clamped to the lid with an aperture, and aluminum rod, to spread out the force of the clamps. The aperture was cut from MDF into the shape that I wanted to blow the bubble.

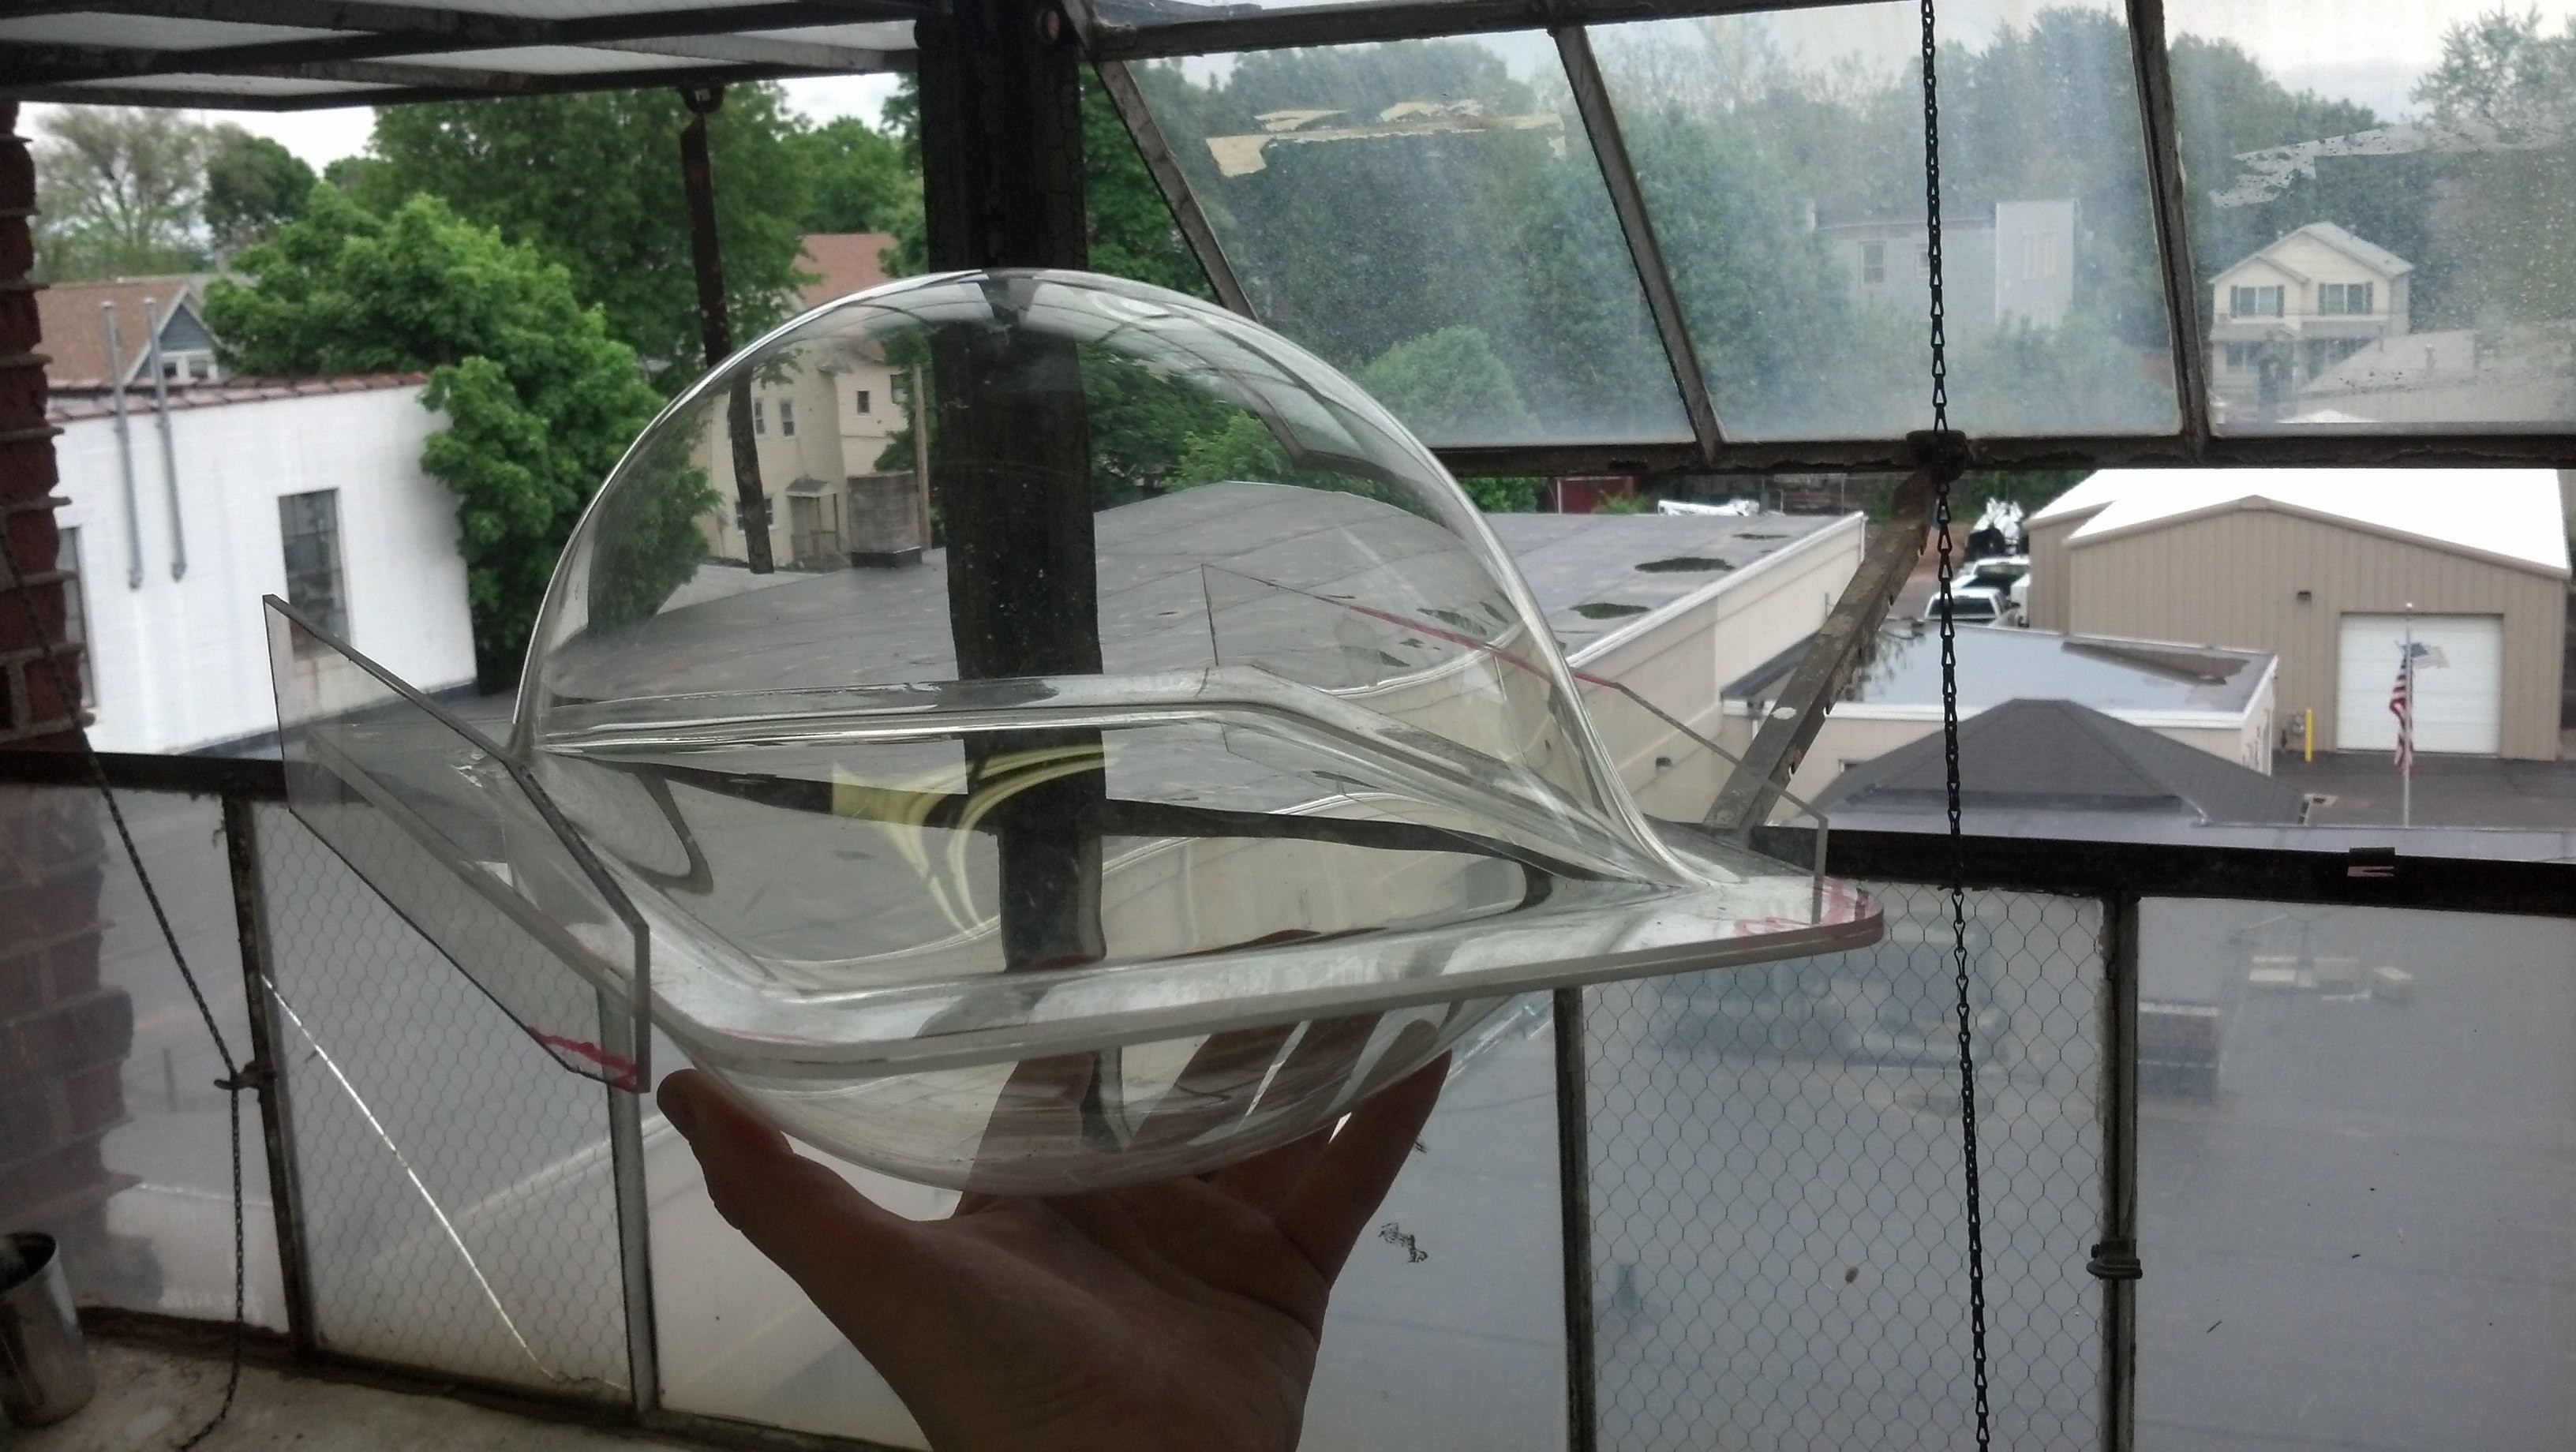
After the plastic was loaded into the oven, I used an IR surface thermometer to measure its temperature. I rotated the lid periodically to make sure that the plastic heated evenly. Once the temperature was around 270-300F, I would hook up the air compressor and begin blowing the bubble. I was able to reliably get good bubbles that were half as high as the aperture was wide. That meant that for a 12” x 12” aperture, I could get a good 6” bubble. Bubbles could be blown bigger, but the bigger they got, the more care they needed to make sure they did not pop or get too quirky.
Discussions
Become a Hackaday.io Member
Create an account to leave a comment. Already have an account? Log In.