 andreynech
Motivation
"The future of drones isn't in the skies. It's in the ocean." This is what Gizmodo said in their article about OpenROV project. And we totally agree. Sometimes it feels like we know more about deep space than about deep sea in our planet. Our explorer mind led us to the idea to build a simple underwater vehicle to take photos and videos from very deep places on our planet. We want to see what is going on in Challenger Deep!
Propulsion
To avoid the dust from the sea bottom which can prevent us from taking good pictures, we decide to make the vehicle with slightly positive buoyancy. That is why, motors are necessary to drive the vehicle into the deep and prevent it from being carrying away by currents during ascent.
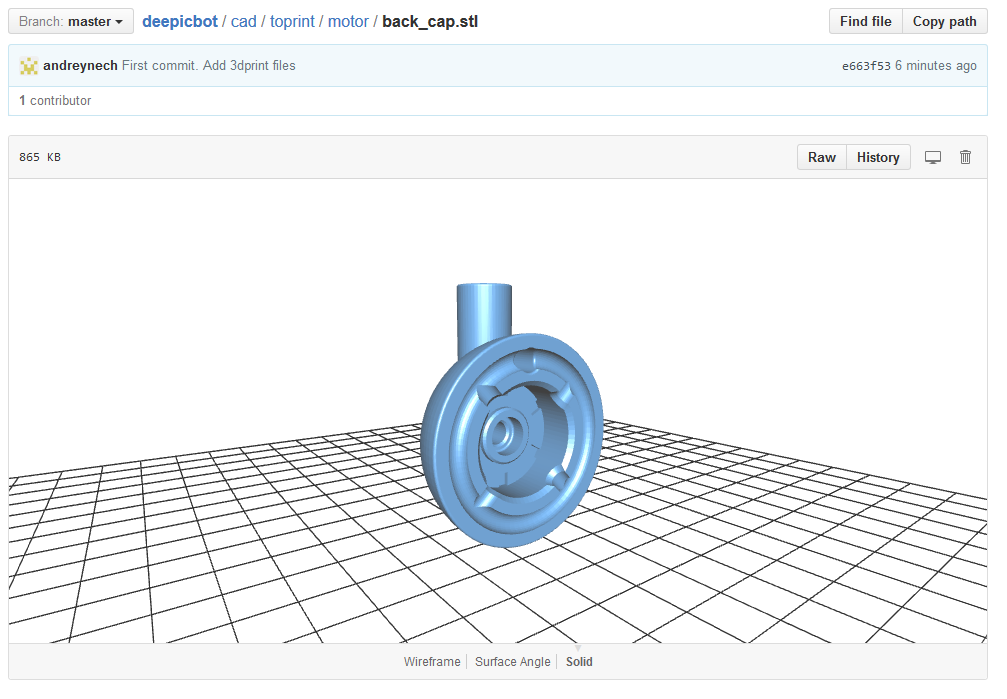
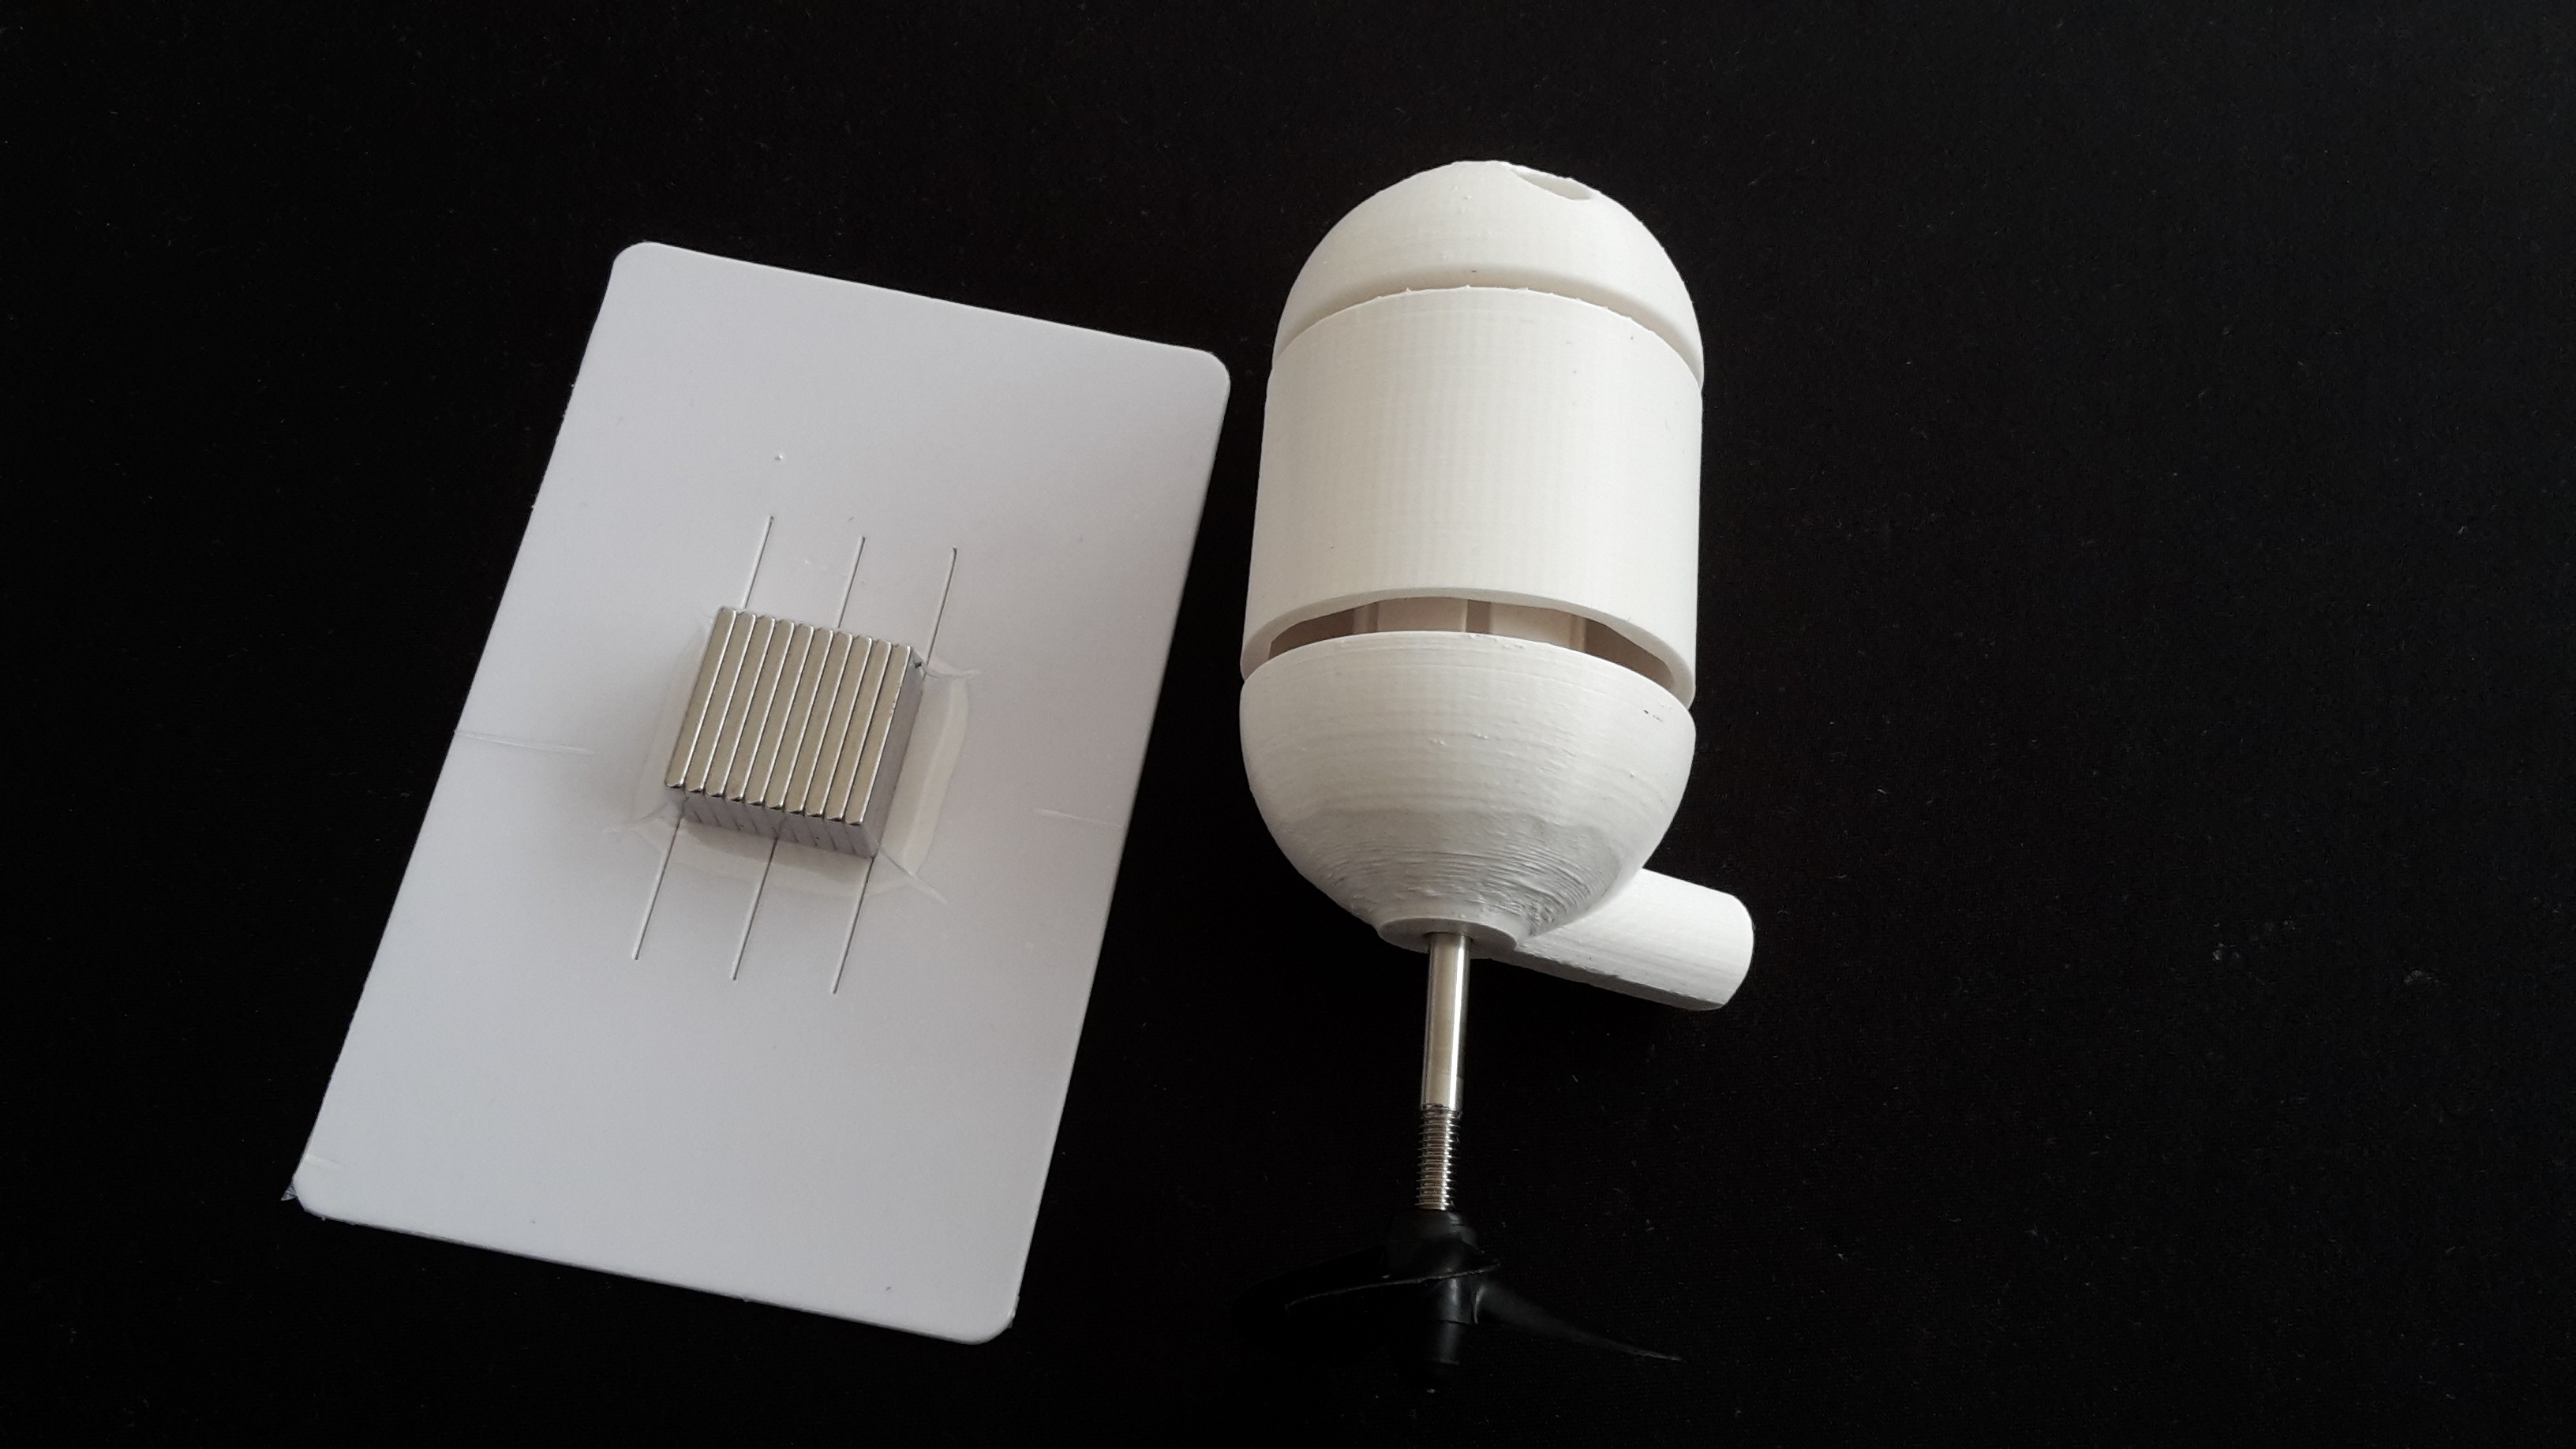
We are using complete self-made, mostly 3D-printed, out-runner BLDC motors. They are completely flooded. There are no metal parts except of magnets, wires and stator teeth. Such design eliminates pressure and corrosion related issues.
Main compartment
The main compartment could be made either of aluminum or of PVC pipe depending on the target deep. At leas on one side it is covered with transparent lid for the camera. For the first project iteration we decide to target several hundreds meters deep and go with PVC pipe. Lightweight parts could be attached if necessary to reach optimal buoyancy.
All CAD work is done with Autocad Fusion360 and could be viewed online here. The following video represents the "explosion view" of the main parts.
Electronics
Raspberry Pi with attached camera are used to take pictures and videos. Required illumination is achieved with power LEDs. We are using standard BLDC motor controllers connected to the Raspberry Pi over I2C. Everything is powered with LiPo battery pack.
Software
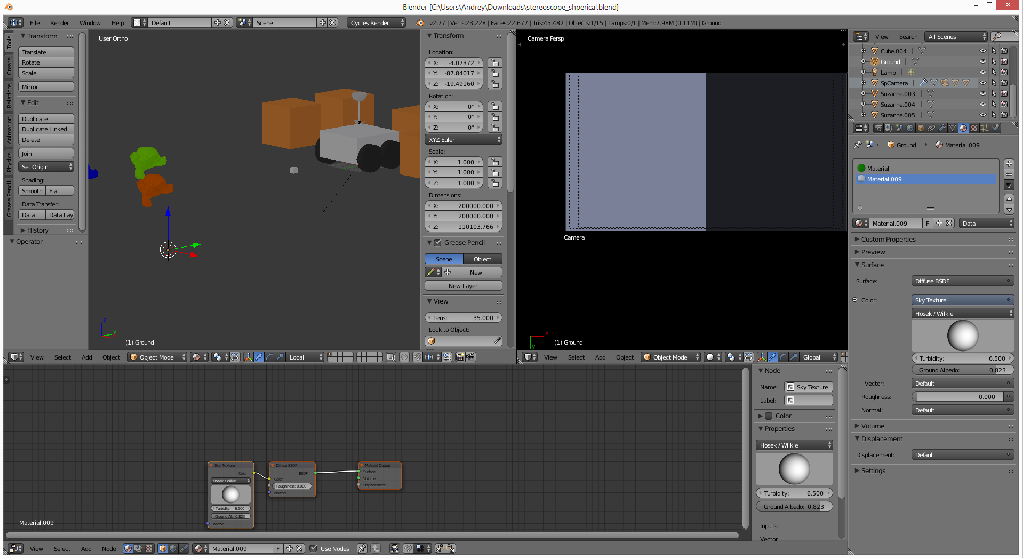
For the first iteration of the project the software is really simple. We are recording video during the whole descent and ascent using Gstreamer. Motors are controlled with simple Python script which sends corresponding commands to motor controllers over I2C bus.
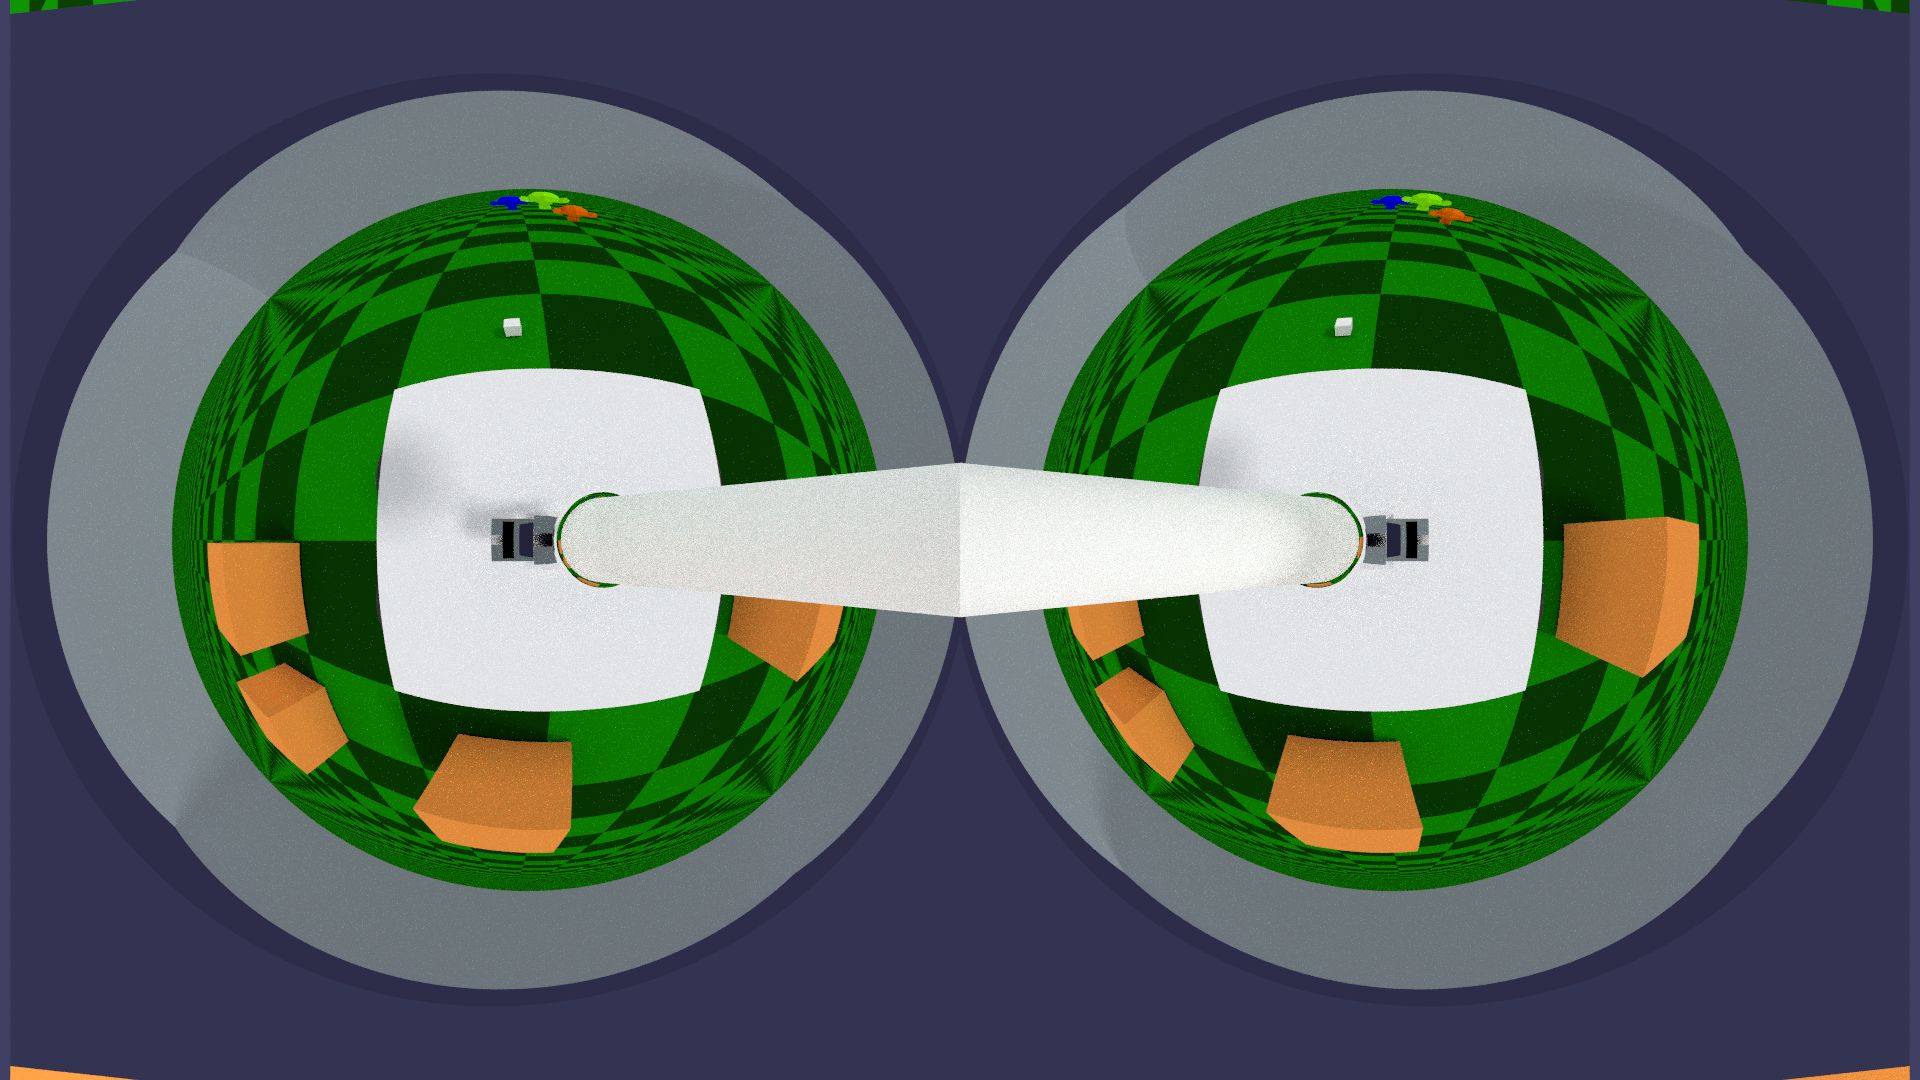
In addition, we are planning to install spherical mirror outside of the main compartment to take panoramic pictures. There is also python script which unwraps the video on the fly. It is based on this example.


 E/S Pronk
 W. Jason Altice
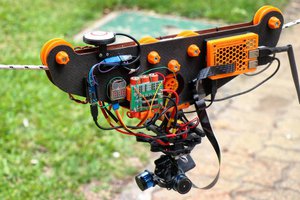
 Maximiliano Palay
 Eric Link
Interesting...
Are you going to protect the electronics from pressure, or you will let the pressure in by filling the thing with some kind of liquid or rubber? My natural choice would be to let the pressure in.
Makes me wonder, how will li-po cells behave at these pressures (1km = 100 atm, roughly). Intuition says they will probably be all right...
Next challenge - camera. Will camera be flooded by liquid, and if yes, you are going to have to design your own camera... or seriously hack an existing one.