 tiefpunkt
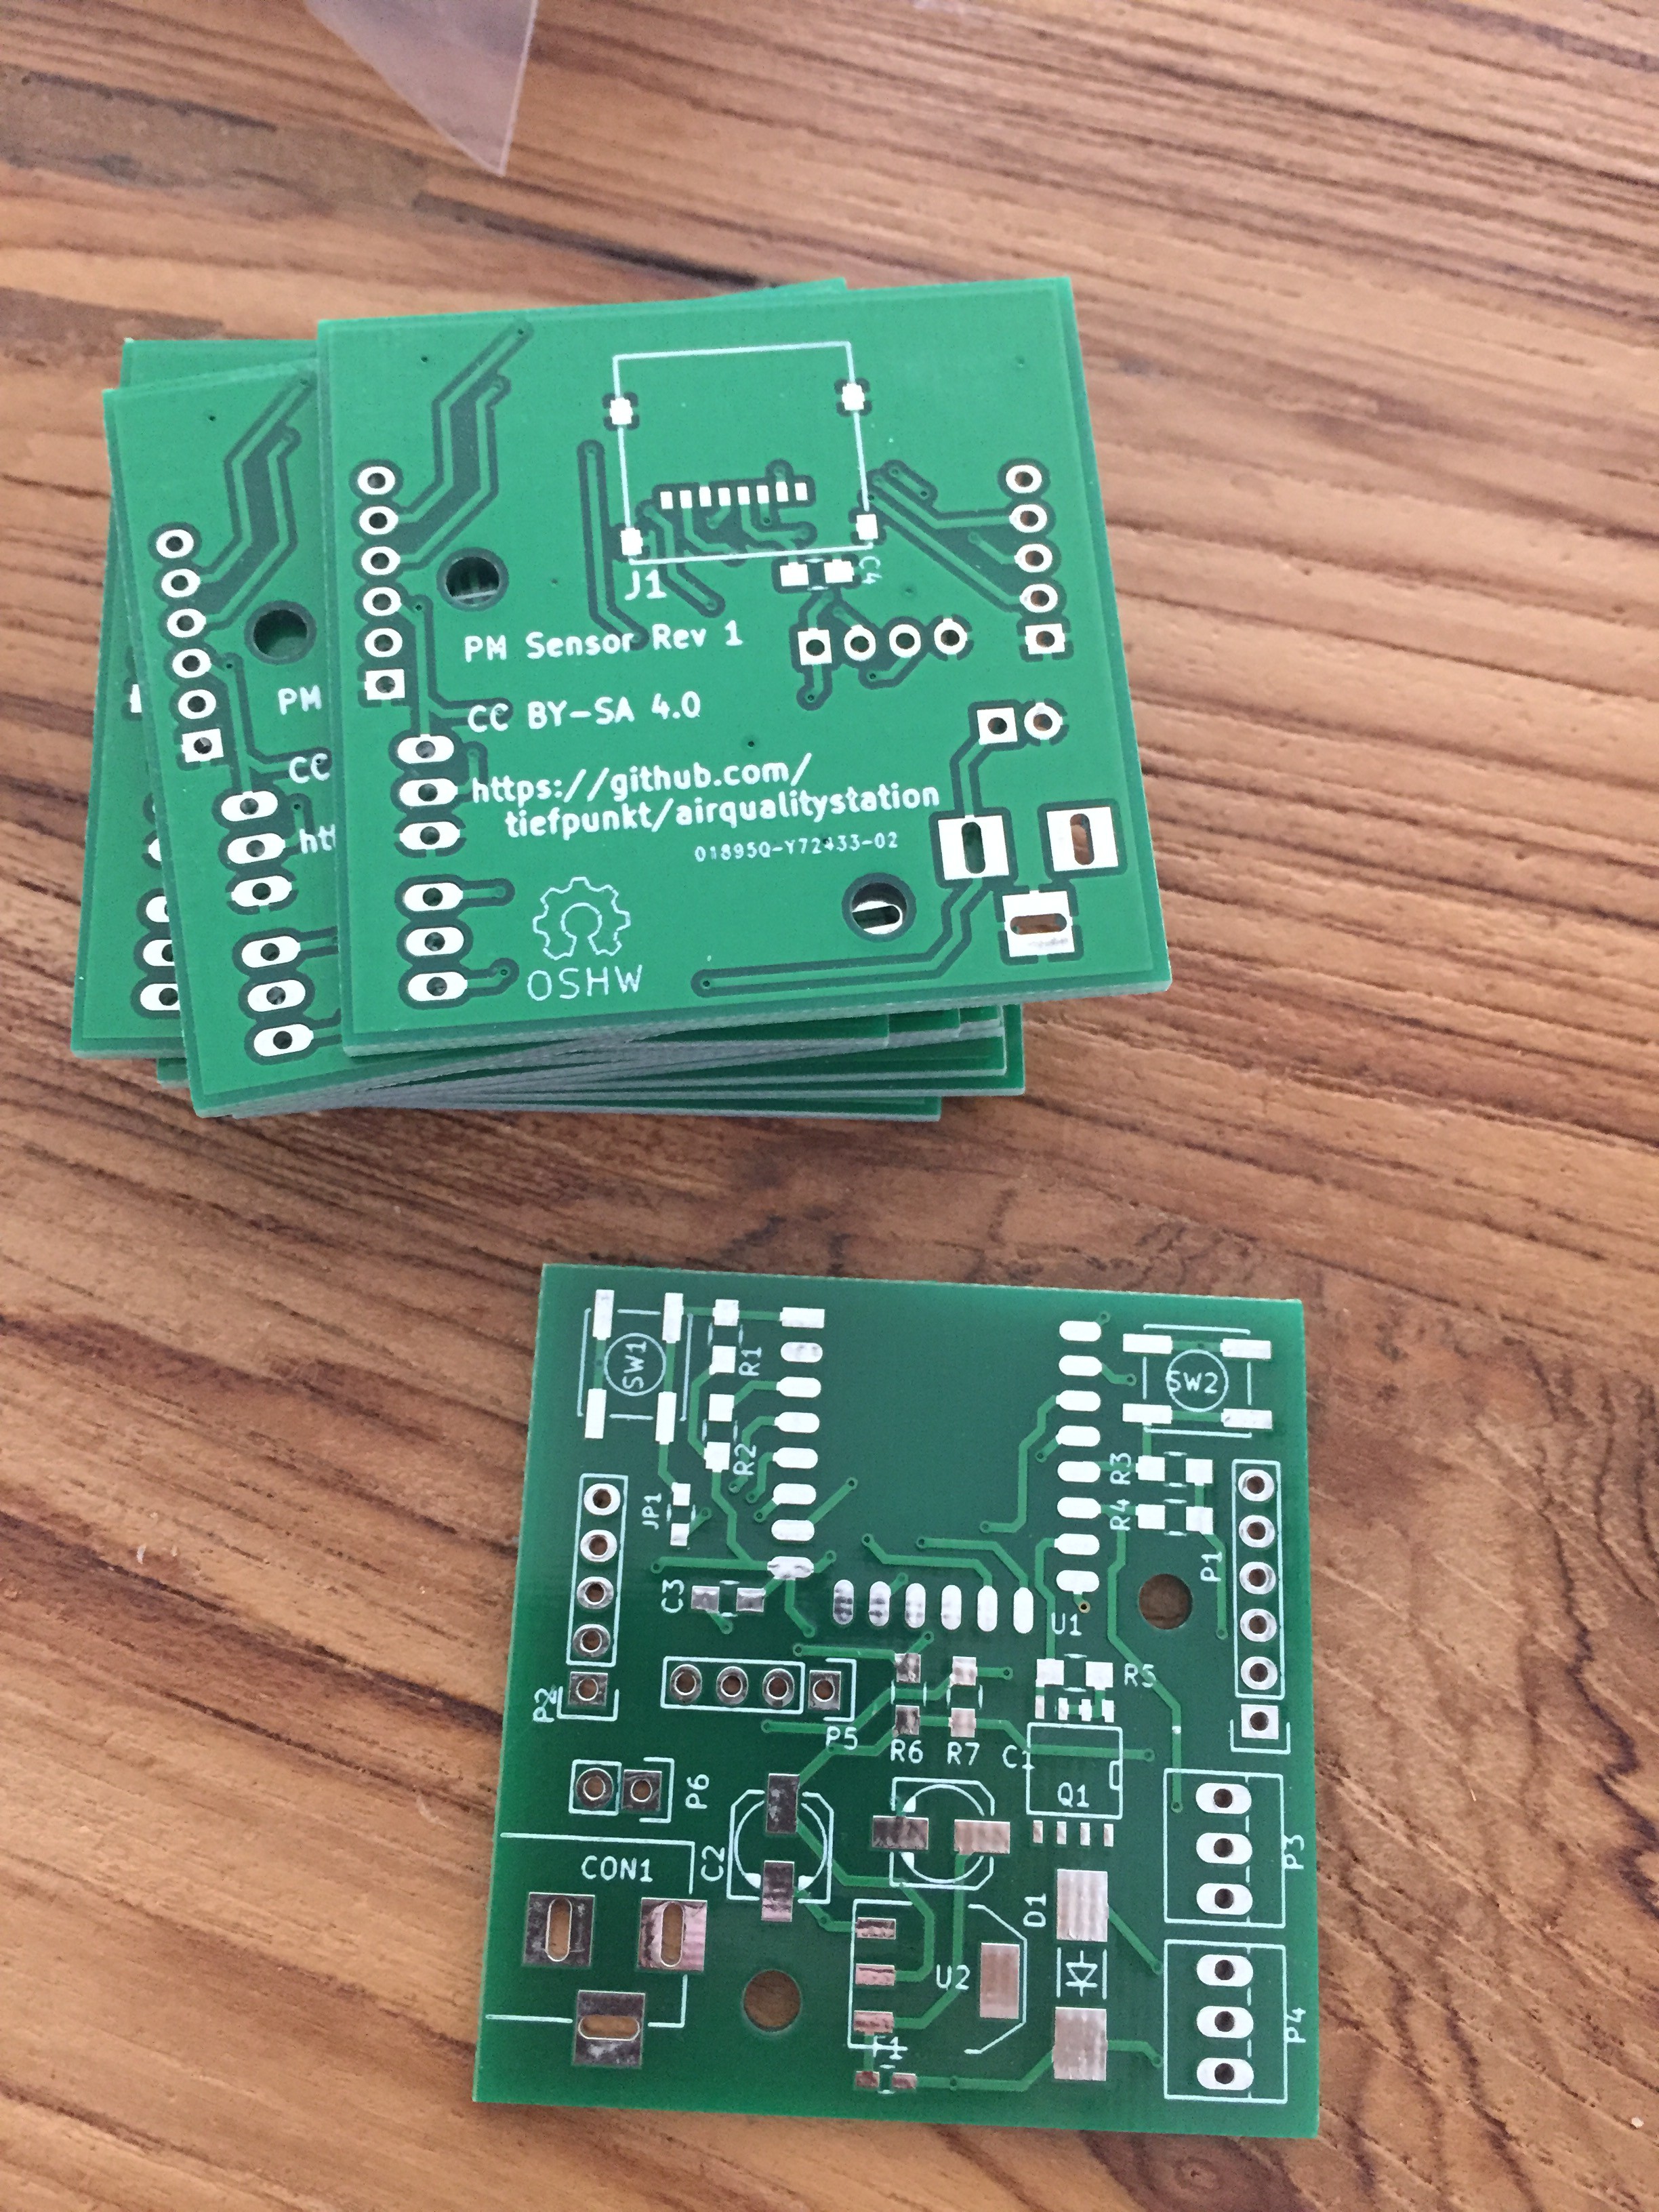
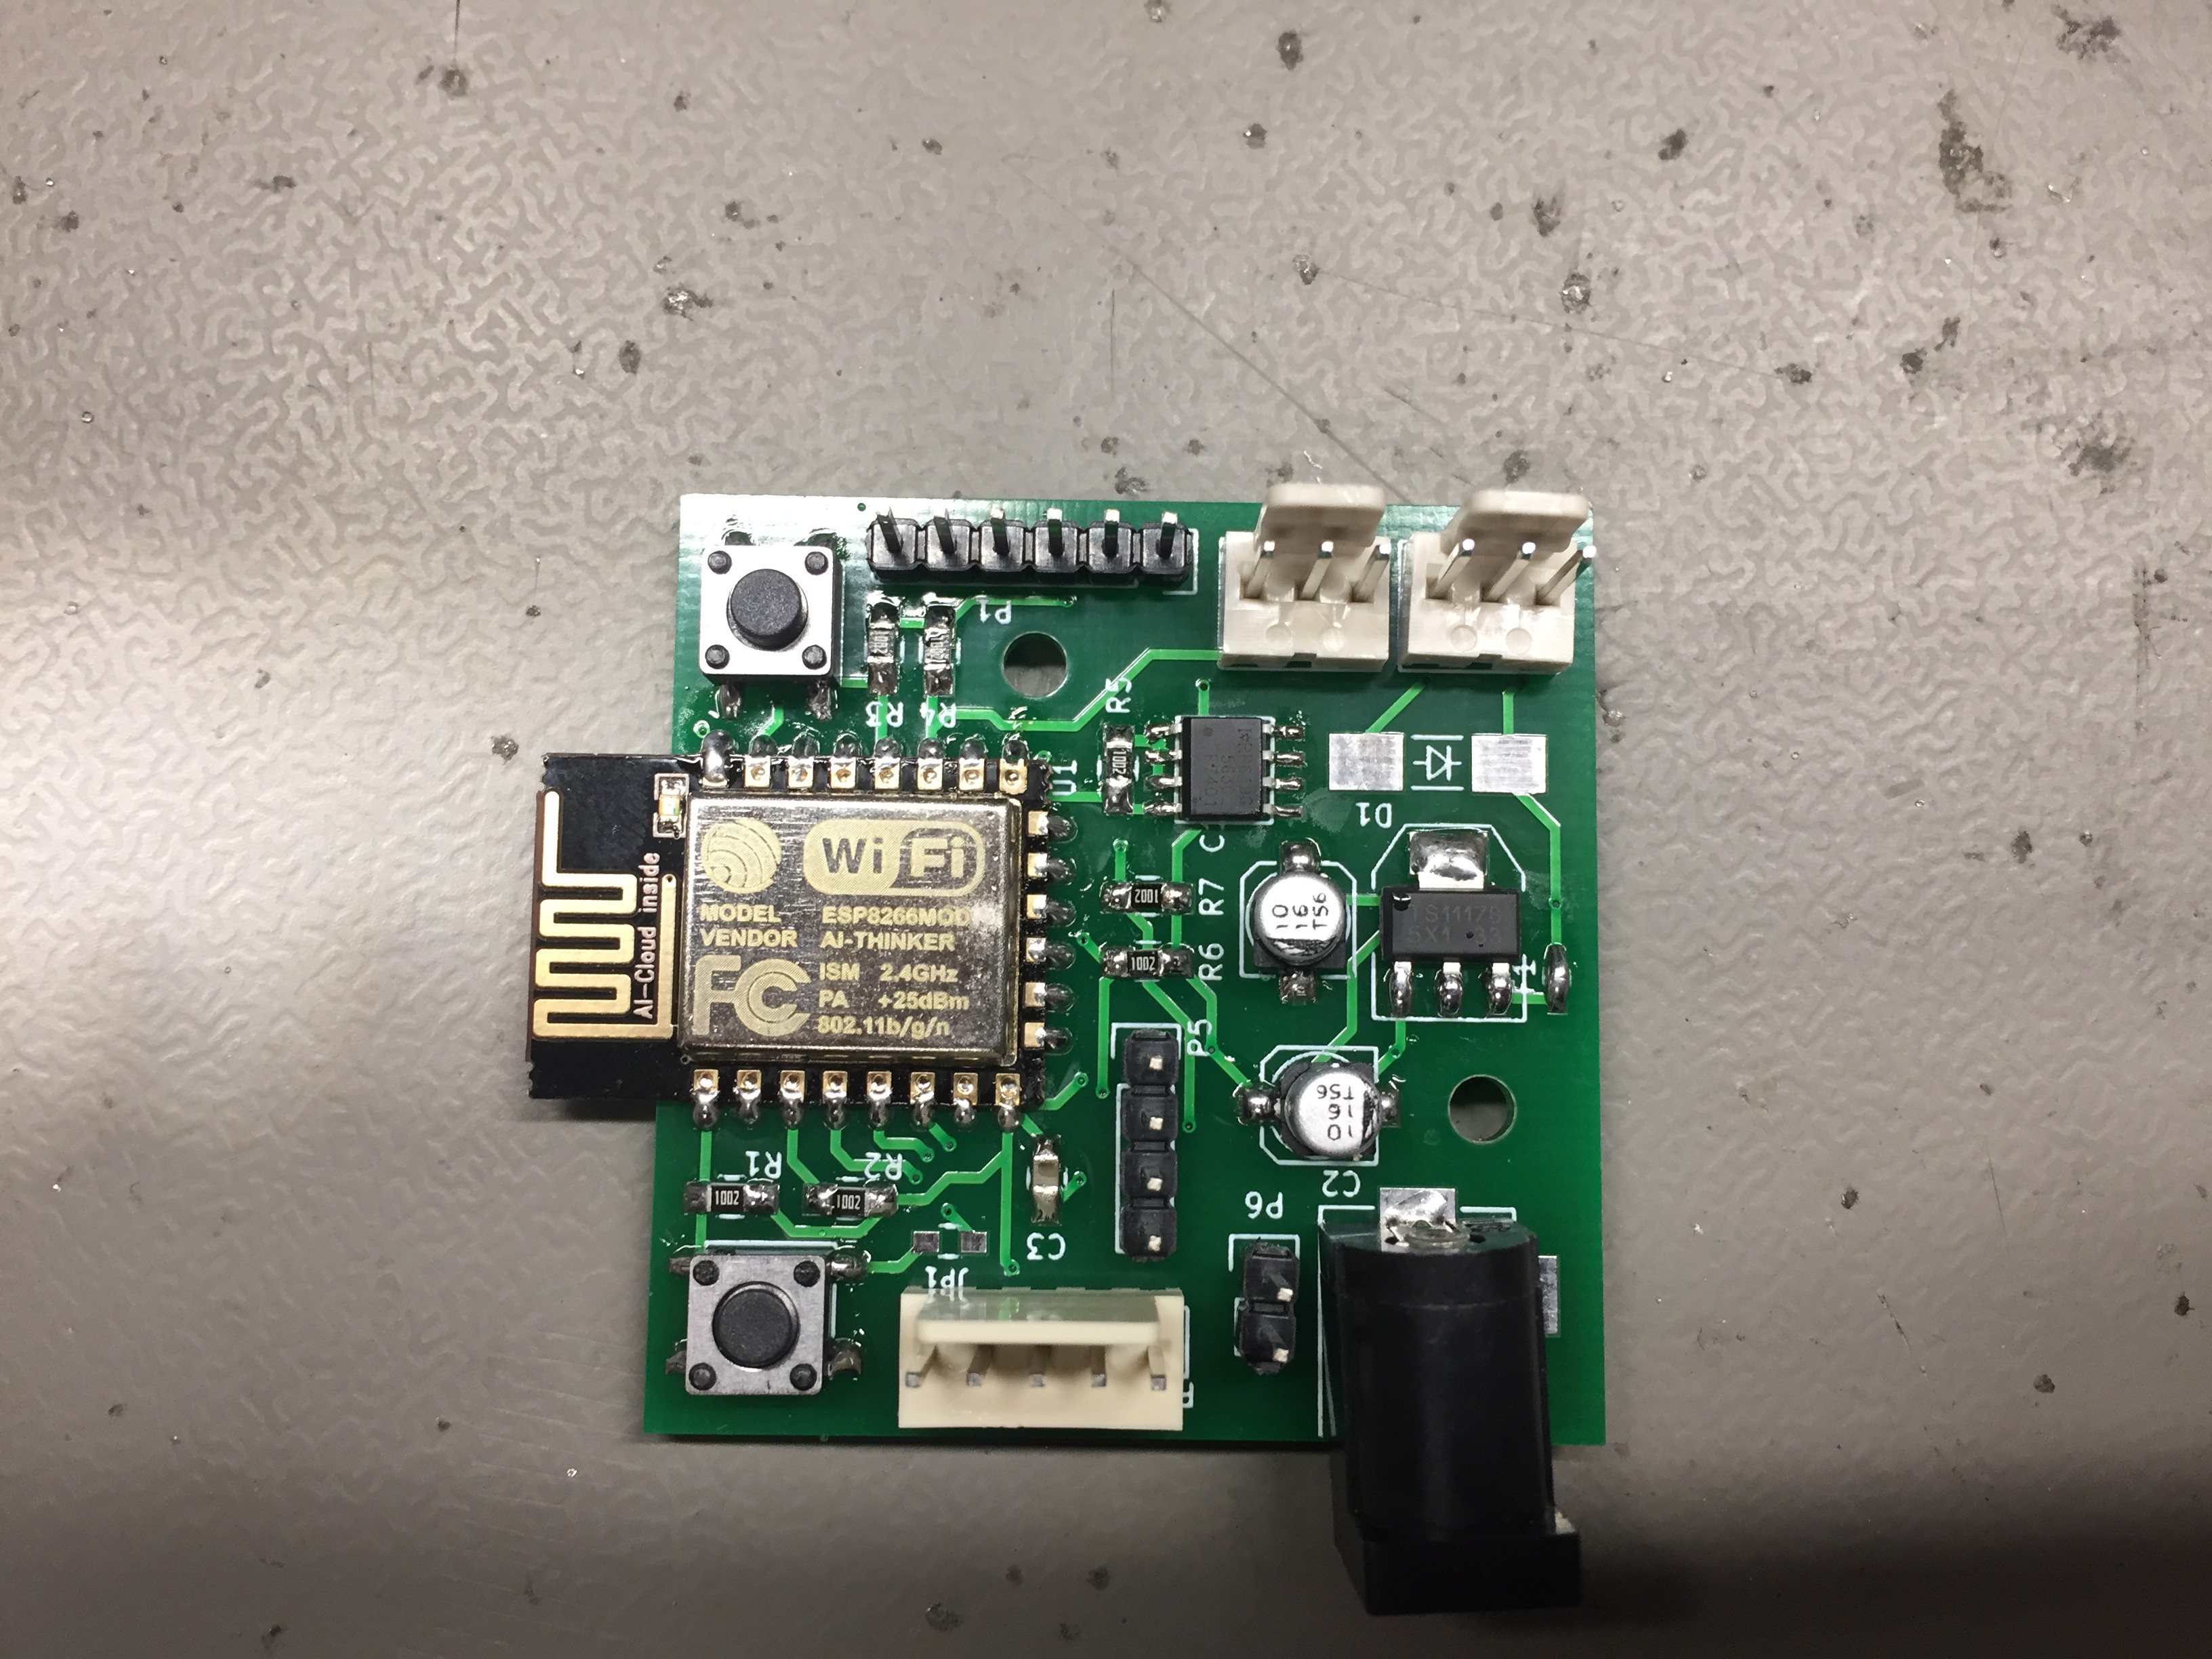
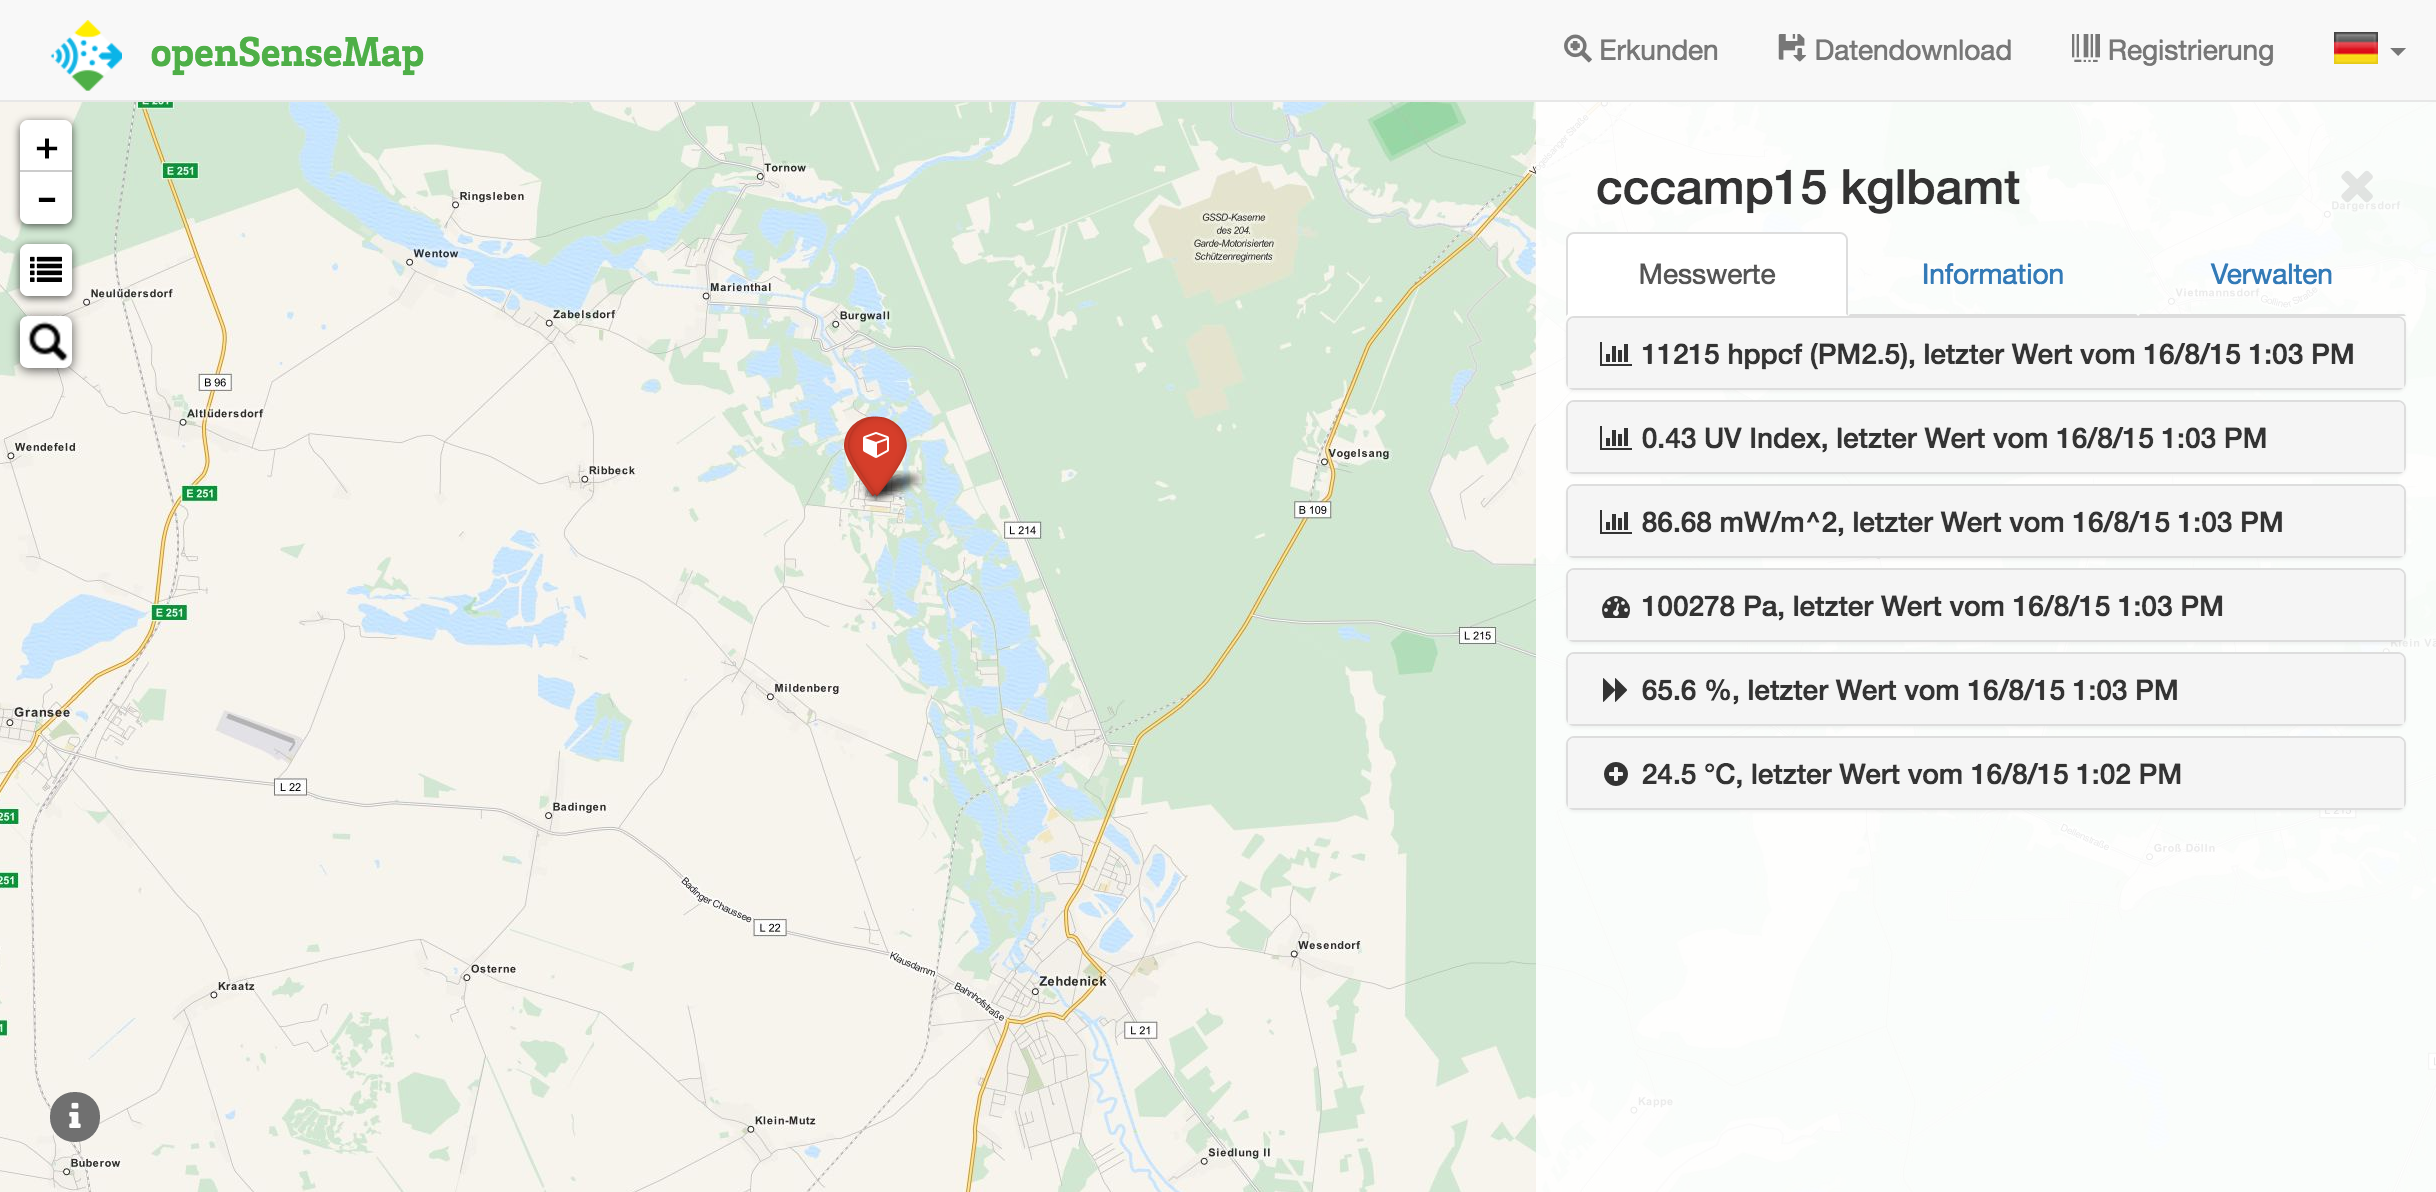
The project is open source, both hard- and software, so people can build their own units or improve them as much as they like. At the same time, I'm hoping to produce a few runs of sensor units so people without all the necessary production means can get a unit or two.
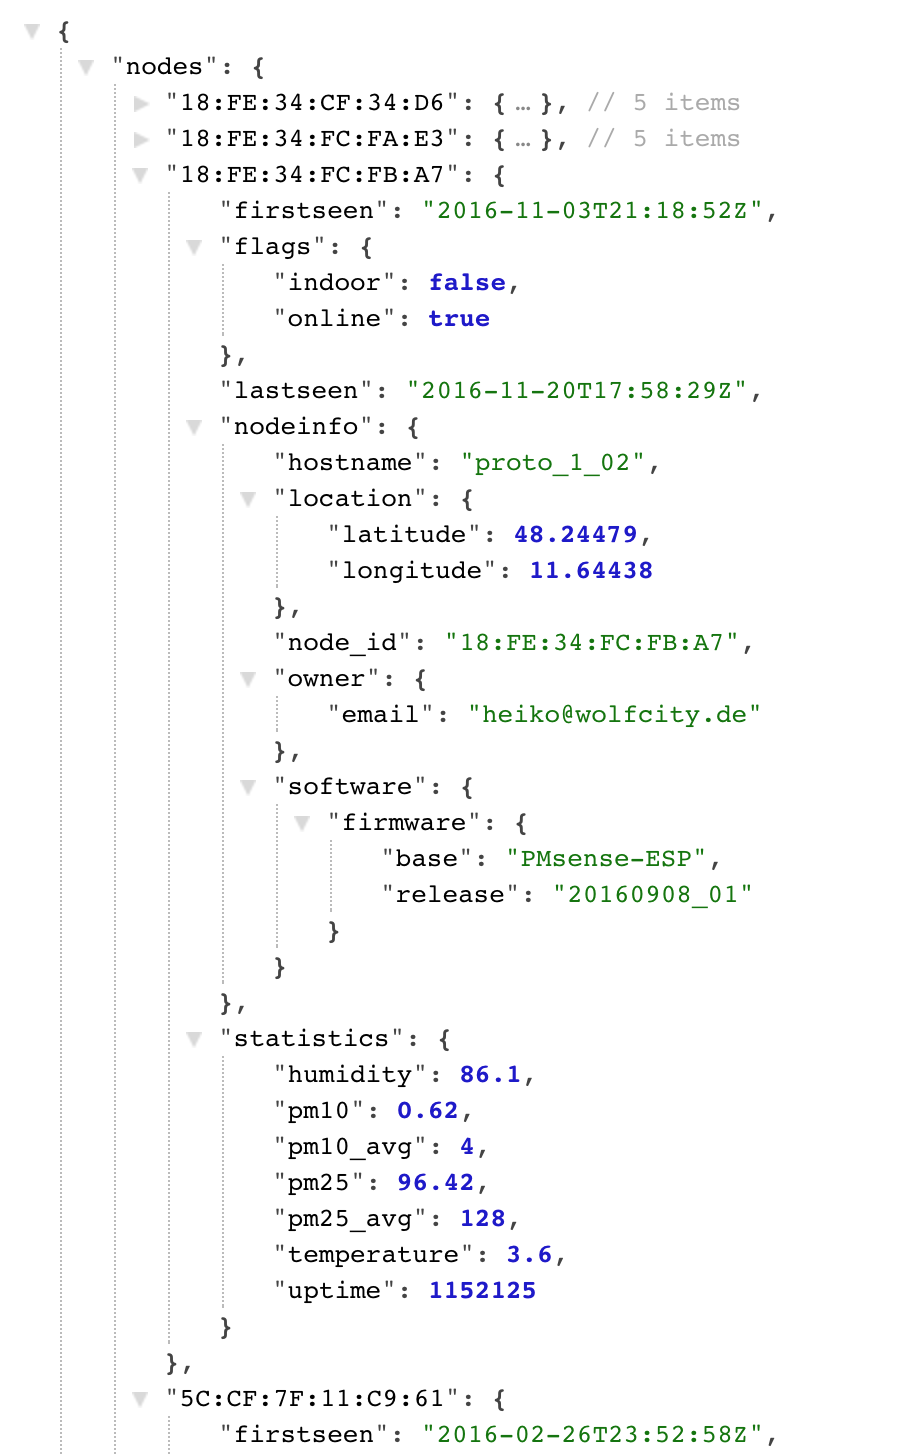
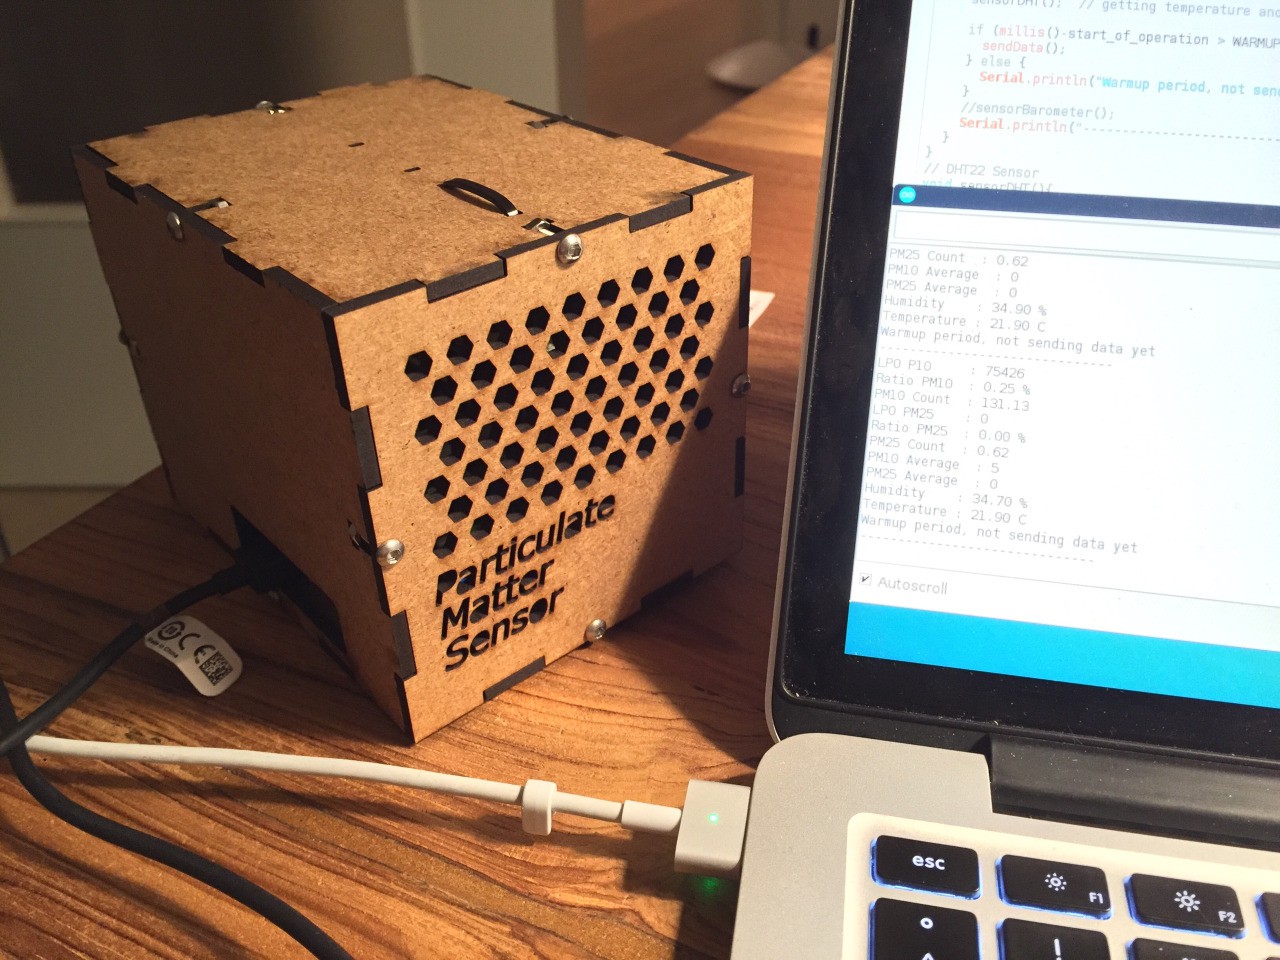
Check out the GitHub repository for the source code. I'm using the Arduino IDE to program the ESP8266 WiFi microcontroller. The README is a bit out of date, and there aren't any hardware design files in the repo yet, as it's all still just put together on a WeMos D1 arduino compatible board.
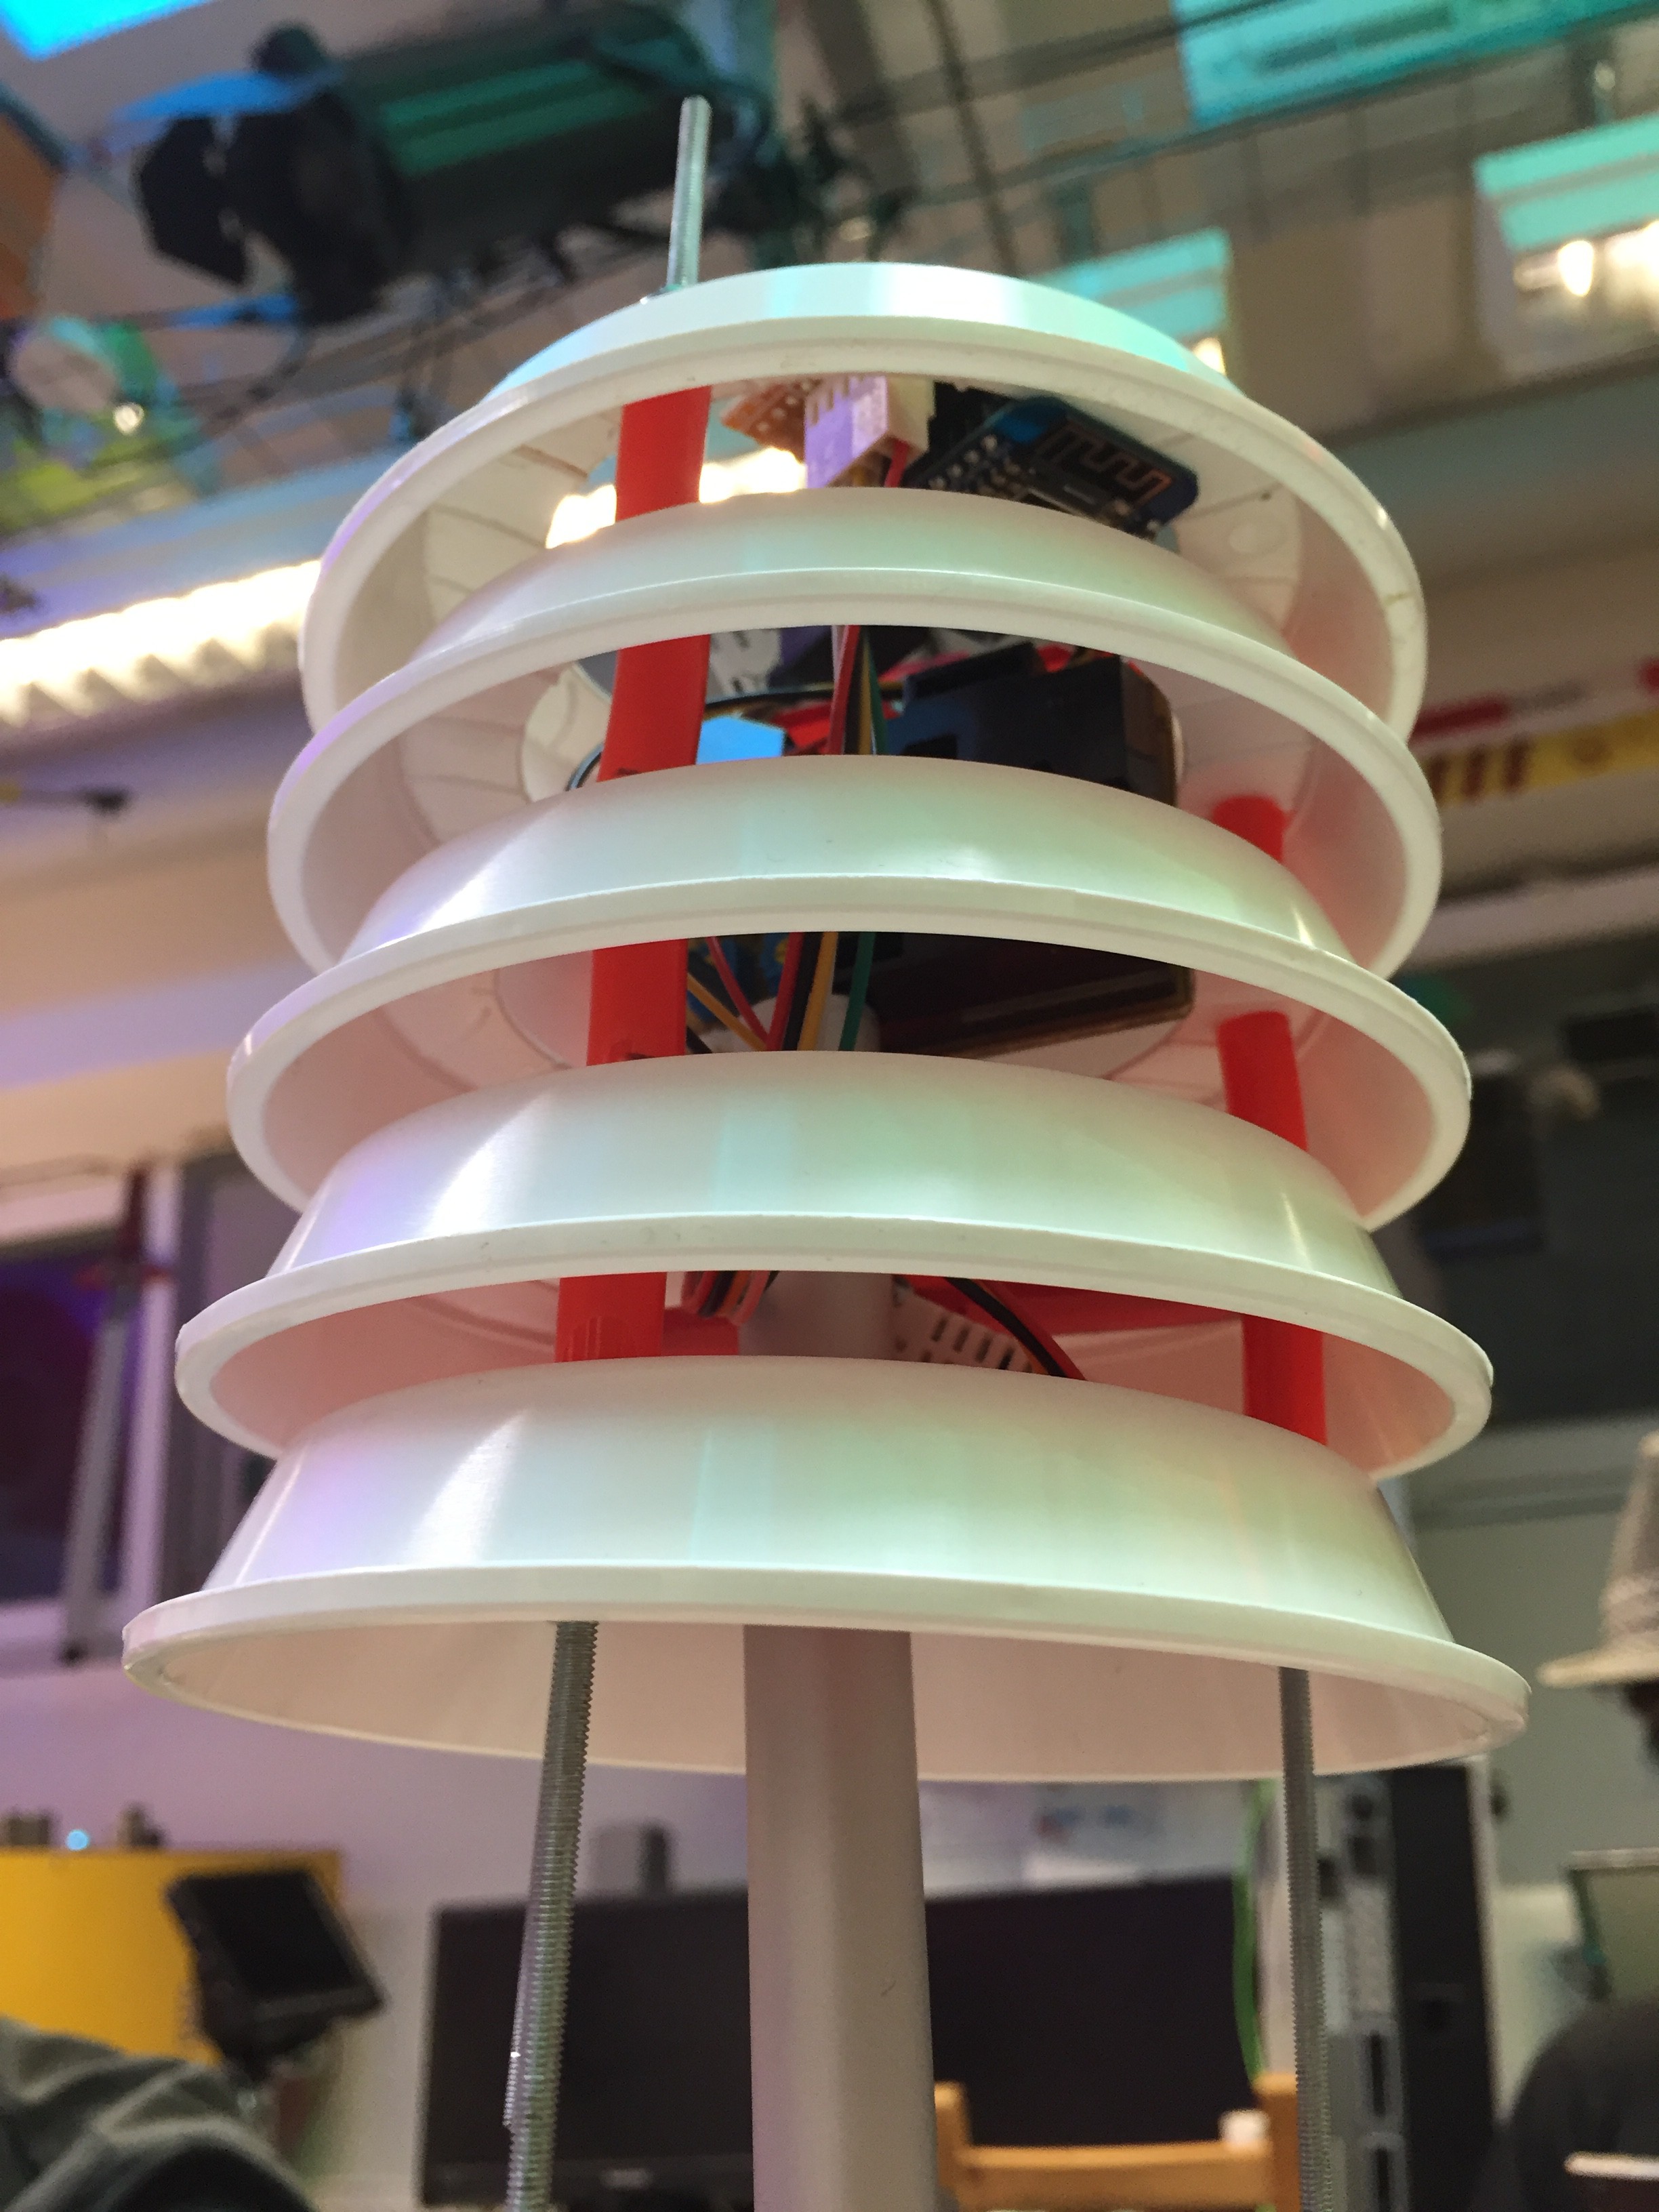
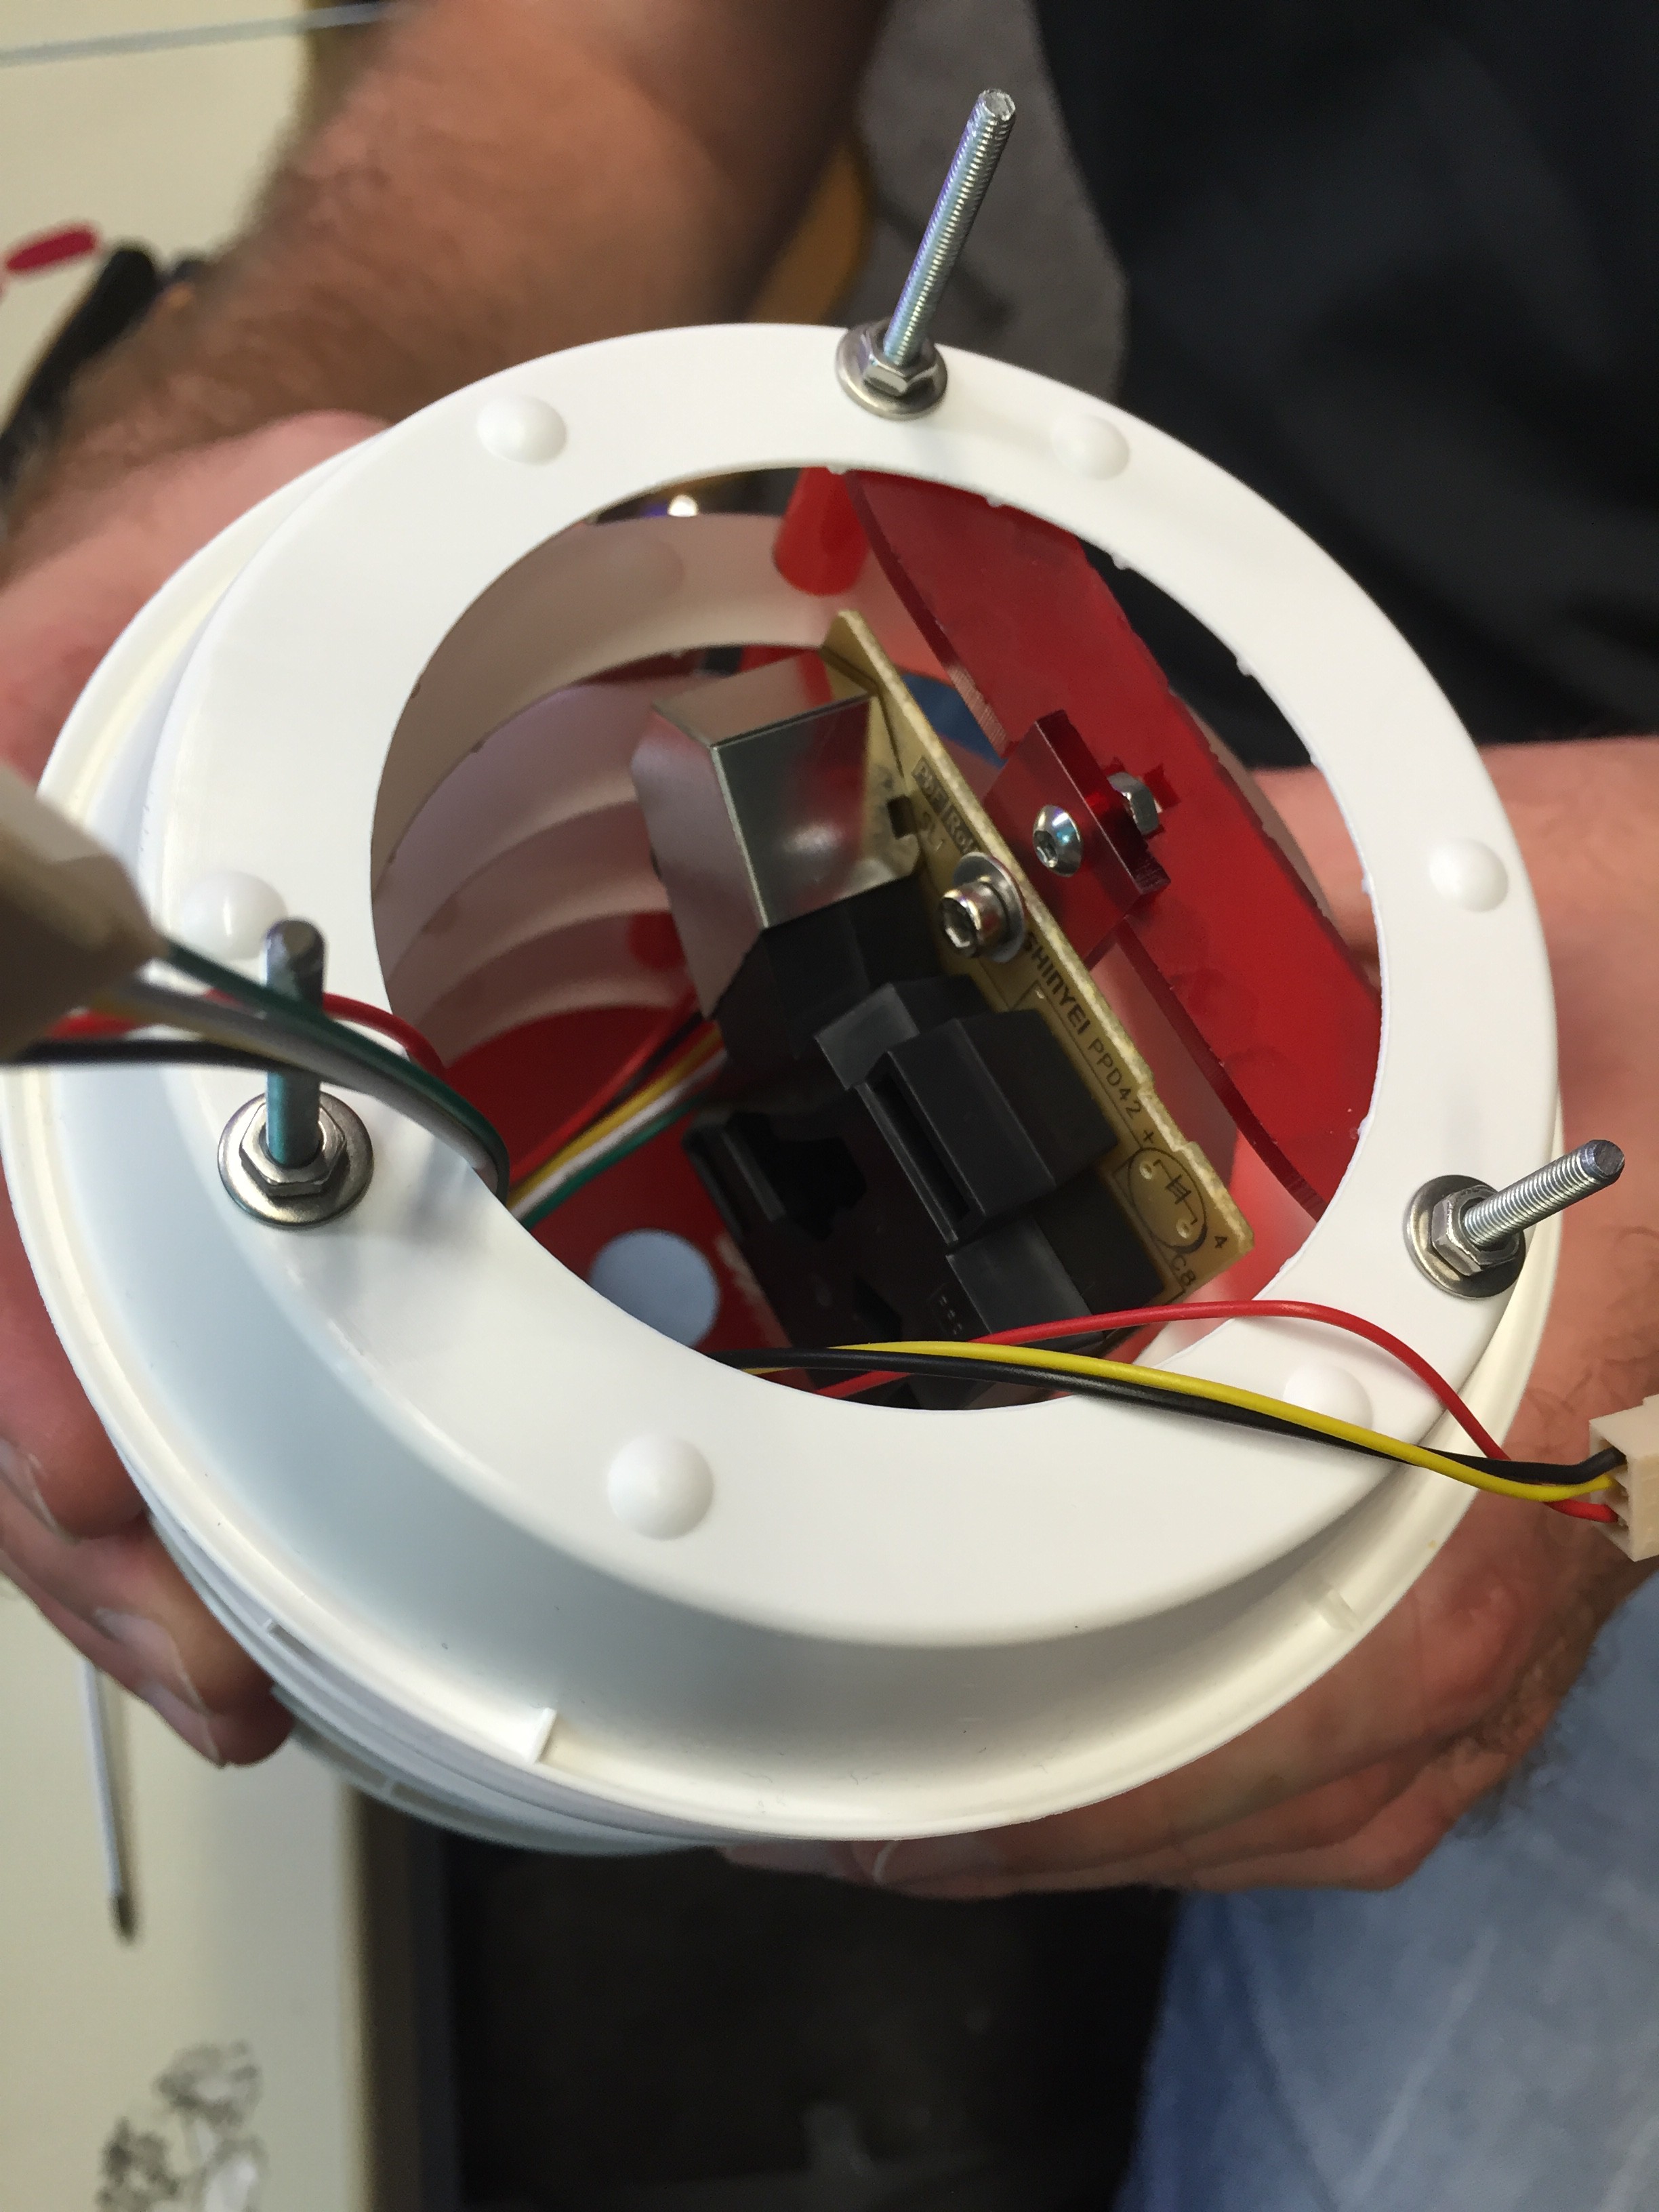
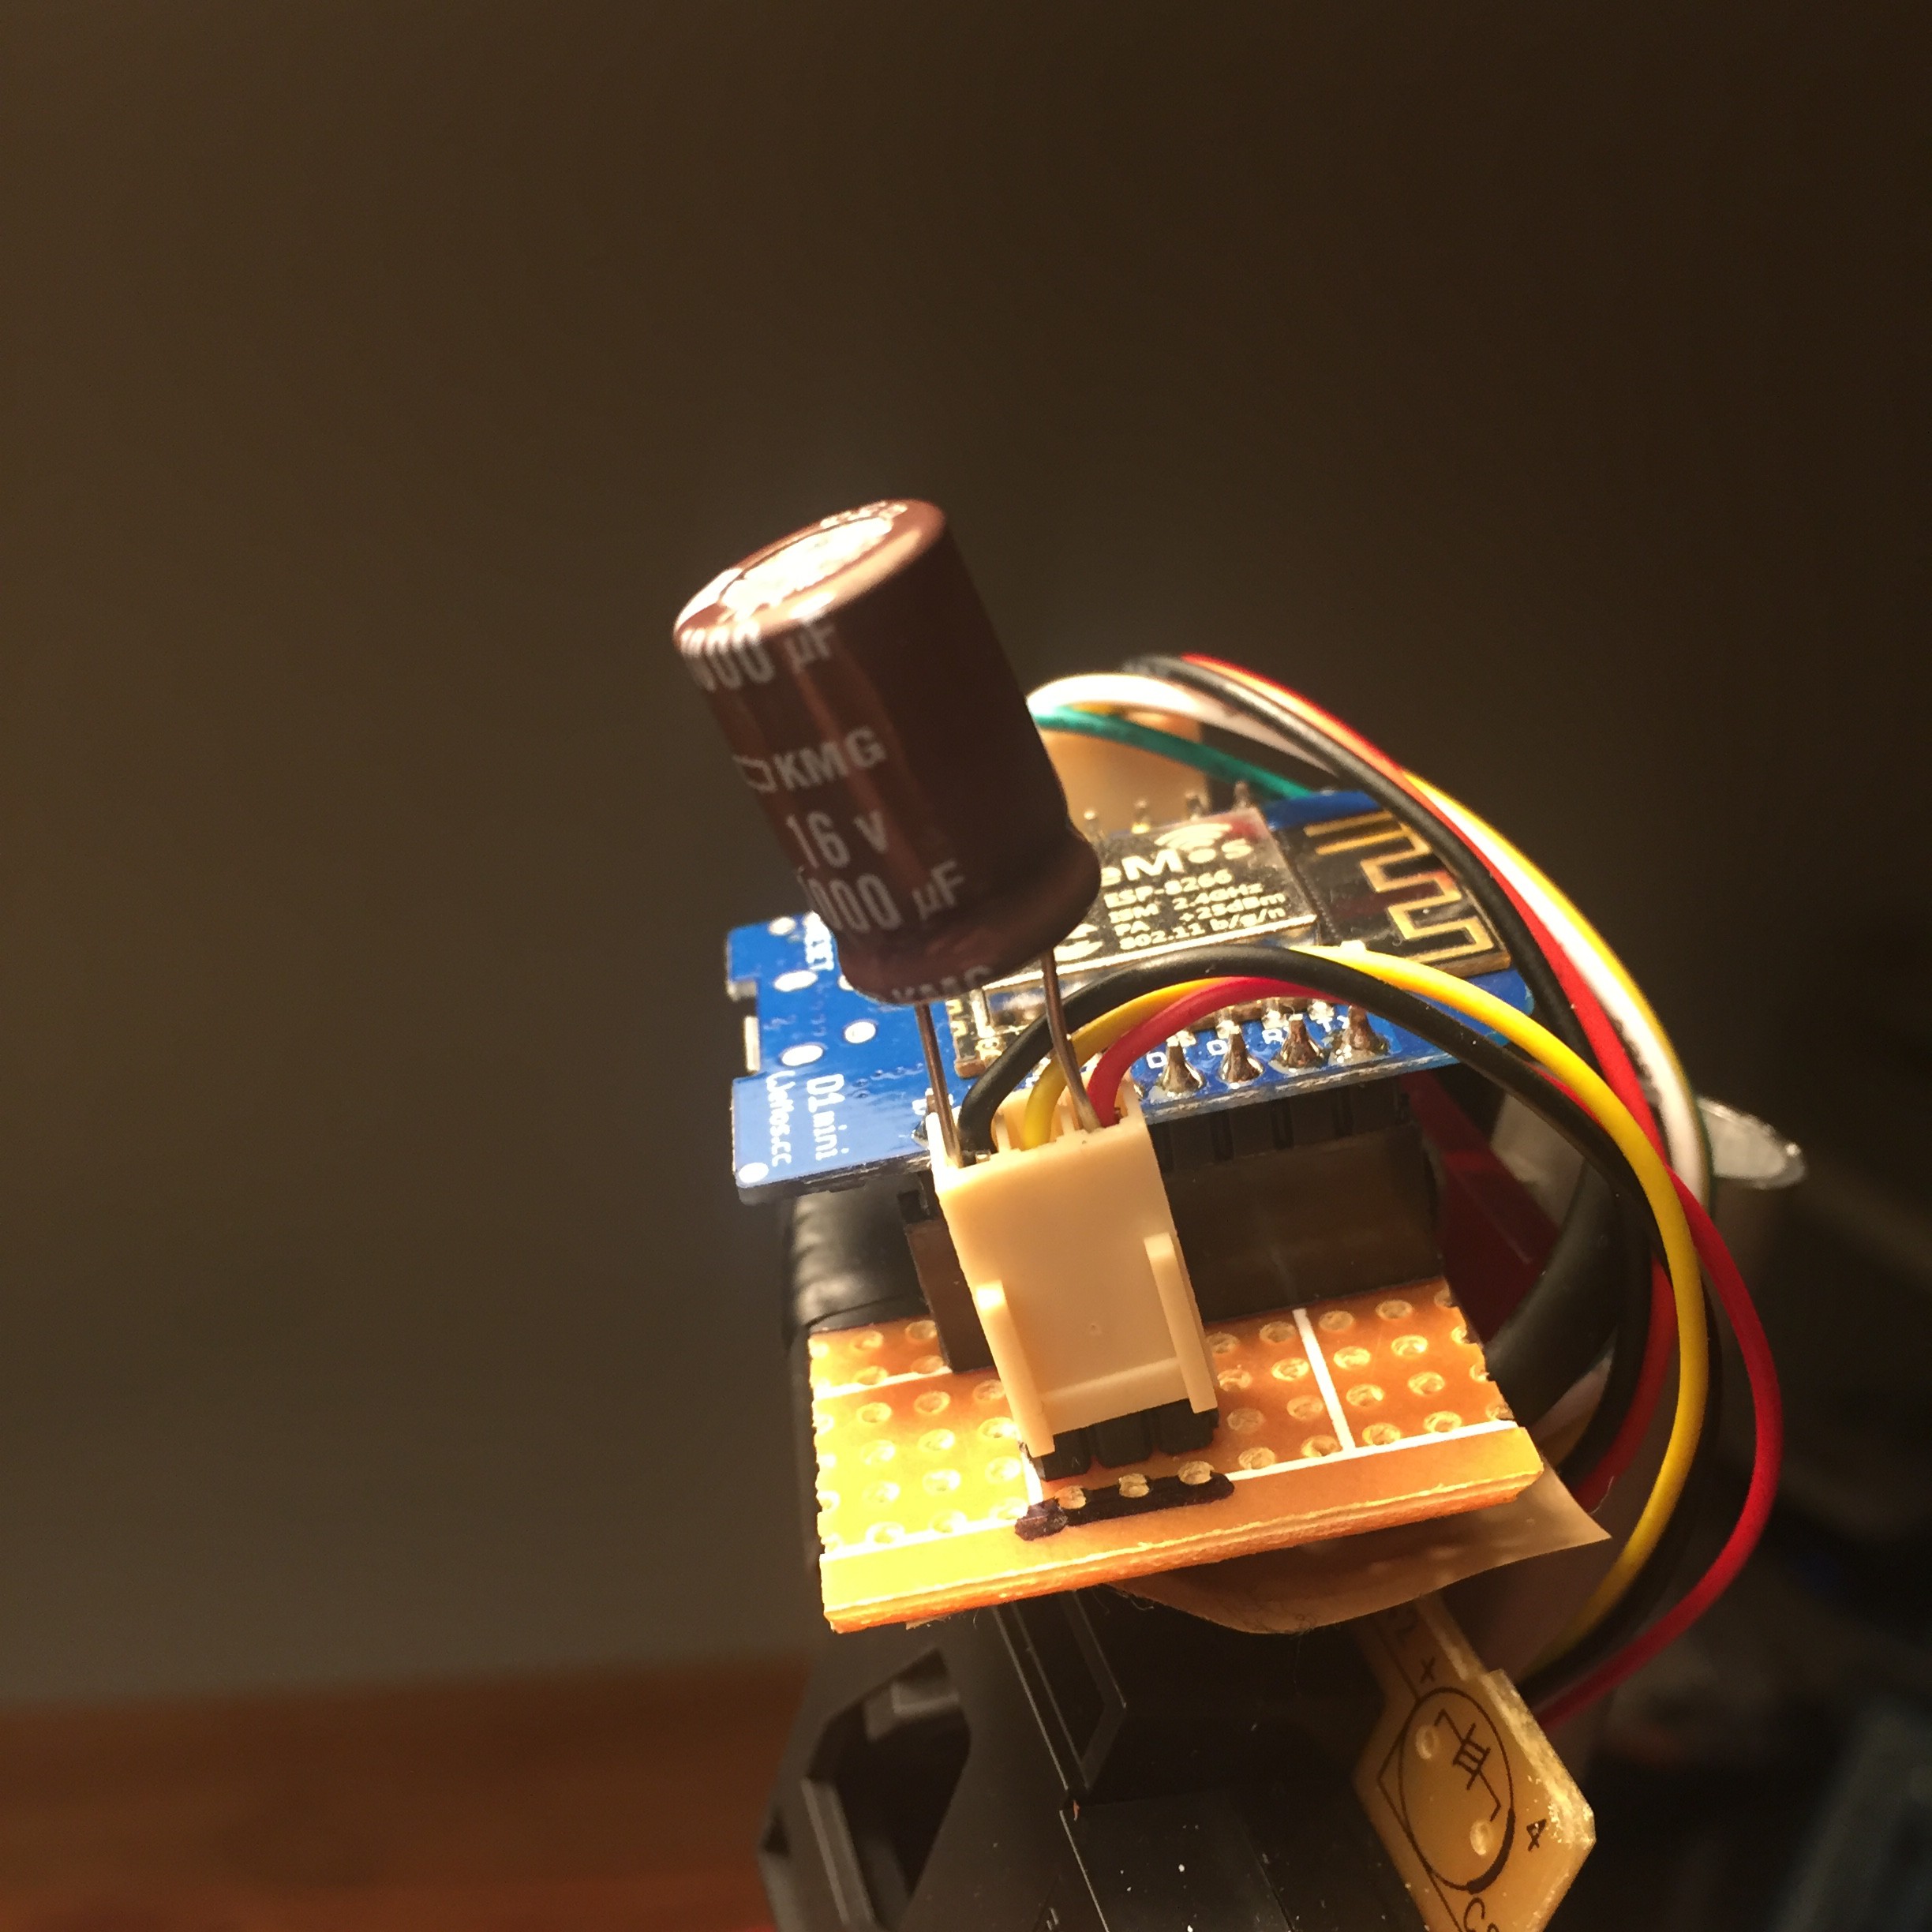

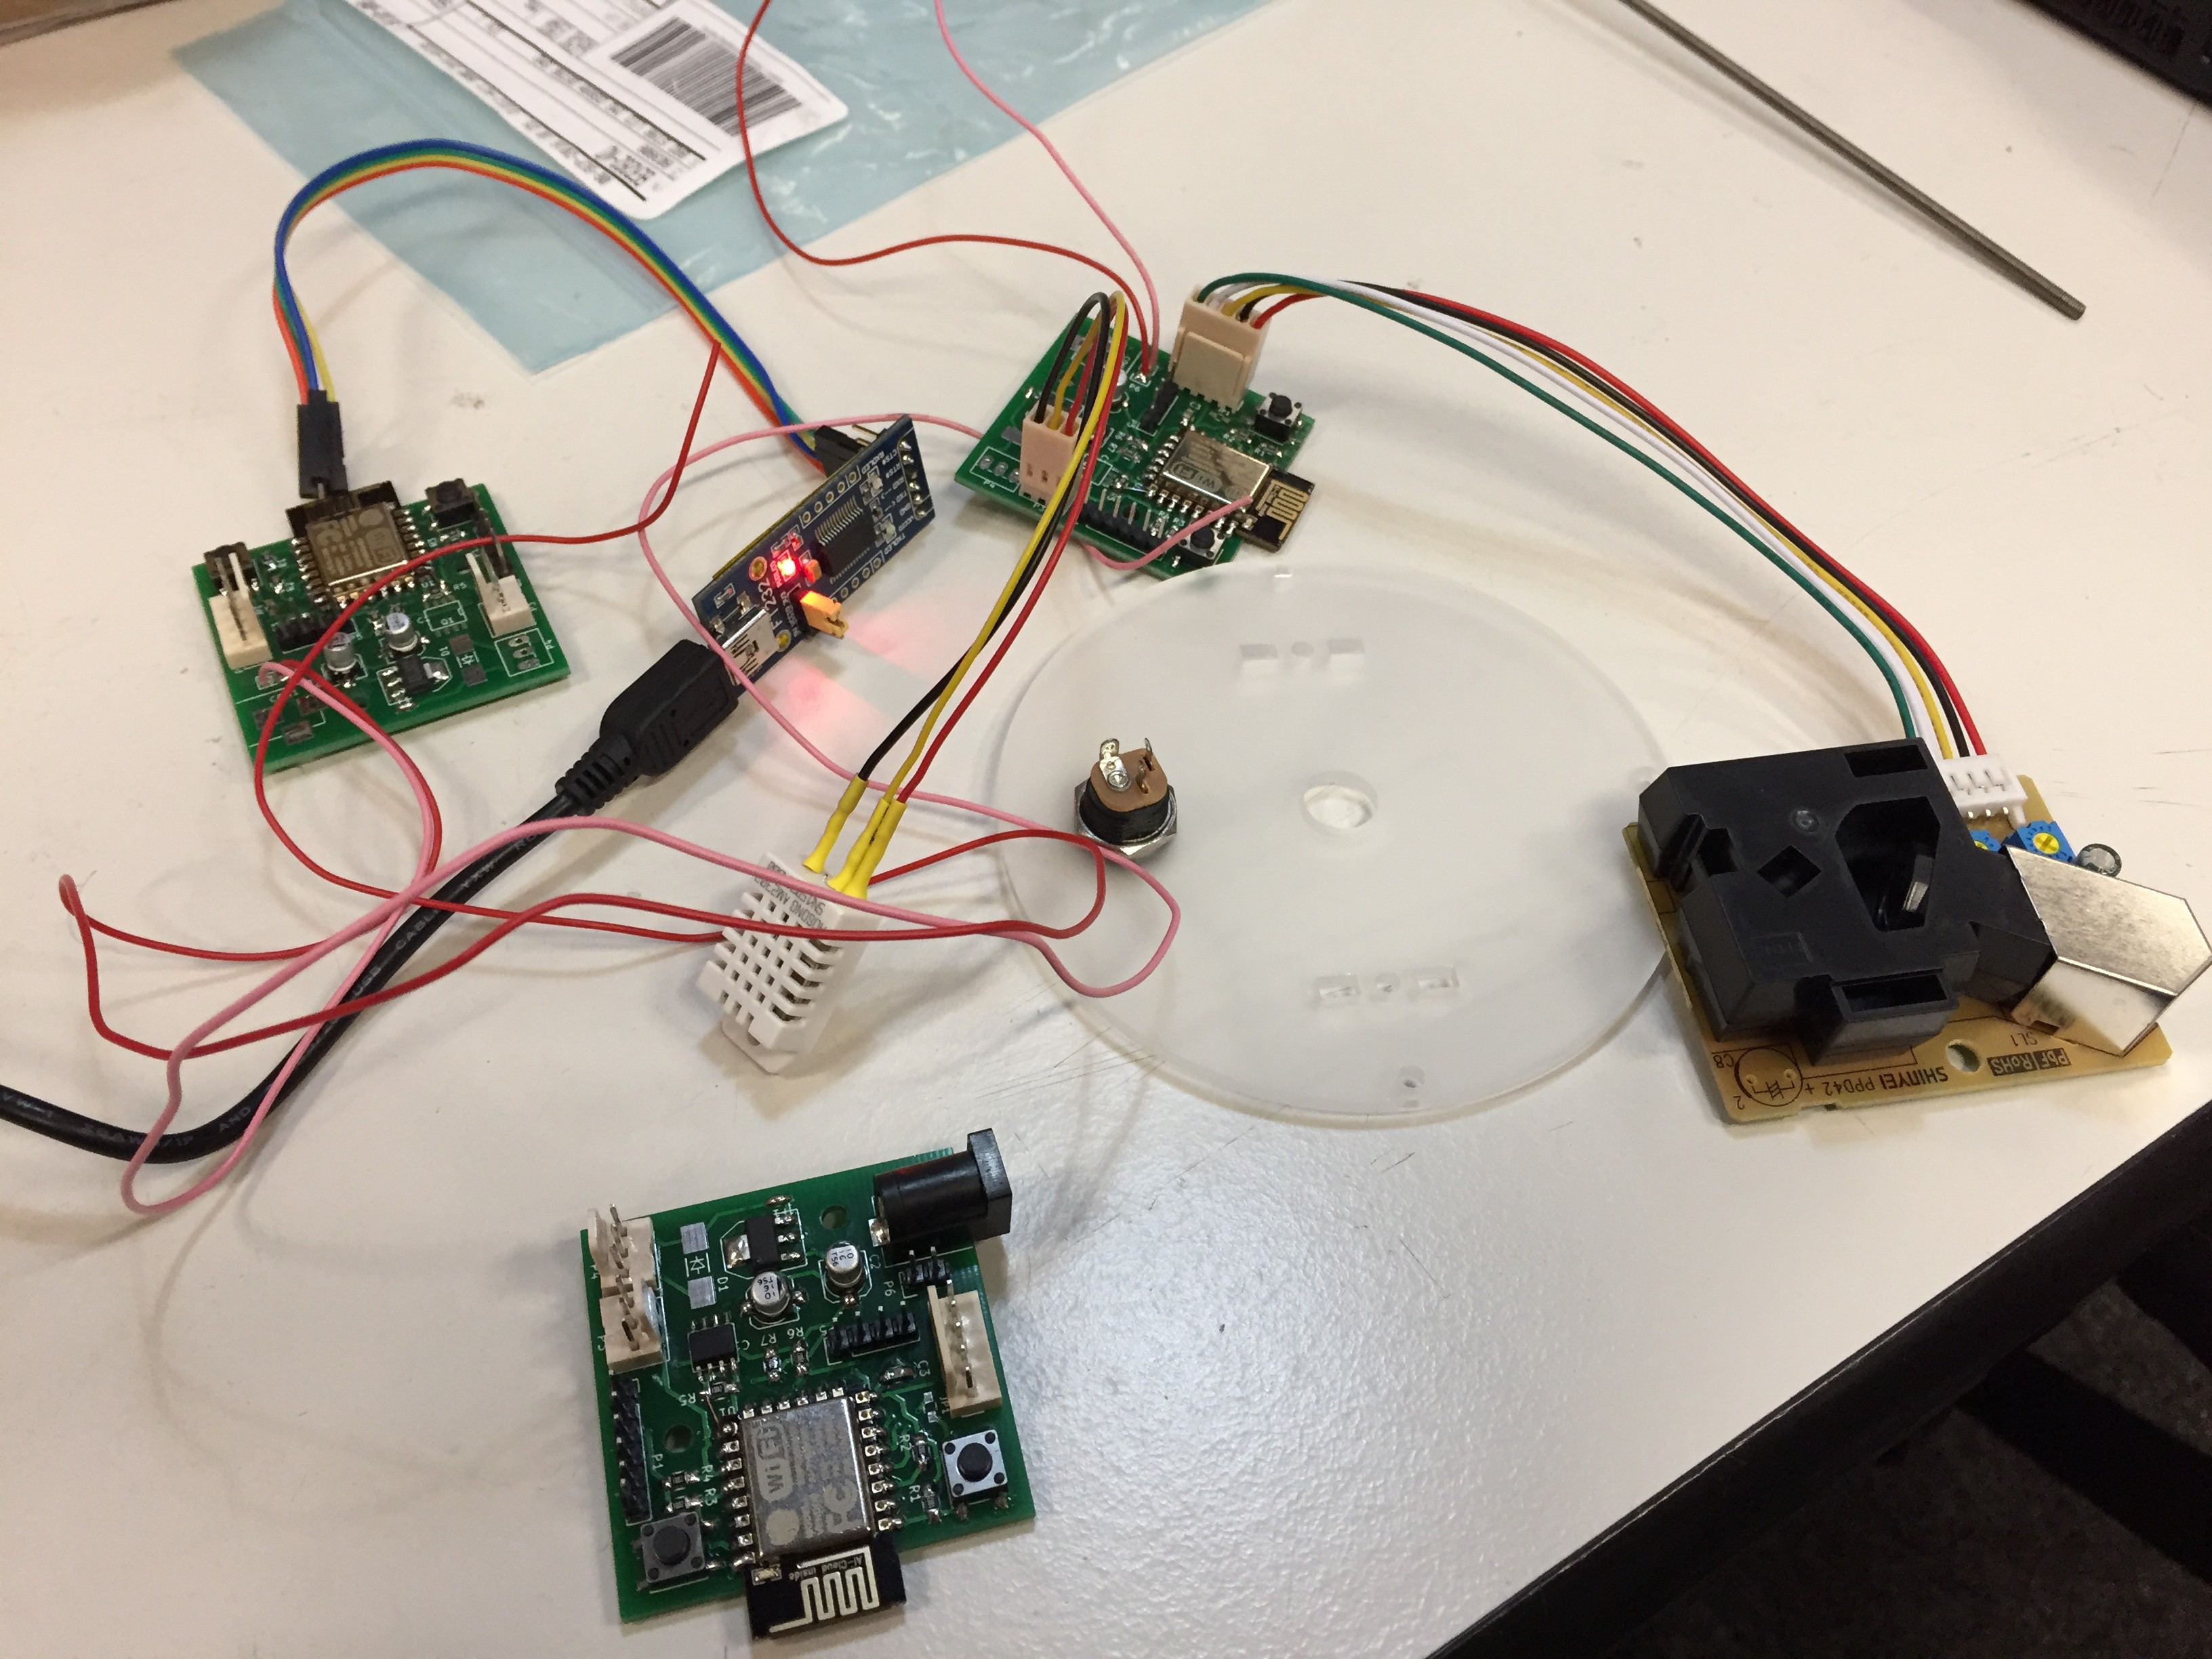
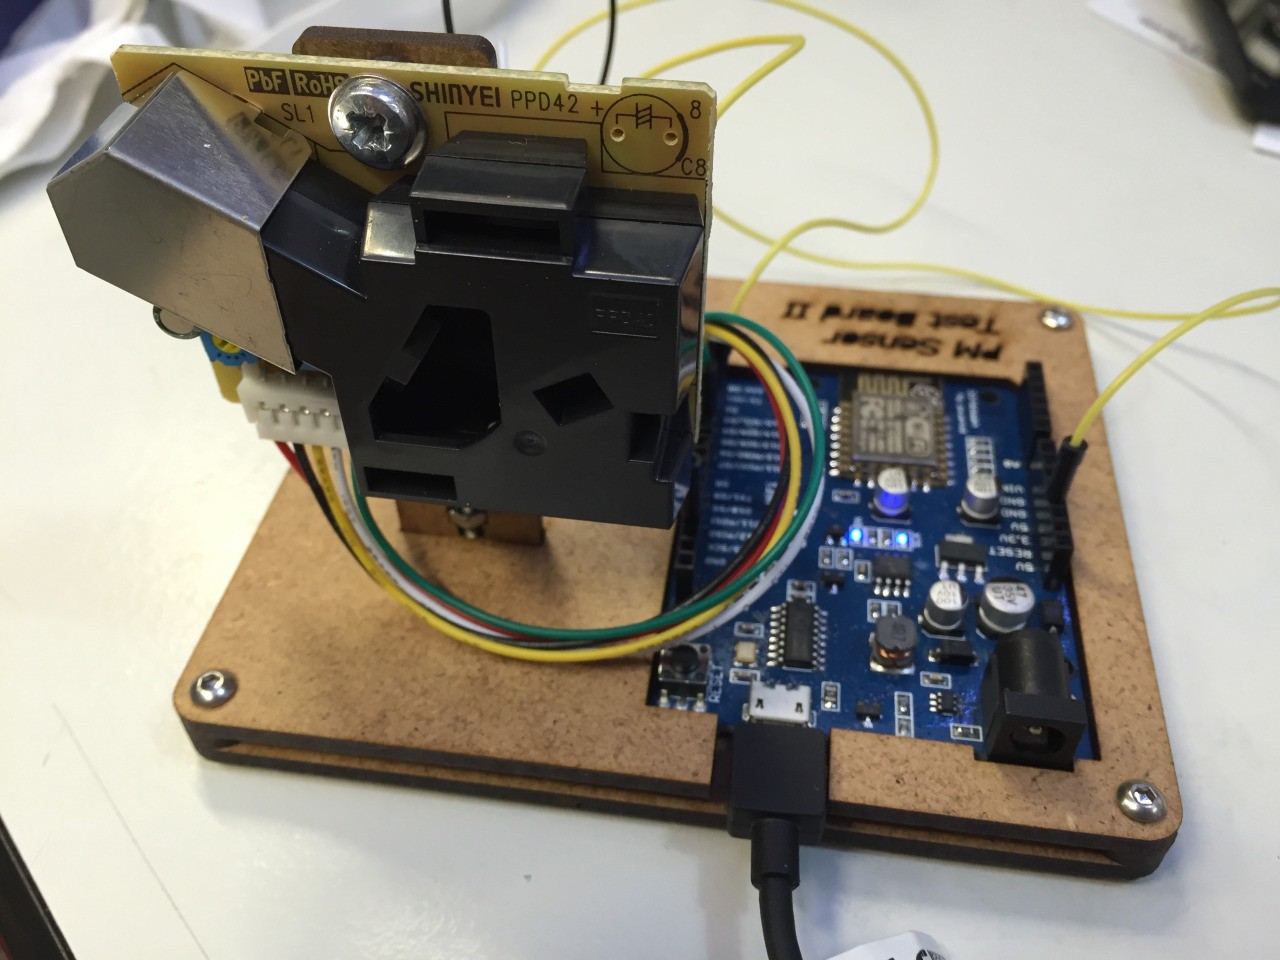
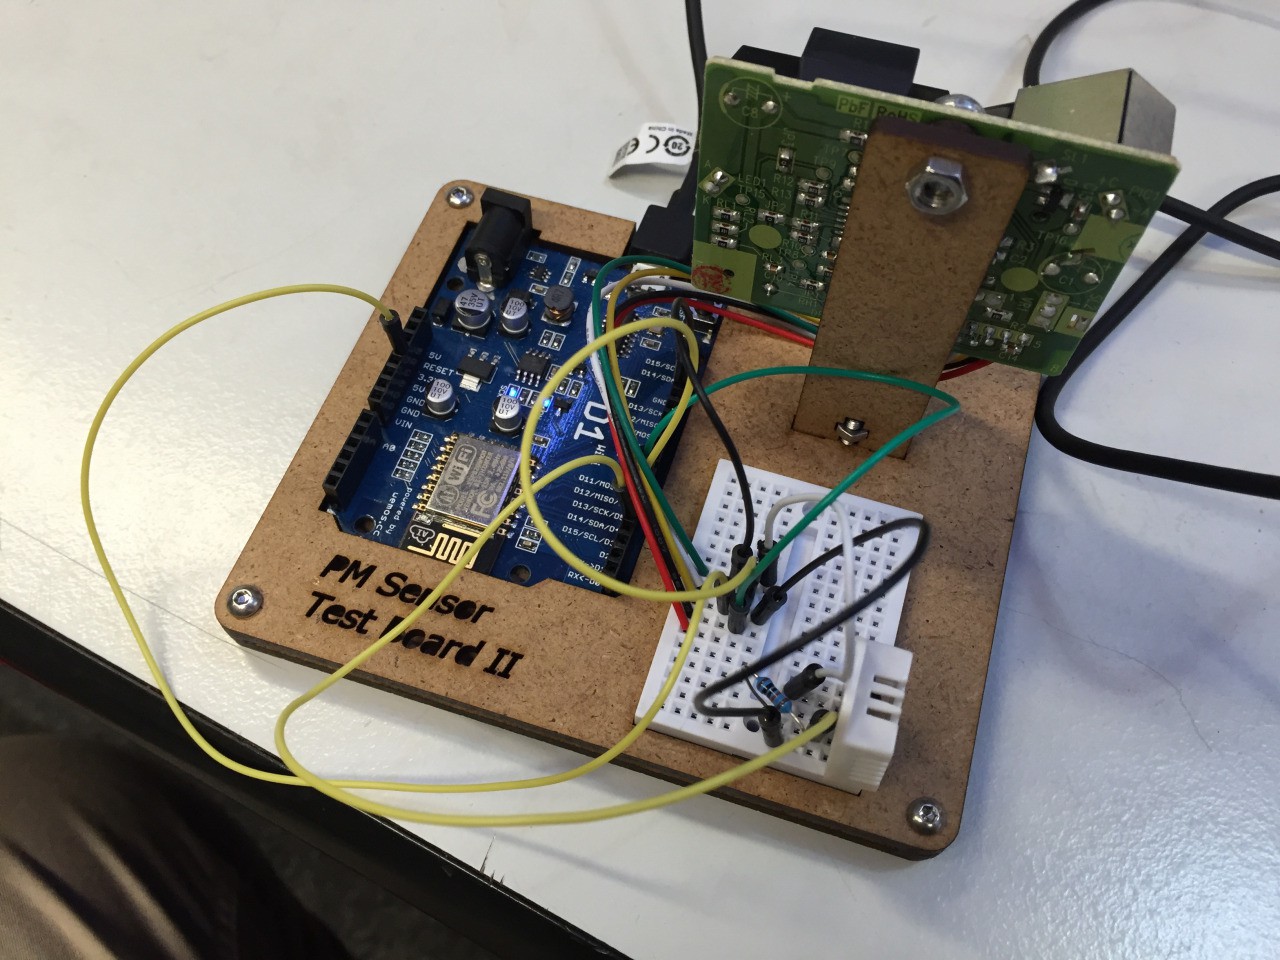
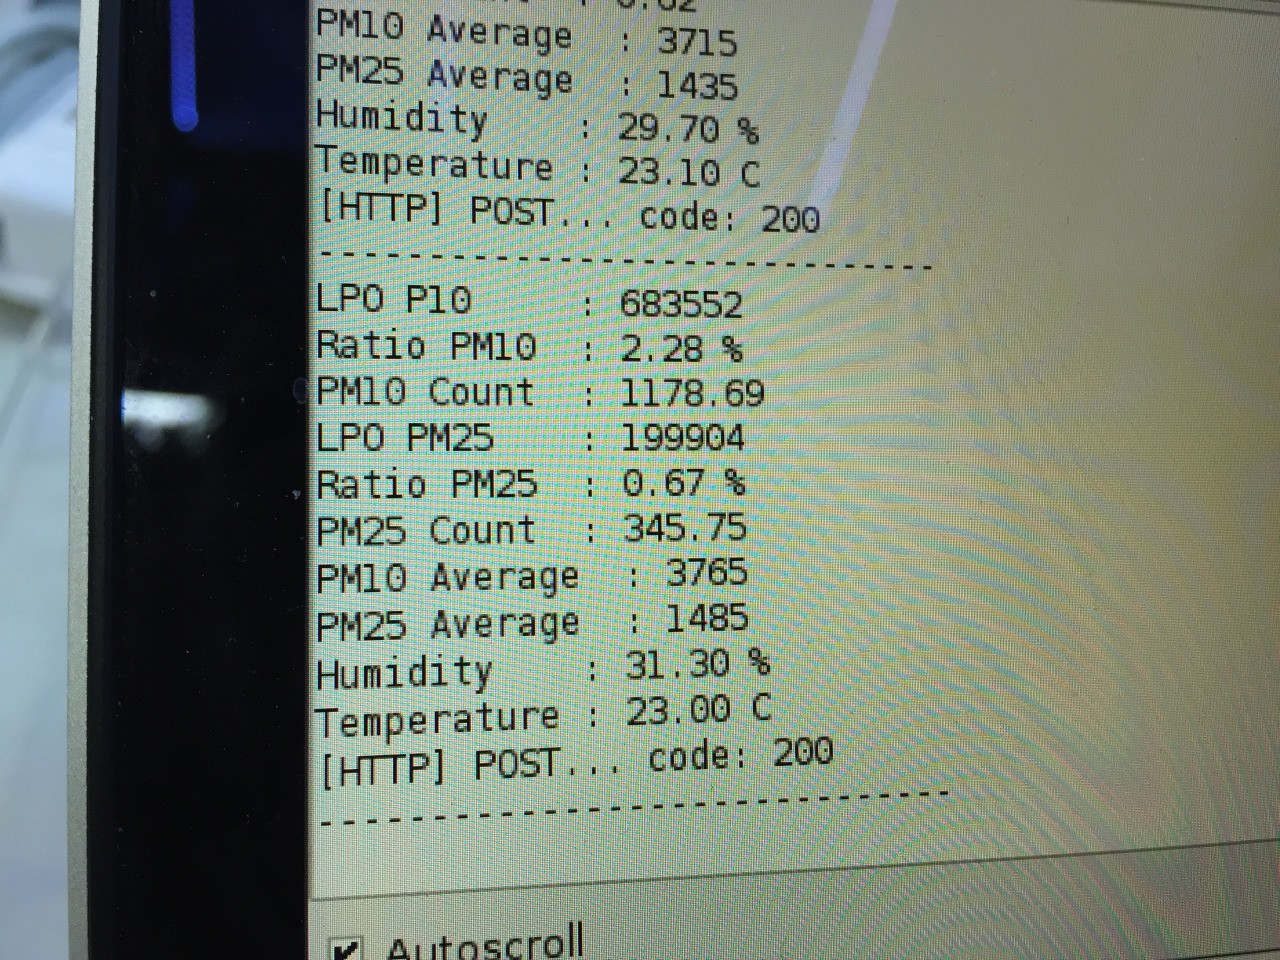
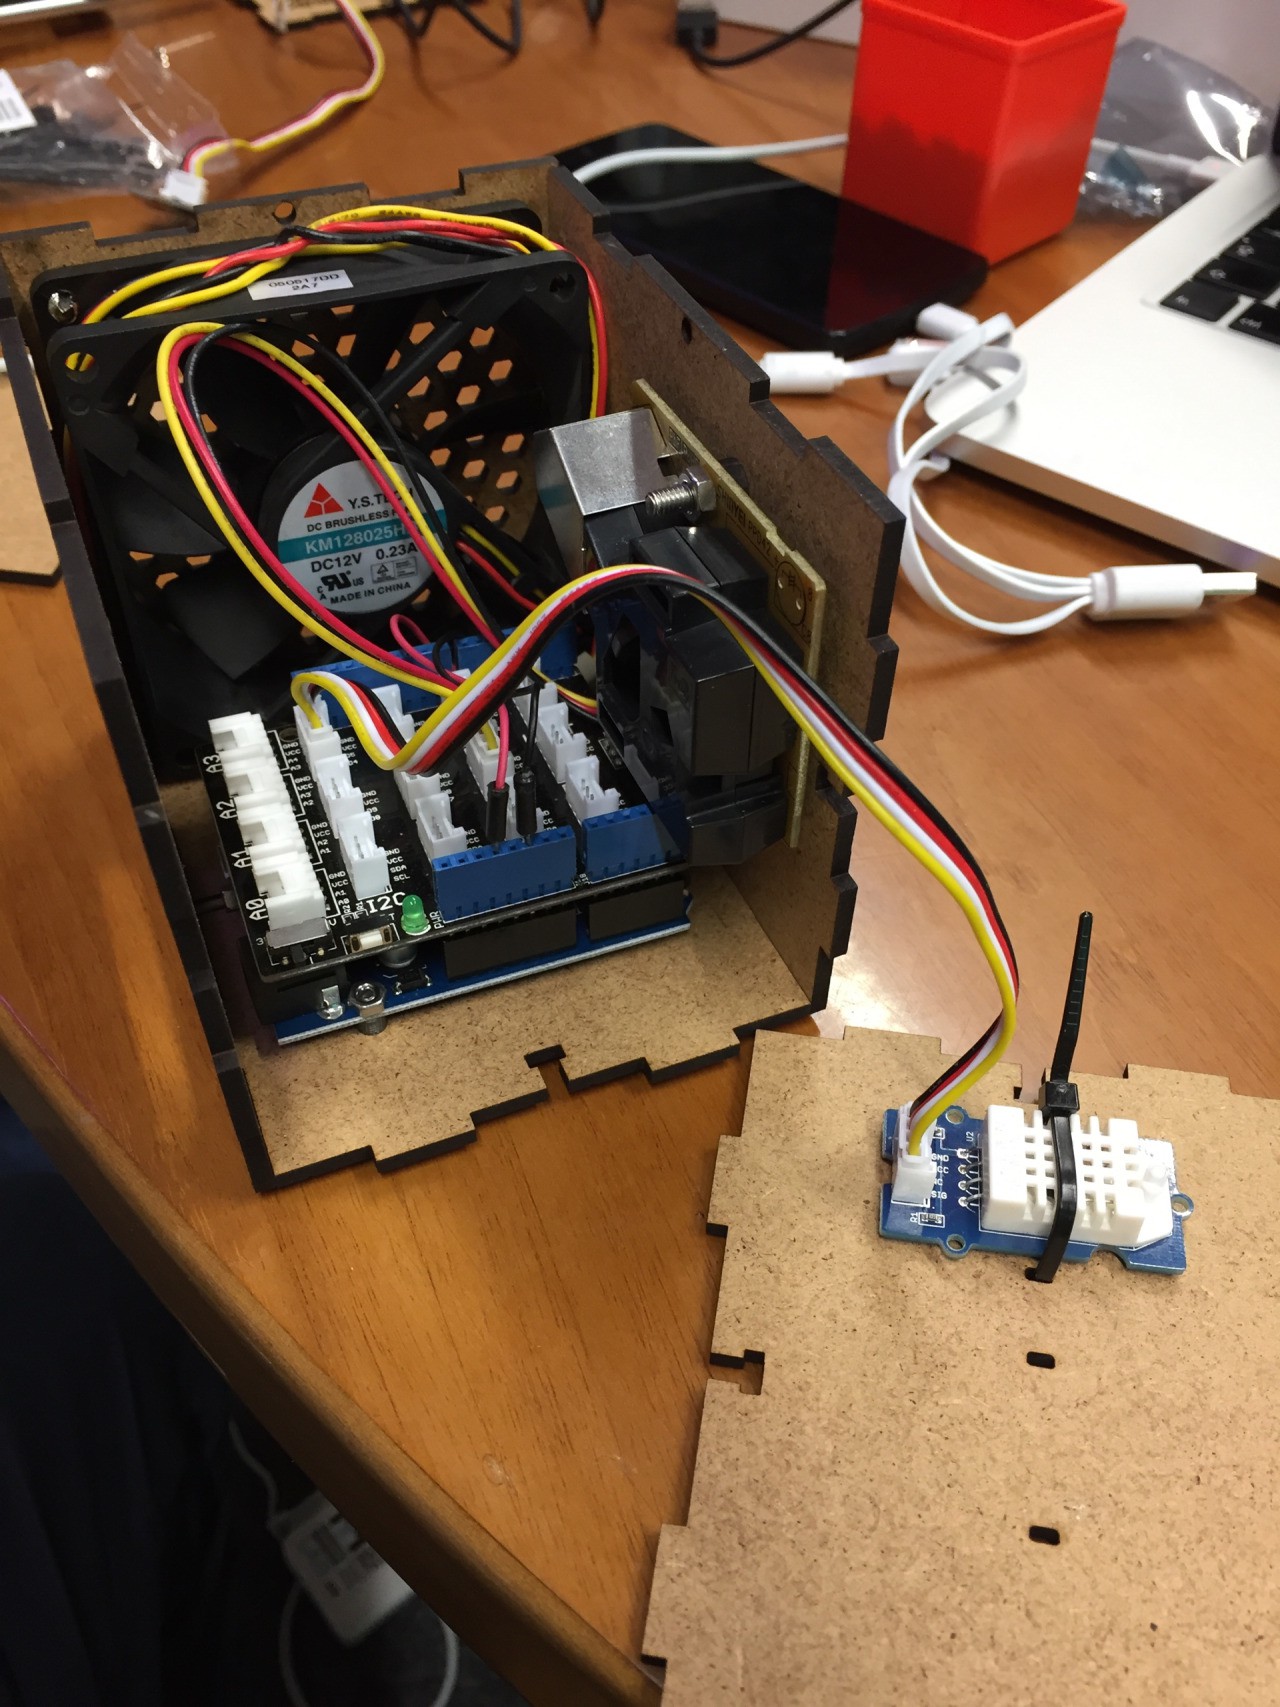
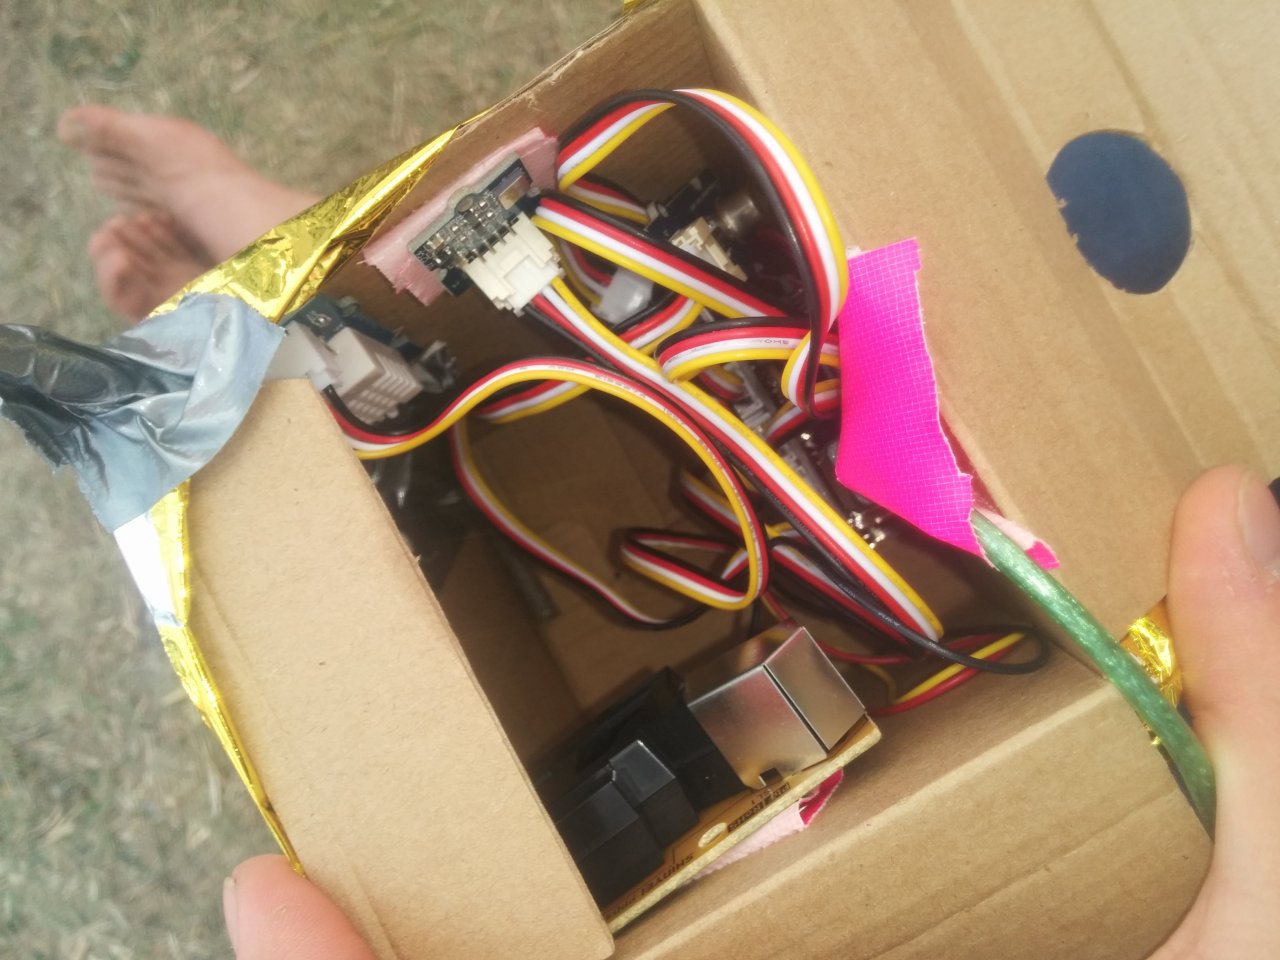
 I once again used a WeMo D1 ESP8266 board as microcontroller. The sensor needs some resistors and stuff, so I added a small breadboard, and lasercut a baseboard so it doesn't look like a bunch of tangled wires. The software setup was similar, the sensor gathered the data, and sent it over WiFi to a webservice.


 Kacper
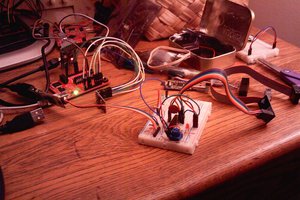
 Ethan Durrant
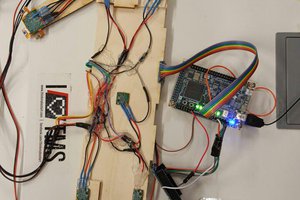
 Simon Trendel
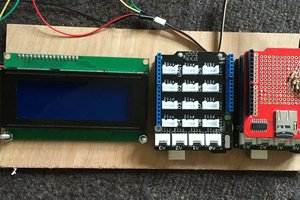
 Craig
Craig
Any possible update on this project? Thanks, Tom