 Grayson Schlichting
Since the lights above each door are on 24/7 it makes a perfect Power Source for driving the color-changing LED with no need for batteries, charging circuitry, or direct connection to the building's power mains.
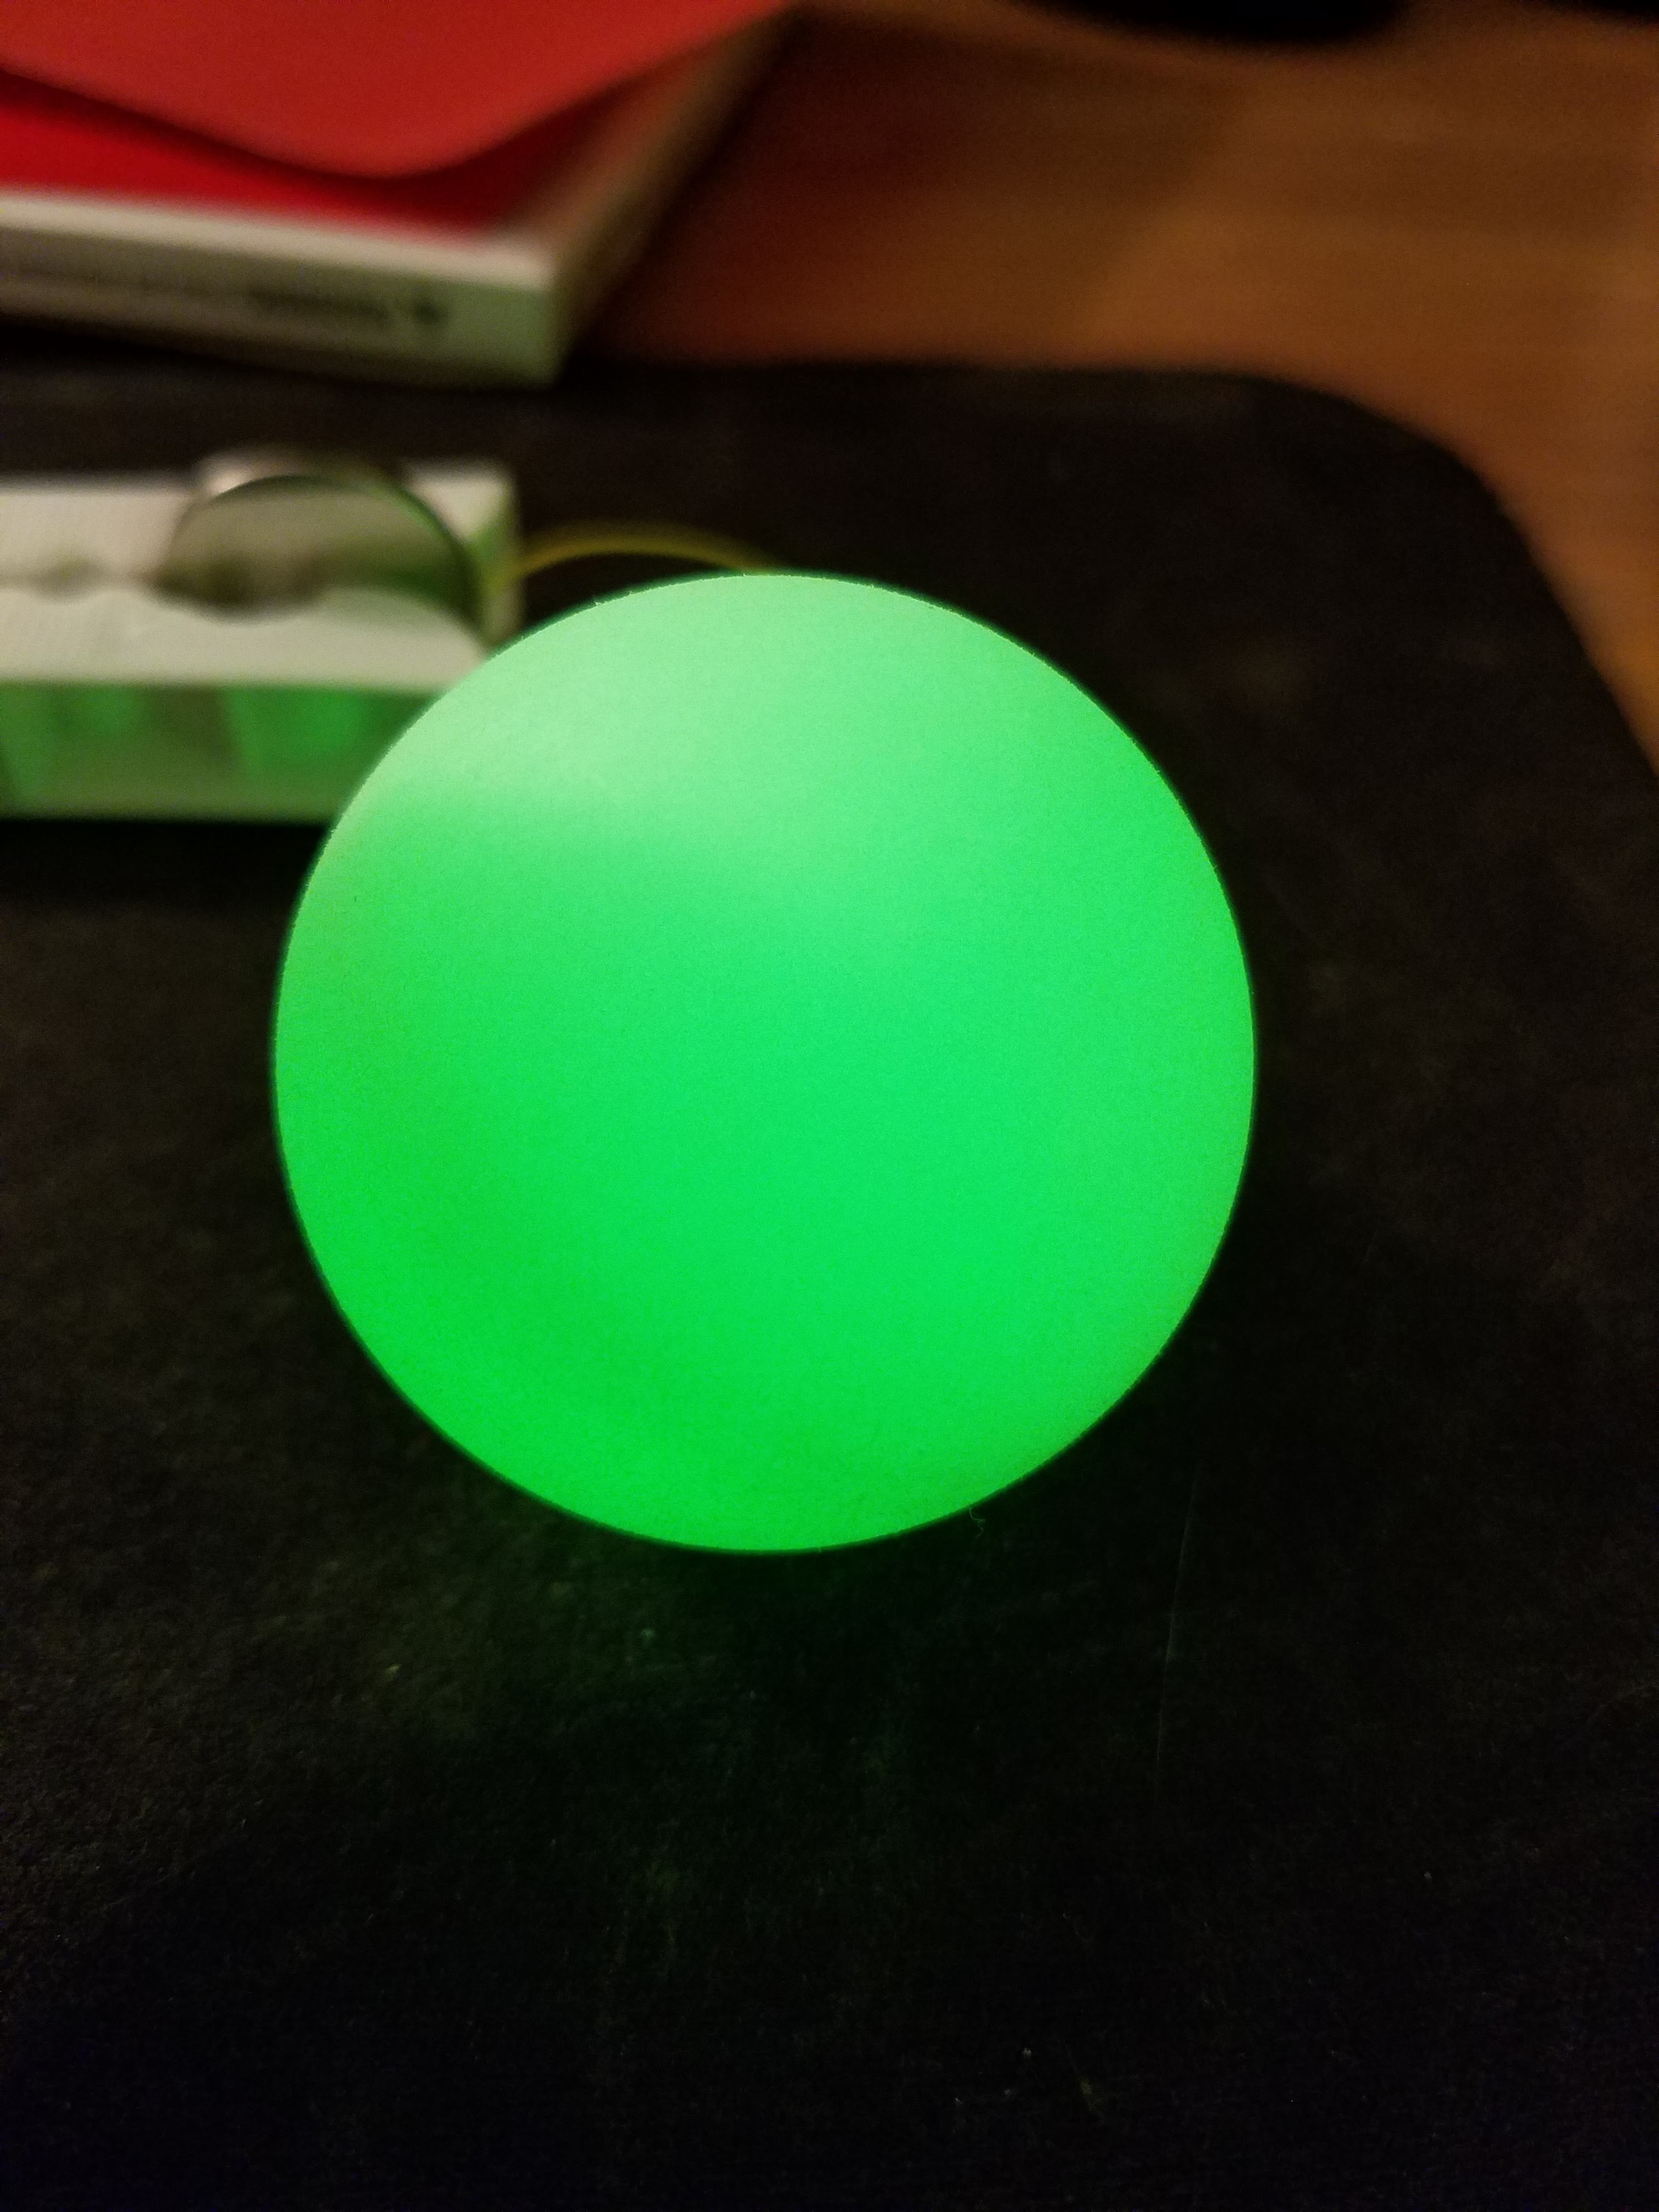
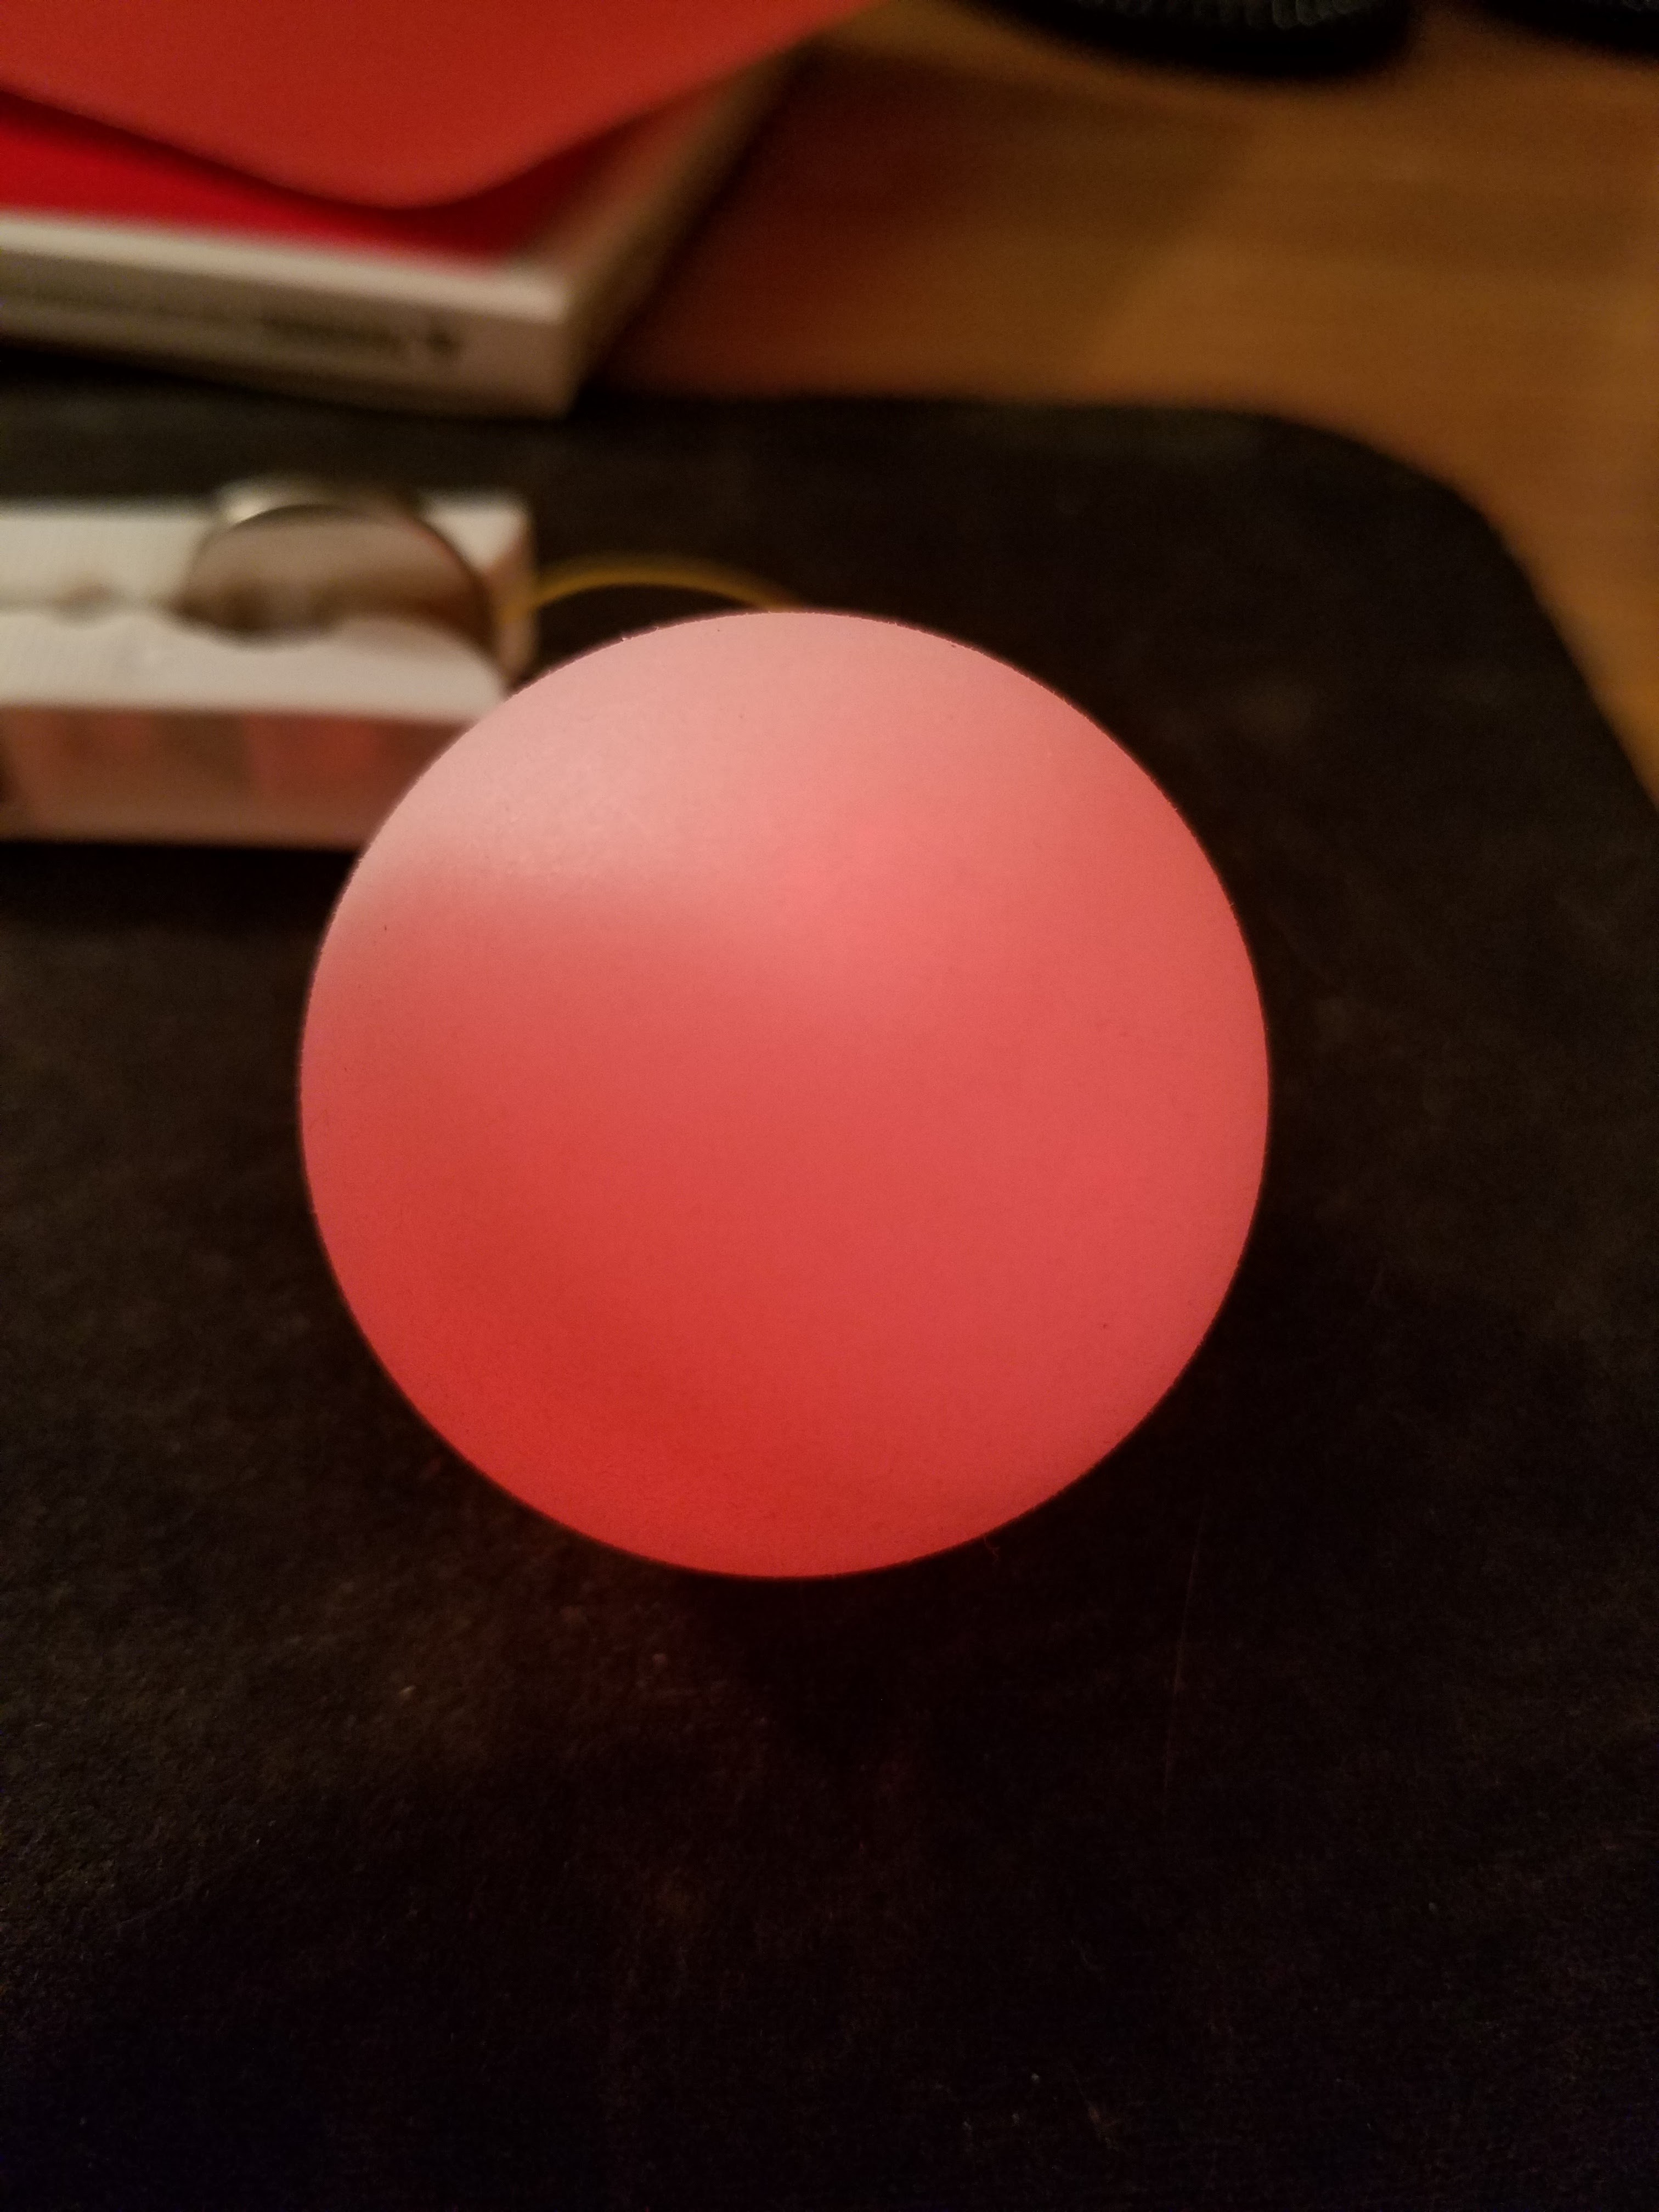
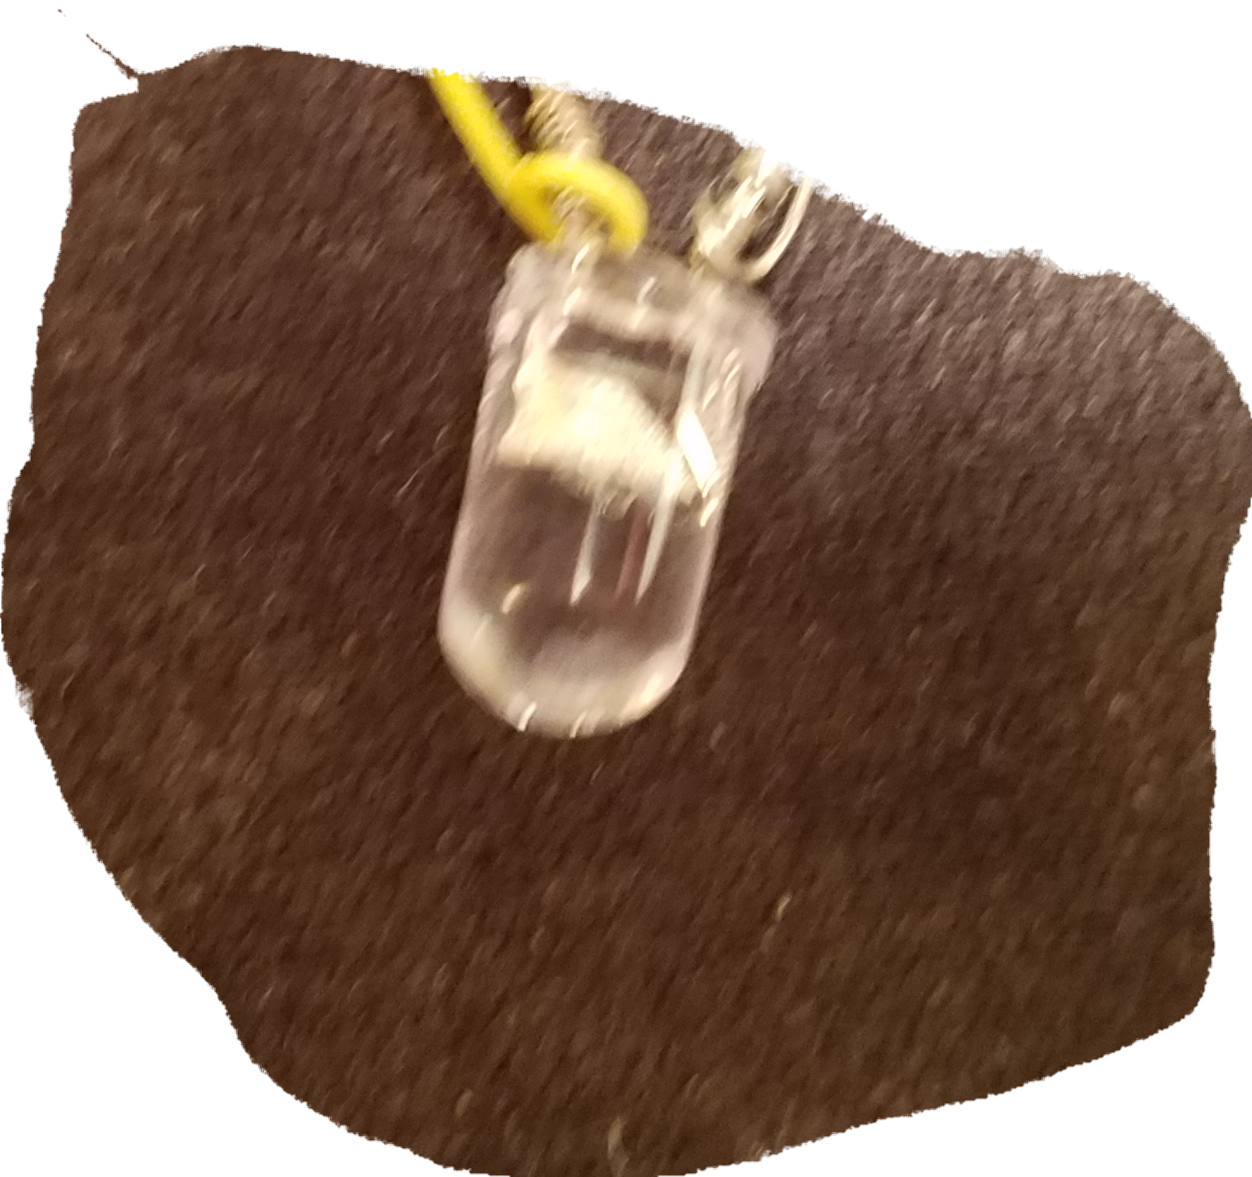
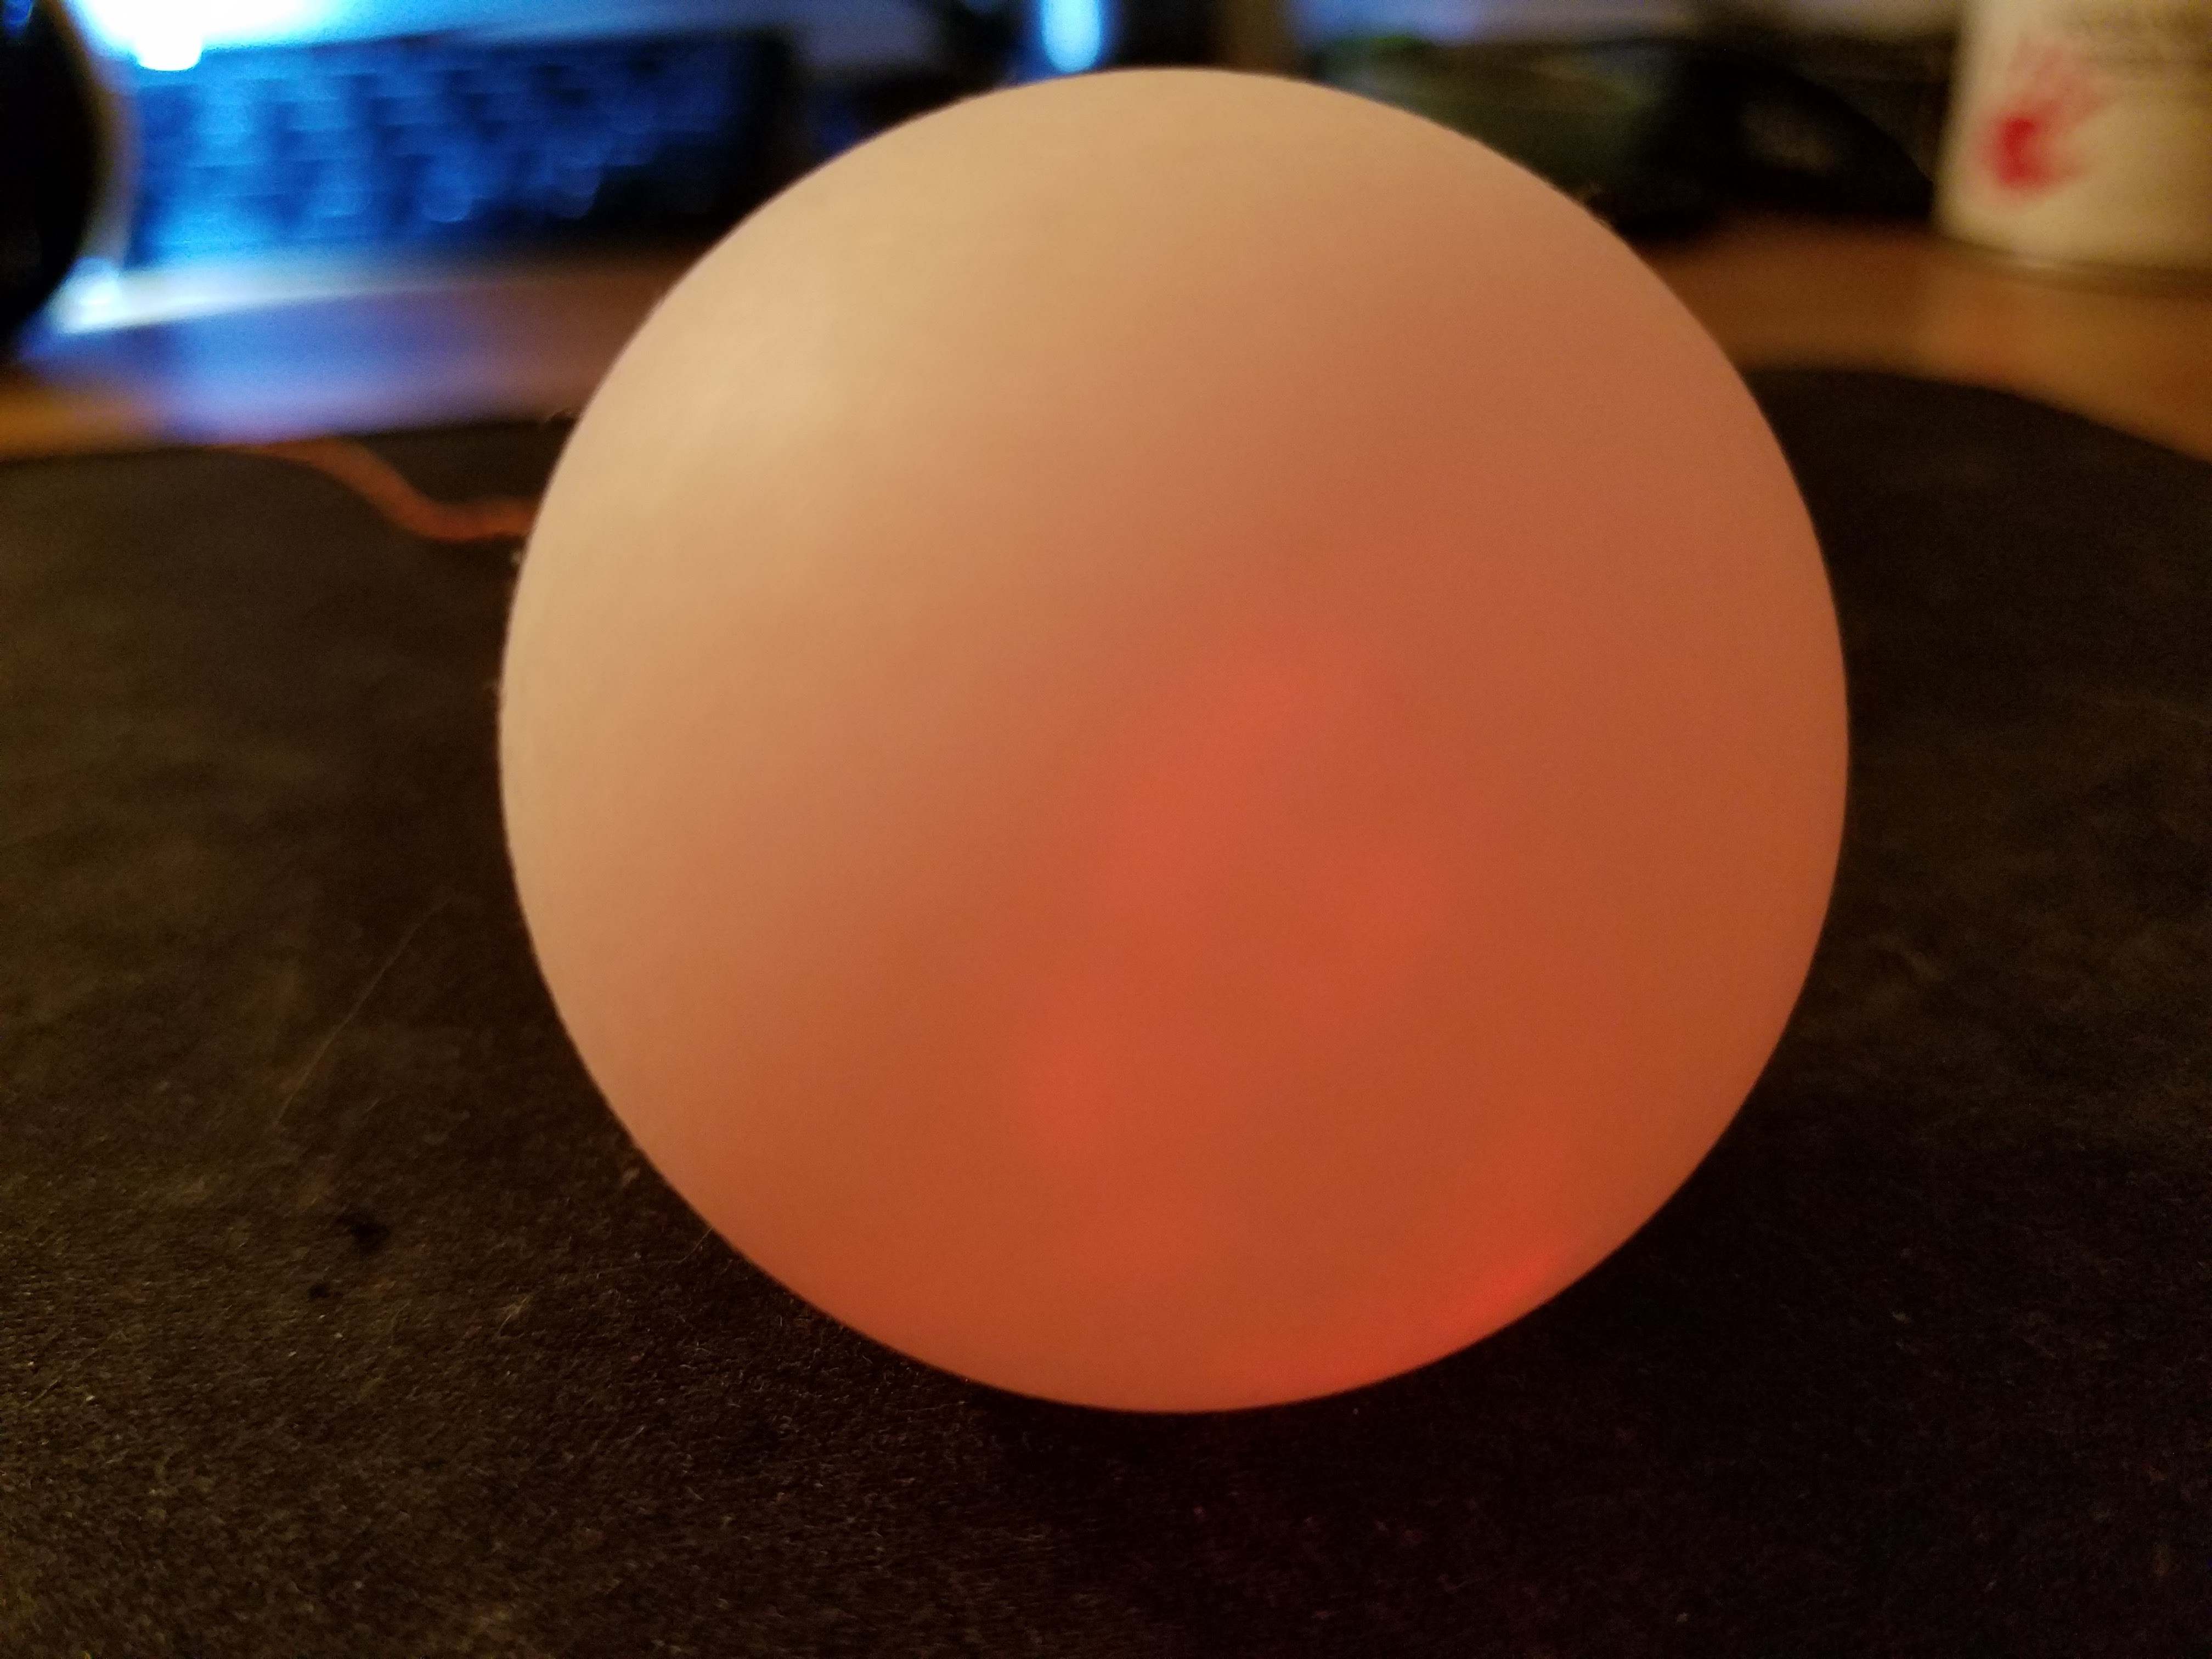
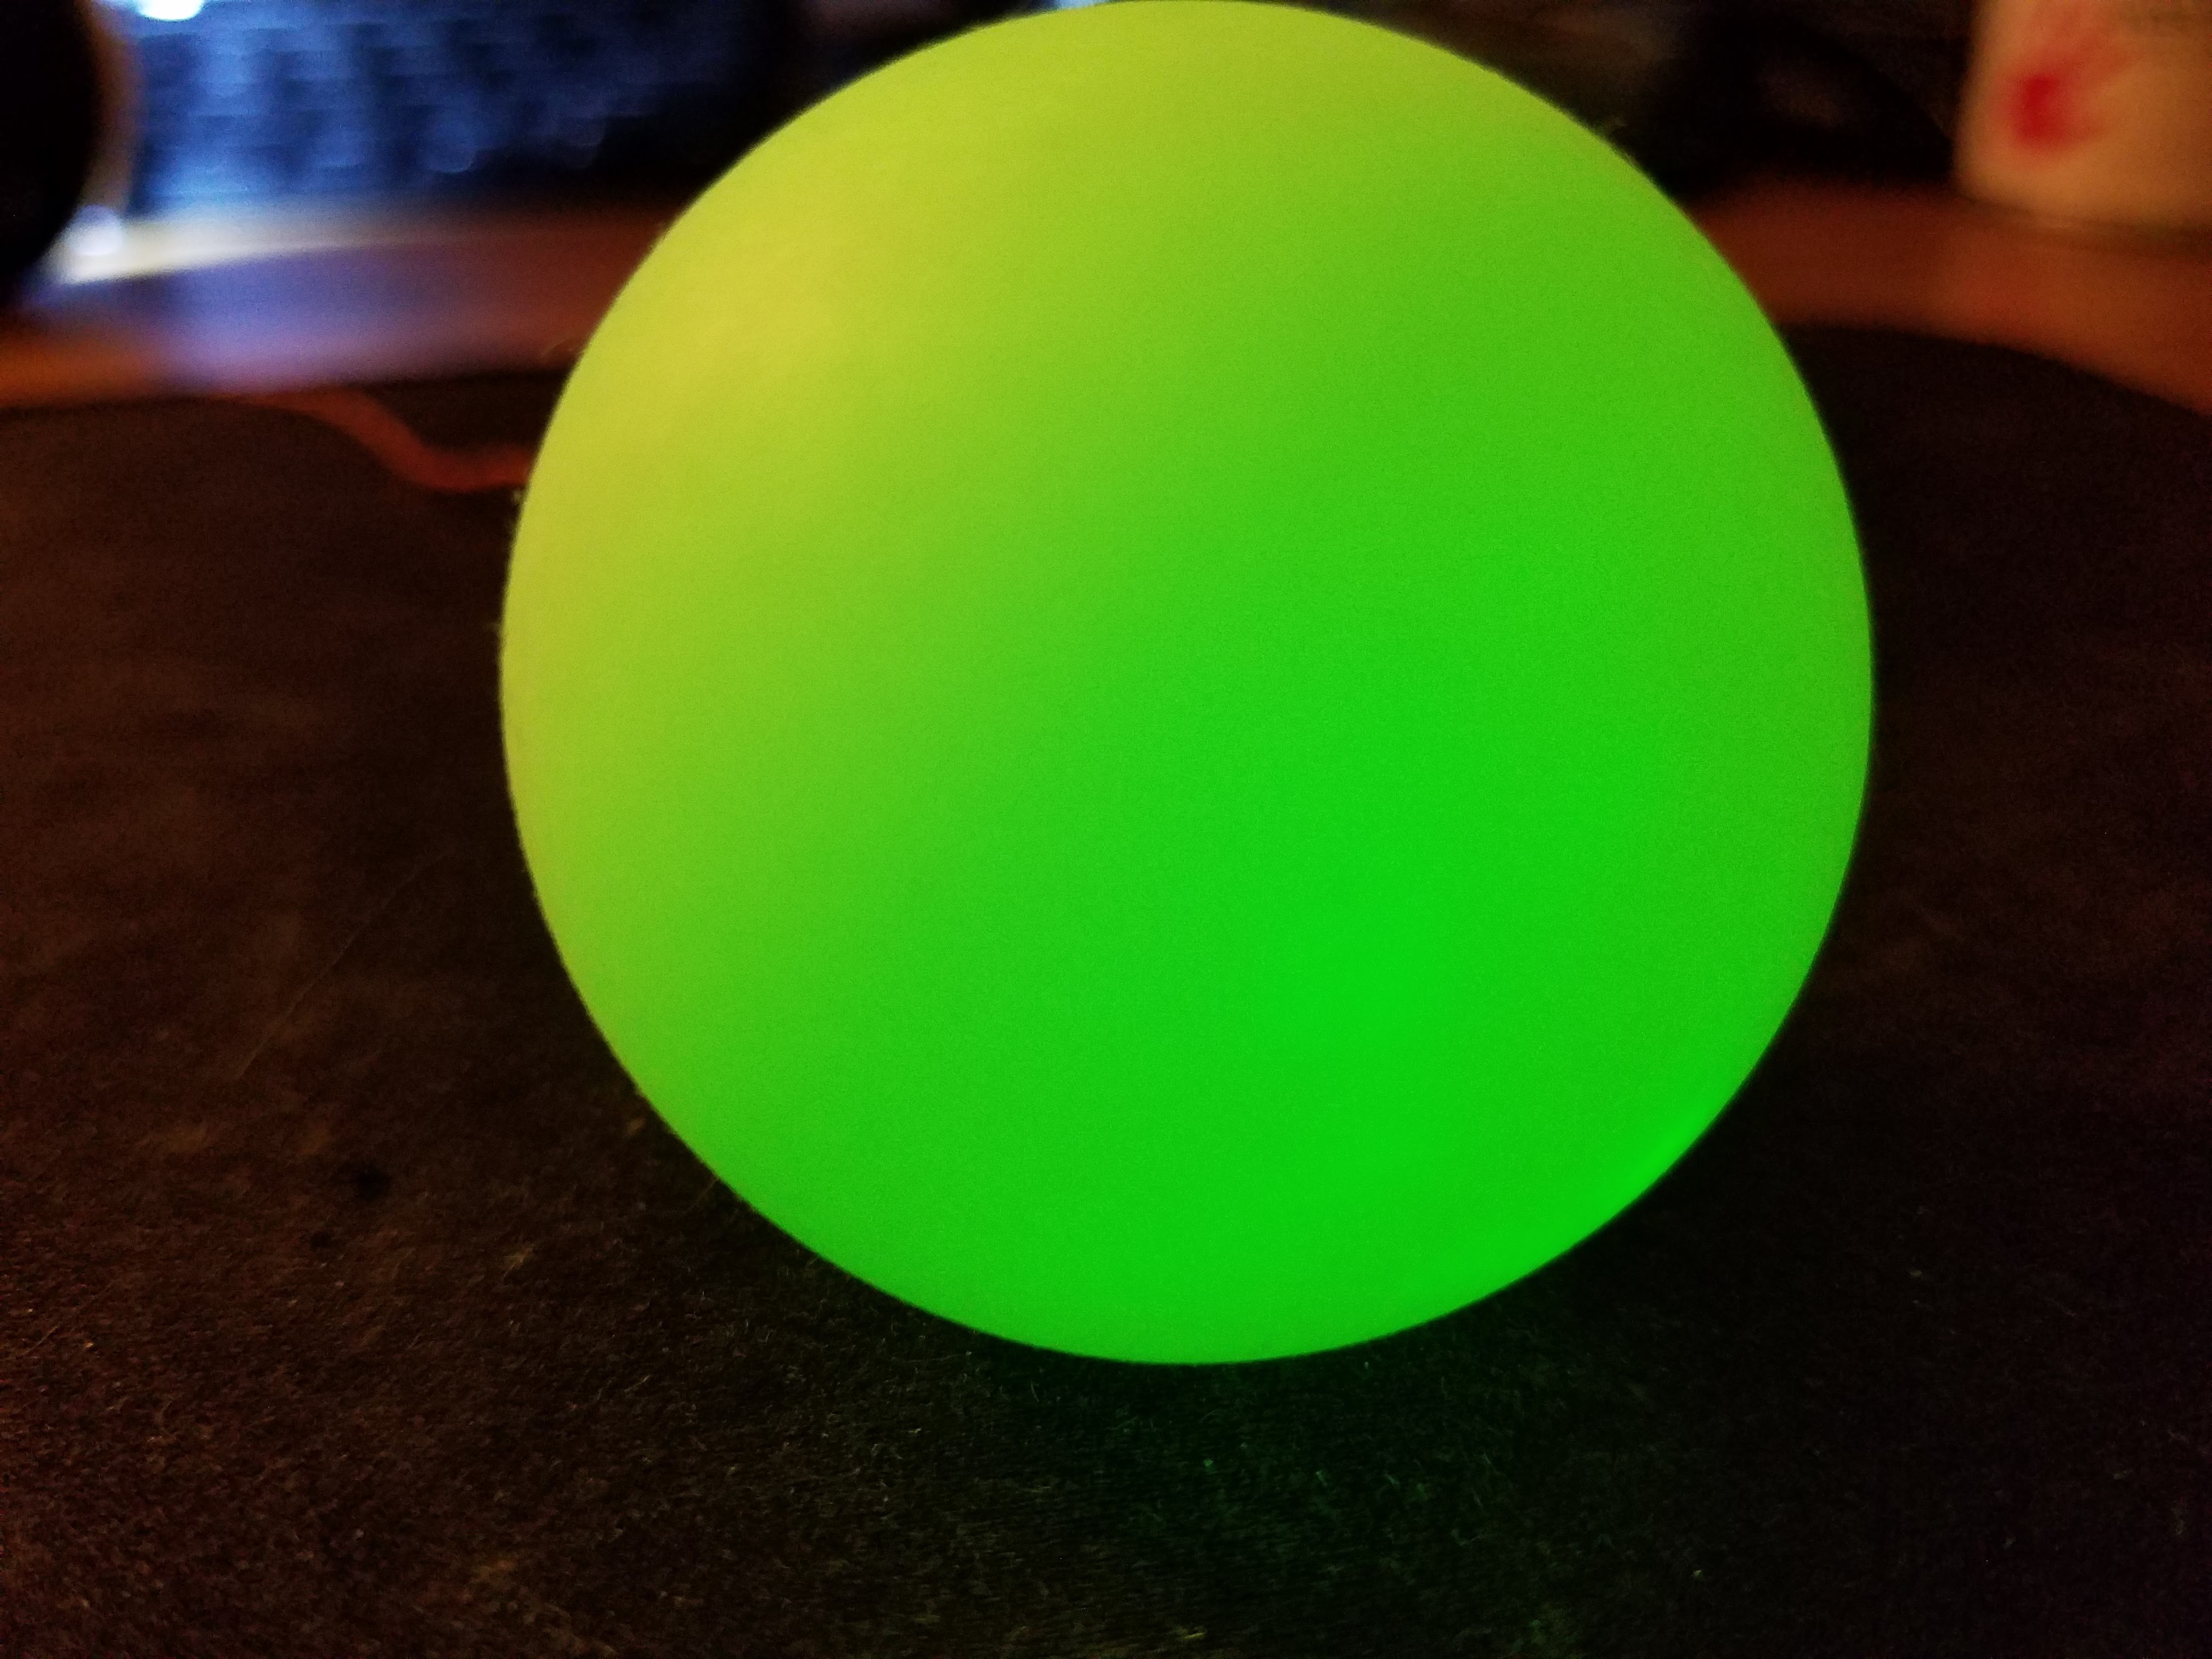
The LED itself is an RGB and integrated tiny die which makes it cycle through all the color combinations the Red, Green, and Blue elements can produce.
The LEDs come in two flavors: one which slowly changes colors by fading between colors in a smooth 2-3 second transition. The same manufacturer makes a "fast" version of the LED which makes its color changes at a rate of about 2-3 colors/second. The "fast" is more suited for "party" animation and grabs attention. I opted for the smoother, slower version so that it looks relaxed and not like a tiny disco ball hanging in the doorway.
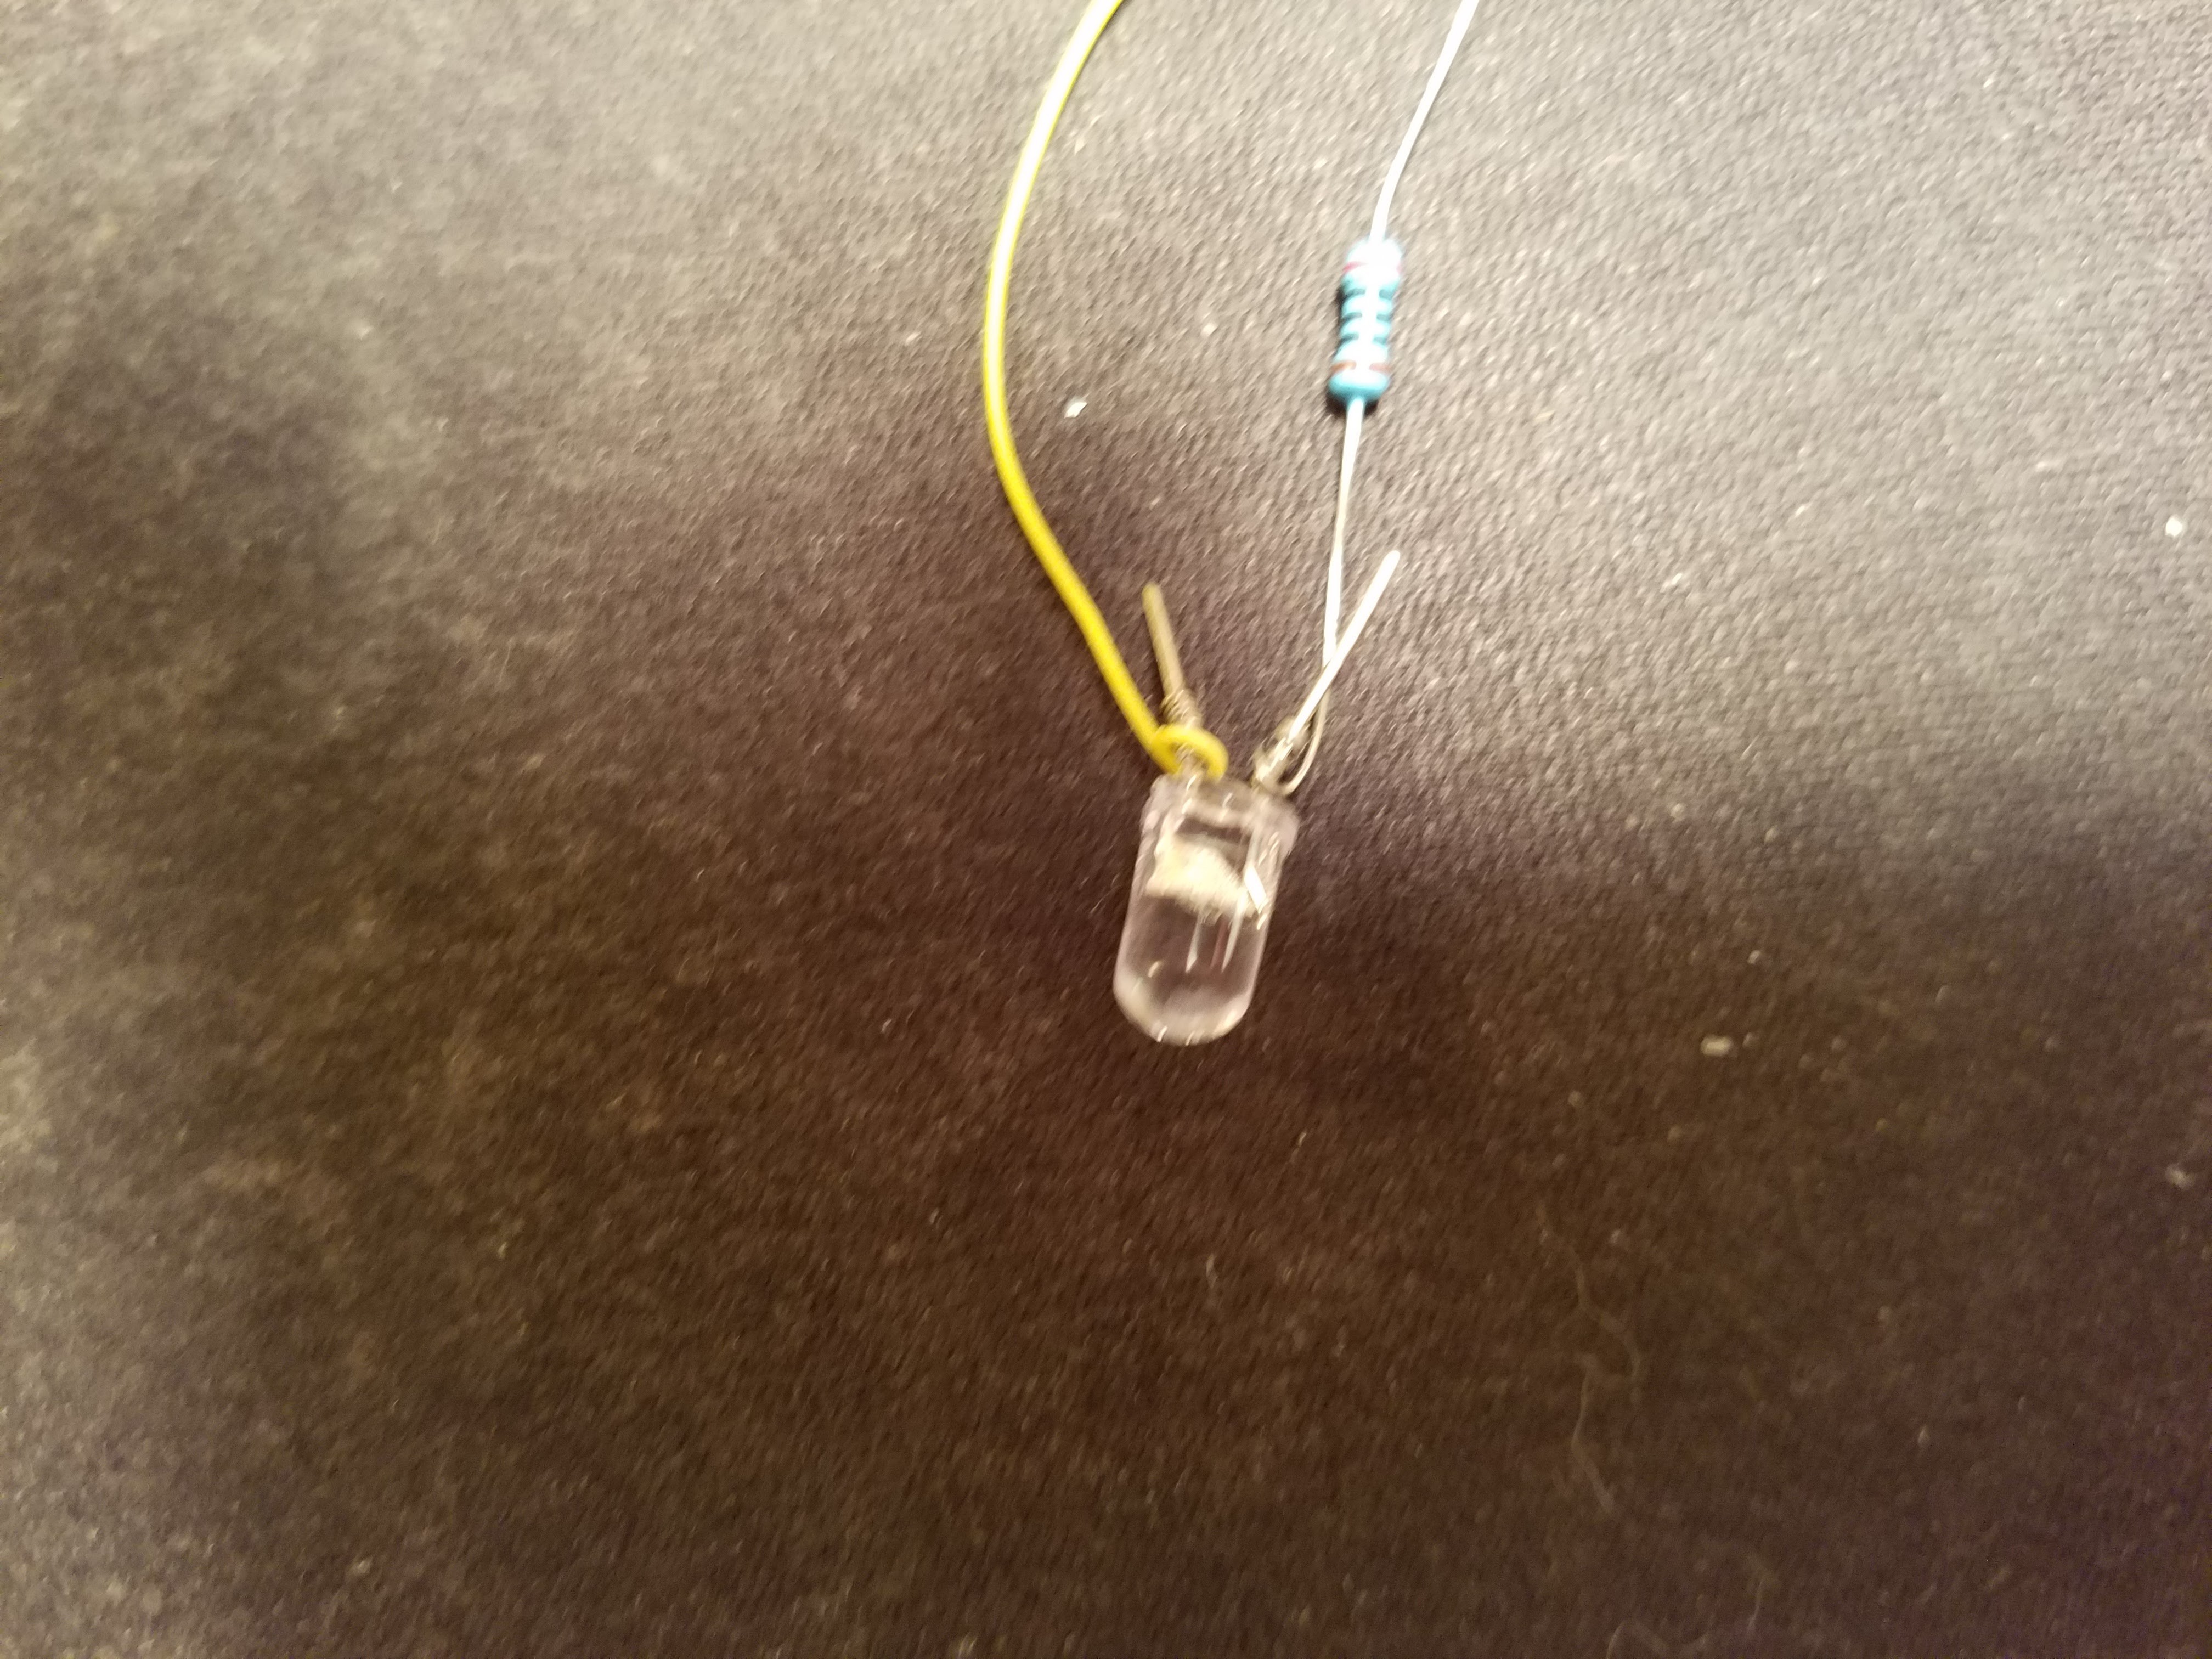
Using a battery or mains power source, the LEDs would require a current limiting resistor, but by using a 3.6V Solar Cell which is only getting a moderate amount of ambient lumens, no external current-limiting is required; Using a 5.0V Solar Panel I can increase the intensity of the light and still not need a series resistor, but it was a bit too bright and stood out more obviously than I preferred, so I stuck with the 3.6V Solar Panel.
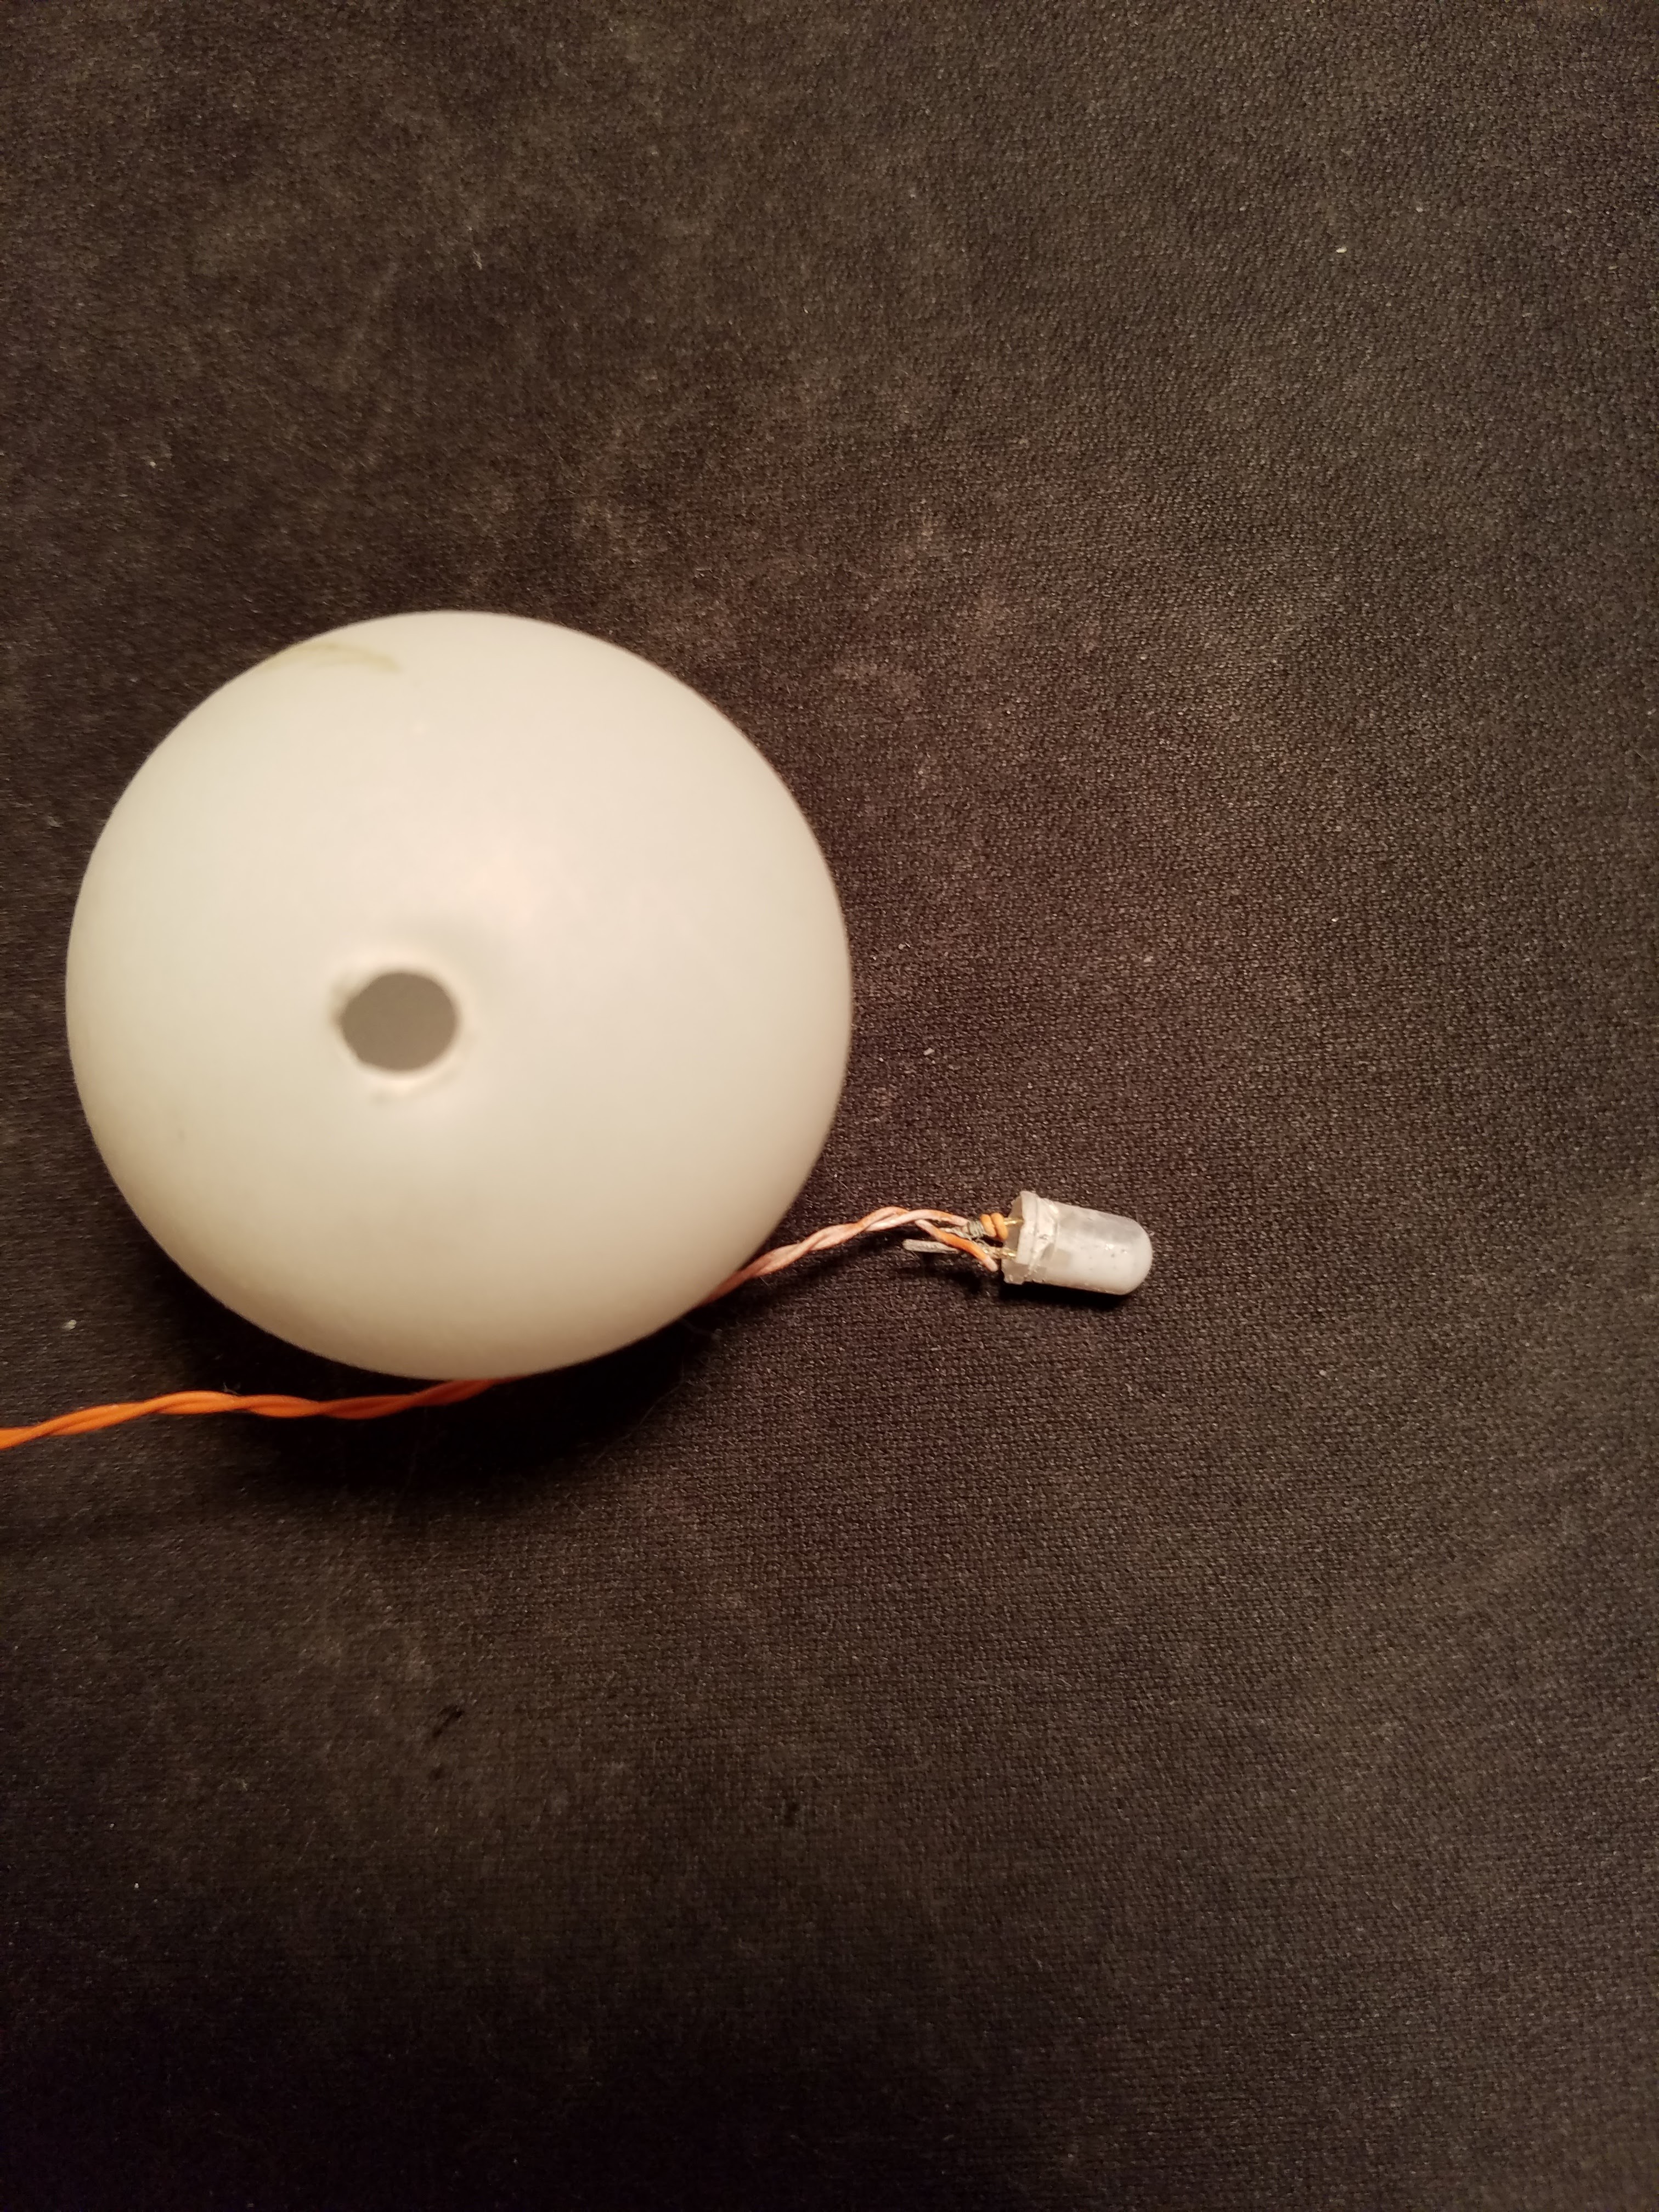
The Solar Panel has a 2.1mm plug, so I simply used a 2.1mm DC-to-screw terminal adapter, and 30 AWG wire-wrap wires which I twisted together so that it can swing in a breeze and when the door is opened & closed. I wire-wrapped to the leads on the LED as close to the base of the LED as possible, then cut off the excess length of the LED's leads.
A "professional" touch would to have protected the wire wrap at the edge of the LED with heat shrink which would have made it more sturdy, but also more rigid and a little less 'magic' looking.
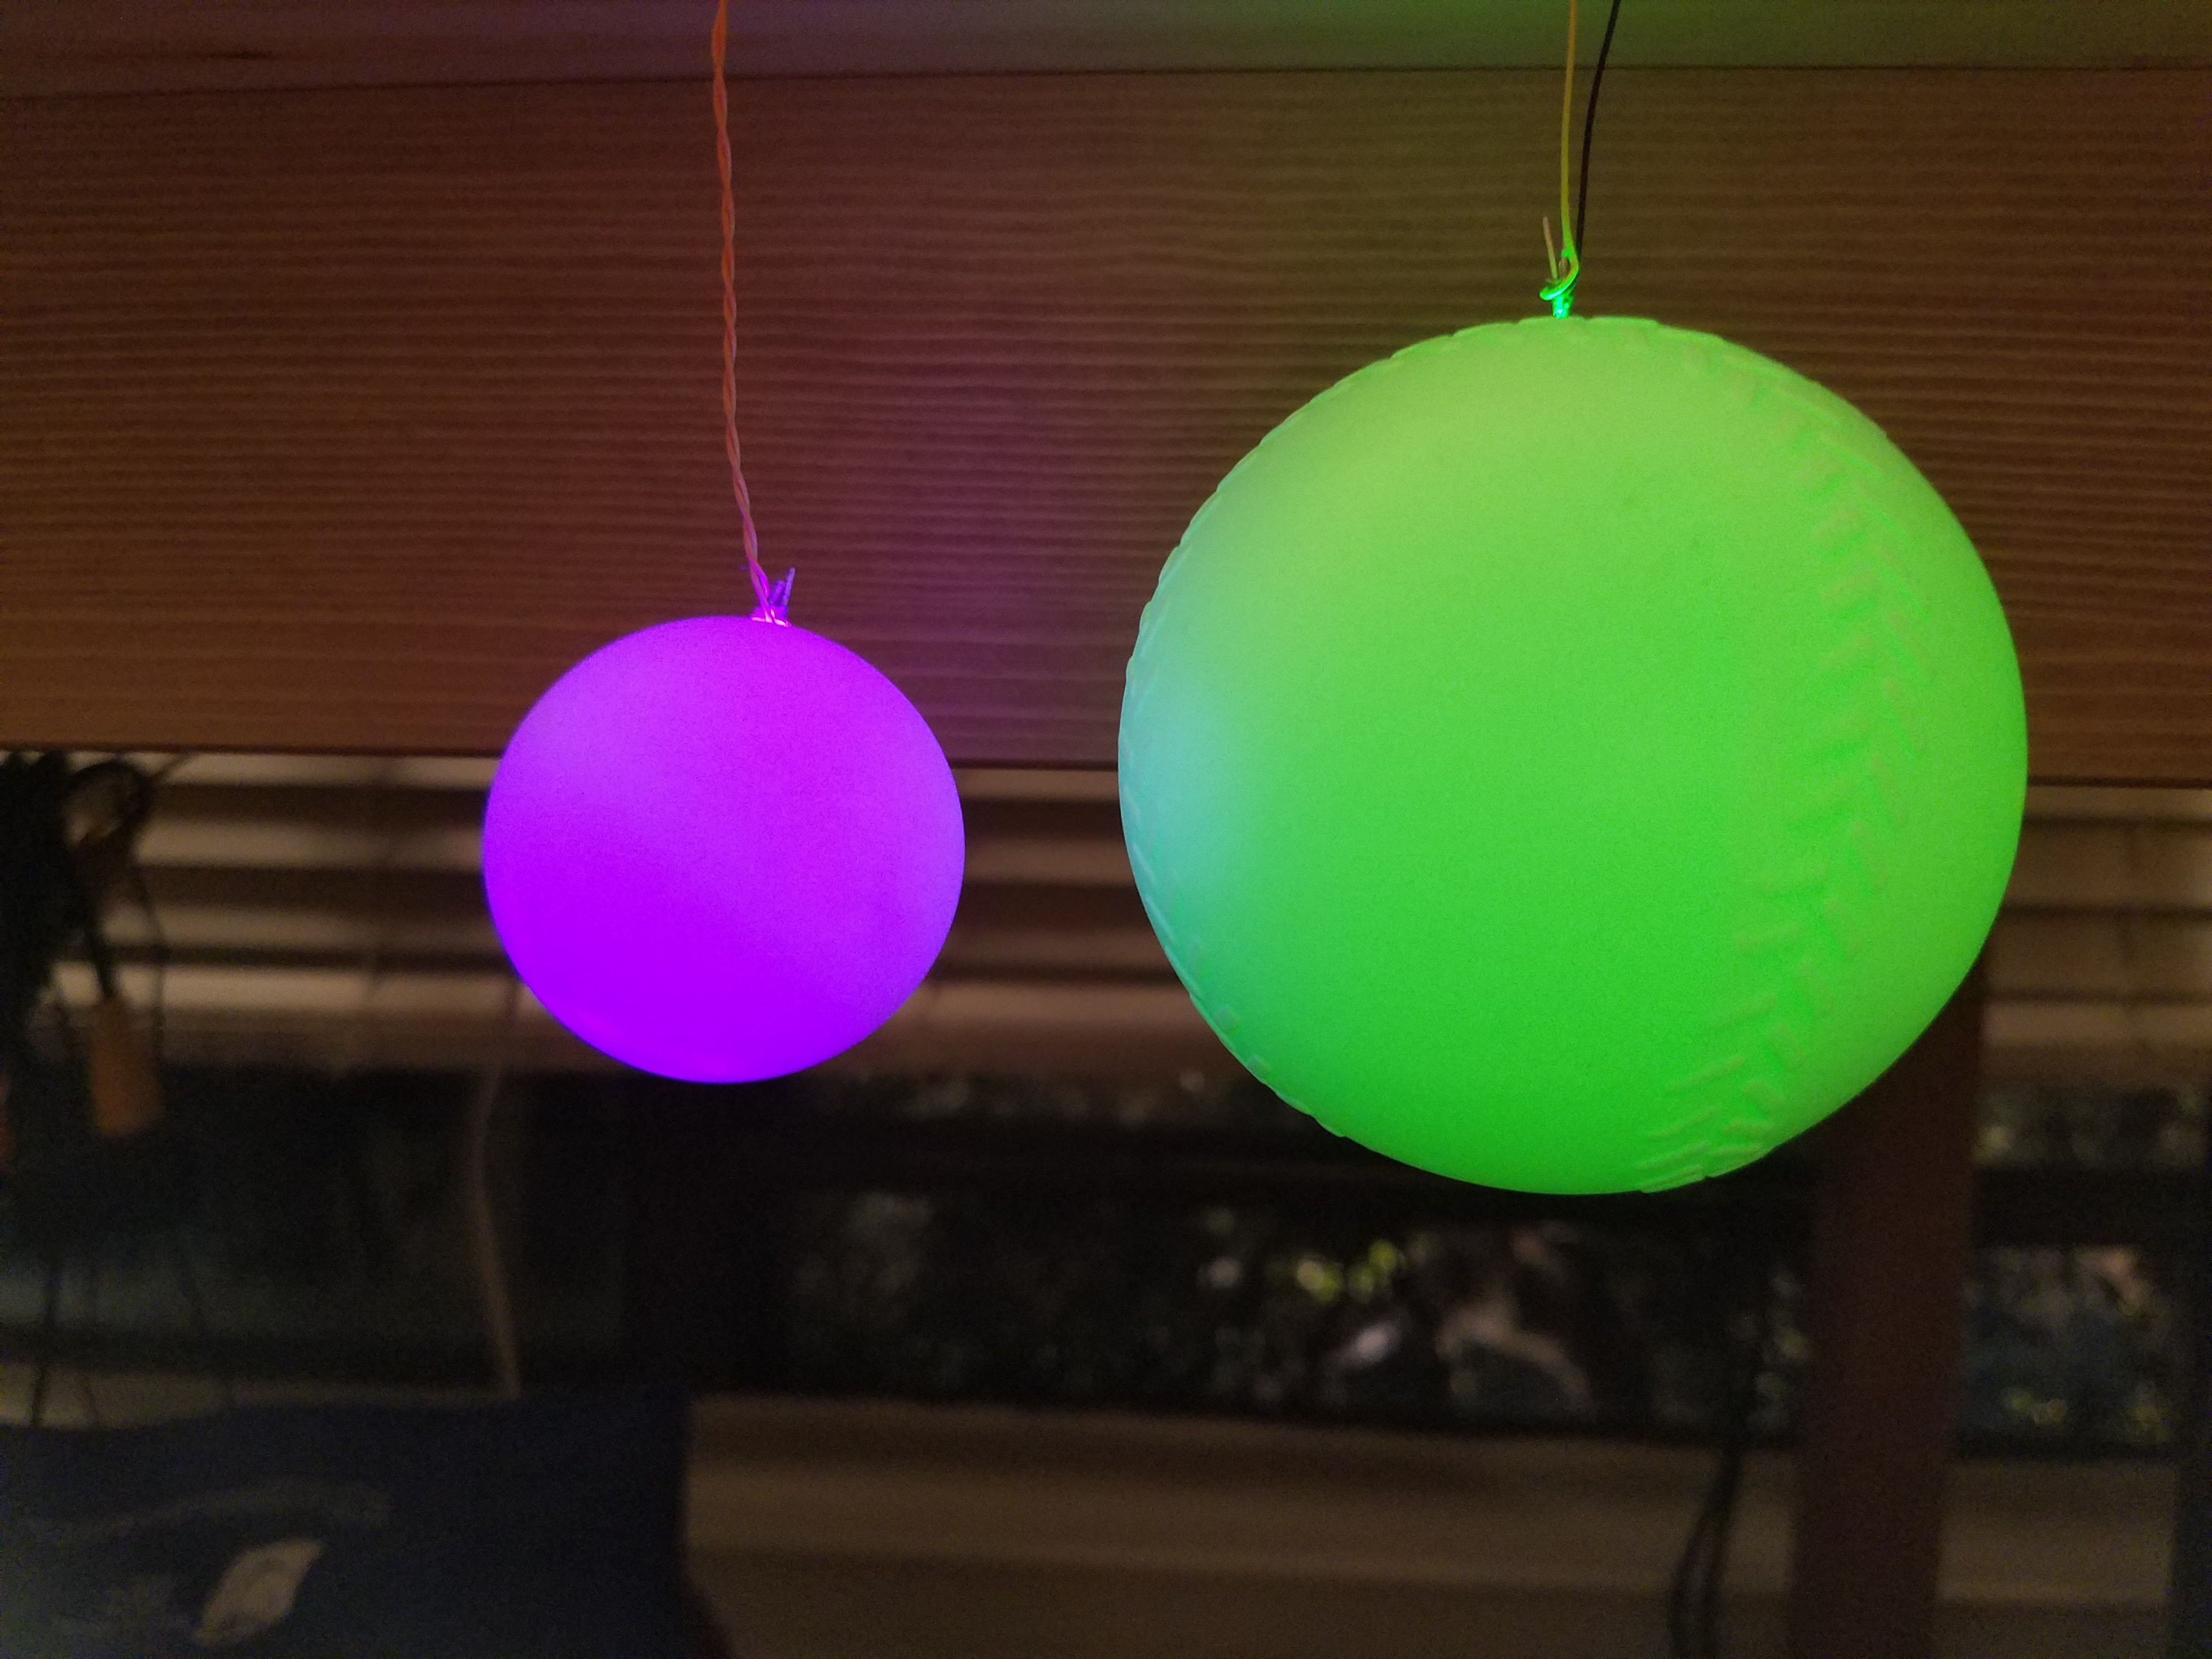
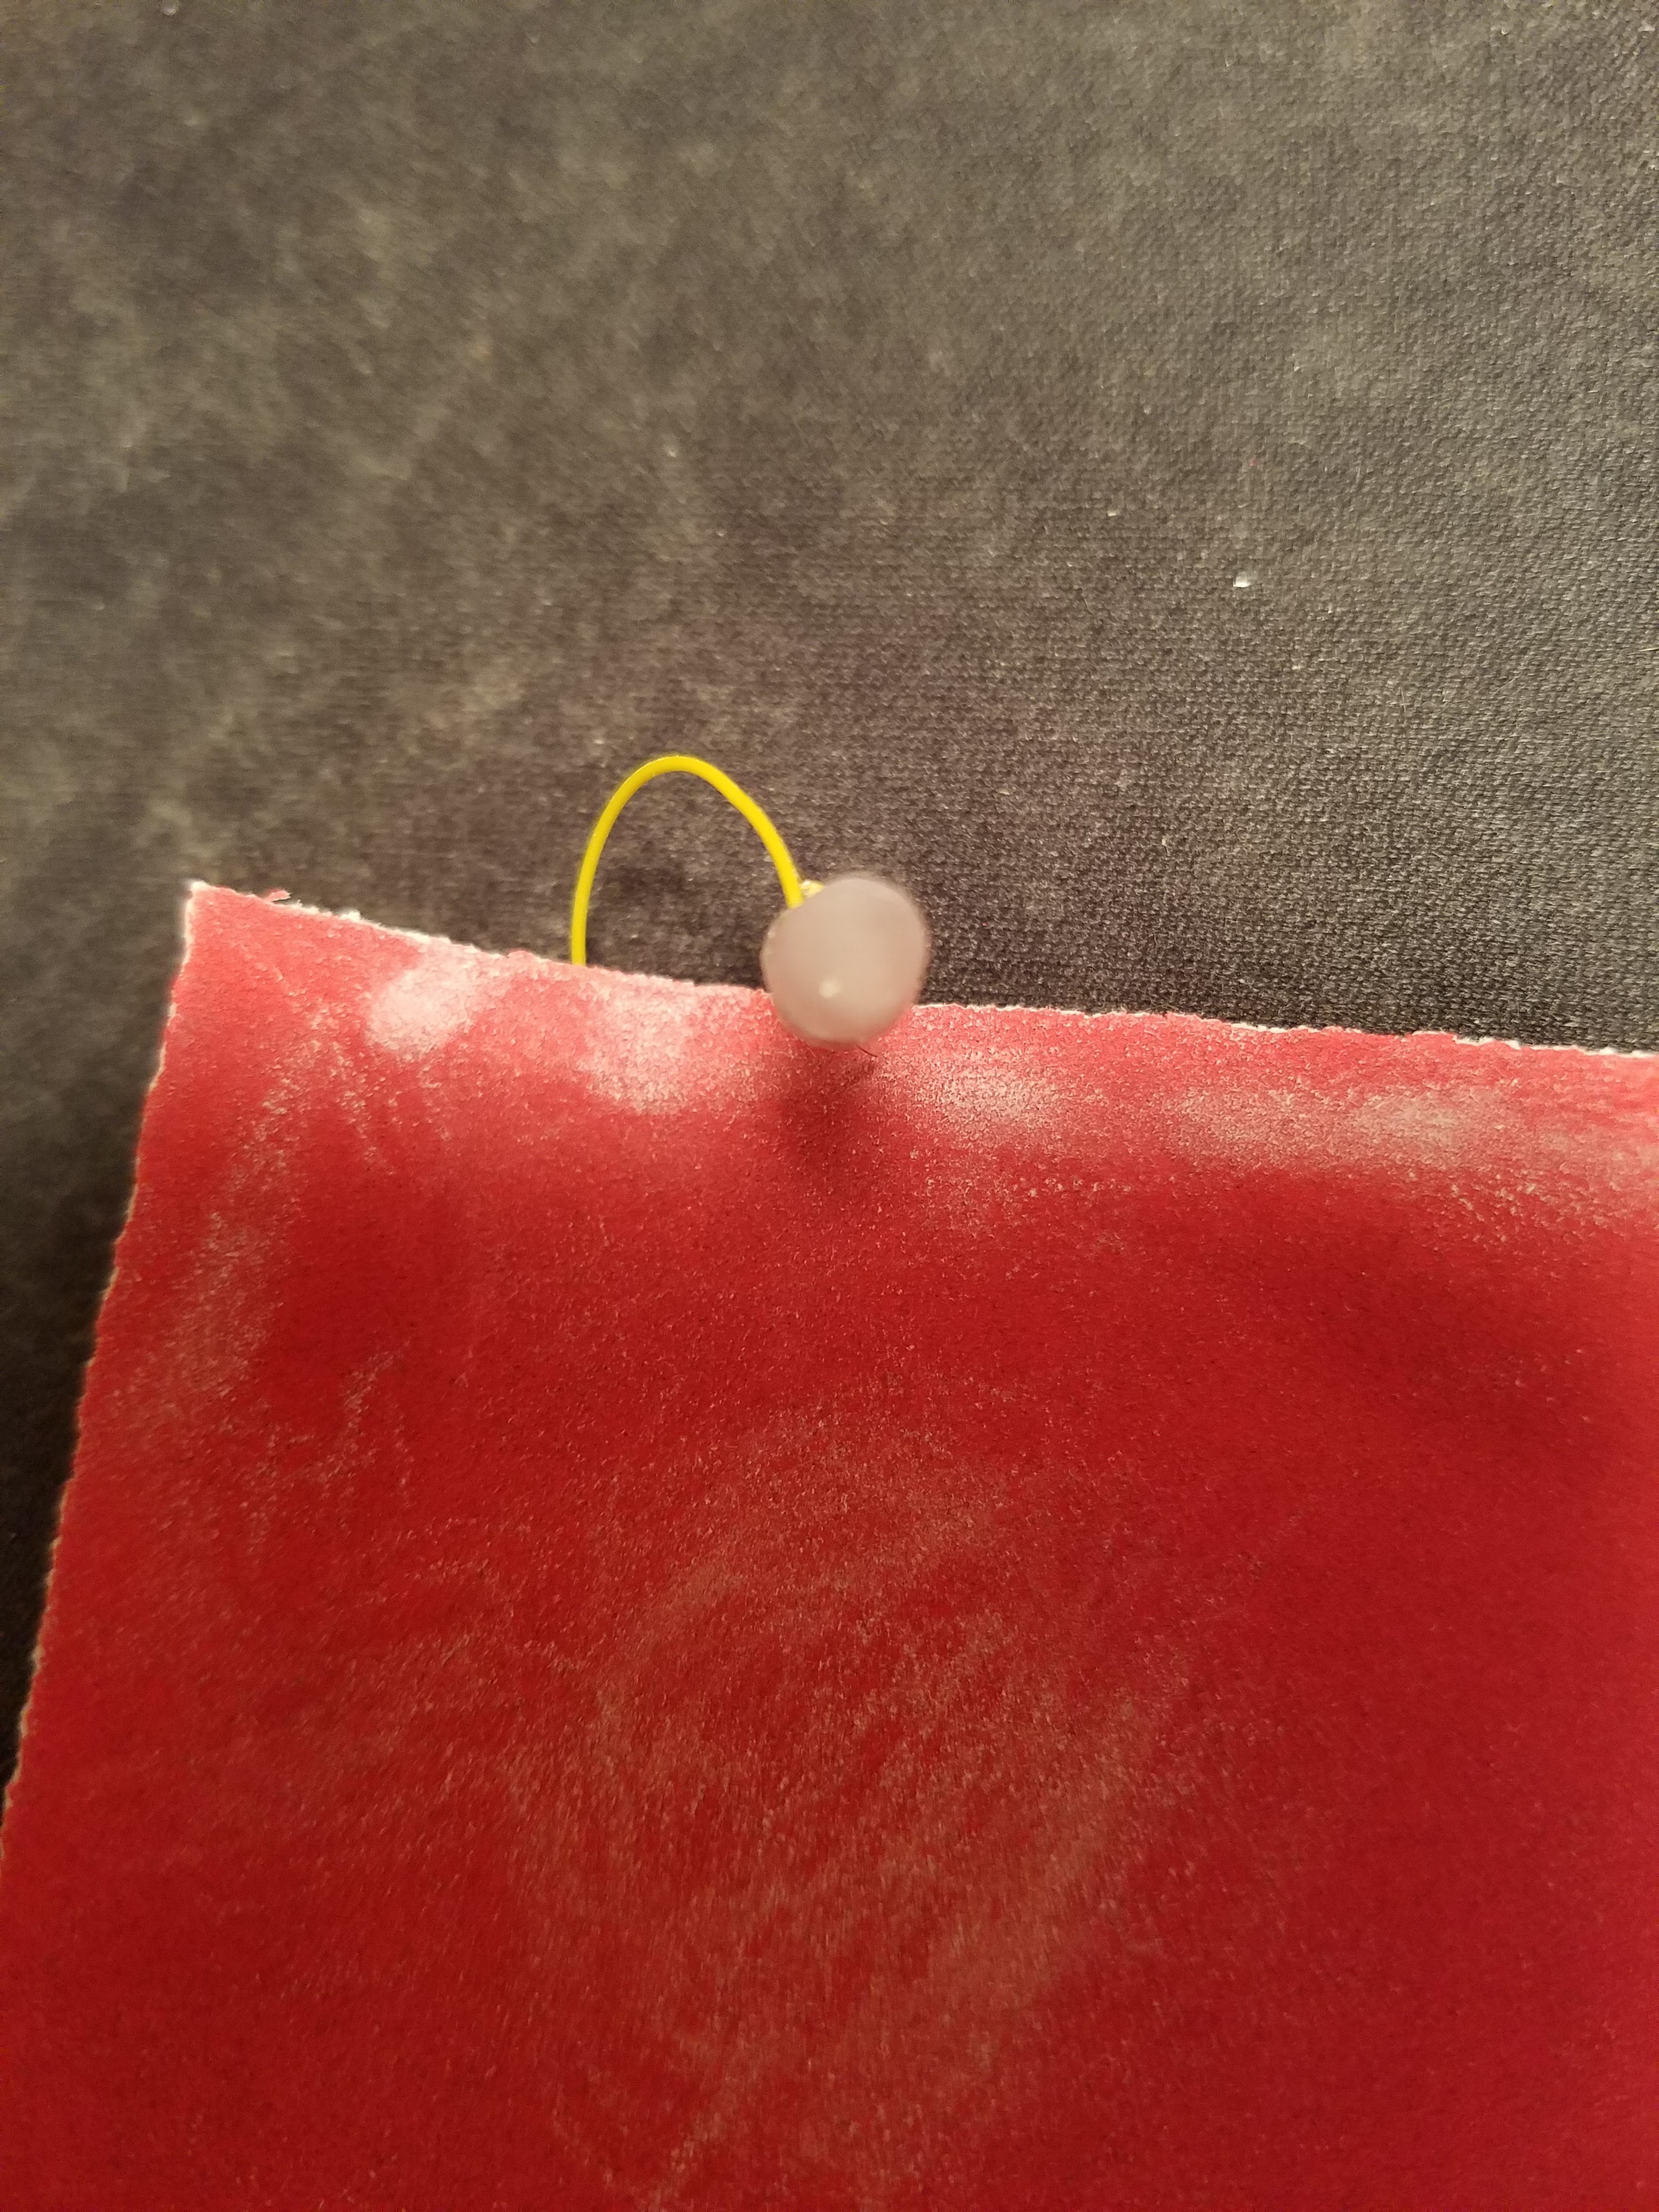
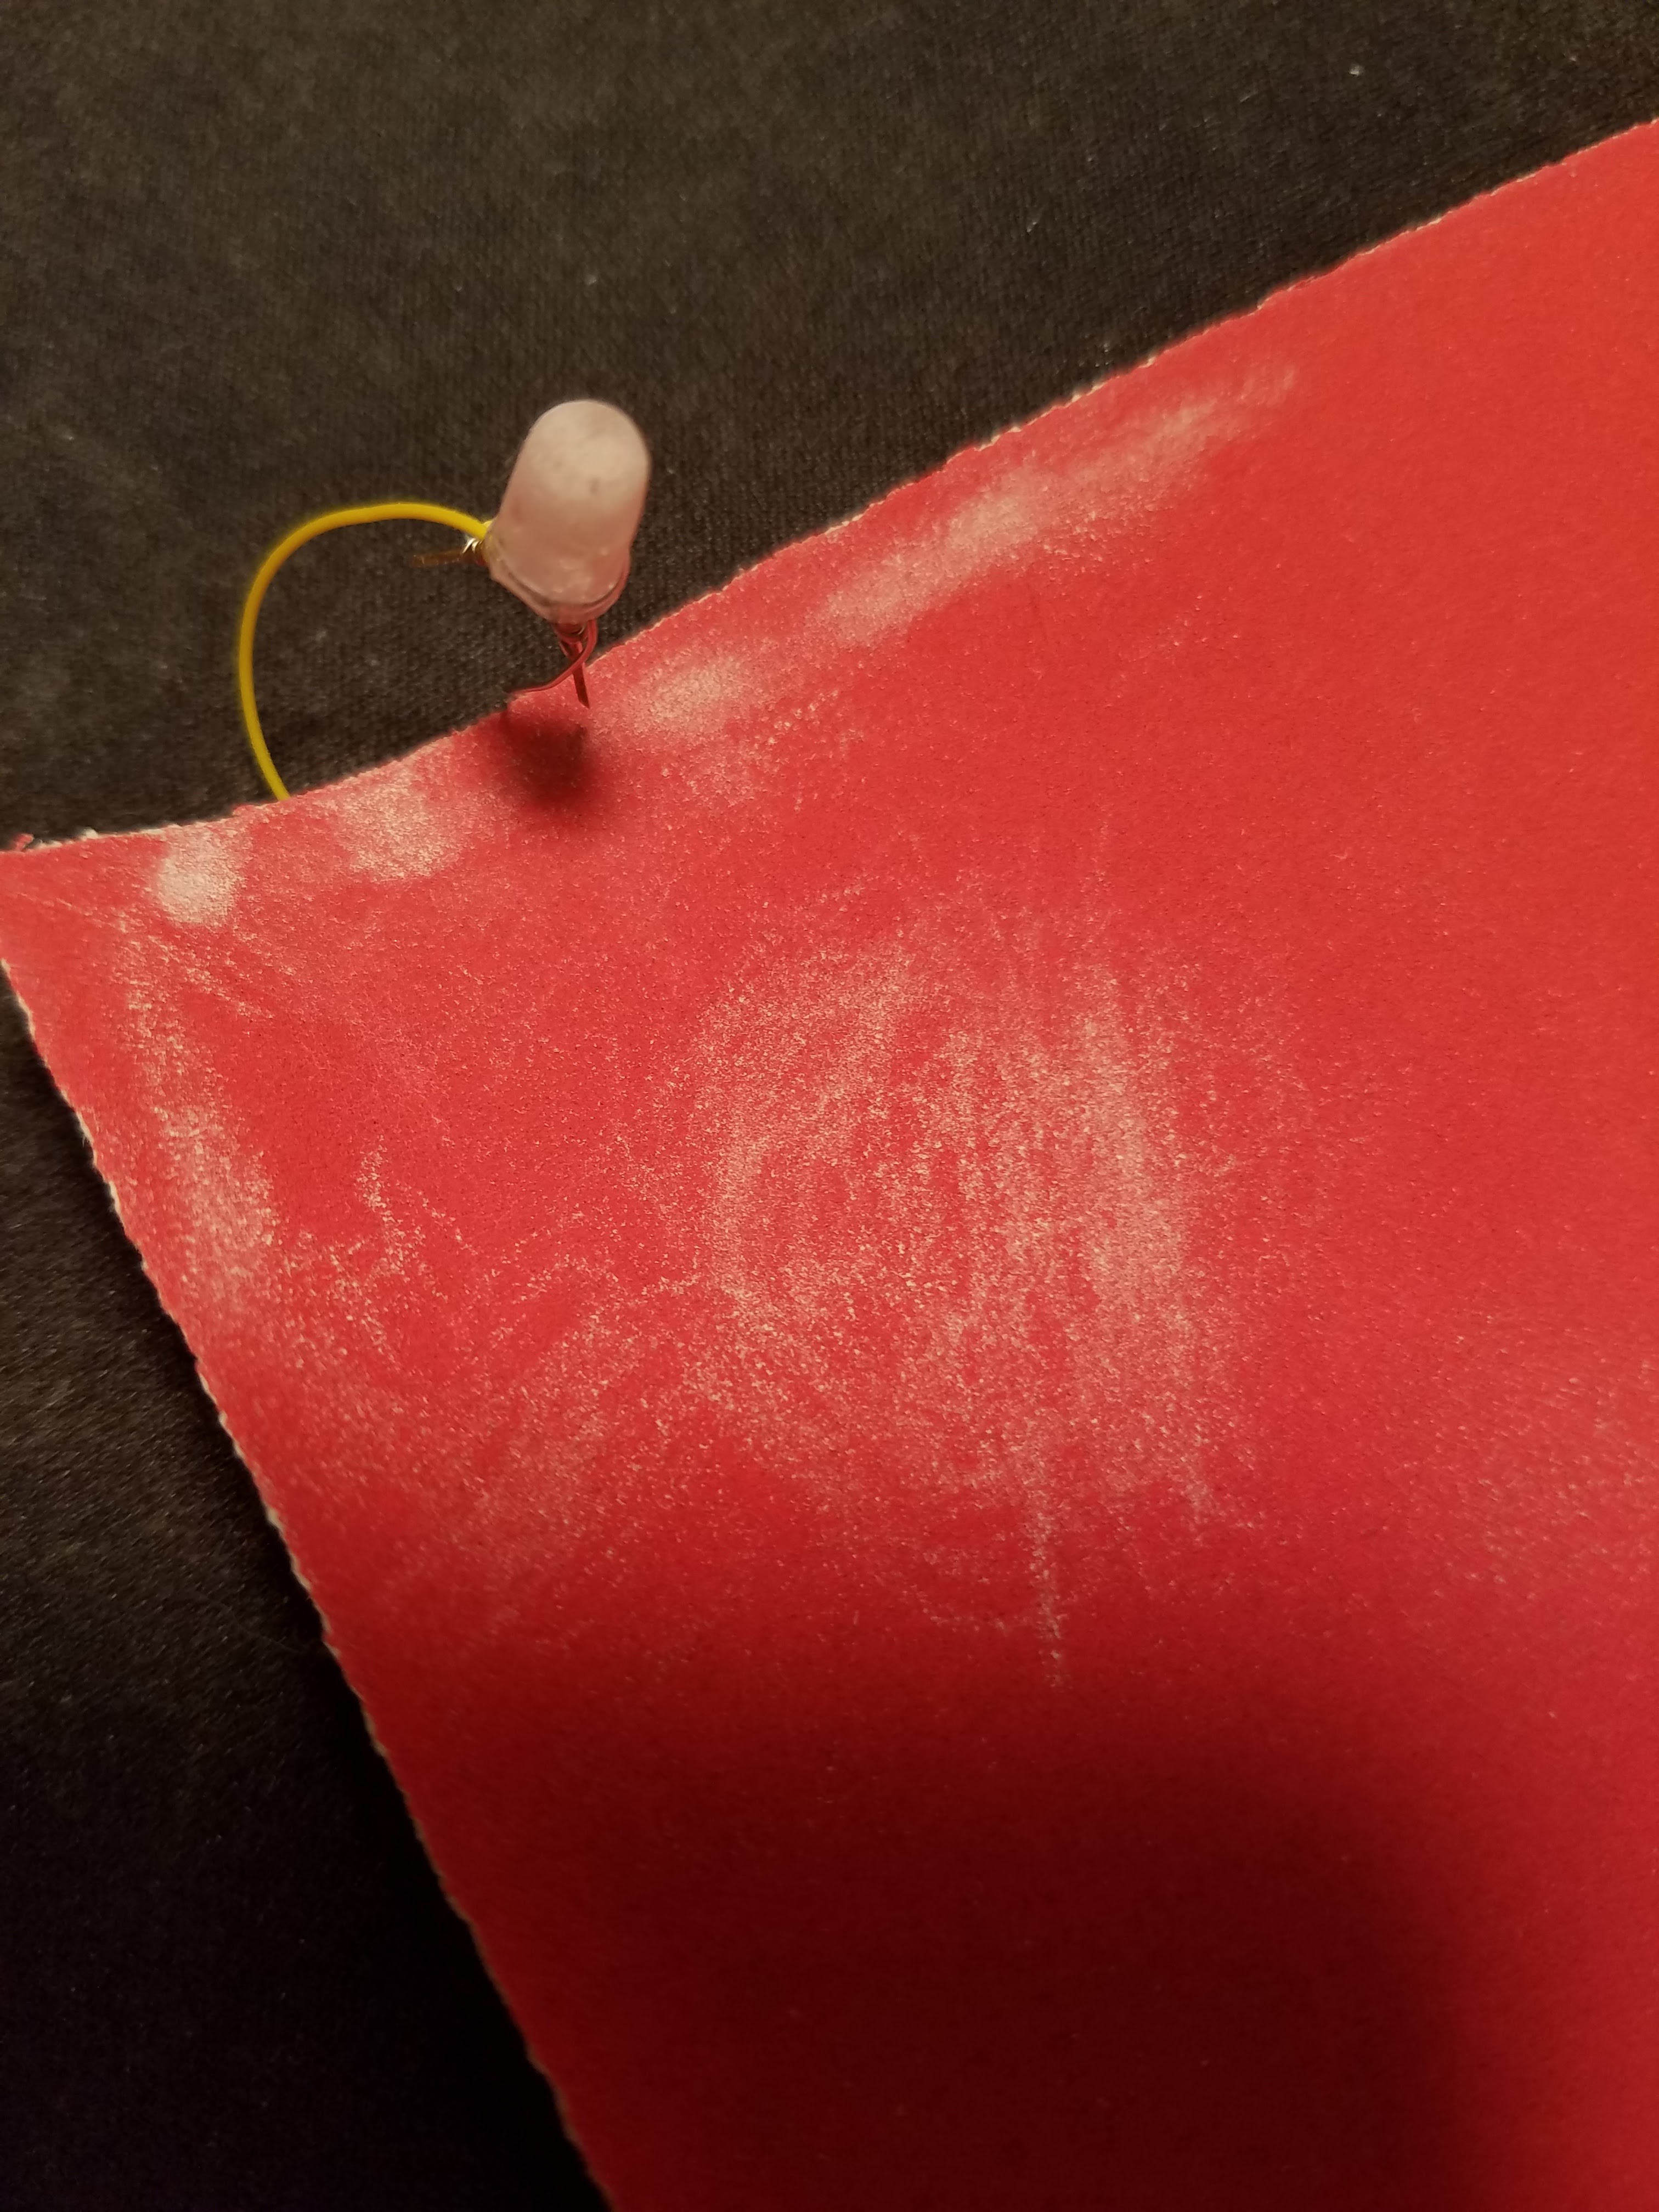
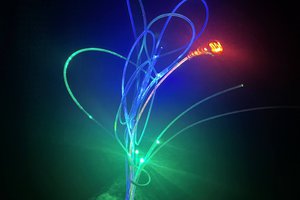
I simply drilled and filed a hole in a ping pong ball until it was just large enough for the 5mm LED to "snap" into the ball. One improvement I plan to make it to diffuse the LED in some manner (dip in white liquid paper, or put some type of filler into the ping pong ball) to keep it from making a "hot-spot" at the bottom of the ball since these LEDs are not available with a diffused lense.
Parts List:
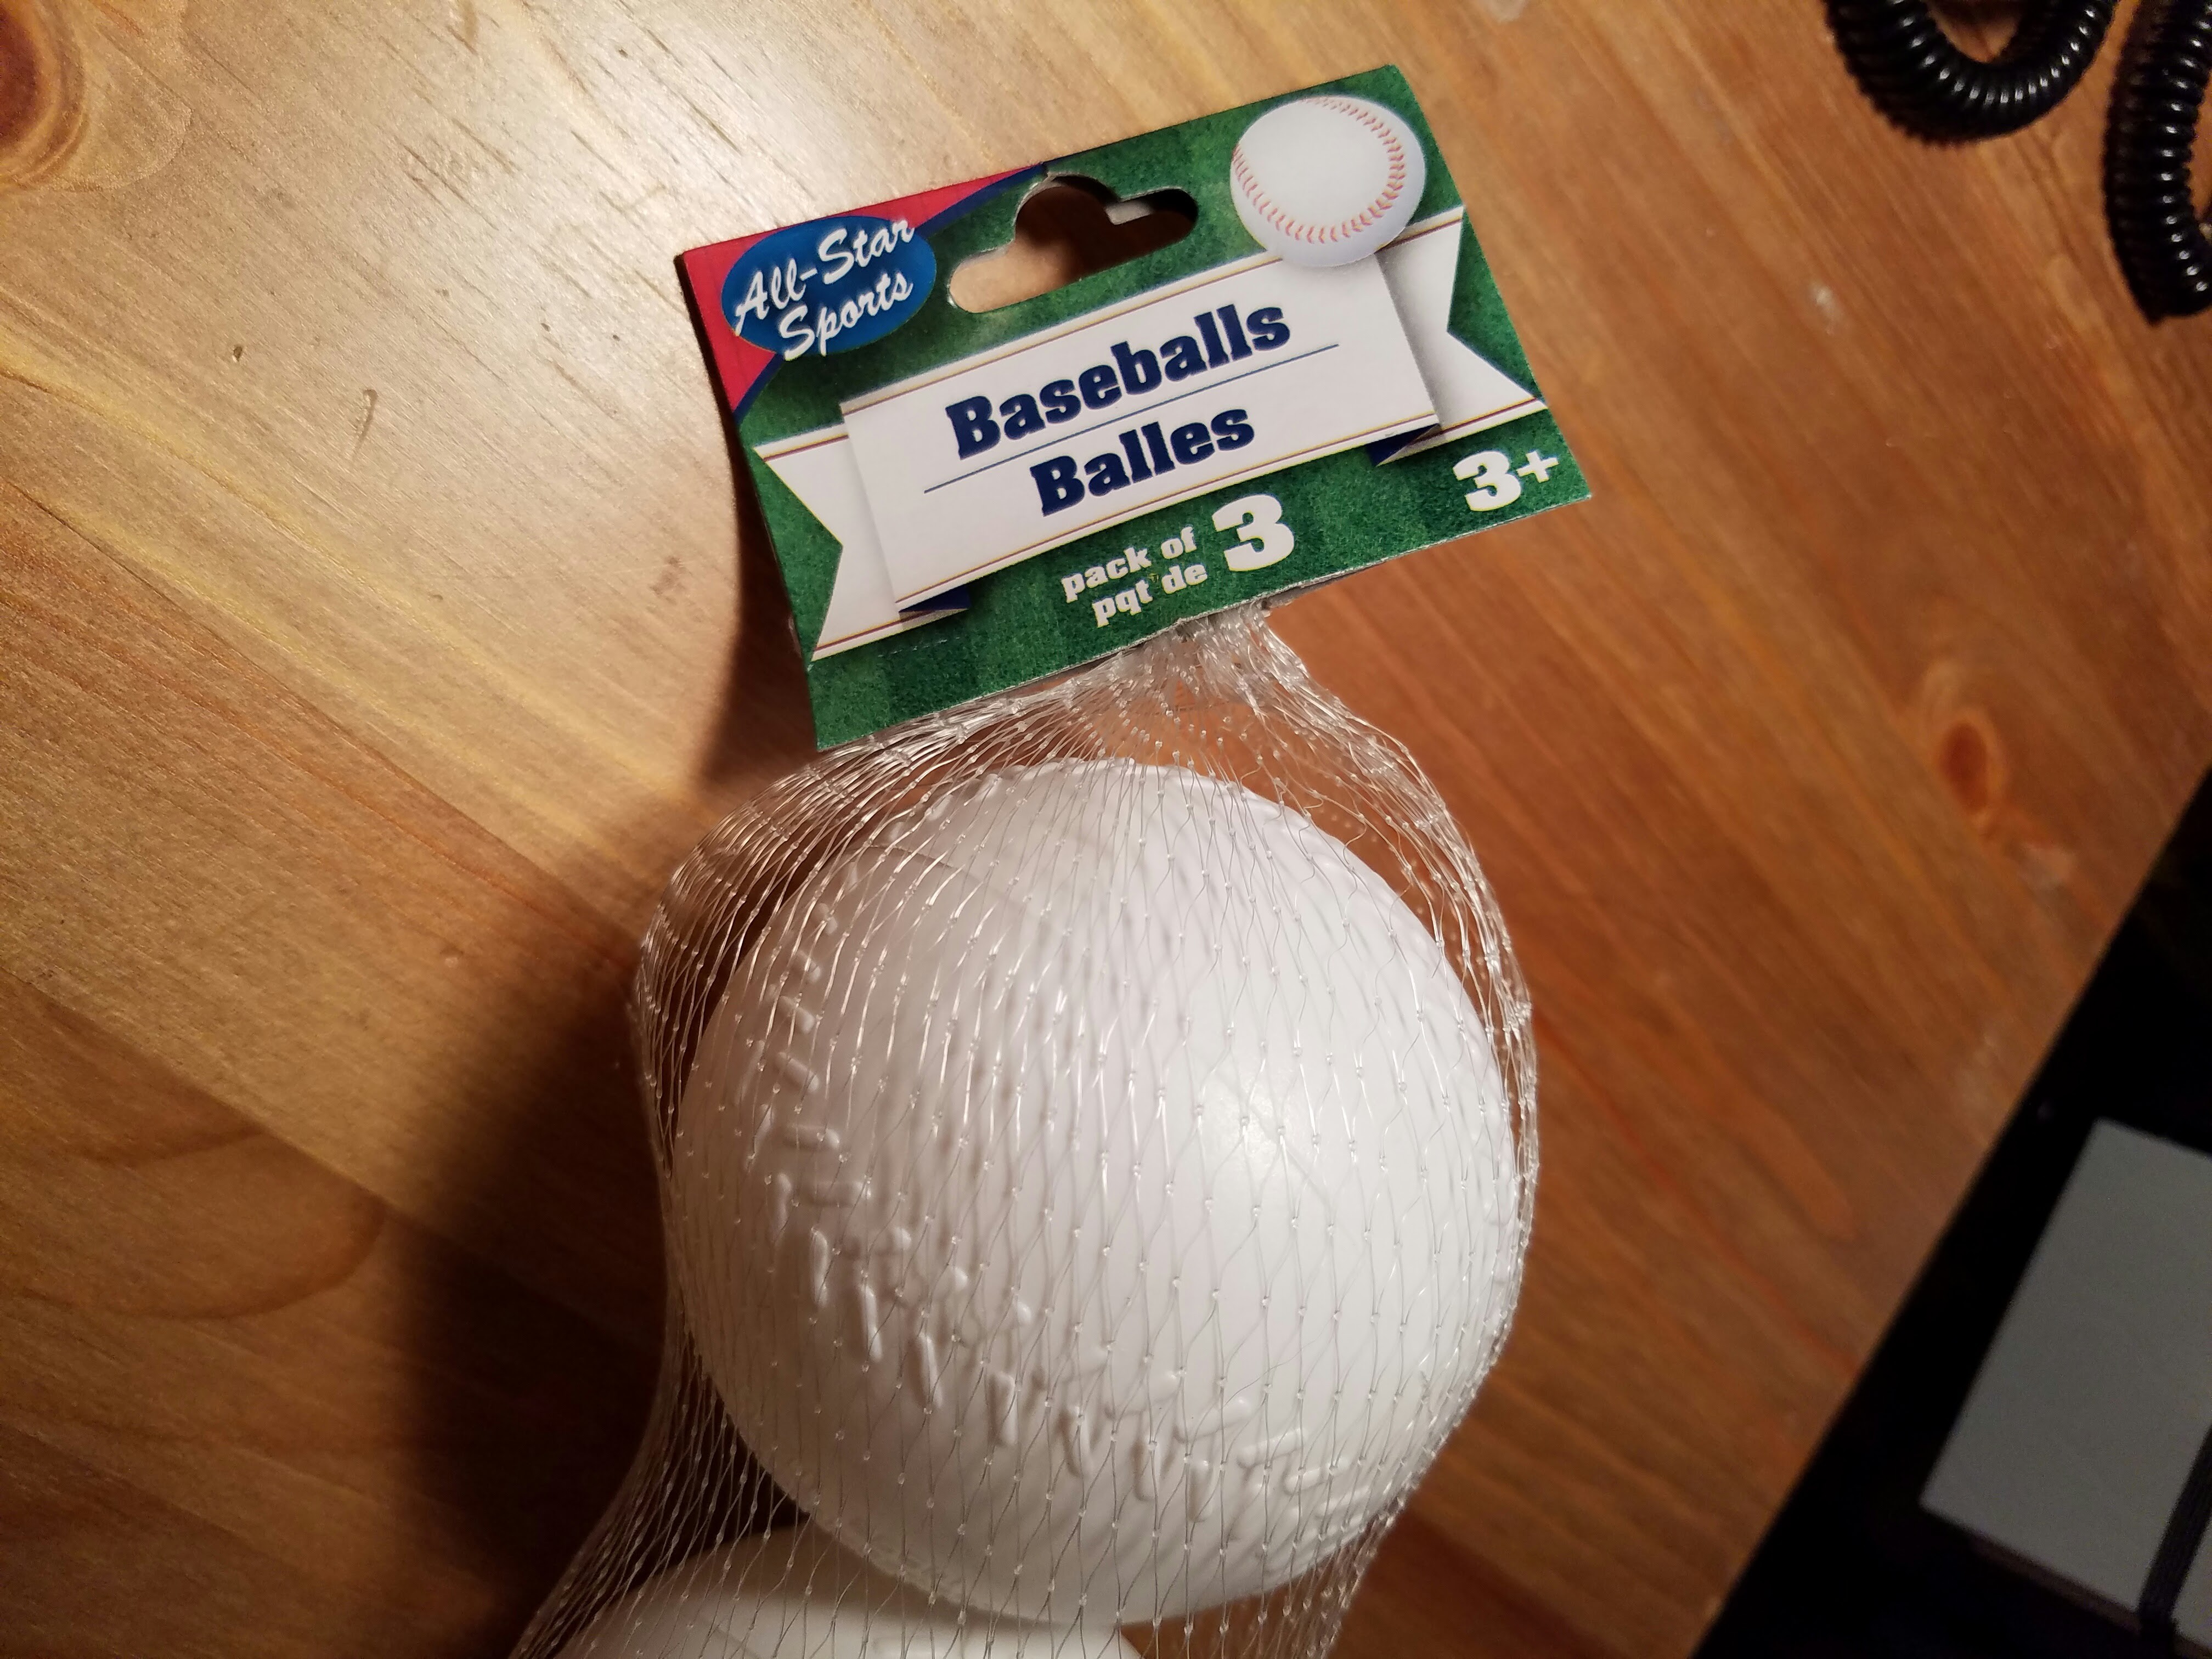
- Pack of 6 Ping Pong Balls from the Dollar Store
- Microtivity IL604 RGB Slow Rotating LED (pack of 30 with included 200 Ohm resistors)
Note: The "Fast" version is the IL602
I got mine from Amazon where they are Prime-eligible for $8.99 free 2-day US shipping
- The Solar Cell Panel I got from Fry's, distributed as OSEPP by Leo Sales Ltd., Richmond, BC, Canada: "Monocrystalline Solar Cell Cat. No. SC10036, Size: 60x60mm
- And to keep it all clean, I used the Solar Panel's 2.1mm Jack, and screwed the Wire Wrap wires into a 2.1mm DC Adapter from AdaFruit for $2.00.


 Rich Morrissey
 Gerben
 Thomas Chanon Wangtrirat
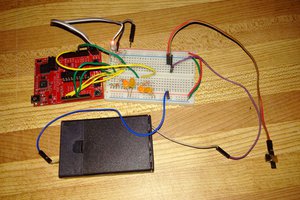
 Petri Varsa
The sanded/diffused LEDs and ping-pong balls are absolutely gorgeous. Stealing light from the hallway to light a light is fully absurd.