 T. B. Trzepacz
The first draft was going to be a little board that attached to the side of the Teensy on the non-USB side, but I quickly realized that this would interfere with the Teensy Audio Board, so I had to scrap that plan. That required me to desolder all of the headers I had already installed, which made quite a mess of them! I wonder why they don't make the plastic on headers something that doesn't melt at 700 degrees?
Next I had to cut a new board! The Dremel is great for this, and this time I determined how to do it without cutting diagonally and destroying a whole row of pins! The trick is to cut along the holes one row beyond the last row of pins that you want. Then you take the board and stick the edges on the flat side of the grinder until all the extra copper is gone! Mmmm! Breathe that powdered fiberglass!
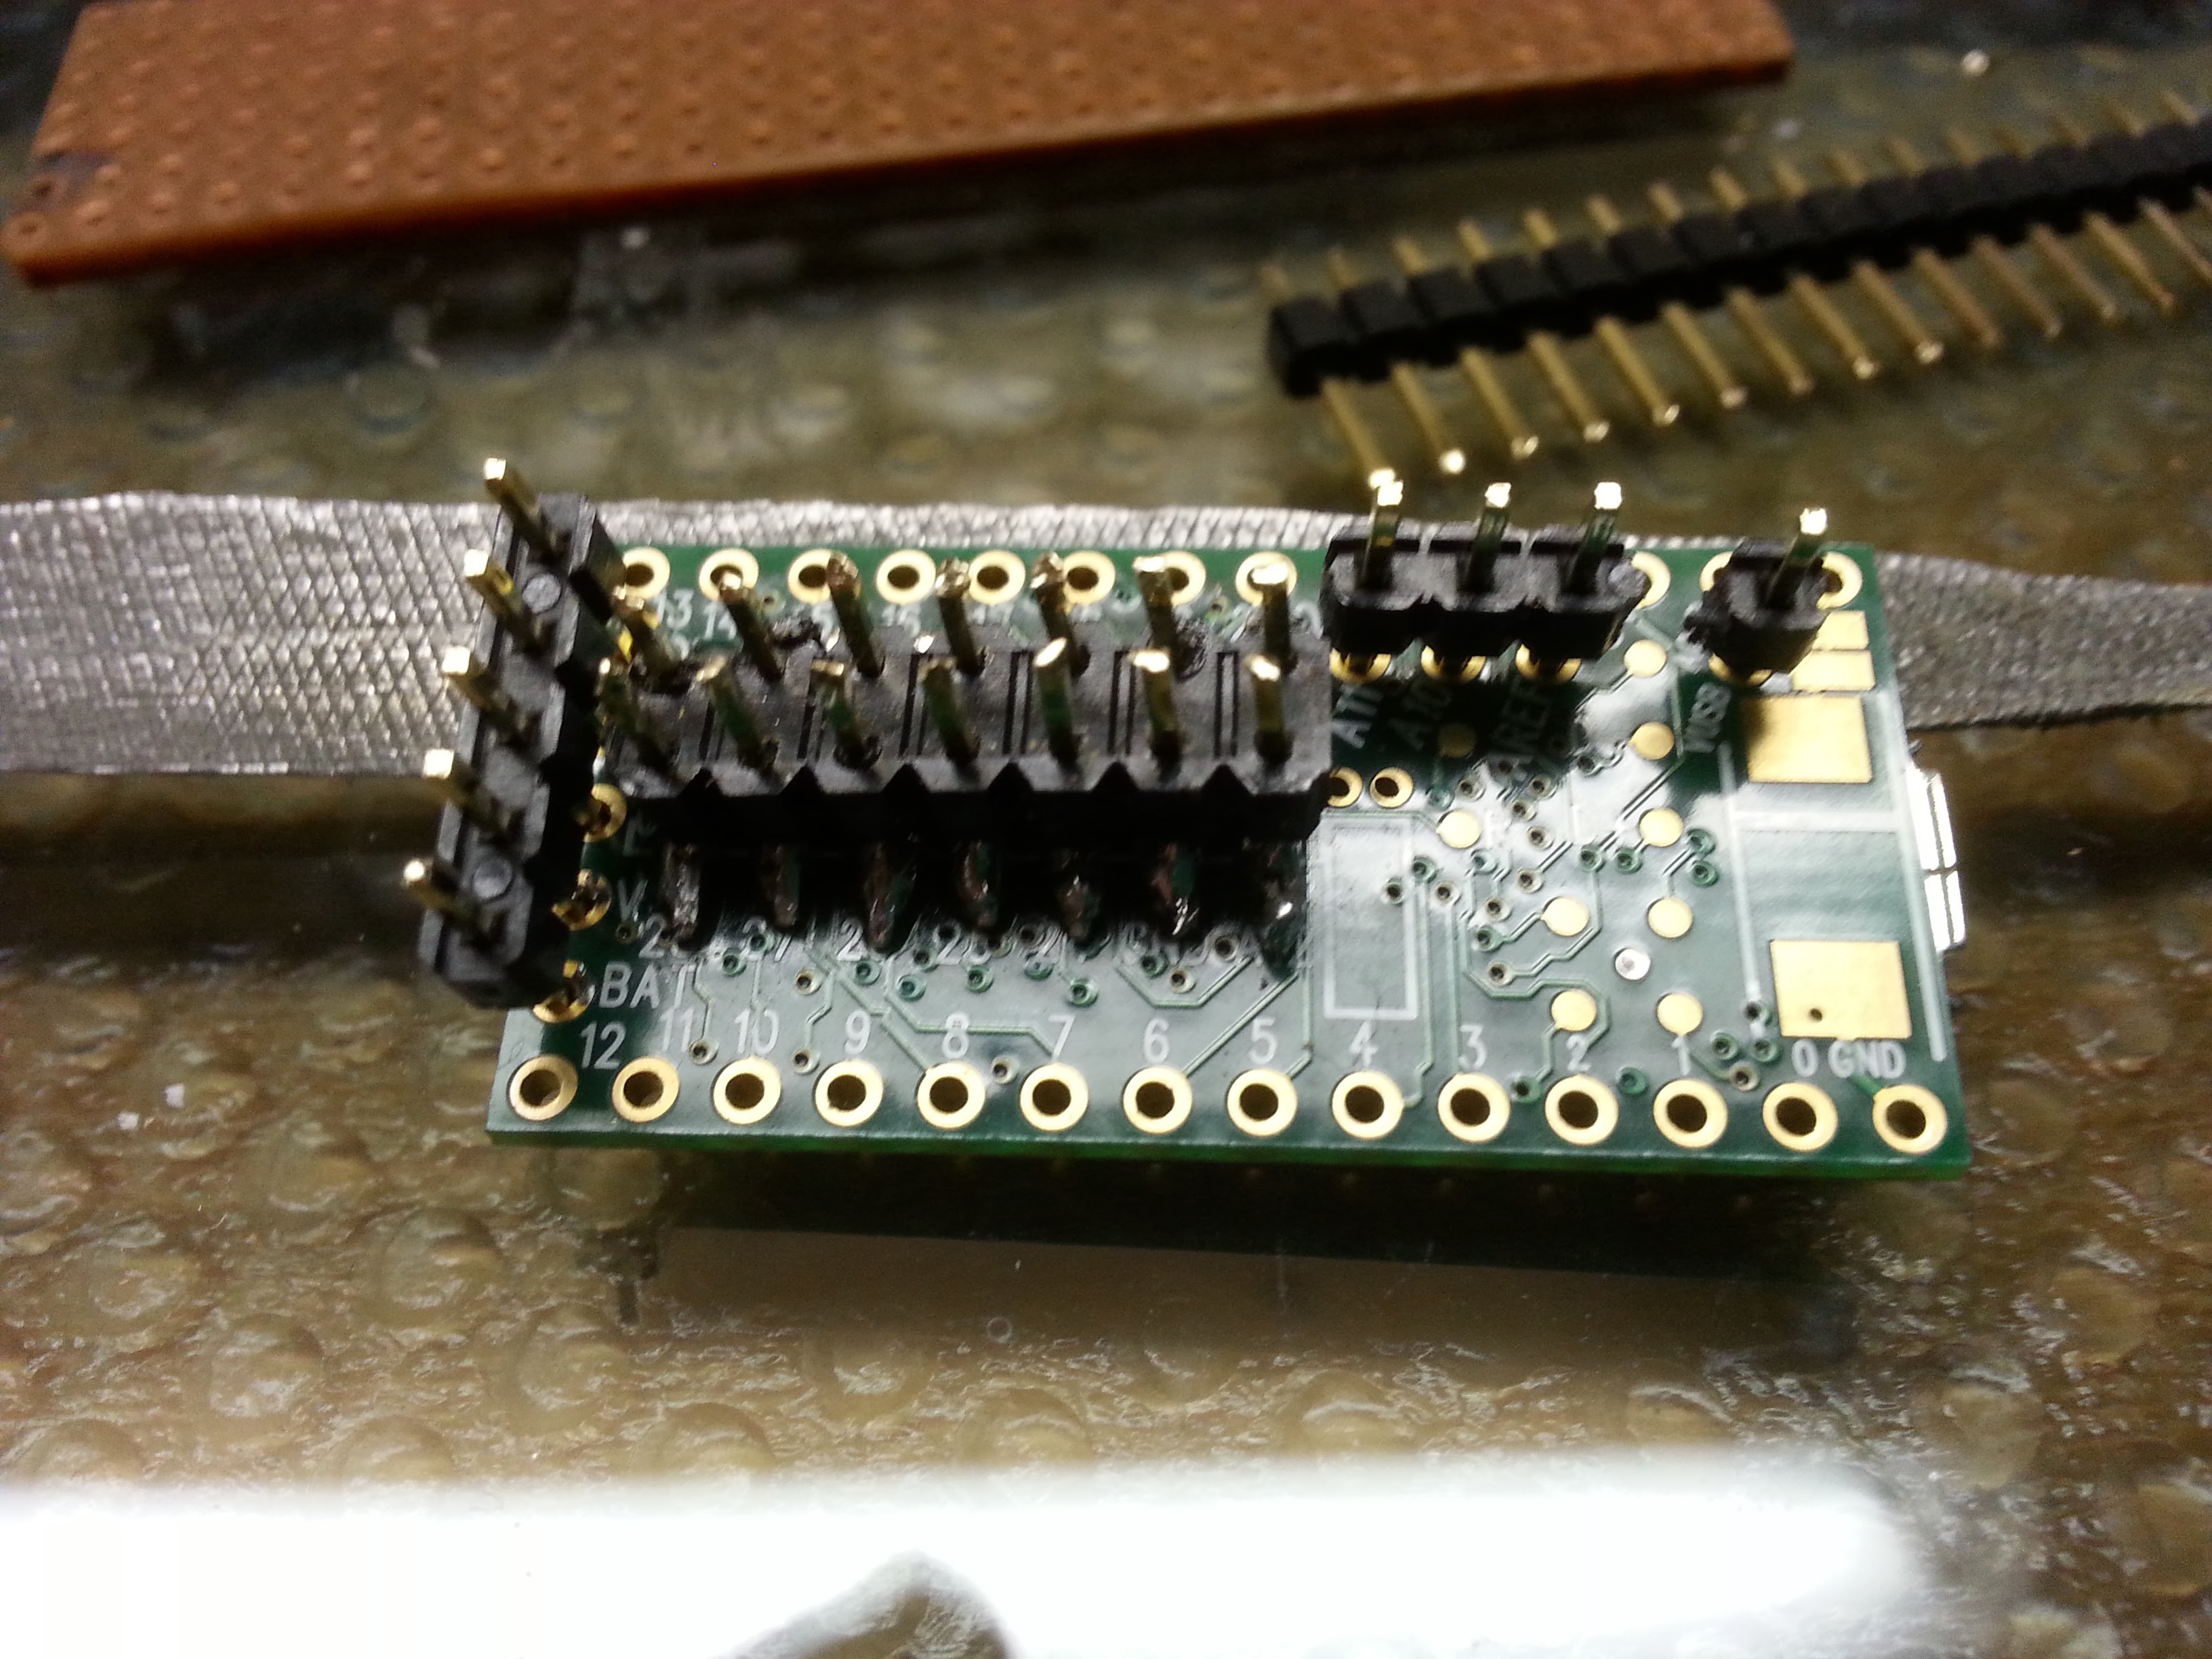
Except that I did a much worse job and made a real mess of trying to bend the pins. This did add an unfortunate amount of extra spacing between the new board and the teensy that greatly shortened the pins that can go into the protoboard. I think there will still be enough space, I just have to make the Teensy Audio Board much closer to the Teensy than I normally do. So much for using that Reset button...

Finally, having soldered all the headers and the Teensy 3 in, I could start on the wires. I chose magnet wire (Maybe 34 gauge?) because the laquer insulation can be easily burned off with the soldering iron, and I originally was going to solder it directly to the Teensy board and wanted something that would break rather than rip the board apart.
Finally, I began the soldering. It is painstaking and tedious work, that requires me to wear reading glasses just to see what I'm doing. It goes something like this:- Burn the insulation off the end of the wire with a soldering iron with a tiny bit of solder on it.
- Bend it in a little loop with pliers.
- Bend the wire so that I can hold it on the pin that is attached to the Teensy.
- Solder the wire.
- Find the length to the pin on my board and add some slack.
- Cut the wire.
- Burn off insulation.
- Bend a loop.
- Bend wire so I can hold it onto the pin.
- Solder the wire!
Were we really intended to do this every time we want to use those pads on the bottom? It really is a huge pain!
Well, I've done 6 wires tonight. I guess I'll do as many as I can stand each night and maybe I'll be done sometime this week.
Discussions
Become a Hackaday.io Member
Create an account to leave a comment. Already have an account? Log In.