 Jacob
JacobEvery engineer worth their salt knows that one of the most important parts of a product is the test jig; a good jig allows you to collect accurate, consistent data on the performance of your product. This lets you make the tweaks that improve performance, and take your invention from something that can work, to something that can’t not work.
Since testing my.Flow requires not just a participant willing to make public something that’s normally intensely private, but the proper alignment of their time of the month with our time, it’s difficult to field-test. And even when we do test, it’s impossible to control conditions like flow rate, consistency, and content, making our data tough to analyze against each other. But, precisely because its application is so sensitive, testing is incredibly important! We needed a new jig for an upcoming set of tests, but we couldn’t break the bank getting it.
We looked at a lot of different options for test jigs, from professional-grade synthetic biological system vendors (shout out to Syndaver!) to educational tools for medical institutions, to the Fleshlight, a sex toy in the form of a synthetic vagina. But we couldn’t find anything that was both affordable, and accurate within our needs. So, we built our own.
It was actually a lot simpler, and cheaper, than we thought - the important thing was to realize that every test needs a jig with certain properties of the human body, but no test needs a jig with every property. With this in mind, I built two jigs, customizing each for its own set of tests. I ended up with results that were cheap, fast, and satisfactory, three things that startups love.

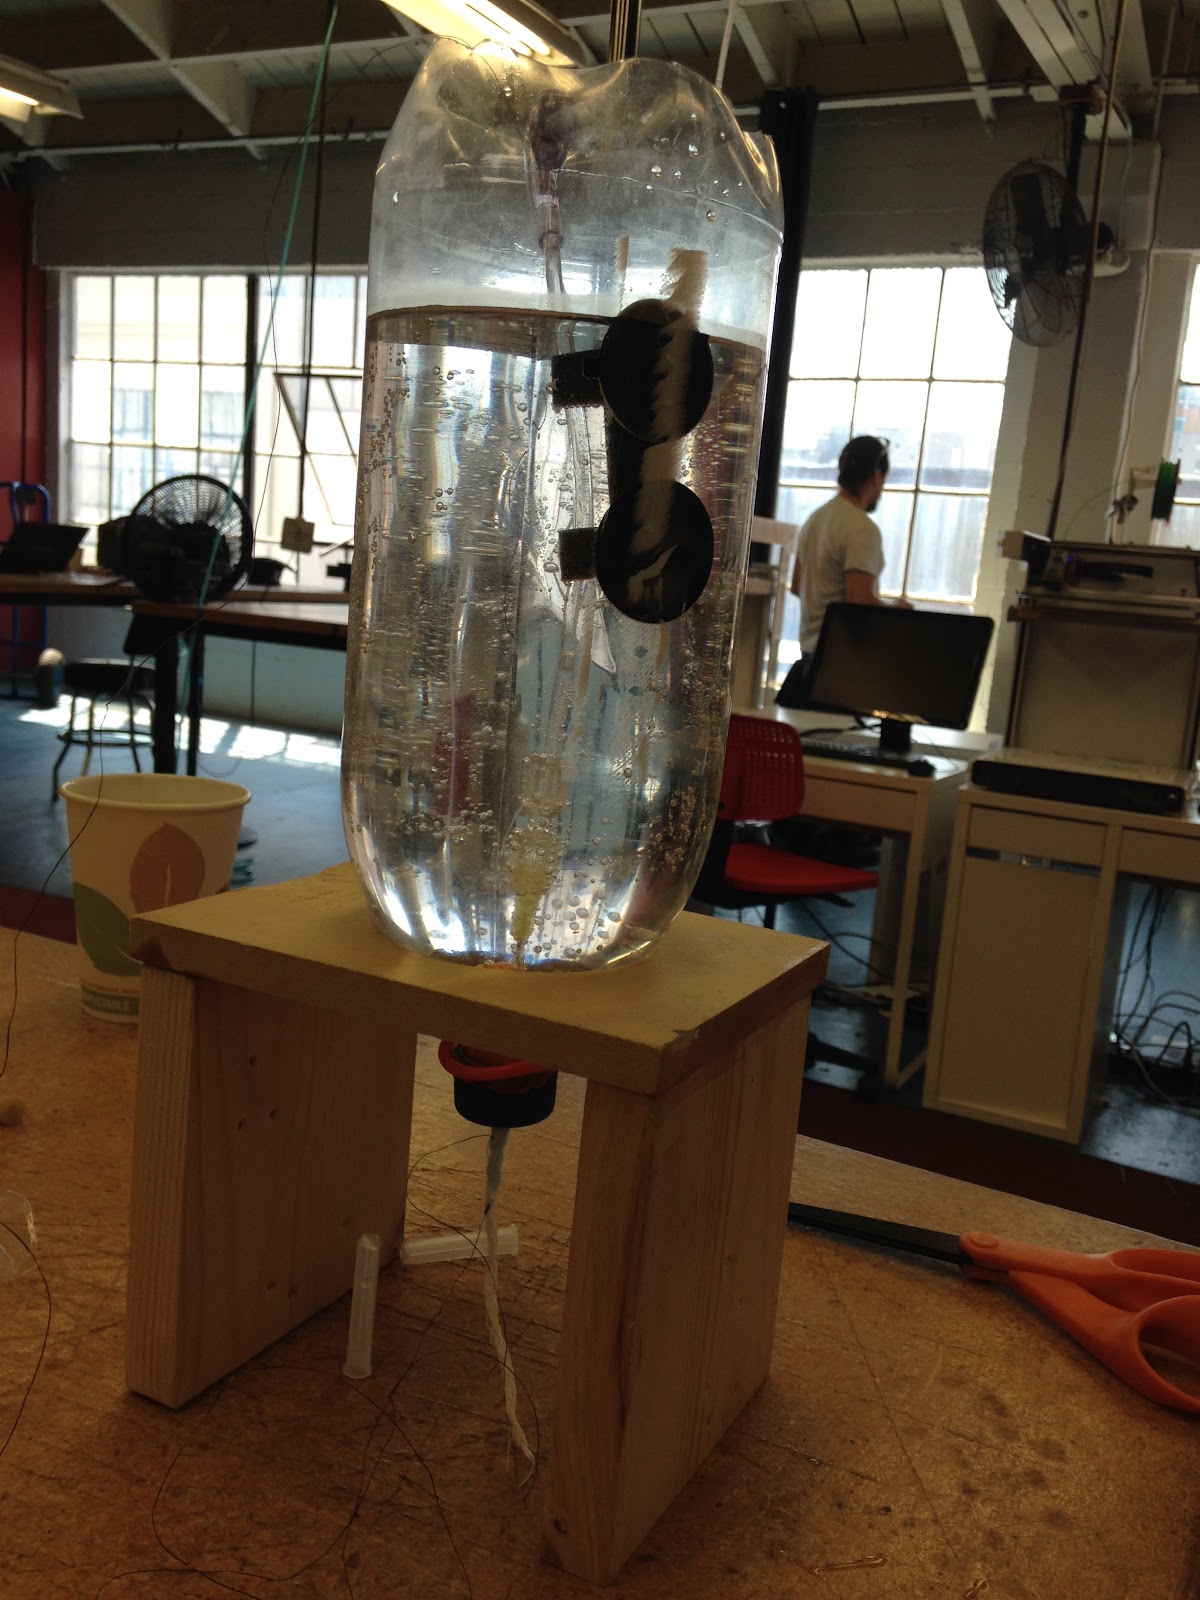
I used the first jig (pictured above) to test conductance and capacitance. It consisted of a cylinder of sandpaper to hold the tampon in position, a cutout paper cup to catch excess fluid, and a slat of wood to keep the whole thing stable. And that’s pretty much it. But that’s all we needed for a first round of tests. If these methods had shown promise, I would have added to the jig to account for other complications of the human body (electrical interference, heat, etc.), increasing cost and complexity. But, since these tests didn’t bear fruit, we ended up saving ourselves a lot of time and money.
For the thermal testing jig, I used a standard 2-liter soda bottle filled with water to maintain a constant-temperature environment, and condoms to insulate the tampons from the water (because apparently everyhing at our company comes back to reproductive health products). I debated including an aquarium heater to help maintain the temperature at 98.6, but decided against it as our tests went quickly enough that there was no significant temperature change. The condom was sealed with RTV silicone after insertion of the IV needle to prevent the water in the tank from leaking in, and we even threw in a heating pad, surrounding the tampon string, to approximate thermal interference from a human body.

The jigs that we built for these tests, which could have cost us thousands of dollars, came out to around $100 all told.
Discussions
Become a Hackaday.io Member
Create an account to leave a comment. Already have an account? Log In.