Tom Van den Bon
The goal is to create a decent robotics controller for as cheap as possible (obviously quantities make electronics cheaper, but if we can make it cheap in low qty then it can only get cheaper with higher qty).
Obviously the hardware is pretty much useless without proper software. I would need to develop software and lesson plans to make it useful in an educational environment.
Hardware Goals:
- Inexpensive
- Integrated Motor Drivers
- USB Connectivity for easy loading of firmware
- A few IO for basic sensors
- Plug and Play - essentially add motors/chassis and some power and it should work
- Bluetooth (This is optional, but opens up lots of possibilities)
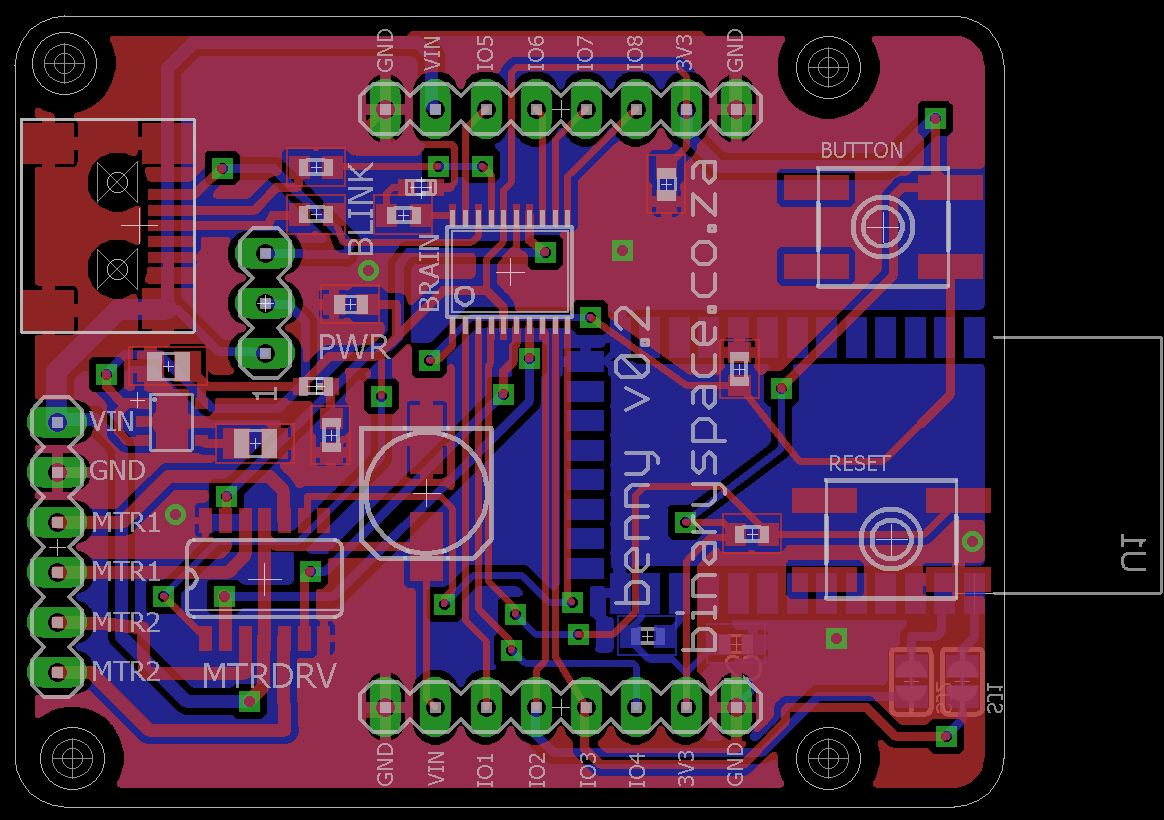
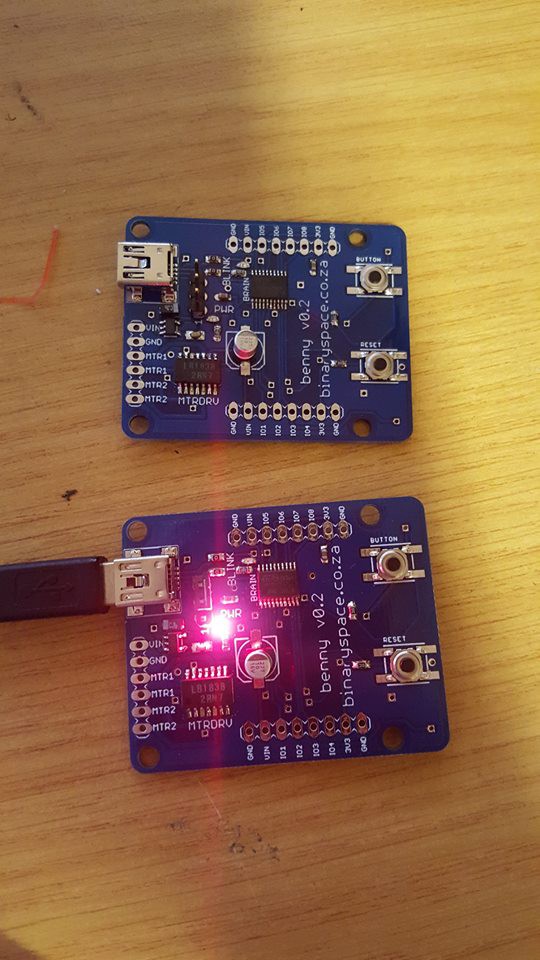
For the initial design we settled on the following components:
- STM32F042 - ARM processor with integrated usb (no crystals!) and dfu firmware loading capabilities
- LB1838M-TRM-E - Full Bridge Motor Driver Bidirectional Motor
- MIC5219-3.3V - 3.3v Regulator
- HC-06 - Bluetooth Module
These components were chosen due to availability and price in South Africa. I'm sure there are cheaper and better parts available, but if I can't get them easily in low qty then it doesn't help me.
- Need to cater for various skill levels (From young children (pre-school) all the way to university students).
- Simple 1 package install for various skill levels
- Lesson Plans
On the software side I want to divide it into the following parts of skill levels:
Level 1: Simple
This level consists of basic firmware loaded on the controller and a android app. The app allows you to drive the robot around and toggle various io and modes. This enables everyone regardless of their skill level to get hands on experience on the robot. It is also a good test for the robot to test its functions once the student assembled a chassis and connected the motors and power.
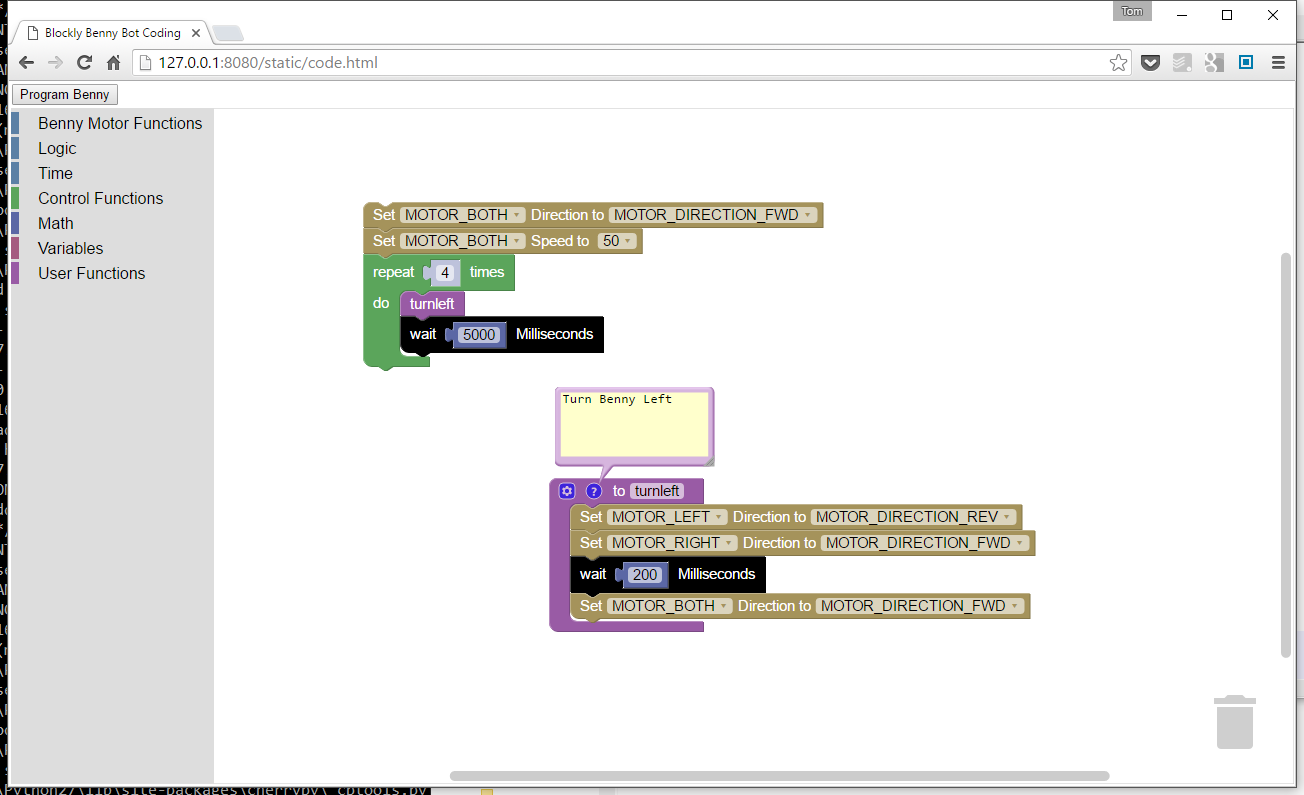
Level 2: Easy
This level consists of a graphical interface to program the edubot with basic functions/tasks. For this level I want to hack/integrate blockly - a library for visual programming.
Level 3: Moderate
Level 3 would be the step between visual programming and plain c on the stm32 microcontrollers. The idea here is to create an easy to use library that can be used by students to program the robot without getting into the low level stuff required on a stm32. While inspired by the arduino library, to avoid confusion I'm calling it the easylib for the edubot controller.
Level 4: Difficult
This level doesn't require any new software. Give a university student a gcc compiler, datasheet and the controller ;)

 Mrinnovative
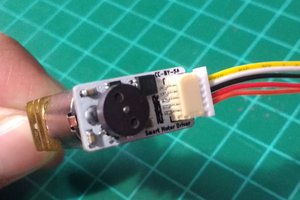
 Danny FR
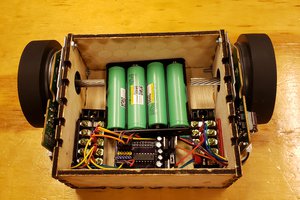
 shane.snipe