0%
0%
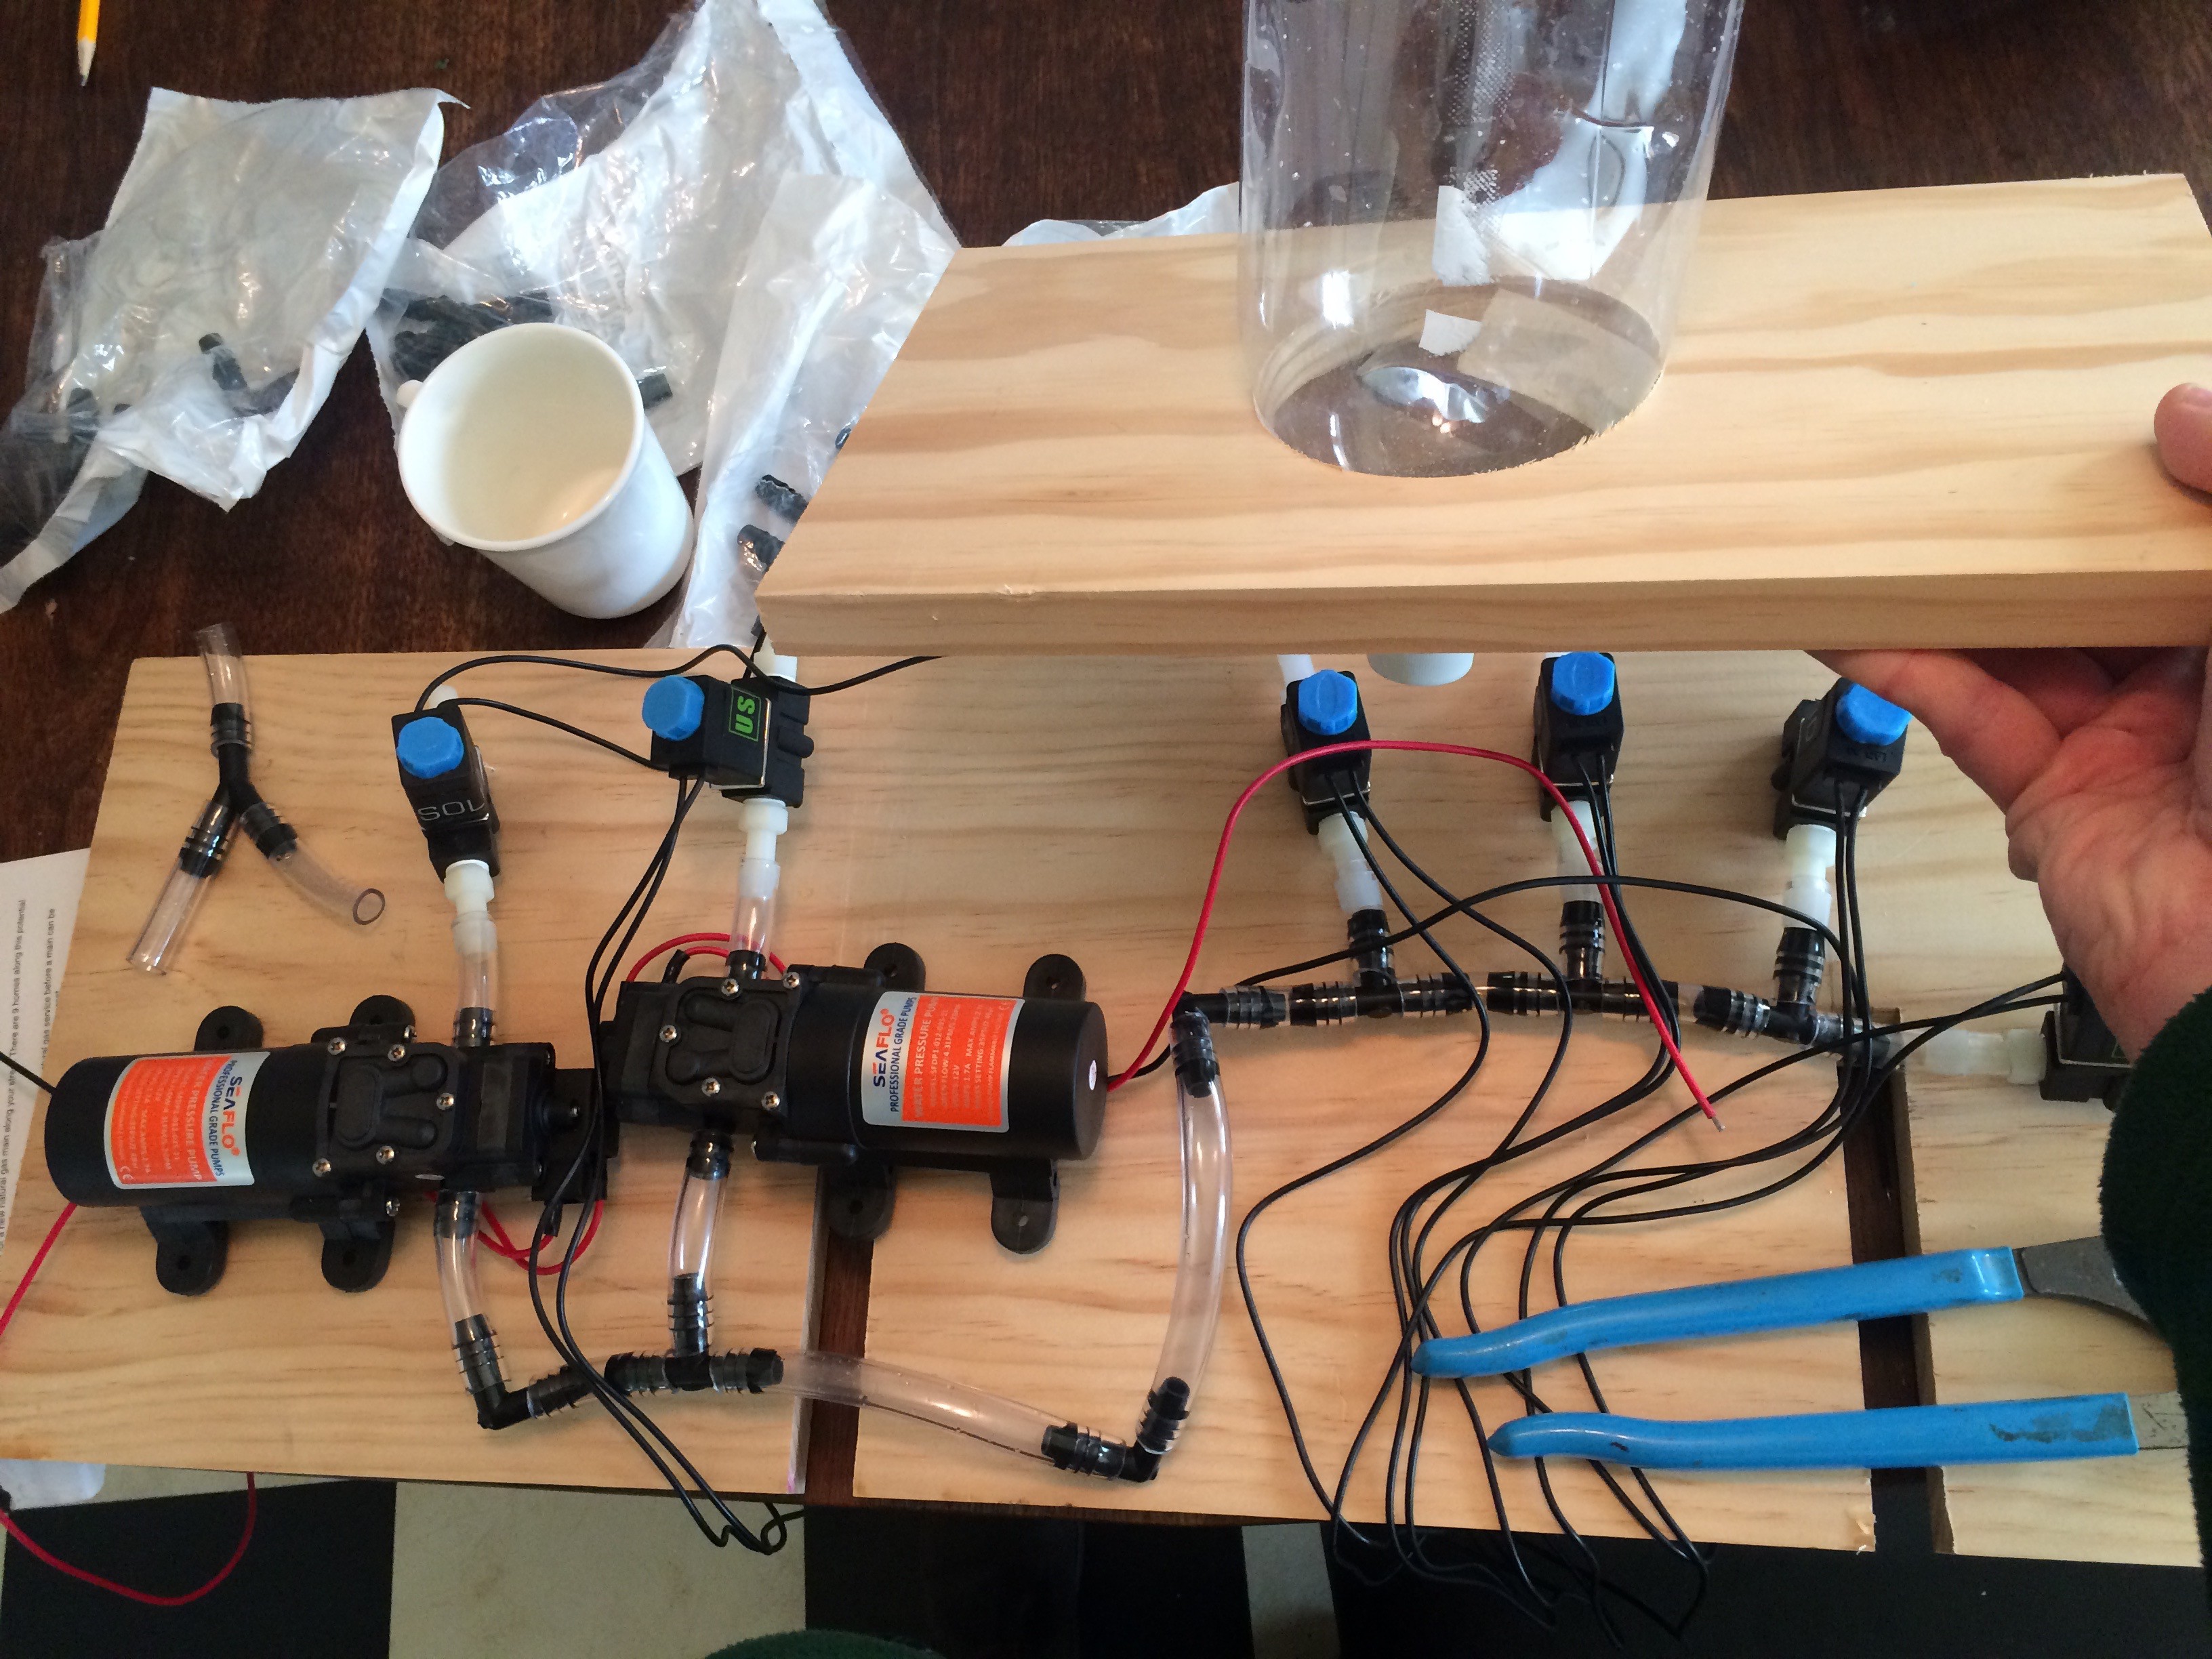
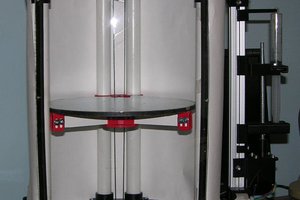
Tintype Develop-o-tron
Automated tintype (and film?) developing machine
 Jorj Bauer
Become a Hackaday.io member
Already have an account? Log in.
Just one more thing
To make the experience fit your profile, pick a username and tell us what interests you.
Pick an awesome username
hackaday.io/
Your profile's URL: hackaday.io/username. Max 25 alphanumeric characters.
Pick a few interests
Projects that share your interests
People that share your interests


 Douglas Miller
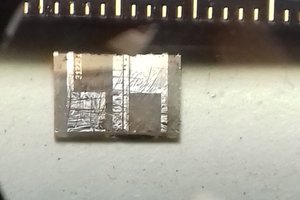
 Razvan Caldararu
 shlonkin
Wish I did something like this when I had a darkroom back in the 70's. I worked with b/w and color by hand and even exposed/developed on glass and ceramic plates. Any updates after two years ? :-)