 avishorp
The hat design was particularly challenging. The hat has to be small enough to be comfortably worn, it should sit tightly on the head, allowing the person wearing it to move freely and to fit on many head sizes.
I used rubber head straps from a cheap LED headlamp. After testing several design, I ended with a tight 3D printed housing for the PCB and the bettery mounted on top of a curved head pad (also 3D printed). On the side facing the head, I glued a piece of soft foam to make wearing it a little more comfortable and to absorb the hits. The two parts (hosing and head pad) were glued together with the rubber strap passing between them. The following drawing illustrates that:
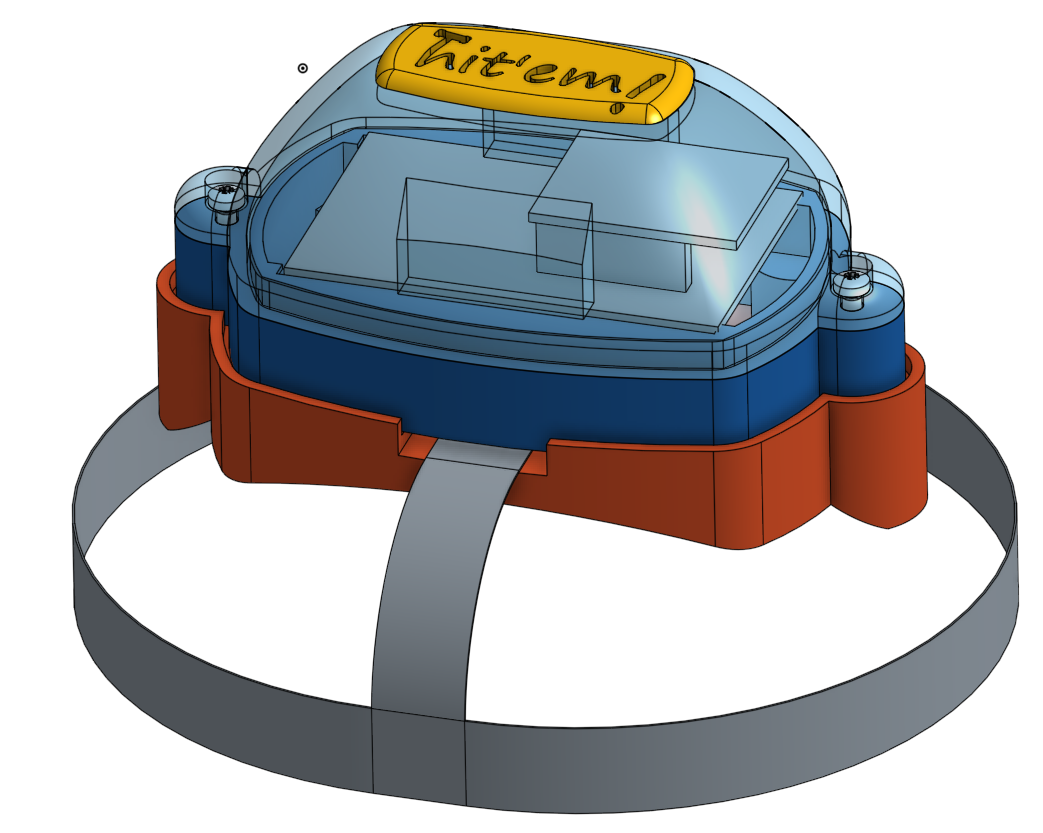
Let's have a more detailed look at the construction:
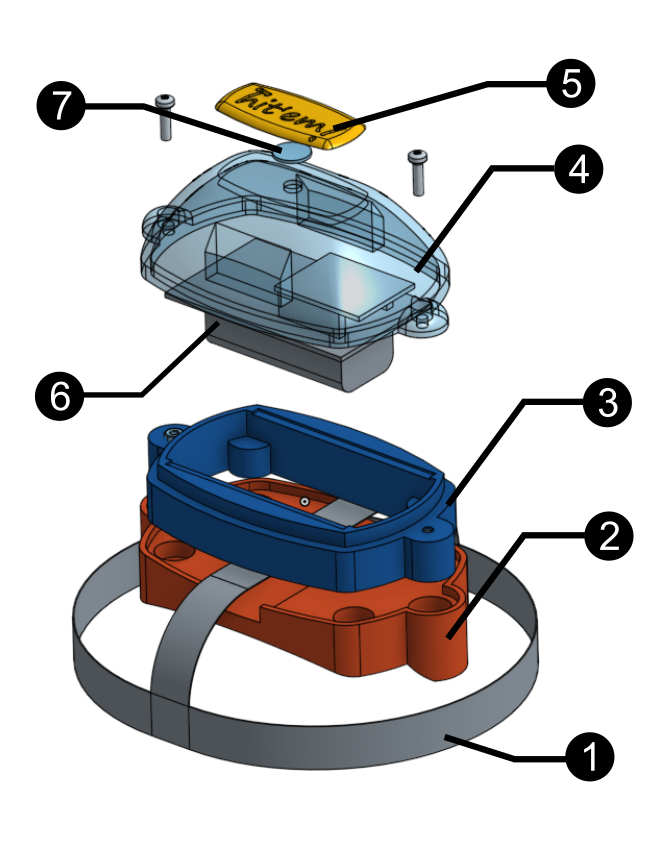
On the lower side, the head pad (2) and the base (3) are glued together, with the head strap (1) passing between them. In the original design, these parts were supposed to be connected using magnets, but that design was not strong enough to withstand the hits. On the upper side, we see the semi-transparent dome (4) on which the Piezo sensor is mounted and the tab (5) that is put on to of that, to extend the hit area. They are all glued together. The circuit (6) is mounted on the bottom side of the dome. It is lightly glued, just to make it easy to disassemble - the circuit is pressed between the base and the dome.
The two parts - the upper and the lower - are connected with two M3 screws which can be disassembled to gain access to the battery.
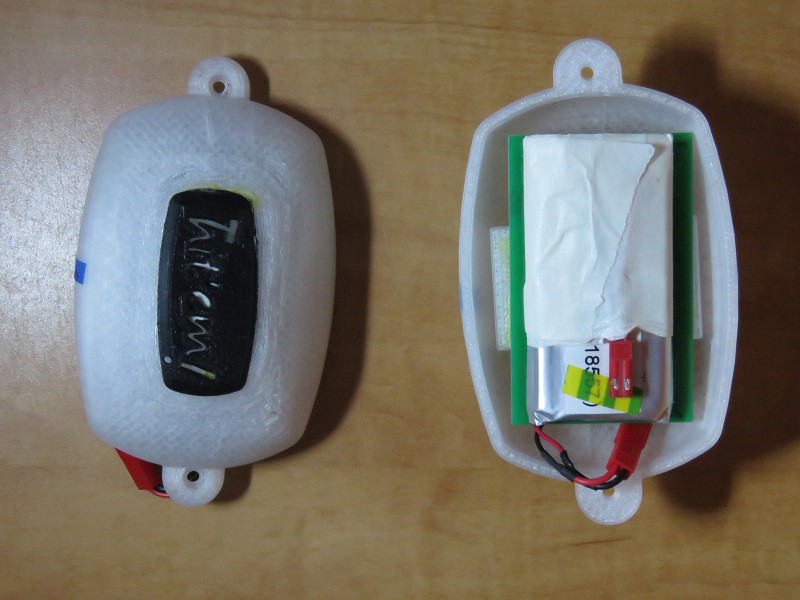
Here's how the final result looks like:

Discussions
Become a Hackaday.io Member
Create an account to leave a comment. Already have an account? Log In.