Close
0%
0%

The Honeybadger, it doesnt give a s...

A fast, nimble electric vehicle, that looks a little tougher than the average bike...

Similar projects worth following
I've been a fan of electric vehicles for some time. Their torque and off the line acceleration can be (when not advertised to the 'green' crowd) astounding. However, that comes at a price...So currently I've built a couple of electric bikes, as that's about all I have room for in my budget (and barely, at that, but Ill give you some tips and tricks that allow you to trade some time for money and make the end product a little cheaper...After all, time is money ;) )

P.S. In reference to the 'green' crowd: Nothing against being environmentally friendly, however that is not the selling point of EVs for me, at least not a big one. That being said, some elements of this bike, particularly the battery, involved the recycling of parts otherwise destined for the land fill, and is thus, is more environmentally friendly than going and buying one off the shelf...and far more economical as well. ;)

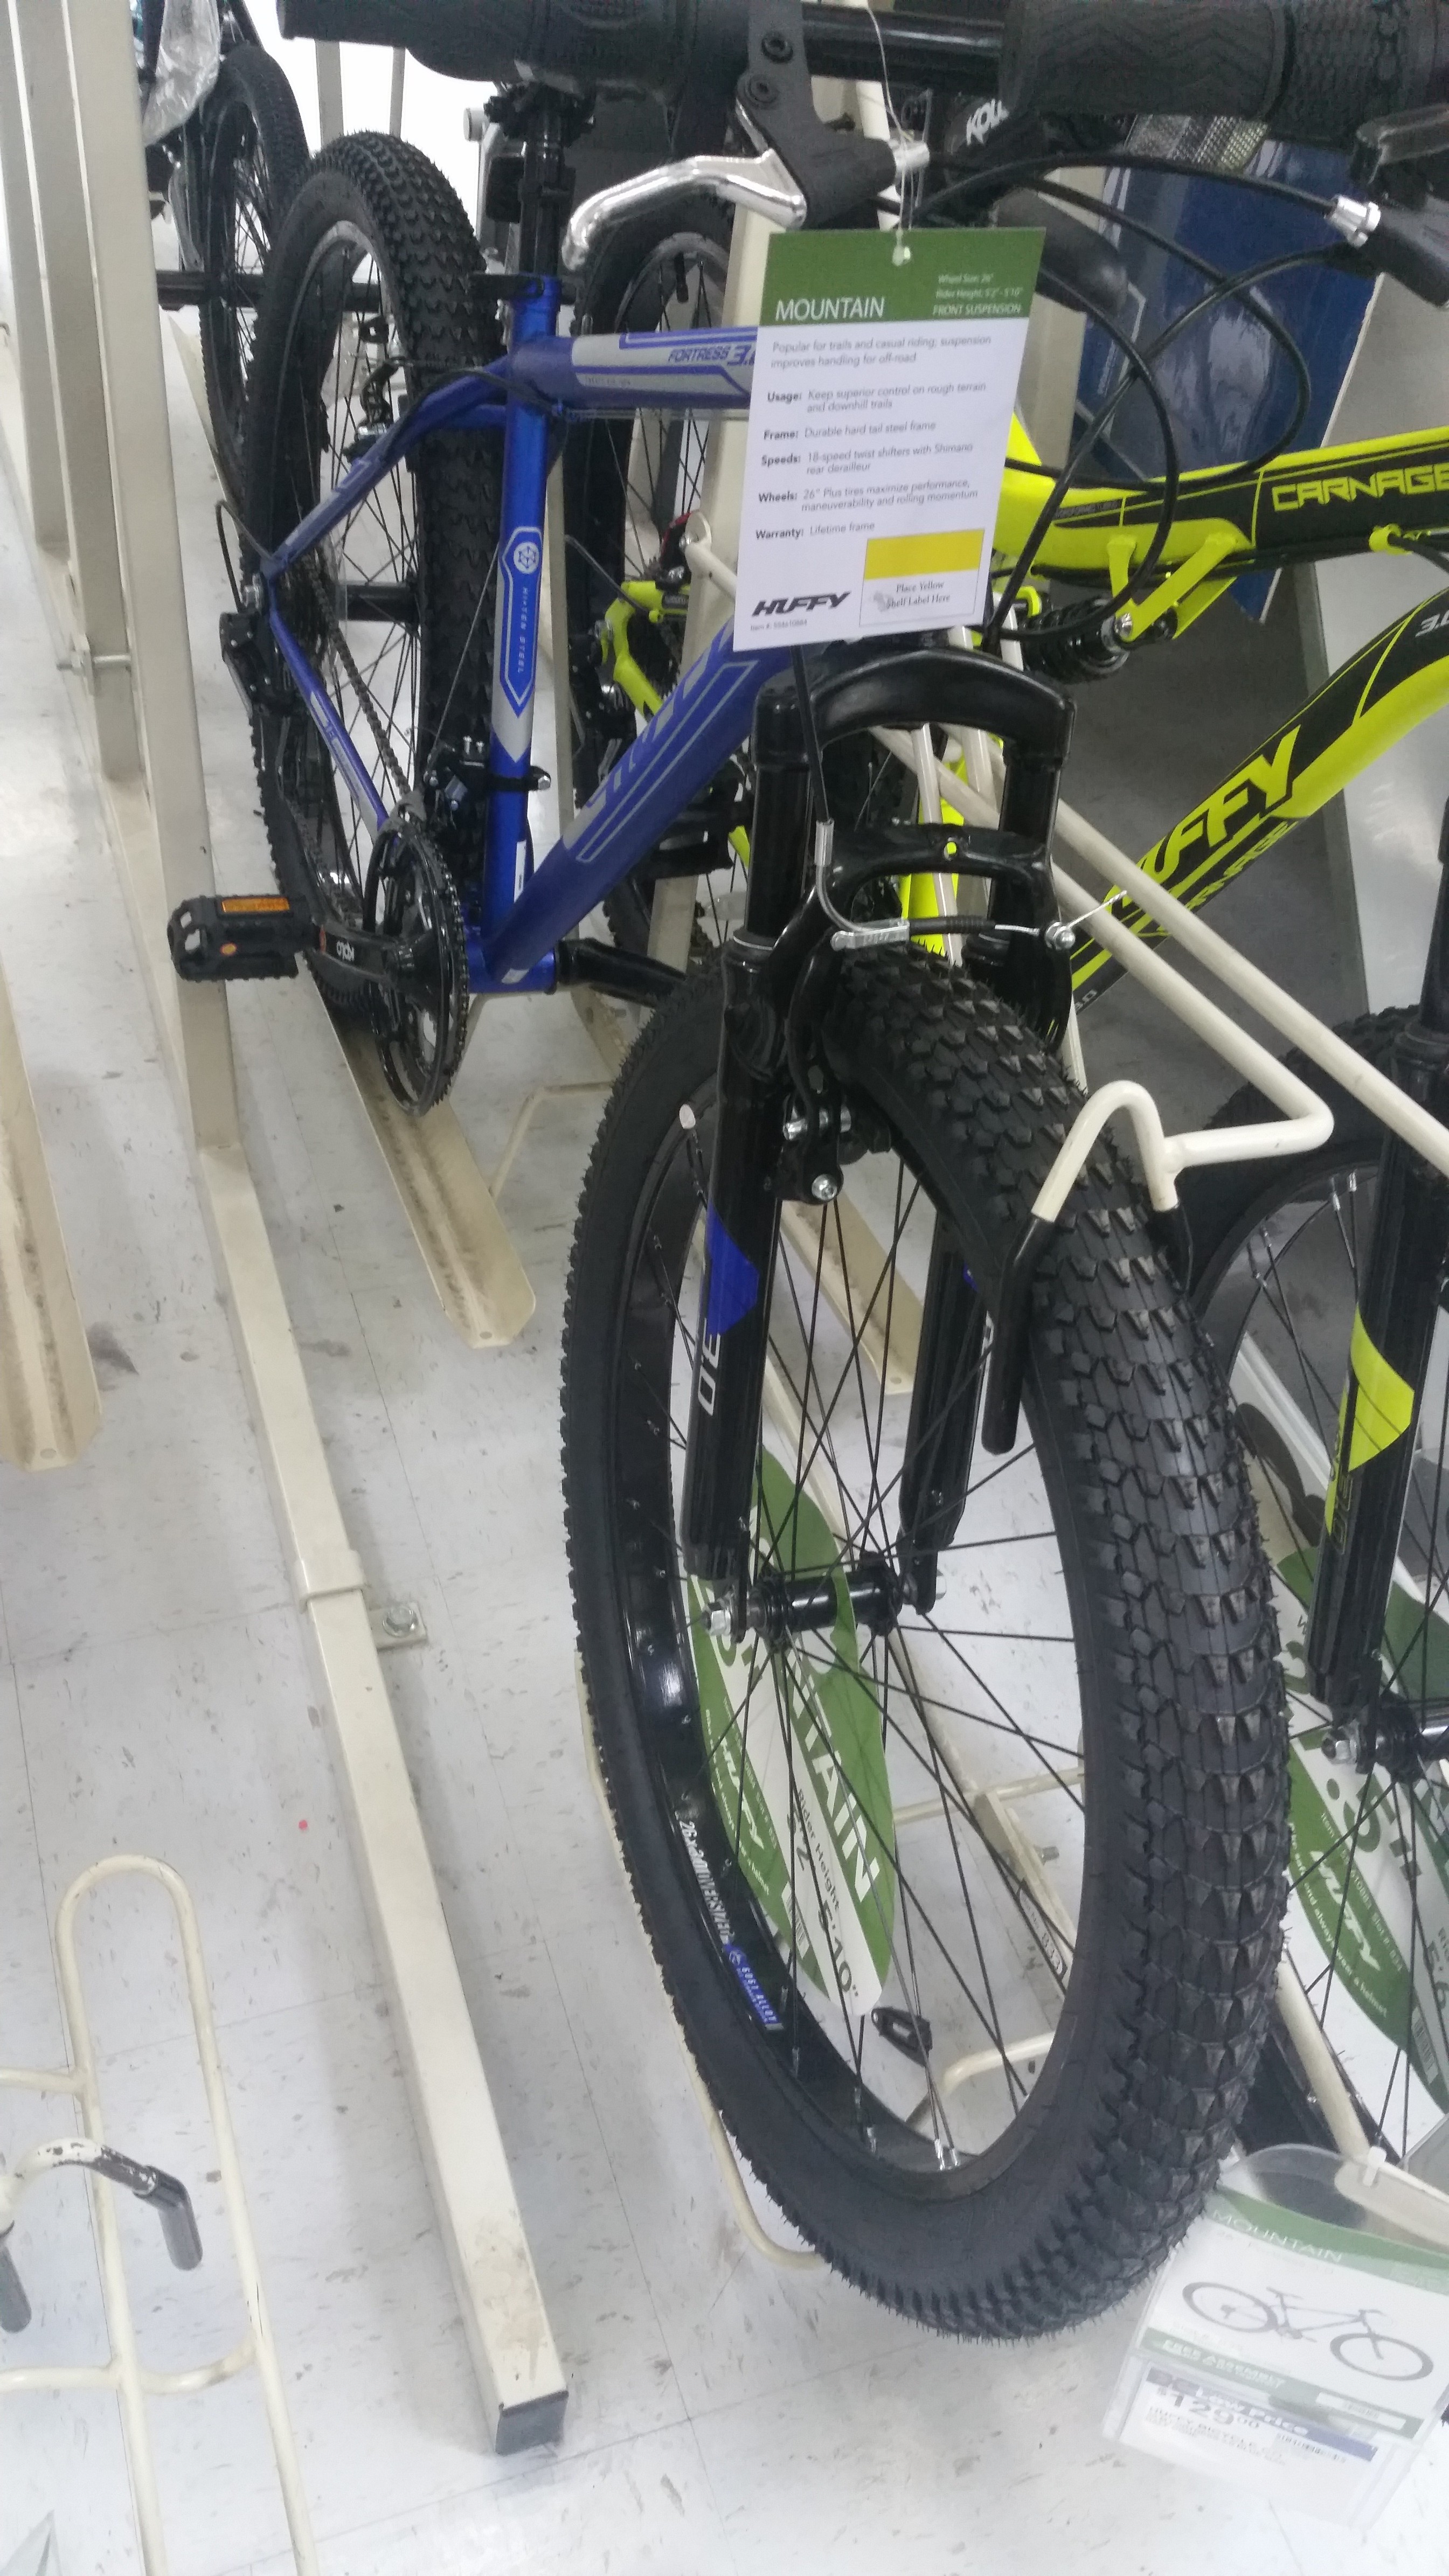
The basic idea of this project is to get a 'fat bike' frame and tires, toss on a hub motor, controller, and battery, clean it up a bit, and have a mean, green, electric toe crushing machine!

There is of course a sacrifice in efficiency by going with large tires and a larger frame, of course. More rolling resistance, added weight, etc. However the trade offs, at least in my opinion are worth it. I live in the midwest, where rain is a more than common occurrence, which often leaves the roads and sidewalks damn. My last e-bike was built on a more standard frame, with standard sized wheels. They didn't have a lot of traction, which lead to a handful of crashes, however thankfully at low speeds, and while wearing adequate safety gear (don't forget your helmet!) This time around, I wanted to avoid that. And thus far, these tires are doing the job. Furthermore, bigger tires makes for a smoother ride. A fair bit more cushion, etc. Lastly, it stands out.

Now, I'm not some kind of self centered person who likes to stand out from the crowd, far from it in fact. However if you stand out while riding a bike, that means people notice you. Particularly people in cars, riding alongside you that would otherwise pay no or minimal attention to you otherwise. I get a lot of people looking at me as I'm riding this thing around, but in this case, that's a good thing! This means they are acknowledging that I'm there, and are less likely to make unplanned rapid contact with my bike and I.

This bike was both fun to build (well...other than the battery, but more on that later), and is definitely fun to ride. It cruises right around 27-30mph on flat roads, and with a 1000w controller, gets about 7-10 miles without pedaling (and that's in fairly hilly terrain, I might add) on my scratch built, 13s 10.5ah pack. I am considering downgrading to a lower wattage controller in order to have a longer range. This will result in slower acceleration (however that will be easily made up by pedaling), but will draw less current, prolonging both the range of the pack, and the overall lifespan. Overall, I'm happy with how it turned out, and is a great means of secondary (or even primary, once I get some panniers made up) means of transportation.

I'm unsure of how much detail I will be able to provide, as I had to get the bike assembled at an expedited rate, as it became my means of getting to work for a short duration as I was repairing my car. That being said, I didnt get to take as many pictures as I would've liked for a full tutorial. If you have any questions regarding particular details of this build, don't hesitate to leave a comment below, and I'll see what I can do :)

  • 1 × Hub Motor, Motor Controller, throttle (preferably thumb, not twist) I'm using a 'kit' from ebay that contained all of this.
  • 1 × Bike Frame: With 3" or bigger tires
  • 1 × XT60 Connectors Seriously, these are awesome.
  • 1 × Zip ties, electrical tape, hot glue I really should take up stock in these...
  • 1 × Cells. Lots and lots of 18650 cells. Havested cells from laptop batteries headed to the landfill. Be sure to test them carefully if you do this. More on that later.

  • Testing cells...This is the most time consuming part of such a project.

    Glytch05/09/2016 at 21:04 0 comments

    Most of your time will be spent in this phase, if you are building your own pack from scratch. Equivalent packs cost $400 and up, something that I just can't justify. I wast about to settle for an SLA pack again (I used one on my old ebike. Heavy, degraded quickly in the high vibration environment, etc.)

    So thankfully, I work at a computer repair shop. We get a fair few laptop batteries either from systems being recycled, or just old batteries after being replaced. Generally, one or a set of cells goes bad in these packs, while the others are often good as new. Rather than let these go to waste, I figured Id squeeze a little more life out of them. Best part is, they were free! There would have been a cost associated with sending these to a recycling center, and any leftover/bad cells will still be disposed of properly.

    In this particular video, I am discussing building a 20ah pack. I have since changed plans and built a 10ah pack. Sadly there will not be a Part 2, at least in this manner. I made some mistakes that Ill talk about in an overview video of the bike, that lead to me making this decision. At some point I will do a proper series on how to construct a pack using recycled cells (I still have plenty left over ;) )

View project log

  • 1
    Step 1

    Get a bike. Preferable with big wheels. I'm using a frame that was on

    clearance at WalMart for $130. My guess is it was stock from winter, as

    these tires are supposedly good for snow (we didn't exactly have a lot

    of it this year though...maybe that's why the frame was on clearance?

    :P) This frame is alright, however the suspension is a little on the weak side.

  • 2
    Step 2

    Replace the seat. Seriously, get something a bit more comfortable, preferably with a little padding/springs. Even small bumps at the 30mph this bike does, even with the large tires, is still enough to make you wish you had. The old seat seen here is literally vinyl or some other cheap material, over a plastic molded shape. Invest a good $25 or more in something decent. Your back and bum will thank you later.

  • 3
    Step 3

    Take it for a test ride. Always test your things BEFORE modifying/hacking them. Not only does this give you a better idea of how things are supposed to work, it also gives you a chance to check for faulty hardware and other problems before you really dig in. In particular, I noticed the brakes will need beefing up...more on that later.

View all 4 instructions

Enjoy this project?

Share

Discussions

Similar Projects

Does this project spark your interest?

Become a member to follow this project and never miss any updates