Close
0%
0%

Raspberry Pi in the Sky

Jamming a Pi and a piCamera into a rocket payload for fun

Similar projects worth following
As part of a college rocketry club, I built and launched a Public Missiles Callisto for NAR level-1 high power rocket motor certification. The Callisto has an optional payload bay, and like any good hacker I wanted to make use of it. With just a week for design and construction, I whipped together this Raspberry Pi project.

Final result first; the raw video captured at launch: https://www.youtube.com/watch?v=ih6I0QhUmd0

Challenges:
Spend a little money as possible, by using stuff from my workshop.
Use as little time as possible, because I have only one week, and there are exams to study for.
The Pi does not fit into the payload tube!

First steps

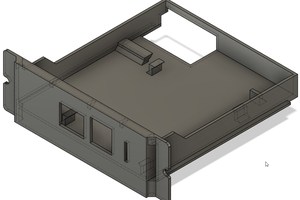
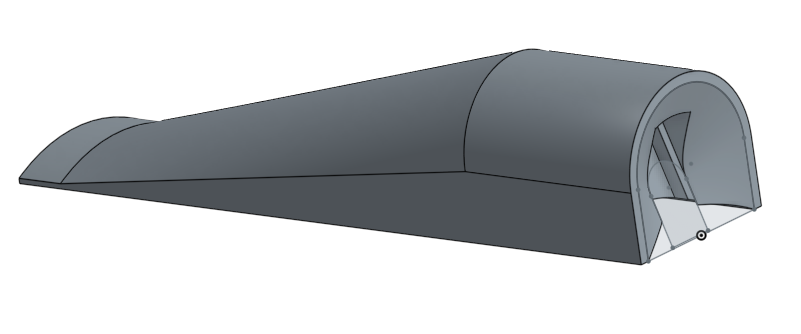
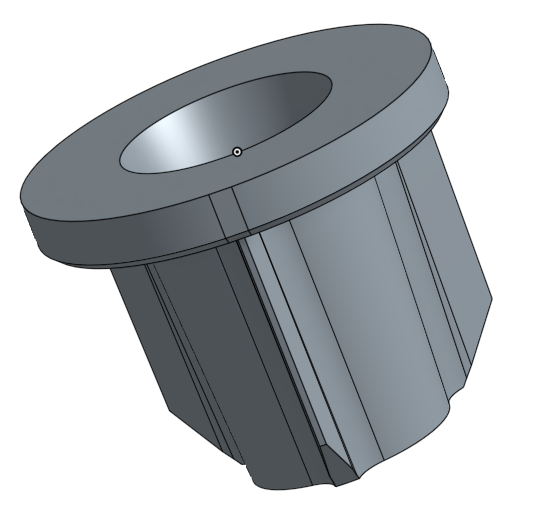
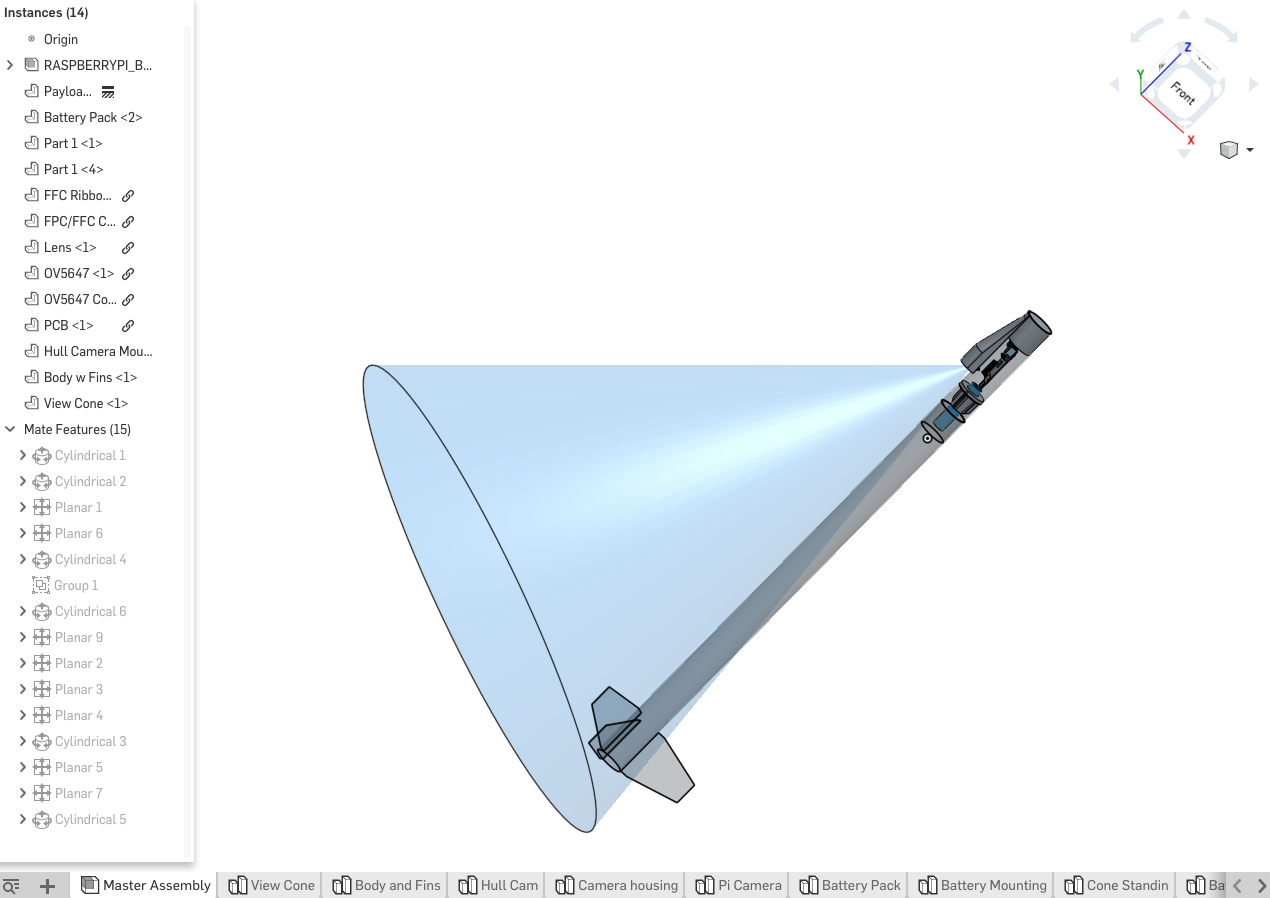
I approached this project by first mocking up my payload options in CAD, I took measurements of the rocket and used OnShape to build a 3D model of the relevant volumes. I then quickly drafted up the additional components; battery, camera module, and Pi.

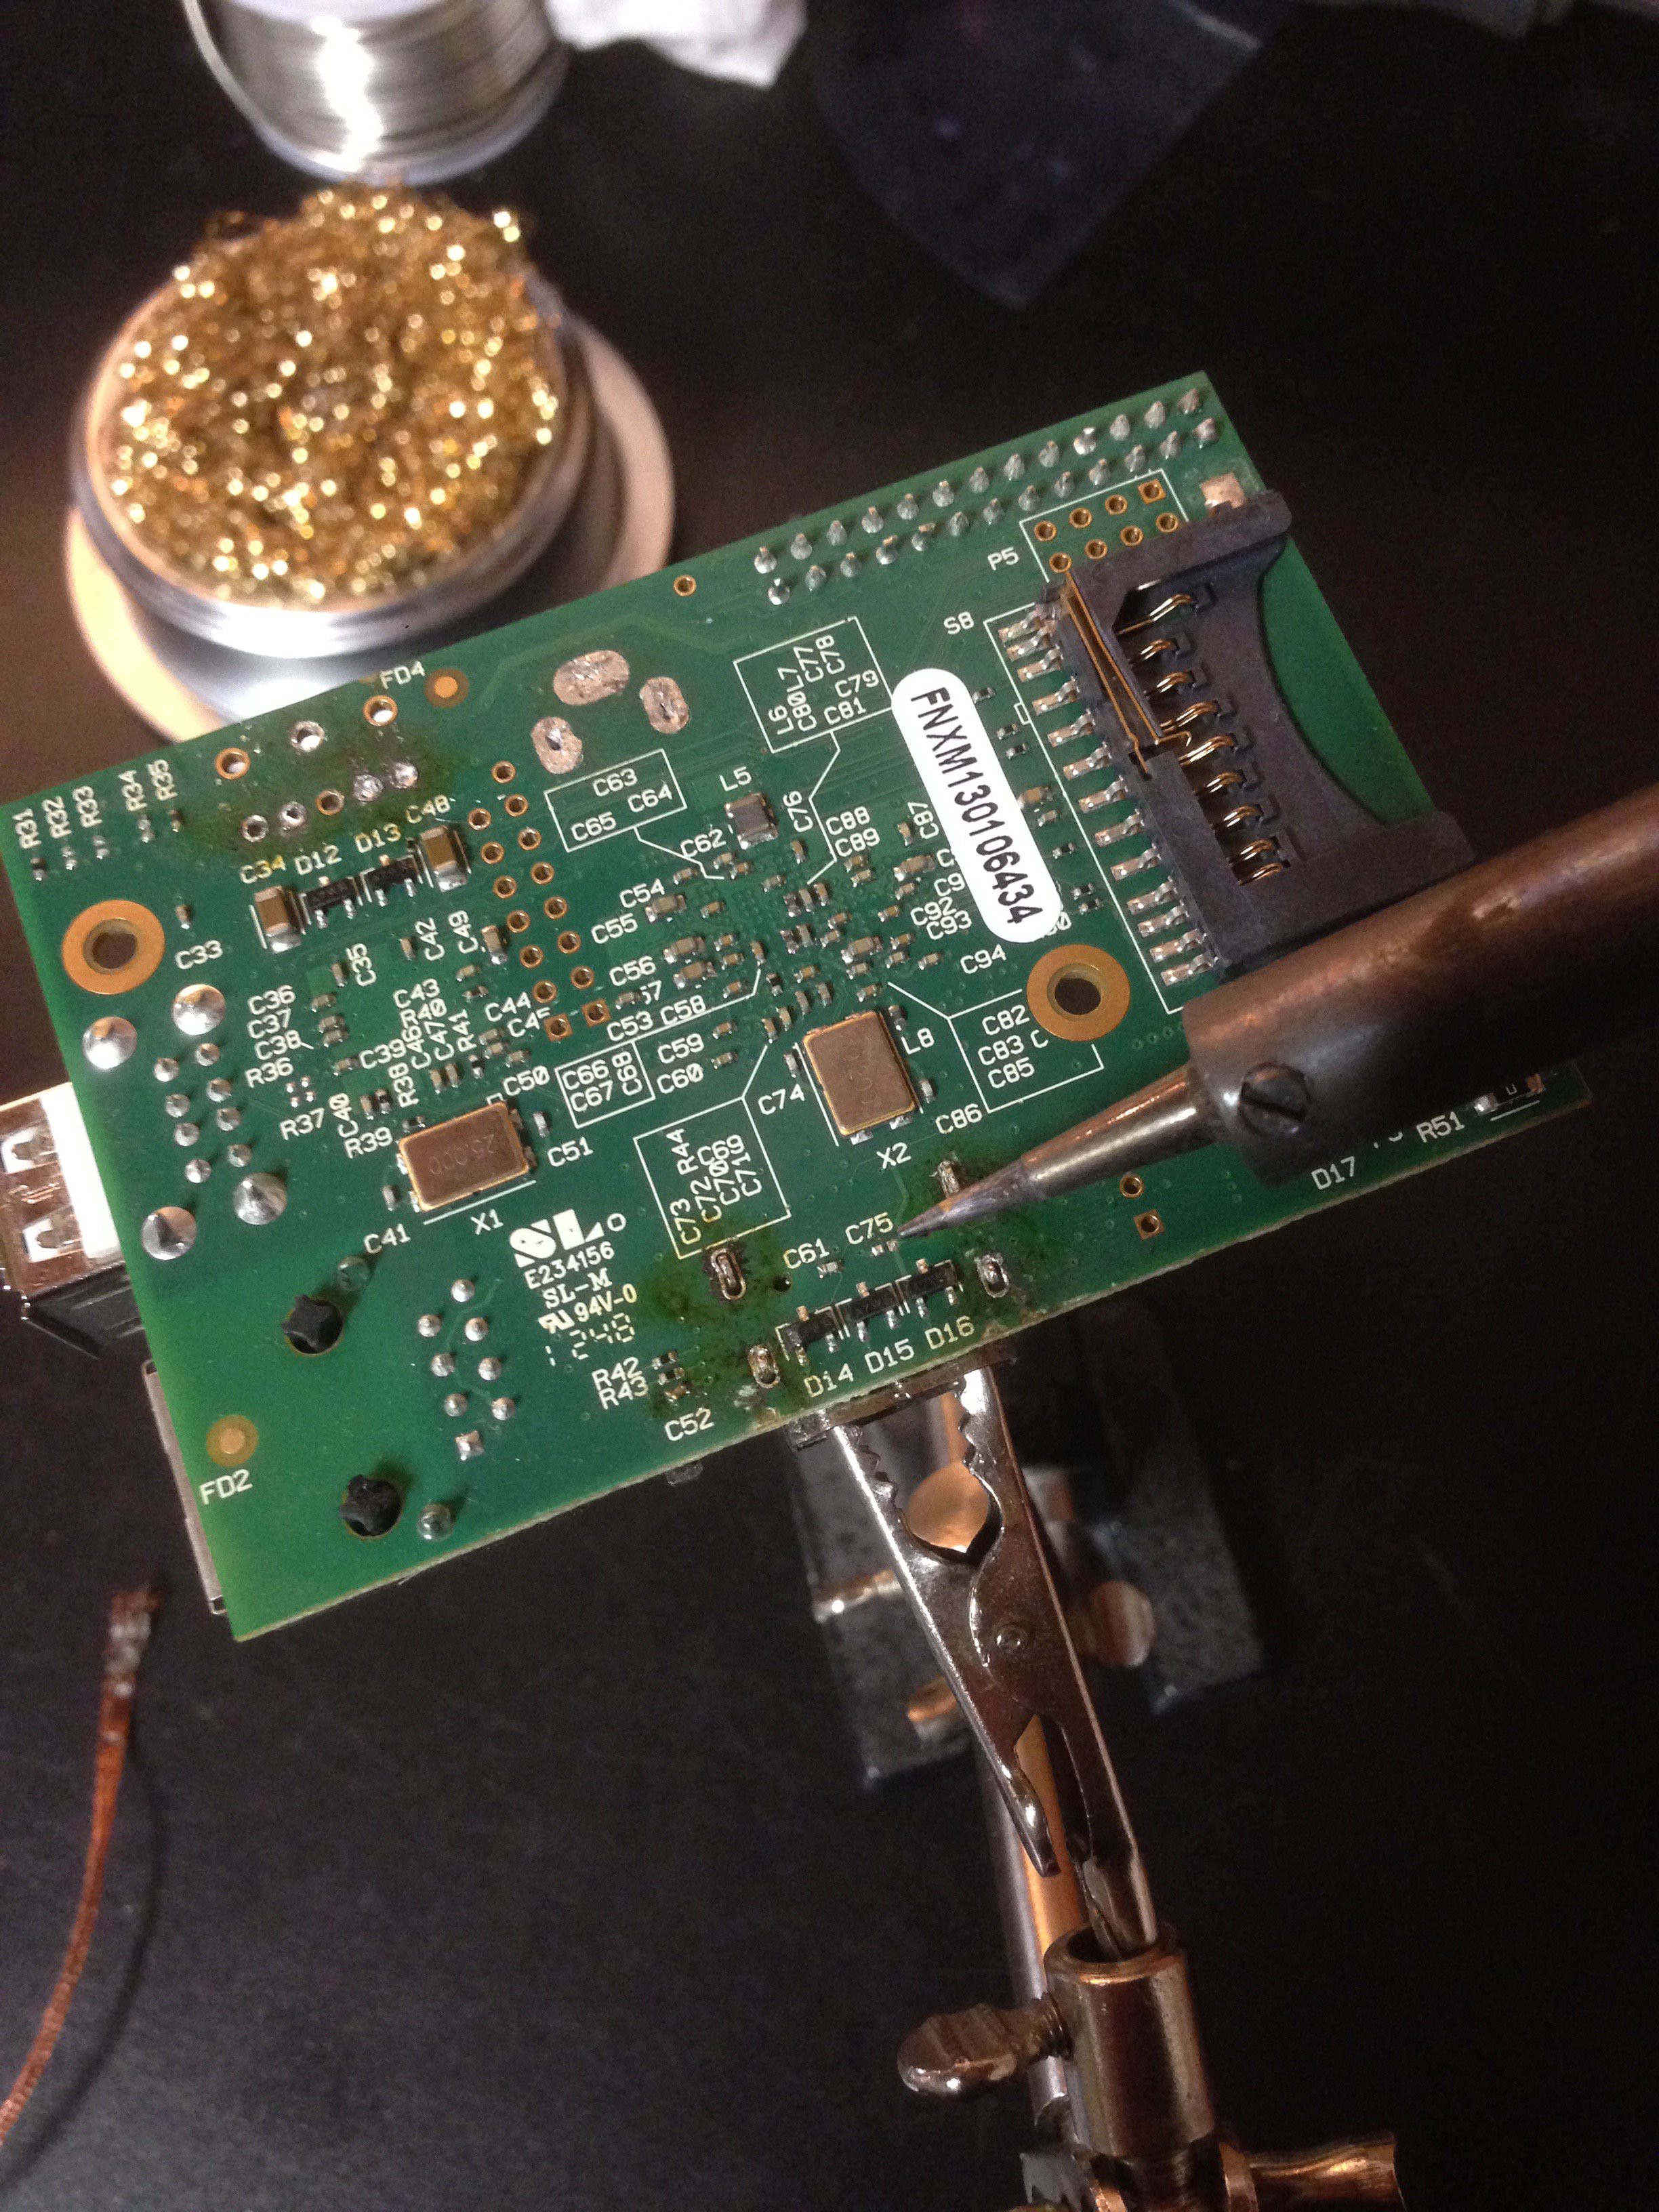
In searching for appropriate payload electronics, the Pi seemed the ideal candidate; I have a couple of older models sitting around collecting dust, and they're light and reasonably durable. A USB webcam can be easily attached, as can USB storage. As it happens, the USB webcams I had on had were all very crummy, and the Pi camera module is quite good for $19.

  • Flight of the Pi

    Ben Rockhold03/19/2018 at 22:01 0 comments

    On April 23 2016, I travelled with my club to Mansfield WA to shoot rockets.

    The Pi-in-the-Sky travelled well, and somehow everything was still working when I reached the launch site. In a couple of tests (throwing the rocket around like a football) the Pi stayed intact and filming.

    The launch event went well, with only a few rockets blowing themselves up. I've never built a rocket motor by hand before, so I was a bit worried mine would join the debris.

    The motor fired for just over one second, putting the rocket on a 2000' trajectory. From really quick napkin math relating the 65º FOV to the length of road shown just before parachute ejection, this height can be verified.

    The video gets a little spin-tastic after 10 seconds of ascent, as the camera ends up pointing at the horizon and the ground alternatingly. I wish I'd had a design for stabling descent. But it did capture the launch quite well. I was worried about stability, but the flight was very straight, and didn't tip over or spin from an asymmetric drag profile.

  • CAD: An aeroshell for the camera, and a battery holder.

    Ben Rockhold03/19/2018 at 21:34 0 comments

    [This log was written... rather late. I'd rather publish it anyway.]

    So the Pi fits into the tube, that's nice. But how do I mount the Pi Camera to the rocket? I have a 3D printer on hand, I guess I should print up an aerodynamic housing for it. The camera has a 60º FOV, and I'd like it to be able to see down the length of the rocket without wasting too much space on the body. It's also important (probably?) that the shell not stick out too far from the body; I don't know much about rocket science, but it's probably better to keep the drag profile more symmetric.

    I whipped up some models of the rocket's parts in Onshape, the online Solidoworks-like parametric modeling program. It's free to use for public documents, and as much as I like the idea of using OpenSCAD I find it unacceptably laggy for modeling curves. Also its STL export is usually bad. But I digress.

    The Aeroshell's overall shape is produced by lofting a contour from the thin edge up to the thick edge, and then performing subtraction booleans with shapes designed to model the space required by the Pi's camera module. The whole thing is pretty long, but the length chosen is totally arbitrary -- I didn't do any math to work out the drag, and I could not find any free (or free-to-students) software for modeling the aerodynamics.

    To power the Pi, I bought a cheap $6 USB battery bank. It's internally just a small PCB and a large lipo cylinder, and while initially I planned to cut it from its case and solder the power lines directly to the Pi, I noticed that the USB ports on the Pi could be made to point skyward. I assumed the acceleration of the motor would only hold the USB connectors in better, and I don't care what happens when it reaches apex -- I only need the video on the way up. The Pi model B does not have a power controller, and its USB port 5v and GND are connected directly to the same lines as the power input -- you can power it from any of its ports. While this is a gross misuse of the cable, I built a male-male USB  A cable to power it. Then I designed a simple socket to hold the battery bank inside the payload bay. I printed this with very low infill and two shells. It is a press-fit with the battery, and has a two-way chamfer so that it tightens at the middle. The USB battery fit in very snugly. The fins of the mounting are also designed to press-fit into the lowest part of the payload bay -- a cardboard and plywood cylindrical insert to which the parachute is mounted.

    Finally, I put together the whole assembly to prove to myself that it would it.

    https://cad.onshape.com/documents/6eca3405413e9fad8634b65a/w/5b56ec4018c5d217378c39aa/e/275421ba99922c09107bcdfc

    Shown above, the completed assembly.

    You might notice that the SD card is pointed downwards. The Pi's SD card slot is notoriously flaky, and the SD card is the only media from which the Pi can boot -- and if it is suddenly unplugged, the Pi will probably crash. To prevent data corruption in the event of a sudden disconnect, I mounted the Pi's SD card as read-only, and changed the fstab file to persist this change. Then I used a gratuitous amount of Kapton tape to hold the SD card firmly into the socket.

    I was concerned by the number of press-fit parts going into the payload bay, given the acceleration of the rocket motor -- especially the chute ejection charge. At apex, the motor ignites a delayed black powder charge, blowing a lot of hot gas up the body and violently shoving the parachute and payload bay out of the body. Before my rocket flew, I saw a couple of rocket's chute charges completely destroy the upper rocket body due to overpressure. I used a dry lubricant on the friction interface of the payload tube, to reduce the necessary ejection force.

  • Fitting the Pi

    Ben Rockhold05/13/2016 at 07:14 0 comments

    Using my 3D model, I quickly discovered that the Pi cannot simply fit into the payload tube -- the RCA, HDMI, and 1/8" audio jack all extend well past the 52mm internal diameter. In fact, the model B board itself is slightly too large!

    Using my well-worn soldering station, I not-so-carefully amputated the excess components. This approach seems safe, as I have never once used those ports.

    Removal of Pi HDMI

    (wow, this image is enormous, TODO: crop it to fit in this text better)

    With the primary offenders removed, the Pi is still a hair too wide for the payload bay. (TODO: insert picture of attempted fit here!) The payload bay is conveniently made of a flexible plastic, and with gentle pressure, can be deformed elastically into an oval. Now the Pi can fit! The nose cone and body connector tubes restore the two ends of the tube to proper cylinders, and the distortion is barely noticeable from the outside. Inside, the Pi is clamped quite firmly along the two longest edges. (TODO: more images of this fit)

View all 3 project logs

Enjoy this project?

Share

Discussions

Similar Projects

Does this project spark your interest?

Become a member to follow this project and never miss any updates