[This log was written... rather late. I'd rather publish it anyway.]
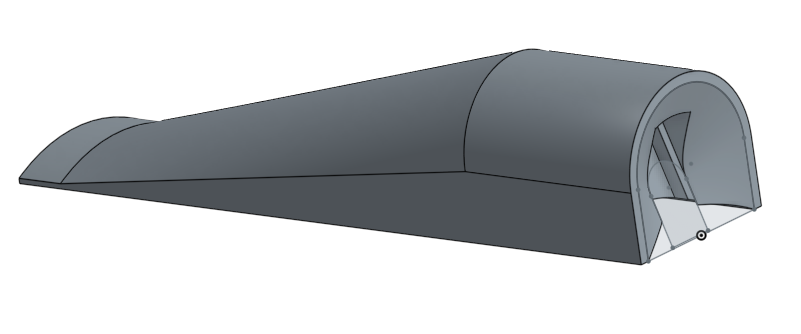
So the Pi fits into the tube, that's nice. But how do I mount the Pi Camera to the rocket? I have a 3D printer on hand, I guess I should print up an aerodynamic housing for it. The camera has a 60º FOV, and I'd like it to be able to see down the length of the rocket without wasting too much space on the body. It's also important (probably?) that the shell not stick out too far from the body; I don't know much about rocket science, but it's probably better to keep the drag profile more symmetric.
I whipped up some models of the rocket's parts in Onshape, the online Solidoworks-like parametric modeling program. It's free to use for public documents, and as much as I like the idea of using OpenSCAD I find it unacceptably laggy for modeling curves. Also its STL export is usually bad. But I digress.
The Aeroshell's overall shape is produced by lofting a contour from the thin edge up to the thick edge, and then performing subtraction booleans with shapes designed to model the space required by the Pi's camera module. The whole thing is pretty long, but the length chosen is totally arbitrary -- I didn't do any math to work out the drag, and I could not find any free (or free-to-students) software for modeling the aerodynamics.

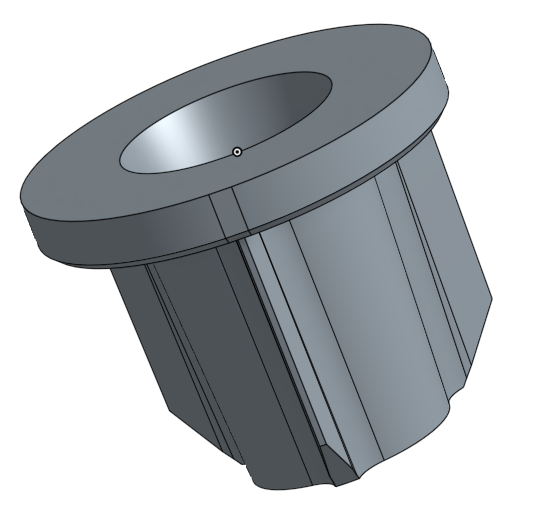
To power the Pi, I bought a cheap $6 USB battery bank. It's internally just a small PCB and a large lipo cylinder, and while initially I planned to cut it from its case and solder the power lines directly to the Pi, I noticed that the USB ports on the Pi could be made to point skyward. I assumed the acceleration of the motor would only hold the USB connectors in better, and I don't care what happens when it reaches apex -- I only need the video on the way up. The Pi model B does not have a power controller, and its USB port 5v and GND are connected directly to the same lines as the power input -- you can power it from any of its ports. While this is a gross misuse of the cable, I built a male-male USB A cable to power it. Then I designed a simple socket to hold the battery bank inside the payload bay. I printed this with very low infill and two shells. It is a press-fit with the battery, and has a two-way chamfer so that it tightens at the middle. The USB battery fit in very snugly. The fins of the mounting are also designed to press-fit into the lowest part of the payload bay -- a cardboard and plywood cylindrical insert to which the parachute is mounted.

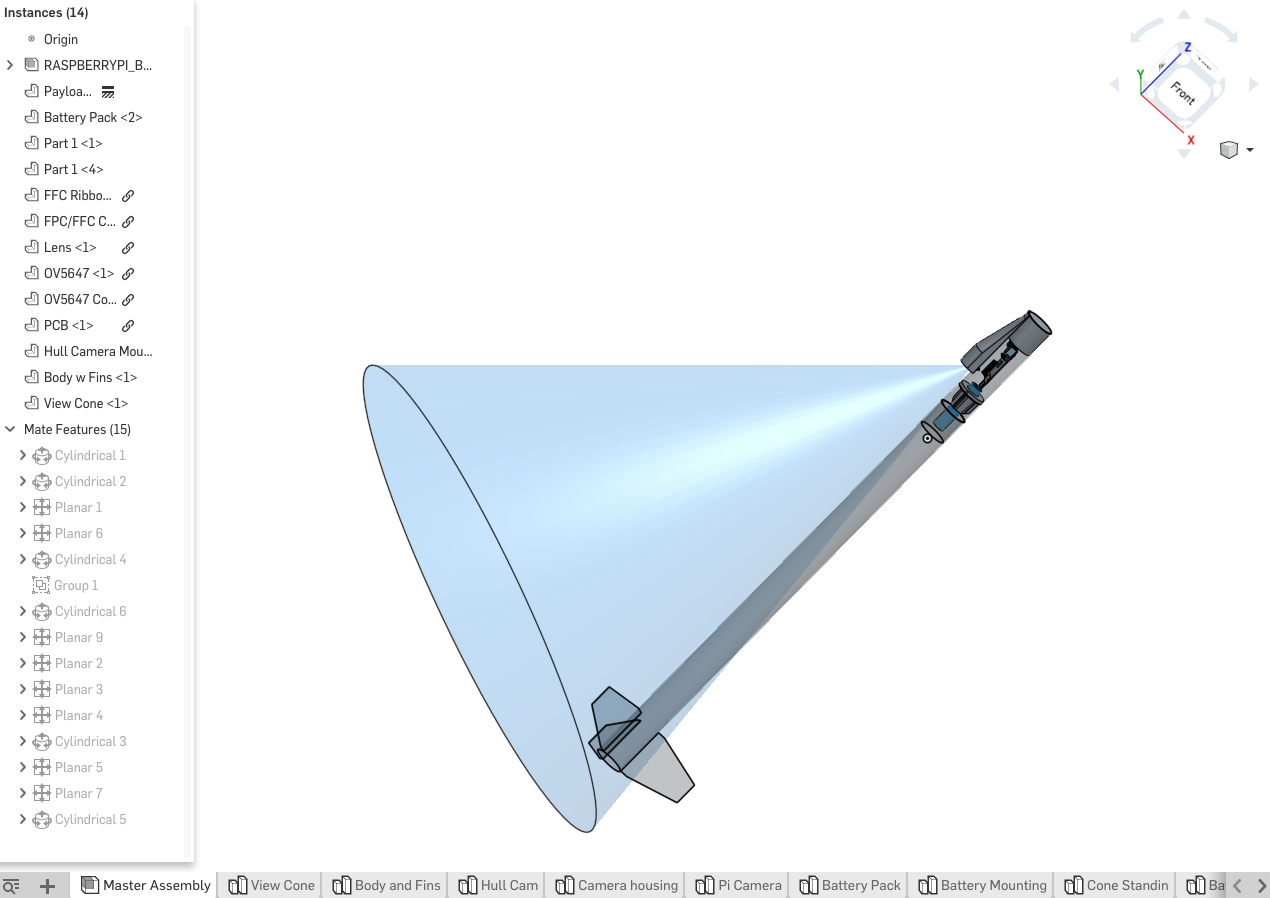
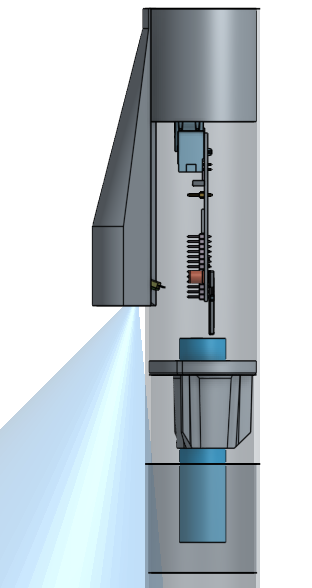
Finally, I put together the whole assembly to prove to myself that it would it.

Shown above, the completed assembly.

You might notice that the SD card is pointed downwards. The Pi's SD card slot is notoriously flaky, and the SD card is the only media from which the Pi can boot -- and if it is suddenly unplugged, the Pi will probably crash. To prevent data corruption in the event of a sudden disconnect, I mounted the Pi's SD card as read-only, and changed the fstab file to persist this change. Then I used a gratuitous amount of Kapton tape to hold the SD card firmly into the socket.
I was concerned by the number of press-fit parts going into the payload bay, given the acceleration of the rocket motor -- especially the chute ejection charge. At apex, the motor ignites a delayed black powder charge, blowing a lot of hot gas up the body and violently shoving the parachute and payload bay out of the body. Before my rocket flew, I saw a couple of rocket's chute charges completely destroy the upper rocket body due to overpressure. I used a dry lubricant on the friction interface of the payload tube, to reduce the necessary ejection force.
 Ben Rockhold
Discussions
Become a Hackaday.io Member
Create an account to leave a comment. Already have an account? Log In.