 Adam Smallcomb
Over the last week I have been trying several iterations and attempting to identify the form factor and composition for the common components needed.
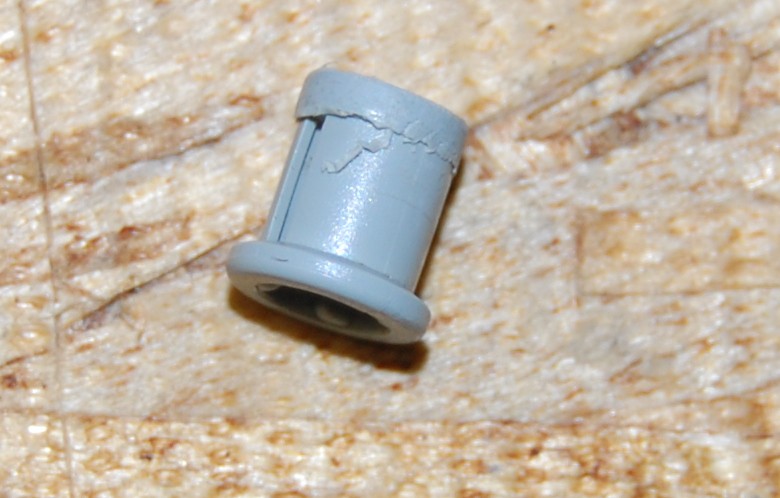
The first design choice I finalized was in how to mount the coil. I first made a prototype with a Technic Bush that I sanded one end of to look like this
I struggled with how I wanted the magnets to mount, I considered attaching to a 1x1 circle or making a custom part. In the end I decided on gluing a magnet to a Technic Bush like this  and then using a red version for the opposite polarity, this gives multiple mounting options and an easy way to identify polarity.
By having both parts mount in the same way I believe it will provide and better opportunity to demonstrate how they are two sides of the same thing, as well as providing reuse of more parts.
Here is a picture of a more finalized (and working) stepper motor which is one of the more complicated to lay out
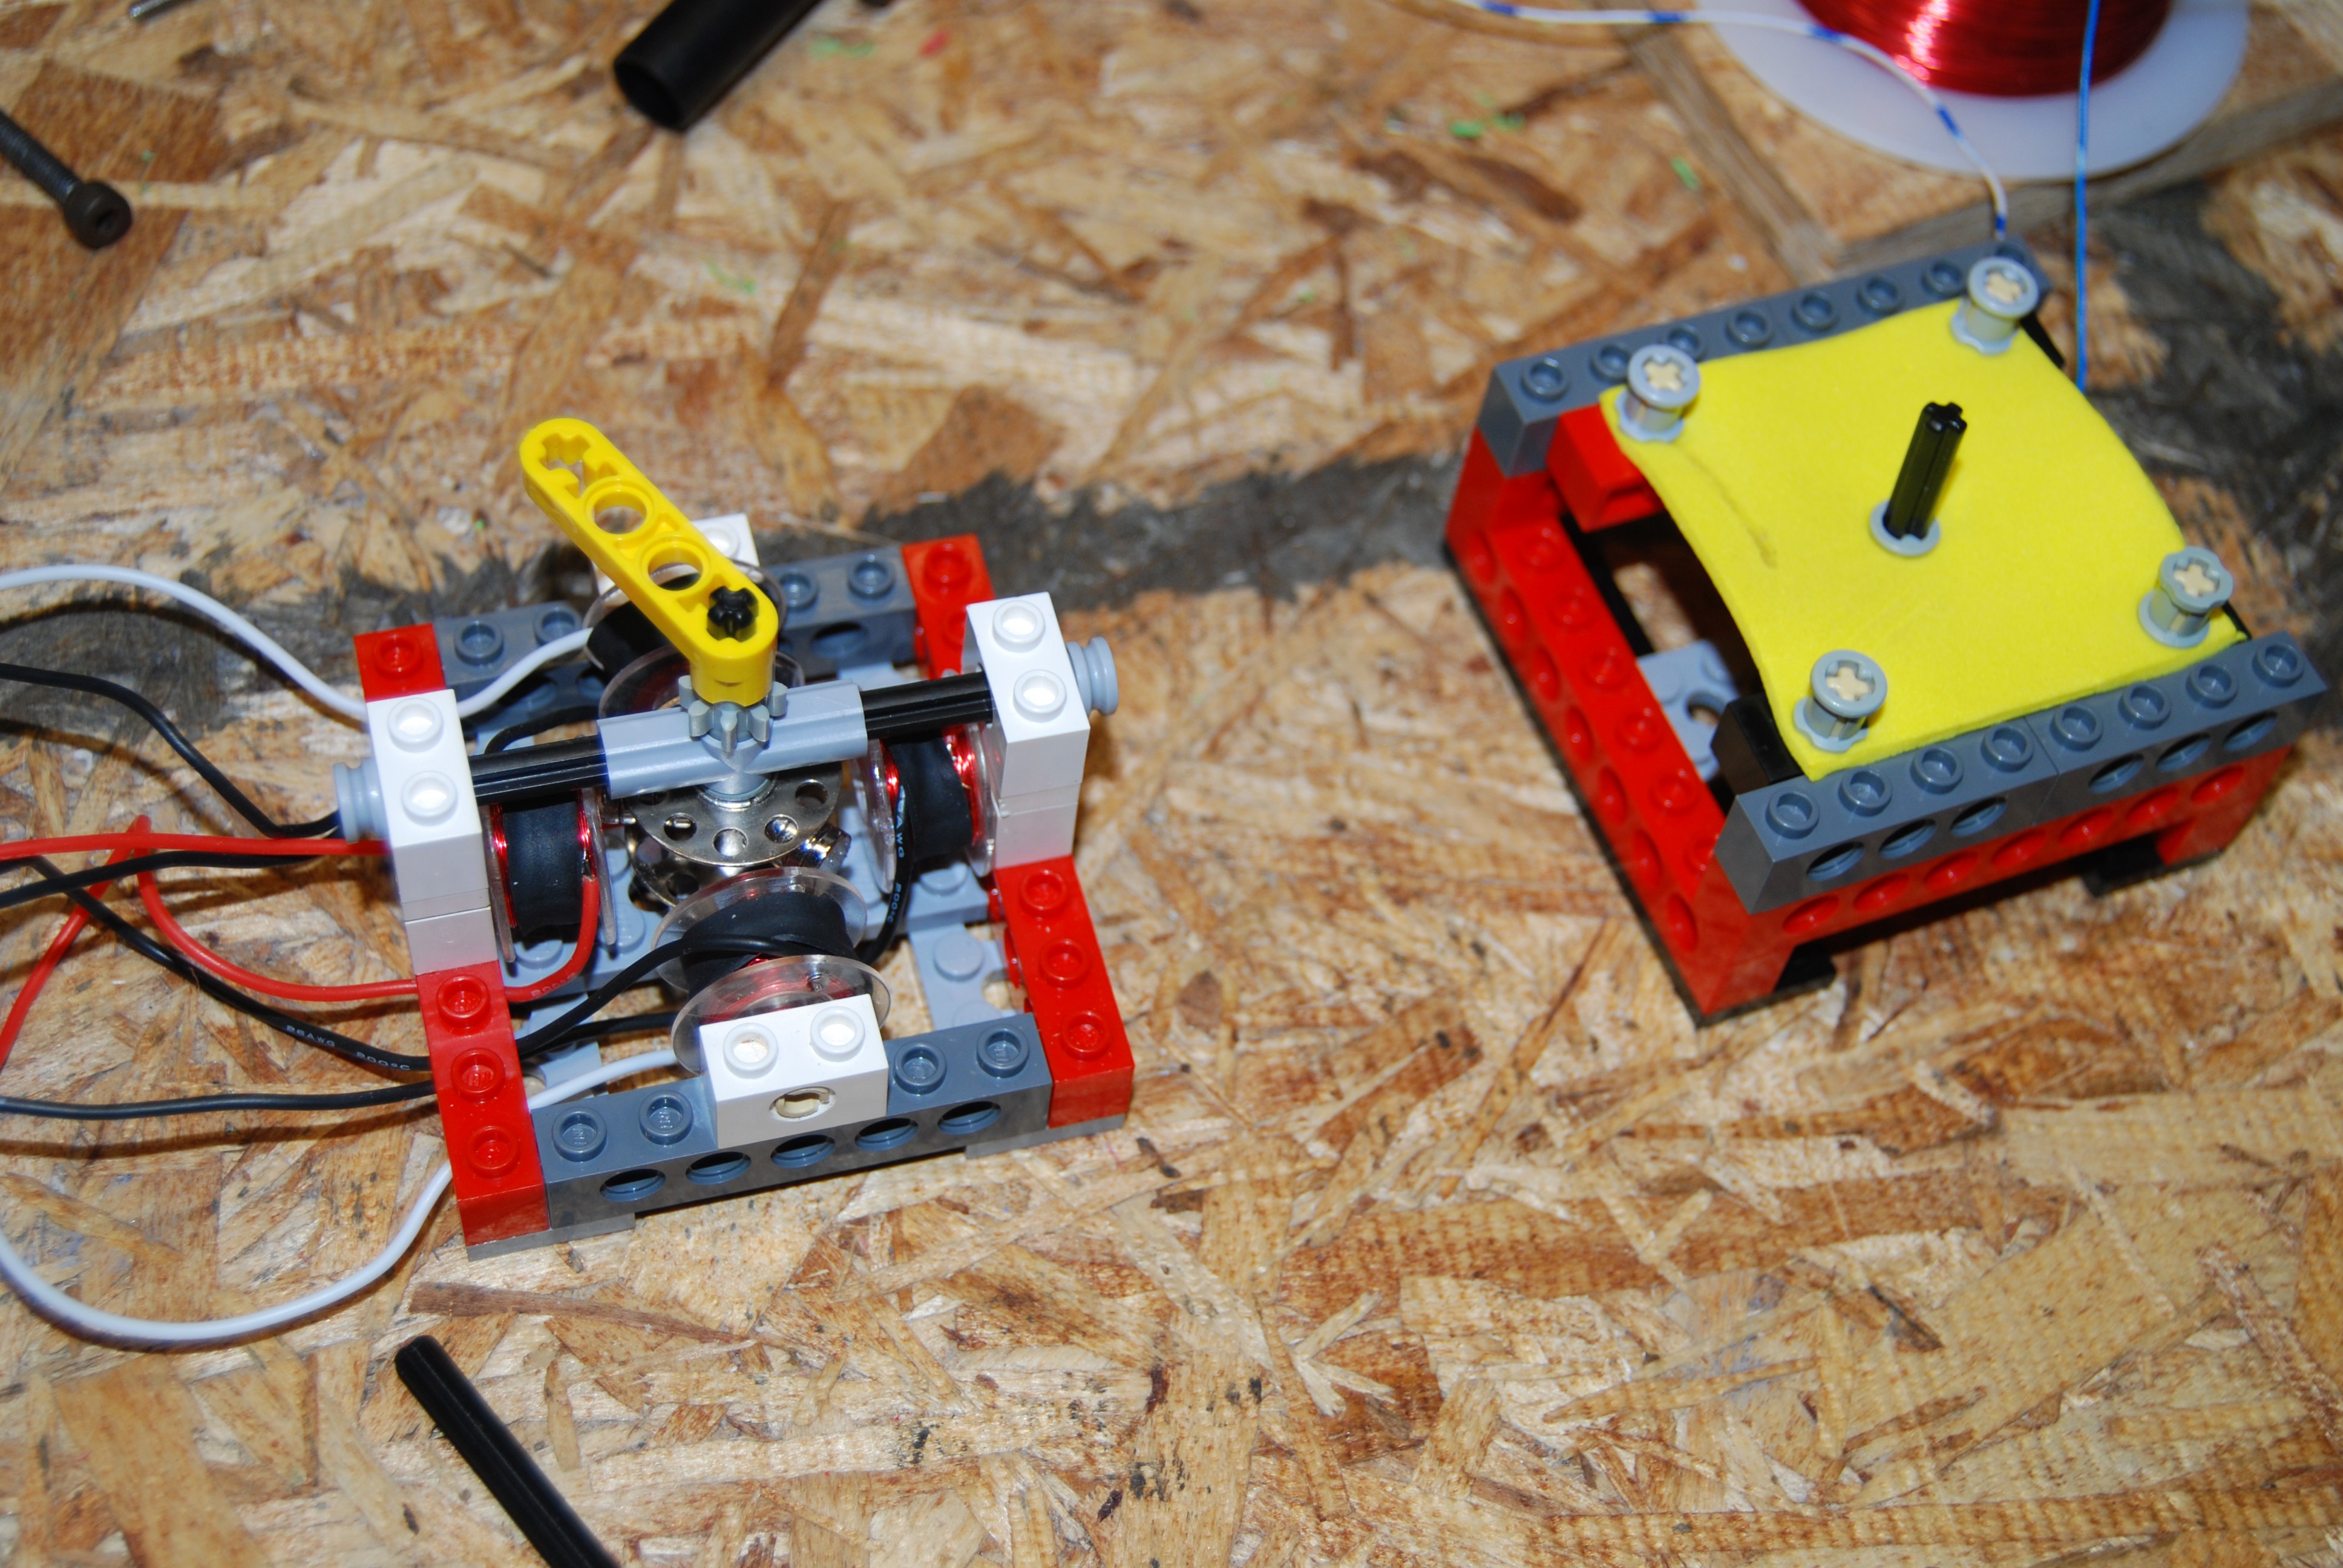
I am waiting on a Lego to improve the rotor and make it more stable without making a custom part that will allow me to use the magnets as built so I will have one more update on that with a video once I get that in and set up.
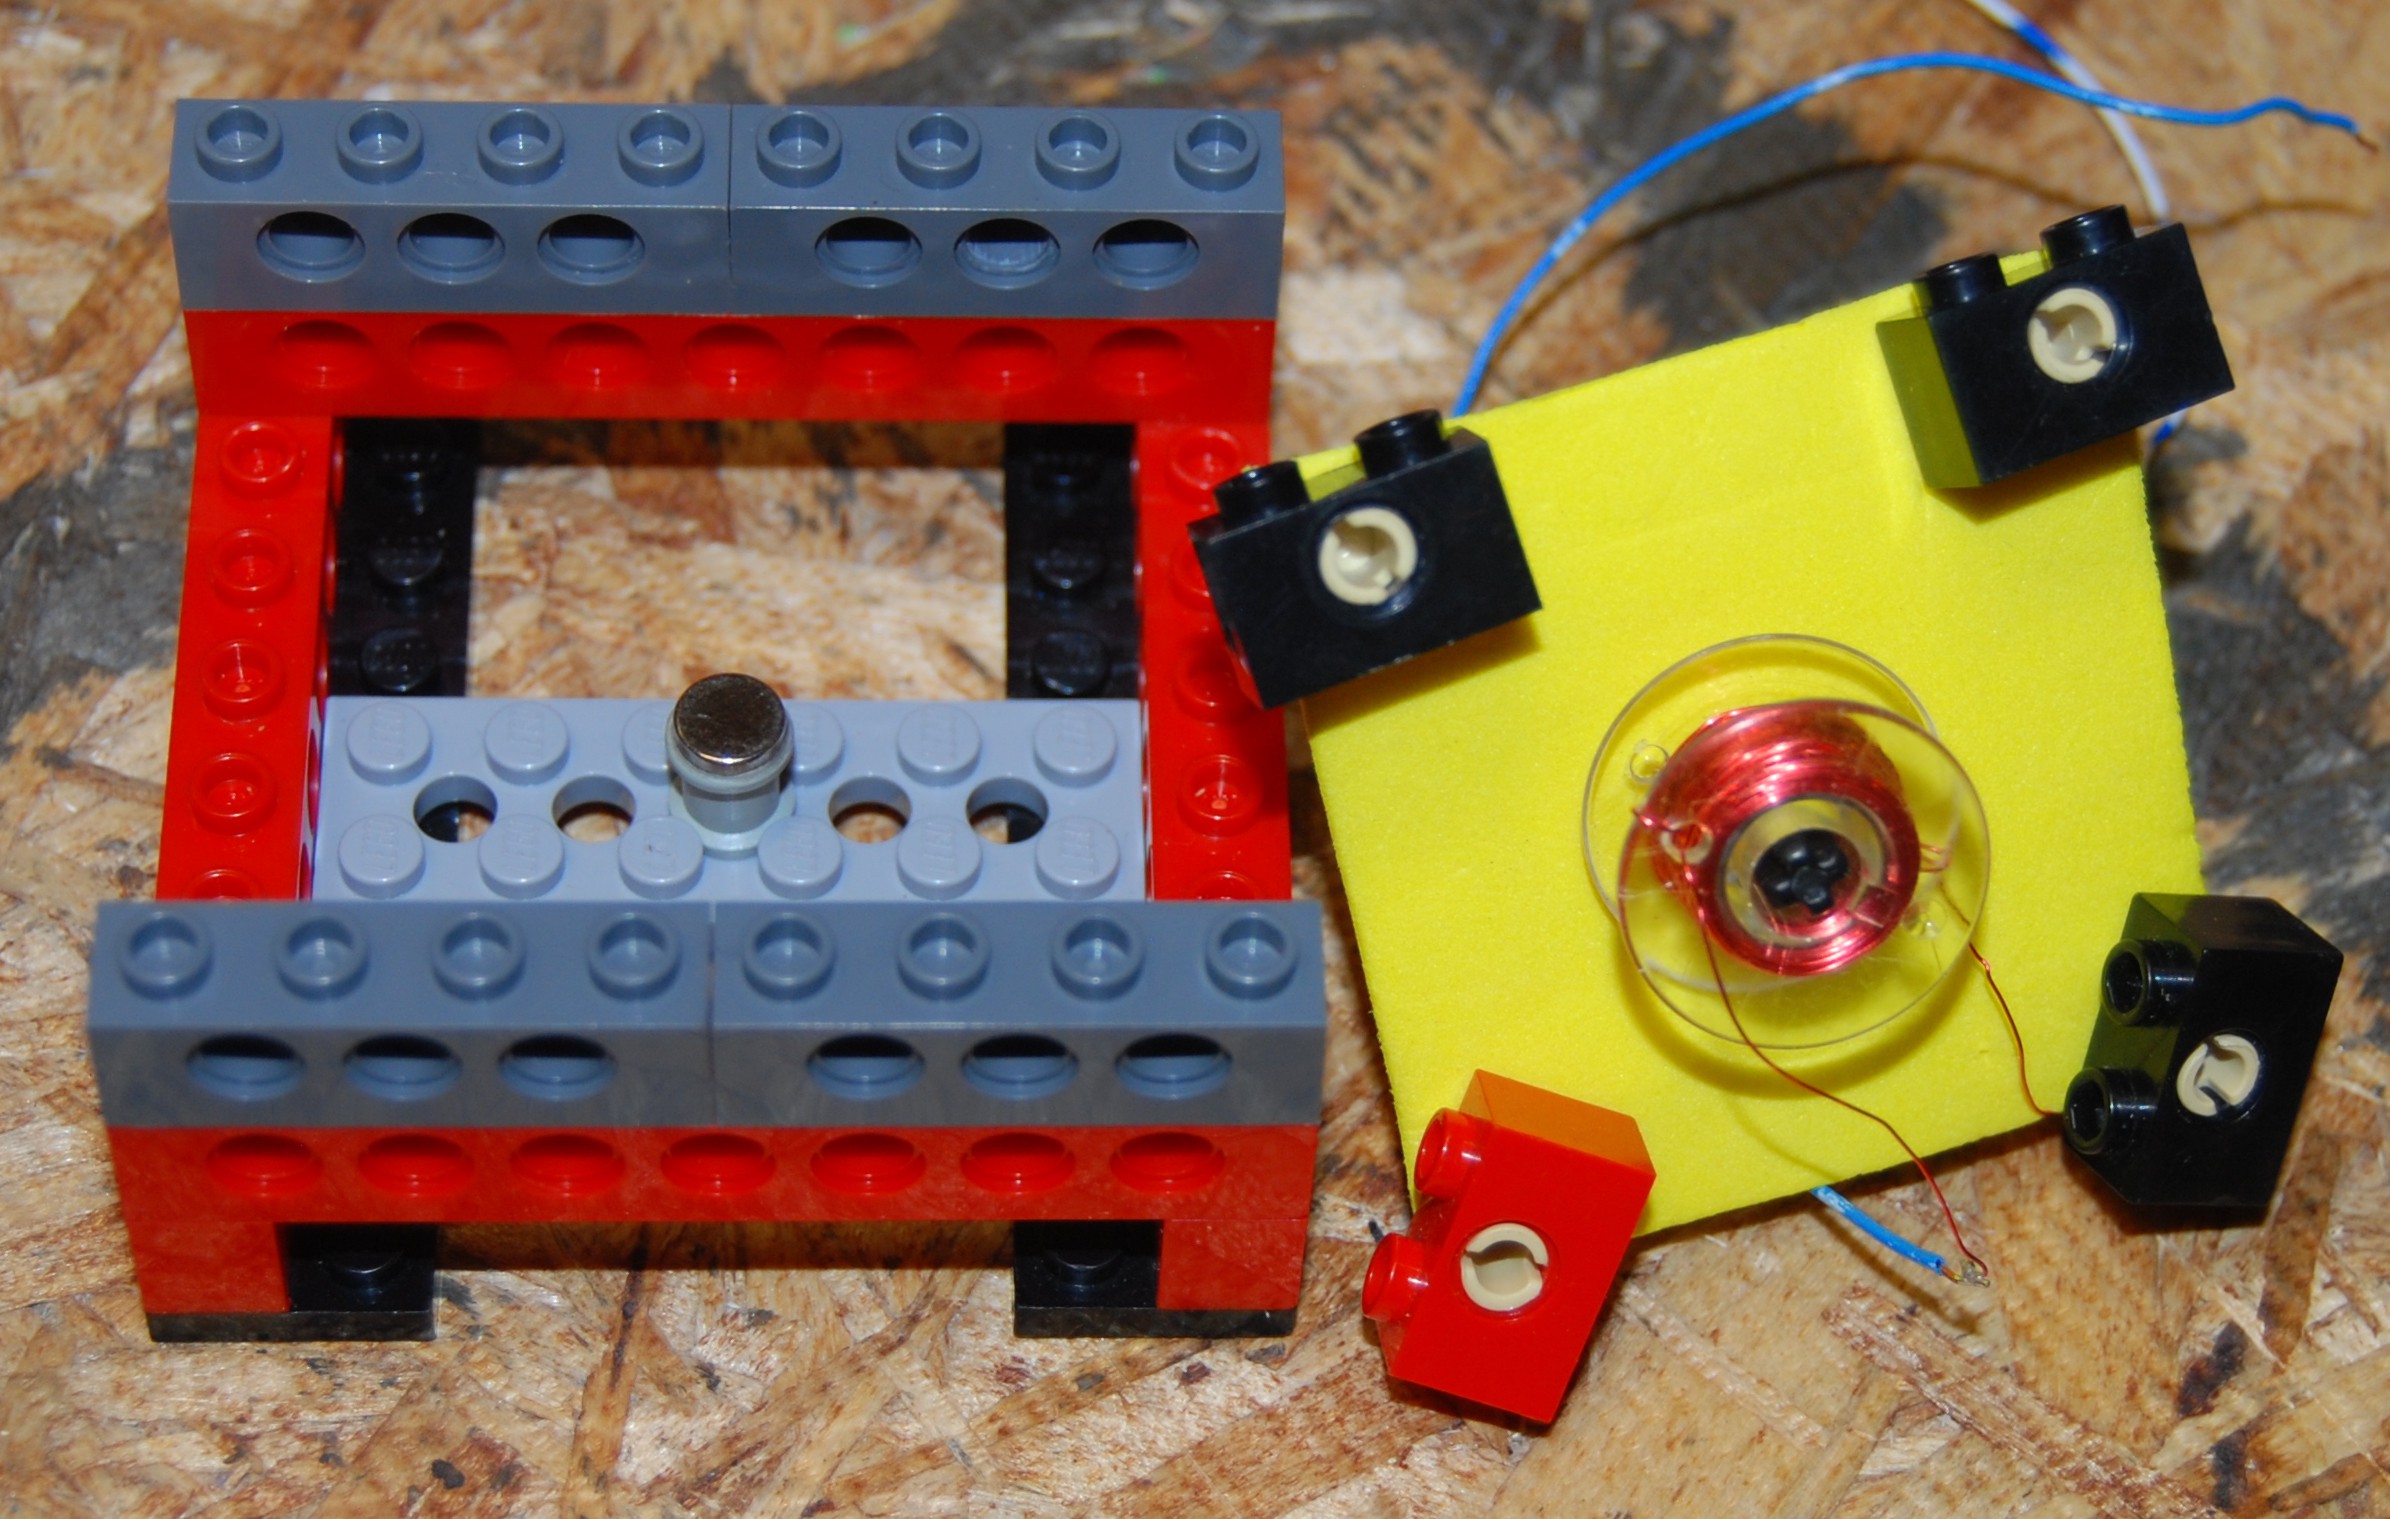
You can also see an initial prototype for the speaker that works but I think I would like it to look more like a speaker and not require the foam piece if possible.
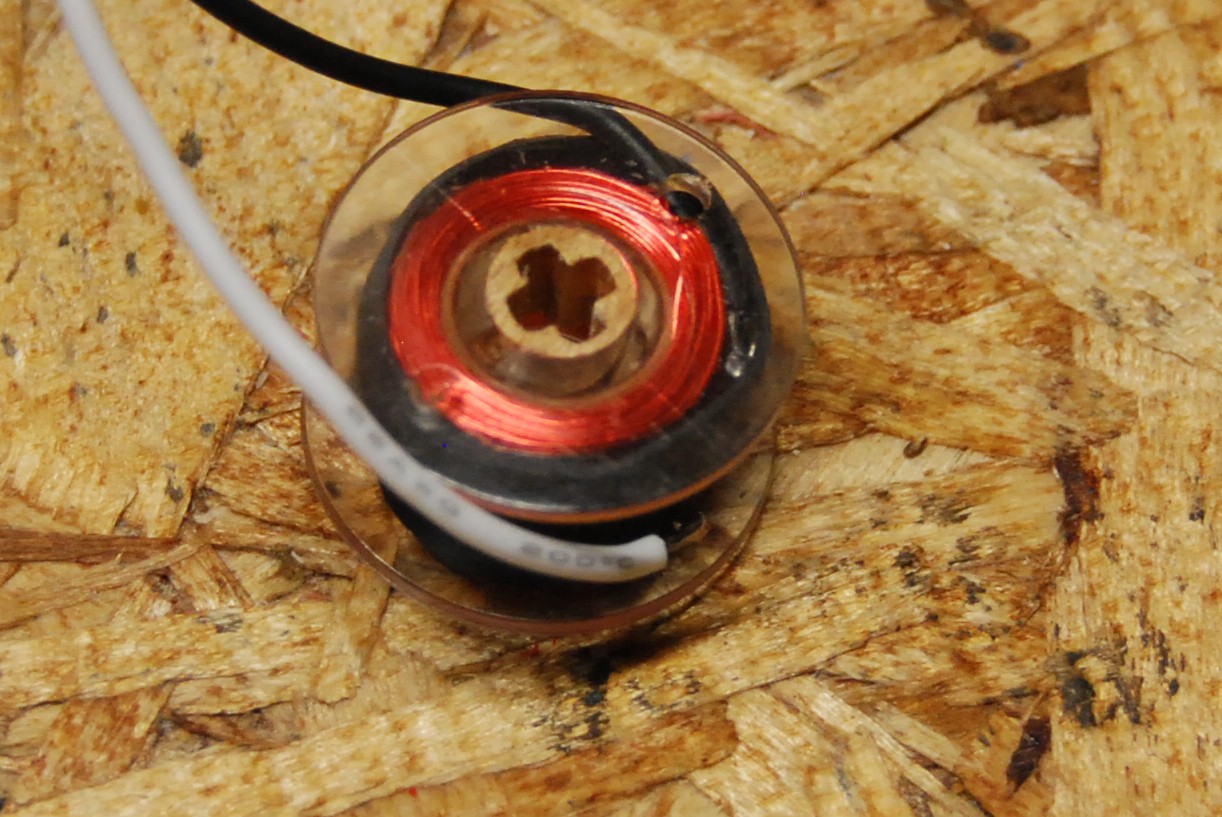
Overall some good progress, I would like to post in the next few days a detailed build for the coils.
Discussions
Become a Hackaday.io Member
Create an account to leave a comment. Already have an account? Log In.