 T. B. Trzepacz
So, the first thing to do was to get the Teensy 3.1 on the protoboard and make sure it works. I'd already soldered one up in my Megsy project, breaking out all of the extra pads on the bottom for easy access.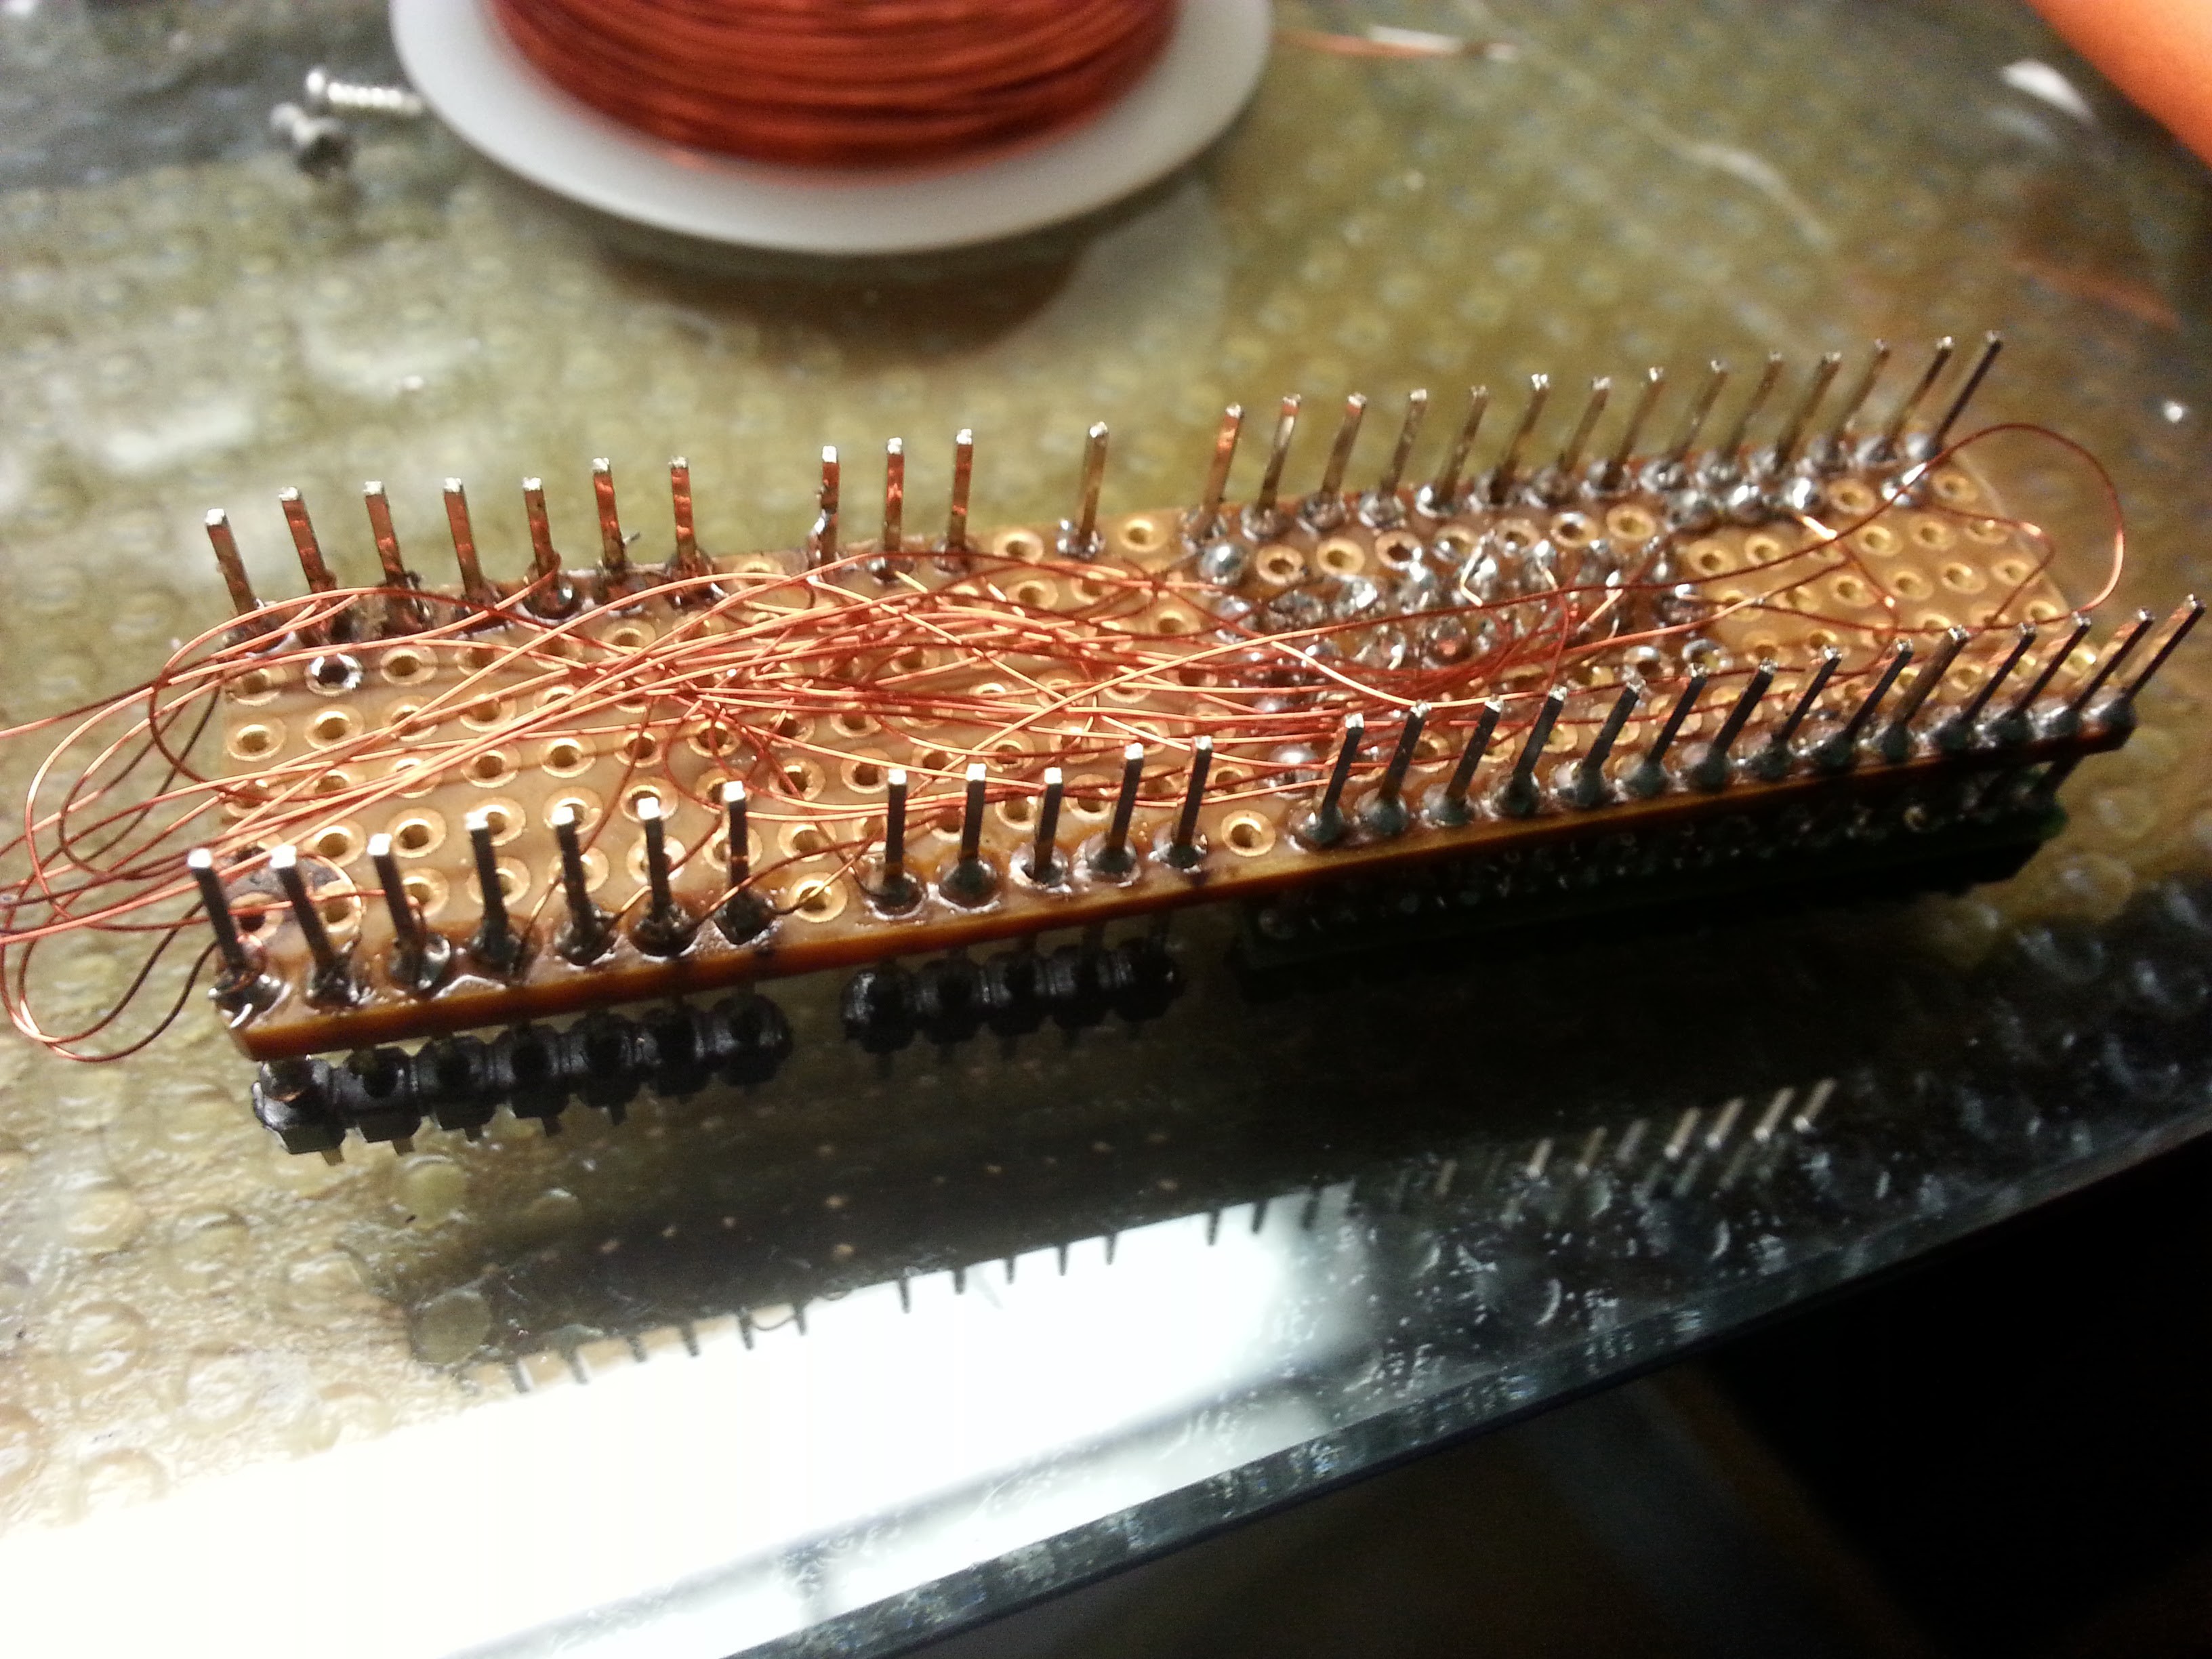 It had never been tested, but no time like the present, right.
The long circuit board and pins attached to nothing but tiny pads on the board caused some troubles inserting and removing, tho.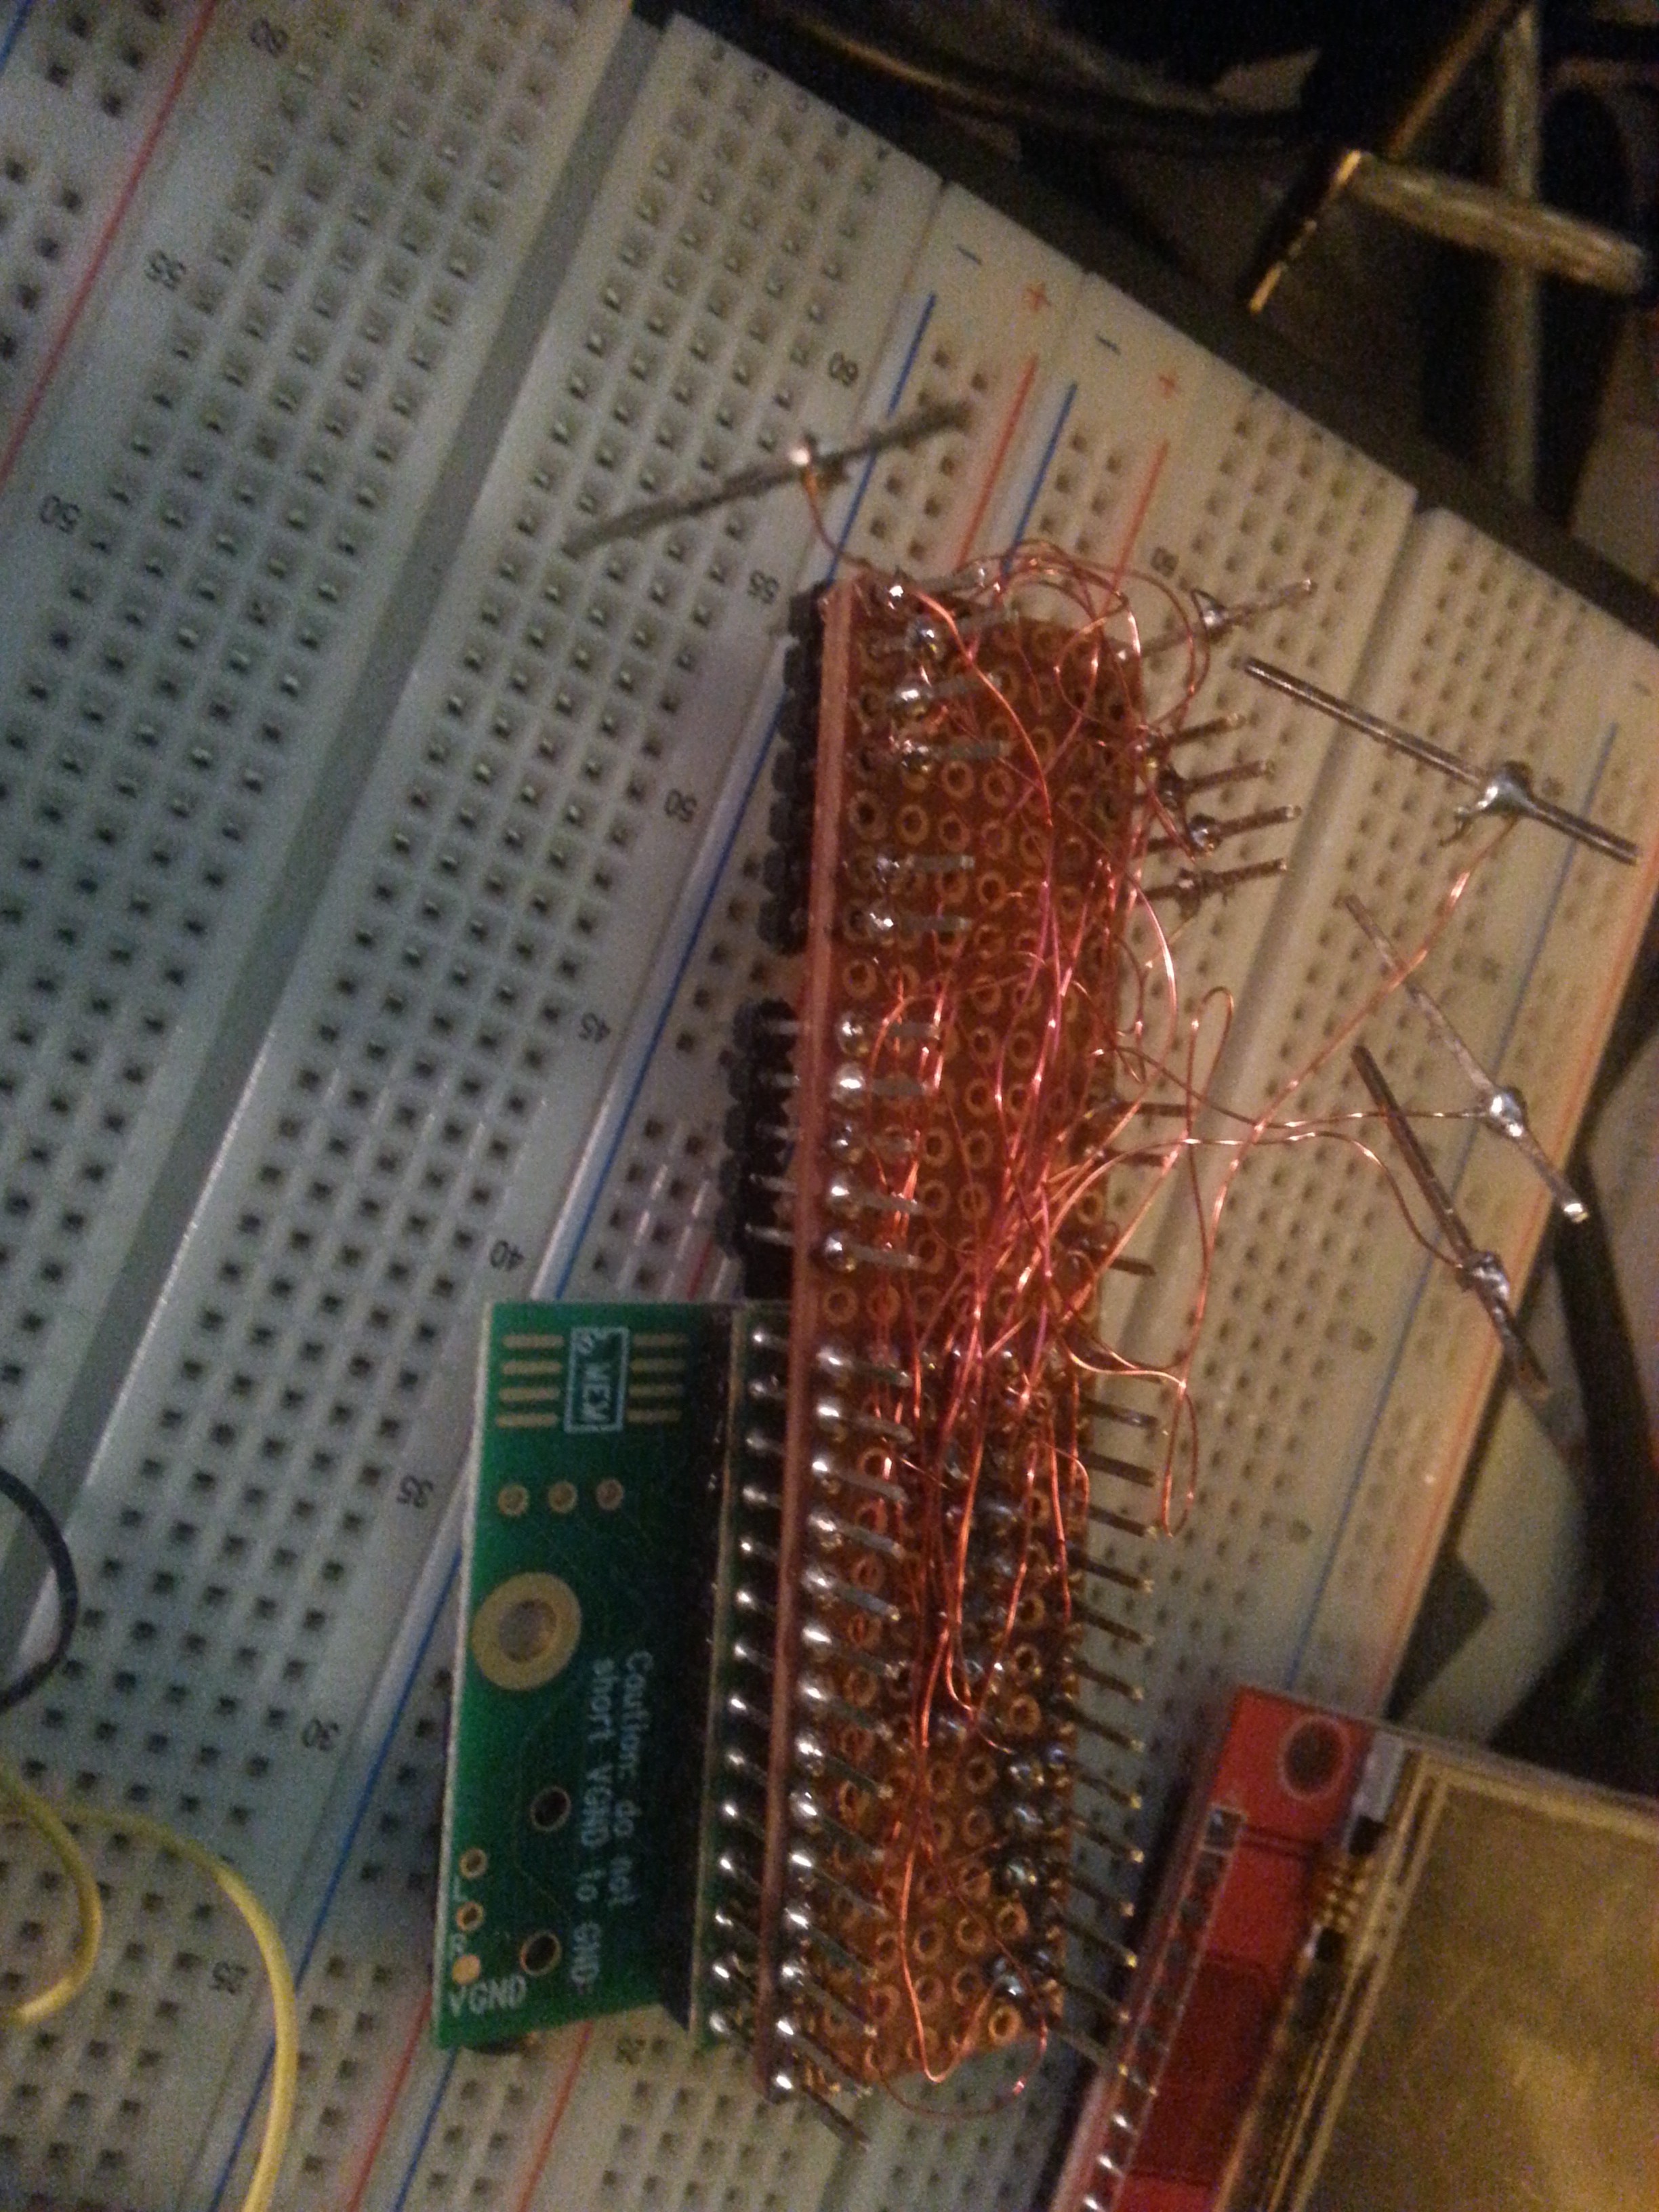
But I managed to get the pins back into place and reinsert it.
I also soldered on the Teensy audio board shield (cape, whatever they call it?) and loaded up the WavFilePlayer example and it worked as expected! Yay!
I then tried to add one of the TFT touchscreens that PJRC sells, thinking I could use the touch capabilities as pads and save having to add switches.
While the screen itself worked, the touch capabilities have caused me some problems. At first, I had the pins defined wrong in the software, and it was giving me a lot of false positives. Now, unless the board is at PRECISELY the correct angle, the touch doesn't work at all. When it IS at the right angle, it works great! Checking with the Ohmmeter says everything is fine, so my only thought is that perhaps one of the connections is a bad idea? Touch works well enough when I swap it out in the NanoEgg Synthesizer project board, so I'm not sure what to do here. I tried rewiring the whole thing, but no change. Hmmm.
Well, I can get back to that. Time is a wastin'!
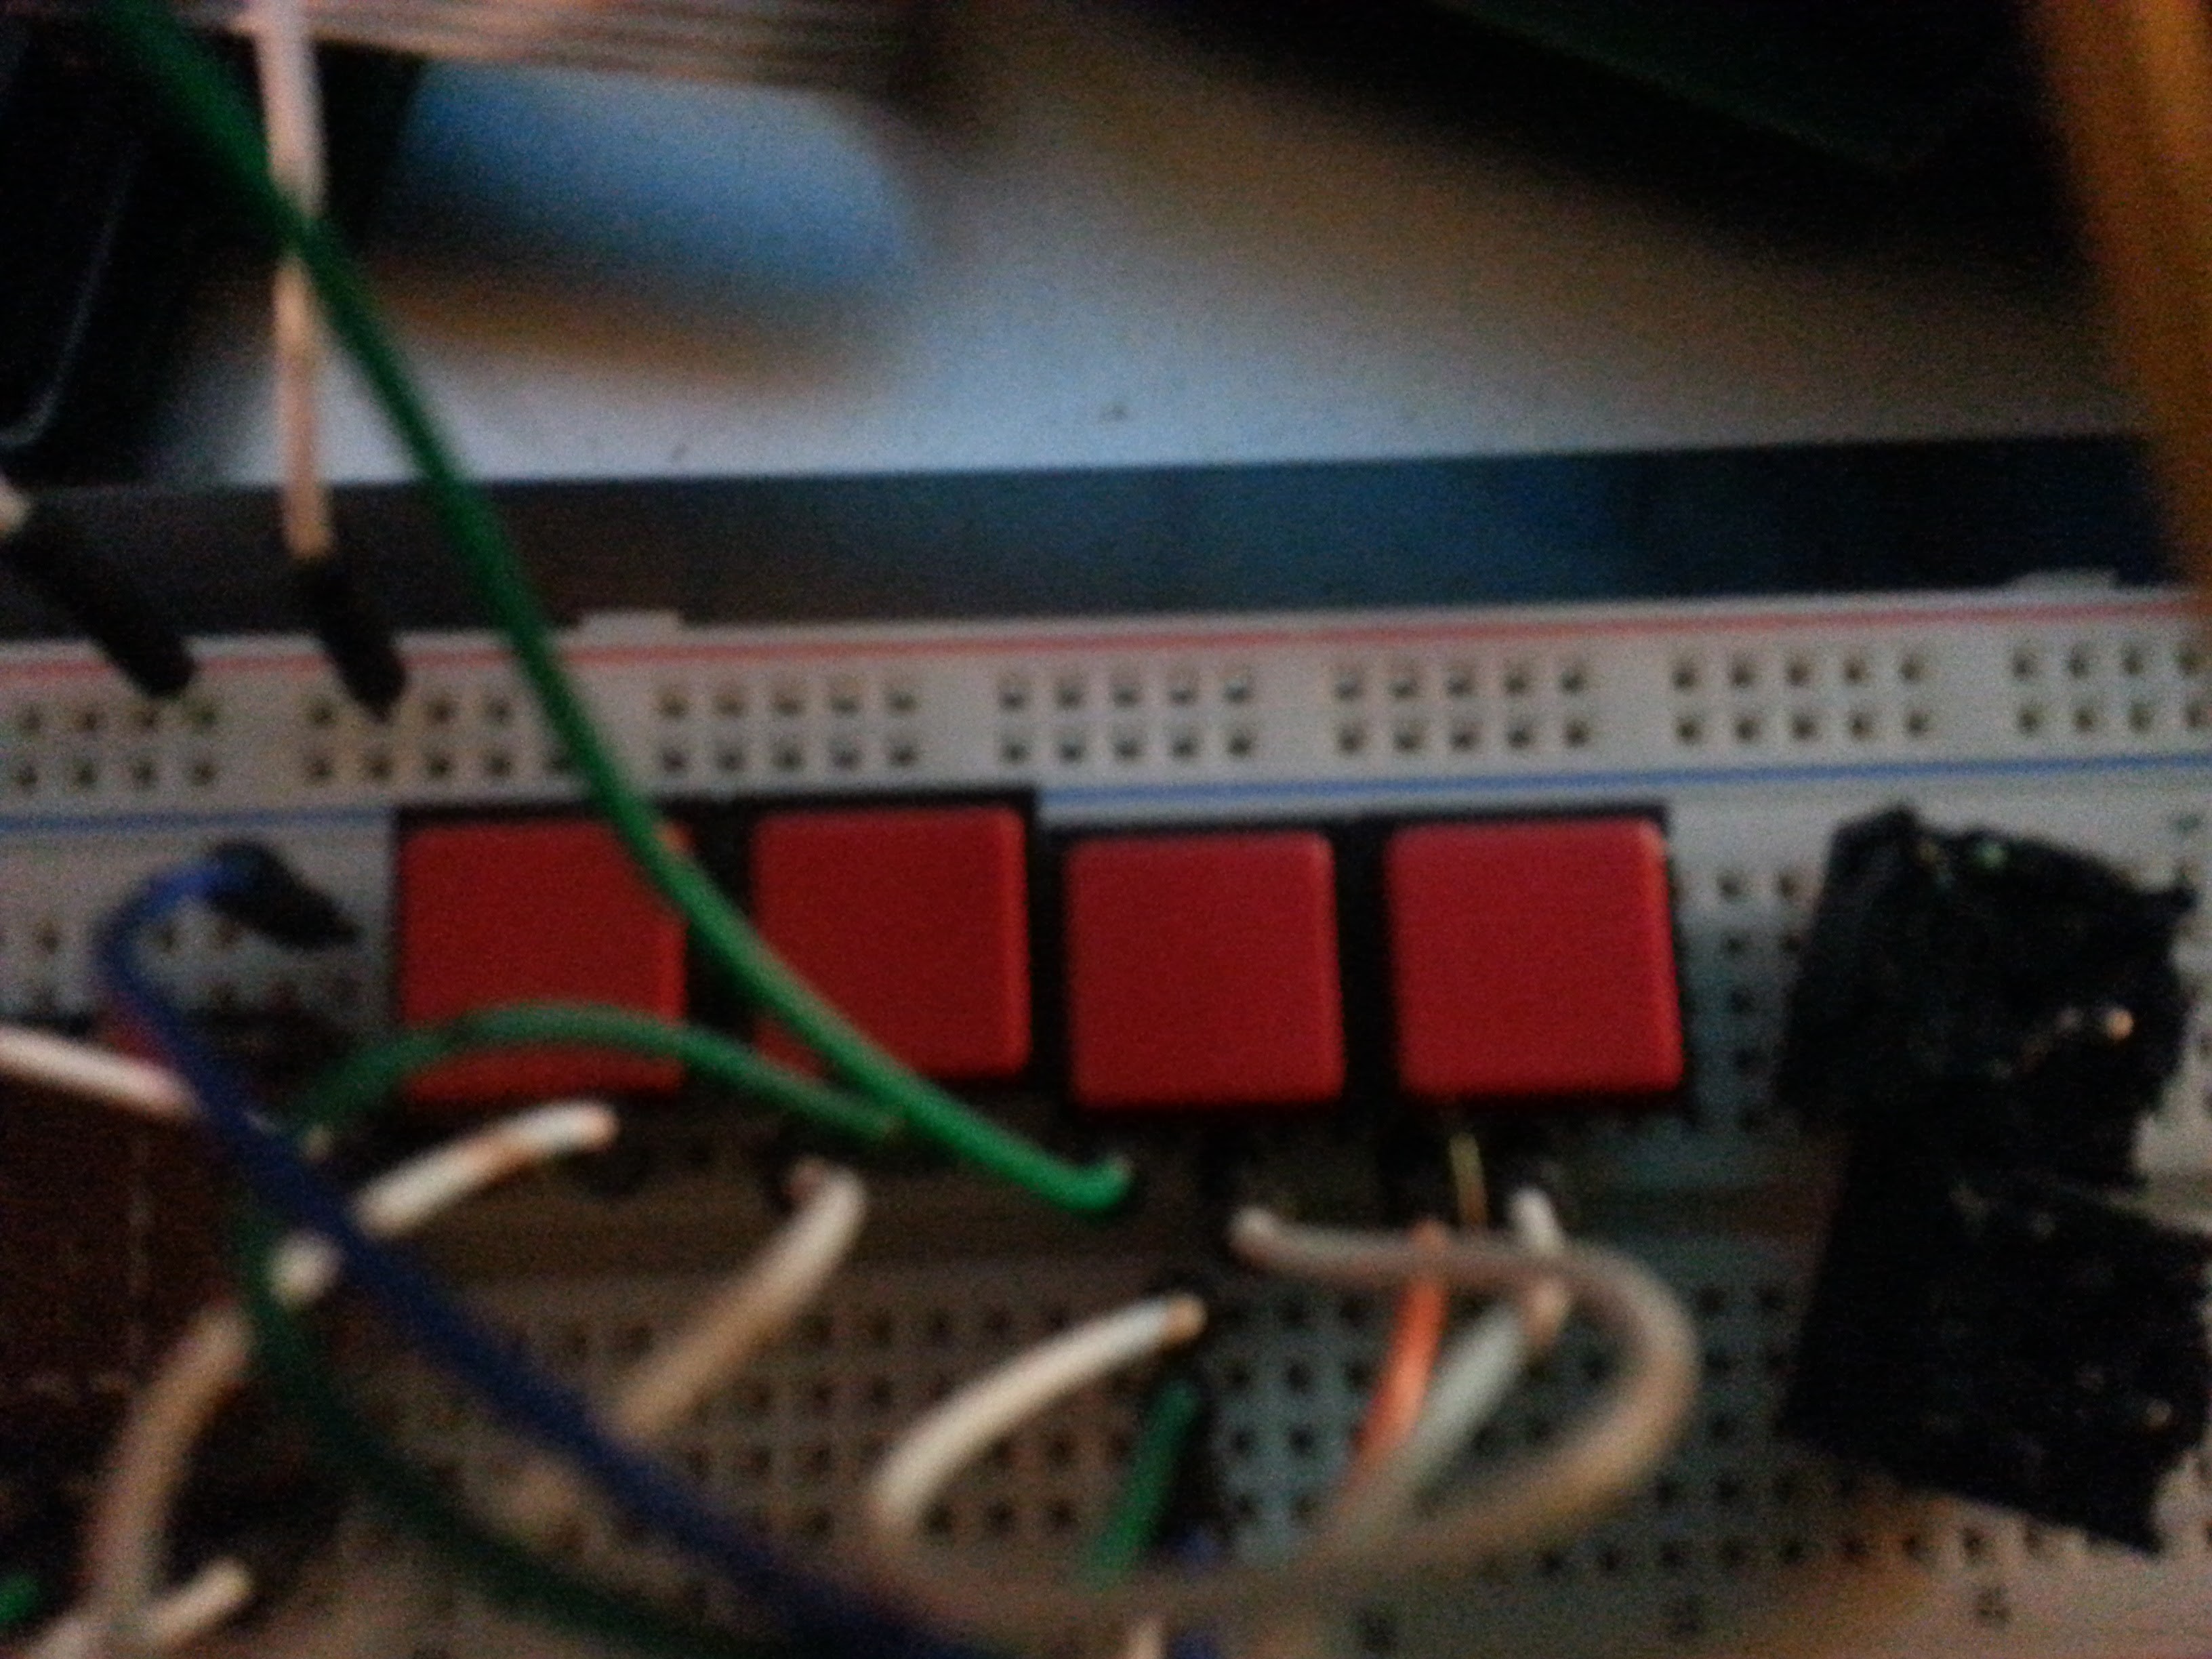
So, let's add some switches and see if I can trigger the samples and get good latency that way. It took me a little bit to get the switches configured correctly for some reason, but I eventually had success, and switches trigger samples correctly.
At first I wired the switches as direct pushbuttons, but that means that each switch takes a whole pin on the Teensy, and while I could probably get 10 or 11 switches crammed in with all of the other stuff, I'd really like to eventually have a 4x4 matrix, or 16 buttons. So I'd like to arrange it like a keypad, and there is a lovely library for that that I have already made some nice modifications to for better handling of callbacks.
So I wired up one row in the breadboard and tested it out and it was great!
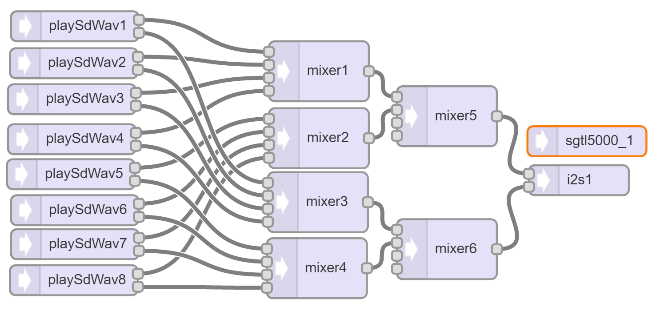
I modified the structure of the calls to the audio library so that I could play any pad at the same time instead of just one sample at a time and it seems to work. I had to add some stop calls to keep it from overloading and failing to play audio, and there may need to be some more work there, but it seems good so far.
So I decided to use one of my protoboards and build a DIY keypad, as my other keypad is stuck in the NanoEgg, and the ones I ordered from China will be here sometime before the end of June...
But it turns out that the force required to get the oversized pins on the buttons through the round holes on my protoboard is enough to destroy them by mangling the little metal disc inside.
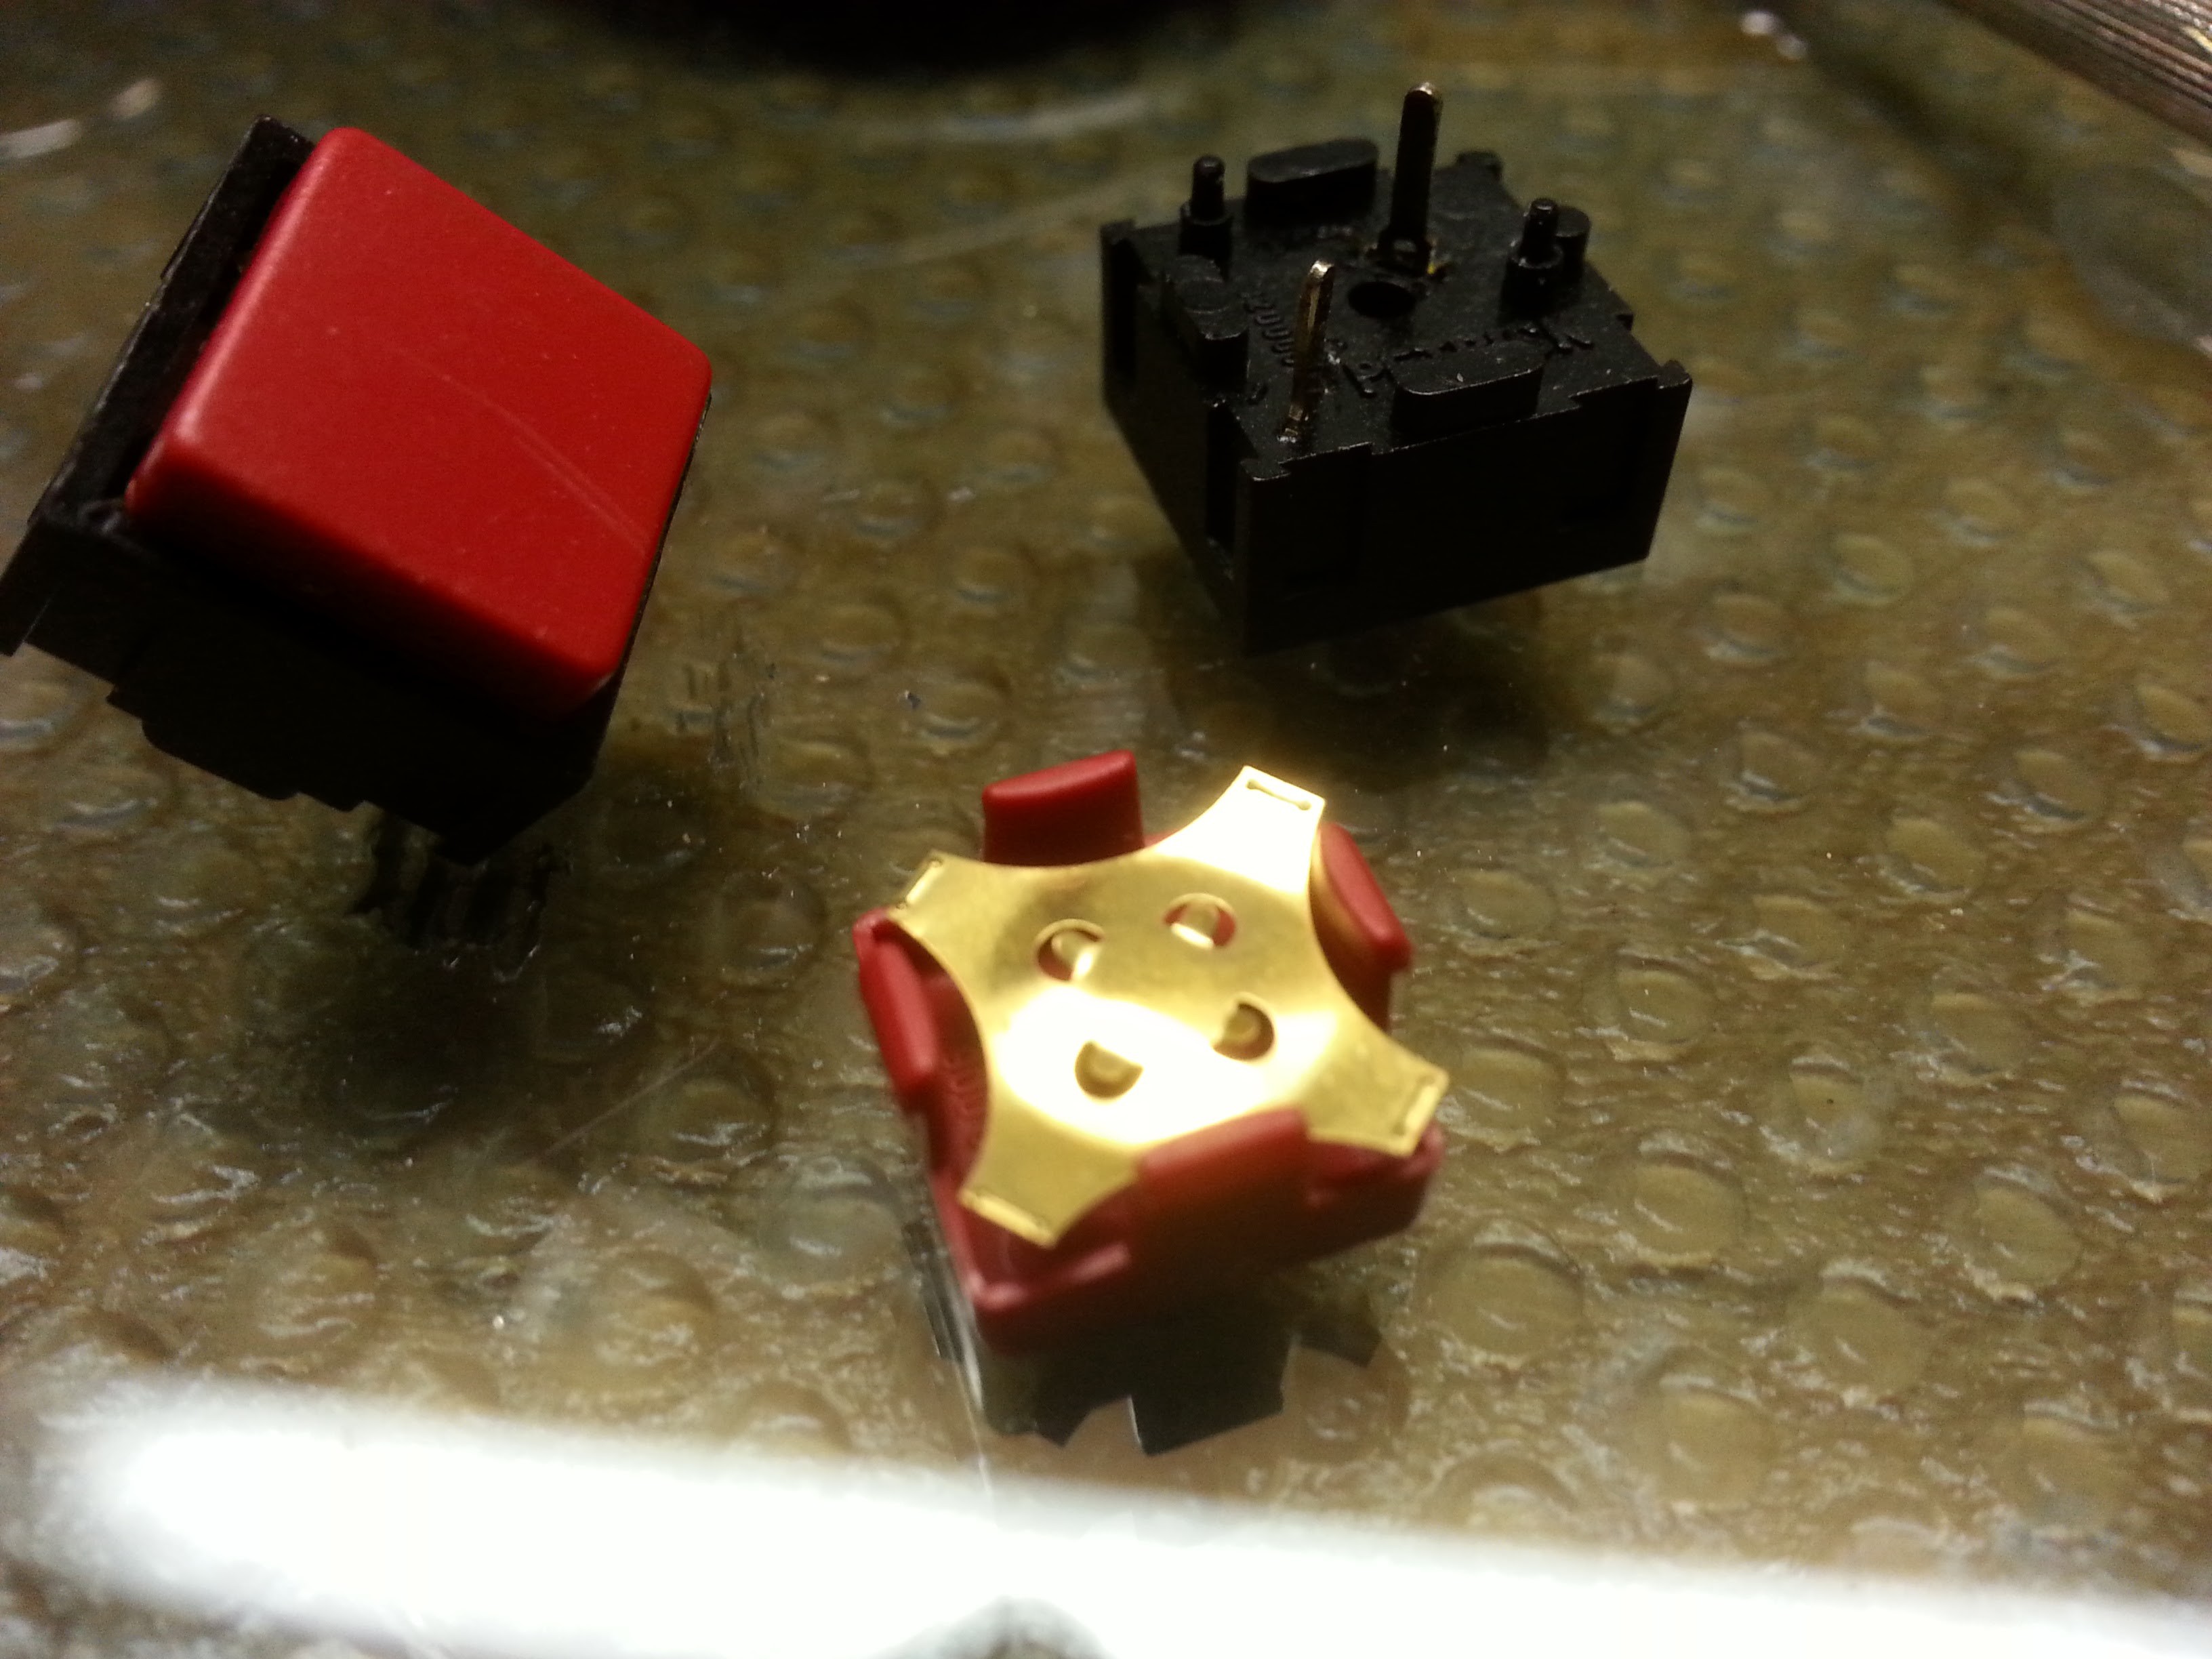
I tried rebending it and such, but no amount of mangling I could do could get it to spring back reliably again. After destroying two of these, I decided that maybe I should use something else...
I've got some really tiny buttons that I've never used before, so I may give those a shot for the keypad.
While trying to test them to see what pins do what, I noticed something interesting about these buttons:
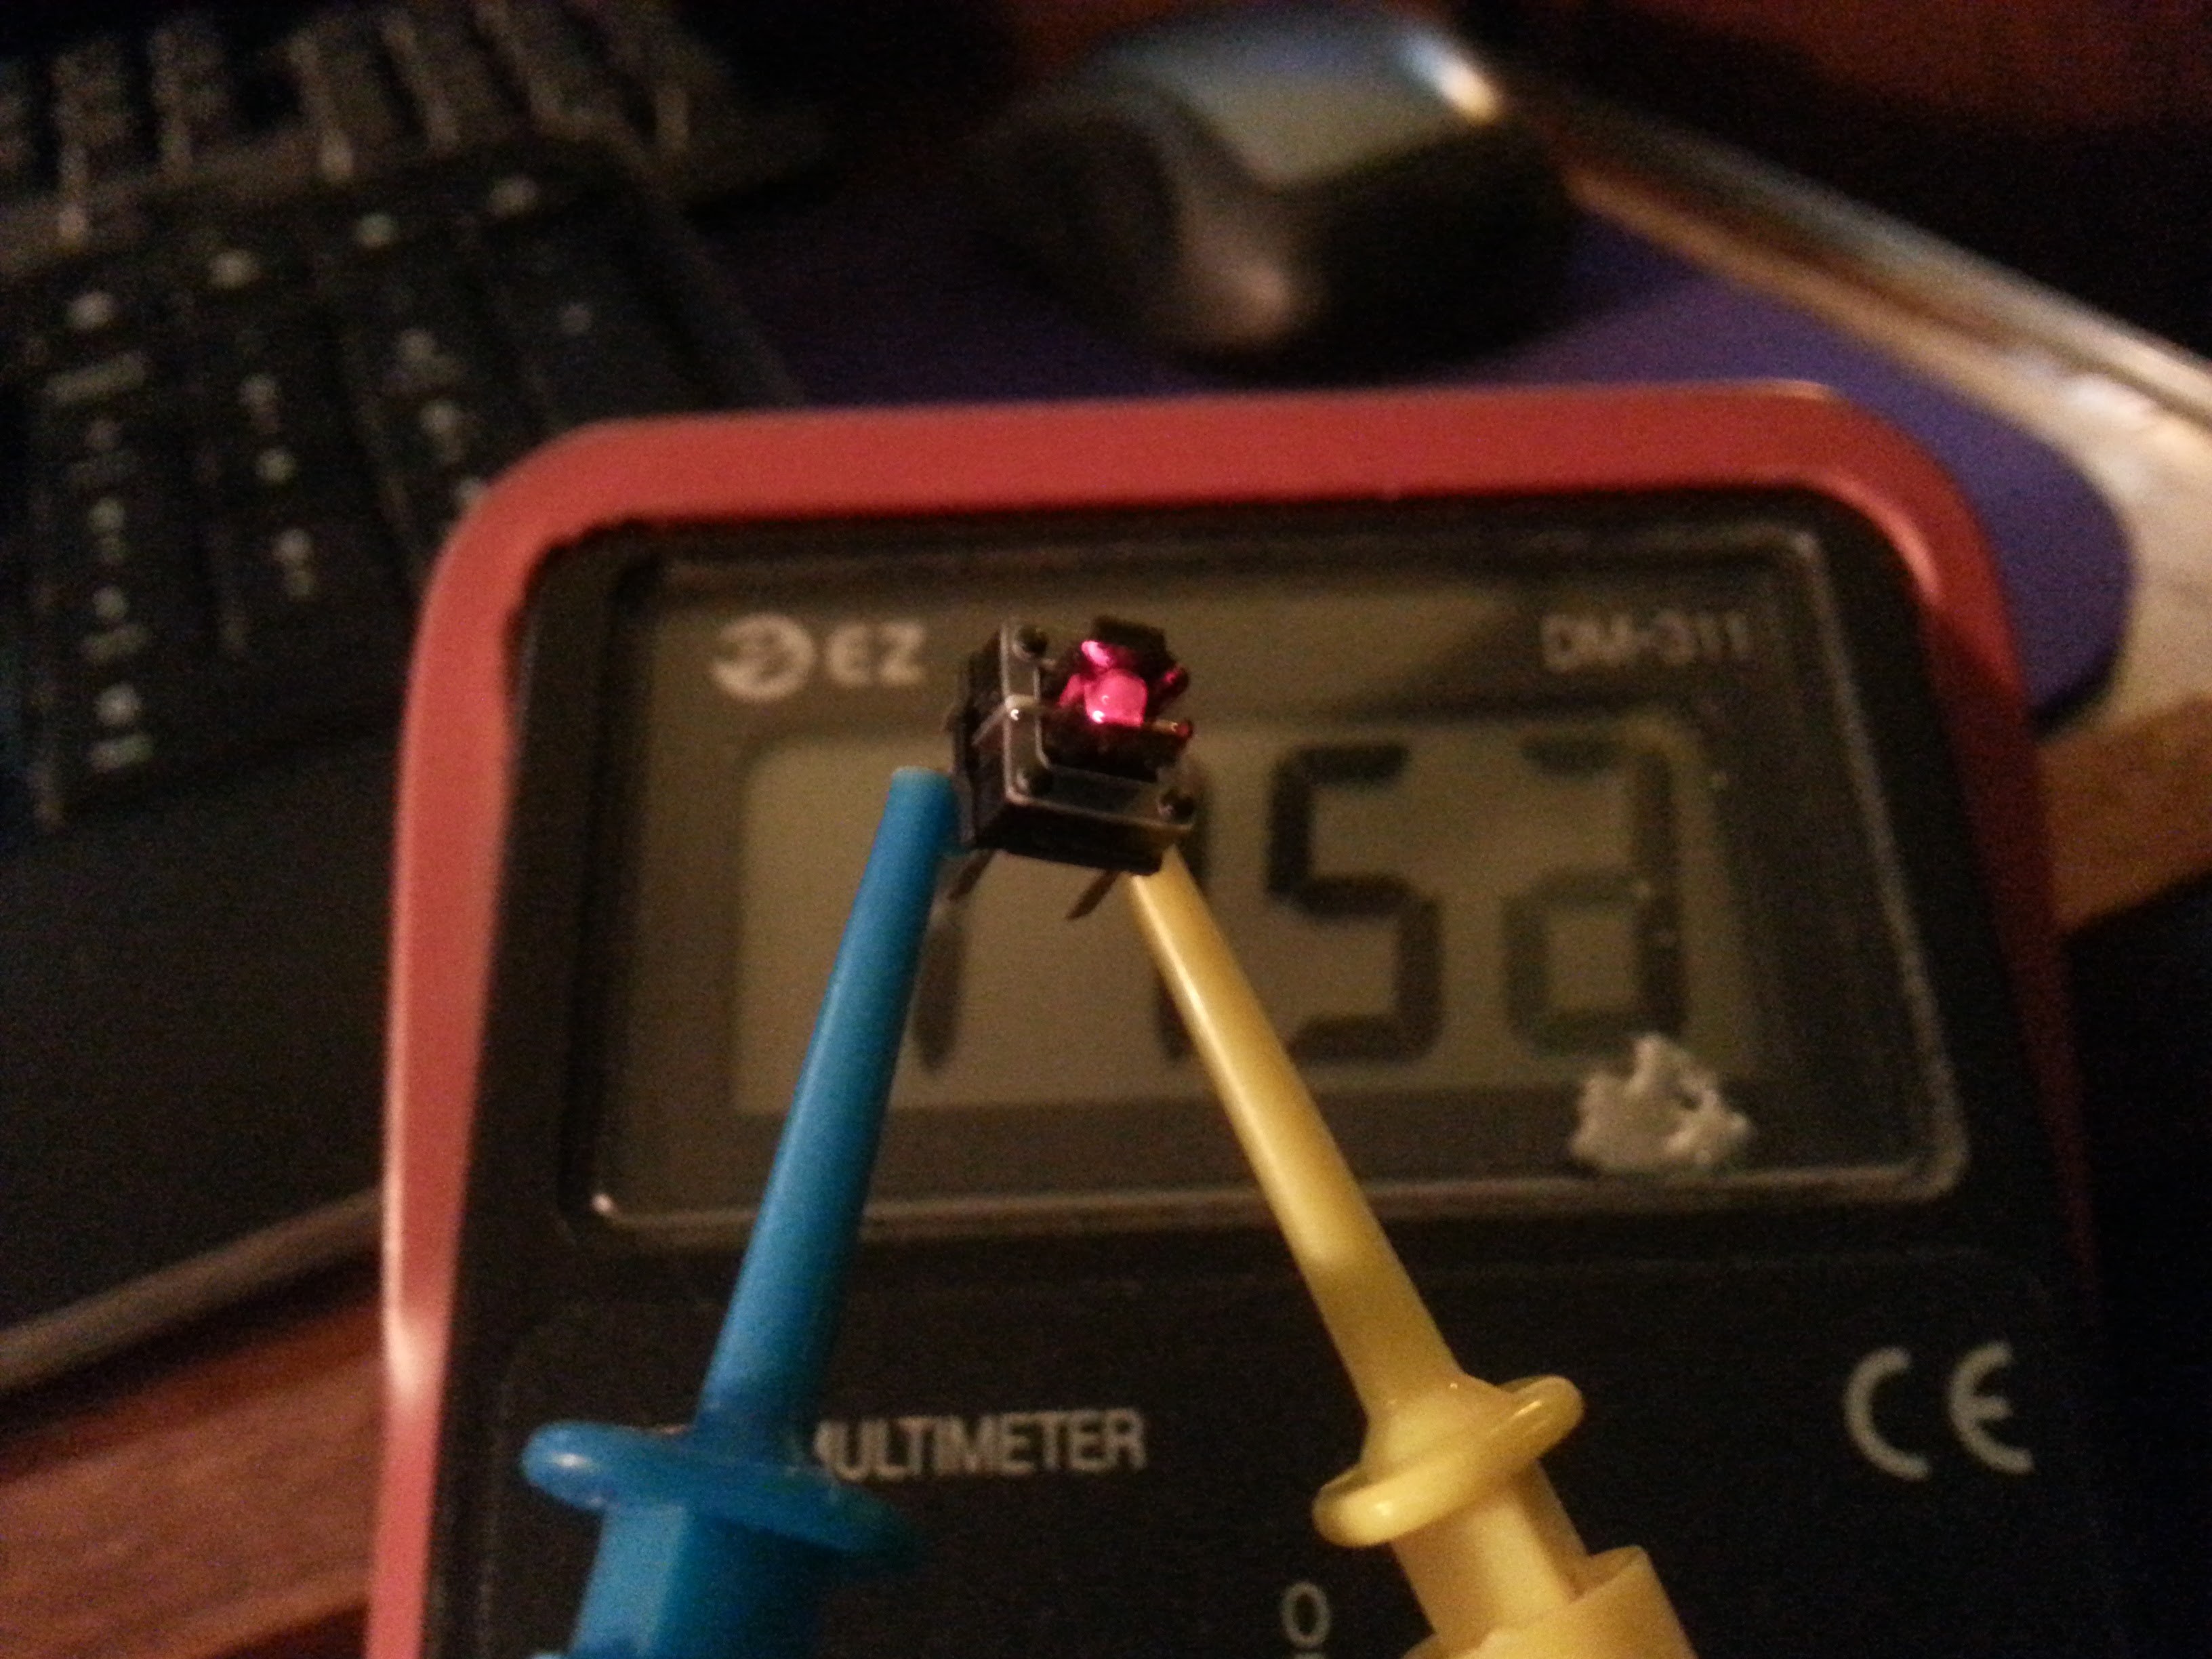
OMG! They have LEDs in them! I didn't even know!
Hmmm, how in the hell am I going to find any free pins to wire up LEDs? I'll have to save that for later.
So I guess I need to lay out a keypad. I have exactly 16 of these buttons. I think I'll give Fritzing another shot, as it does good visualizations of protoboard...
Discussions
Become a Hackaday.io Member
Create an account to leave a comment. Already have an account? Log In.