So now that we've got excellent results from our field tests and doctors were reasonably happy with the device, OWL's first prototype was all ready to go. But before pronouncing it complete, there was one task left: removing glare spots and extracting the fundus from the background.
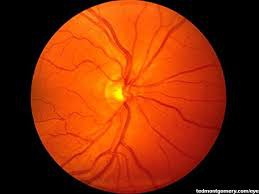
This is what a regular fundus camera gives:
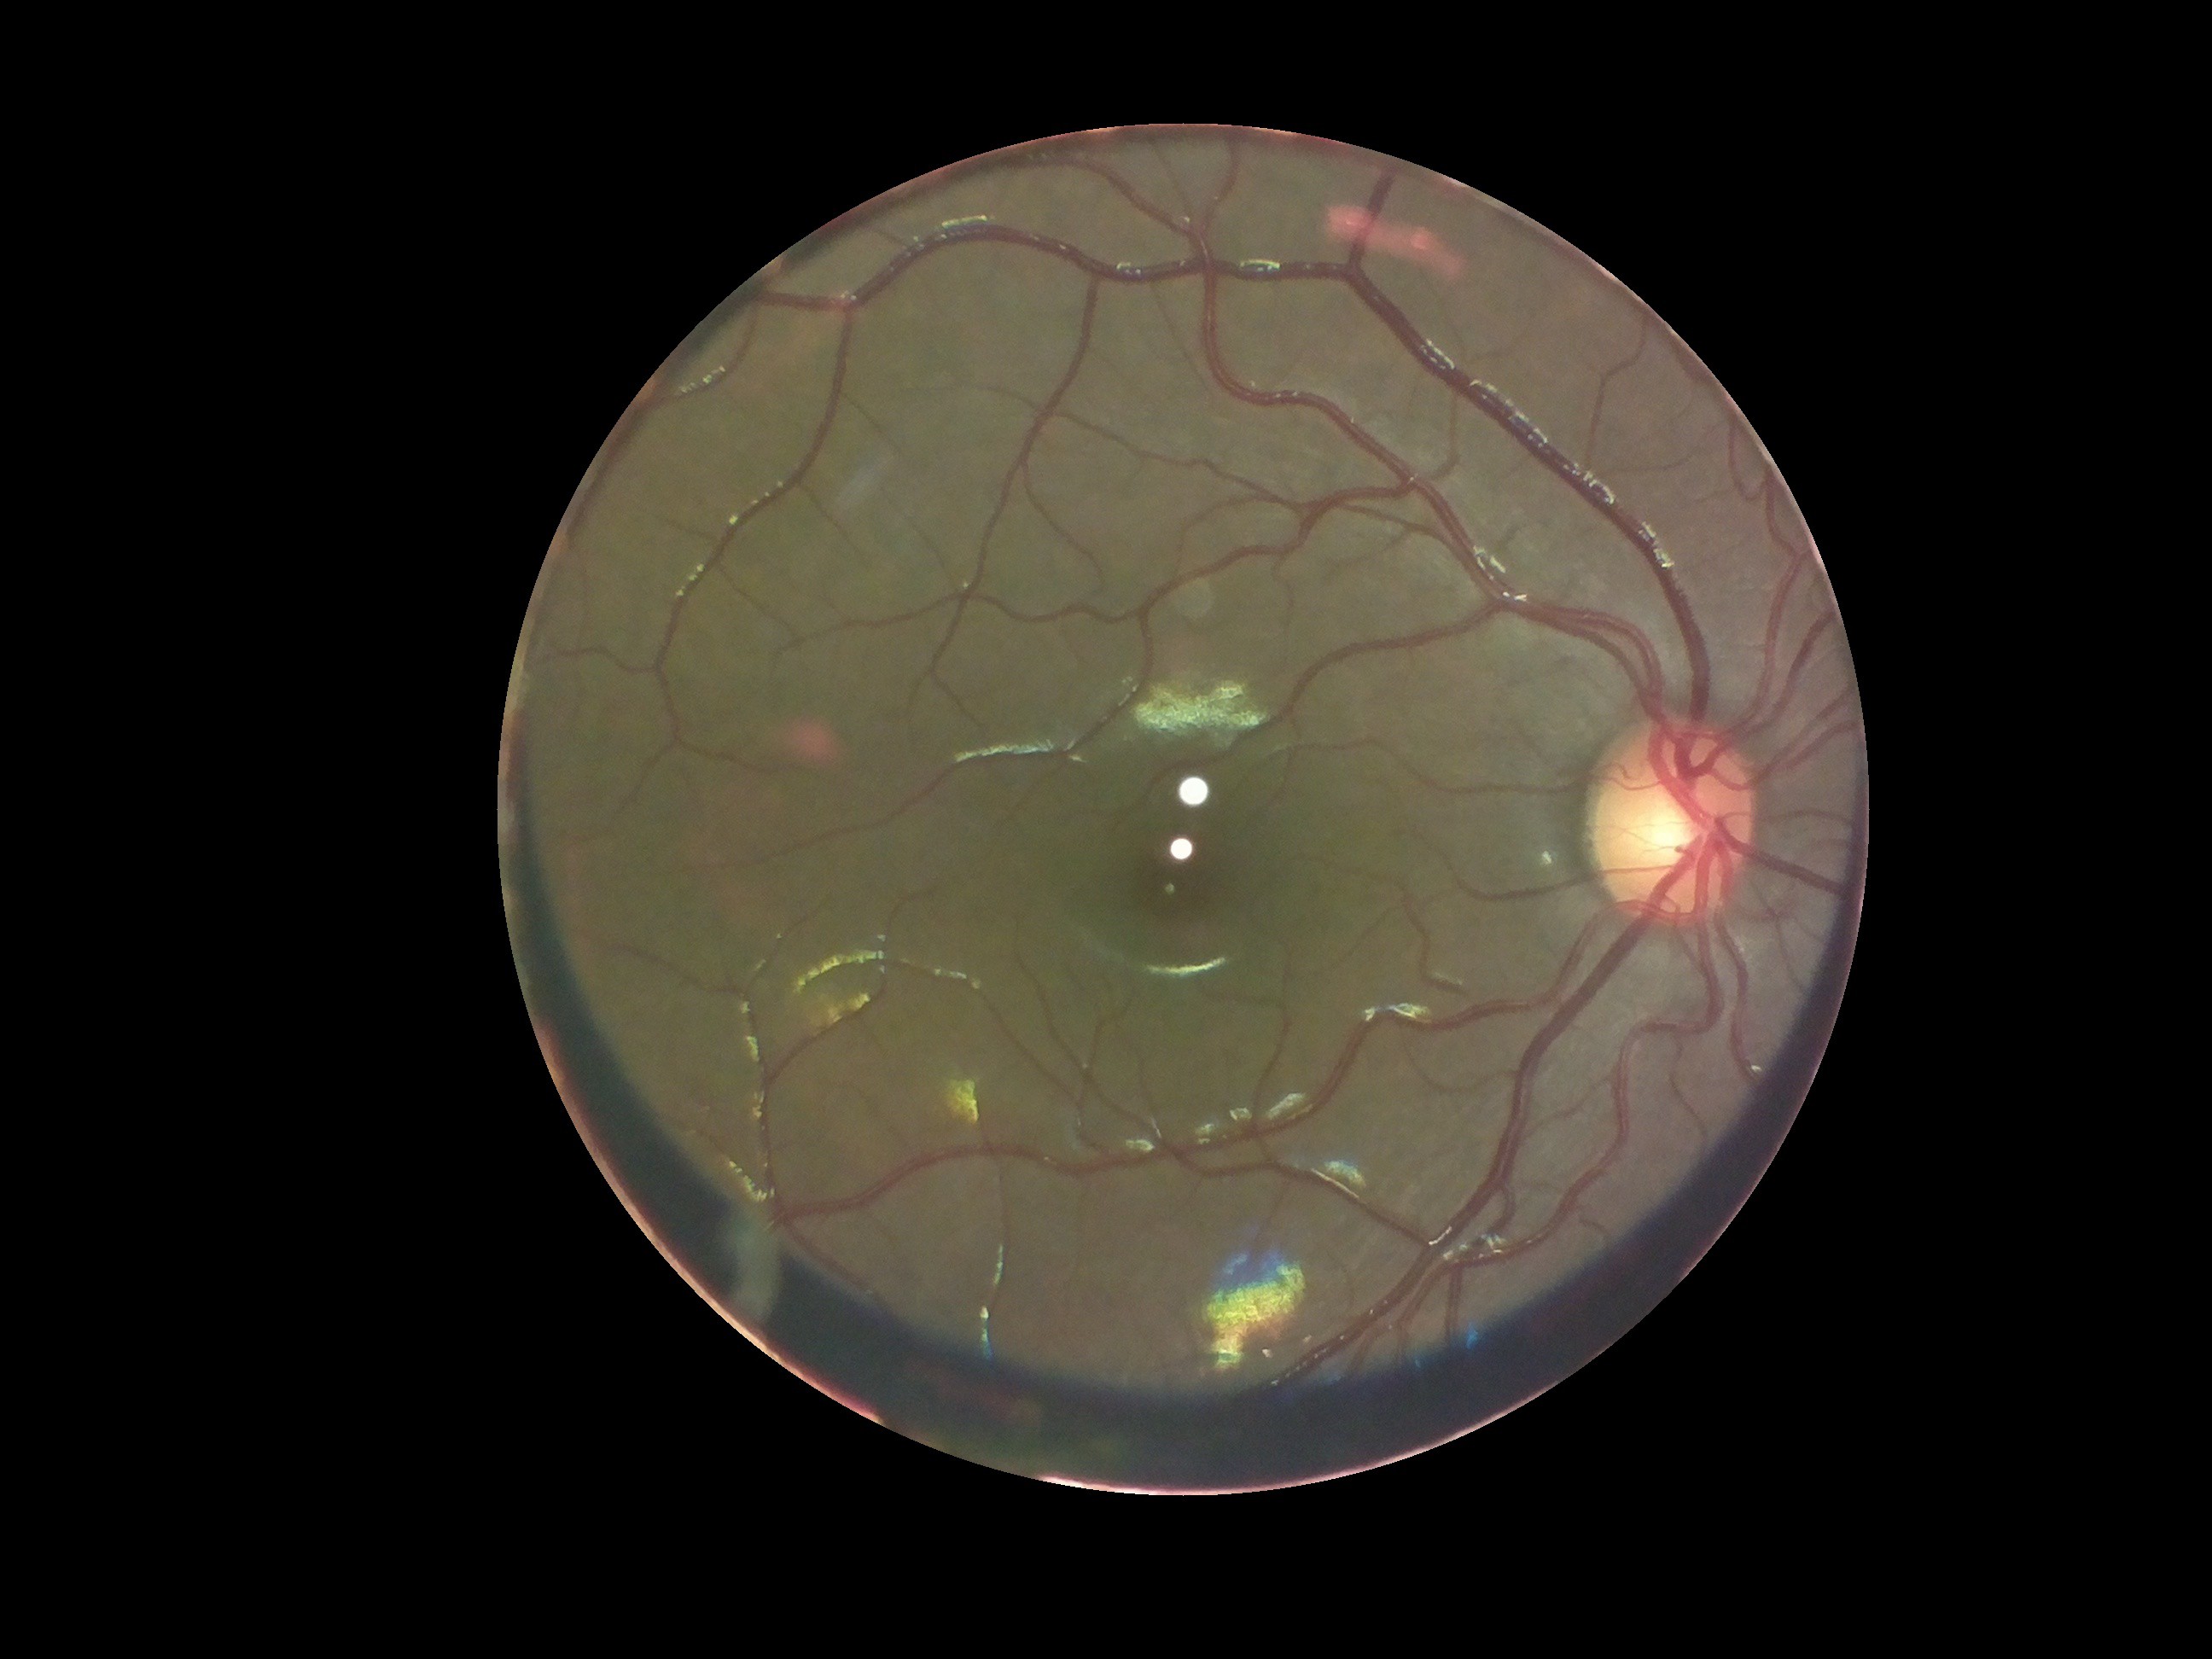
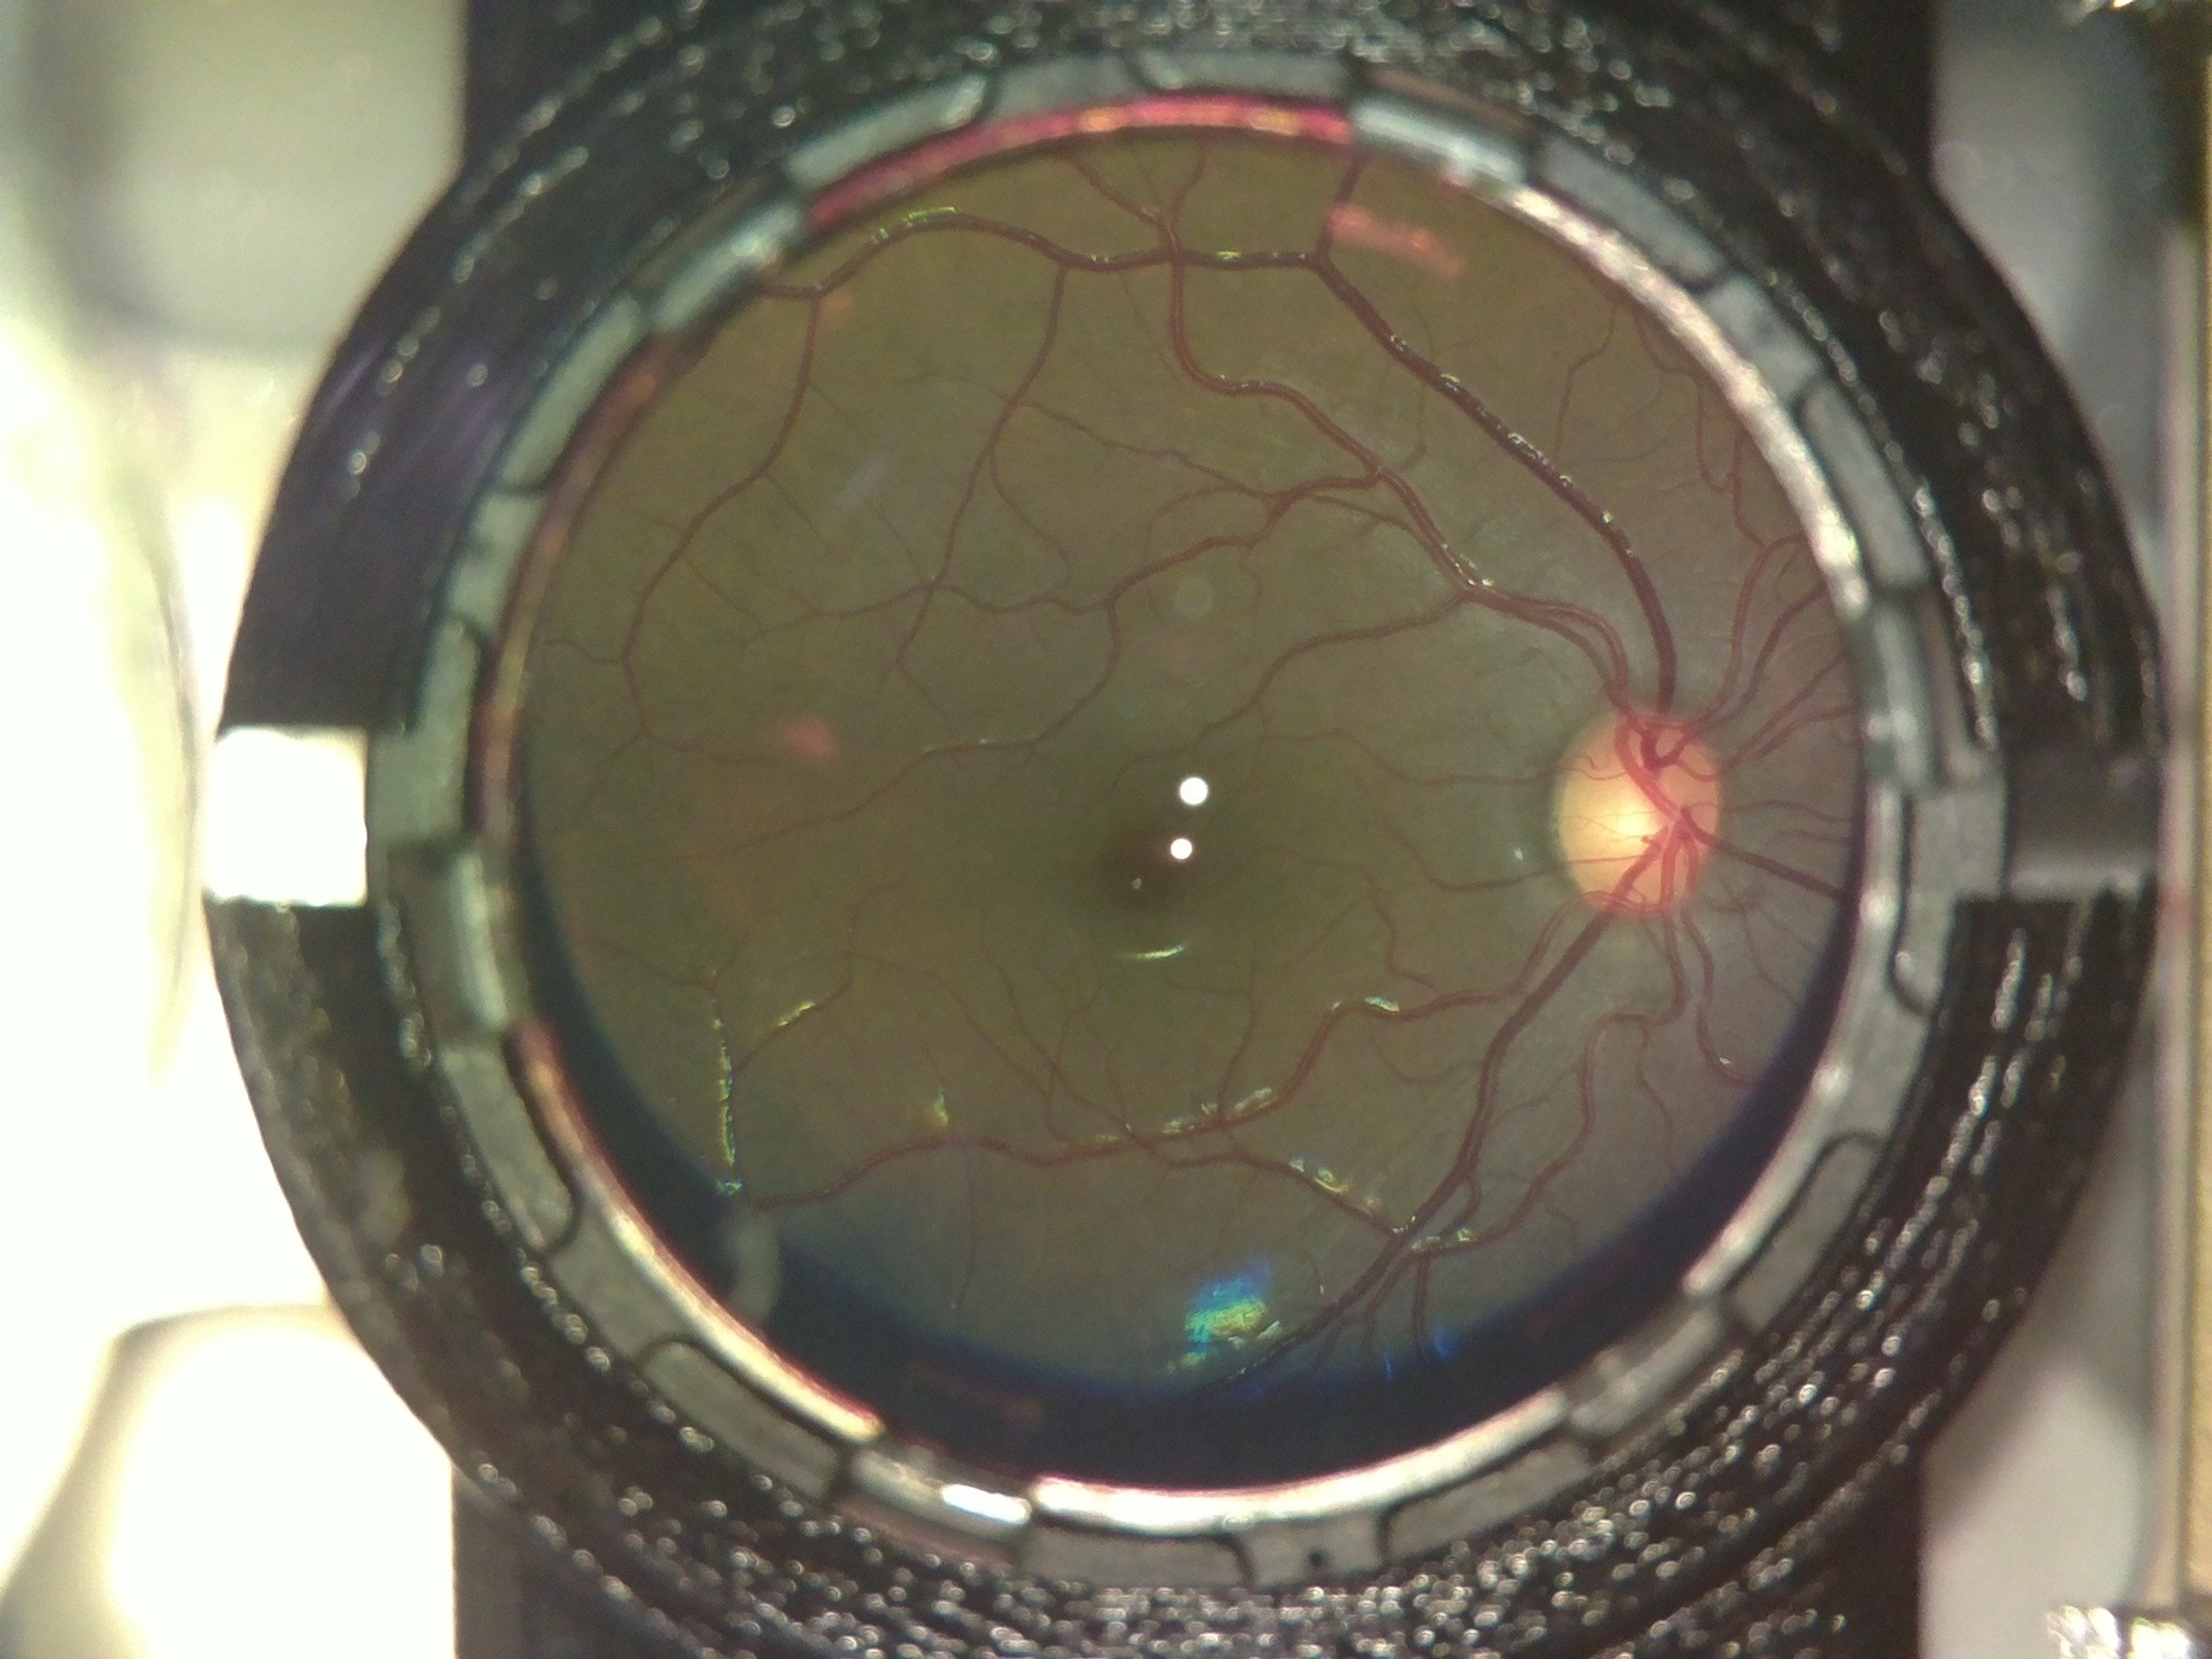
Here is what an OWL image looked like:
The extra elements in the background are the lens holder and casing of the device. Also the 2 bright spots in the center are due to glare from the led used for illumination. The colour difference is insignificant; the fundus camera uses a colour filter, while we don't.
To remove the background, we first used the houghcircles function in opencv to fit a circle to the area inside the lens holder. Then we used the circle to make a mask and cropped out that area. The mask we used for cropping, would be the same for all images, since the camera and lens mount are fixed. So we saved the mask as a separate file, to use in other images as well. This we thought could help reduce the processing required, compared to using houghcircles in each image.

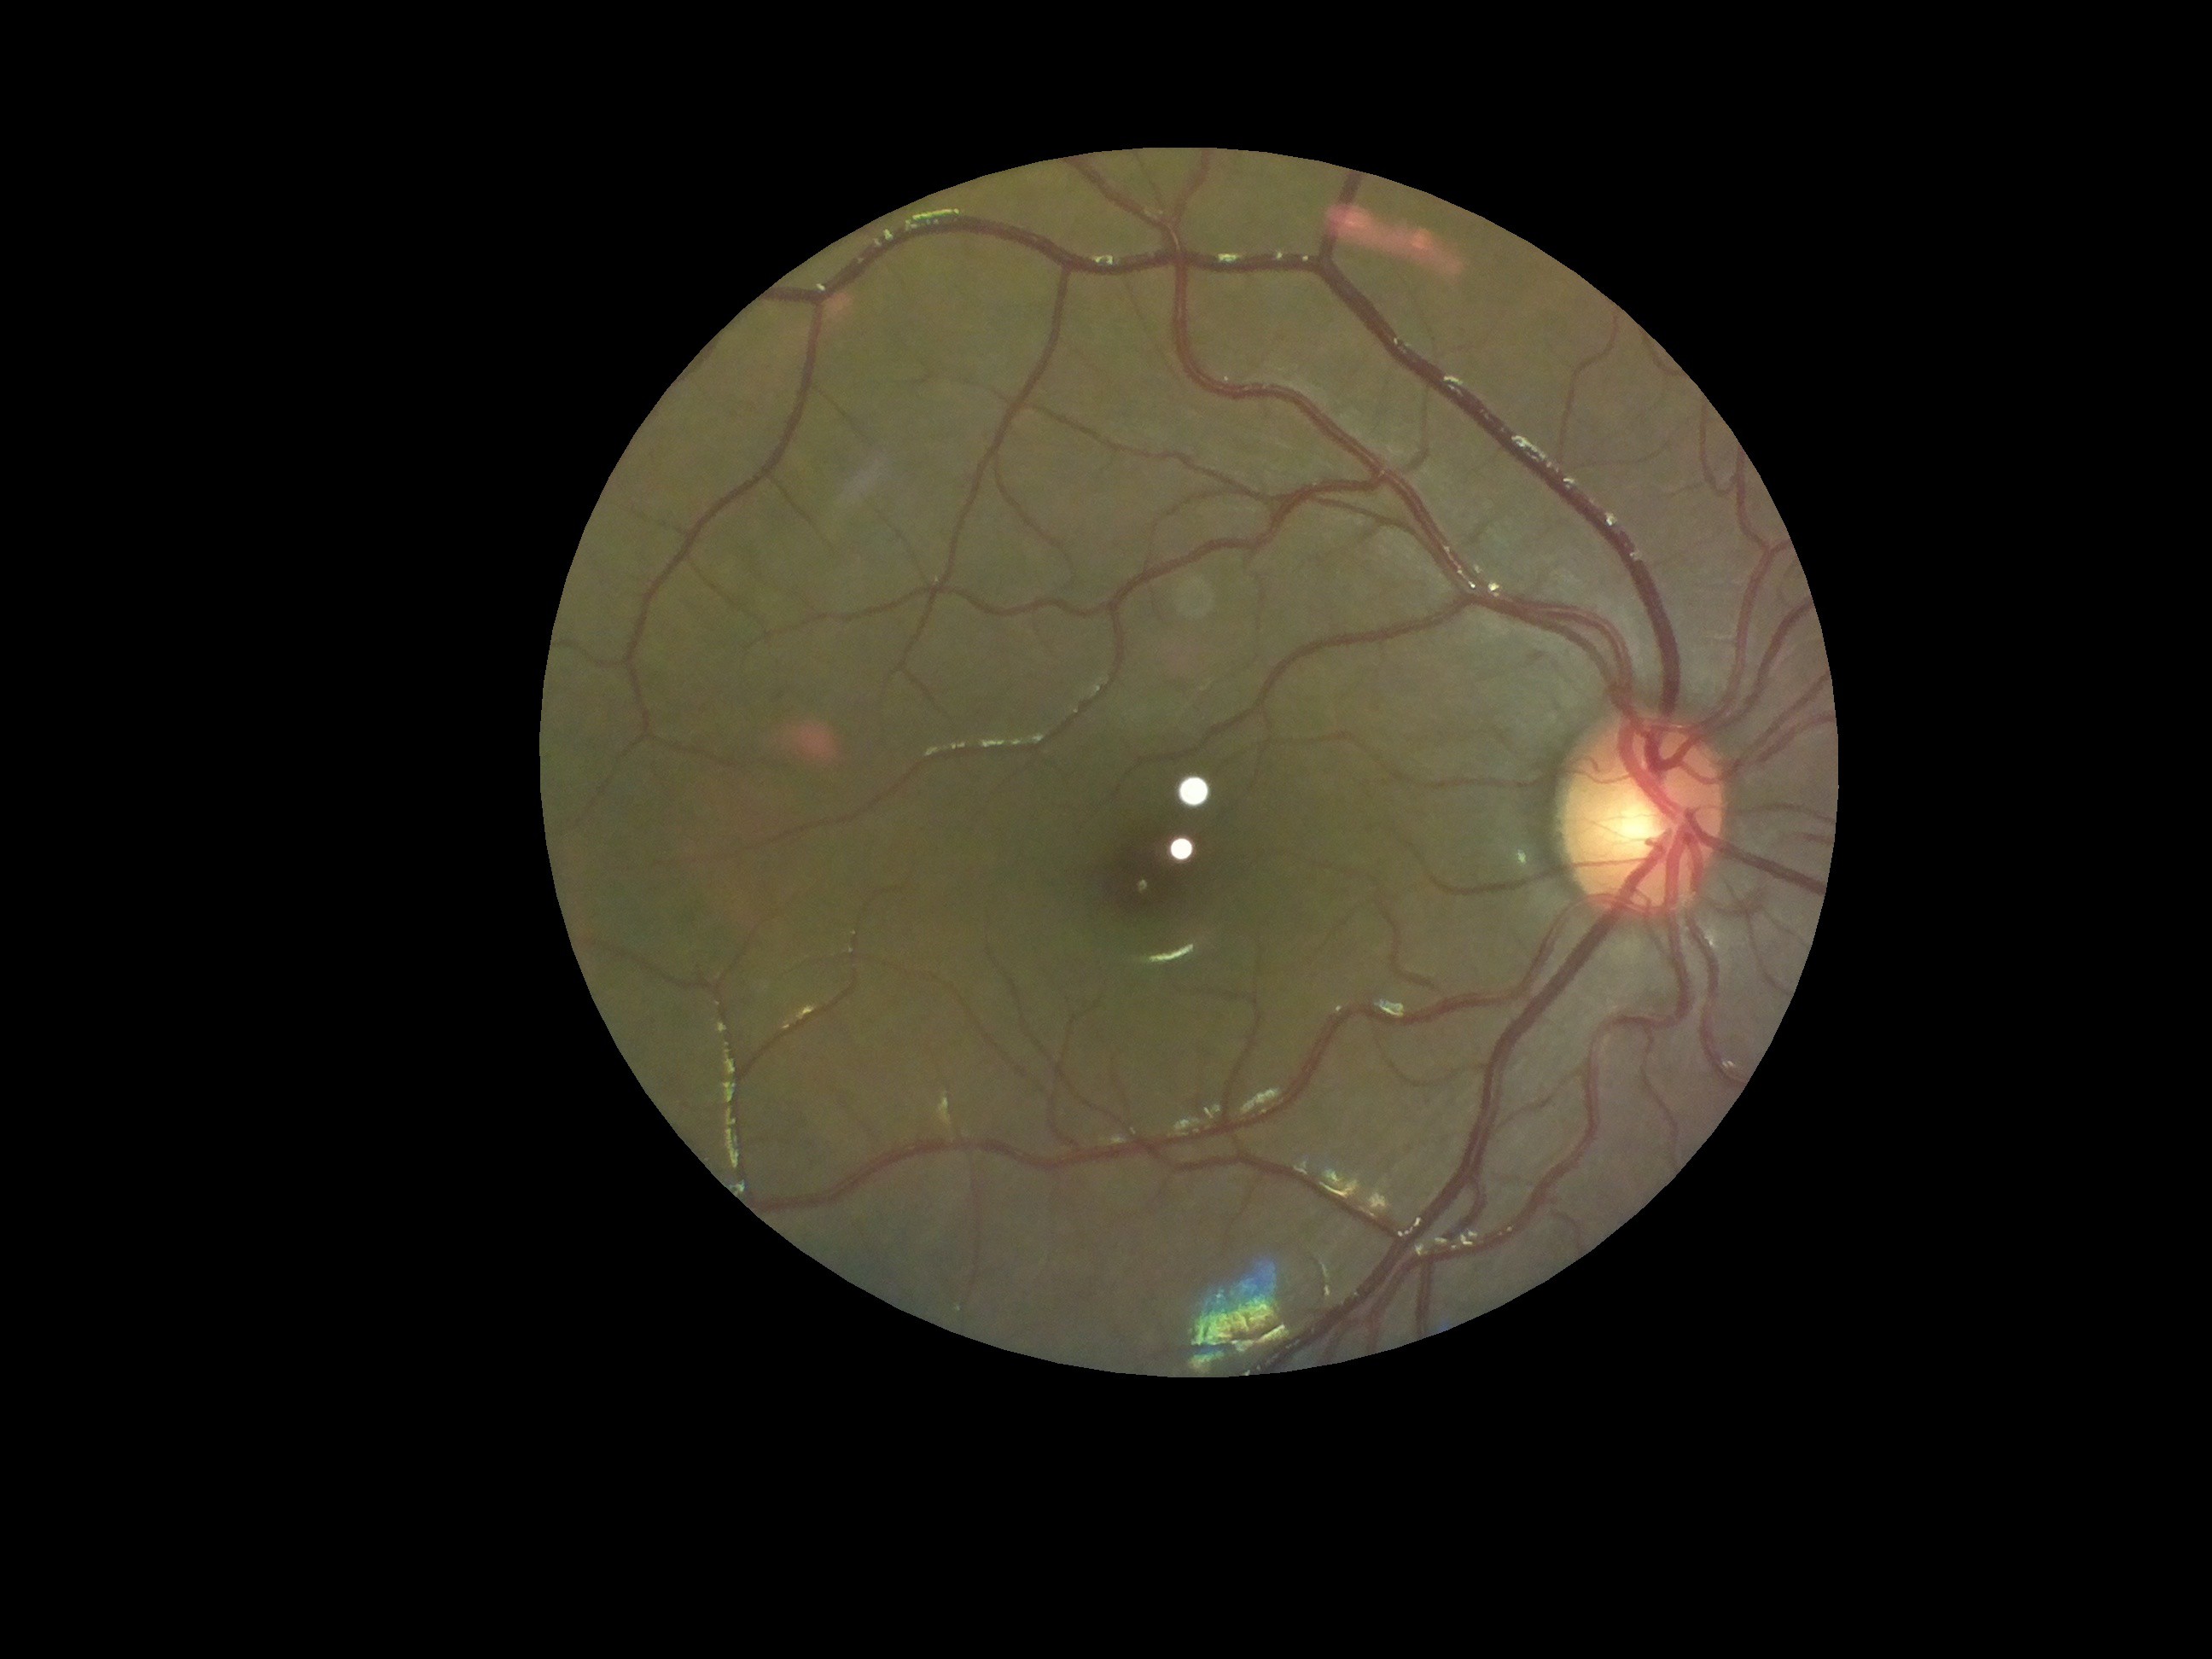
The code used for this can be found here :https://github.com/mahatipotharaju/Image-Stitching-/tree/Opencv-Code
After extracting the fundus, the next task was to remove the spots. For this we took multiple images of the same fundus, but such that the spots fall at a different part of the object in each image. This way, what was covered by the spots in one image would be visible in another one. Then we did a feature mapping of these images using FAST and superimposed the images. The tutorial we followed can be found here: http://in.mathworks.com/help/vision/examples/video-stabilization-using-point-feature-matching.html
This was done in MATLAB on a PC, for its simplicity and we plan to convert it into python-openCV to deploy on the device. Here is the final image:
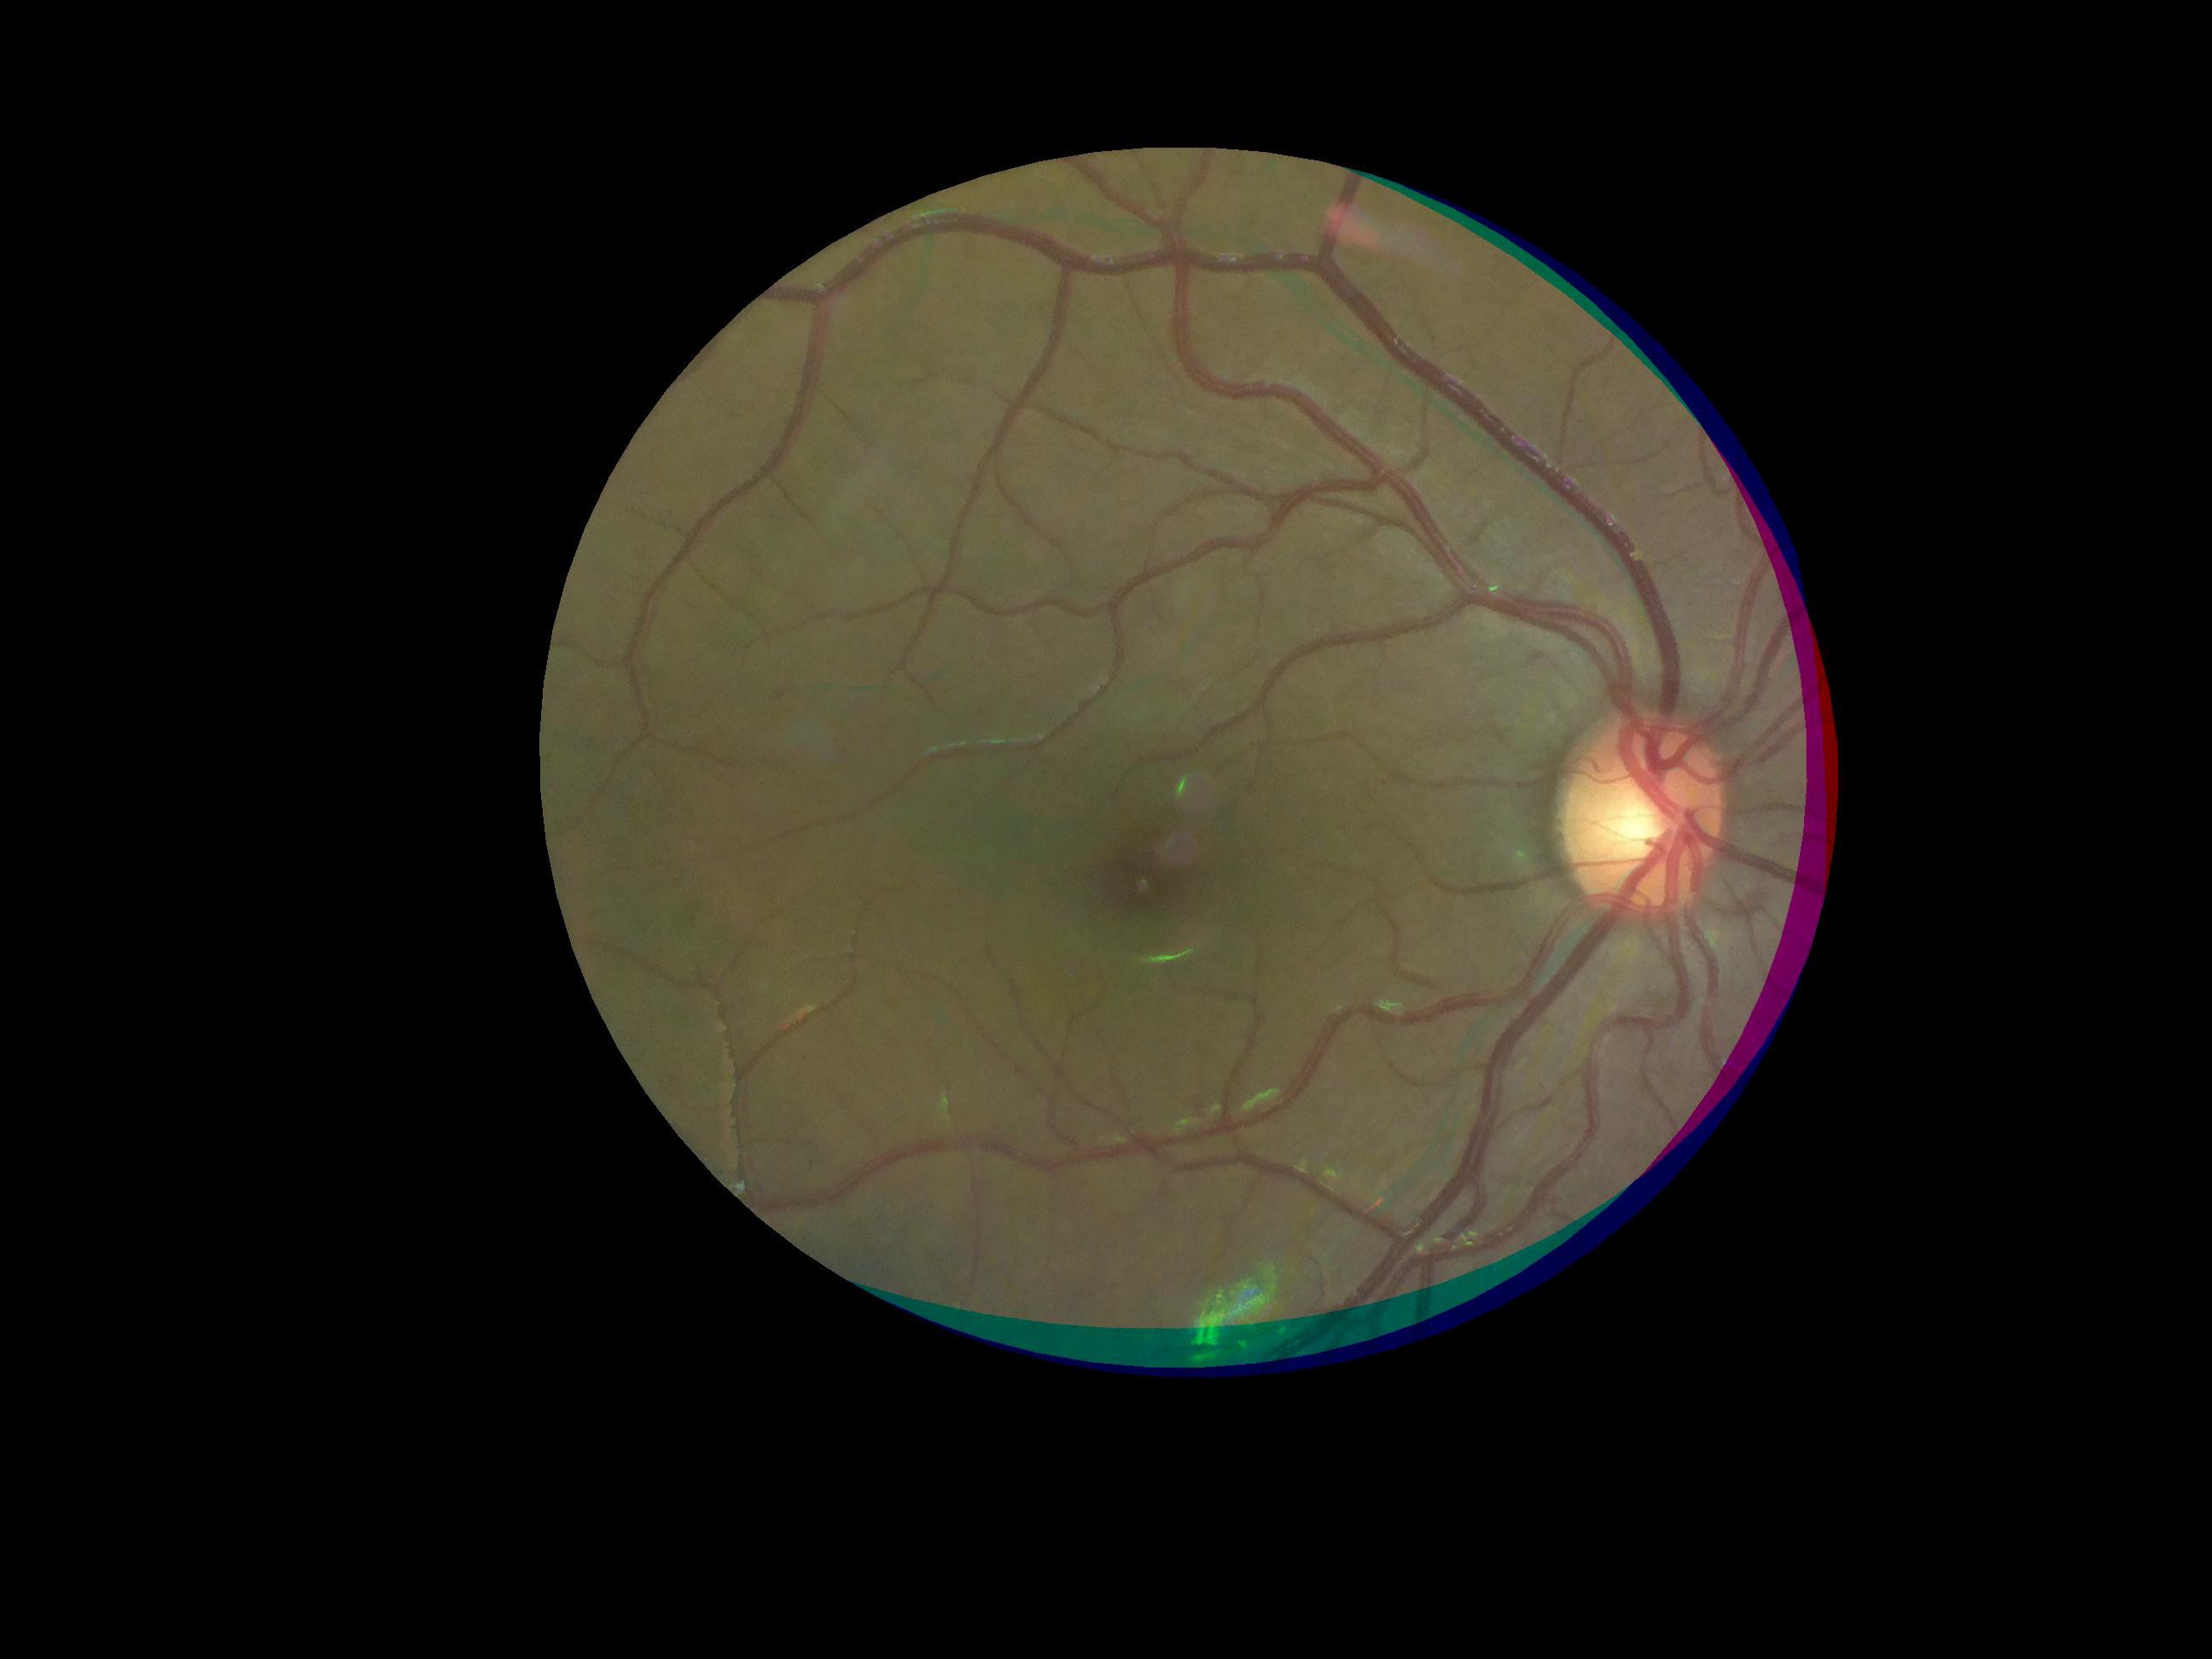
The code we used for the same can be found here: https://github.com/mahatipotharaju/Image-Stitching-/blob/Matlab-Image-processing/colored_stitch.m
Discussions
Become a Hackaday.io Member
Create an account to leave a comment. Already have an account? Log In.