This project started several years ago when I wanted to build a couple of "Blanda speakers". I bought bowls and Fostex FE126 drivers, but never got started. After a while, my wife voiced three complaints: A box with "some speakers" taking up space, a sheet of 16 mm MDF taking up space in the garage and still no audio system in the dining room. Solving all three issues at once, I found an online TQWT-calculator, made a quick sketch and built two tall horns. As it was a very temporary home for the drivers, waiting for the real spherical boxes, I didn't bother sanding and painting.
Now, many years later, the bowls are mostly used for snacks and salad at the occasional party, and are unlikely to end up "High End". Also, the children have started complaining about the sun bleached, dull brown-beige color and rough edges. There's also a design-flaw, as the almost 2 m tall boxes tend to fall flat on their faces at the slightest provocation, something that caused one of the speaker grilles to become concave, rather than the usual convex.
Now it's finally time to put some paint and finish to the speakers, and also complement them with a subwoofer. I've chosen a glossy red color for the speakers, which will make them stand out like the woman in red in the Matrix, while the subwoofer will be a mat, dark gray, making it nearly invisible.
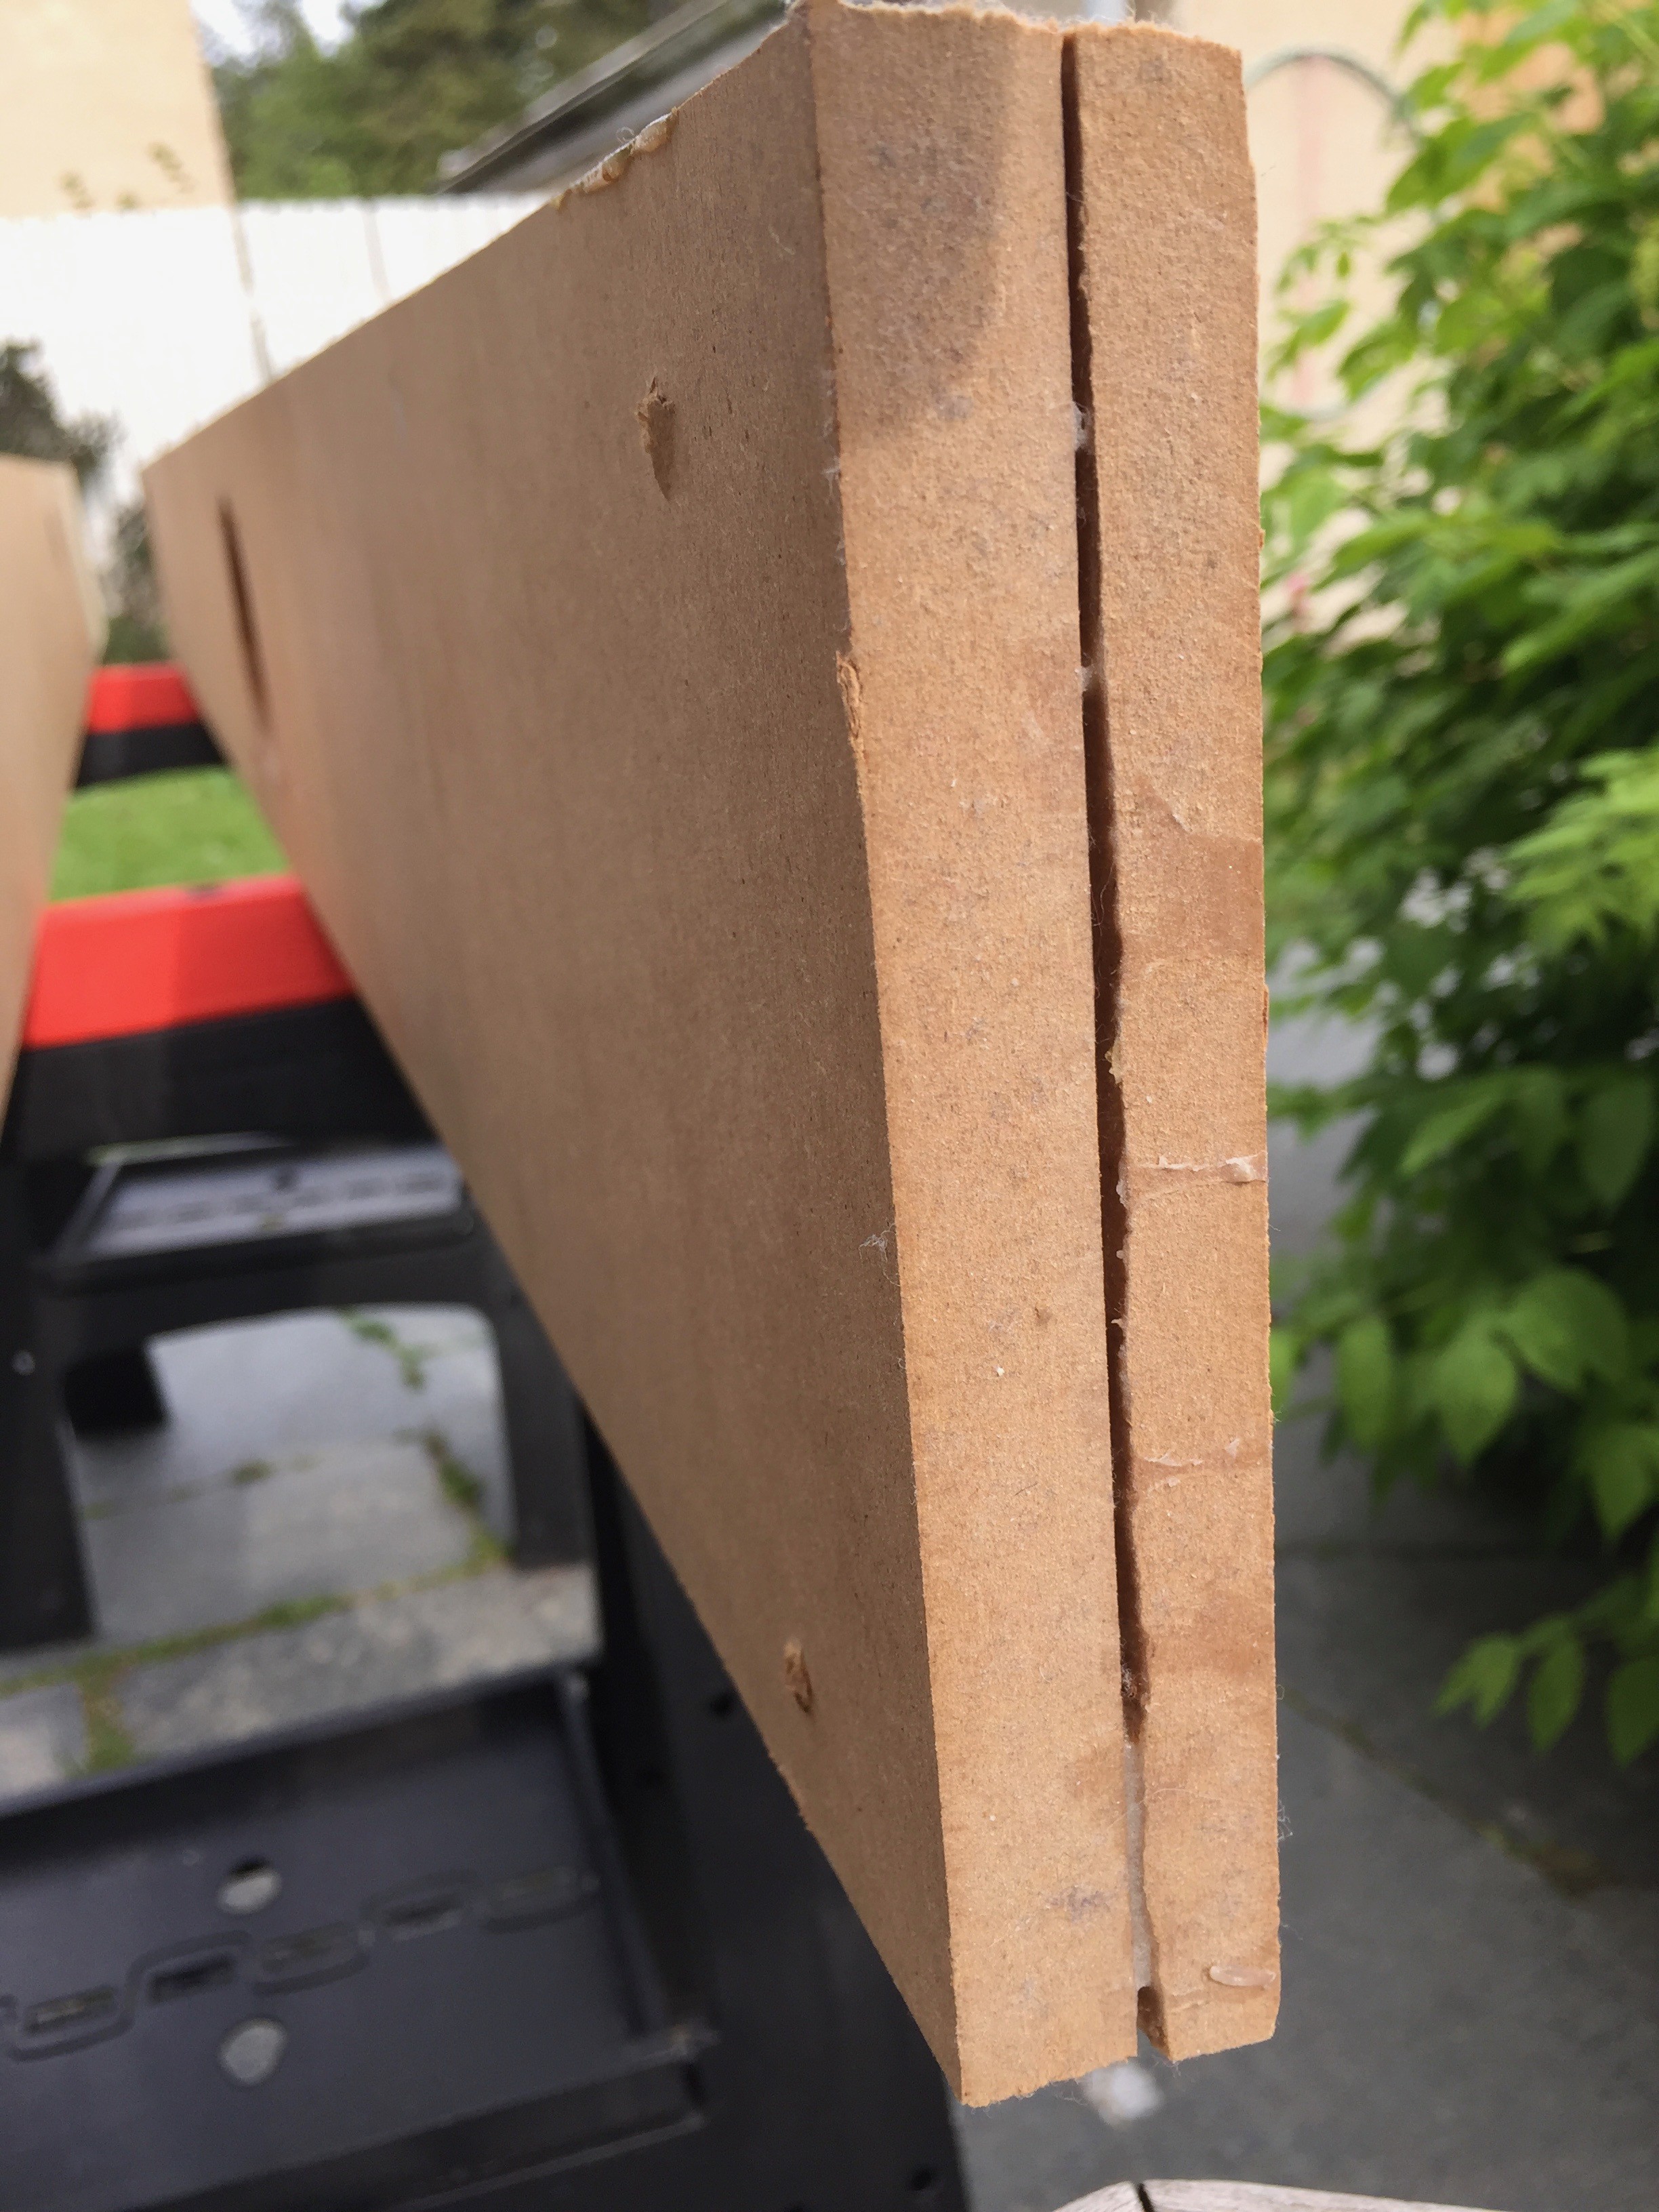
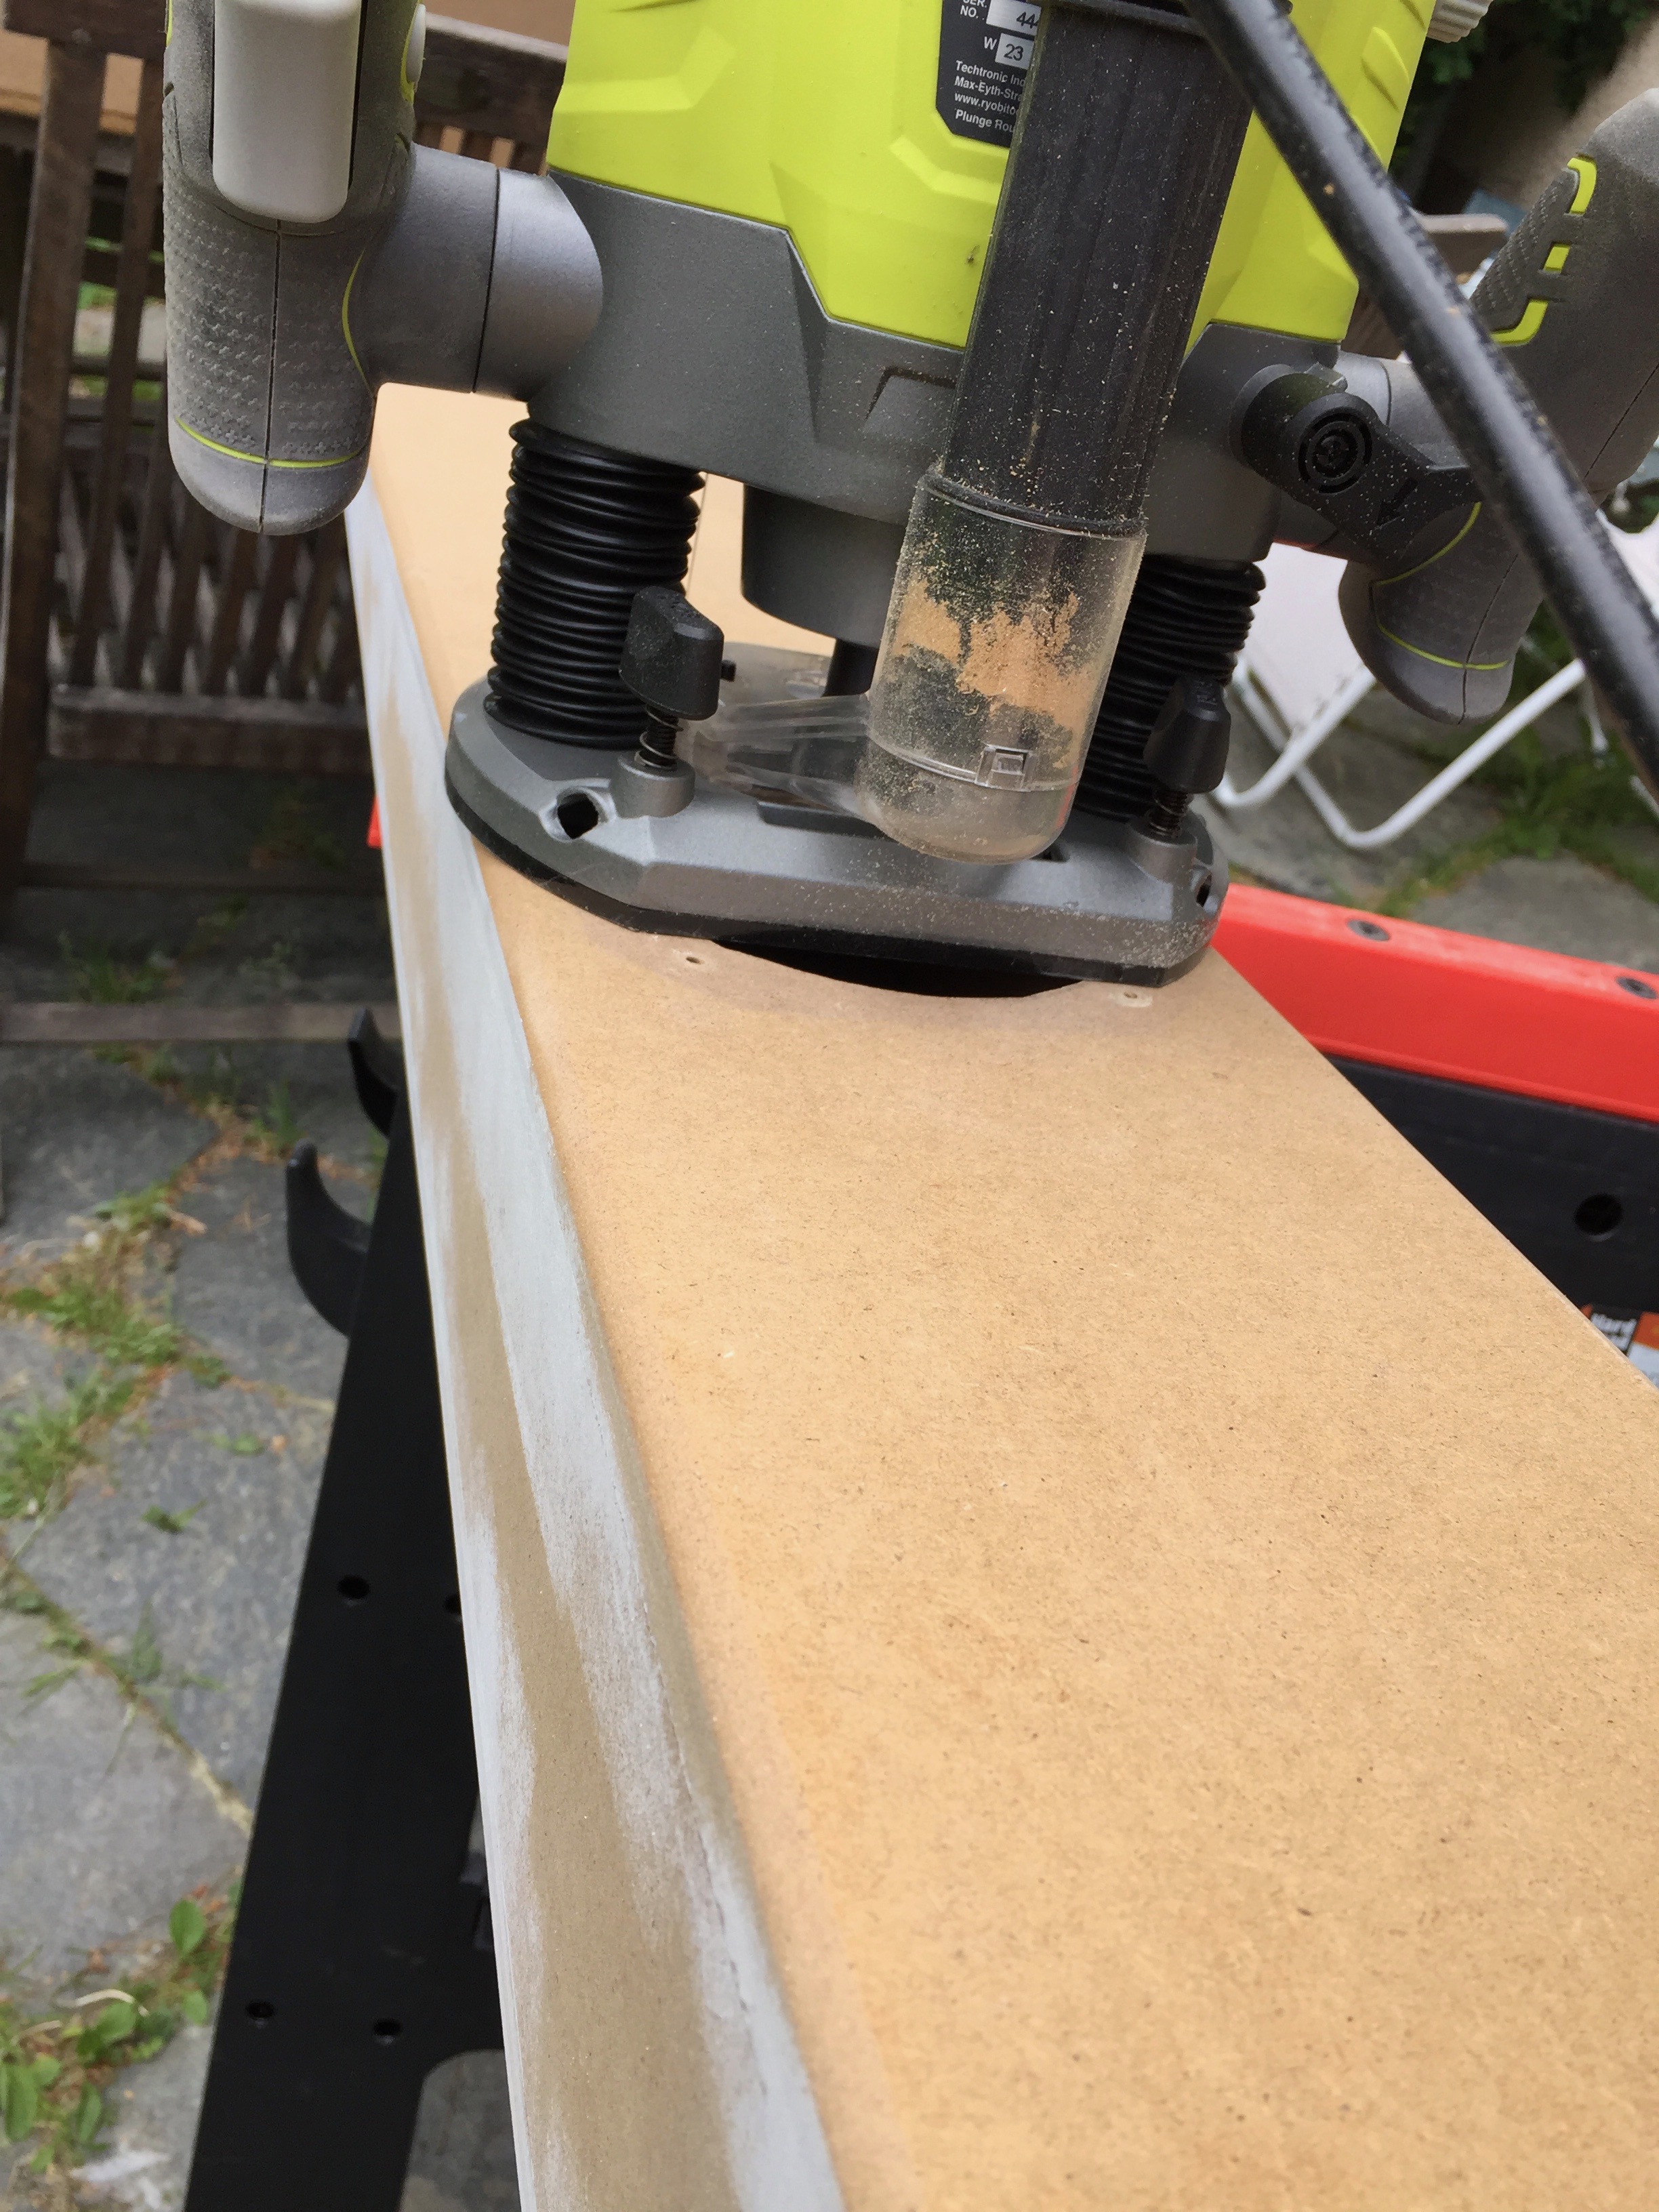
As can be seen in the first pictures, it takes a lot of sanding with 40 grit paper to even out the rough edges. It's also likely to take a lot of filler to correct the mistakes I made with the router when I made the holes in the box.
Stay tuned for updates!
 Christian Bjelle


 Mike Szczys
 Daren Schwenke

 shussainu