 dudeskidaddy
Work in progress. After 6 months a few hundred miles...ready to put all our improvement ideas to the test on our next board. It will be great having 2 boards and be able to ride together with the boys.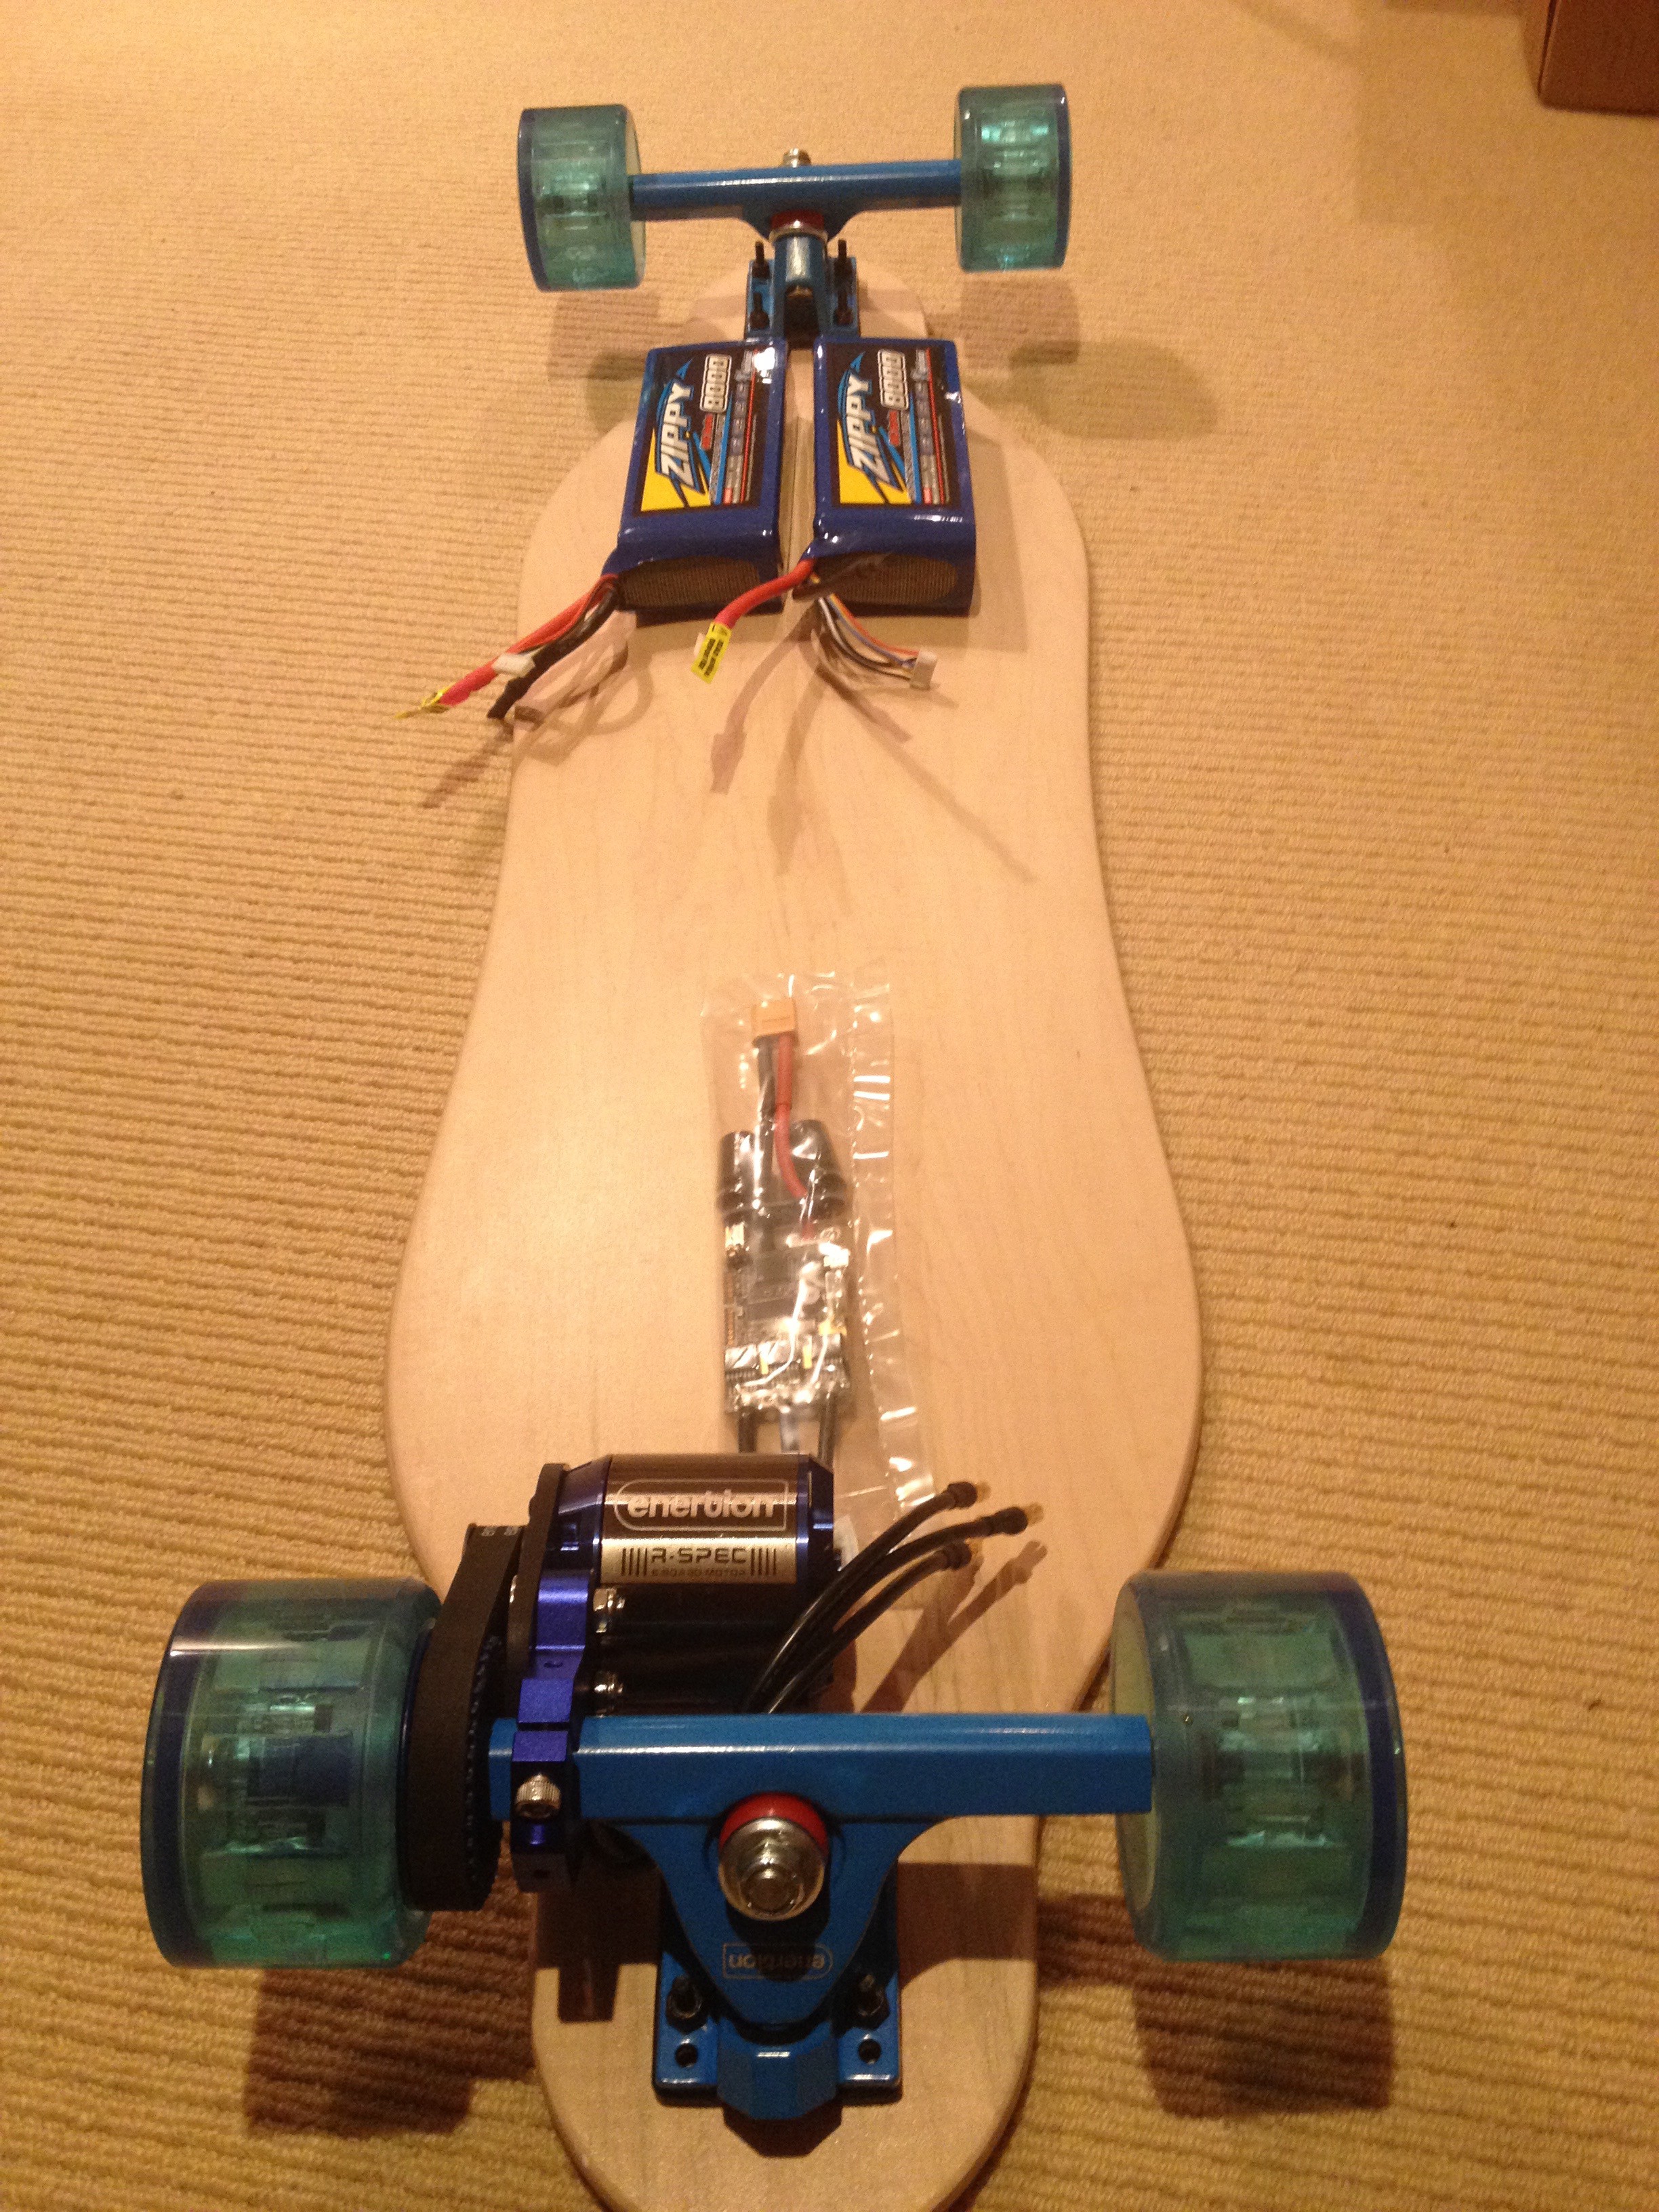
Here is what we're doing differently:
Trucks/Mount: Enertion: I absolutely love their mount we're now using on our current board because it just stays in place. I did several logs on this topic already. The rear mount can be a big source of trouble if it's not rock solid. My hat is off to guys who can weld their own mount. I looked into it and for the money and time, I'm happy to farm this one out and go buy the part.
Rear Sprocket/Wheels: Again Enertion. The one-piece nylon rear wheel sprocket is well fitted to their wheels and IMO gives you a better result in terms of alignment and sprocket location than the "through-bolt" kind. If you use the Enertion rear-sprocket, I think you will also need to use their trucks. The half-round profile shape is pretty common but, they seem to have an extra long shaft (adds the width of a truck spacer to accommodate the sprocket). Don't know for sure though...maybe you can buy trucks elsewhere with the same profile and extended shaft.
Motor: Enertion 190KV. I like our current 147kv Turnigy motor. However, it has a smooth shaft so mounting the front sprocket required grinding down 4 flat spots for set-screws. Occasionally these needed adjusting even with lock-tight. With a 175 lb rider whacking between forward and brake, those little set scews can take a beating, especially if the motor shaft grinding isn't flat. On the other hand, the enertion motor, while a bit more expensive, has a very nice key/tab thingy in the shaft that makes a perfect union between the shaft and sprocket. The sprocket is held in place with 2 small retaining rings...no set screws. They really did a nice job here. A very tight fit you need to tap in place gently with a hammer. A bit more $ but I think worth it. Happy we made this change. It's more KV: 190 vs 147 so we'll get more top-end speed. Gearing is higher too 16/36 vs 12/36. Not worried about low-end torque because we're bumping up the voltage from 6s to 10s, and 20C to 30C.
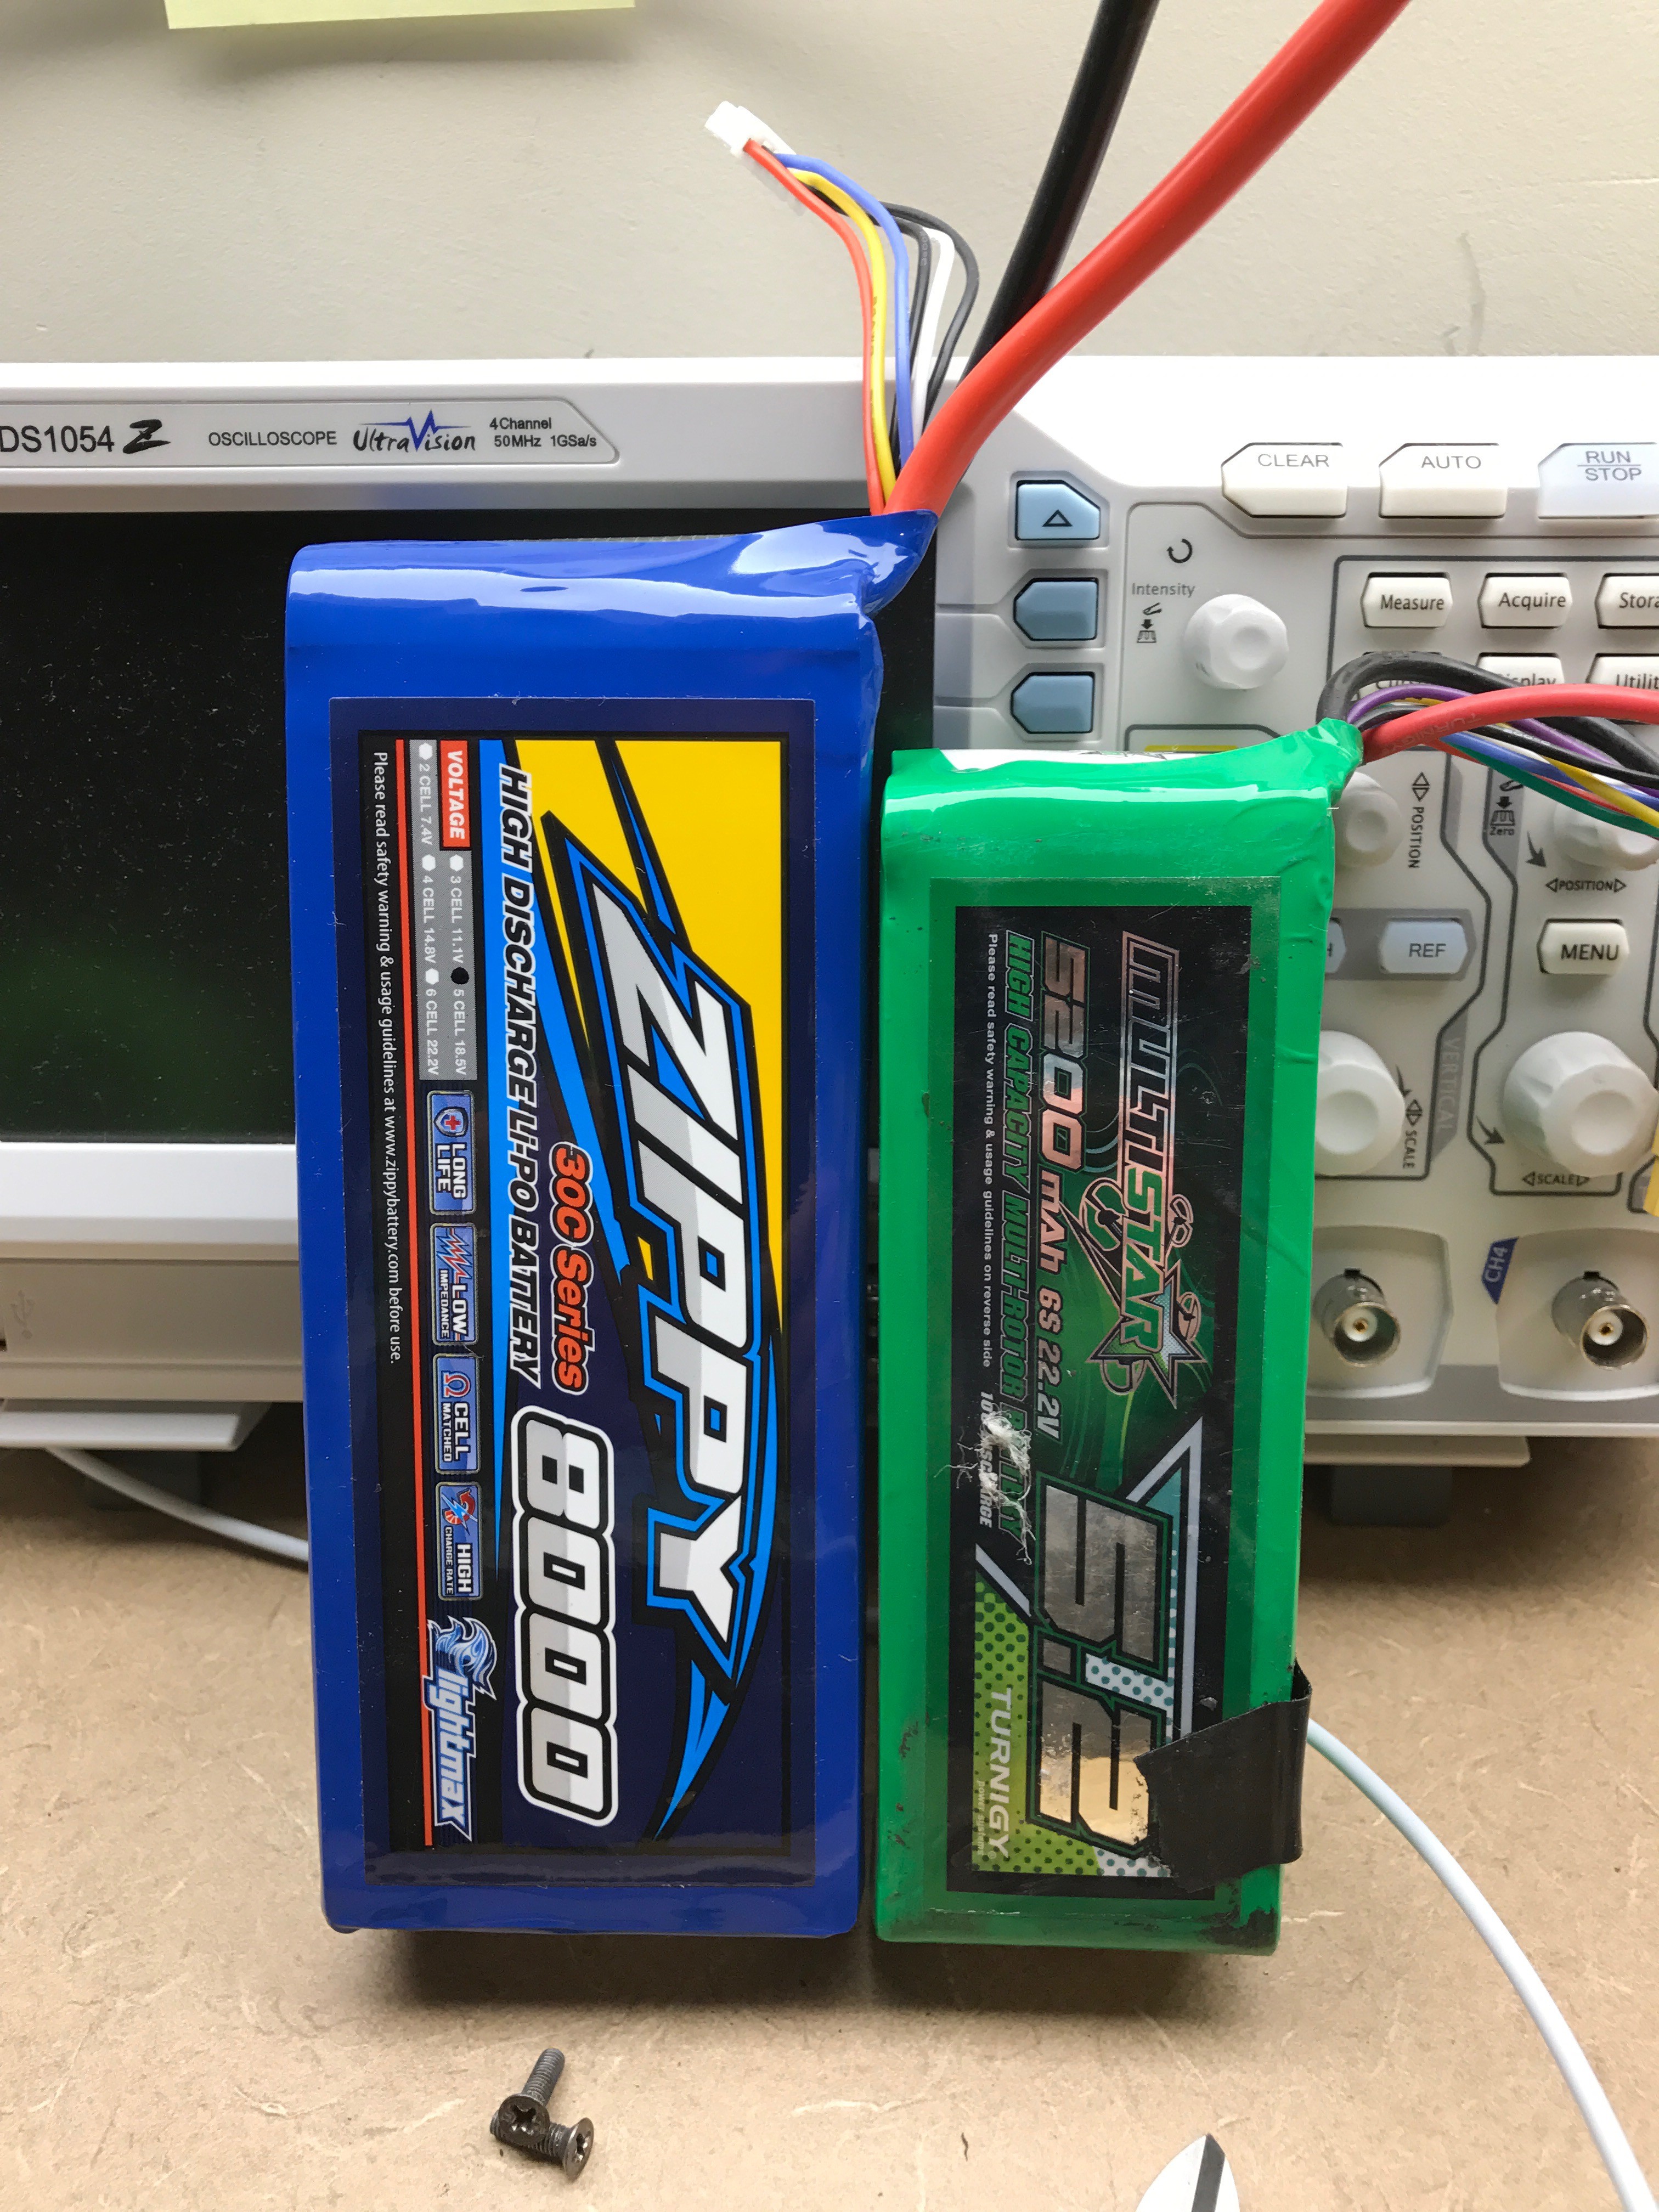
Battery: 2x 8000 mAH 30C in series for a 10s. We'll have about 2x the range and power. I'll probably post our new power schematic. Haven't wired it up yet, but the idea is to be able to independently balance charge 2 5s batteries that when being used (not being charged) are connected in series...and NOT have to open up/unplug the battery case. I've read the VESC likes the 10s setup and may have reliability problems at 12s.
Single Motor. Staying with single wheel for now. There are definitely times I wish I had a dual motor but we're just learning to ride and it hasn't been a big deal yet. Mostly you notice it loosing traction in very steep up/dn hills and when powering out of tight left turns. (motor is on right-rear). If I start commuting to work on this thing, I'll invest the the extra $350 bucks (additional VESC/Motor/Mount/Sprocket)
Deck: We like having the kicktail on our current board, but just for a change of pace, we're trying this one that has kind of a boosted-board look. The lamiate is really flexible...very bouncy. Haven't ridden it yet, should be interesting. http://www.customskateboards.com/Custom-Longboards/Freeride-Longboard
Discussions
Become a Hackaday.io Member
Create an account to leave a comment. Already have an account? Log In.