 dudeskidaddy
Ok so we're done doing the physical assembly...had a few issues along the way.
The battery box clearance (rear-mounted) might be problem for speed bumps. Current clearance is only about 2 inches. Hard to find an aluminum (for heat sink) case big enough to fit 2 batteries, esc, wiring and ports but also not be too tall. Might have to change this. I'd rather not use thick risers.
(update: 10/7/2016 yes, the battery box in the back is bad idea...it can strike the ground in suck a way as to throw the rider. We have since moved it to the front where if it does strike the ground/speed bump, the board continues on and just slides off. Also, no need for heat sink in the battery box, they don't ever get warm. We did keep the ESC in the back and in s small plastic box to prevent interference with the remote/radio)
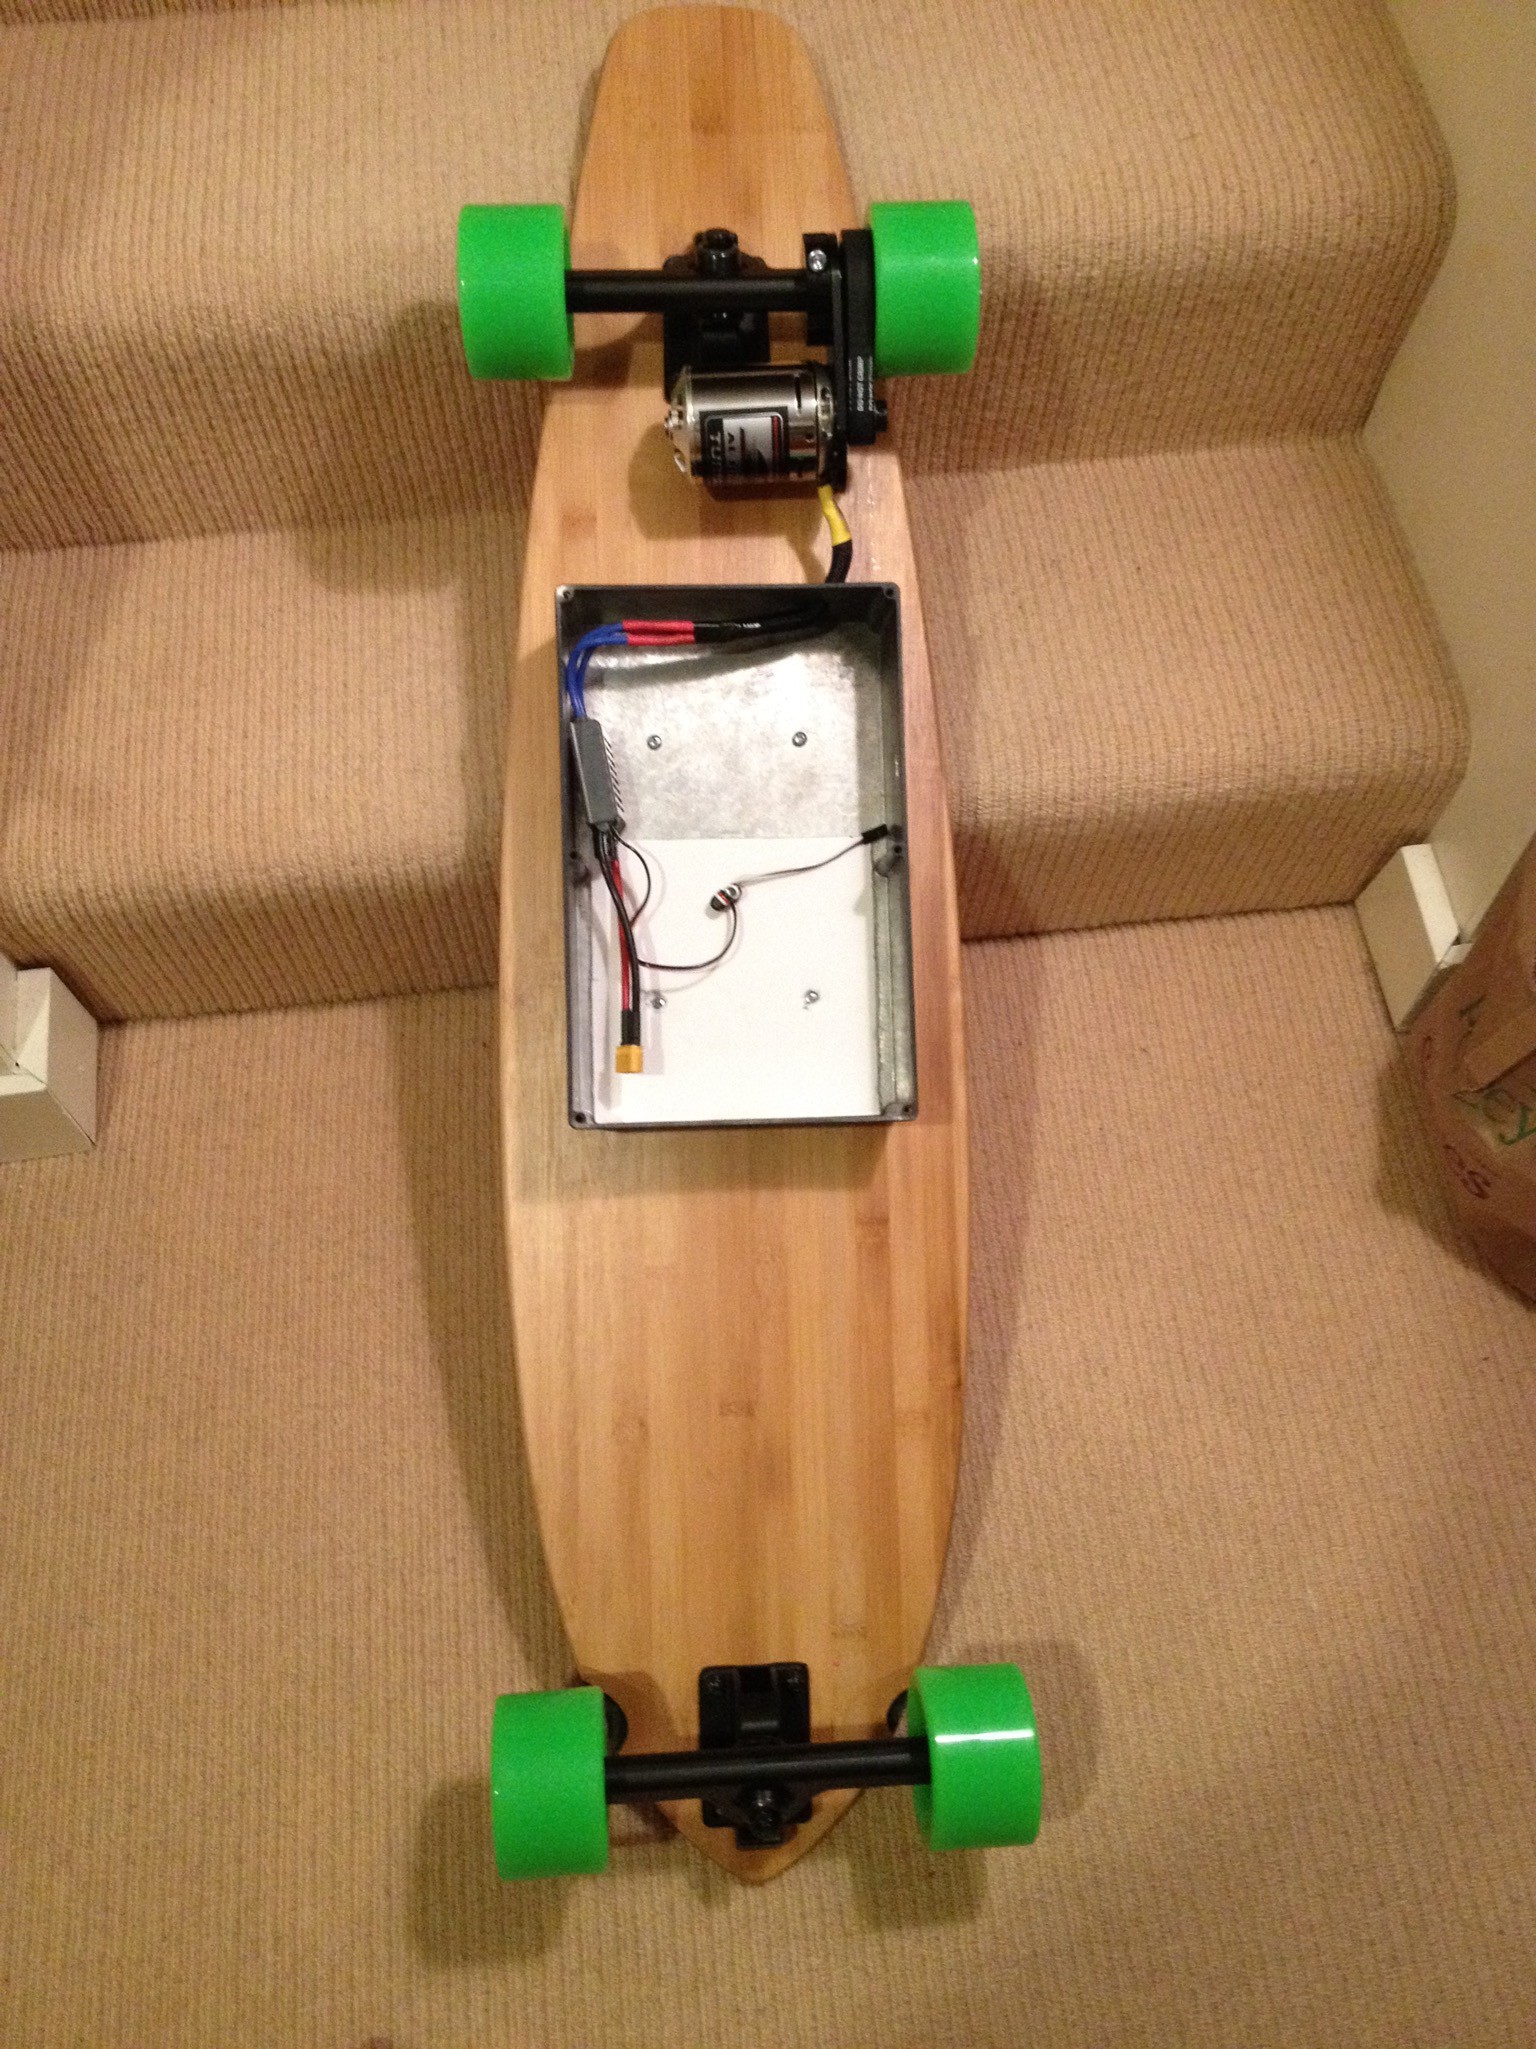
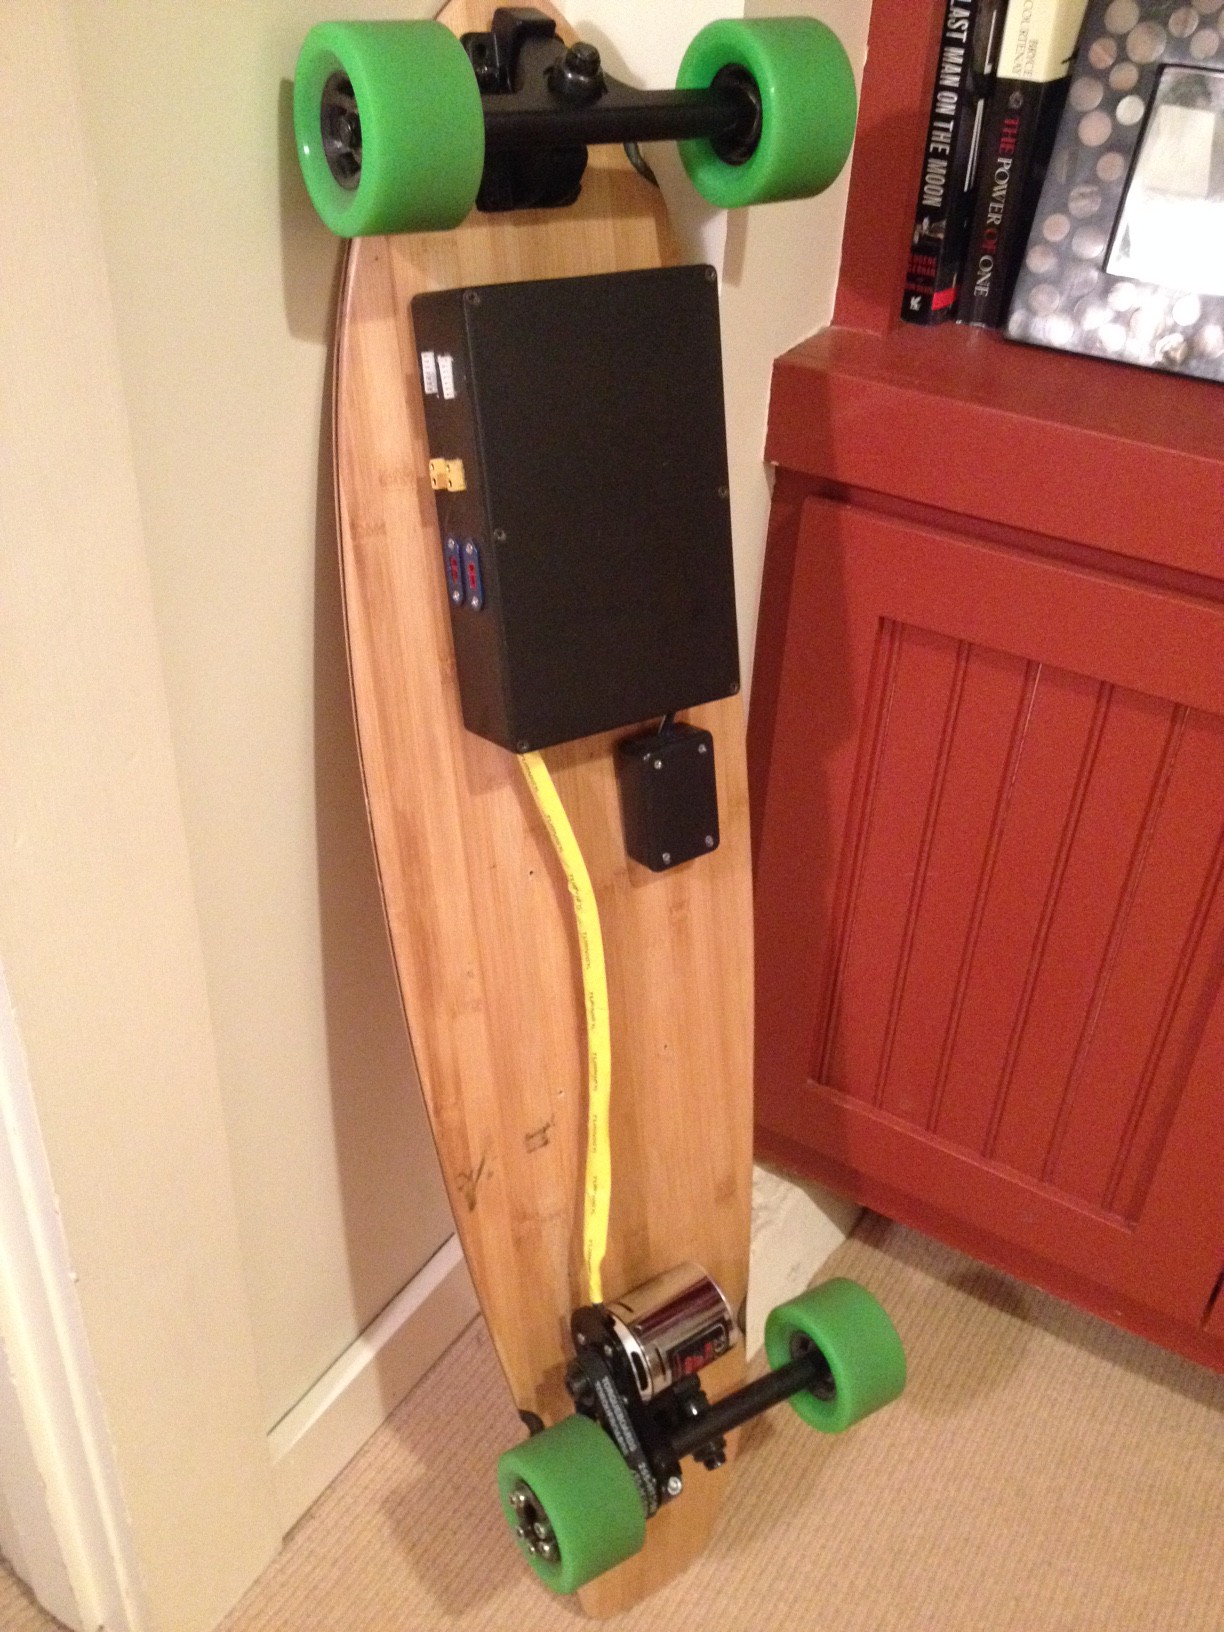
Battery box - deck rattle
Another trick was putting thick rubber 0-rings or bushings between the battery box and the board. We got a lot of noisy vibration for the box banging against the deck until we added these. Sorry, not shown in the pic. Here is the front mounted battery box before we moved the ESC to the back.
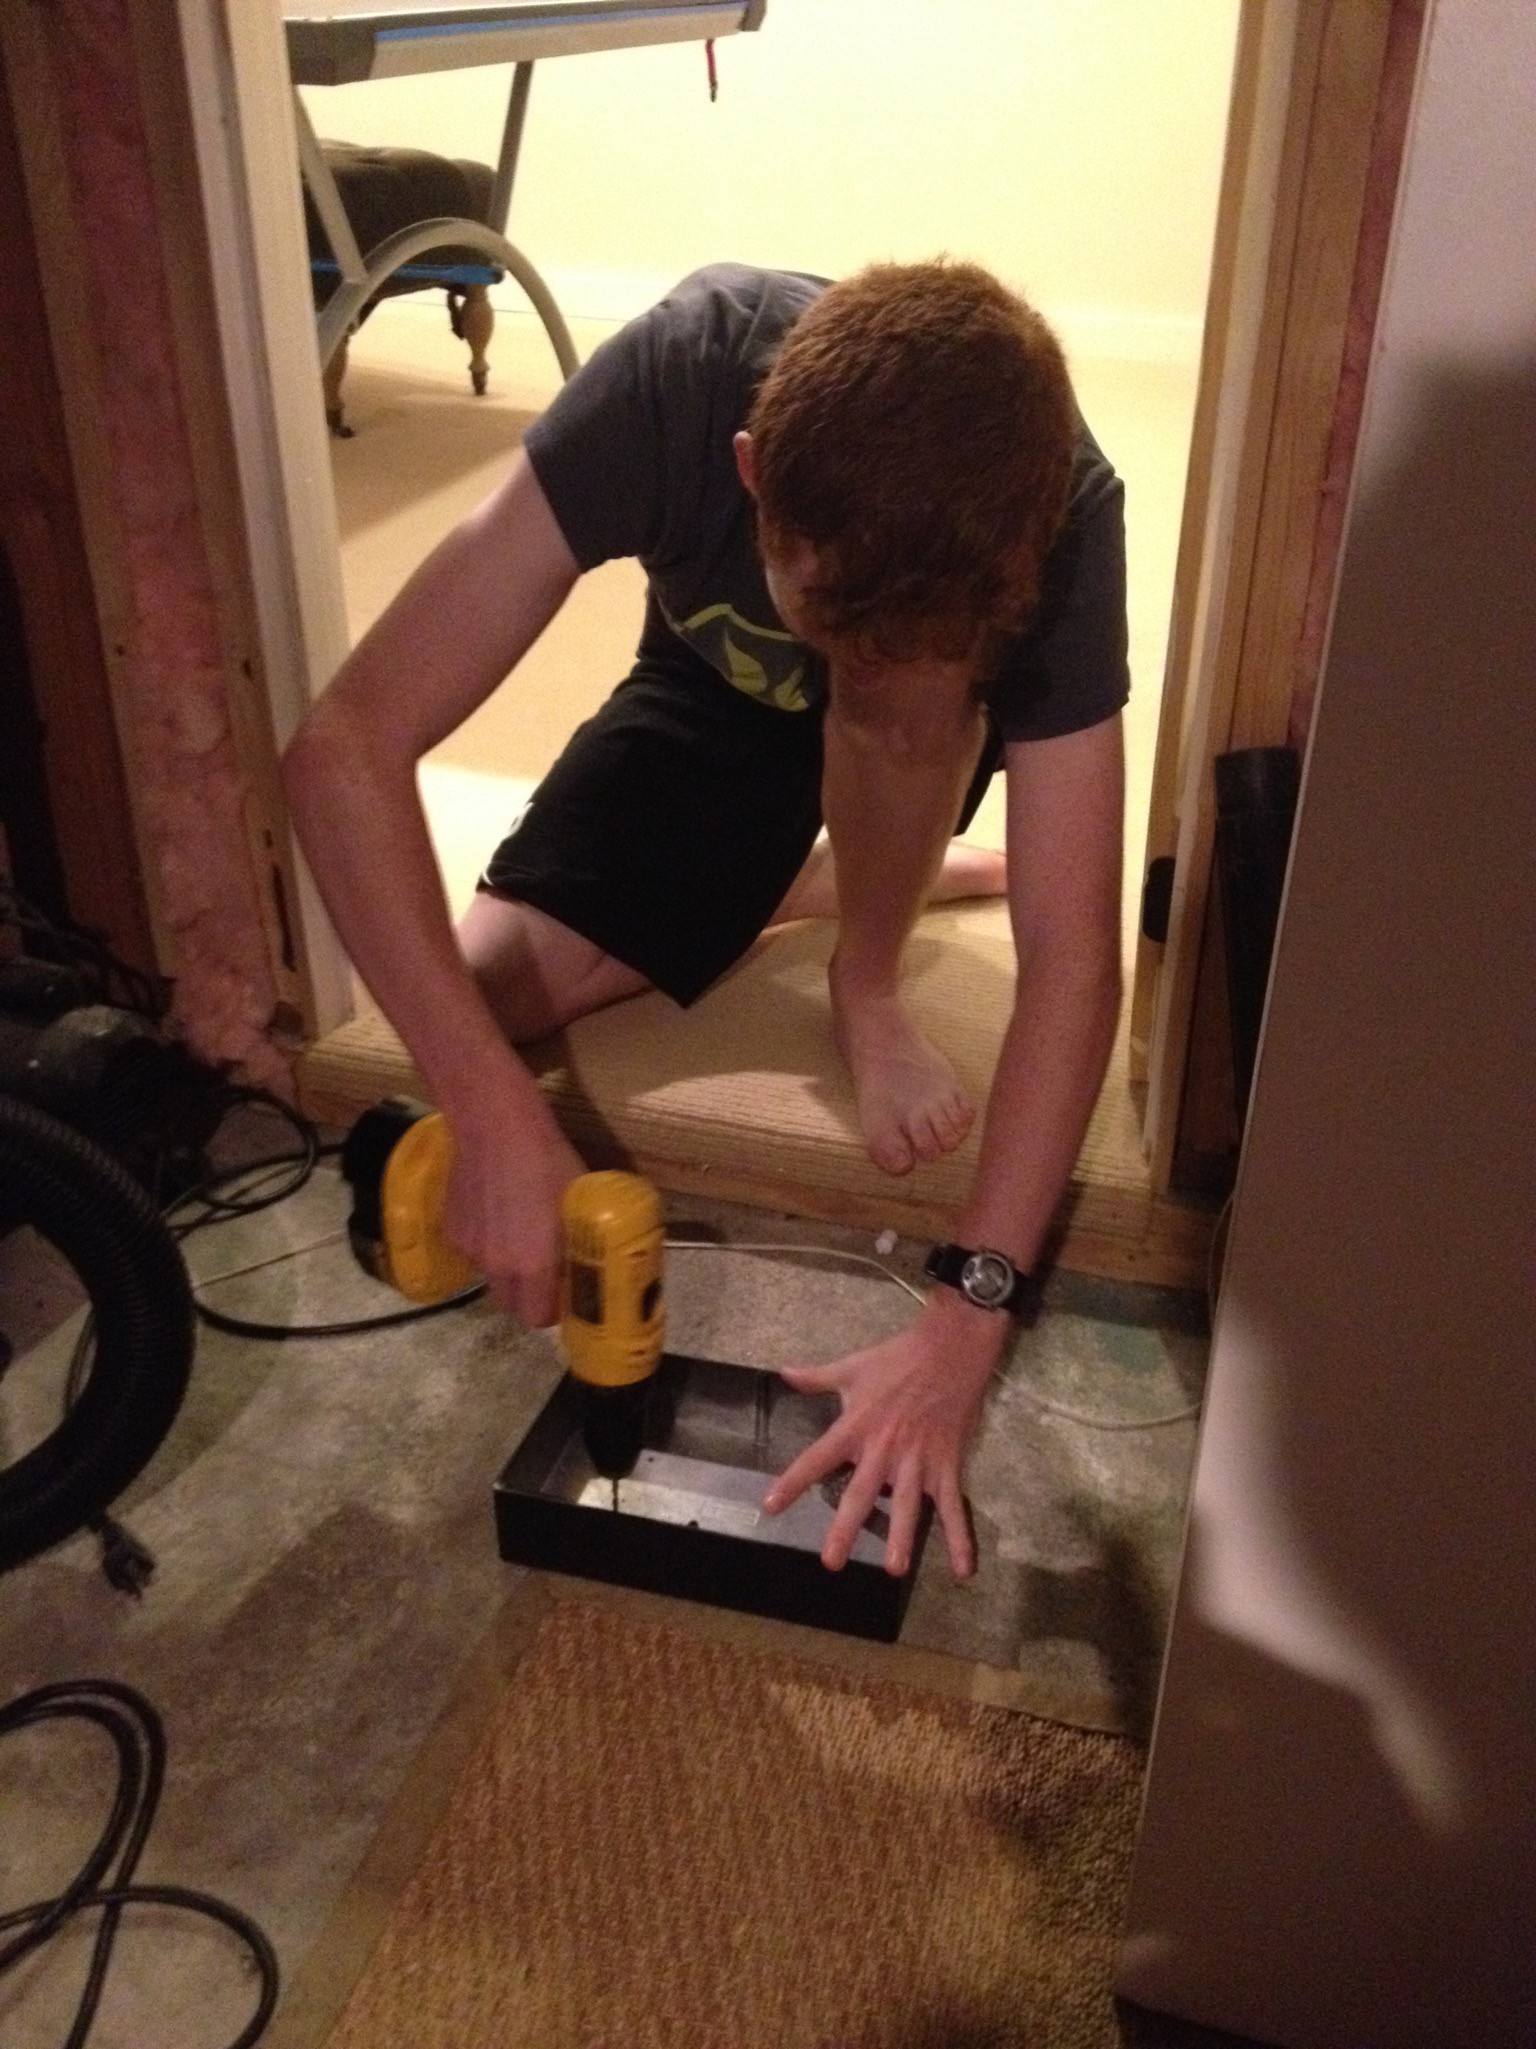
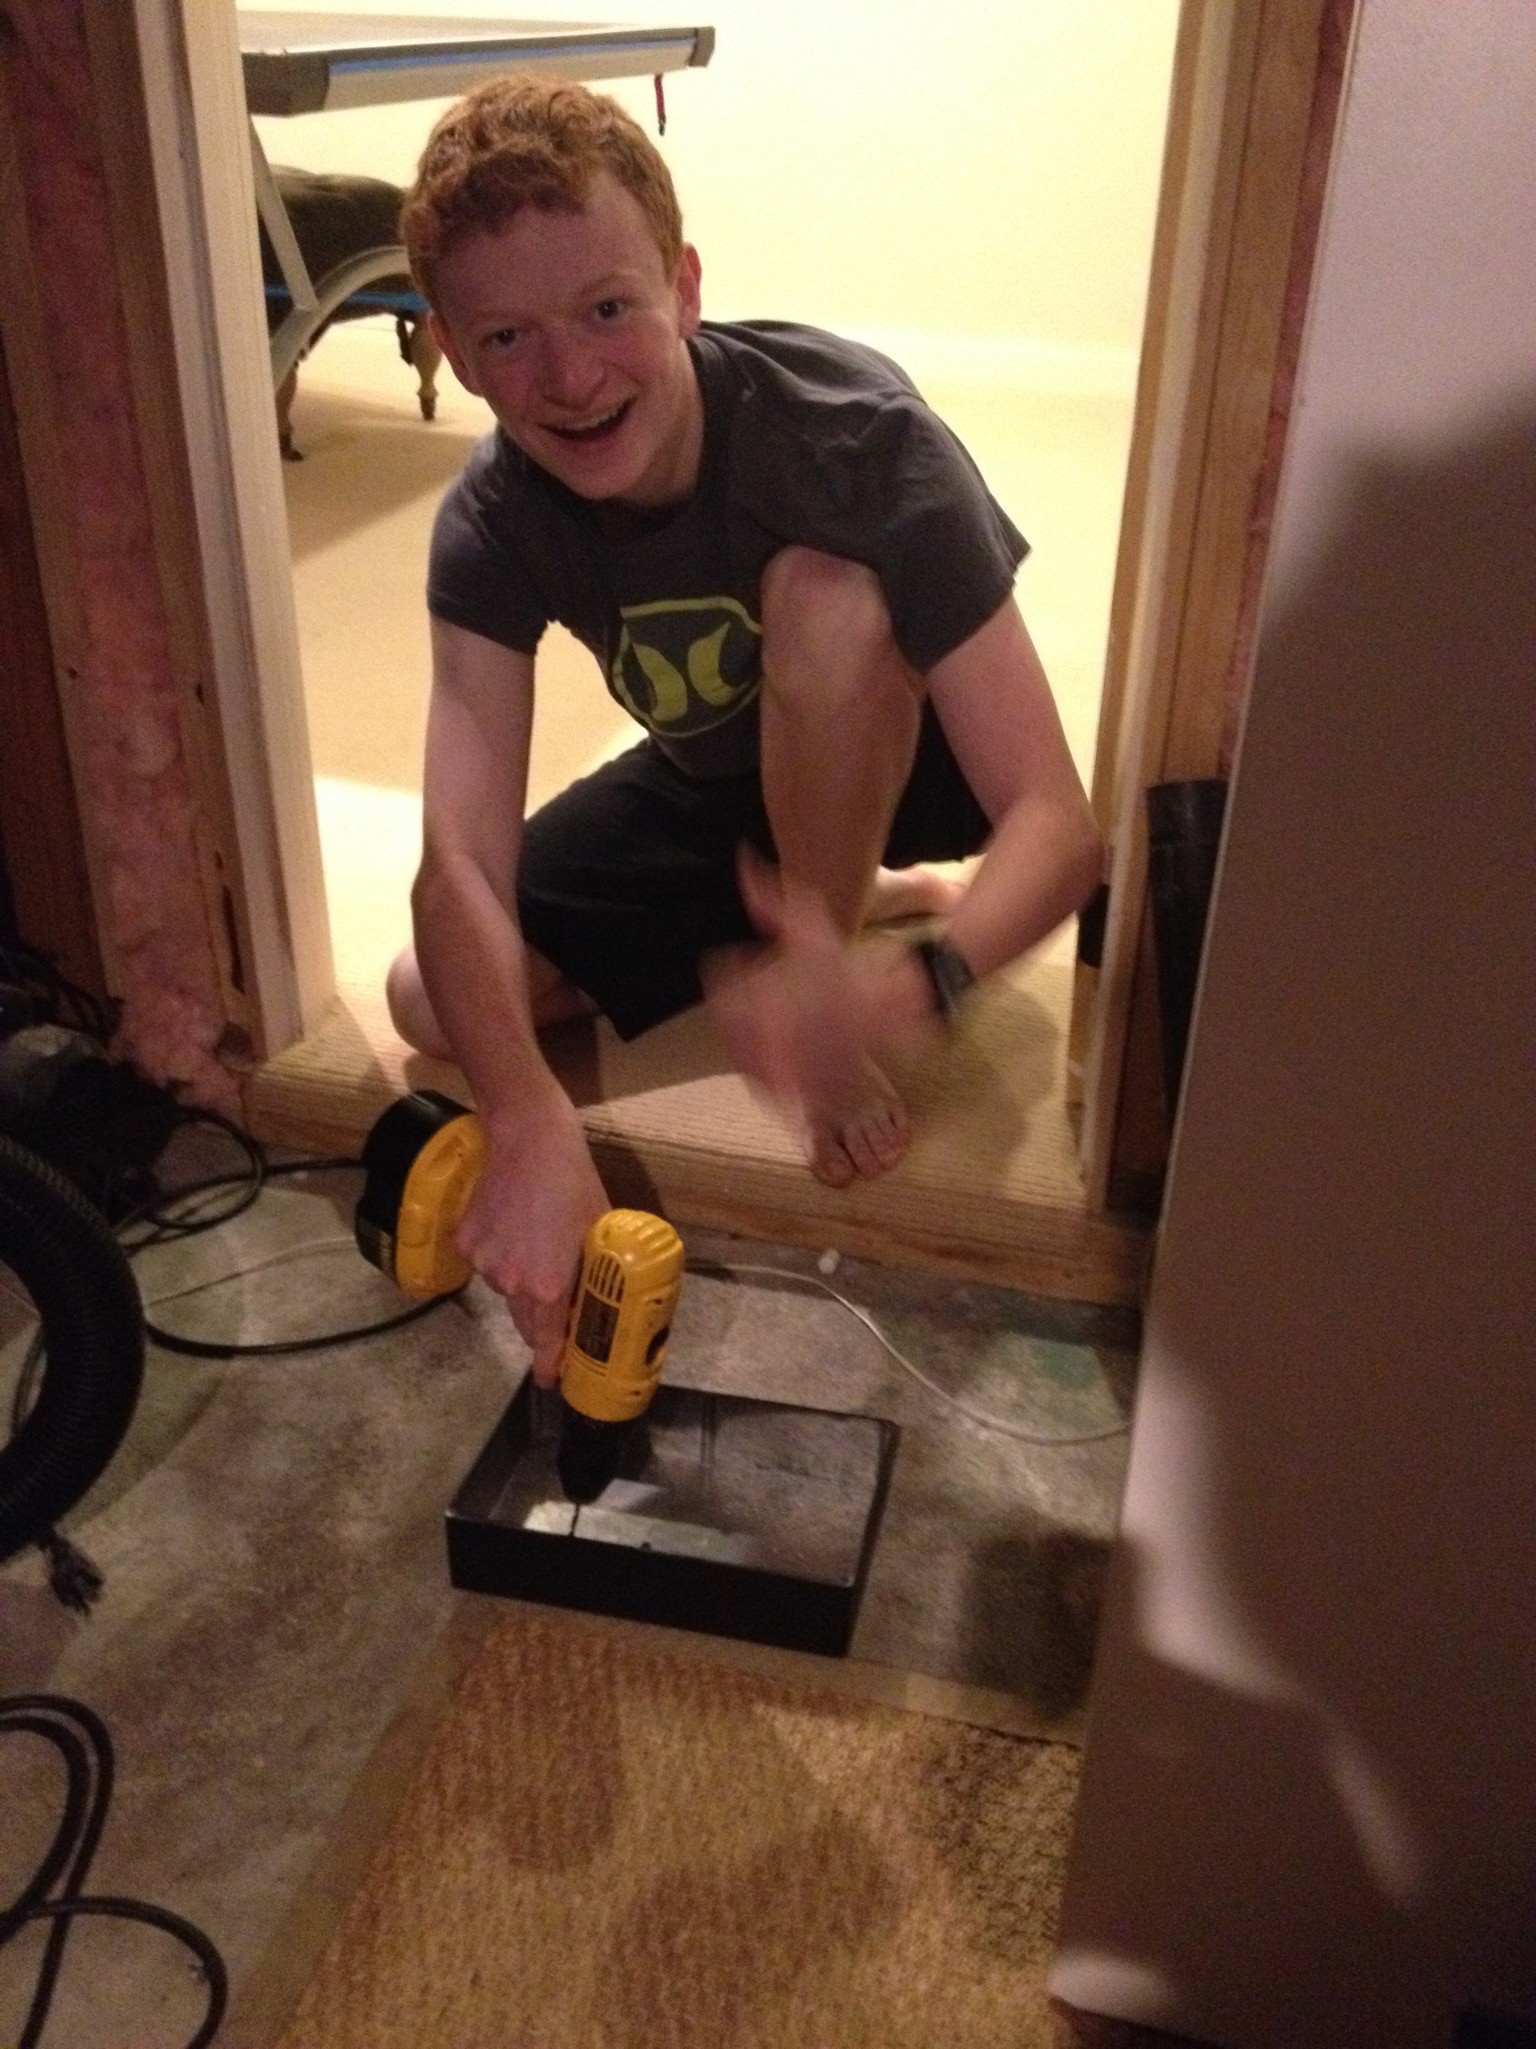
Jack getting to work on finding the right spot, drilling some holes. We used a few rubber washers between the board and battery case. The bottom of the board is not flat...a bit convex...so the washers made up for this...and also provided some cushion. We decided to use wood screws for the box rather than through bolts to keep the upper side of the deck clean.
Next issue was the rear wheel sprocket (from DIY Electric Skateboard). As you can see, the sprocket doesn't fully clear the wheel by about 1-2 mm. So the belt doesn't ride perfectly in the sprocket. We might be a bit nick-picky here but this kind of thing might lead to earlier belt failure?. guys at DIY Electric were great...very responsive and we talked about what to do.
The sprocket is a little bit inside the wheel's recess.
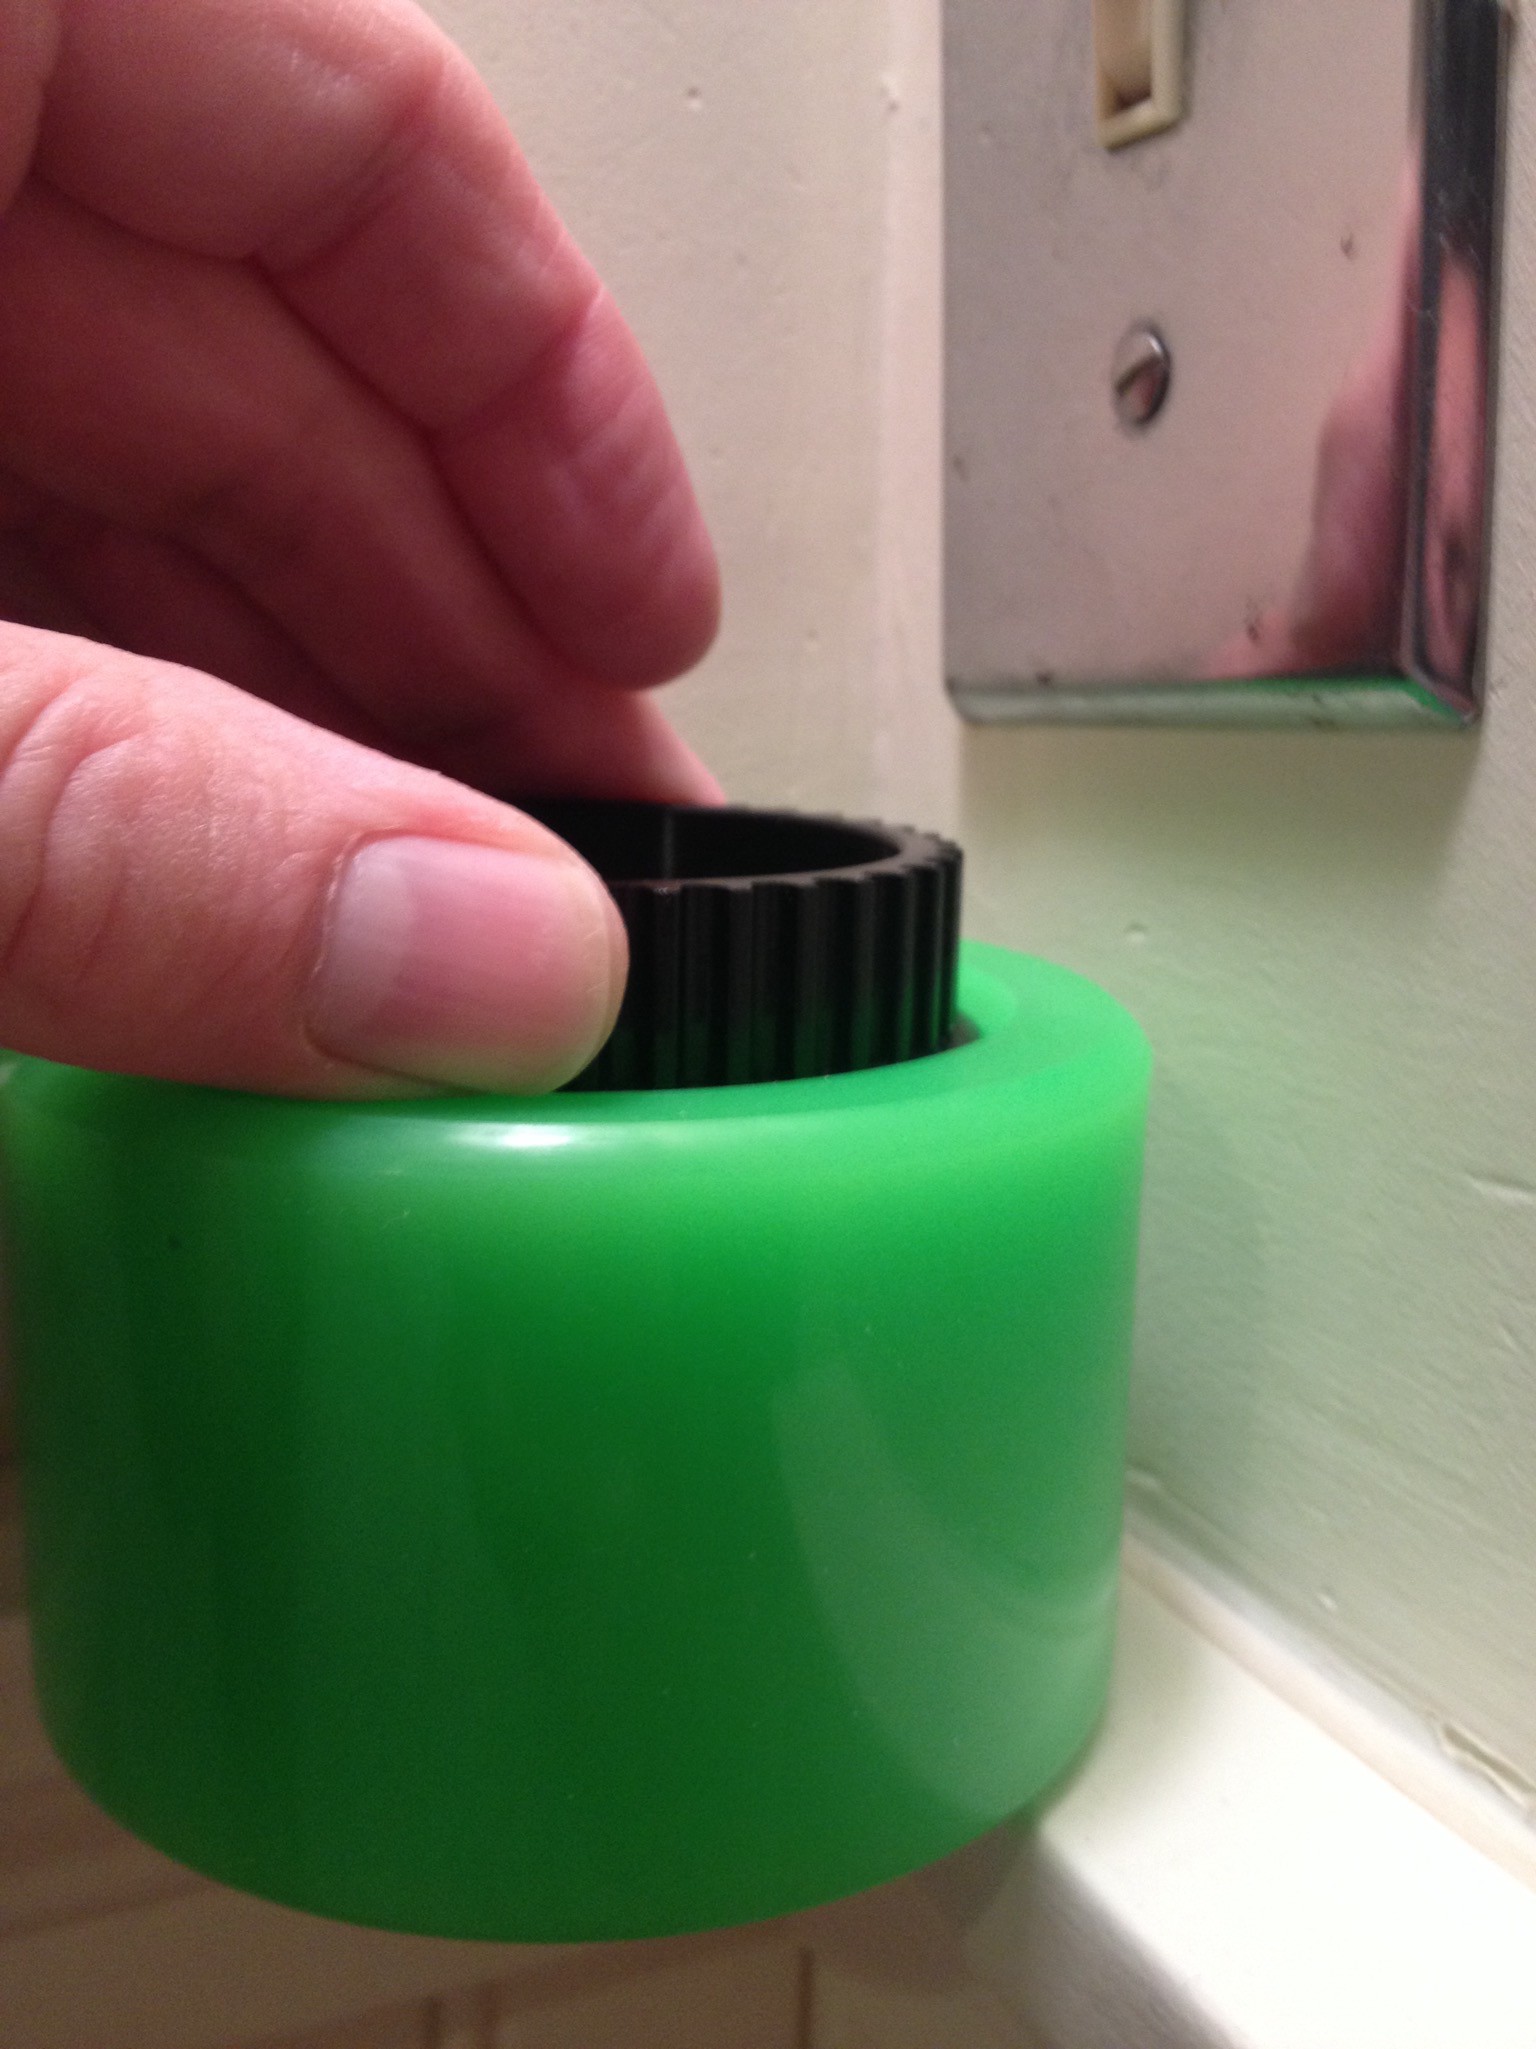
As a result, the belt is not able to fully mesh with the teeth.

There are 2 ways to get the sprocket in the right position.
Both work, but #2 is better.
#1: Shown below is the $0.50 solution at ACE hardware in the form of 2 Rubber 0-Rings that fit nicely on the sprocket as long as the bolts are not too tight.
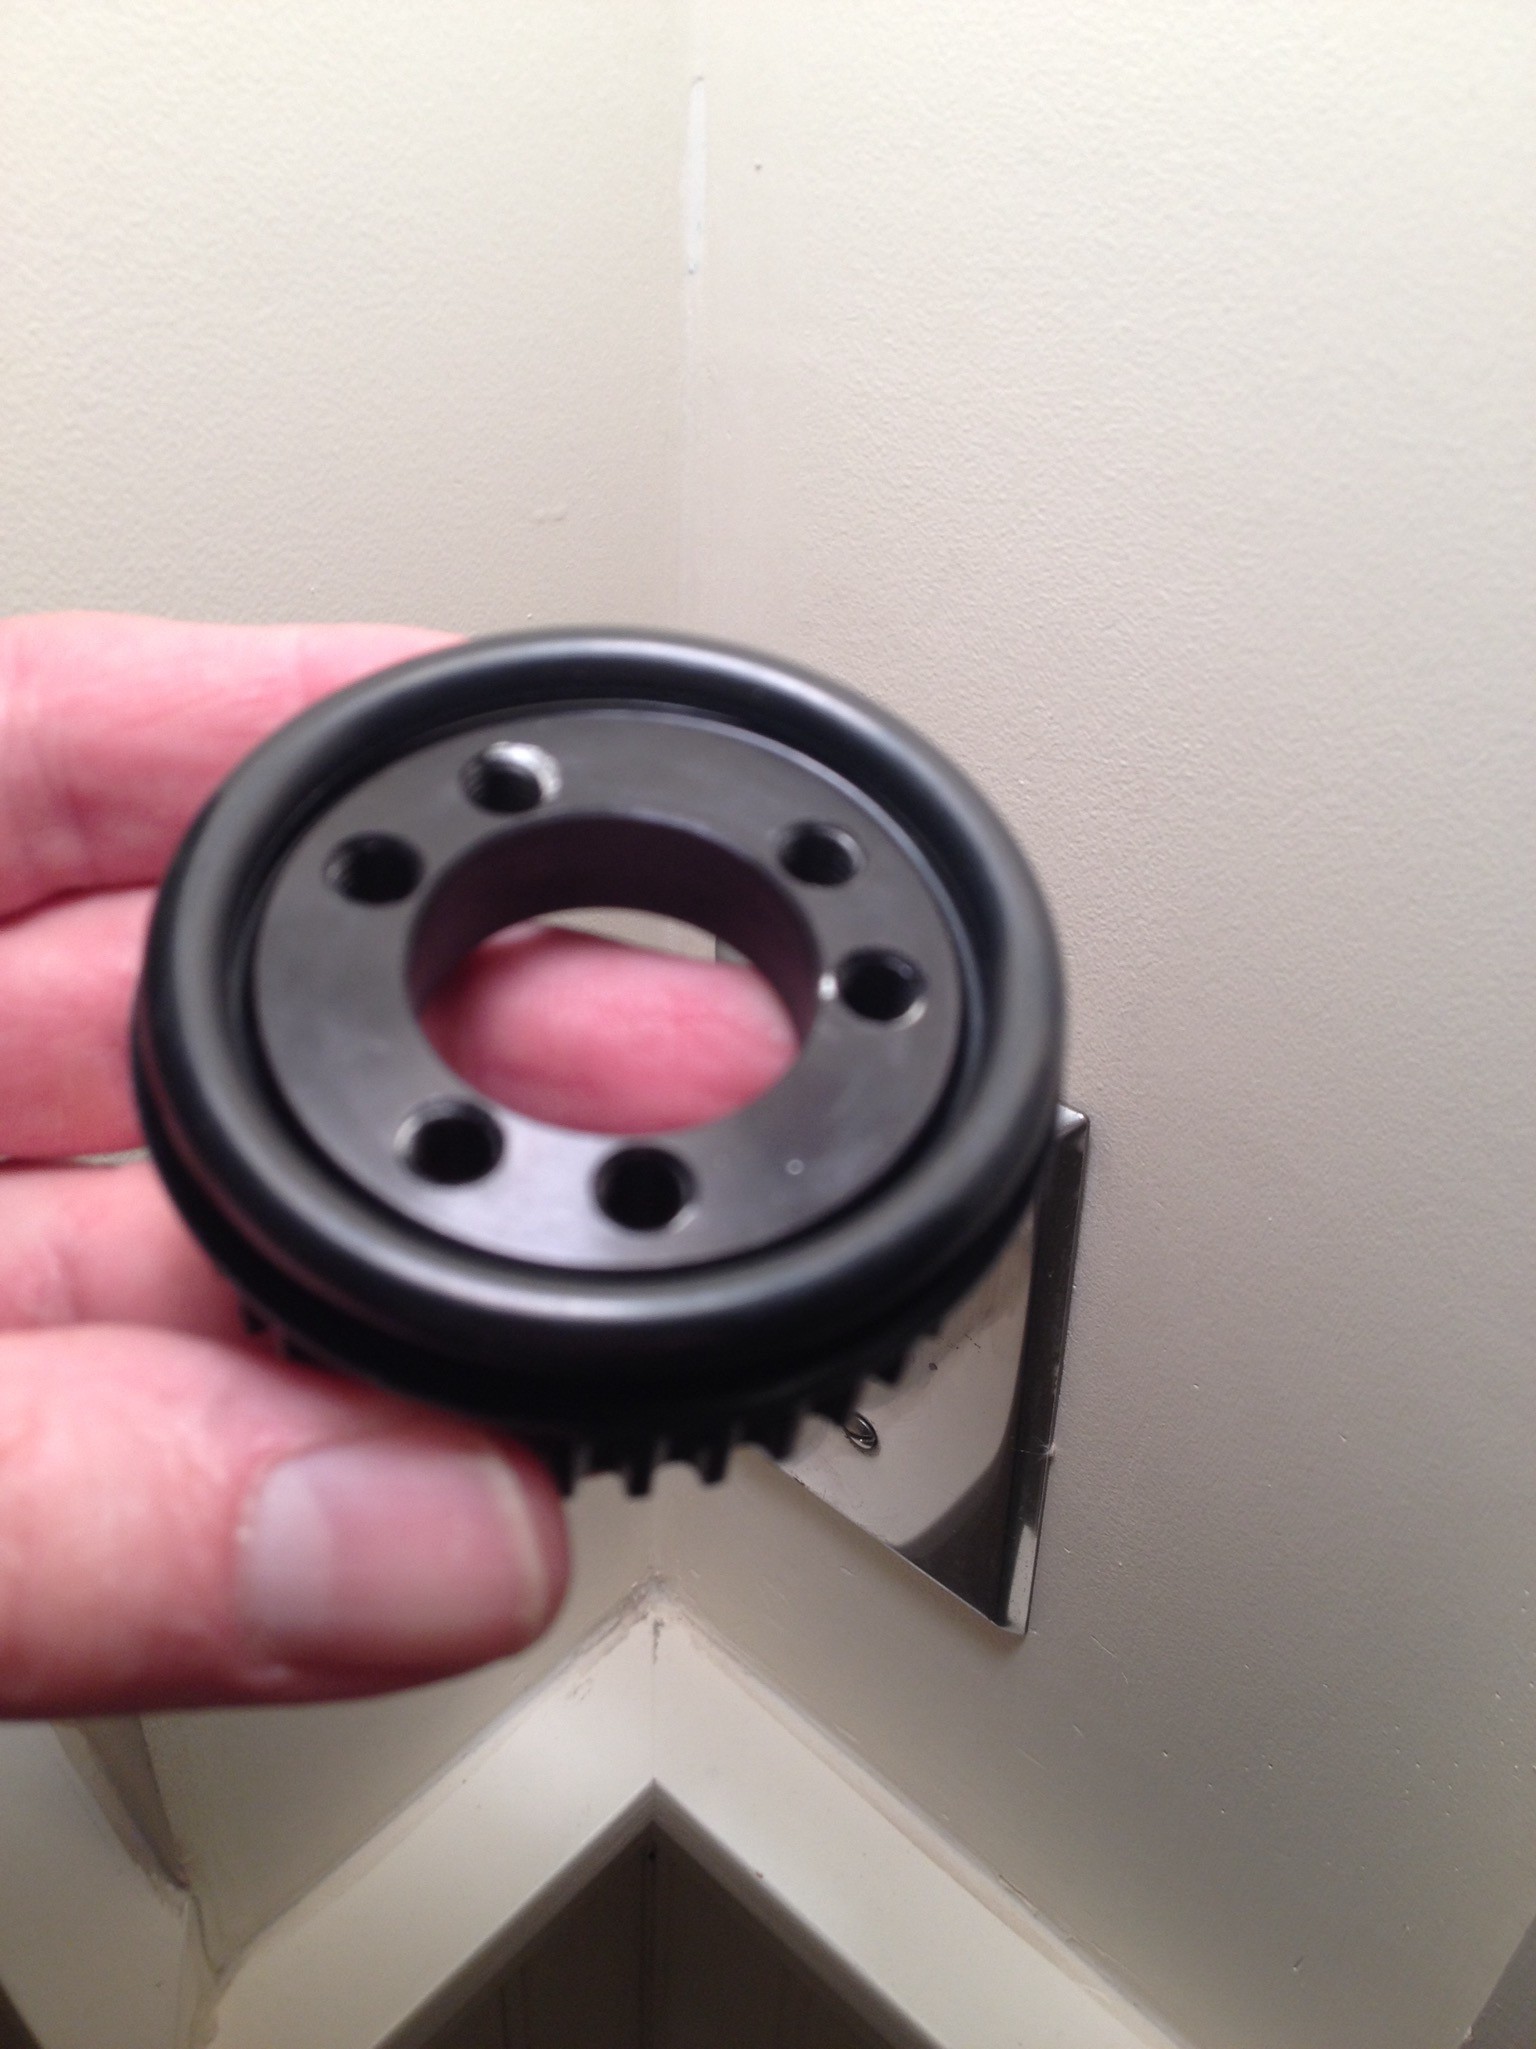
#1: The final solution that worked even better was to use a 1mm aluminum disk as a spacer (identical to the ring used on the outside of the wheel that the bolts but this one is slightly thinner) that the guys from DIY Electric Skateboard sent. Because the spacer is a solid piece of aluminum, the sprocket has it little less wobble than it did using the rubber O-rings. You can also tighten the screws a bit more. Turns out you can hear even a tiny bit of wobble when you run the motor. So looking from the inside to outside of the wheel assembly we now have (Sprocket > Spacer > Wheel > Retaining Ring > 6 bolts. Also using blue lock tight.

Brook putting everything in place....

Now the sprocket has the full 12mm clearance.

The motor mount assembly was fairly straight forward. Had to move it around a few times to get the belt lined up and keep things from scraping. A few things that helped.
- Motor Mount. The mating between the trucks and the motor mount is the trickiest part. The Single Motor Mechanical Kit includes a bit of heat shrink tape that absolutely has to be in place or the mount will wobble. Somewhere down the line, someone will offer a good mount that stays in place. This setup is only ok ...you can get a tight fit and align the parts, but isn't perfect. Not sure how this is going to work out.
(update: 7/2/16. We've had a blast riding the board now for about 4 hours but as predicted, we had to replace that little piece of heat shrink several times as it wore down and almost fell out. No matter how tight you make it, the mount will wobble just enough to cause a bit of wear over time.)
Discussions
Become a Hackaday.io Member
Create an account to leave a comment. Already have an account? Log In.