 dudeskidaddy
Custom 3-D Printed vs. Cast Aluminum Box
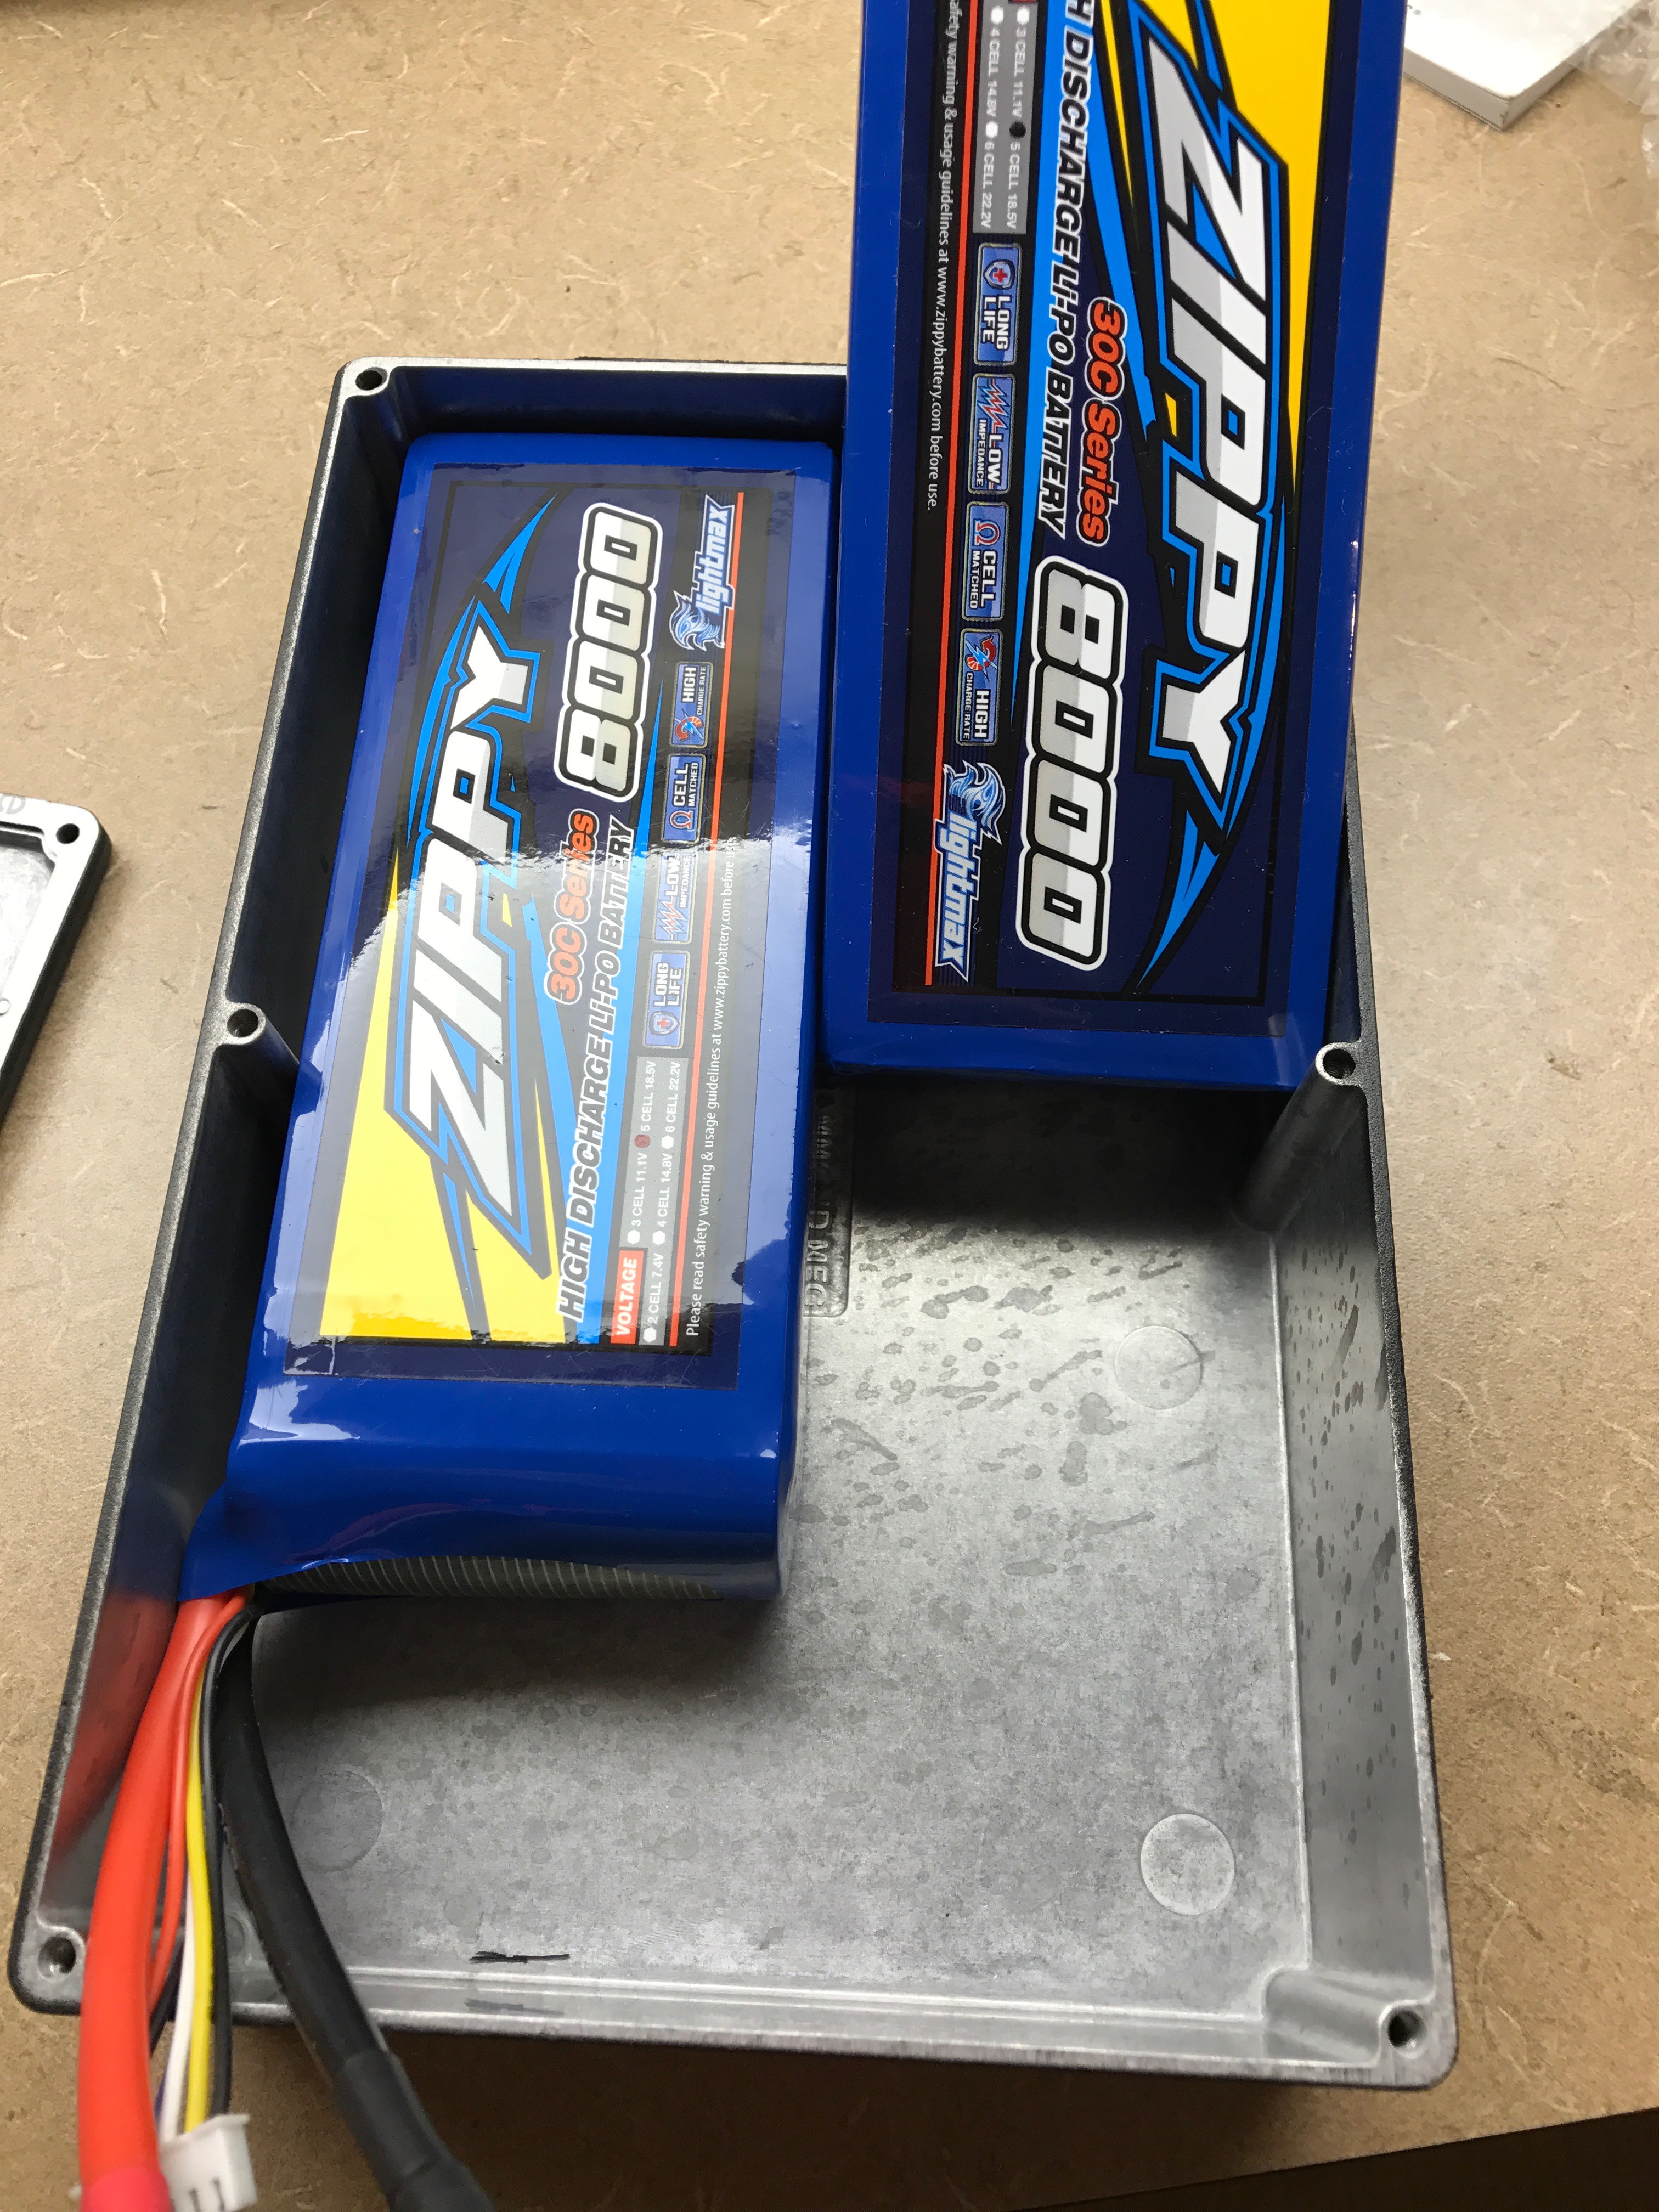
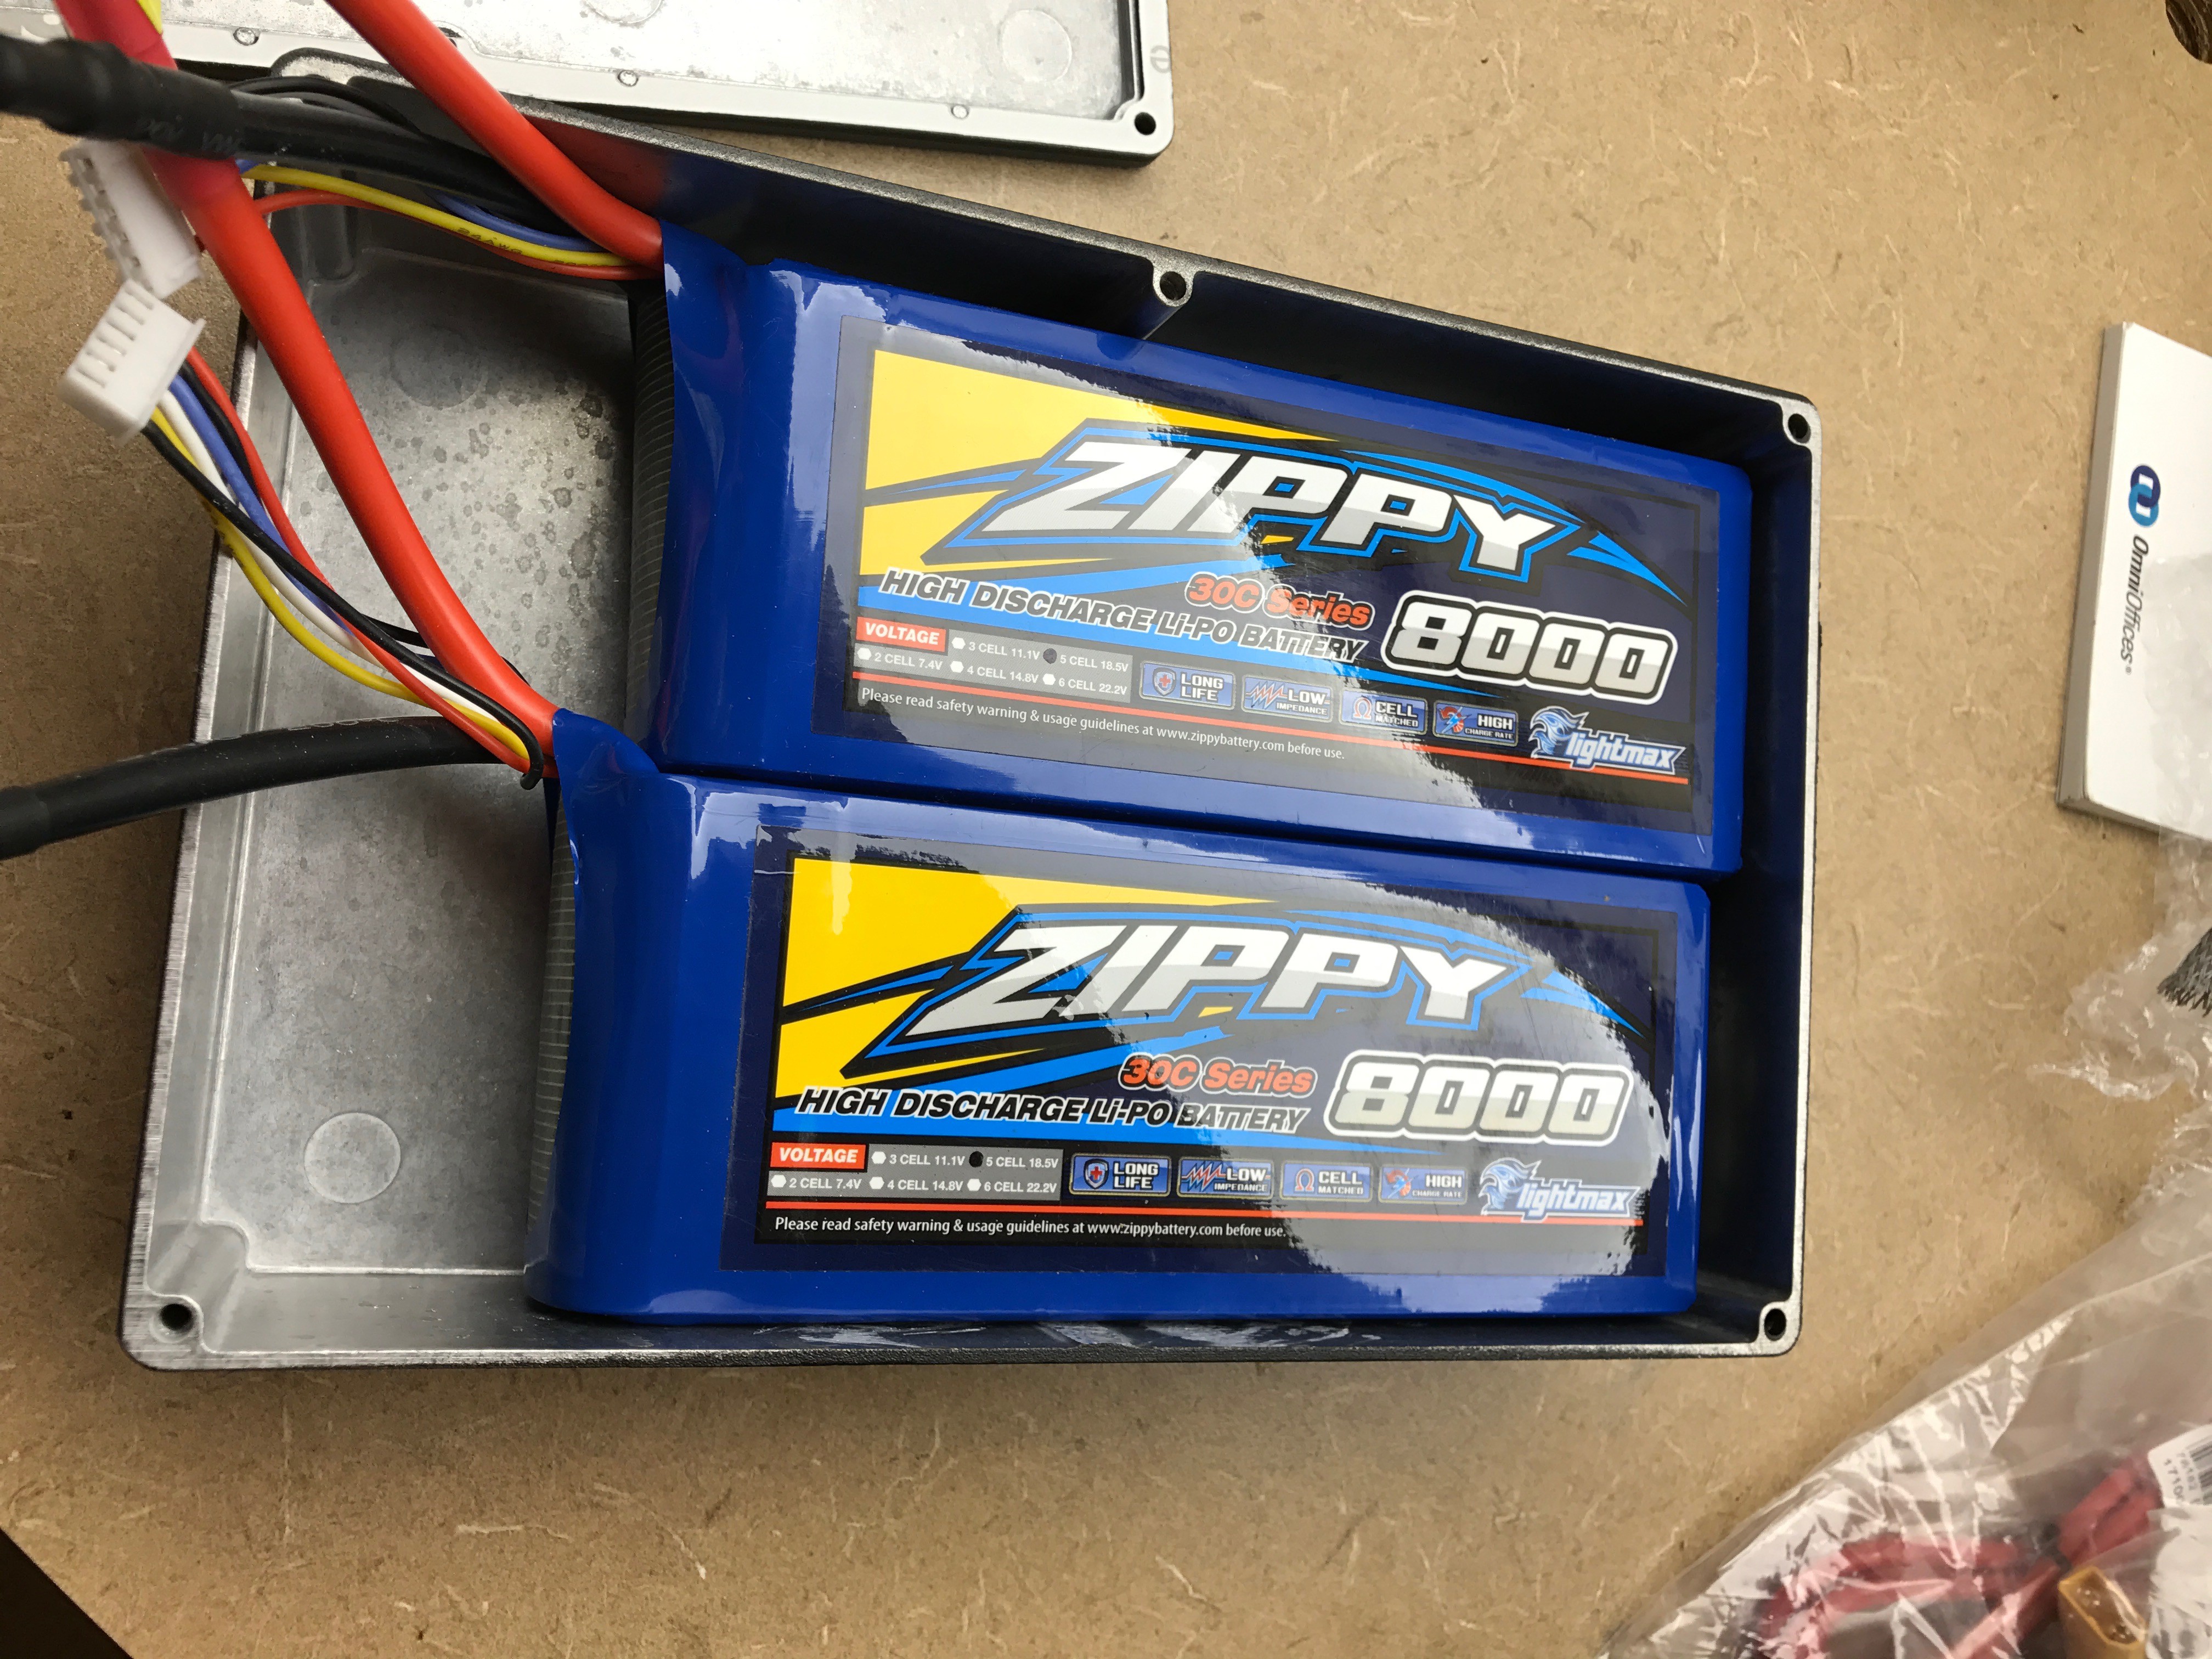
Batteries will be 2x8000 mAh 5s Zippy Lipo (170 x 69 x 44 ) in (In series for 10s)
The new board will be using the larger battery on the left

Option #1: 3-D Printed Box
I completed this cad drawing but I haven't printed it yet. I'll update when I get "1st plastic" I created this in OnShape which is a great, free web-based 3d CAD pkg. Feel free to copy it for your own use, but you might want to wait to see how well this thing fits together. Onshape Link to CAD Drawing
There are 2 battery compartments that fix the 170x69x44 battery (+10mm space) and a 30x170mm space in the front compartment for wiring and placing the ports/adapters. The front face is ready for 2 XT-90s, 2 Xt-60s and 2 5s balance ports. It's about 3-5 mm thick depending on the part with added support on high-stress areas. (Wiring Schematic for wiring up 2 x 5s for independent balance charge, On/Off, hookup WIP) Overall Dimensions: 225 x 170 x 62 mm
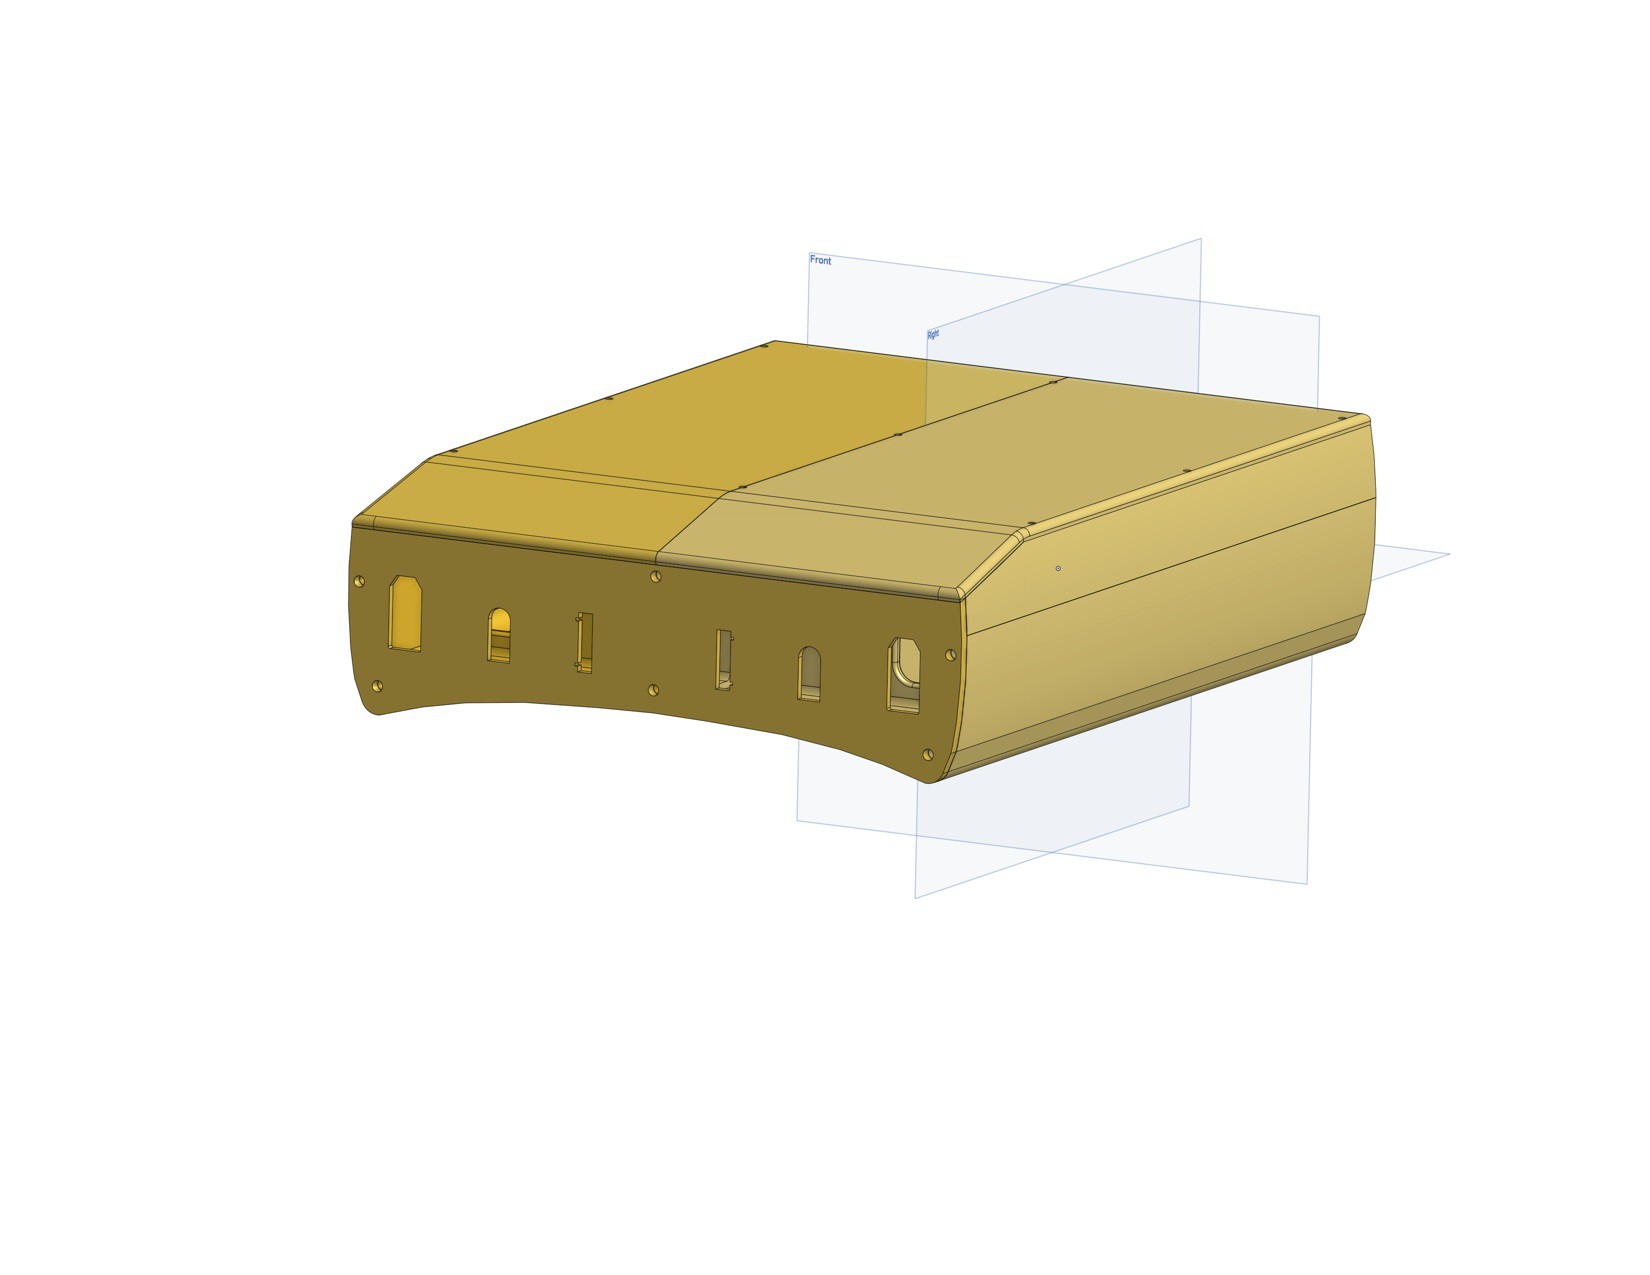
The bottom (the side that touches the bottom of the longboard deck when this is flipped over) is curved 10mm @ 70mm from the center to accommodate our curved deck.
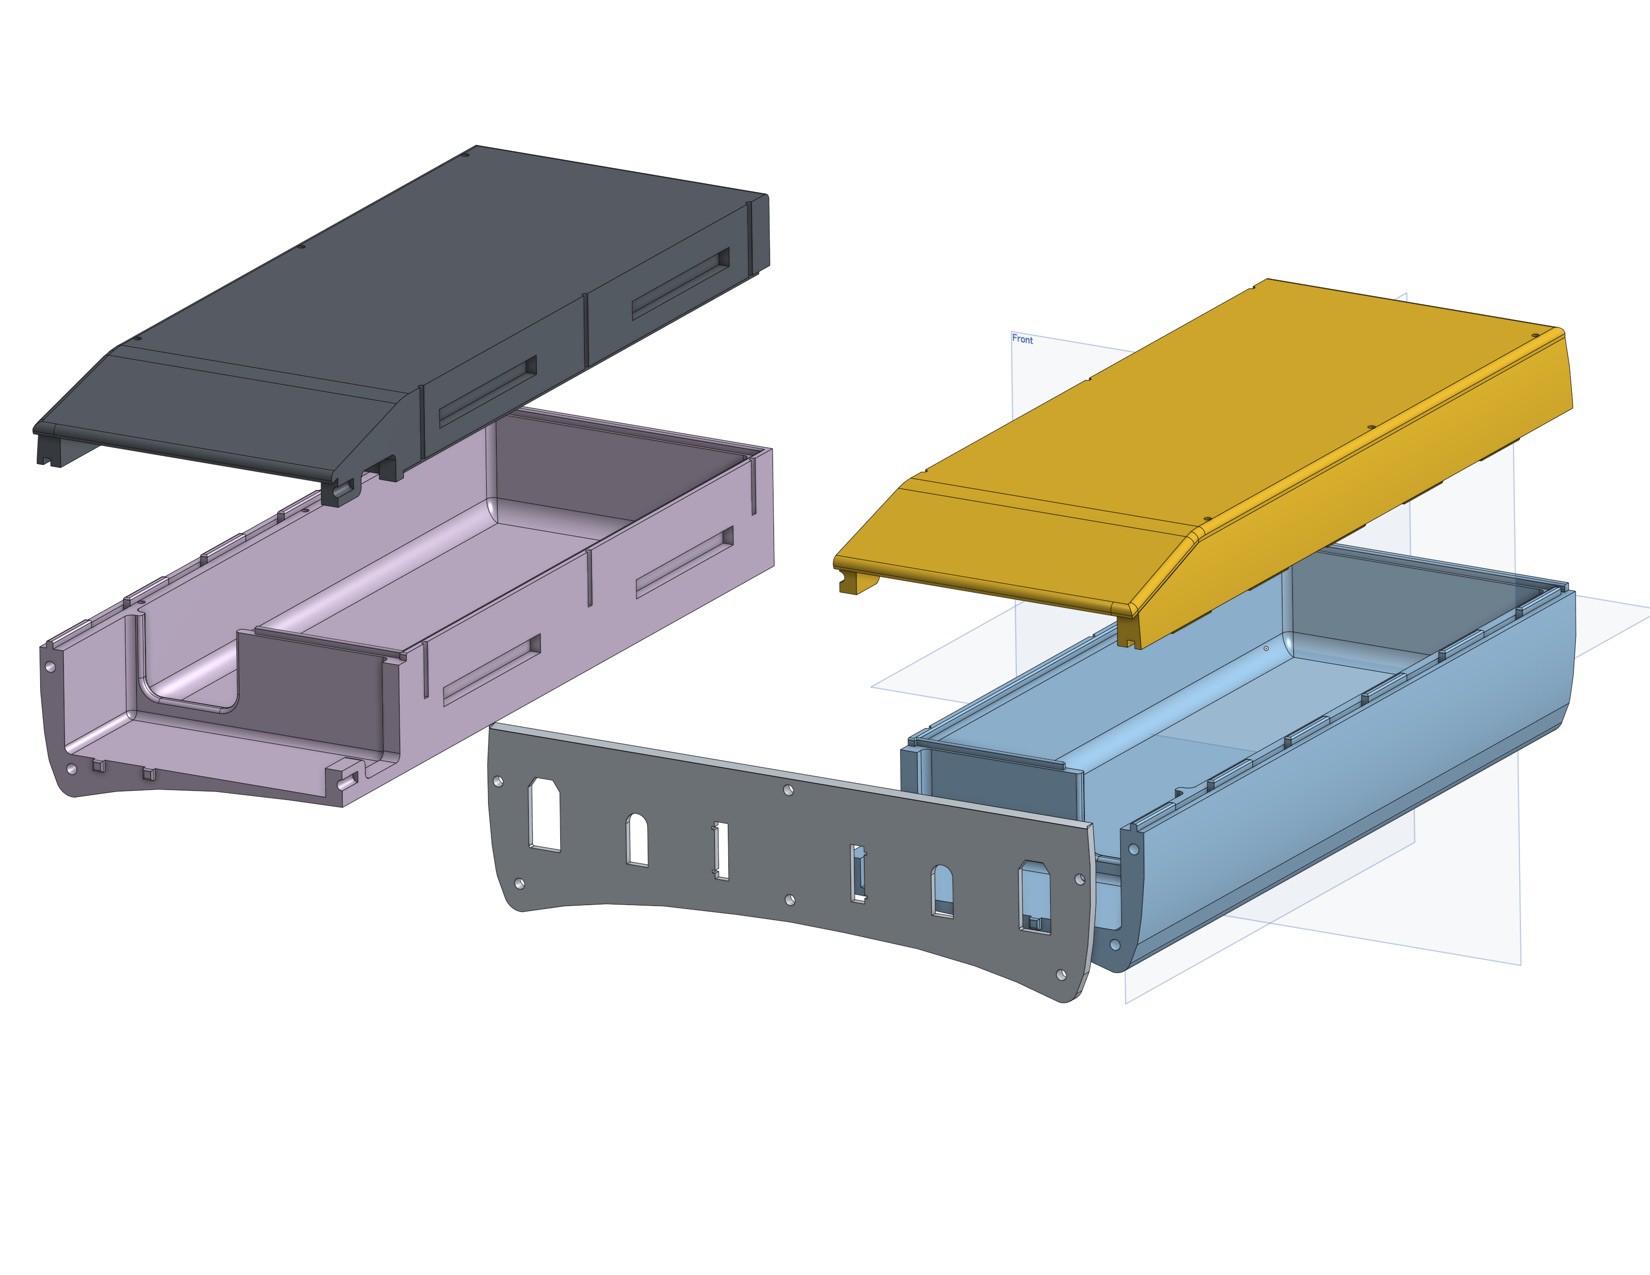
My nephew's printer can only make 215x70mm parts...not nearly big enough to create the top and bottom as single pieces. So we split the part into left/right halves. To help line them up for gluing, we added tabs/recesses. The top and front face are meant to come on and off so they attach withs screws. The model includes 3mm screw holes for self-taping screws. Ideally we could insert metal threaded sleeves (or nuts) to receive machine screws...haven't figured that one out yet. Honestly I have no idea how this is going to turn out. The print has to be fairly is precise, with no shrinkage, strong enough, etc to be a viable option.
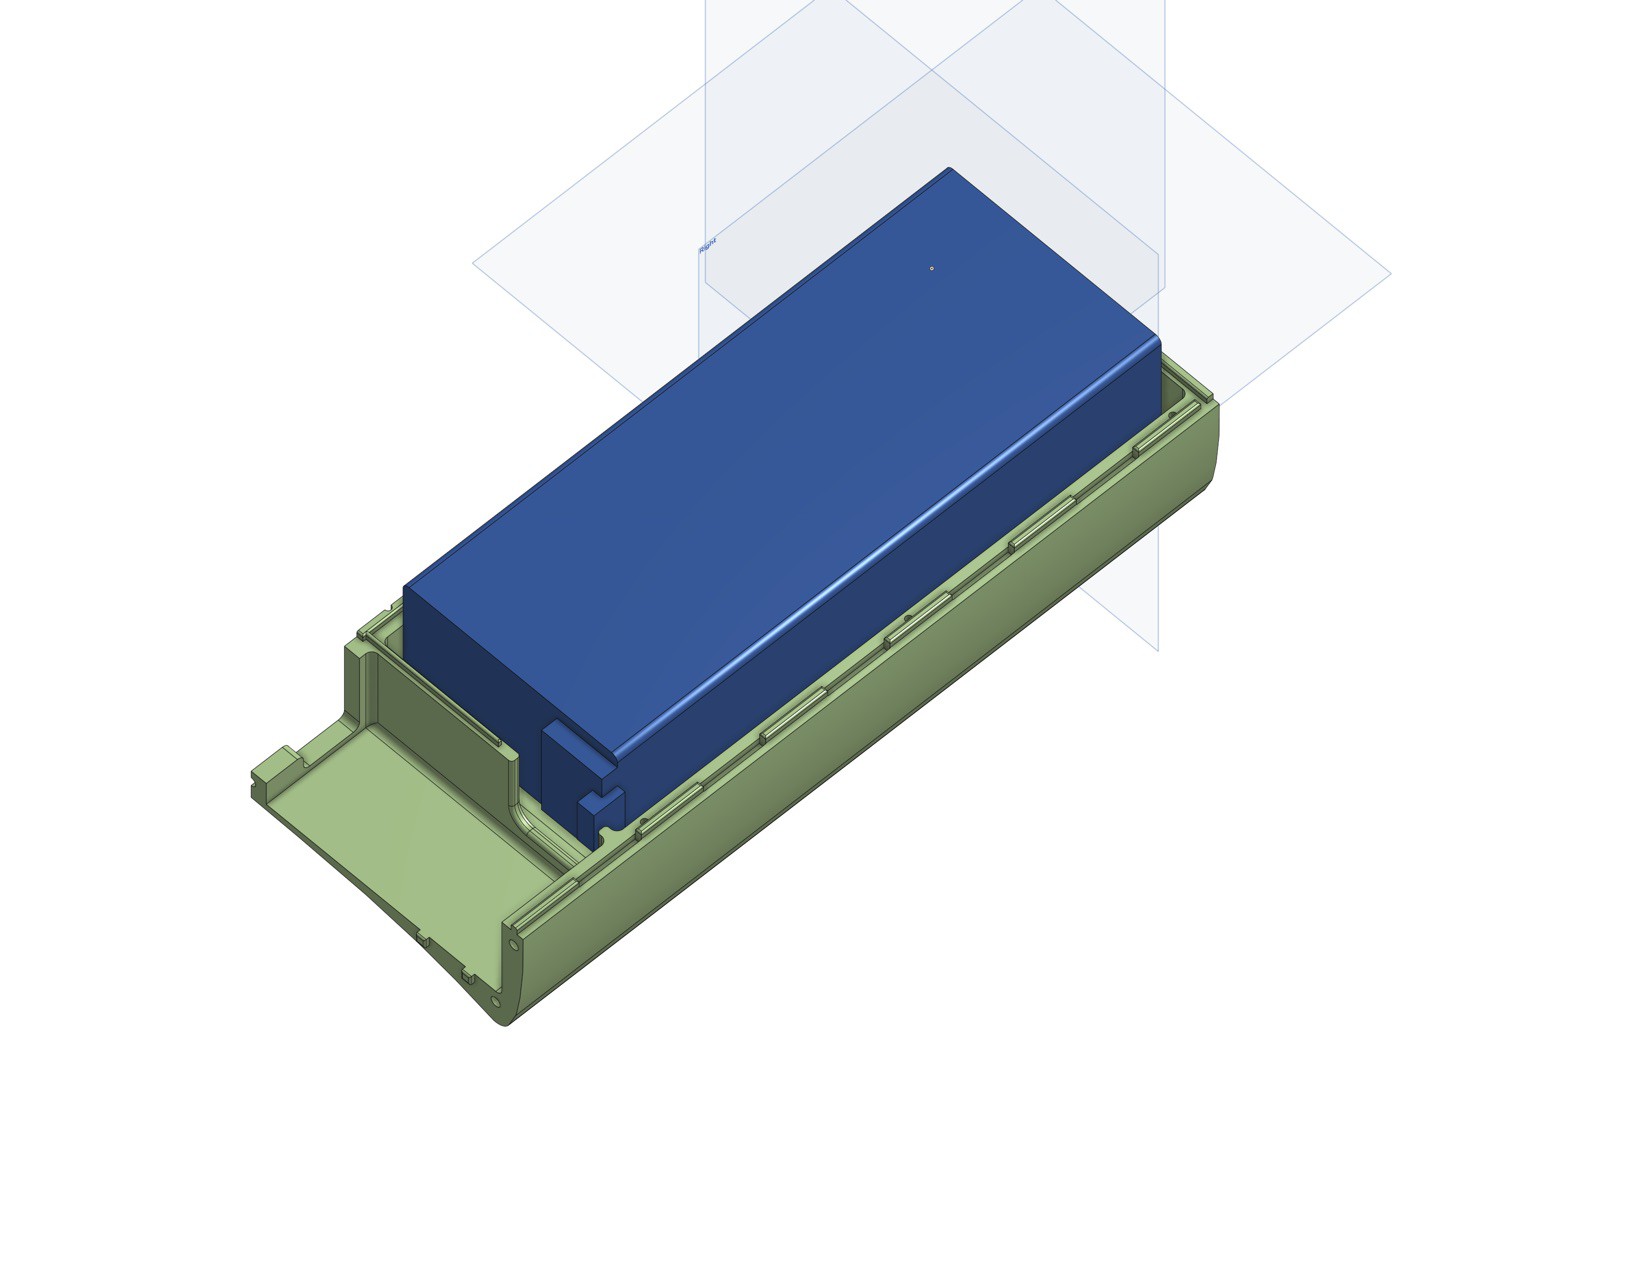
This shows the profile of the 8000mAh battery in its enclosure.
Option #2 Cast Aluminum Box
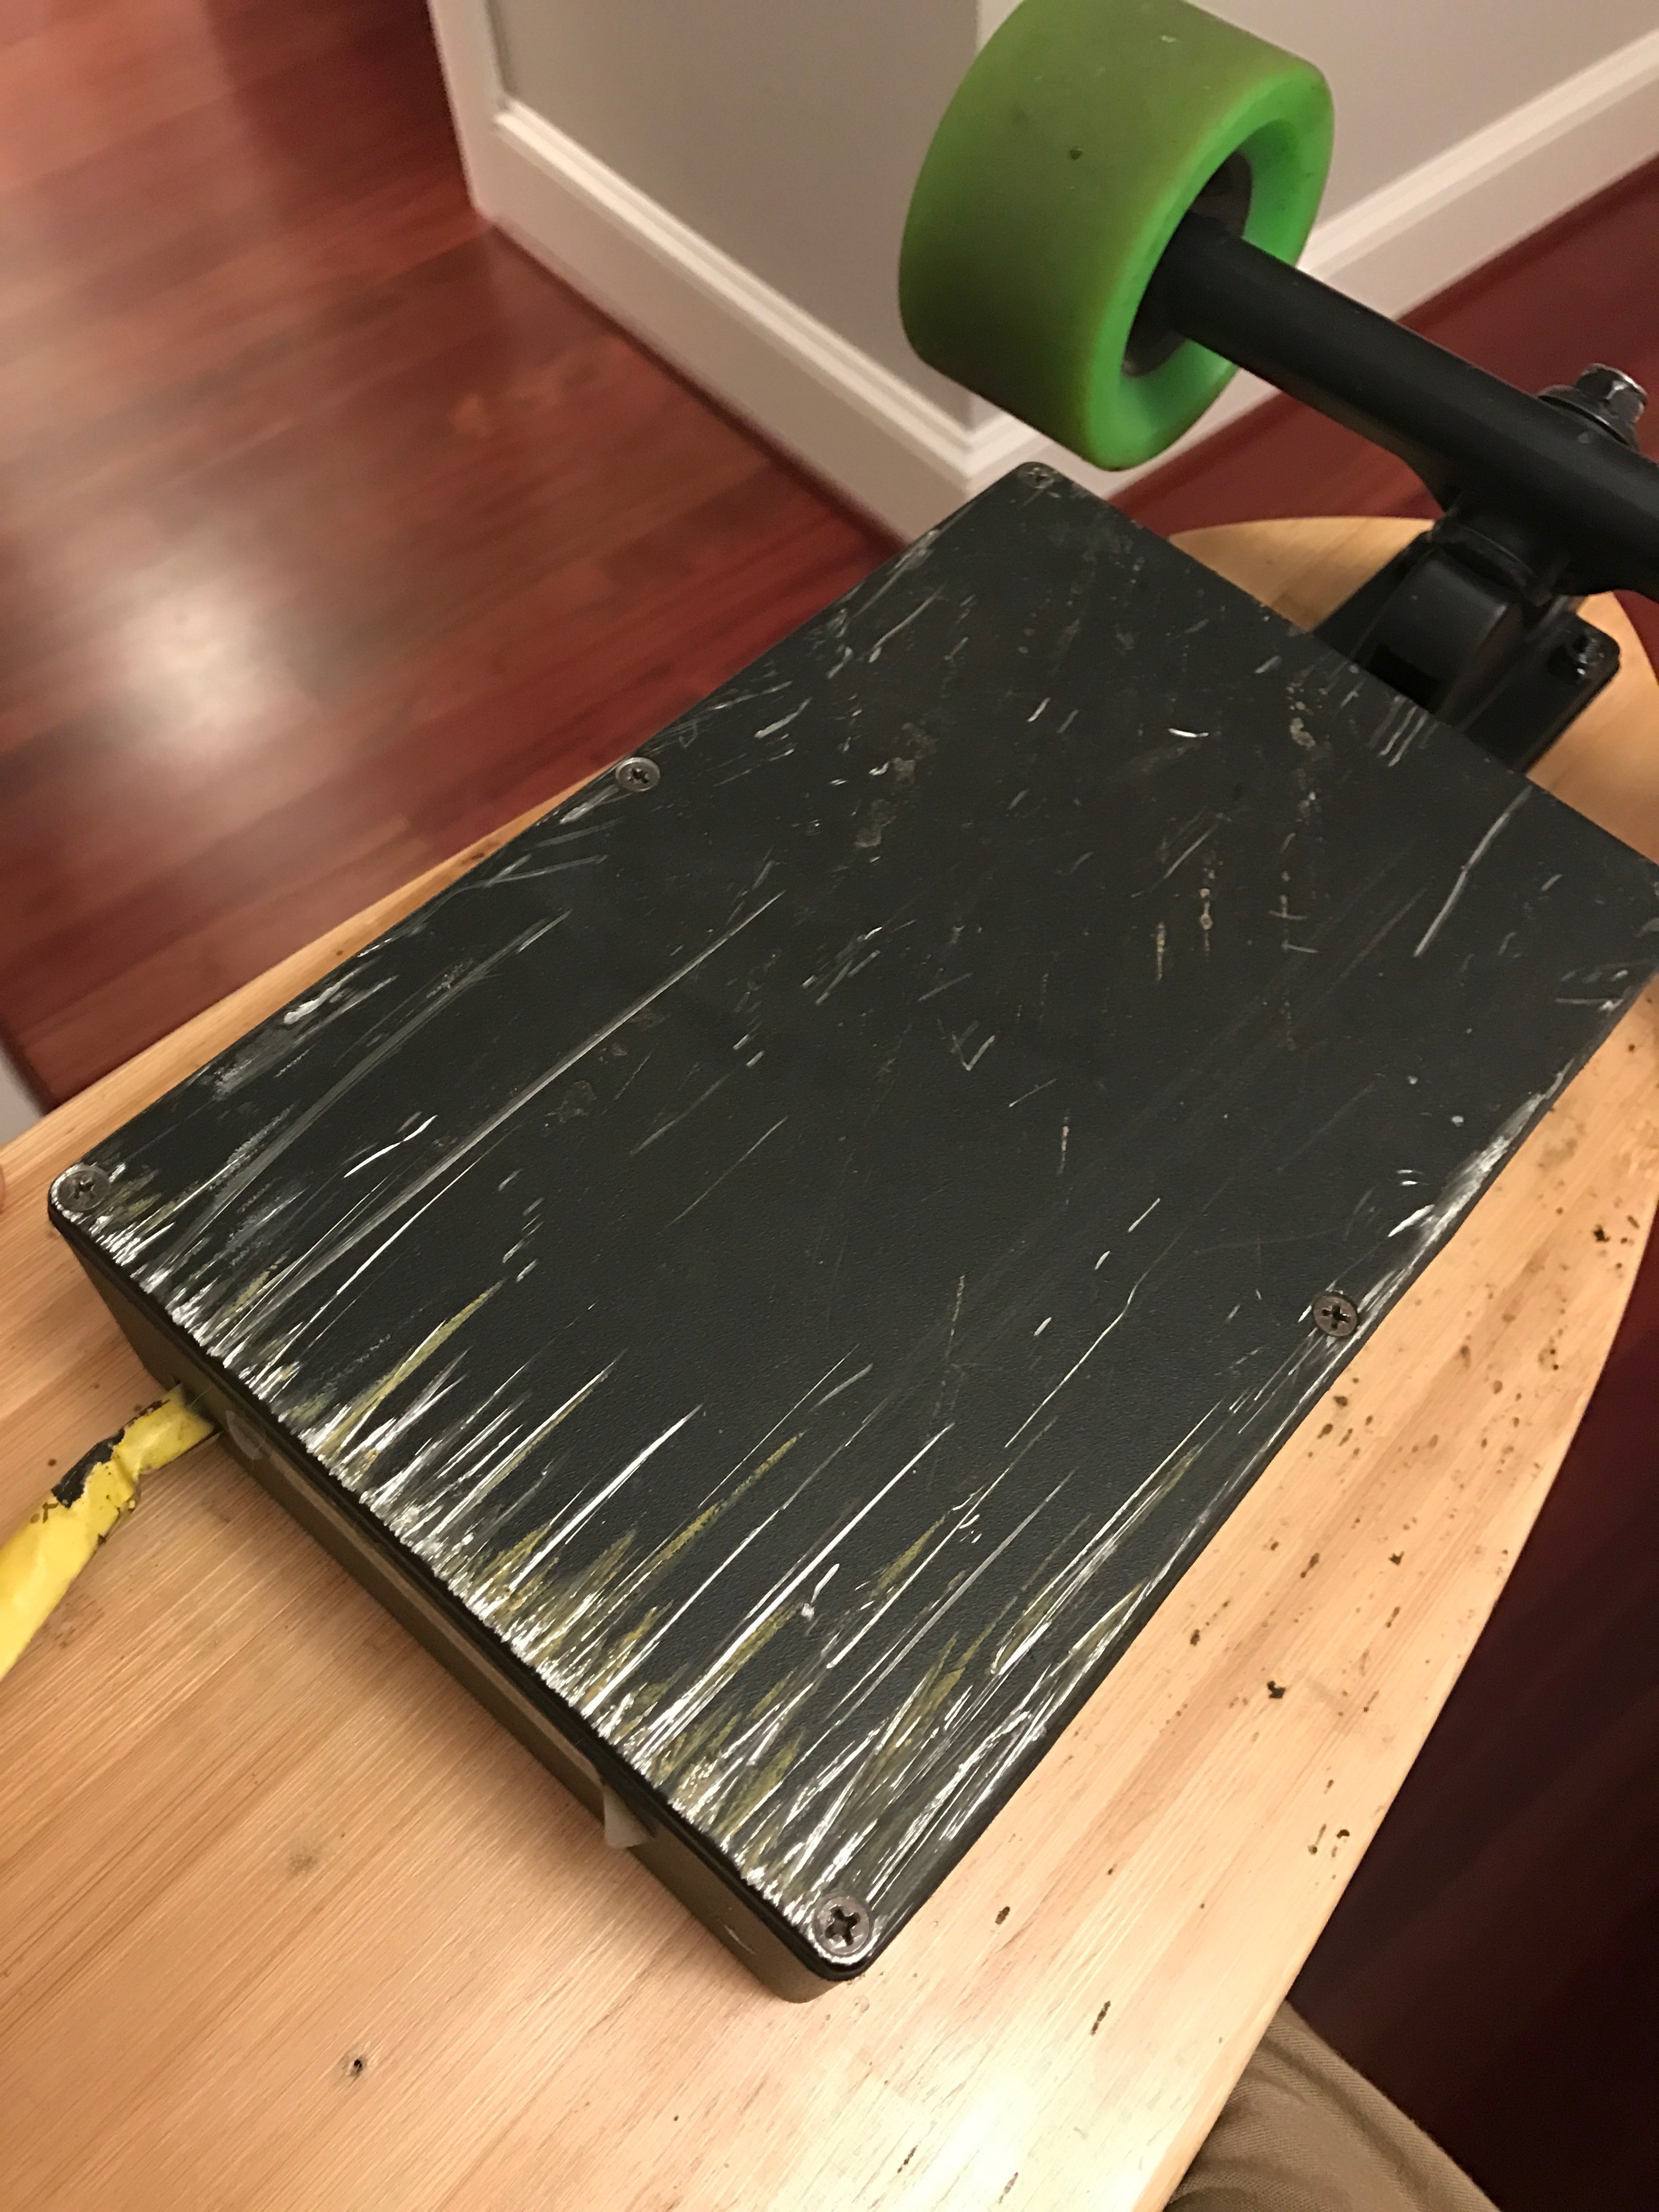
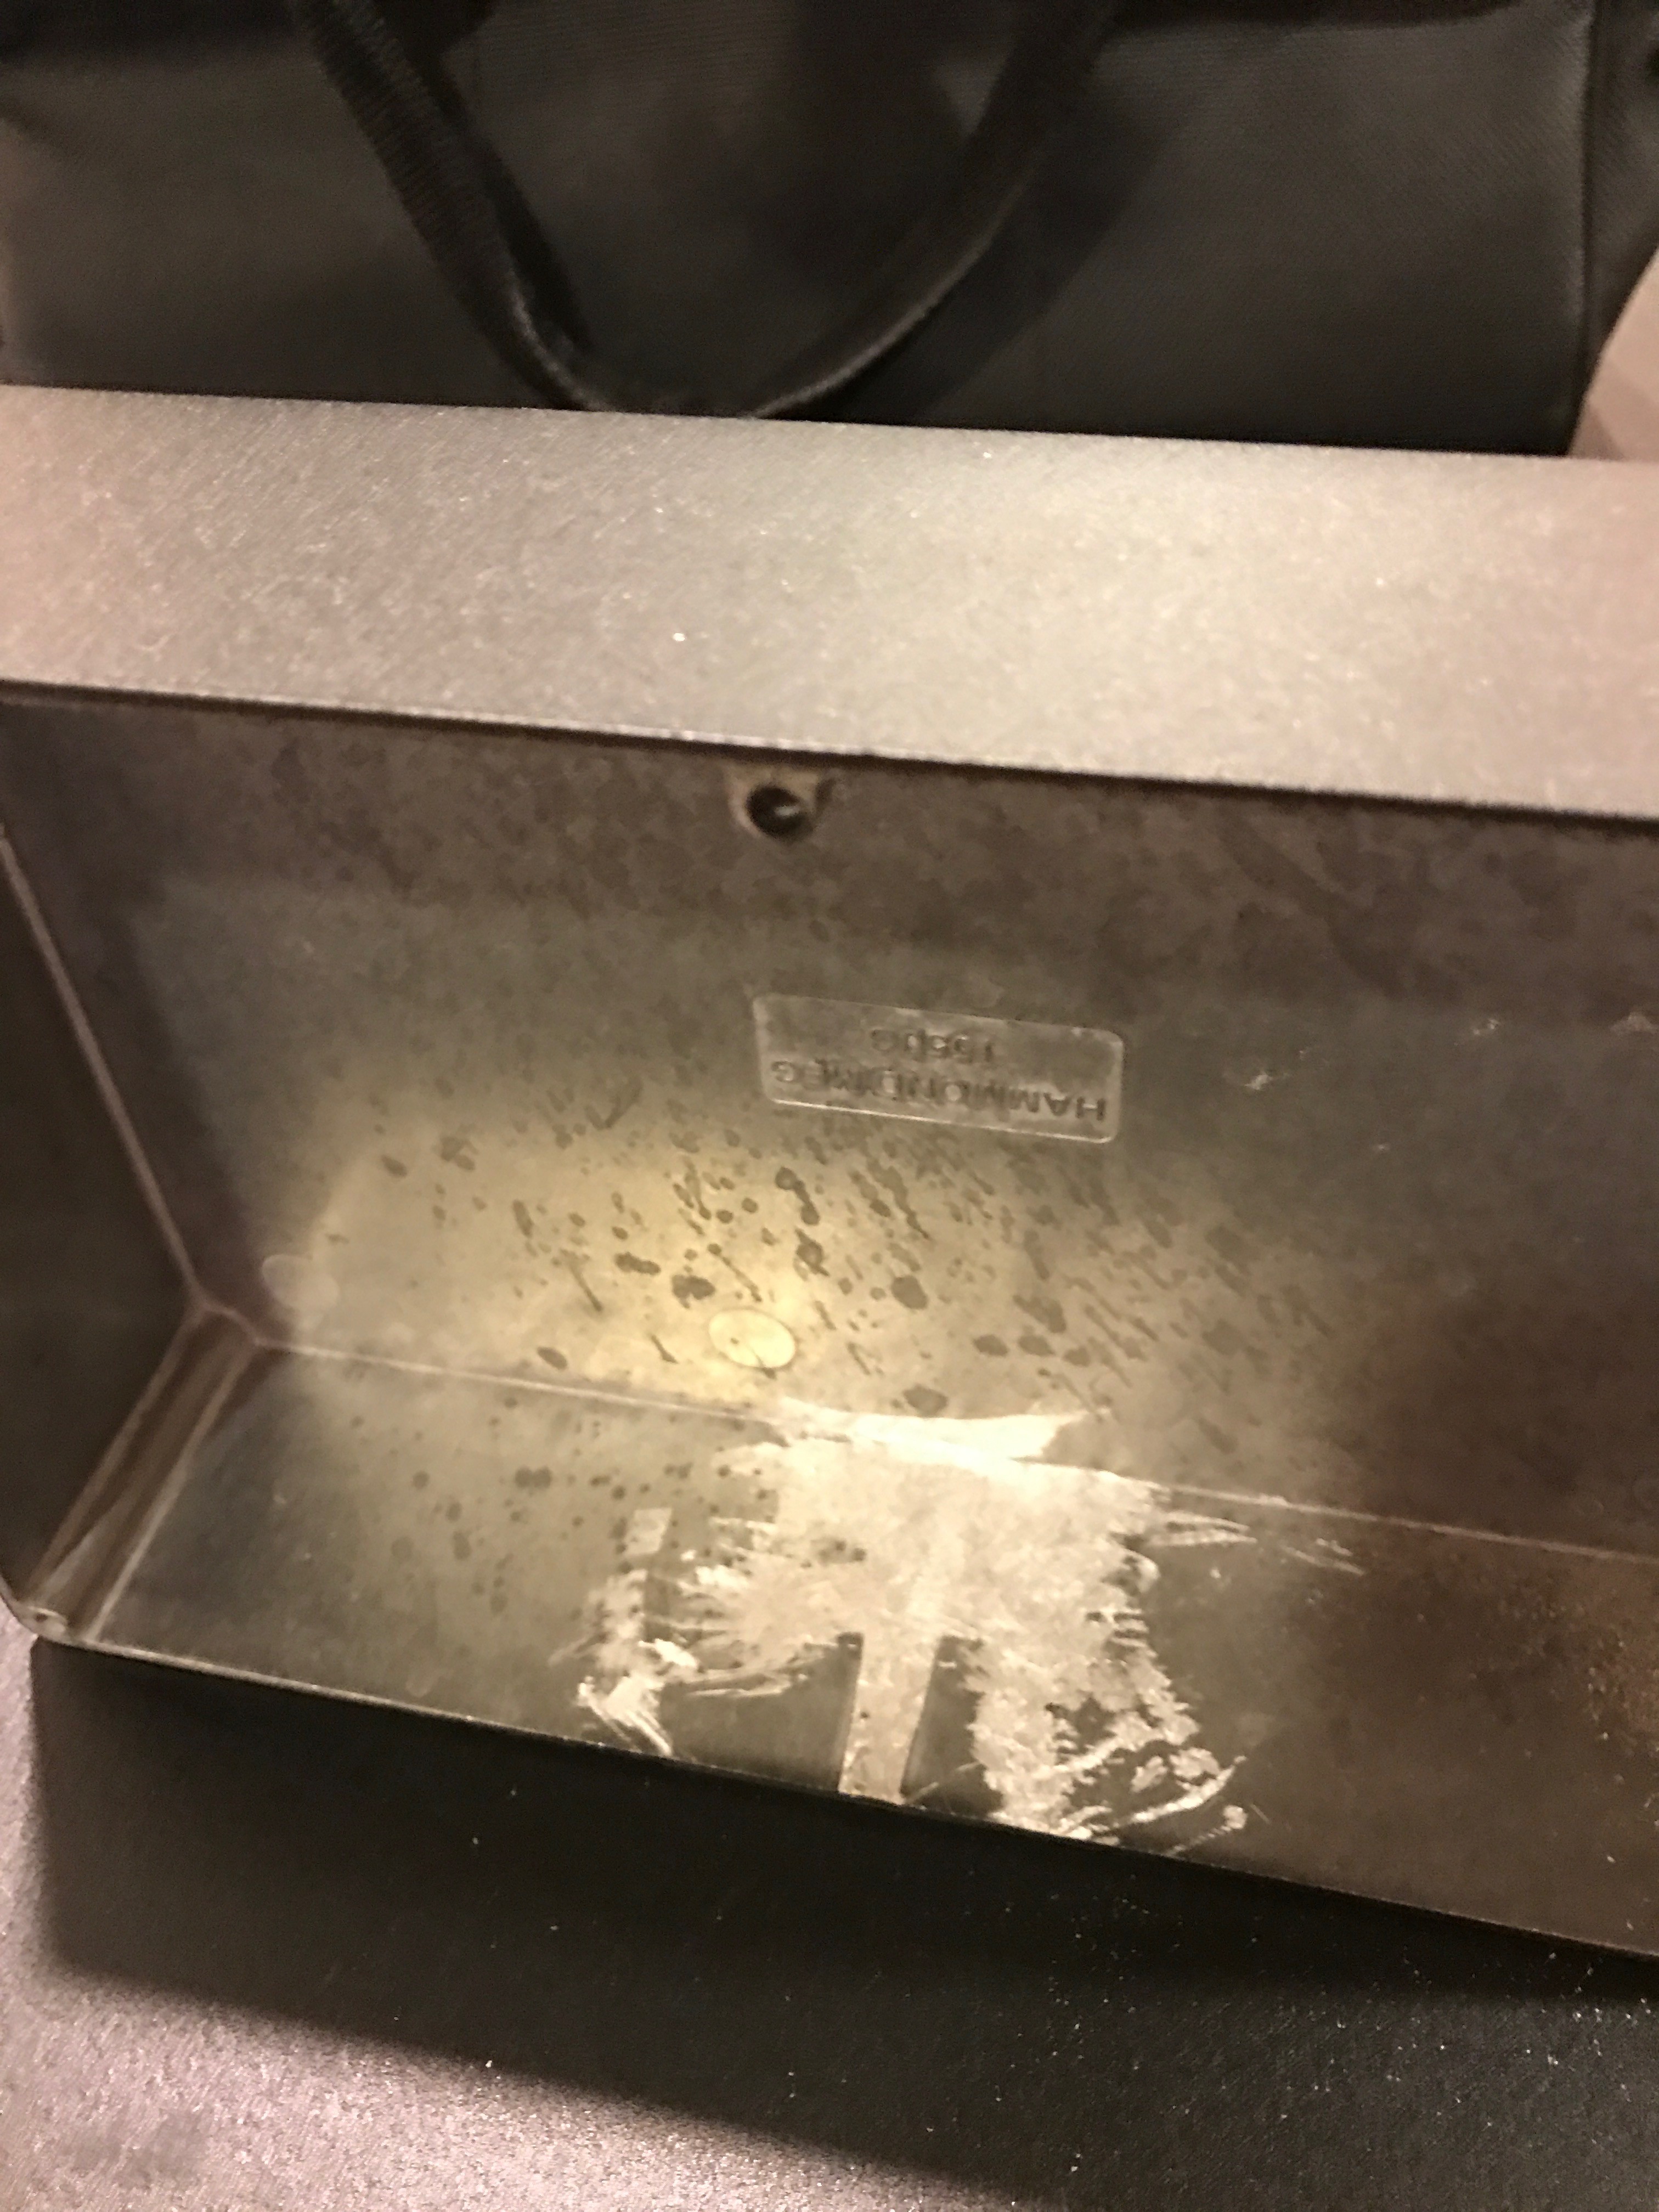
This box (From Mouser 1550WGBK) is JUST big enough to house these batteries (plus about 4cm of wiring space) but not a centimeter more in any dimension. It's the same one we've been using on board 1. The "W" in "WGBK" means water tight, which means it includes a rubber gasket. This is really important, not for water, but to keep the top from rattling loudly. The aluminum box is ready to go, much stronger and maybe more fire resistant than a 3D printed box. The only downside is that it's a bit heavier and square looking. We mount it with small rubber bushings to suppress vibration/rattle around 4 screws drilled through the bottom.
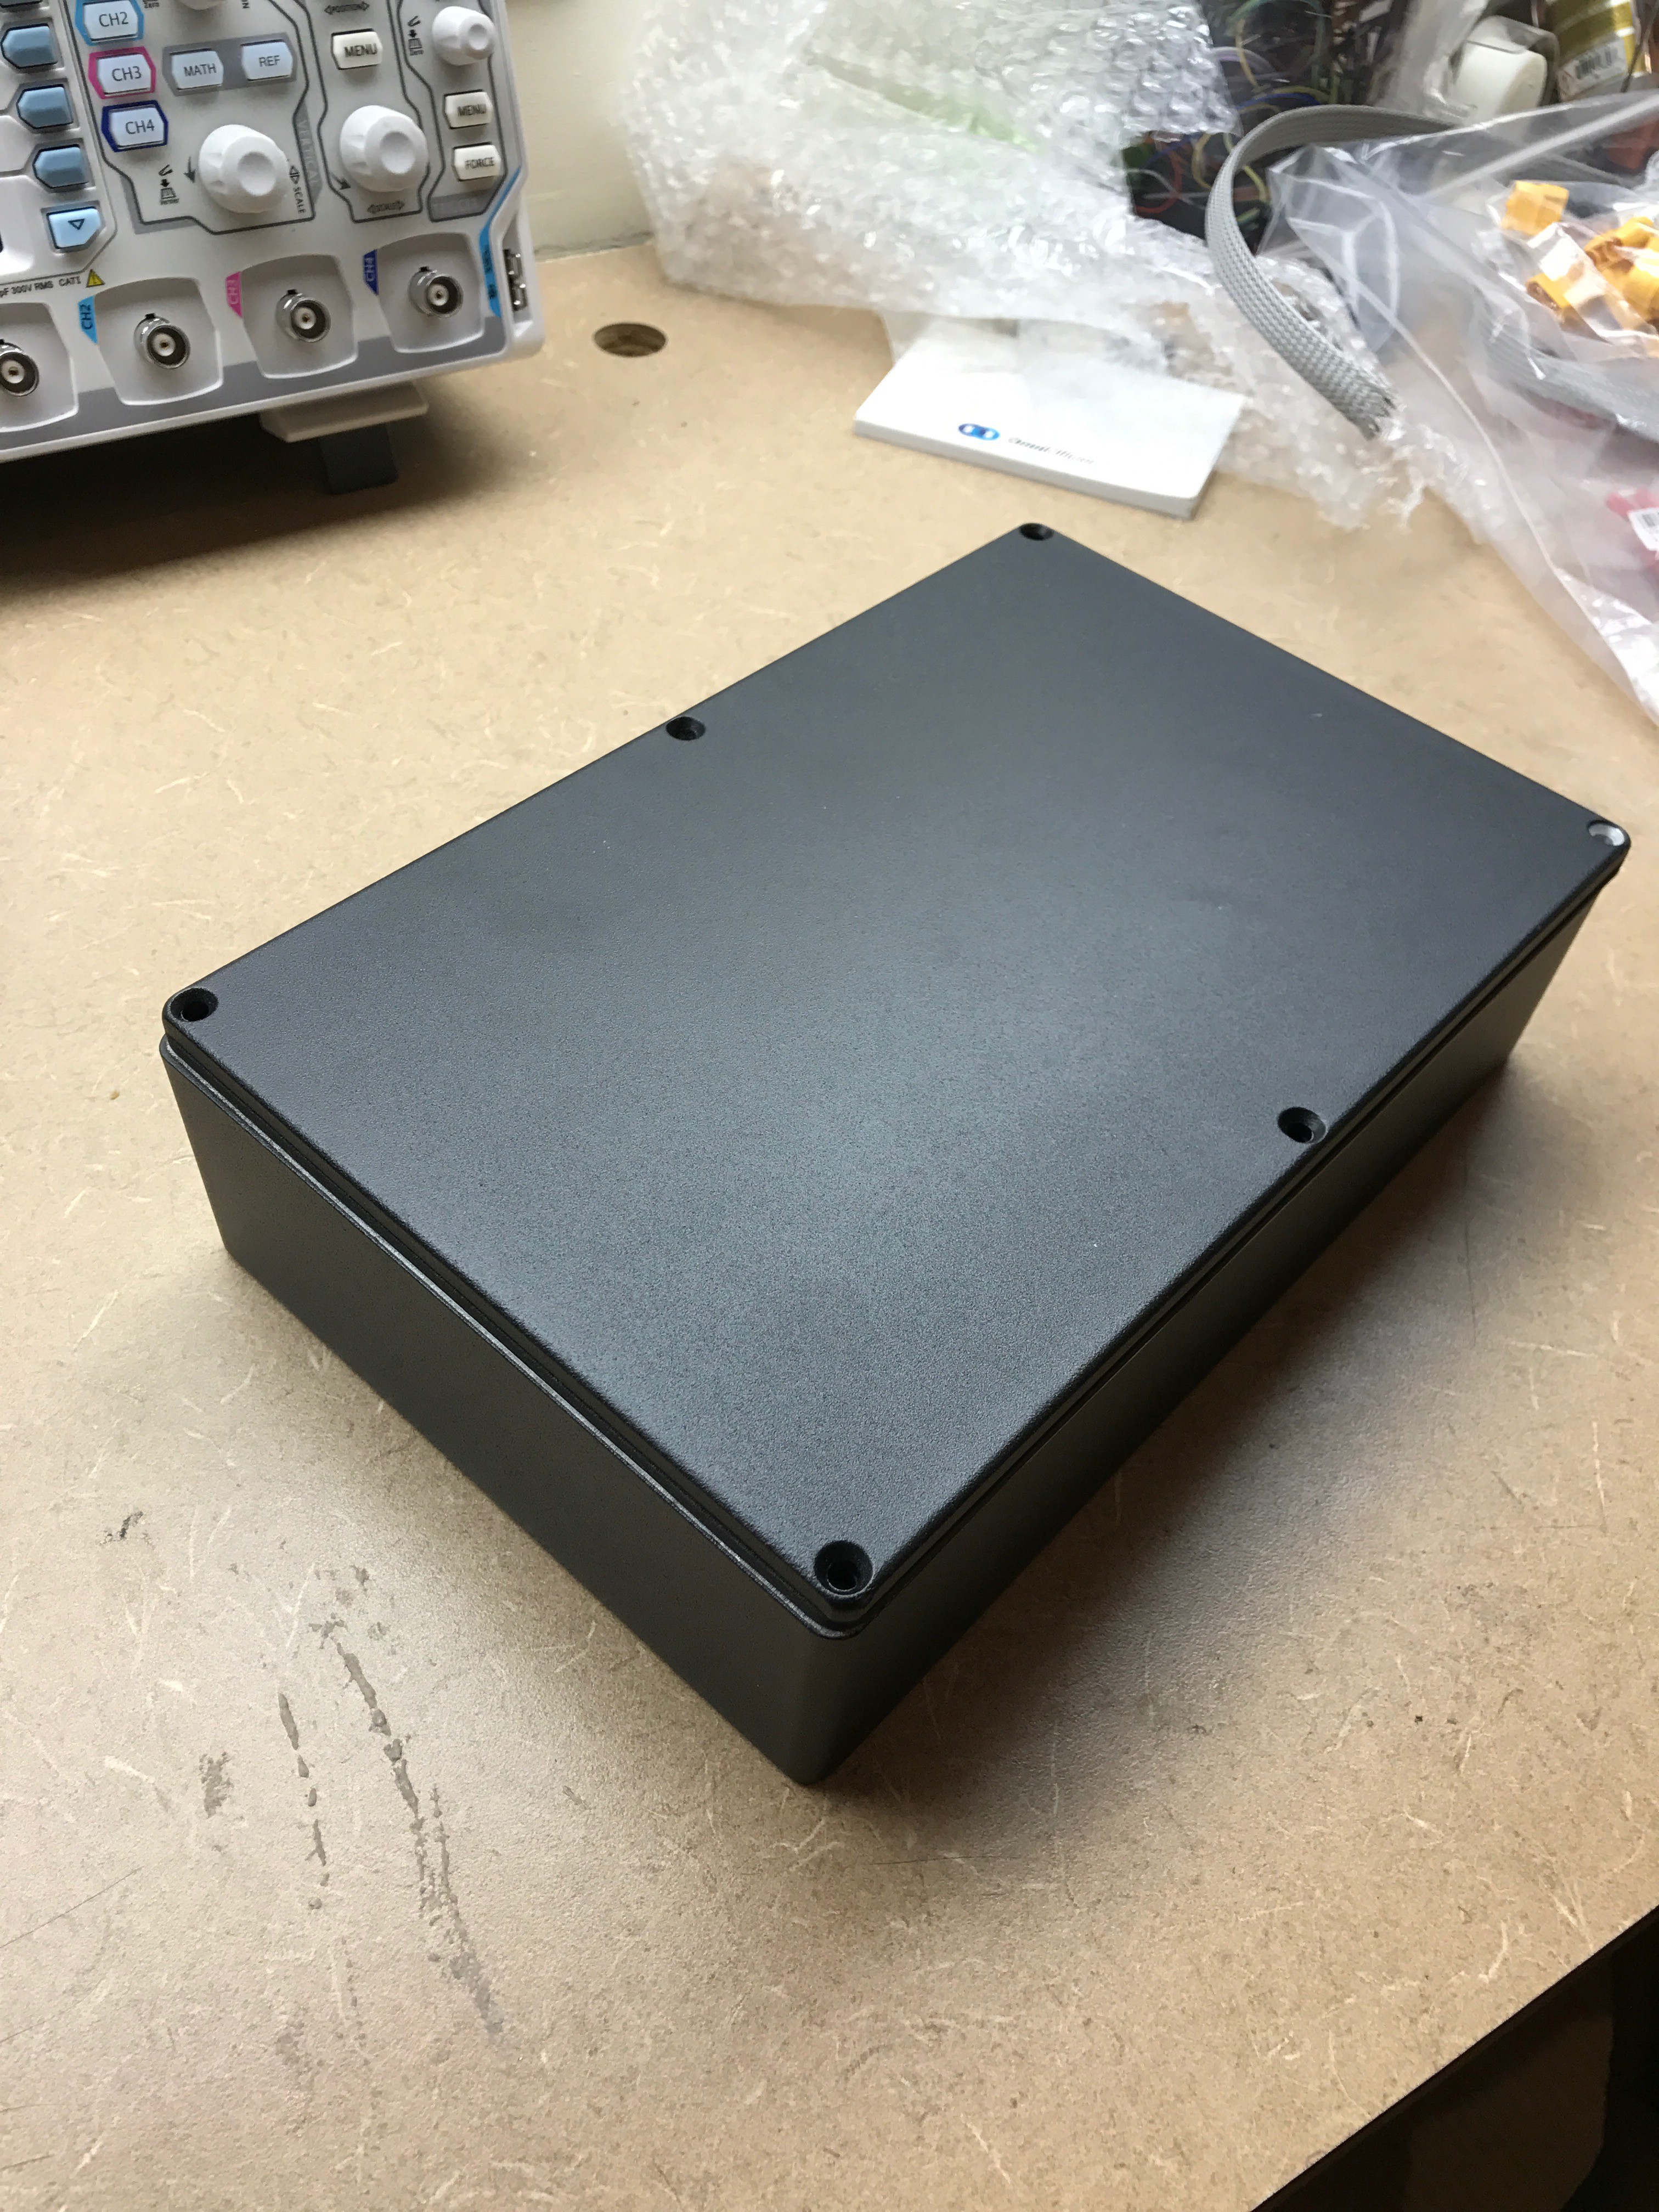
Still...a few speed bumps manage to strike the edge of the box of our current board. This is one reason the 3-D printed box would be angled at the edge.
Batteries almost fit.
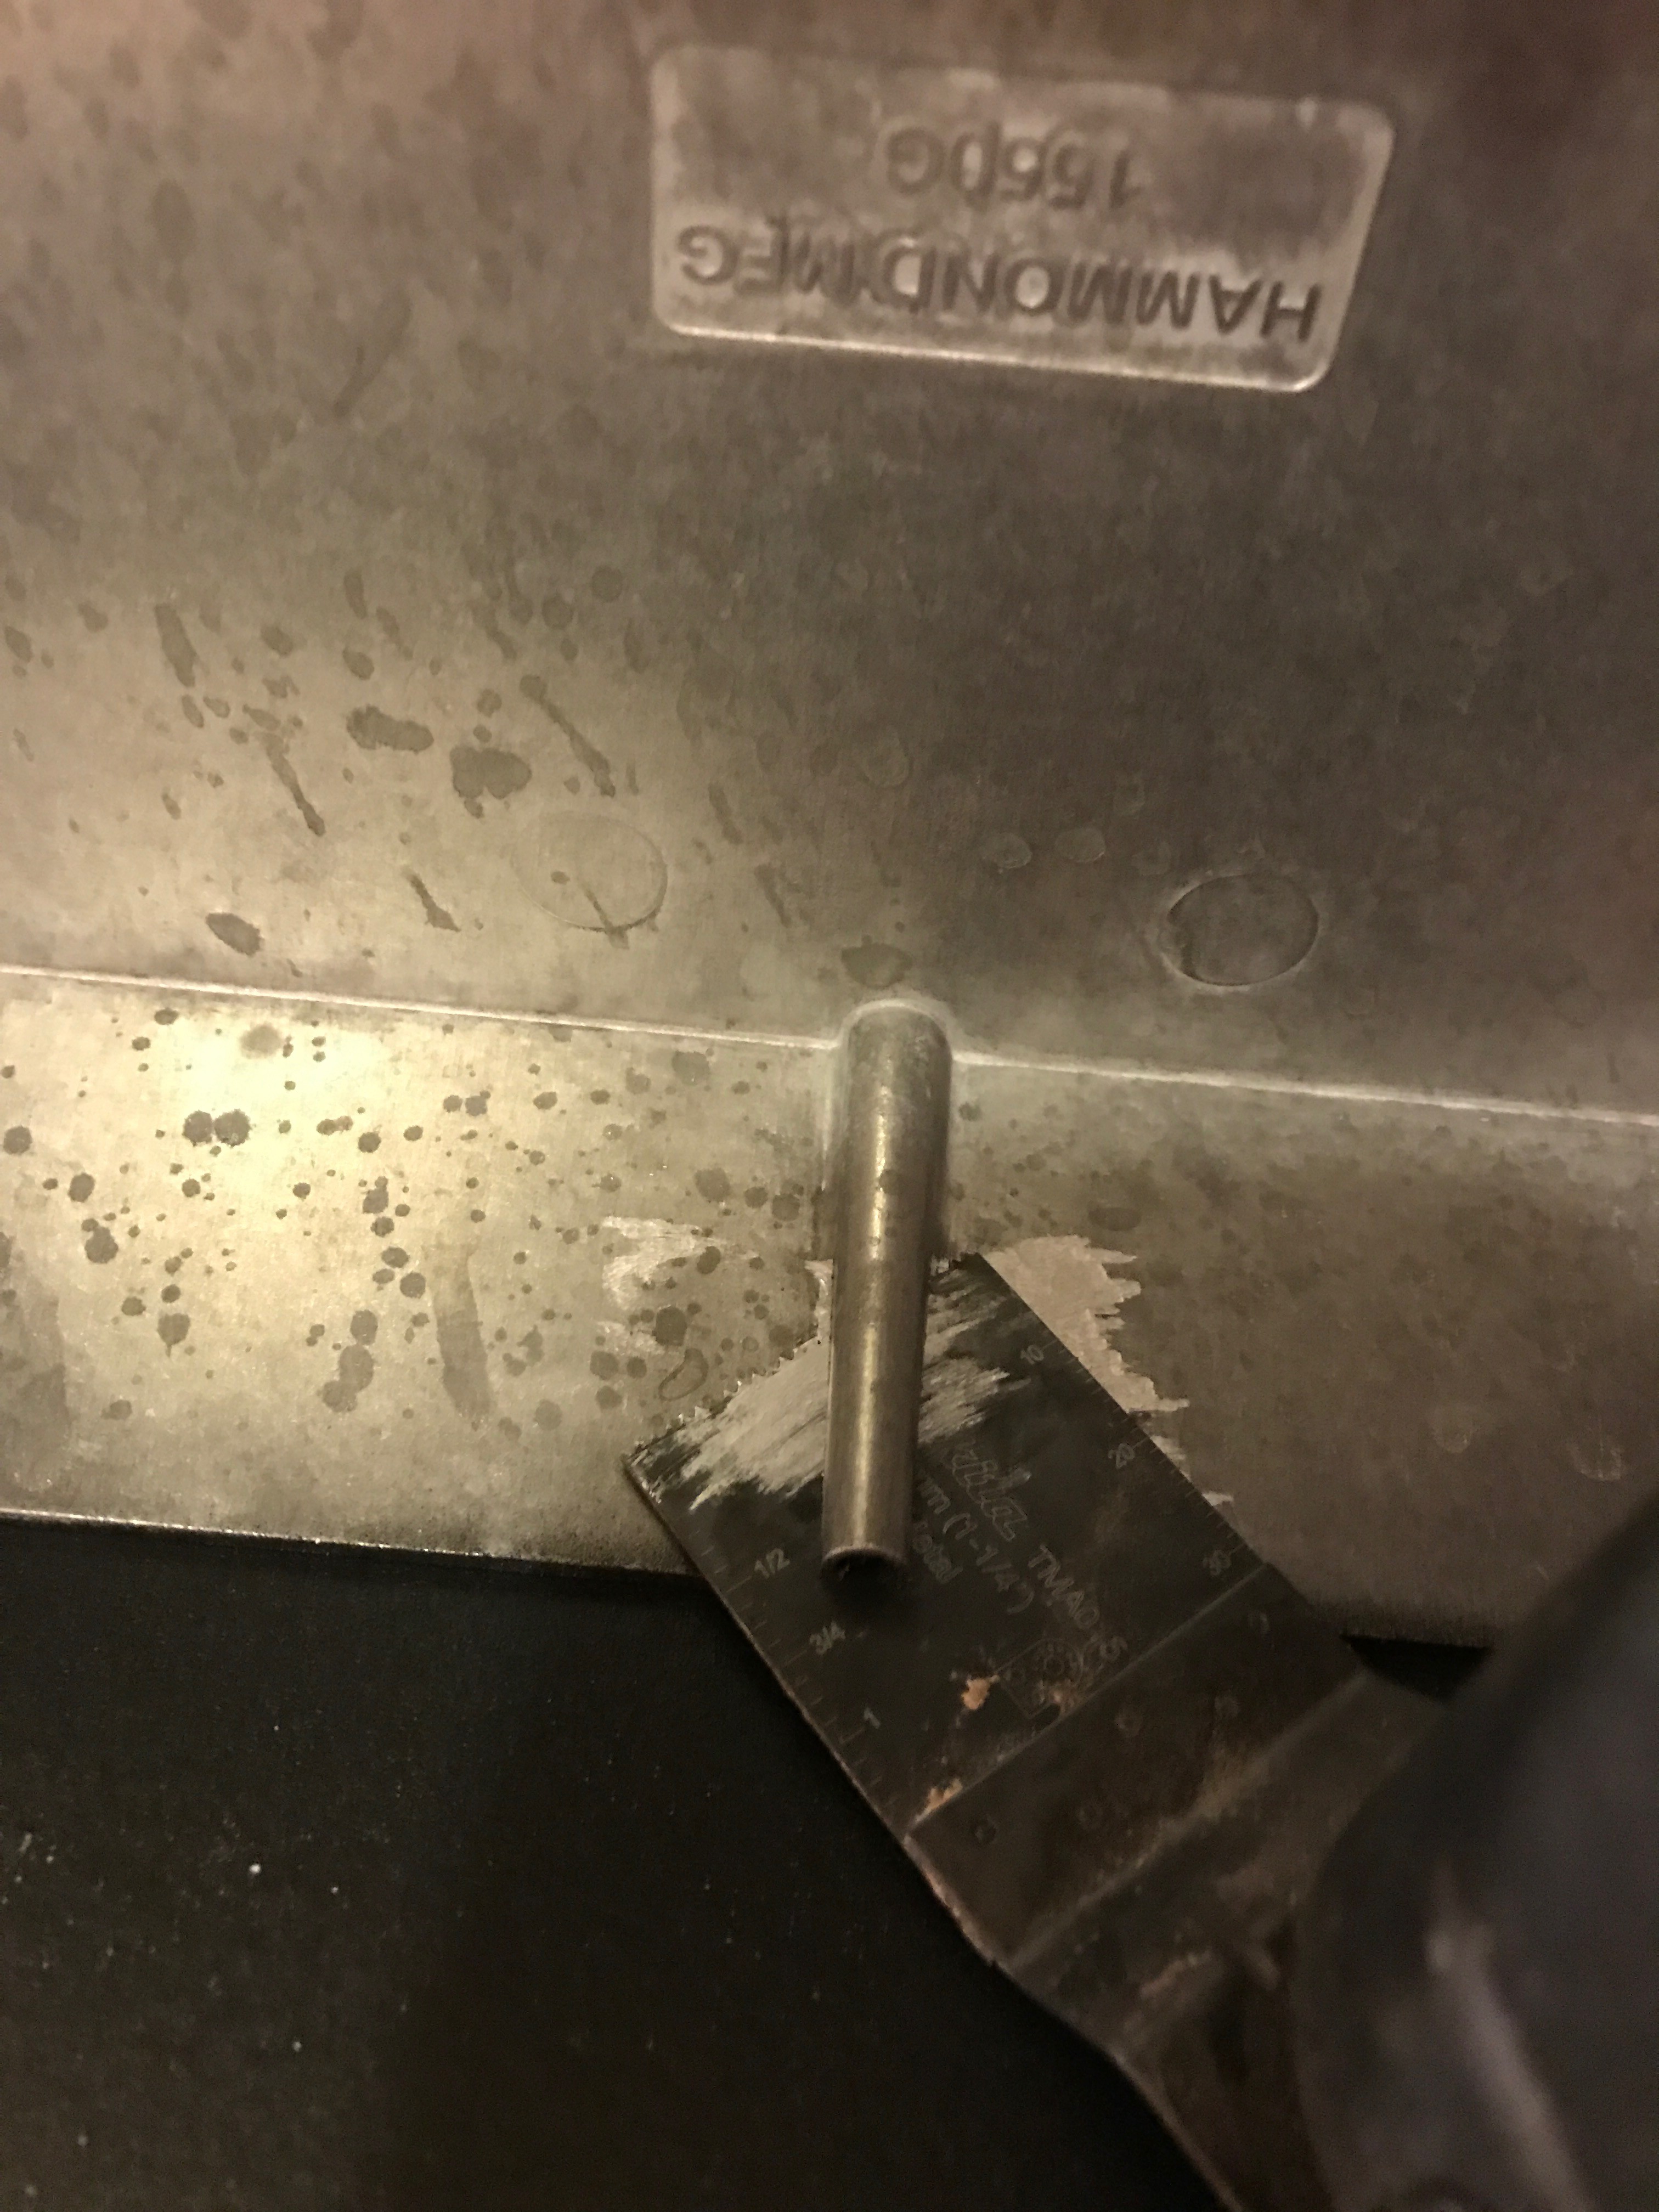
Need to take out at least one of these screw posts.
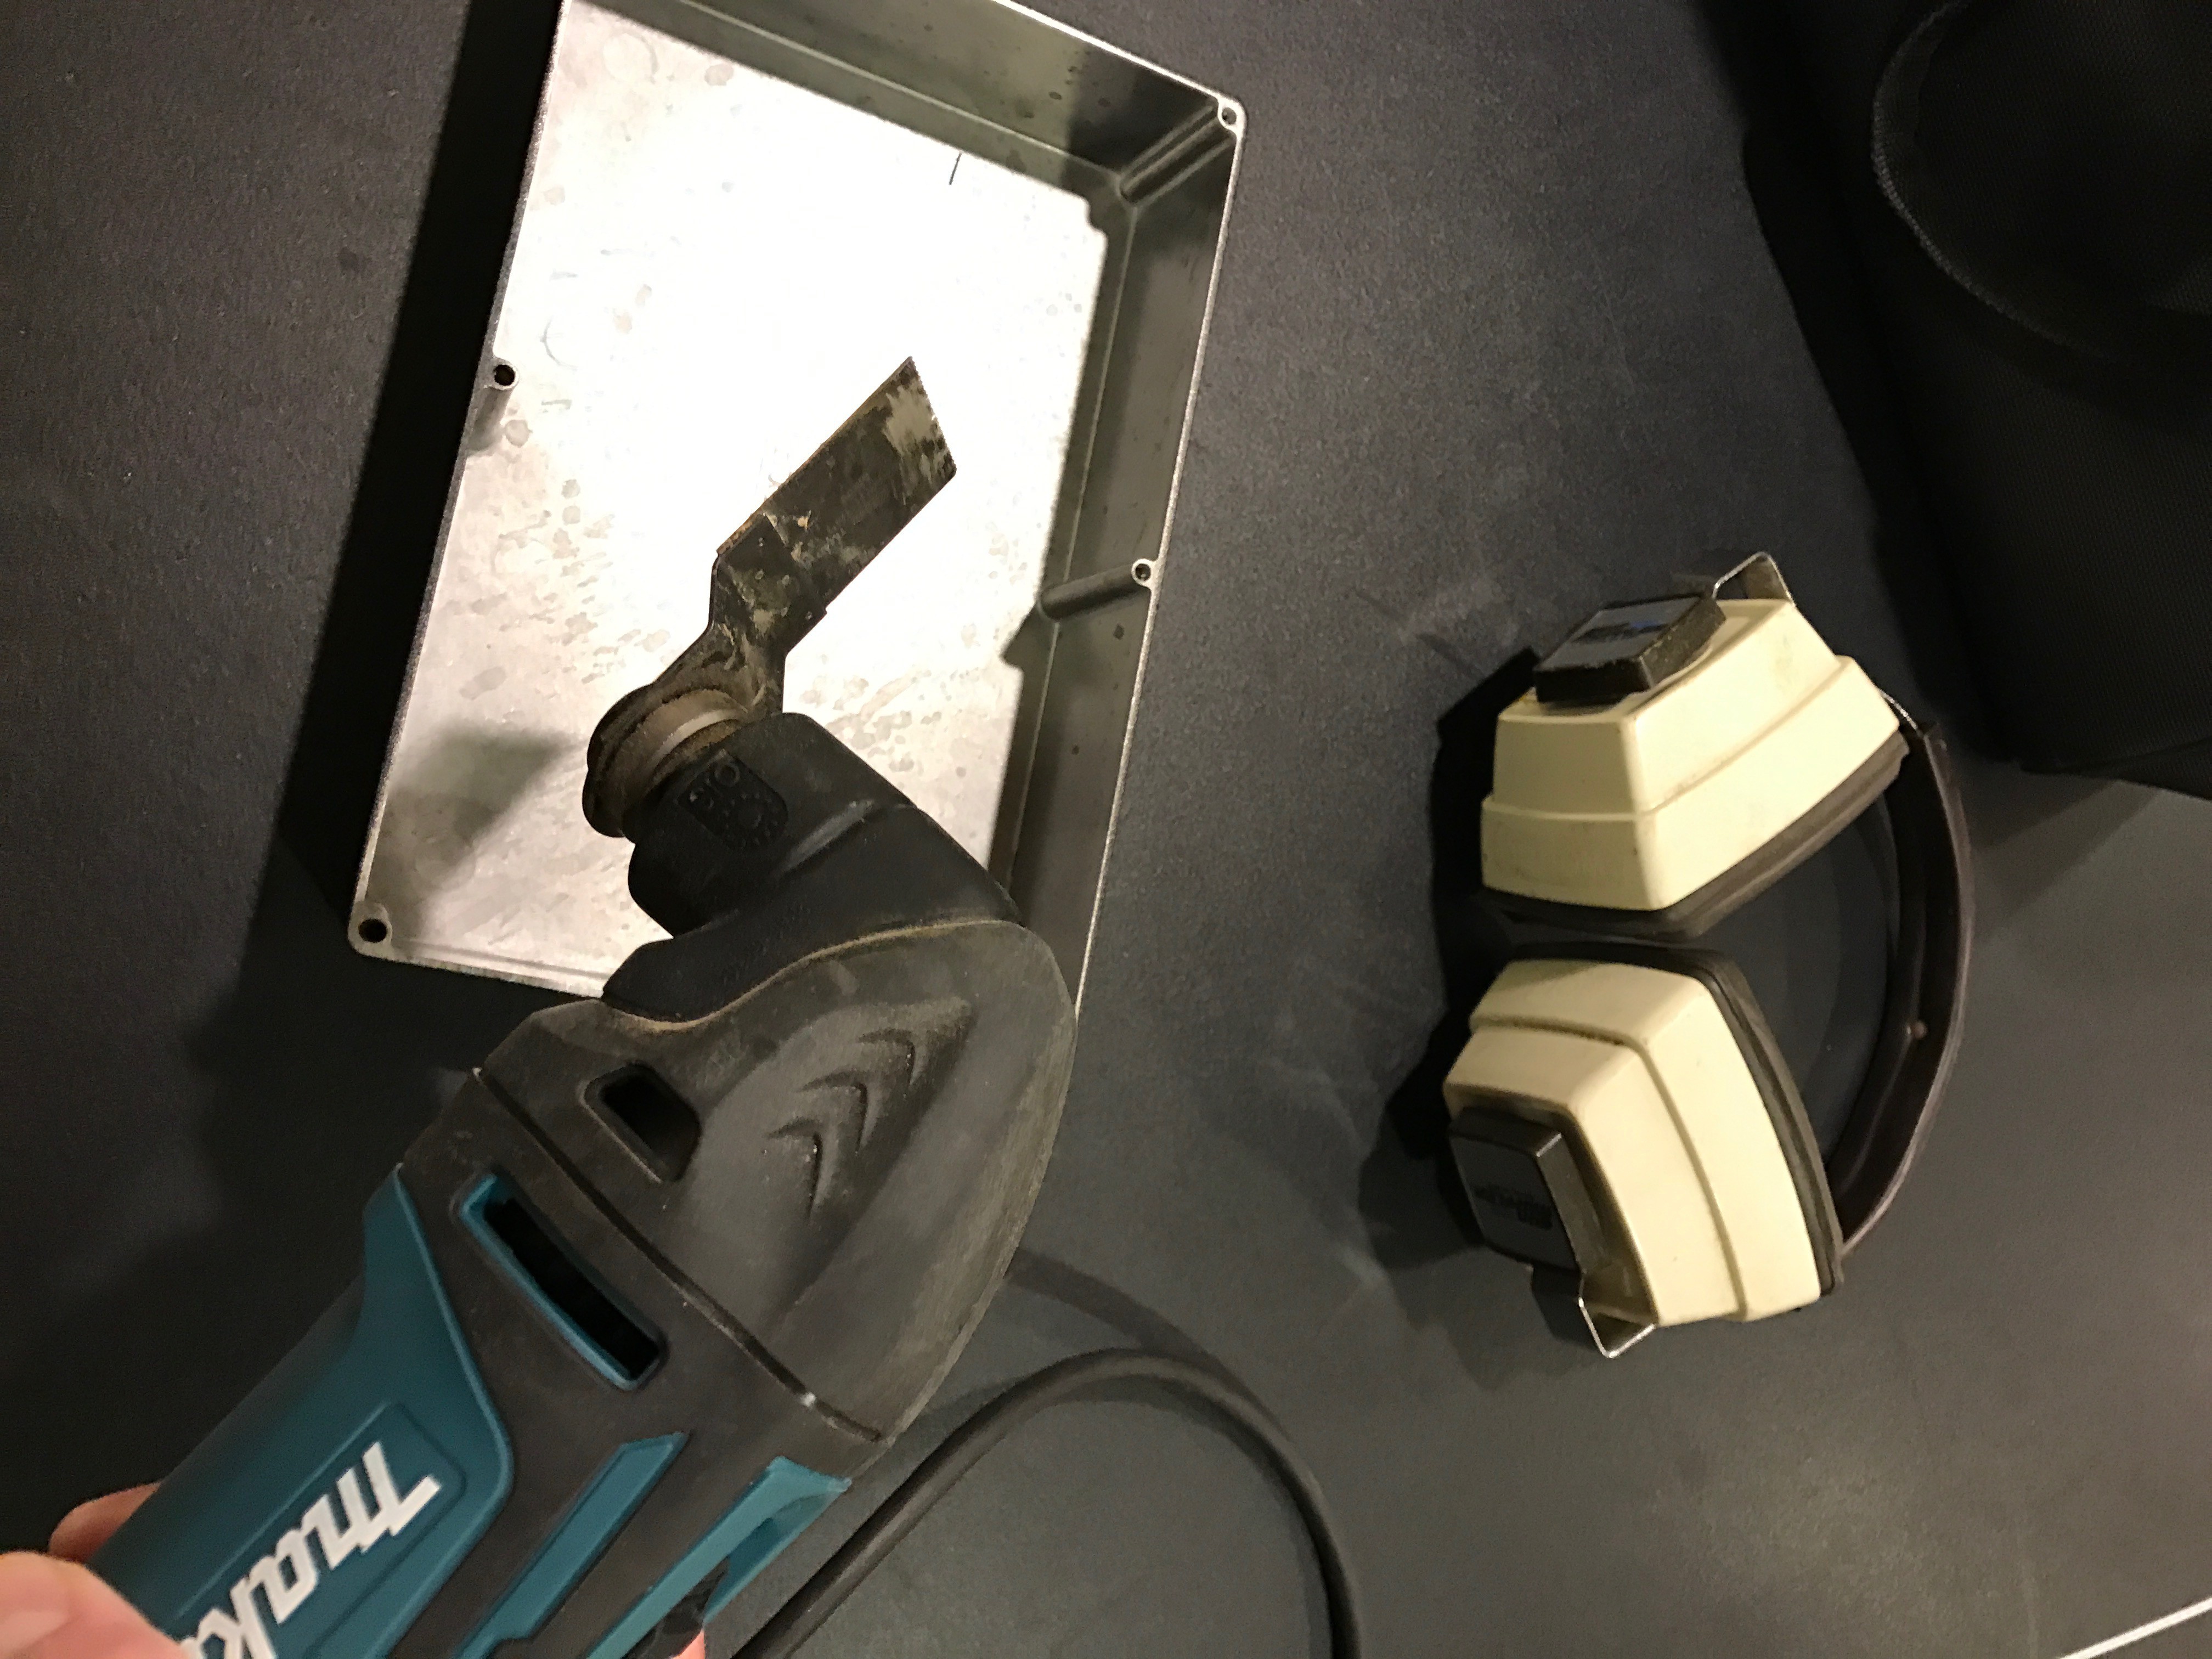
Plunge cutter
...and this already was my favorite tool.
Snug, but good fit. We might take out that second center post to make a bit more room for the batteries and padding. Still, be nice to have that middle screw in there to keep it from rattling.
Discussions
Become a Hackaday.io Member
Create an account to leave a comment. Already have an account? Log In.