 Alain Mauer
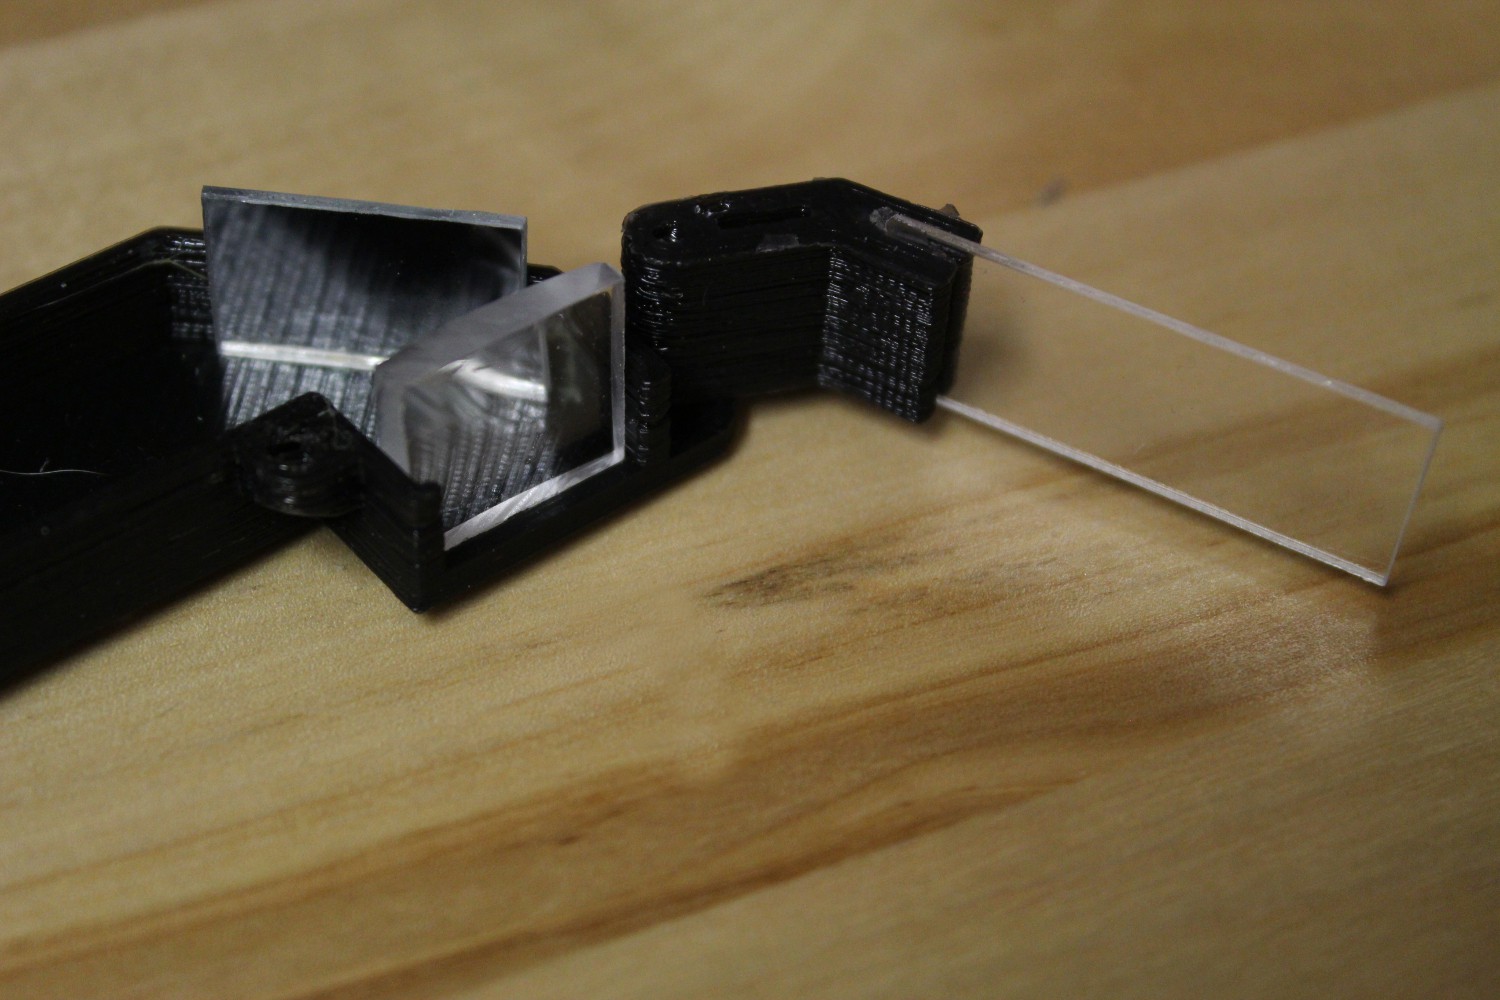
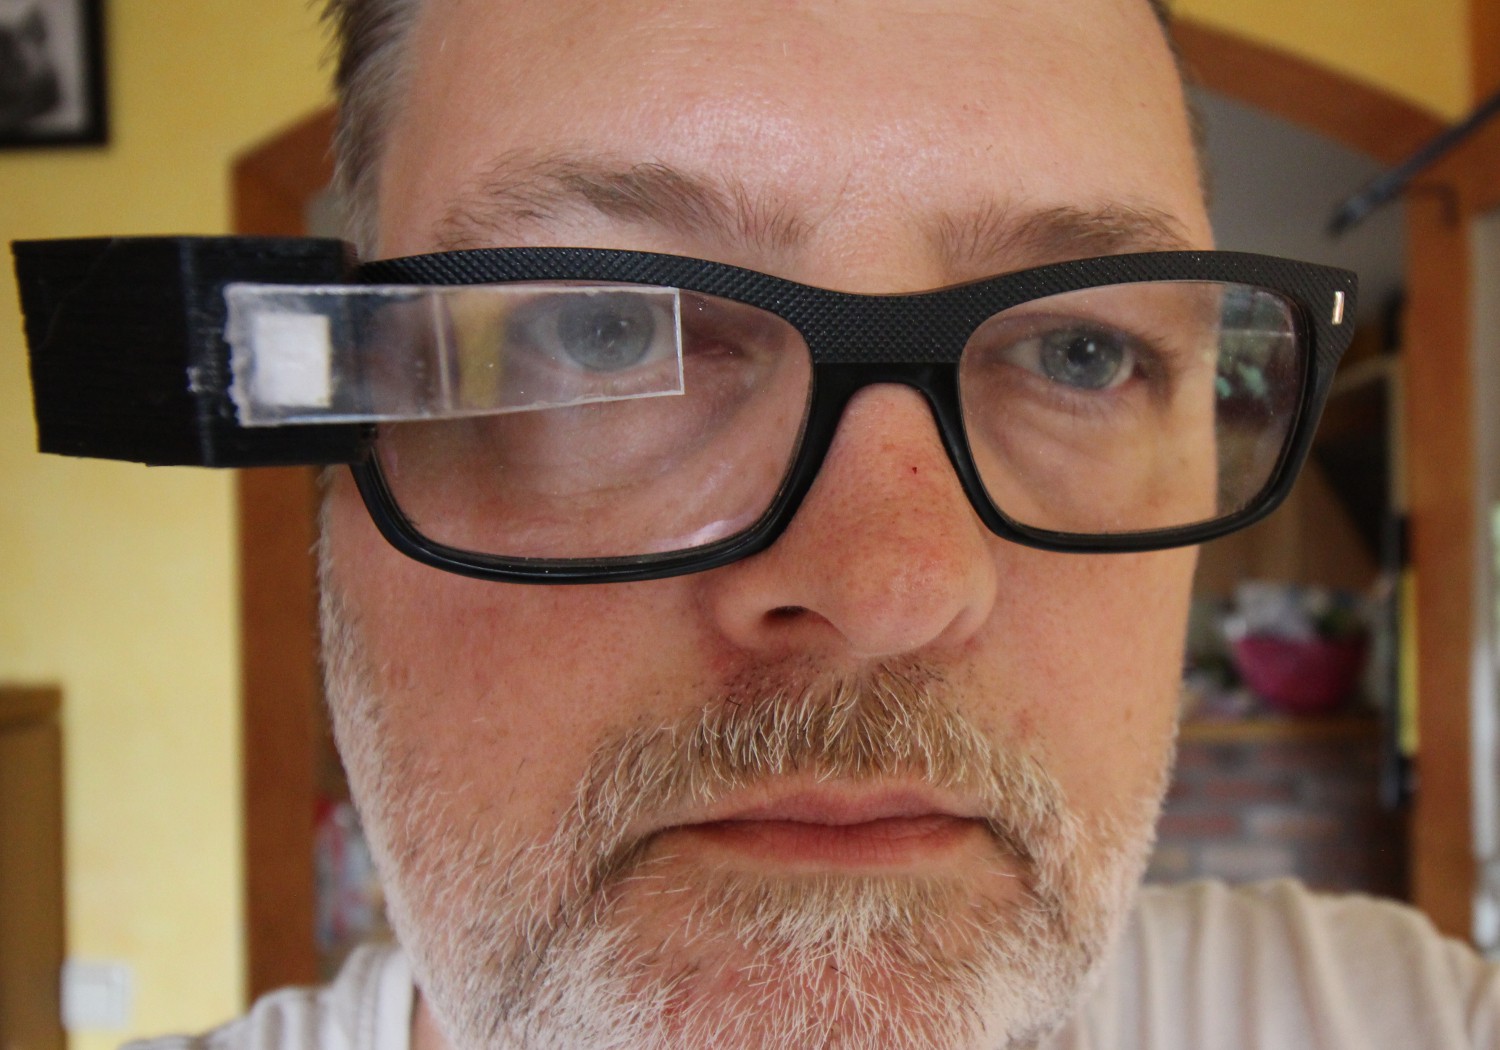
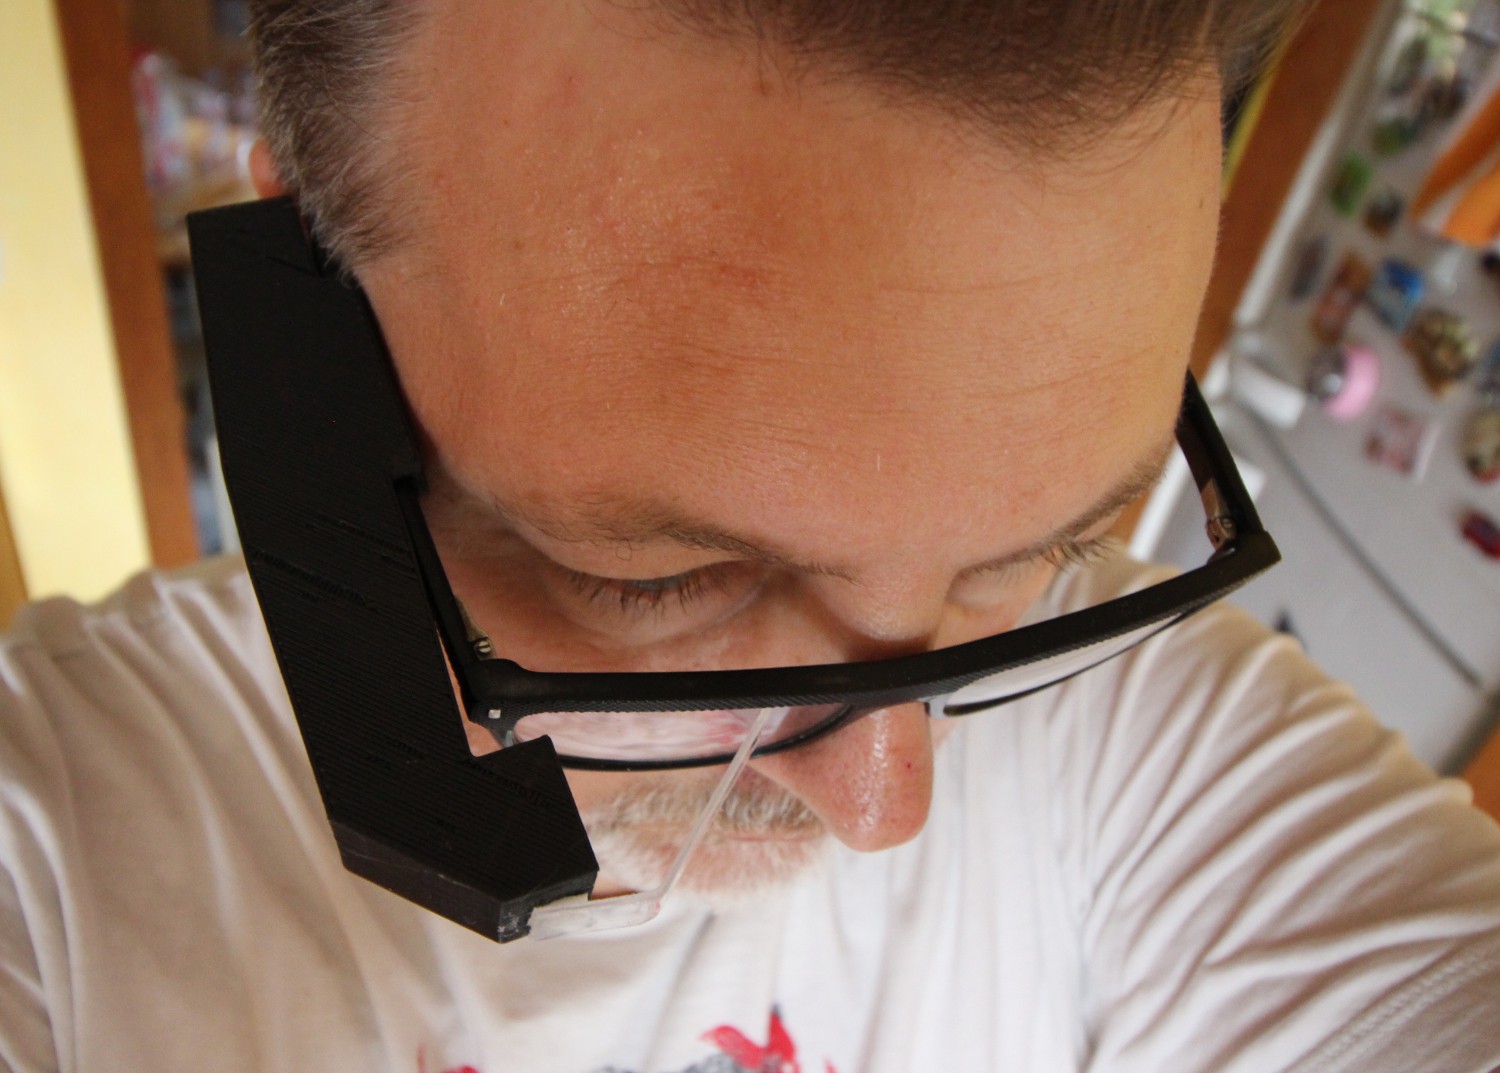
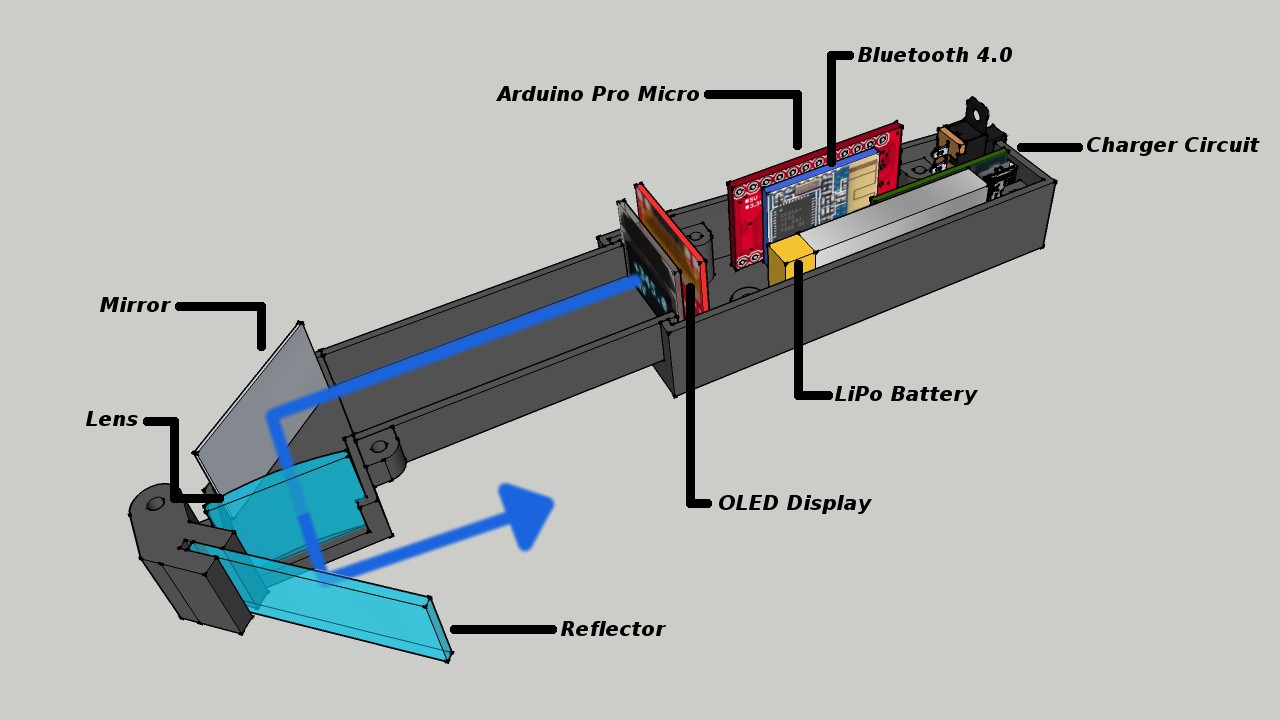
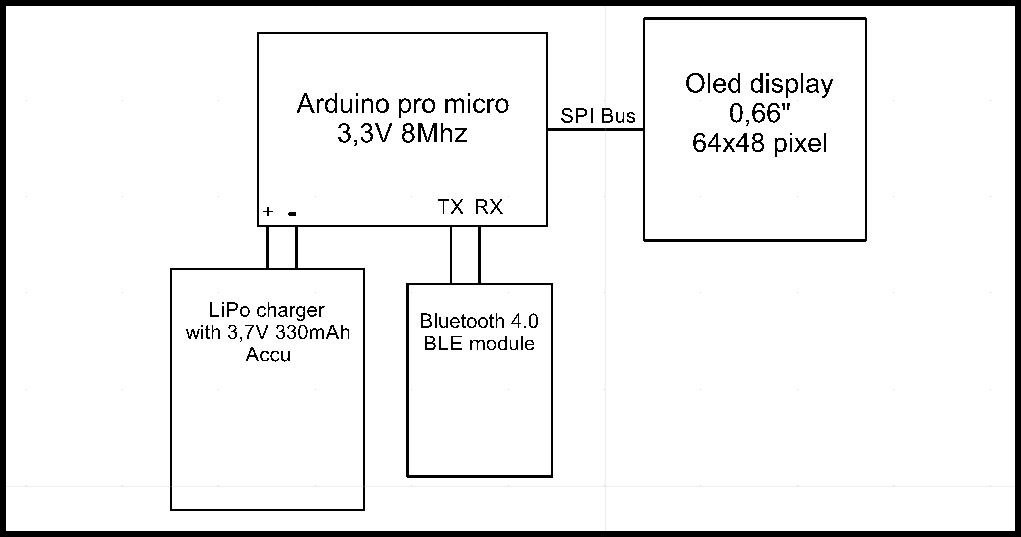
The optical design will be the most difficult part, but I think I found a solution for this.
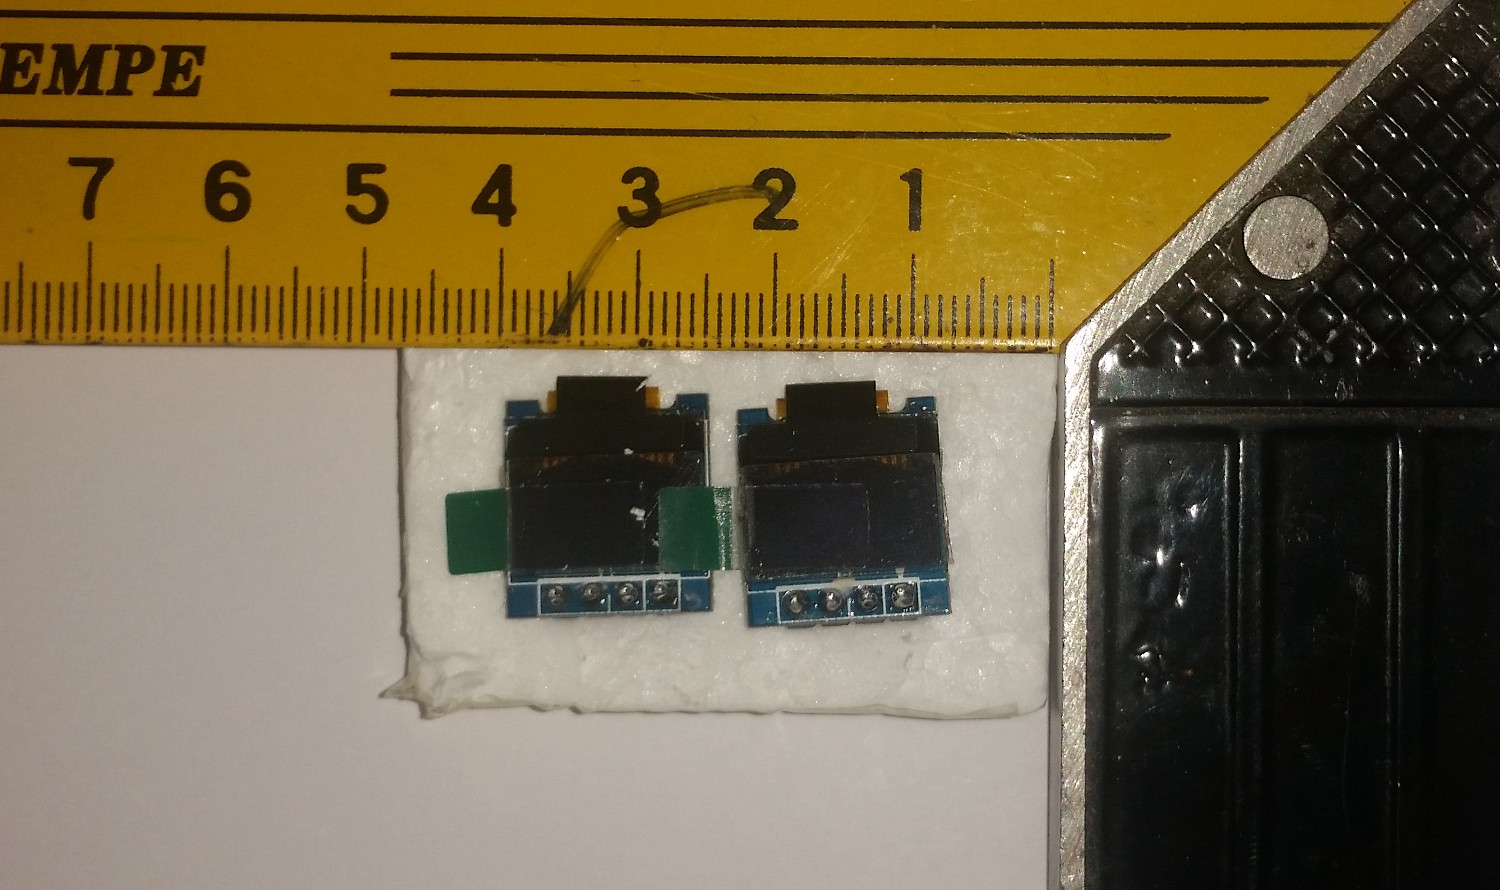
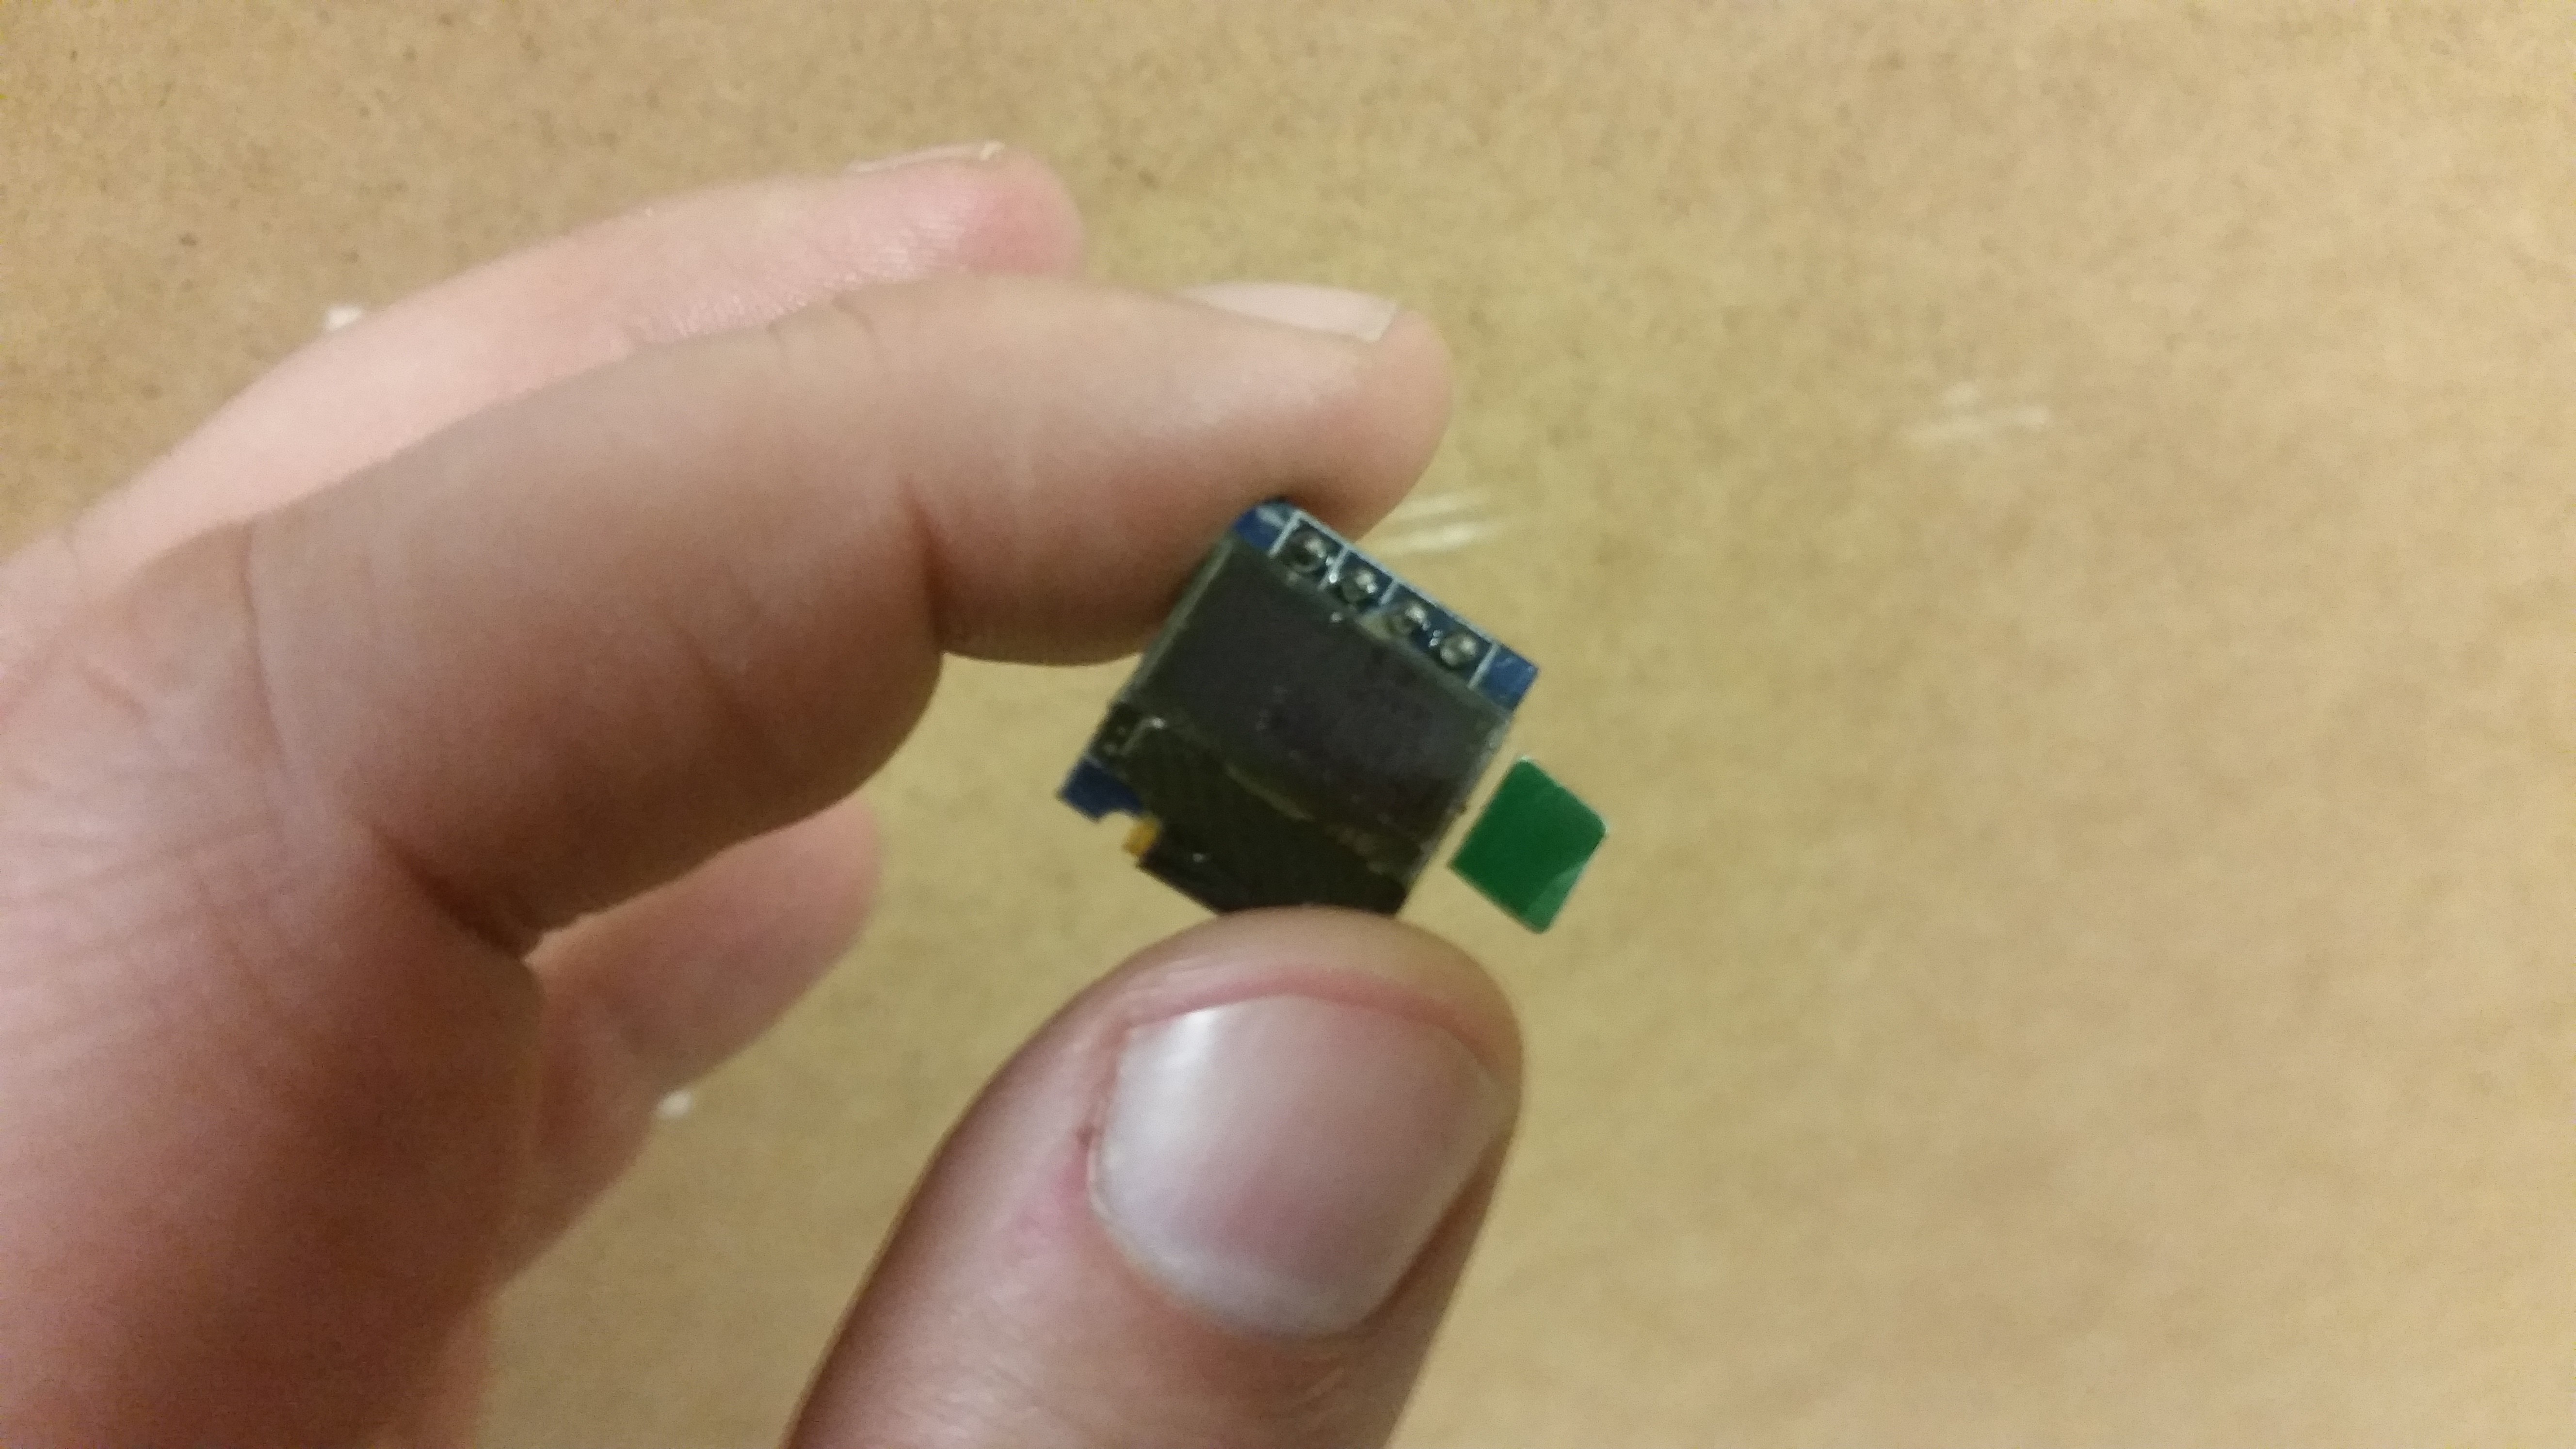
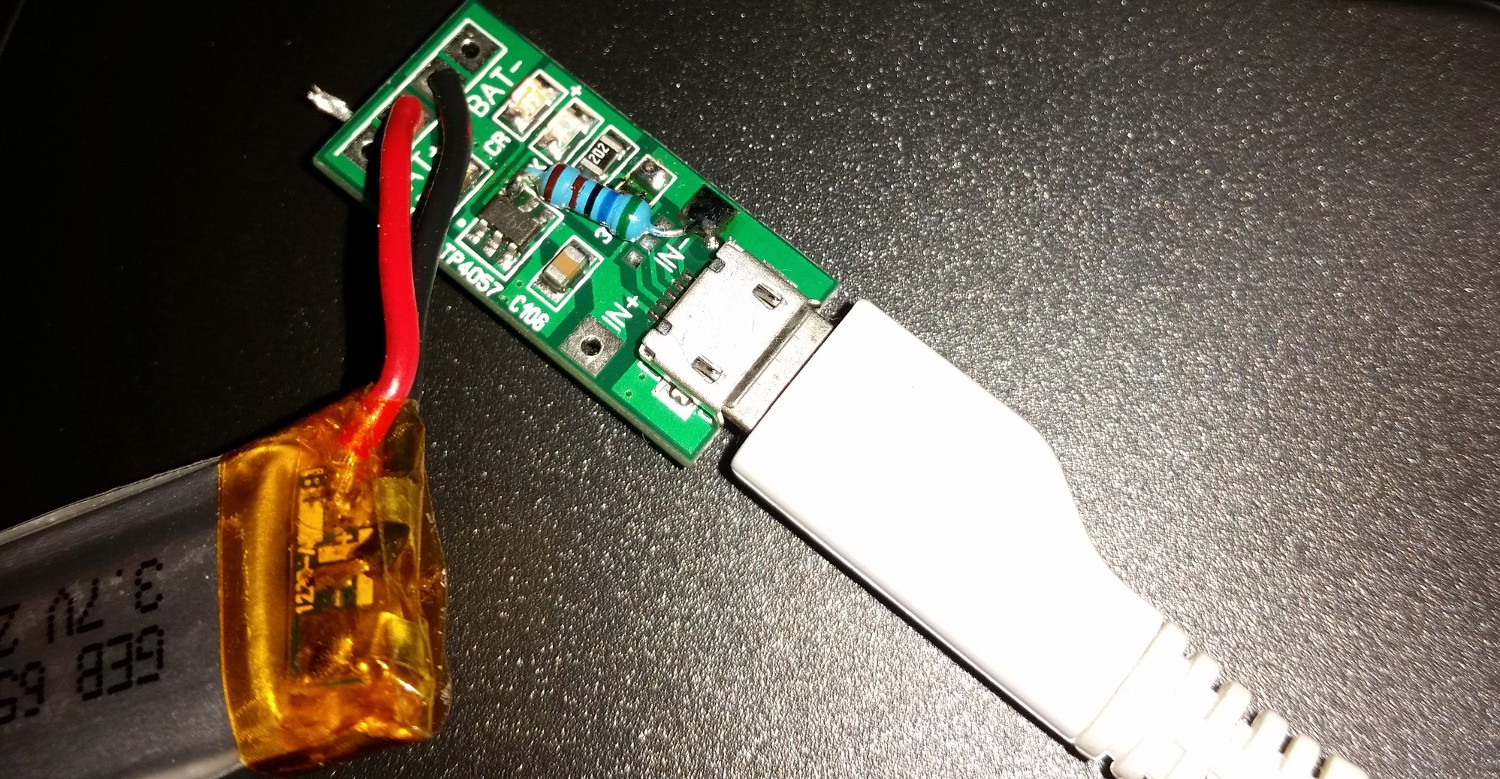
Follow the project logs to see the updates. The costs of the prototype amounted to 70Euros.
Video of the working device
Link to the video and Link to the video in German
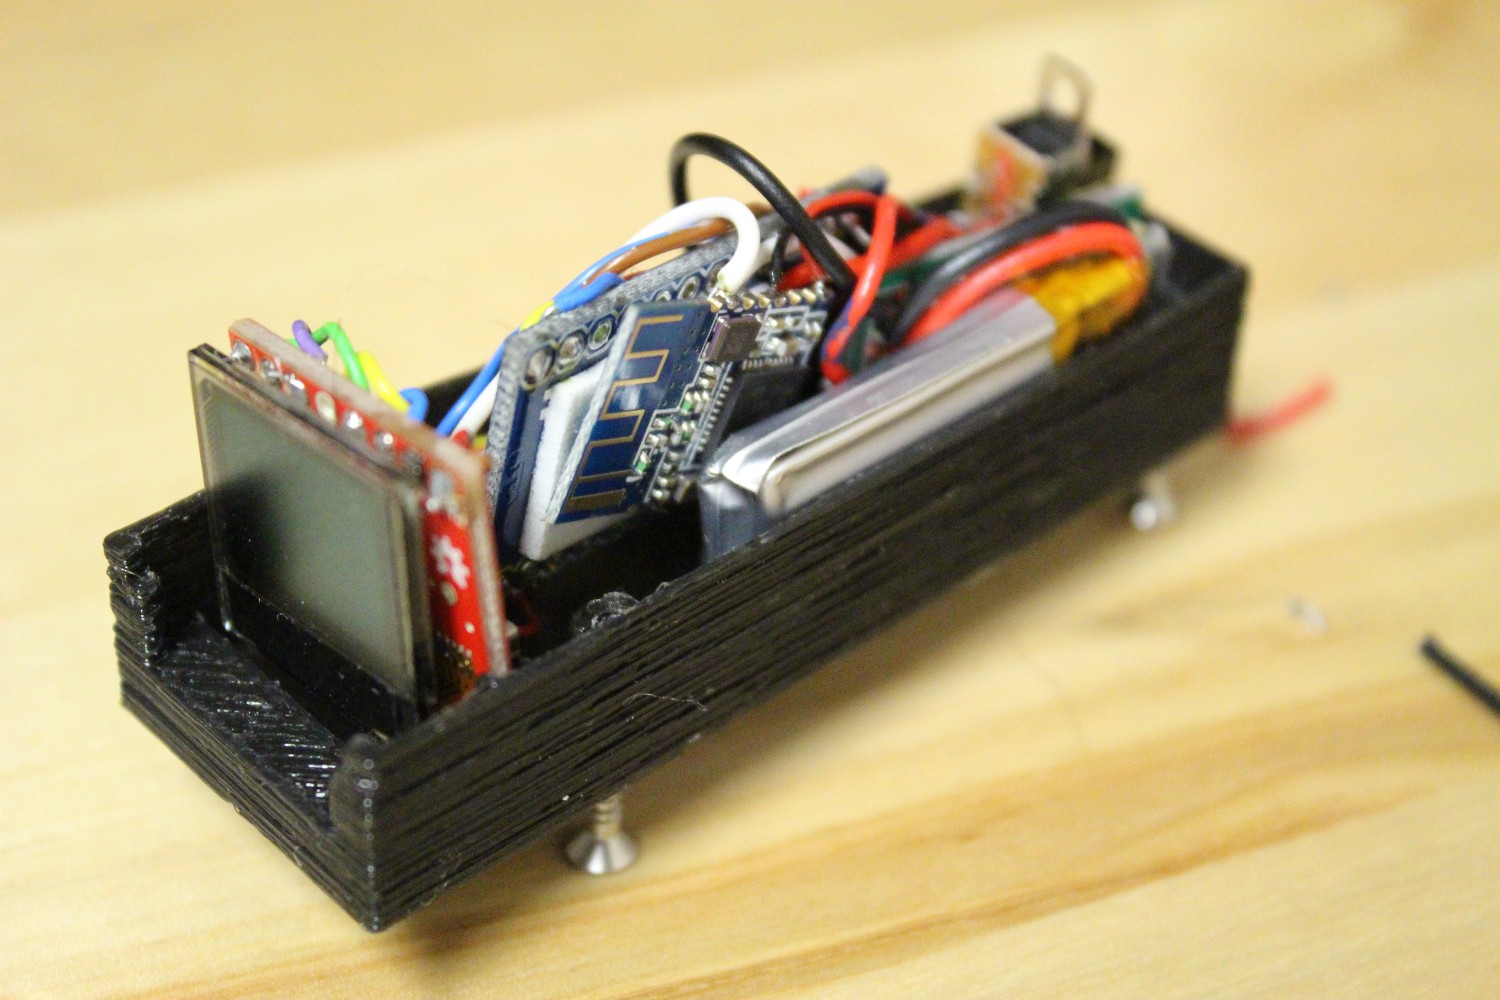
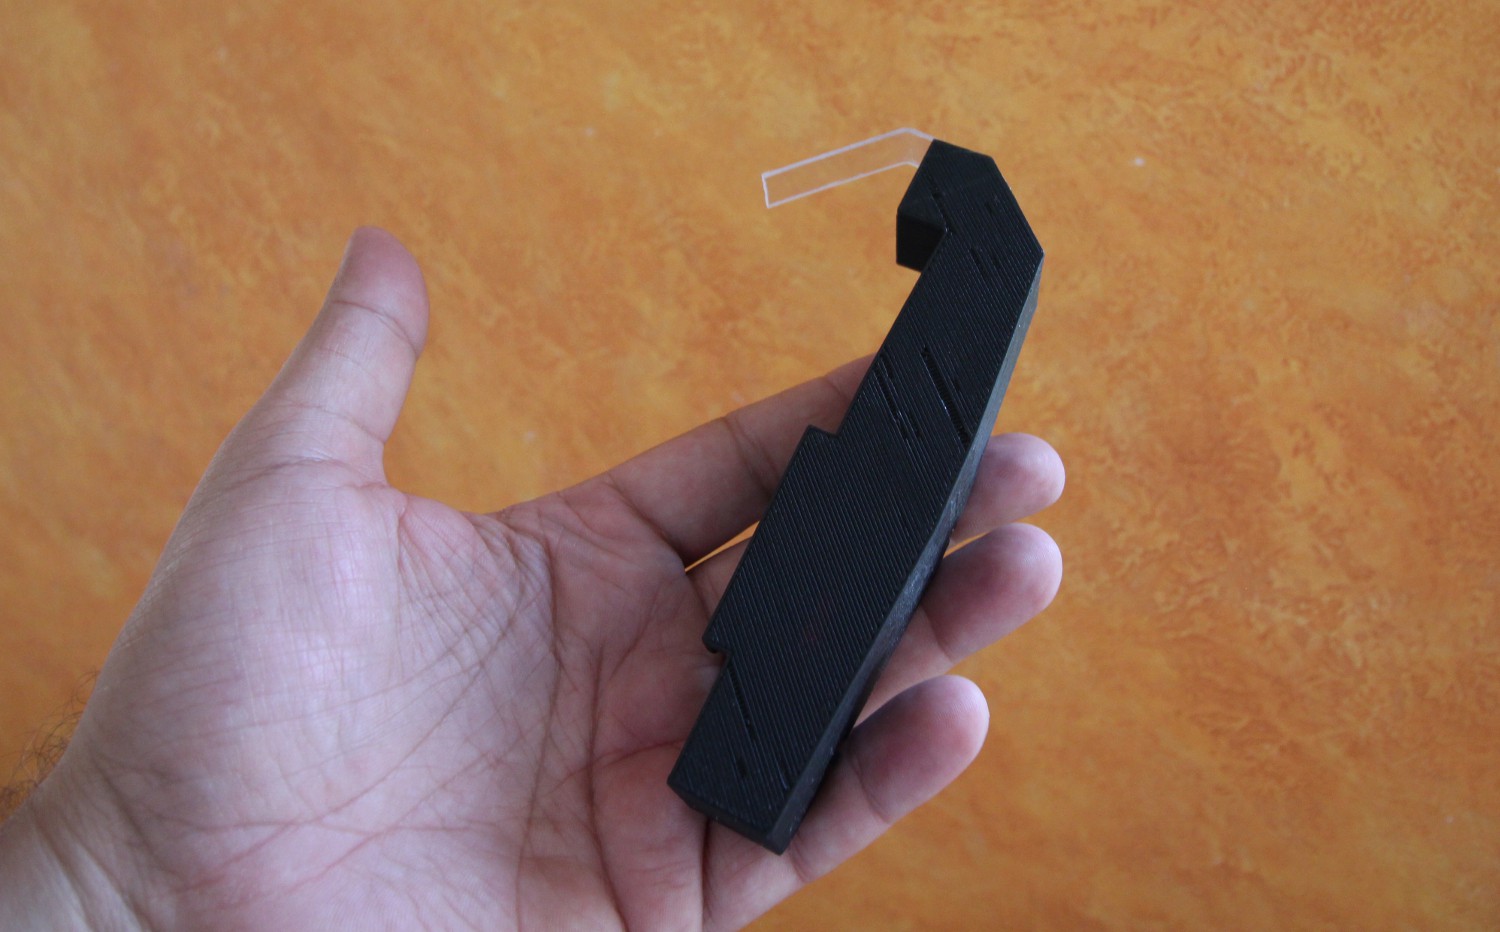
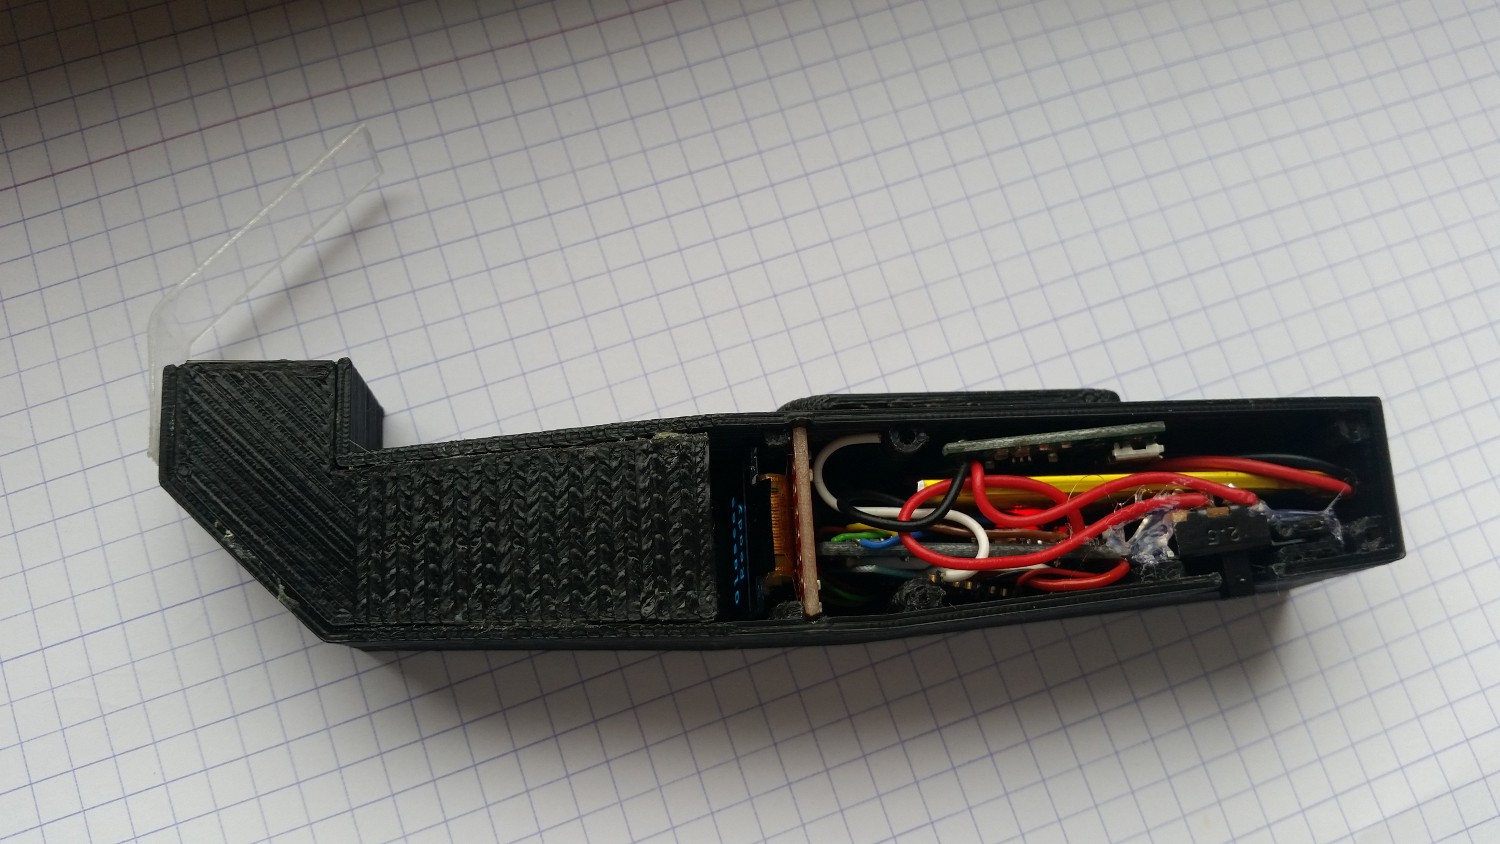
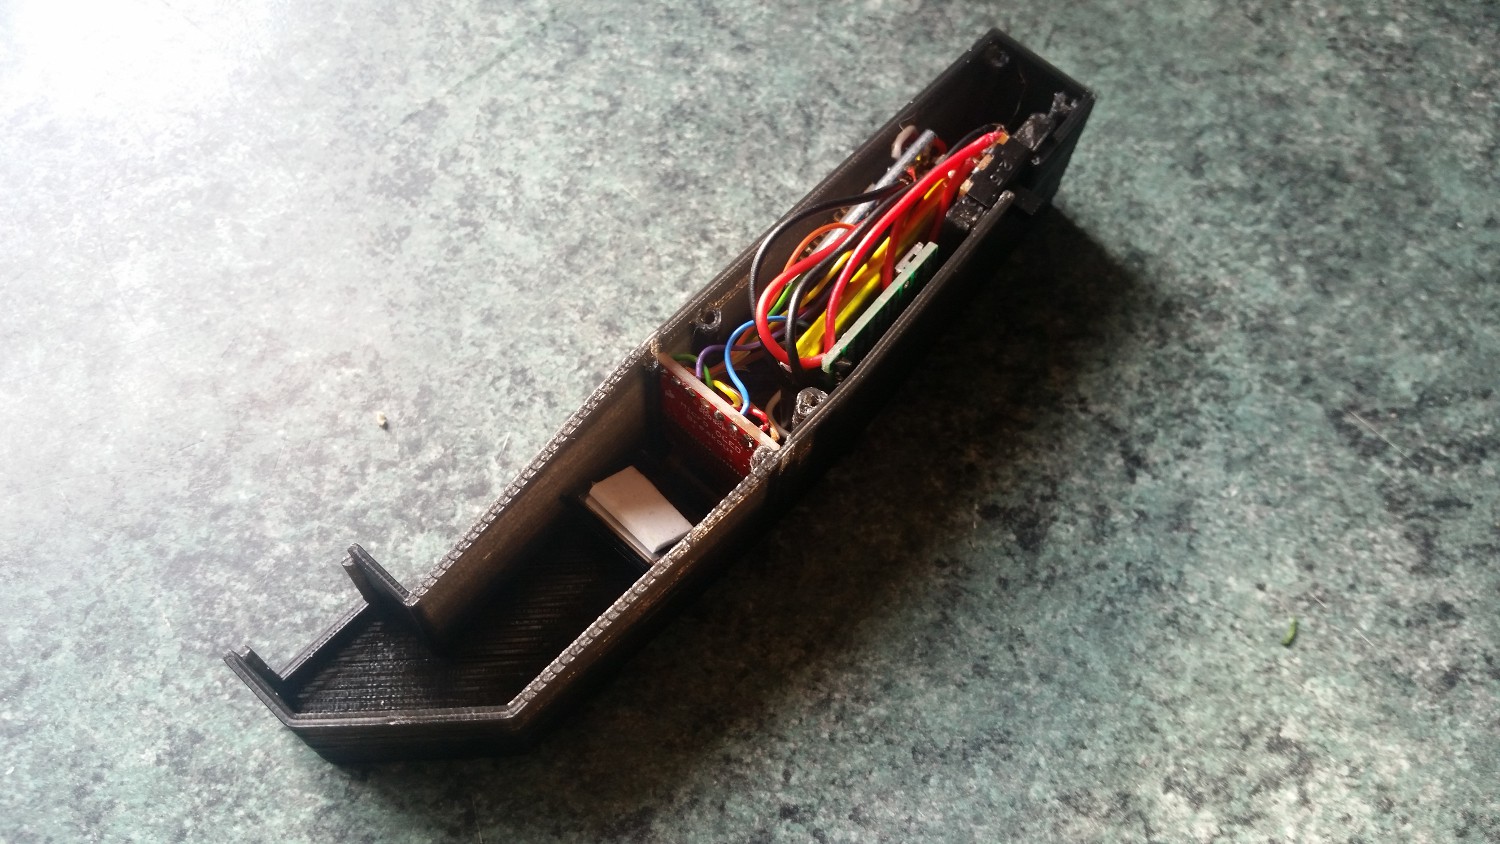
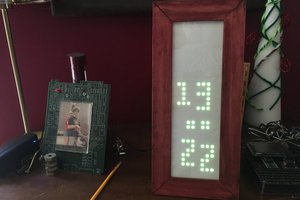
One of the Prototypes


 Jorj Bauer
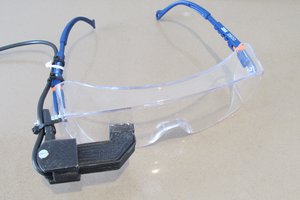
 Daniel
This is really cool. You should send this to the Hackaday Tip Line and the Hackaday Prize.