 Michel Kuenemann
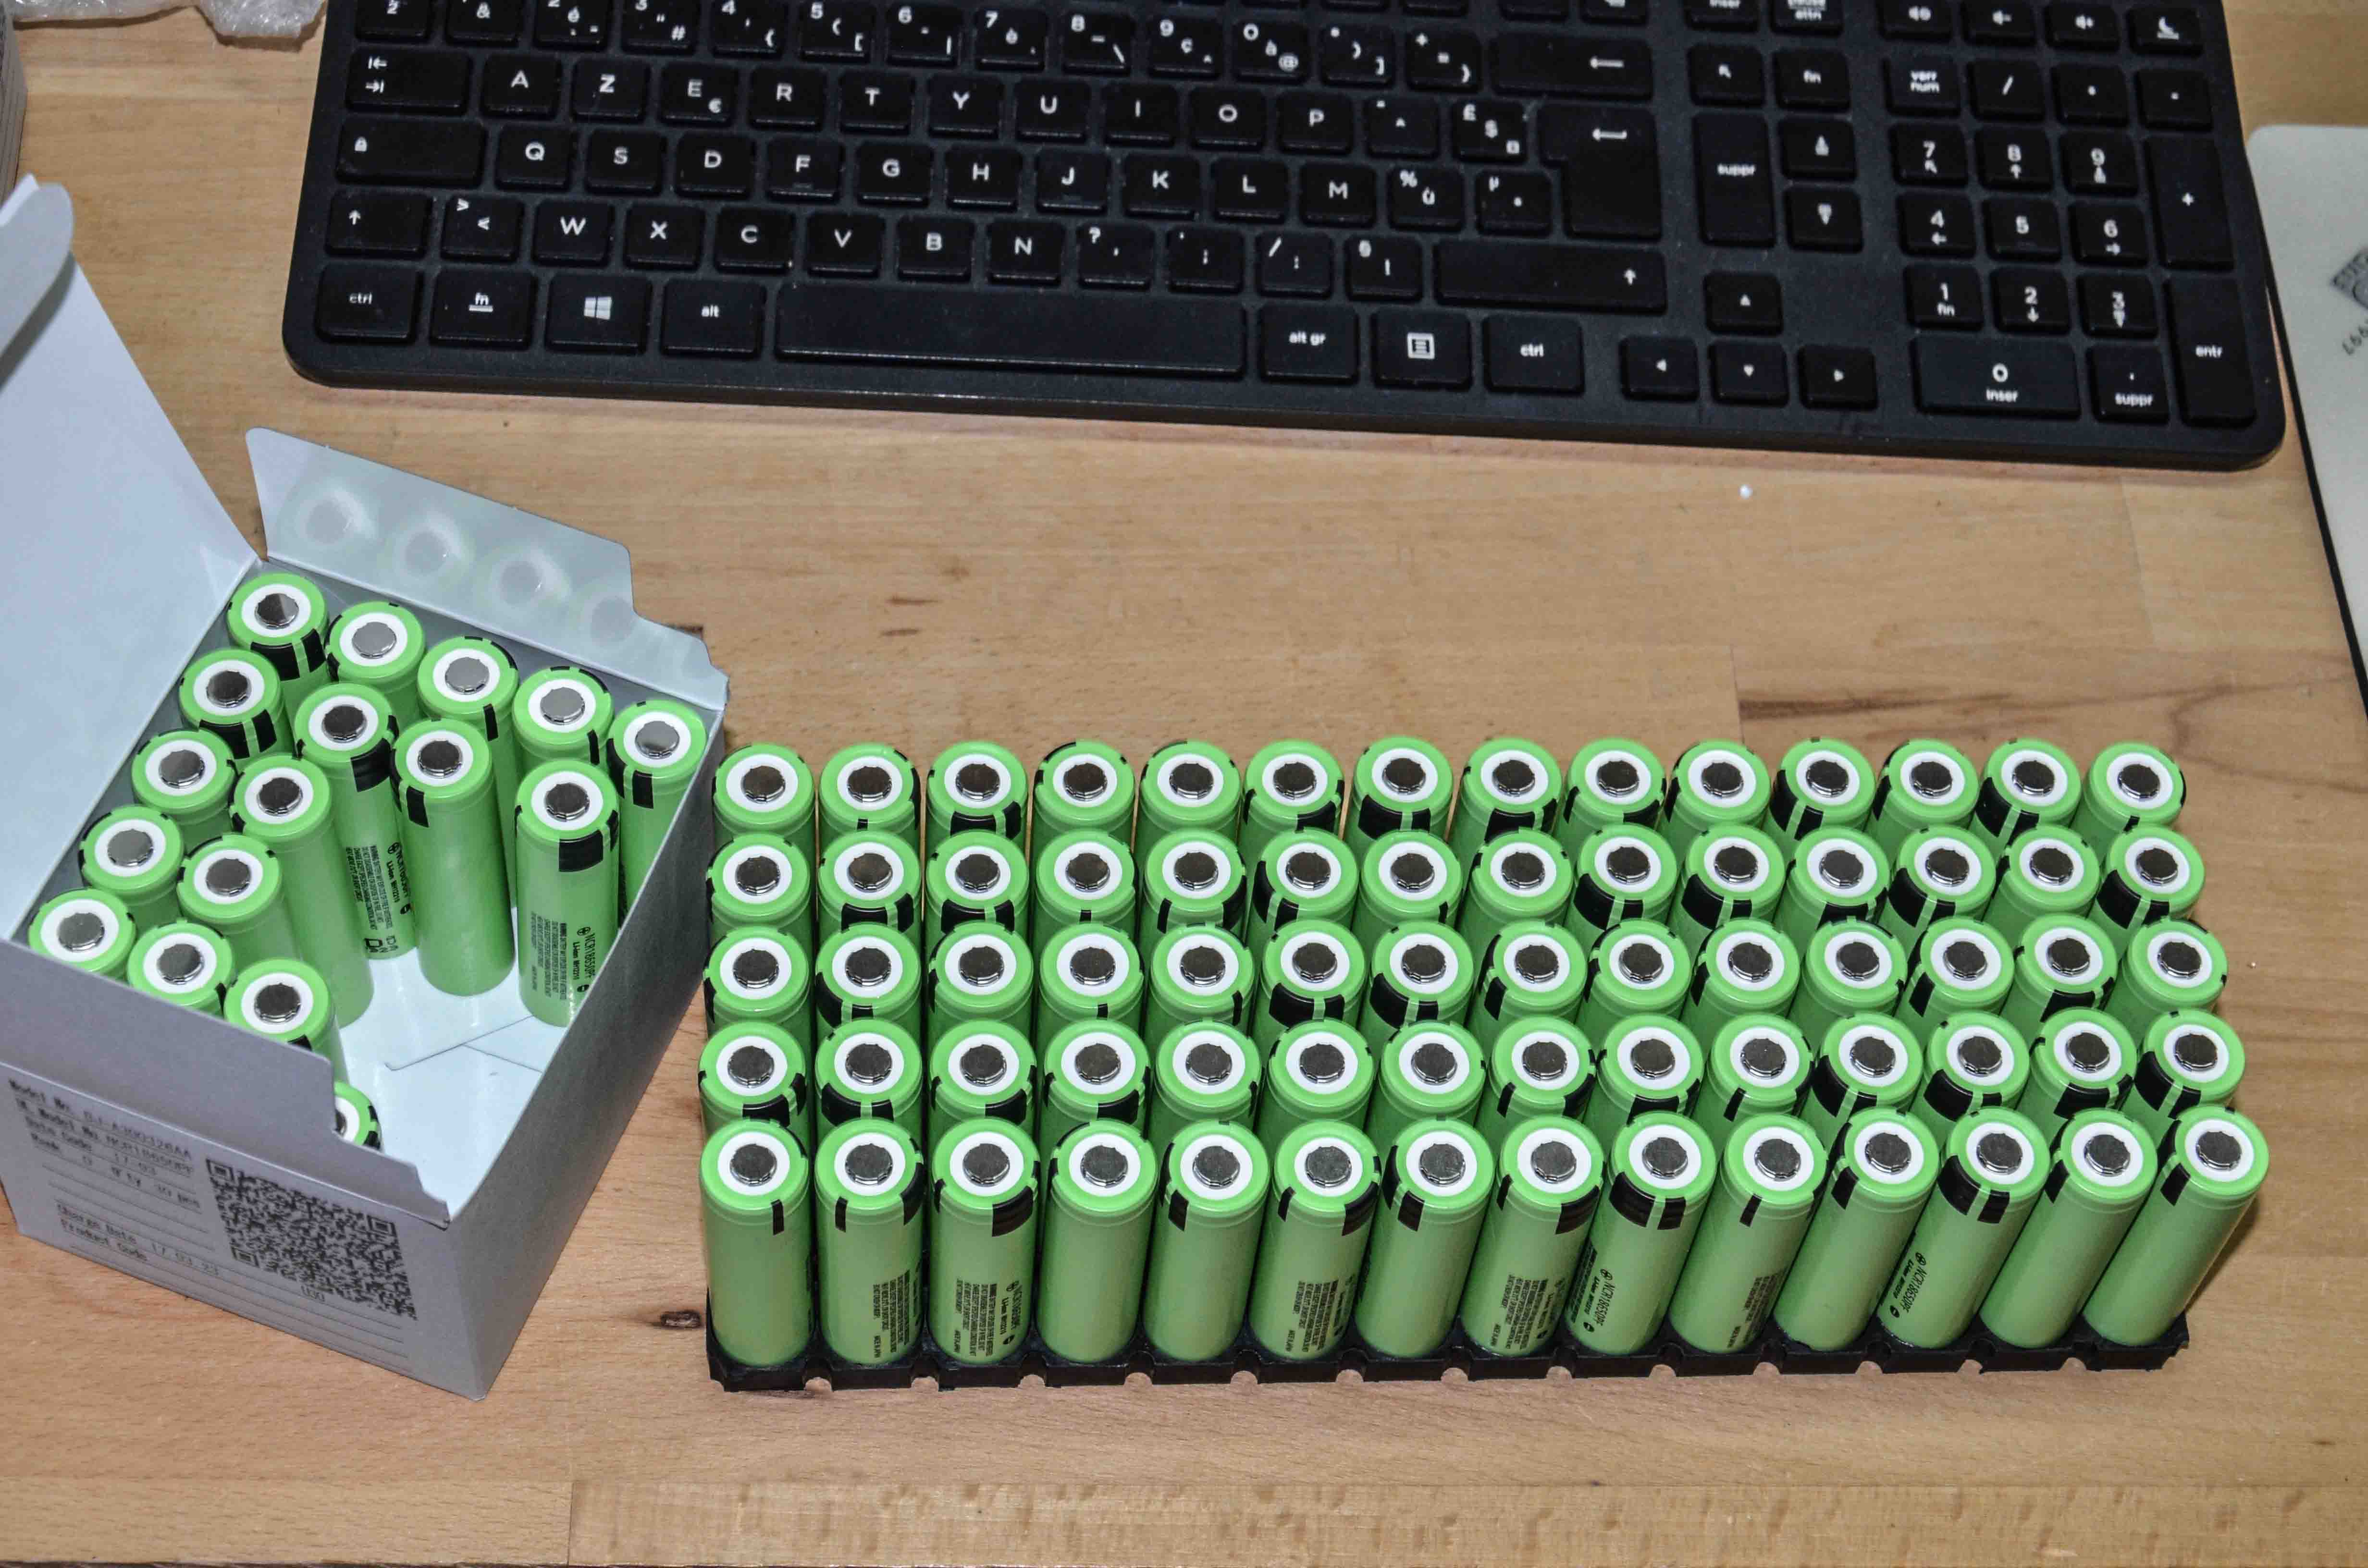
I have purchased 1050 new PANASONIC NCR18650PF cells in order to add a second string to my PowerBucket.
PANASONIC NCR18650PF cells are very good and cost efficient 2900 mAh cells. They are a great choice for my application.
The cells were bought at NKON and were delivered them within a few days. Thanks you Arjan and congratulations !
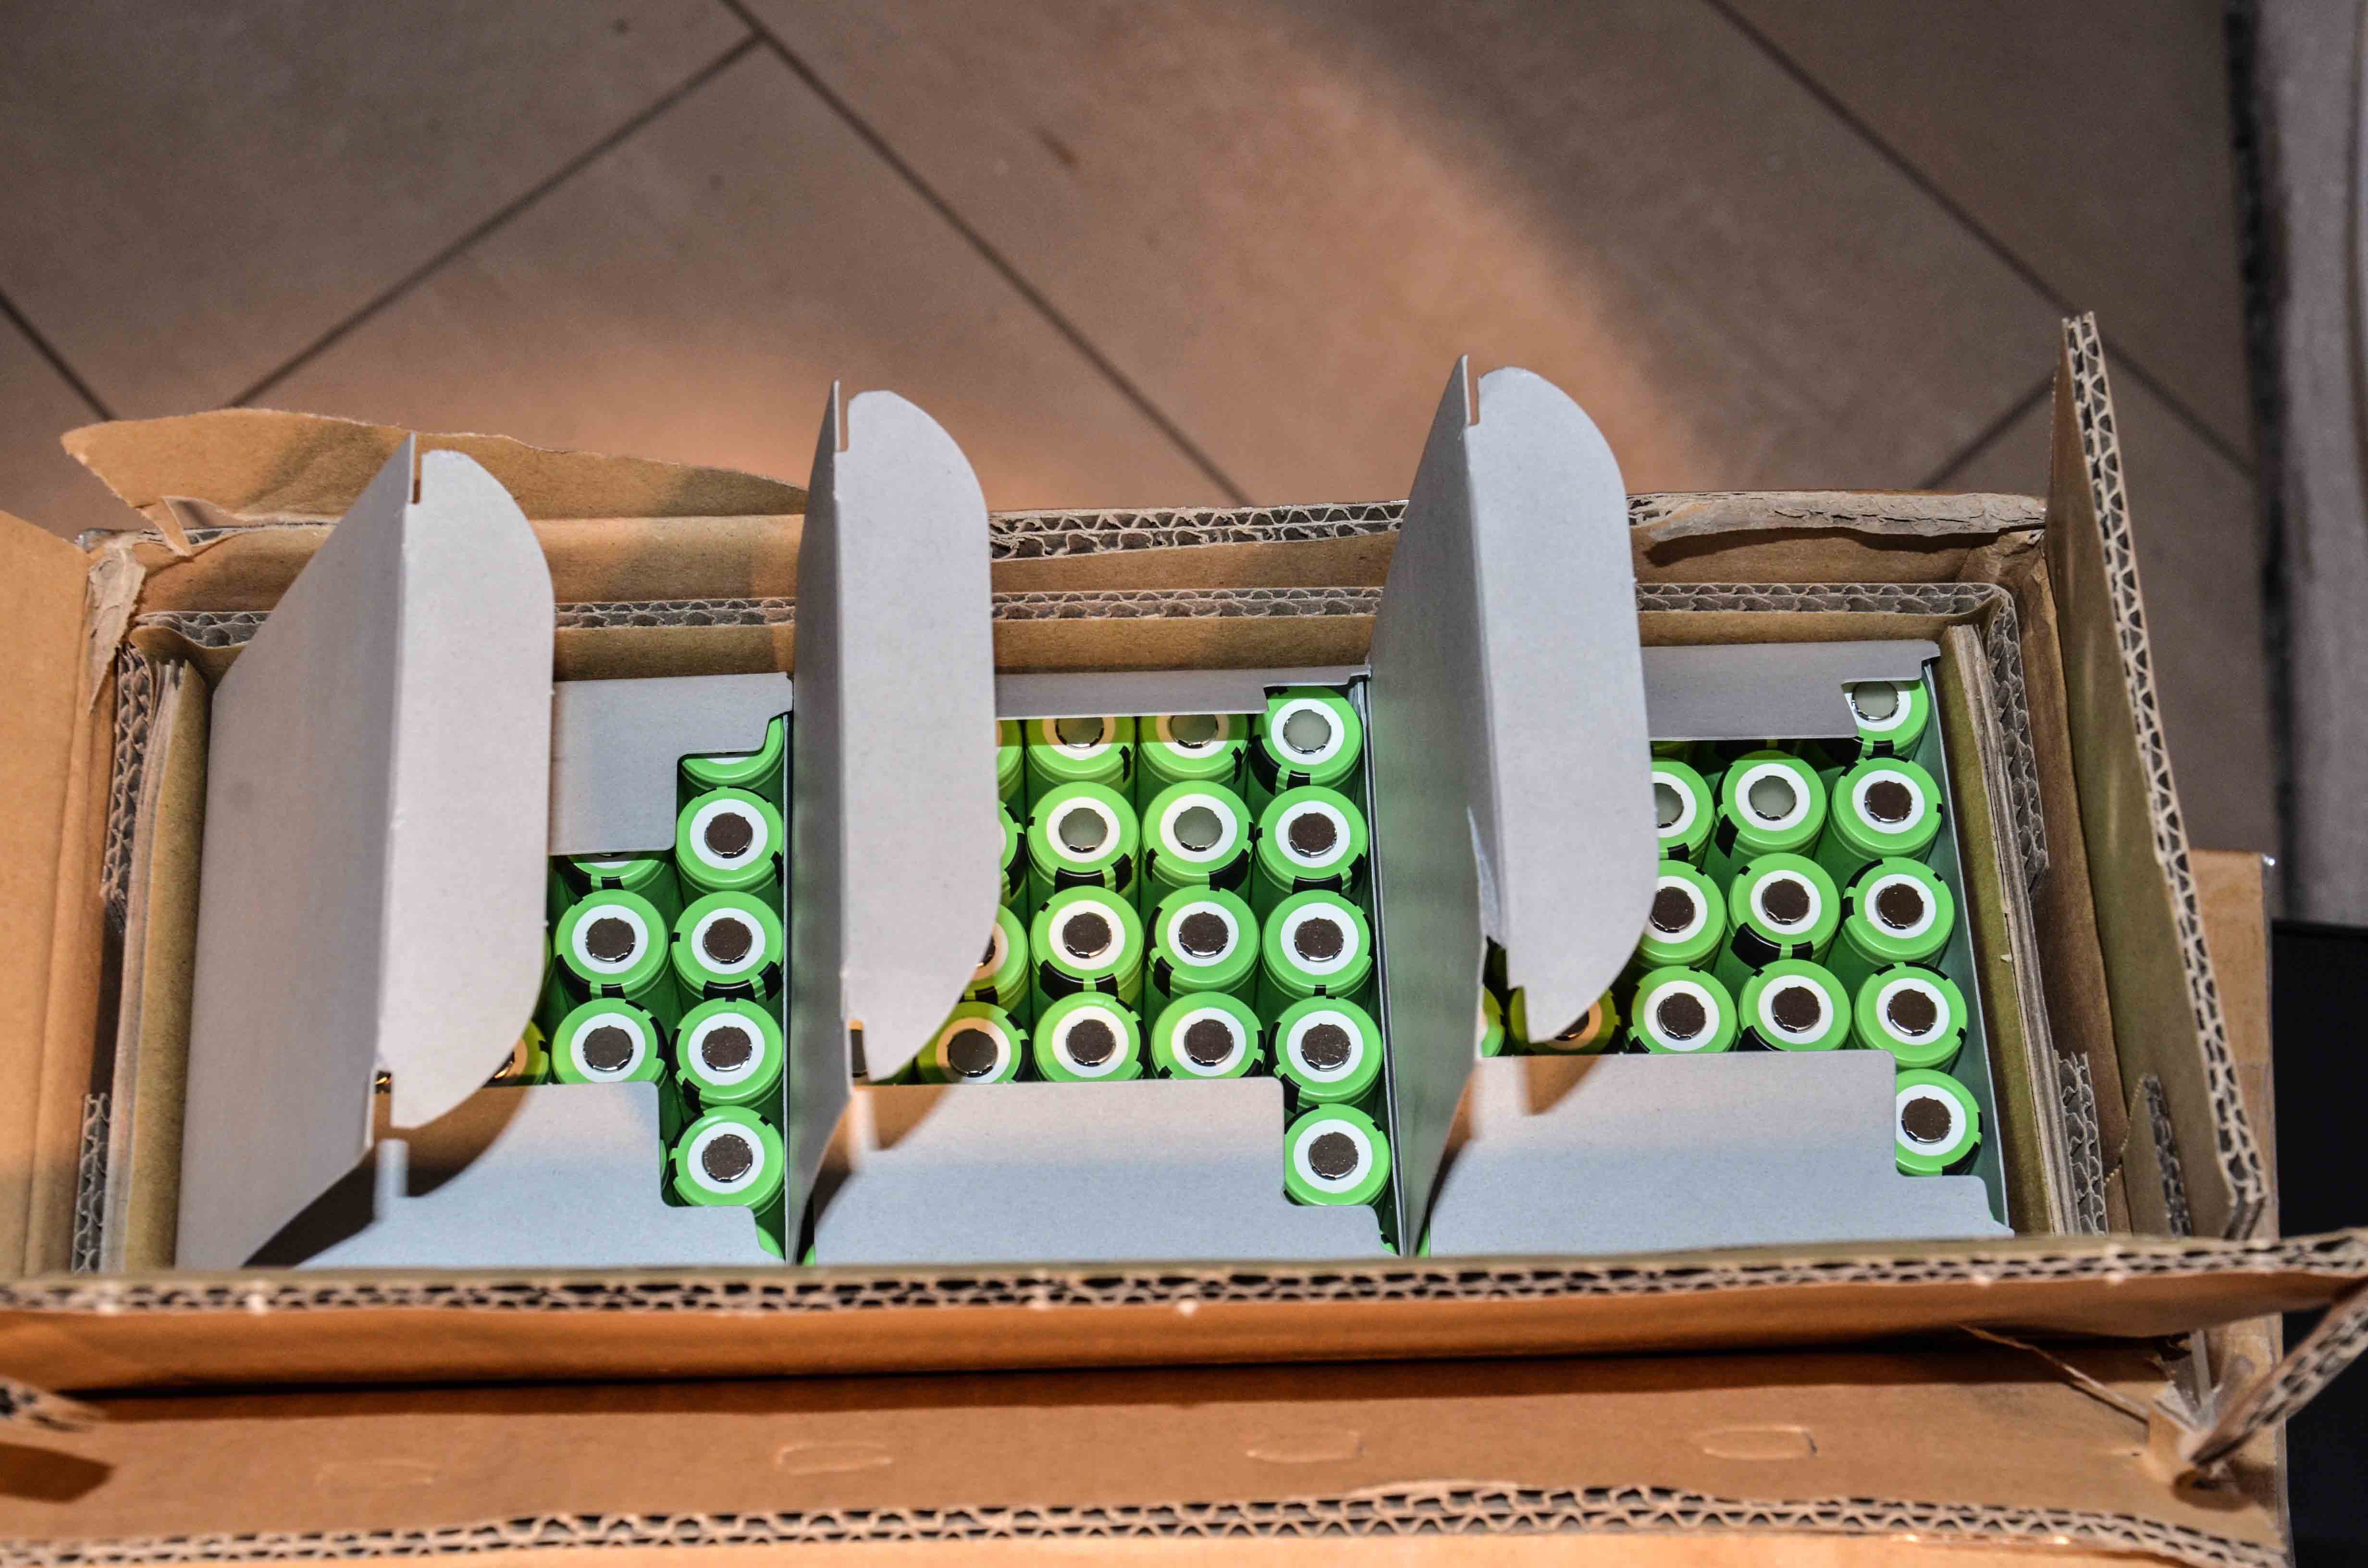
2 Parcels delivered in perfect shape on Thursday, 24th August 2017. Each package weighs about 25 Kg.

Brand new premium quality cells perfectly packed and protected
In order to build the 15 modules containing 70 cells each, I had to prepare the following stuff:
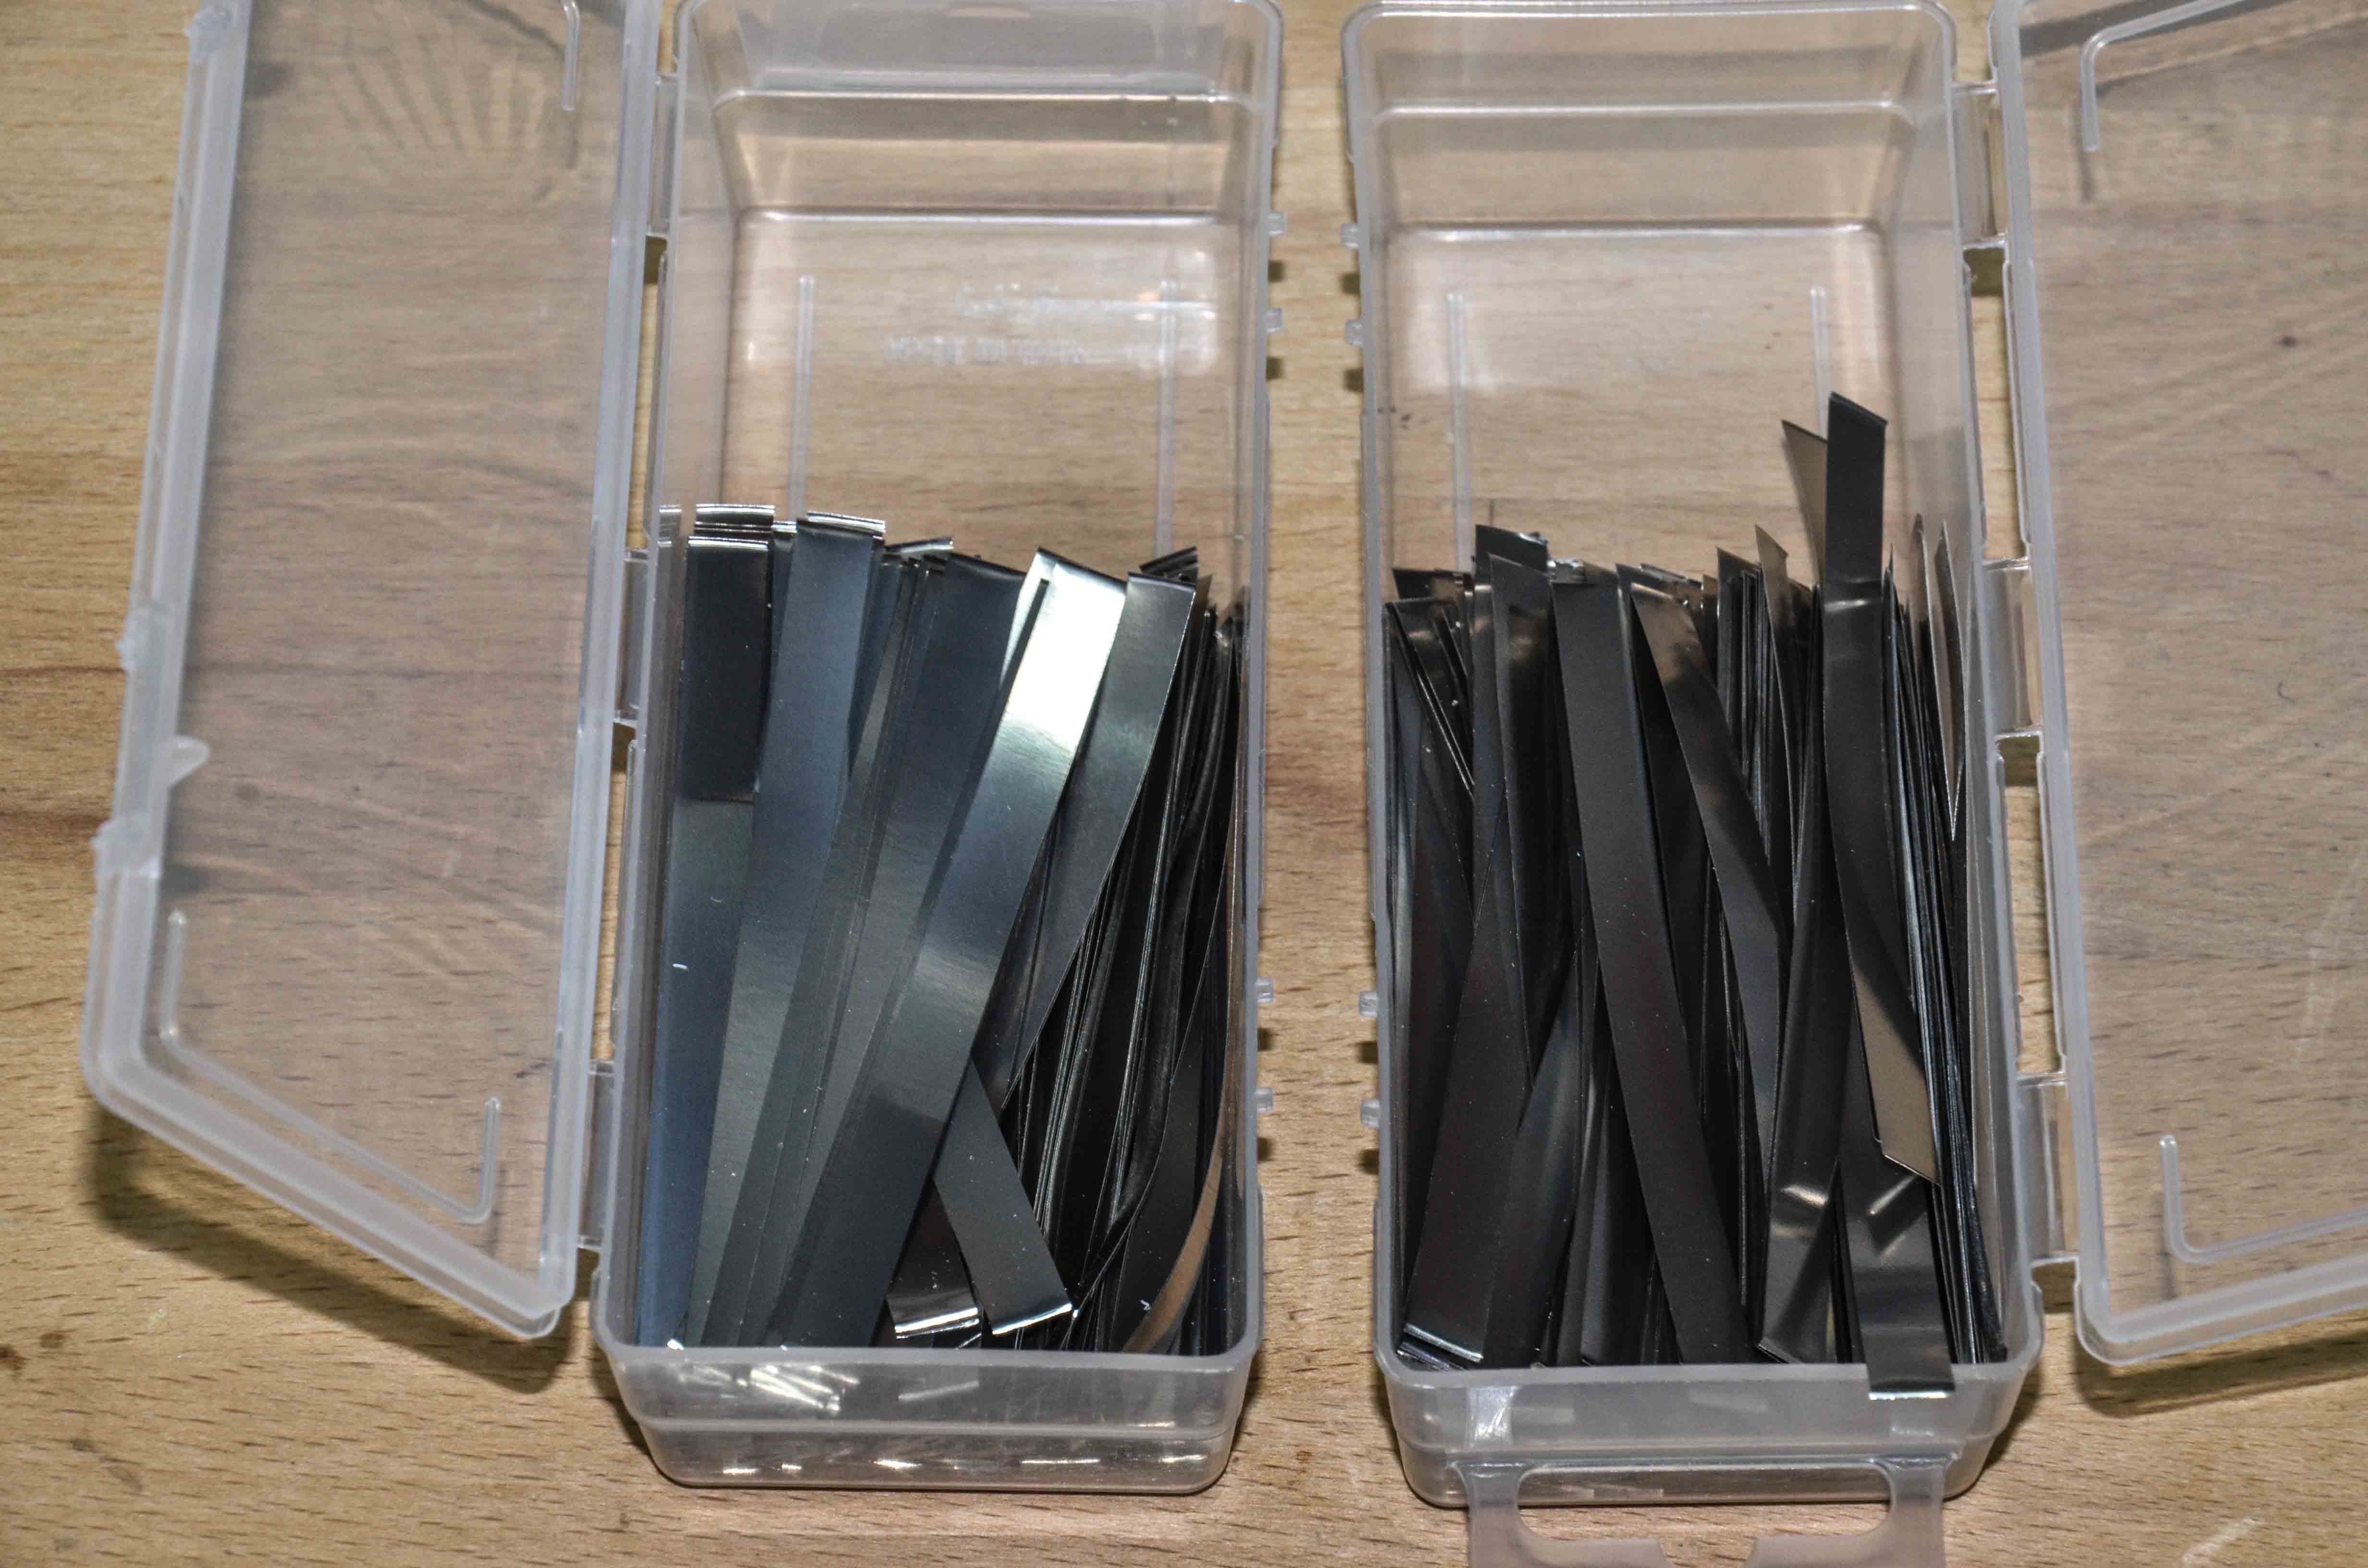
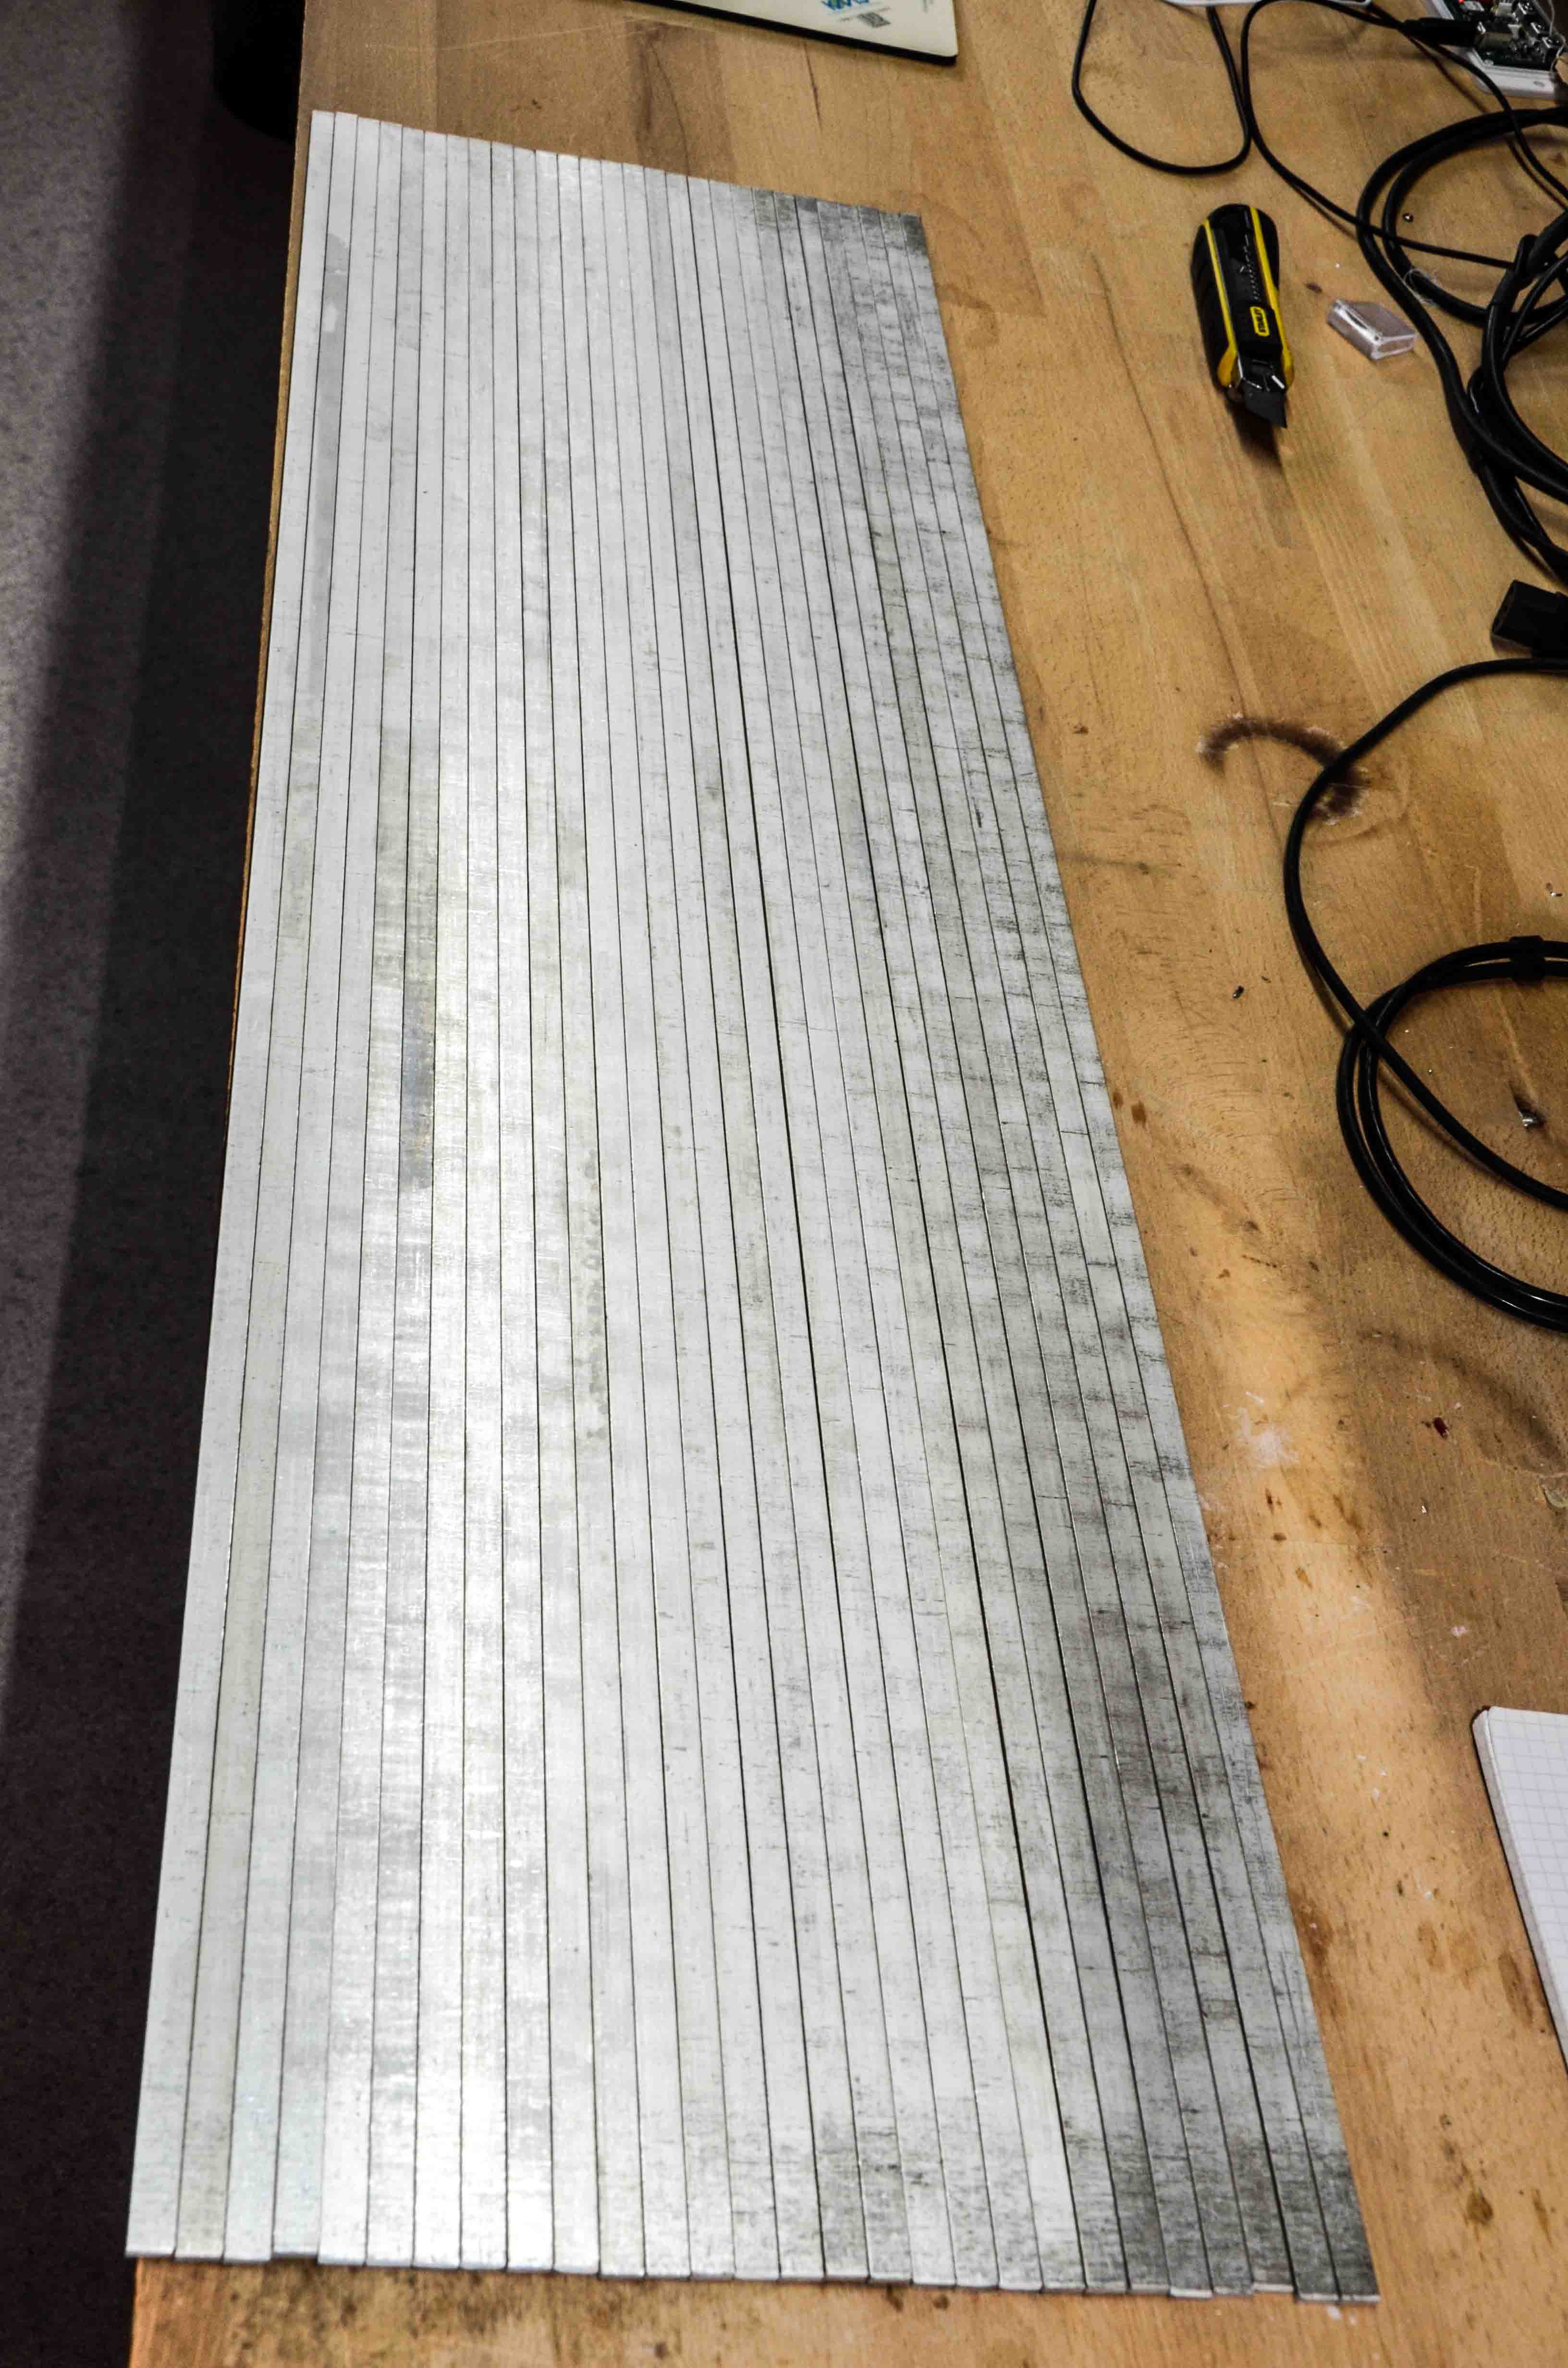
- 450 pieces of Nickel Strips - 84 mm length each - Total: 38 m of strip
- 60 copper bus bars - 31 cm each - Total: 20 m of bus bar
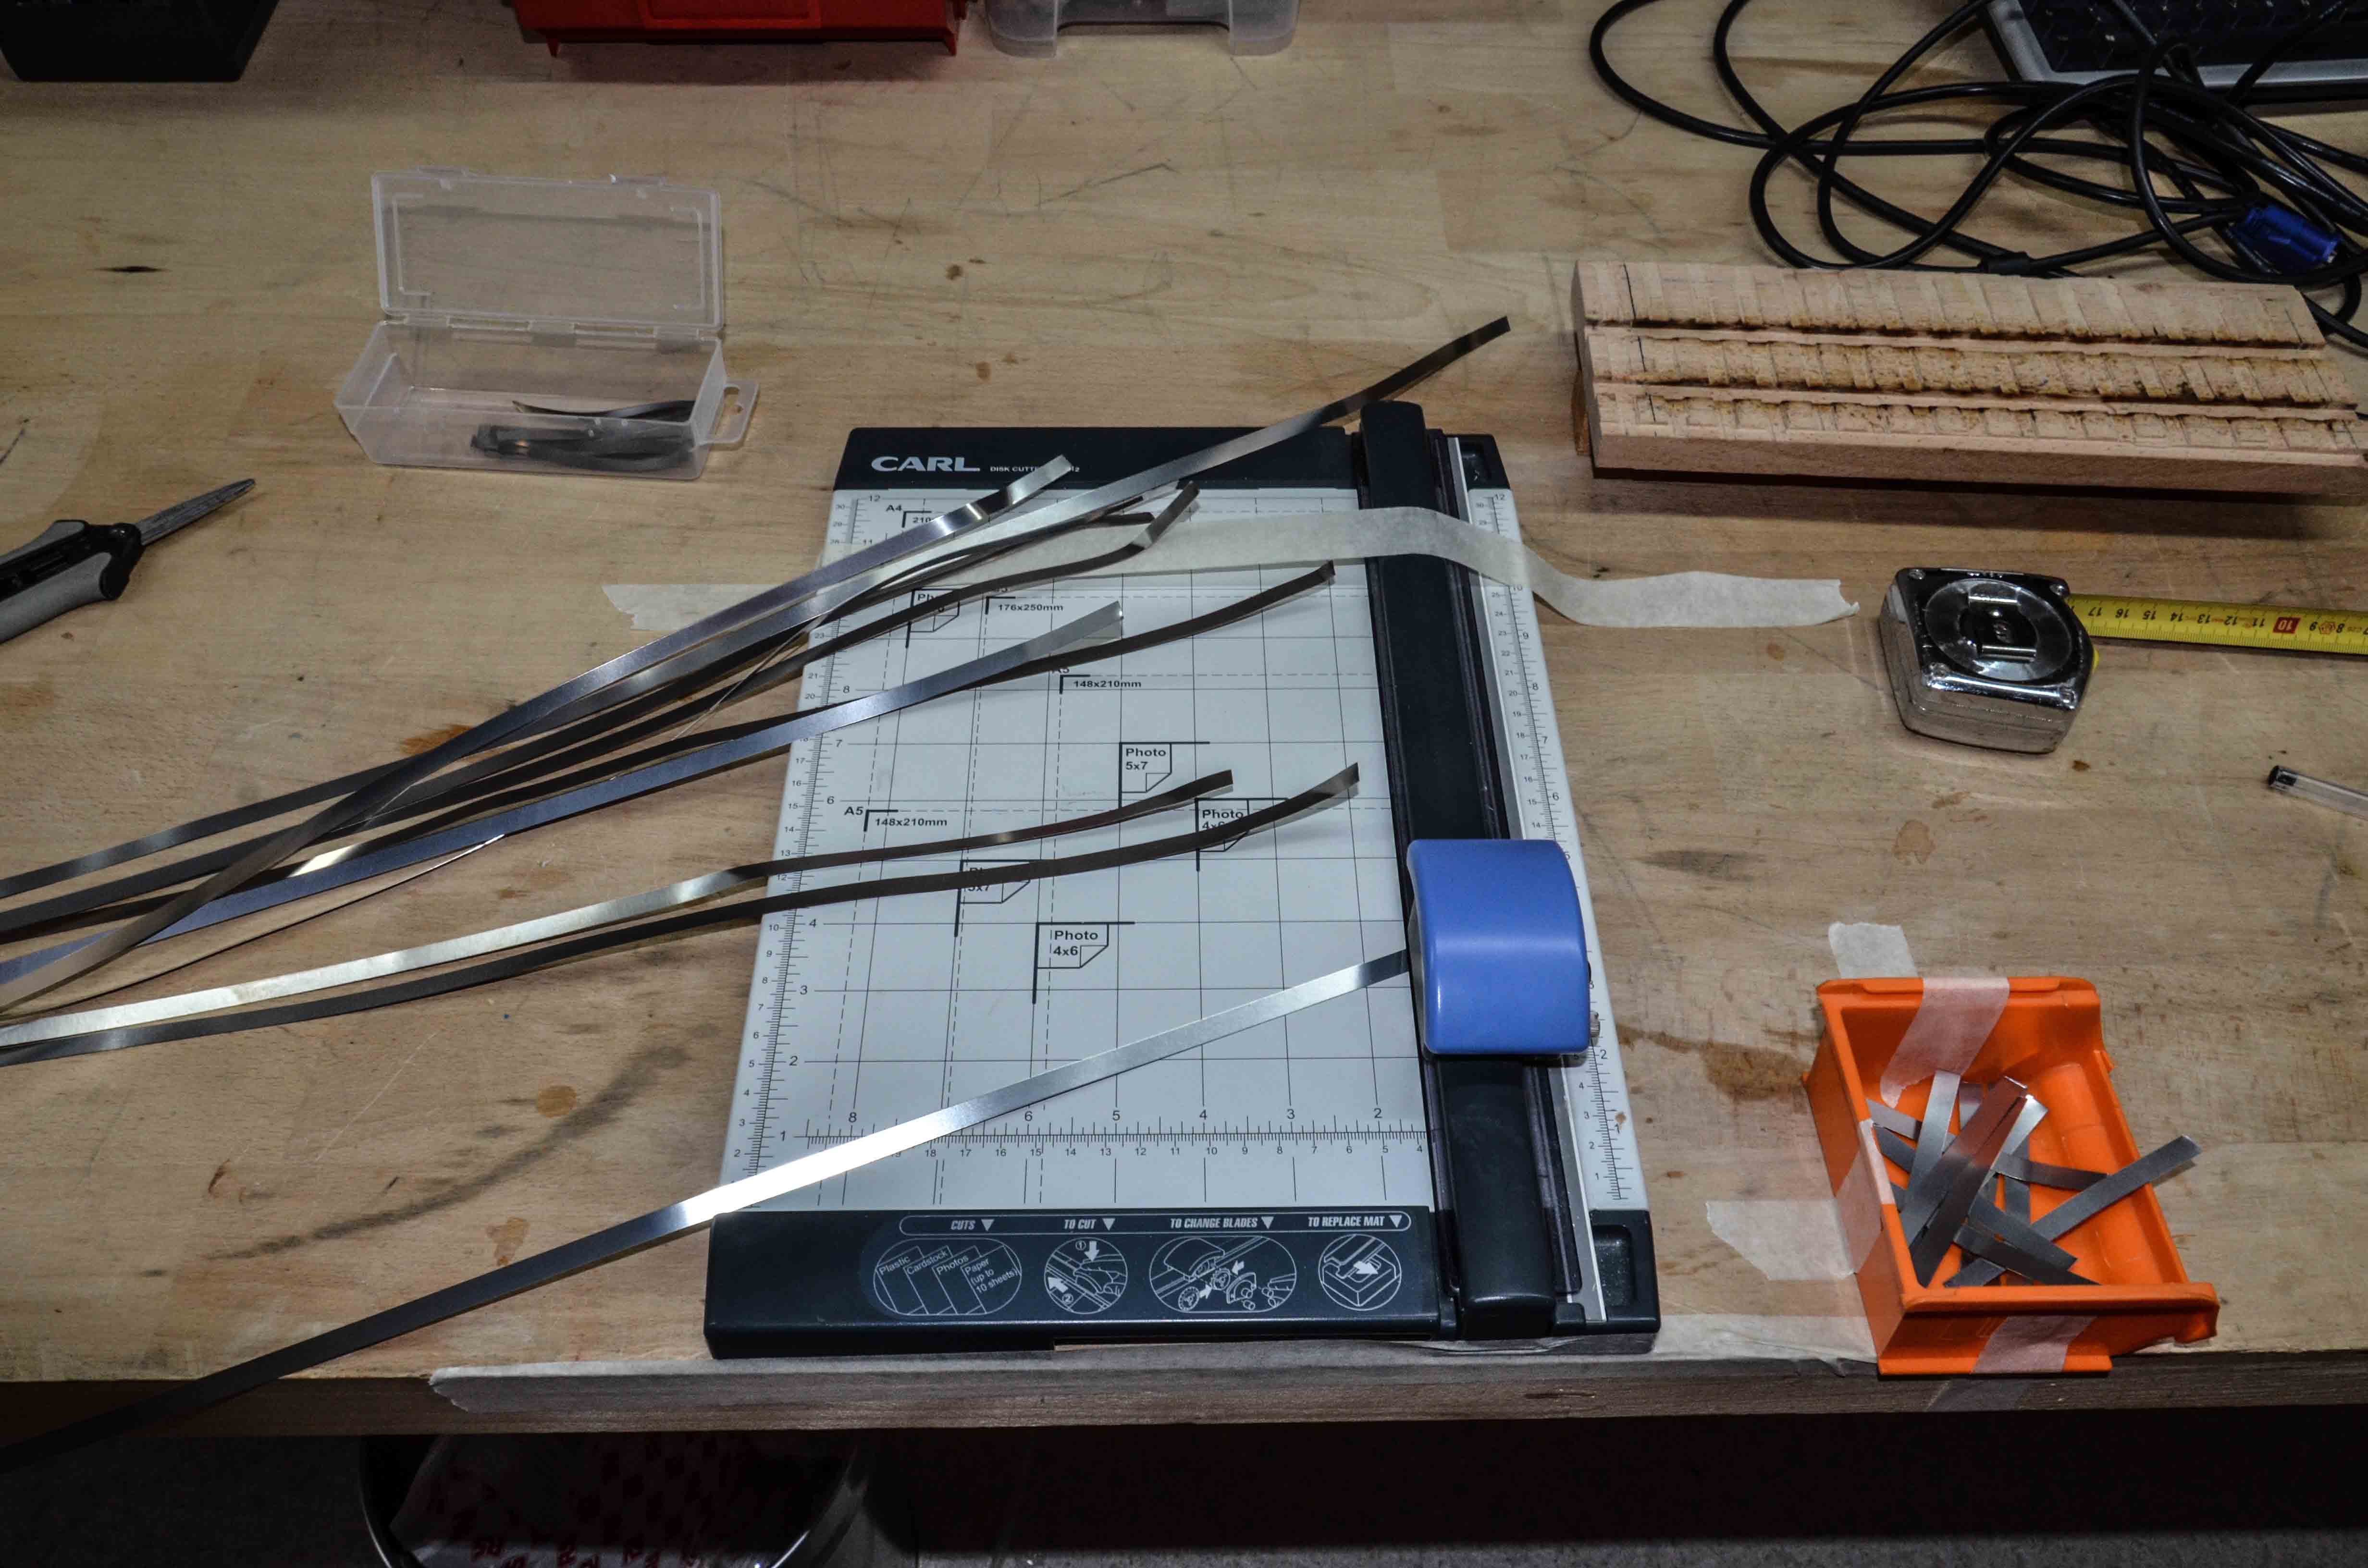
Cutting the nickel strips with a disk cutter - The strip is wery thin and does not damage the cutter. Easy but boring work :-)
Strips ready for use
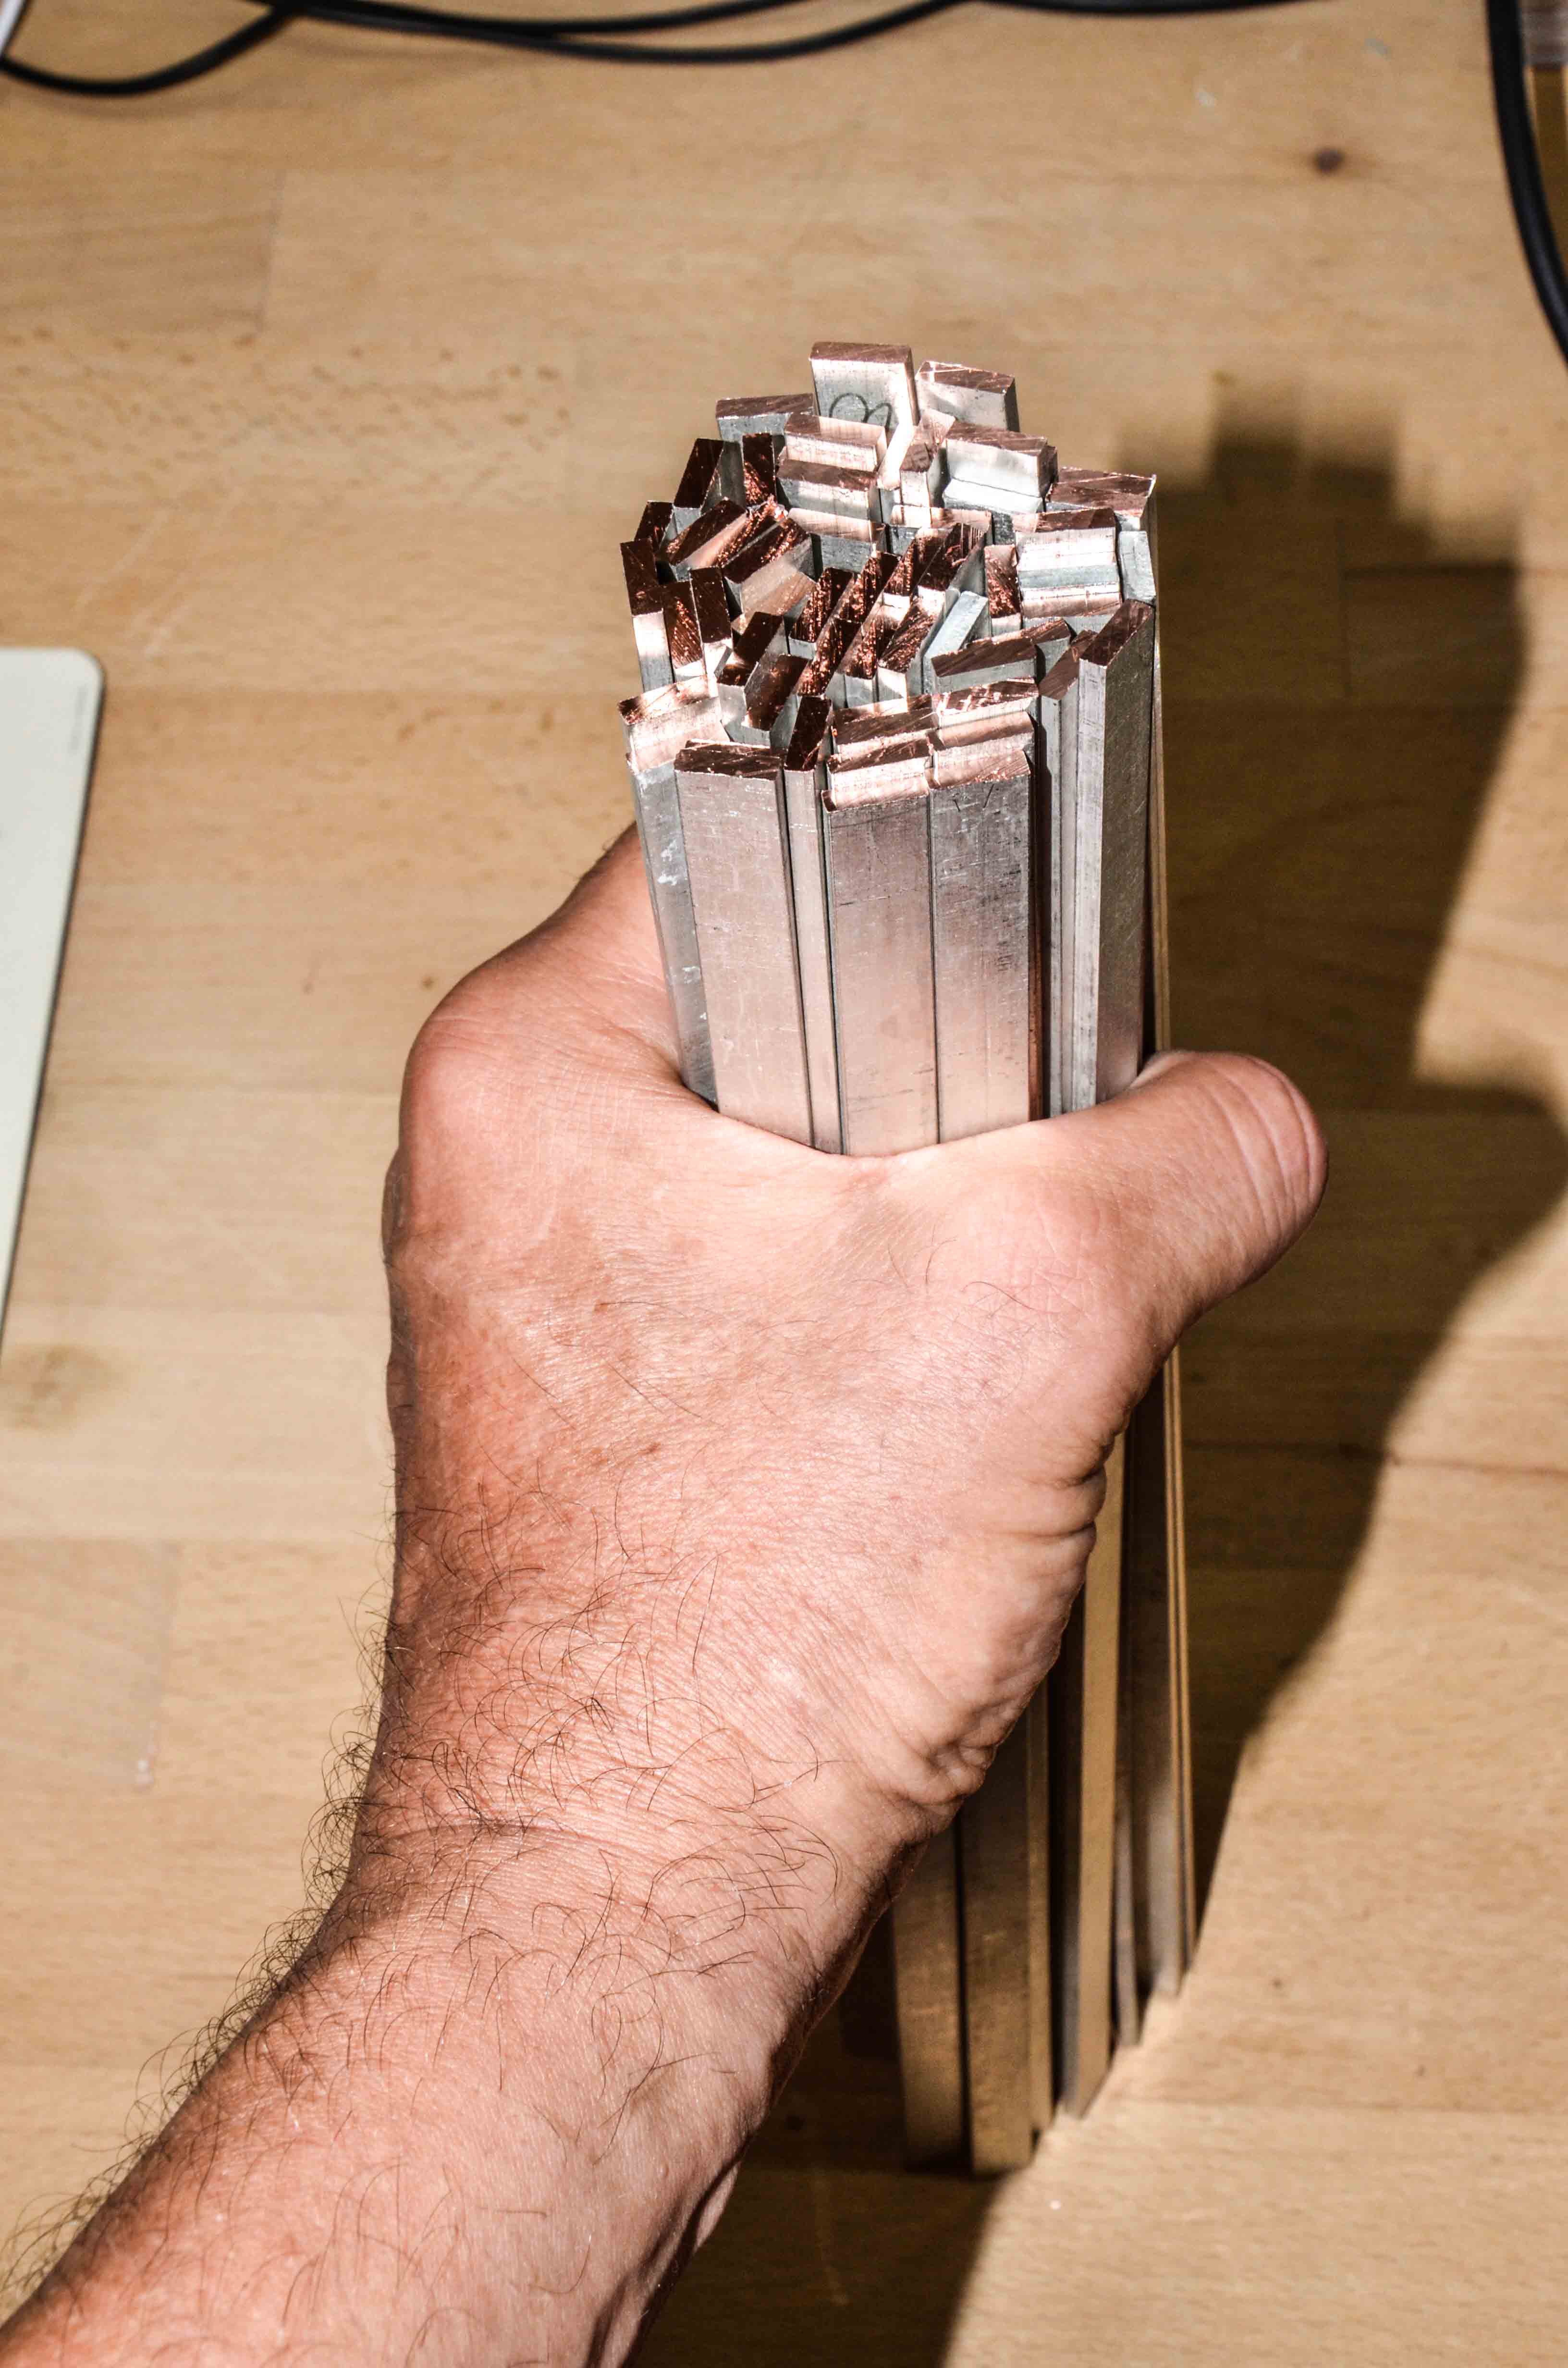
Bus bars before cutting - Theses are high end 10 X 3 mm tinned copper busbars
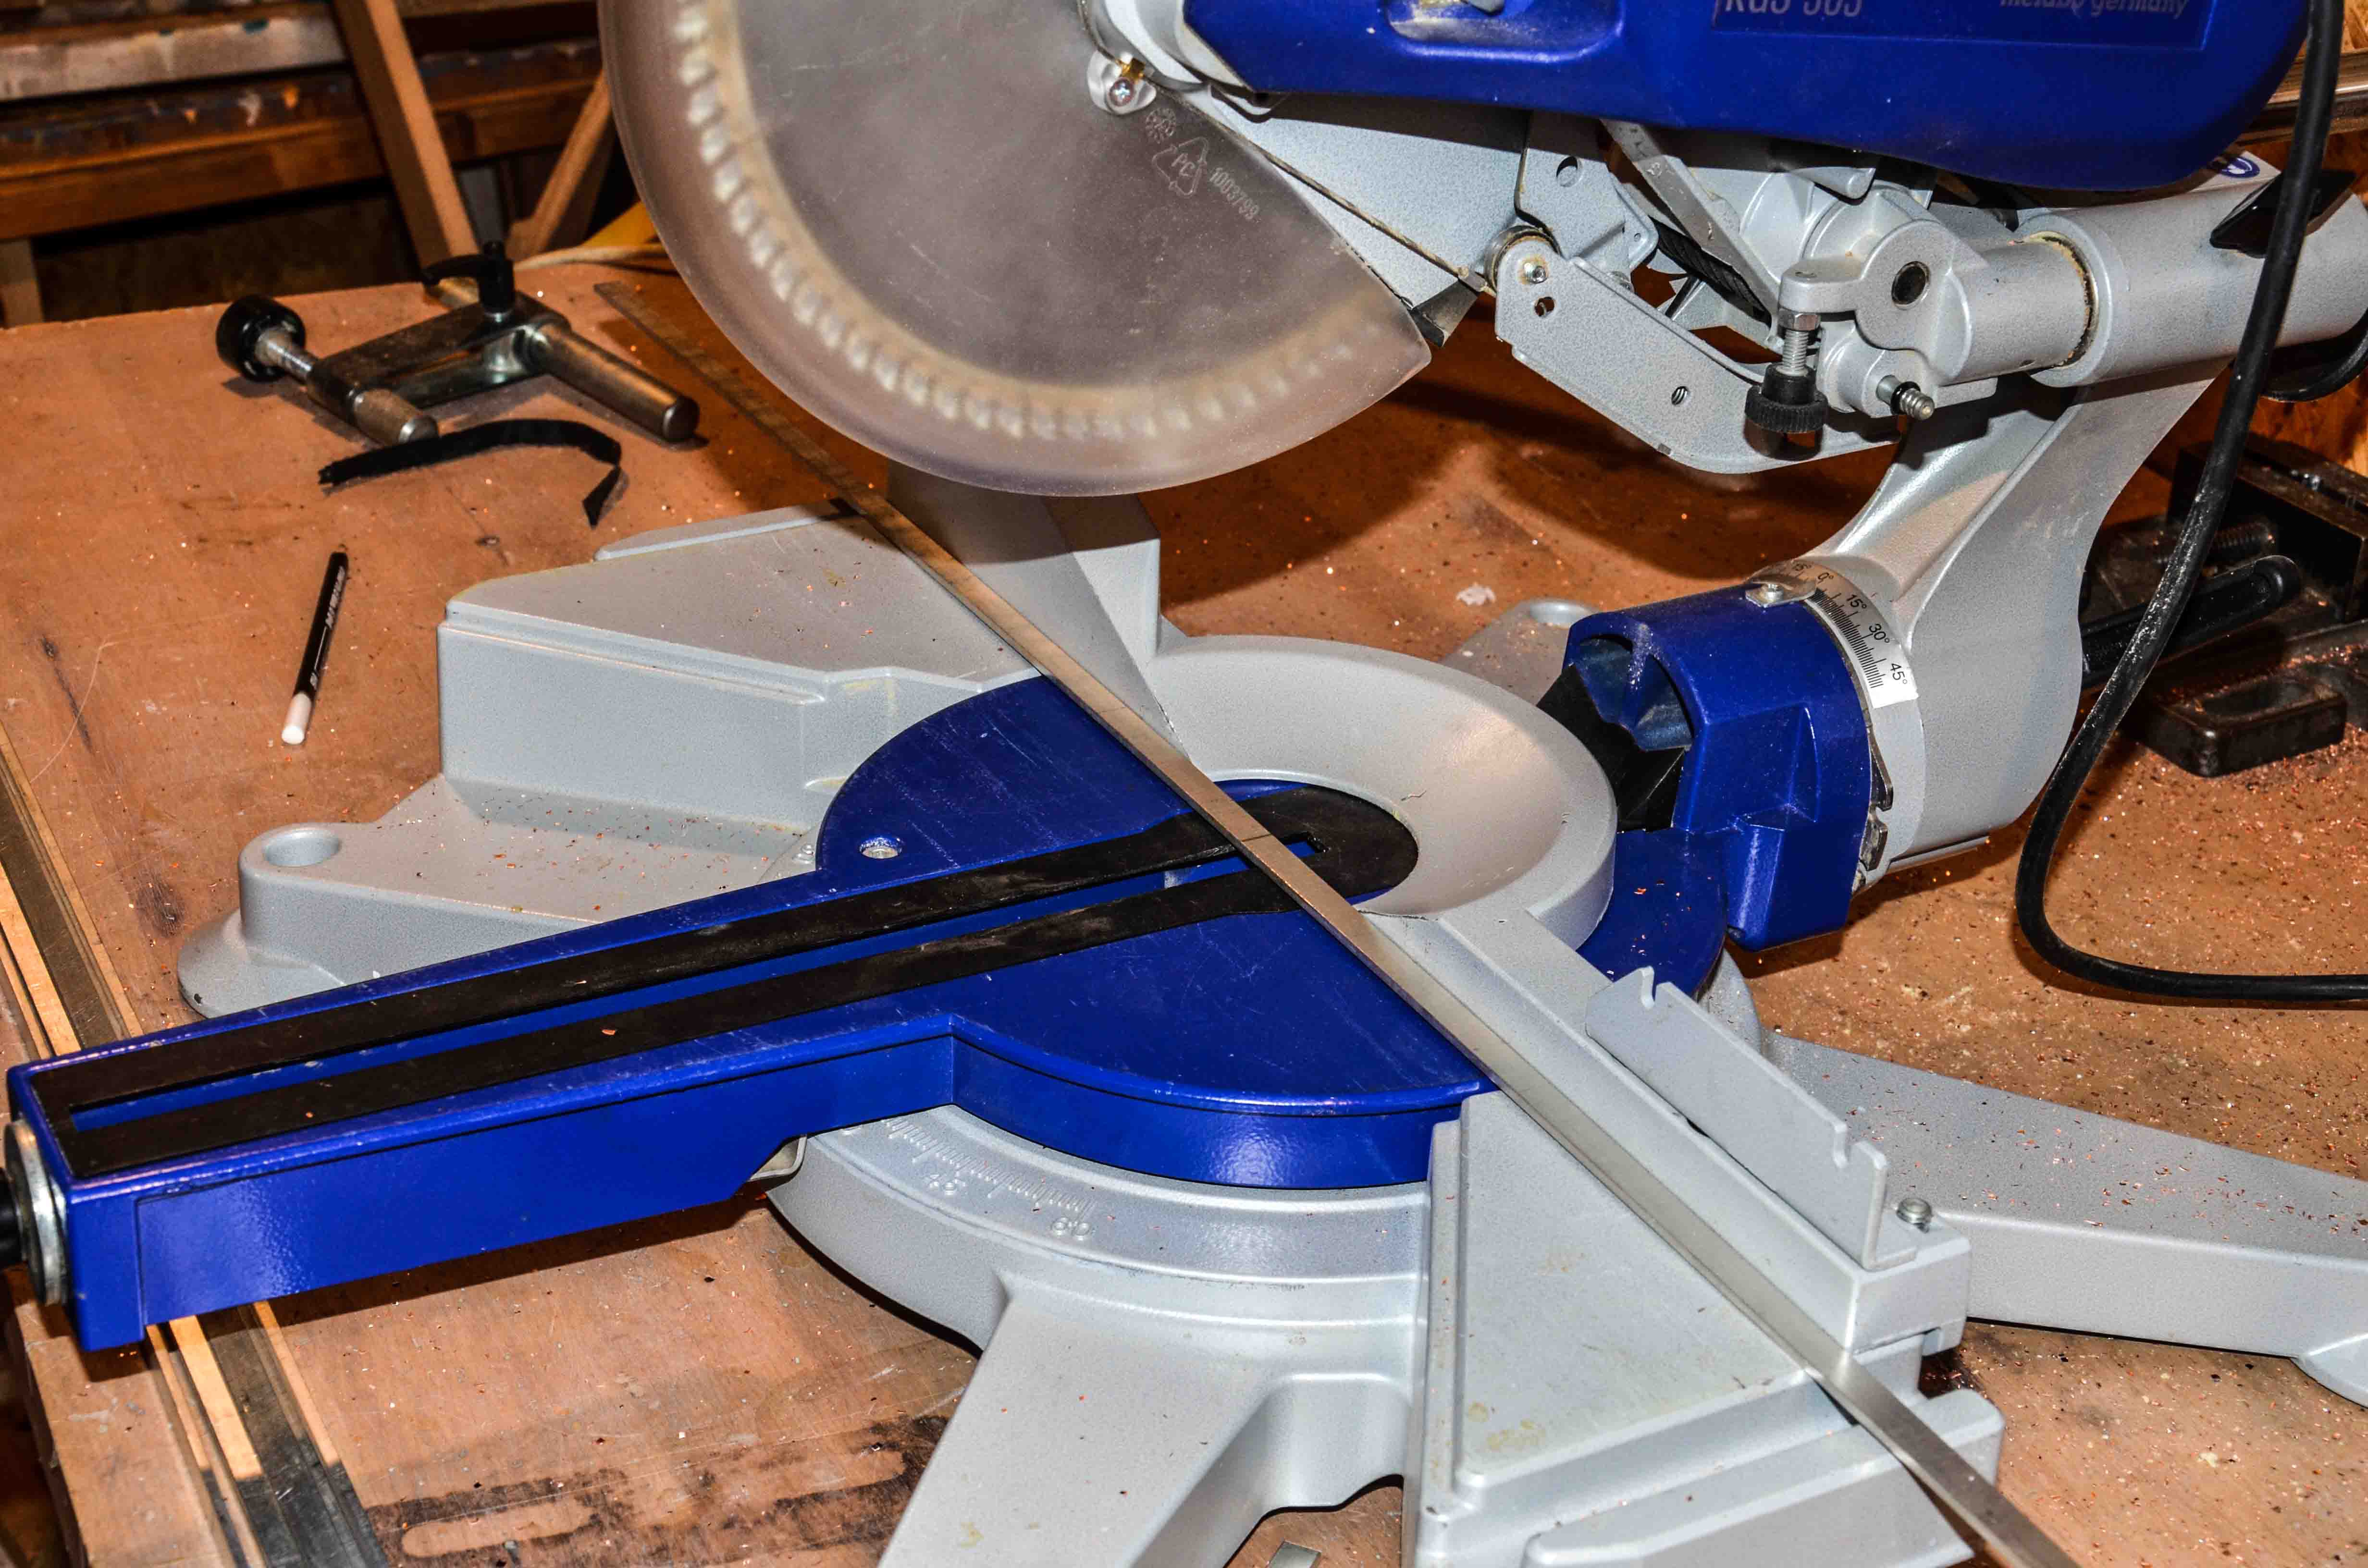
Cutting the bars with my radial saw
Bunch of 31 cm long bus bars ready for use
Assembly Step 1: instert 2 BB's in the jig
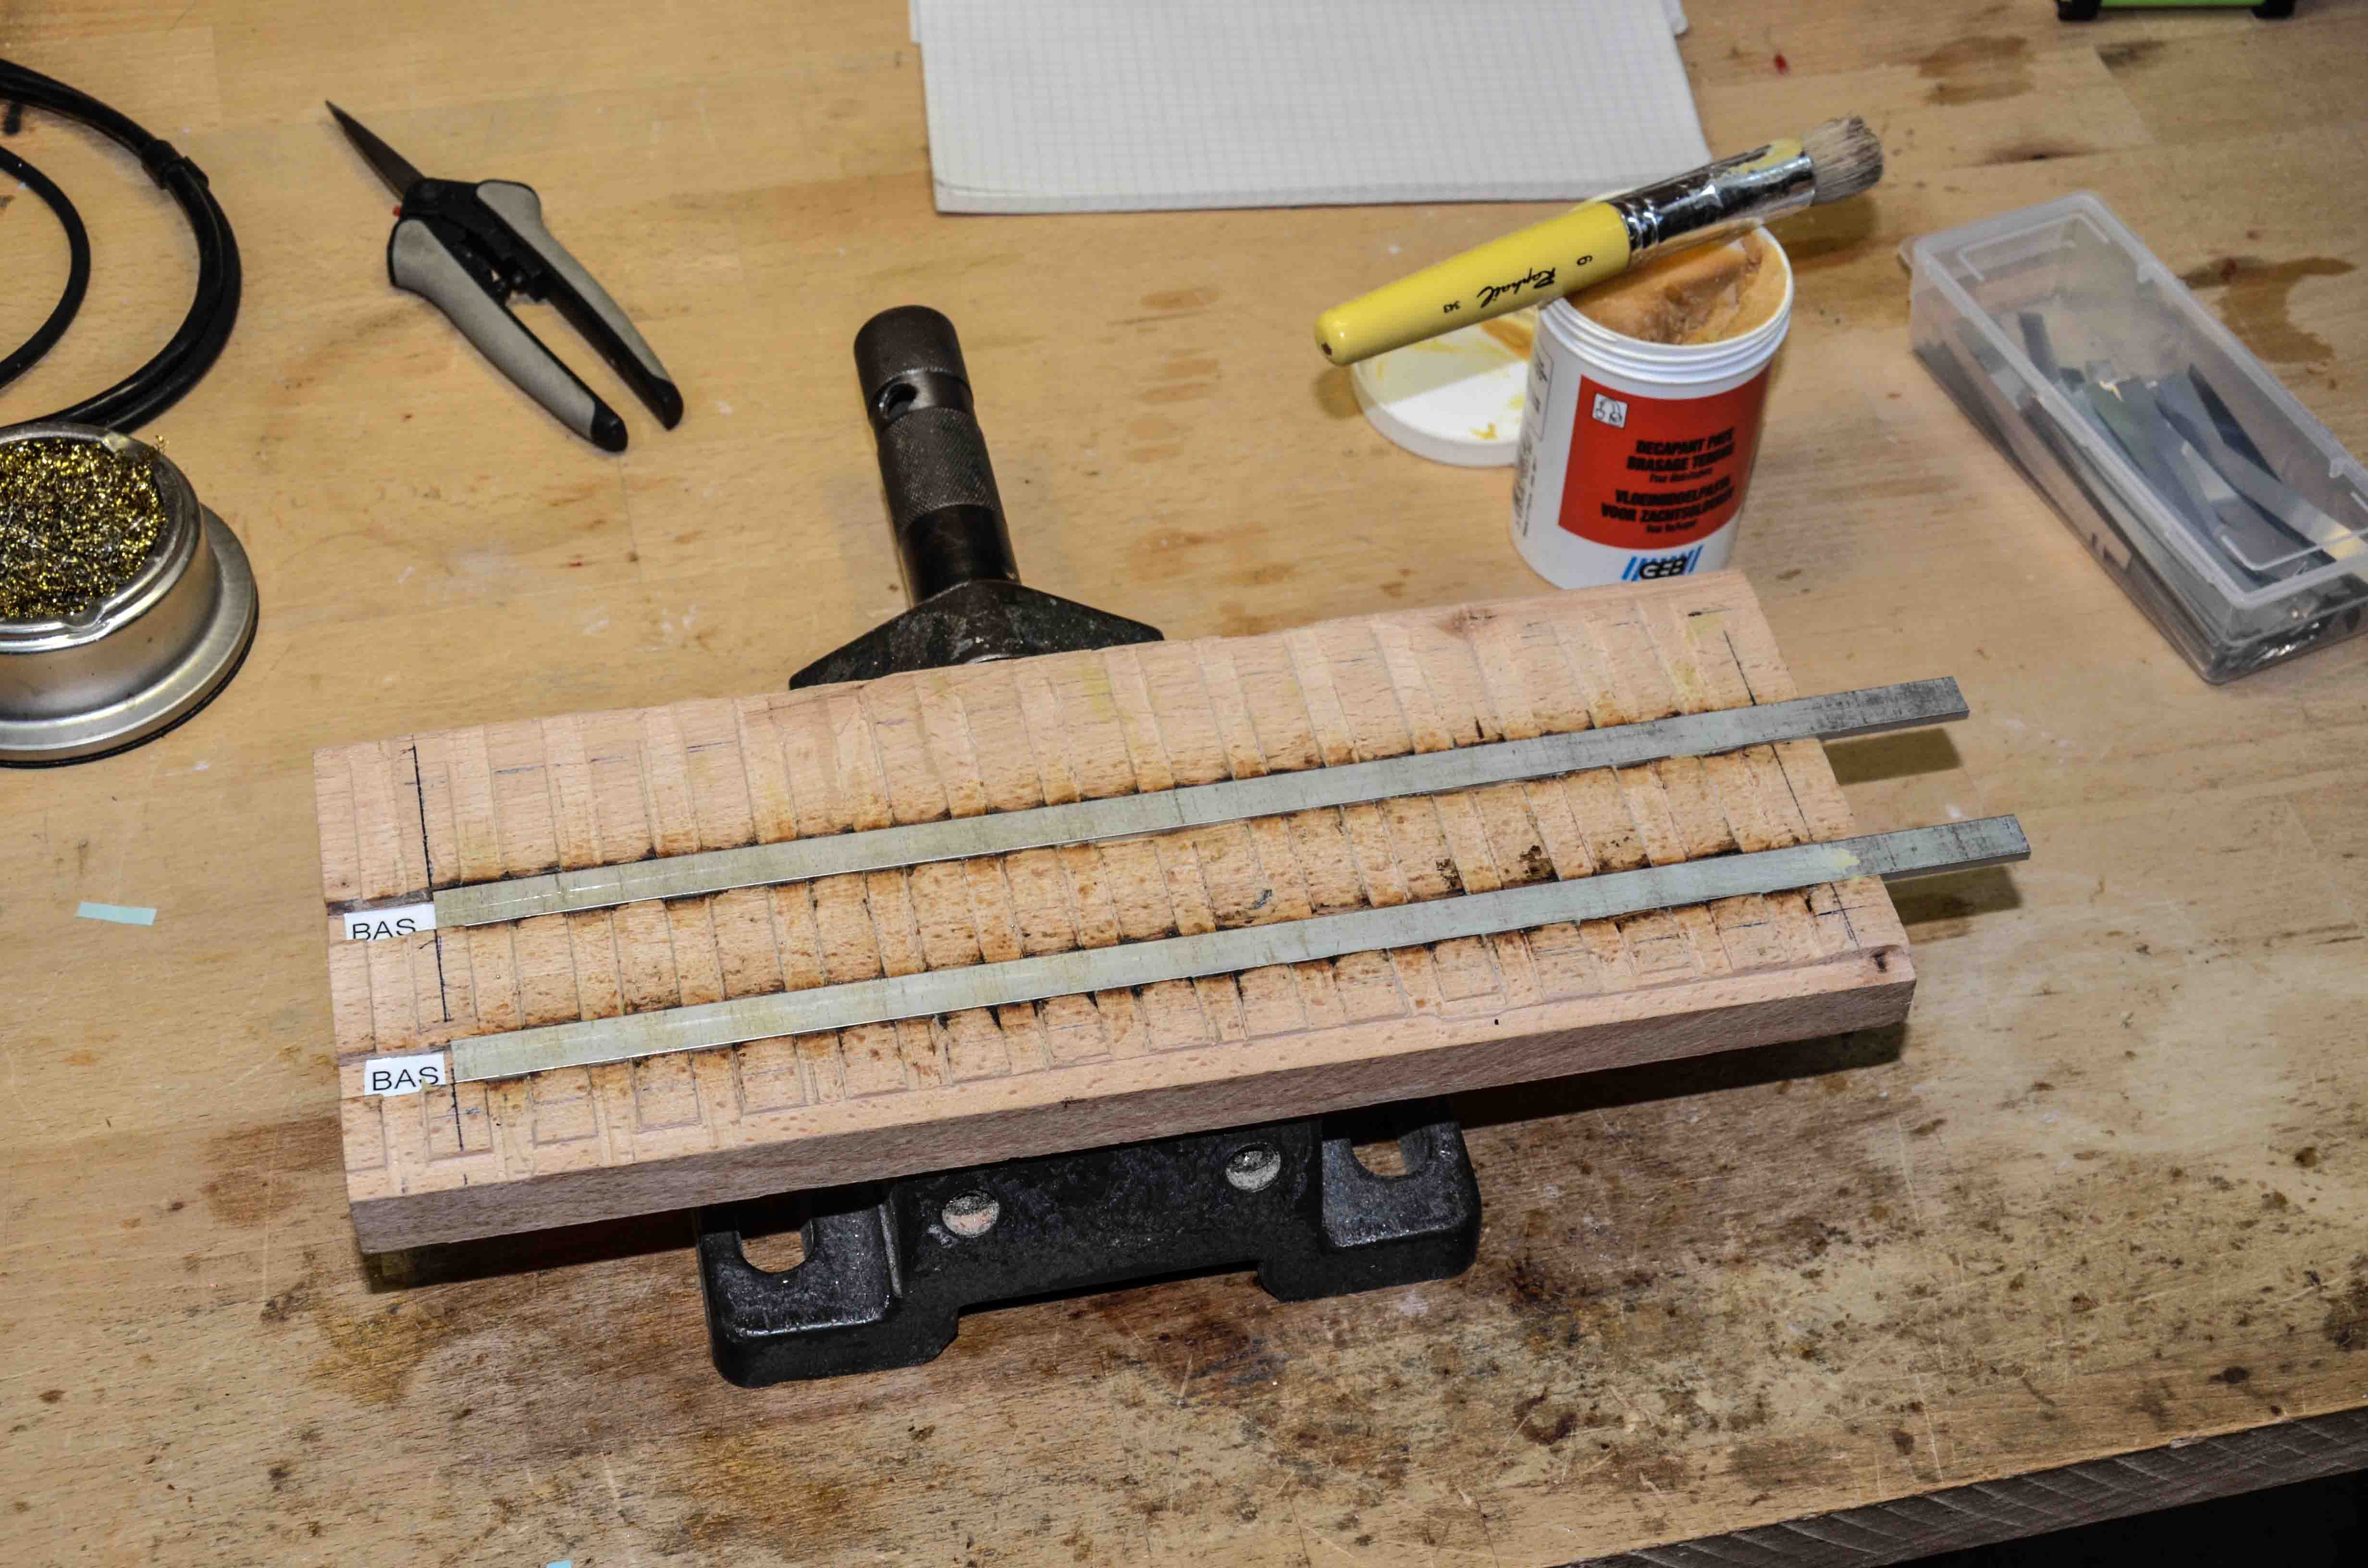
Assembly Step 2: Adding some extra tin on the bars. I use flux to improve the solderability
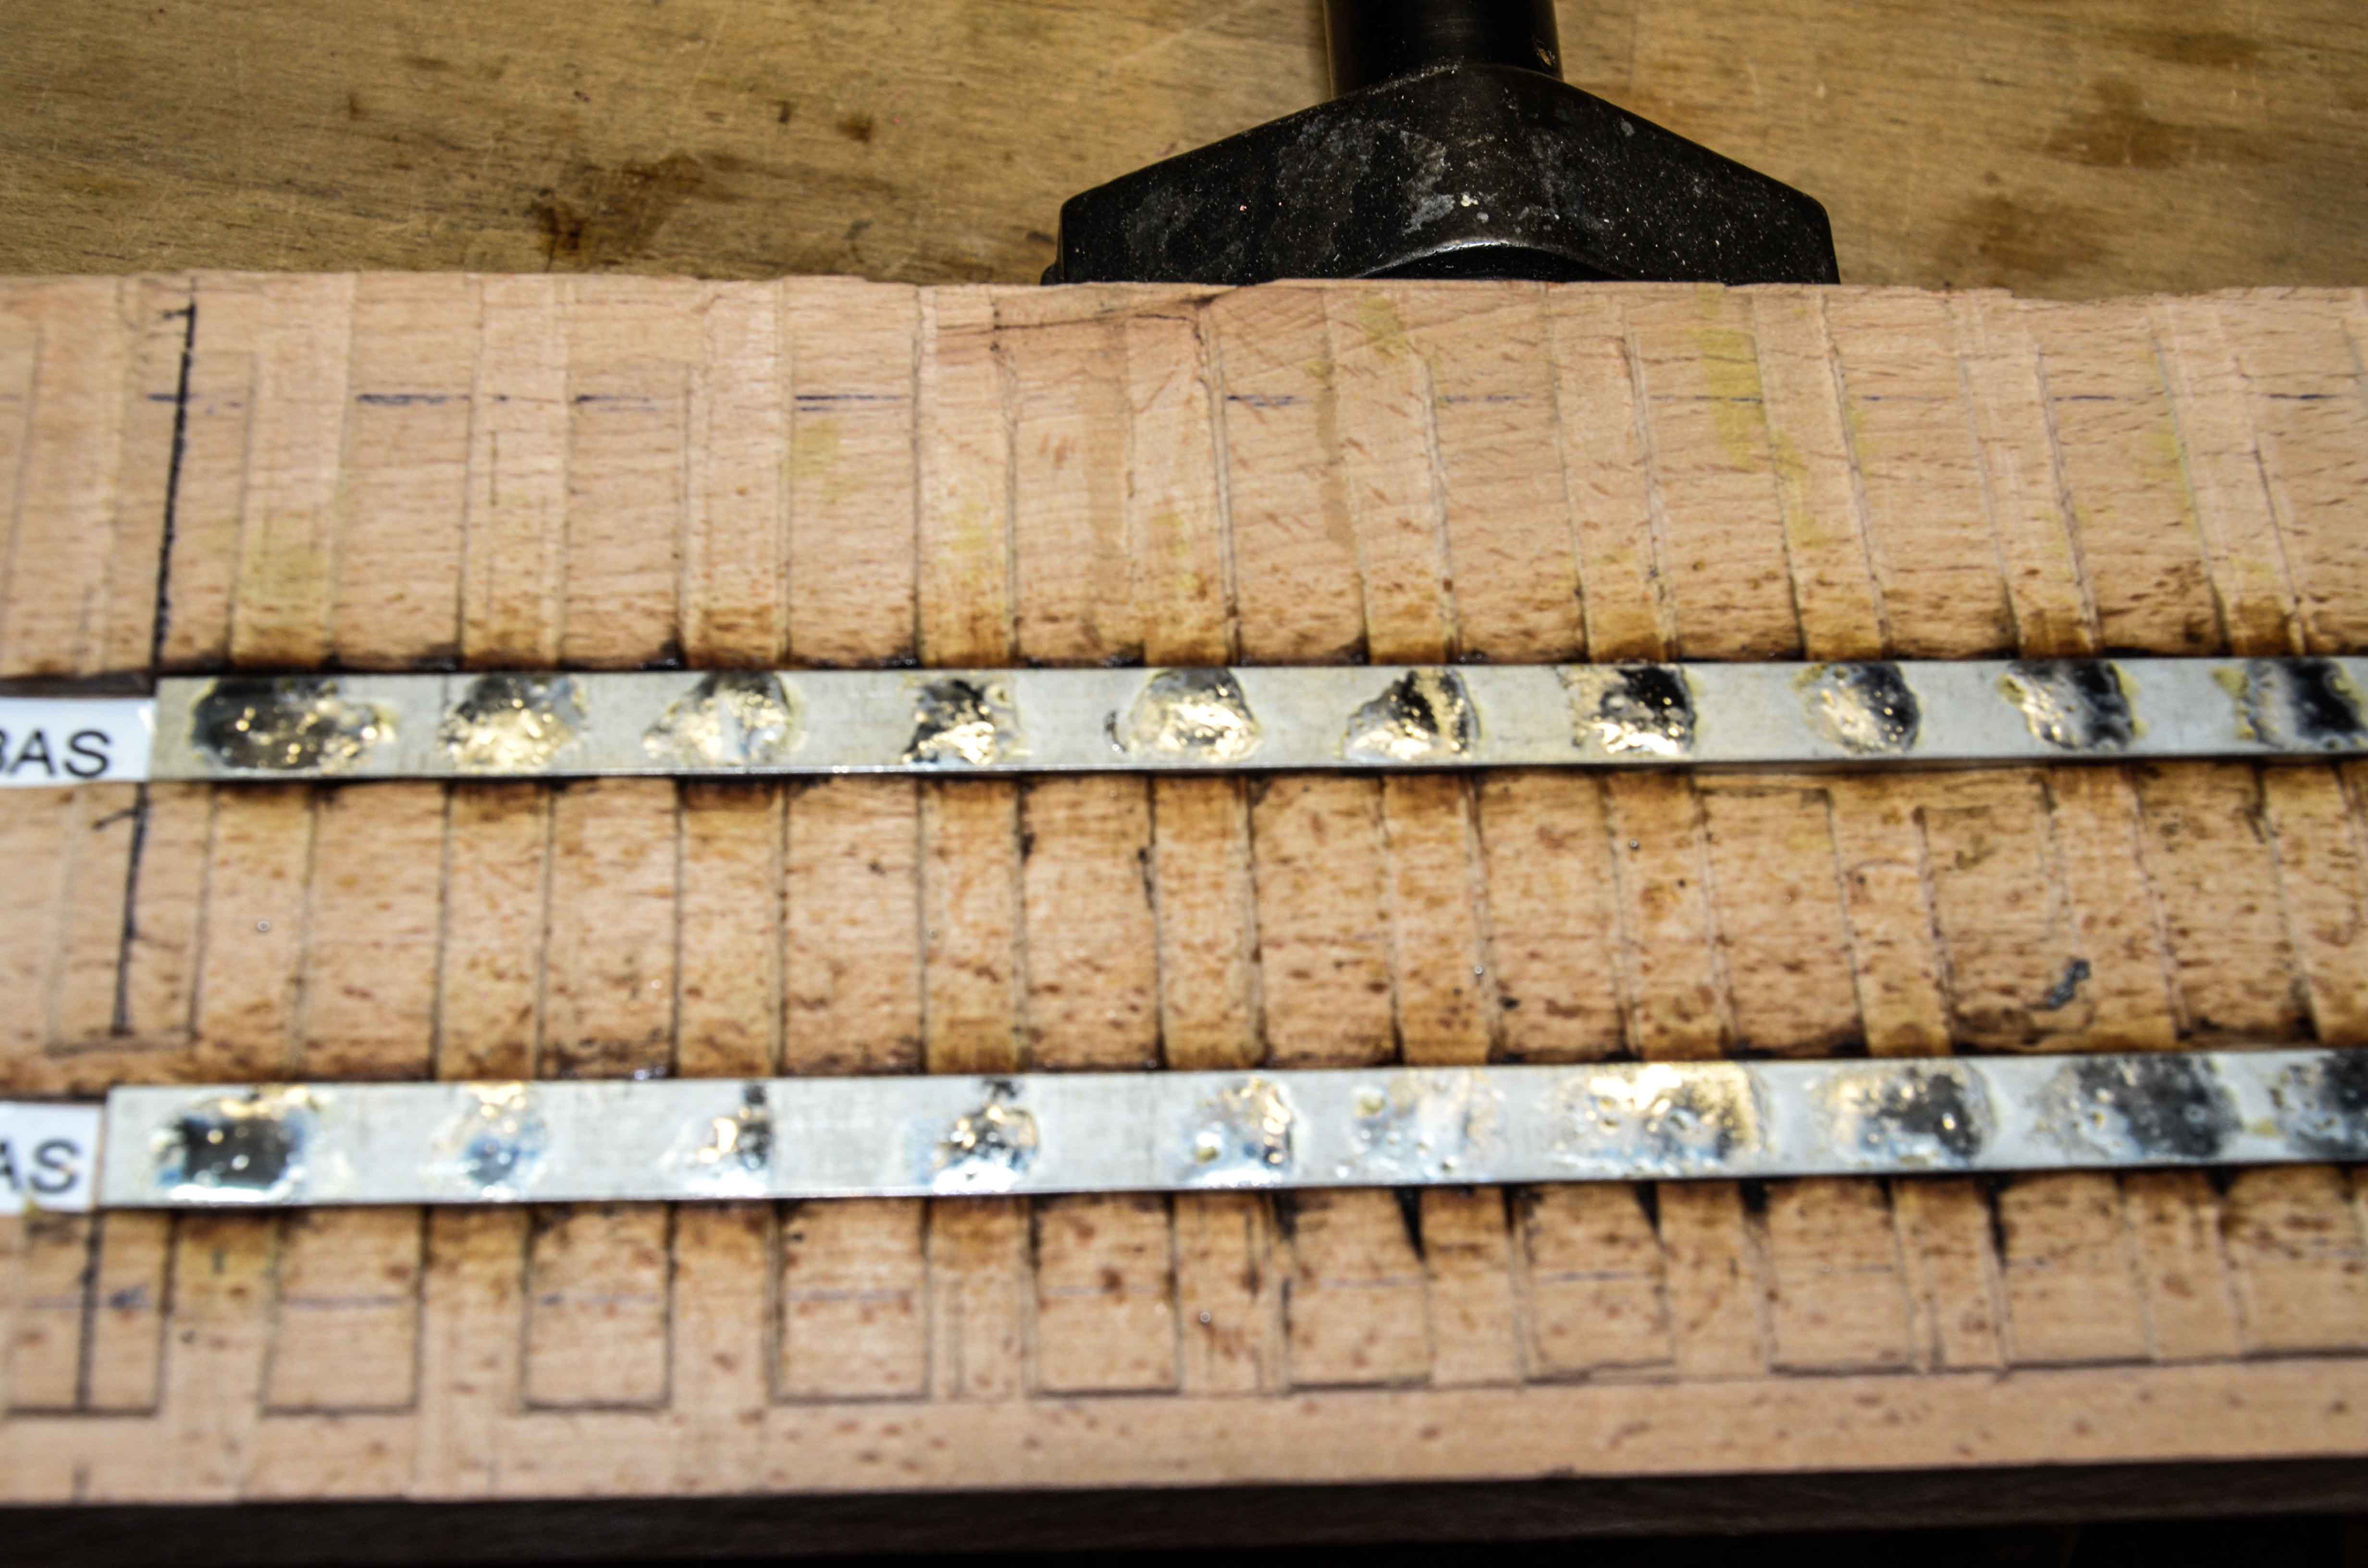
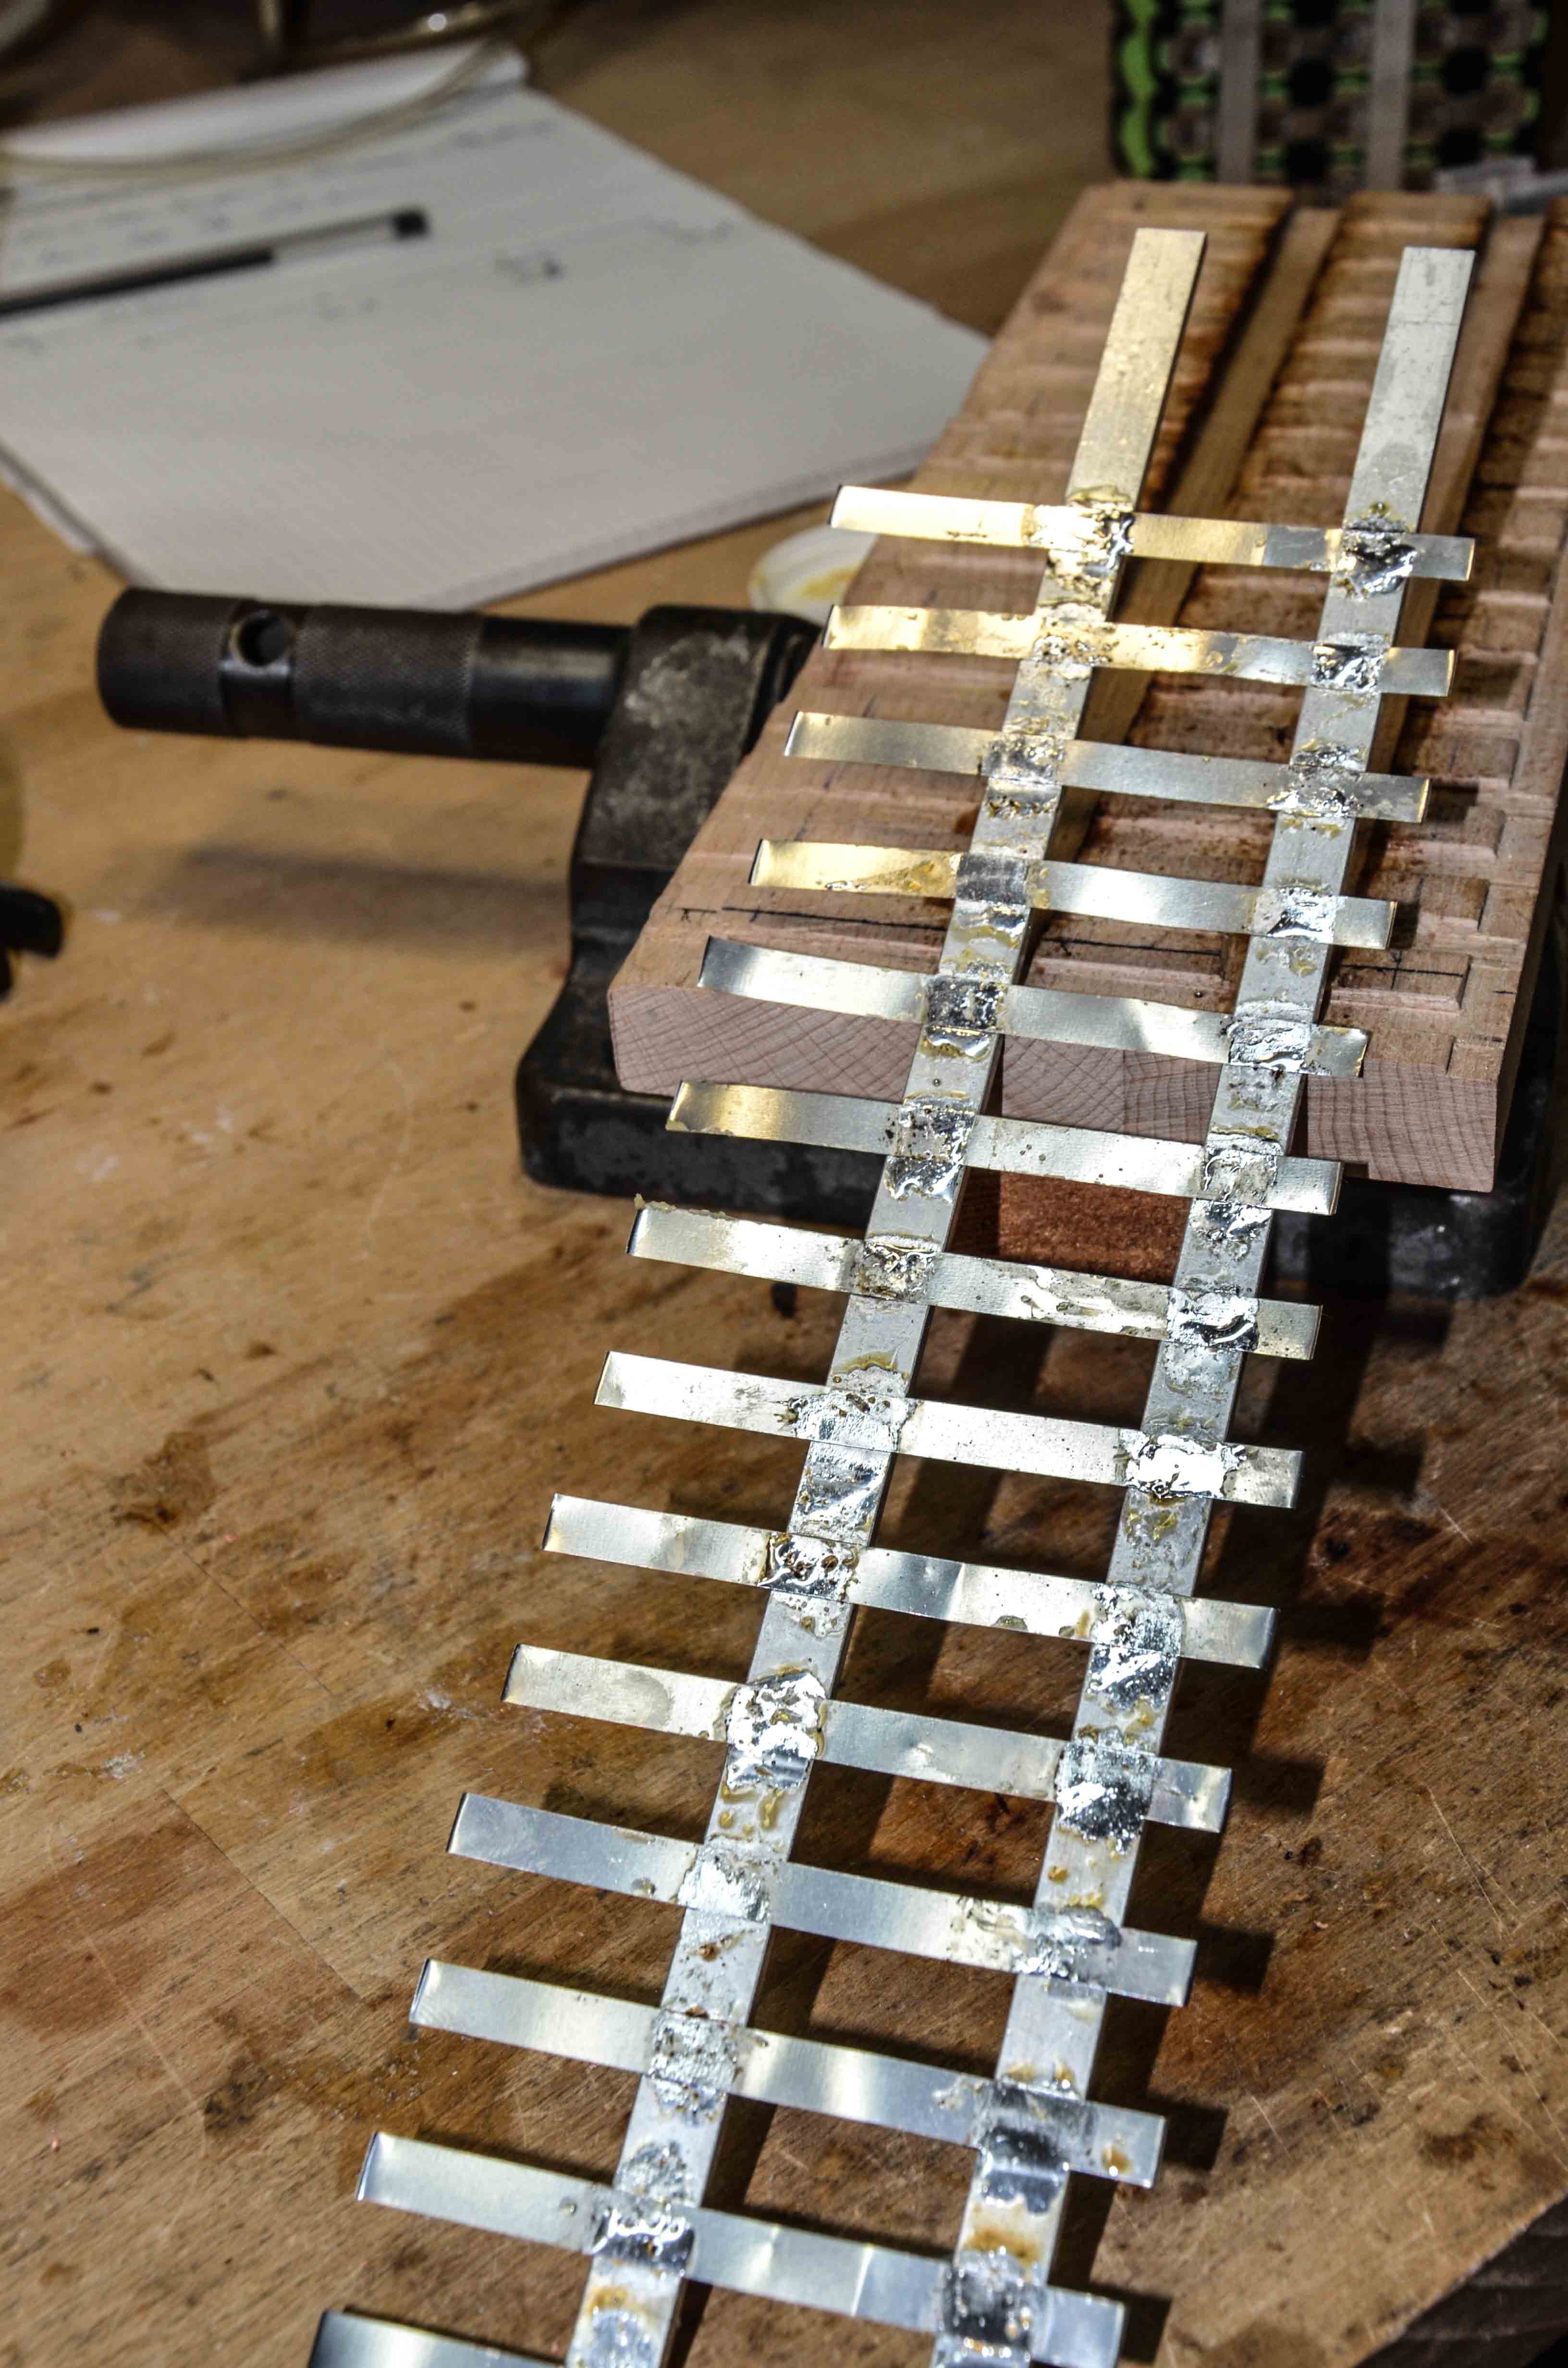
Assembly Step 3: Soldering the Nickel trips on the bus bars. I am using a Weller Jumbo soldering iron with a huge tip for this operation.
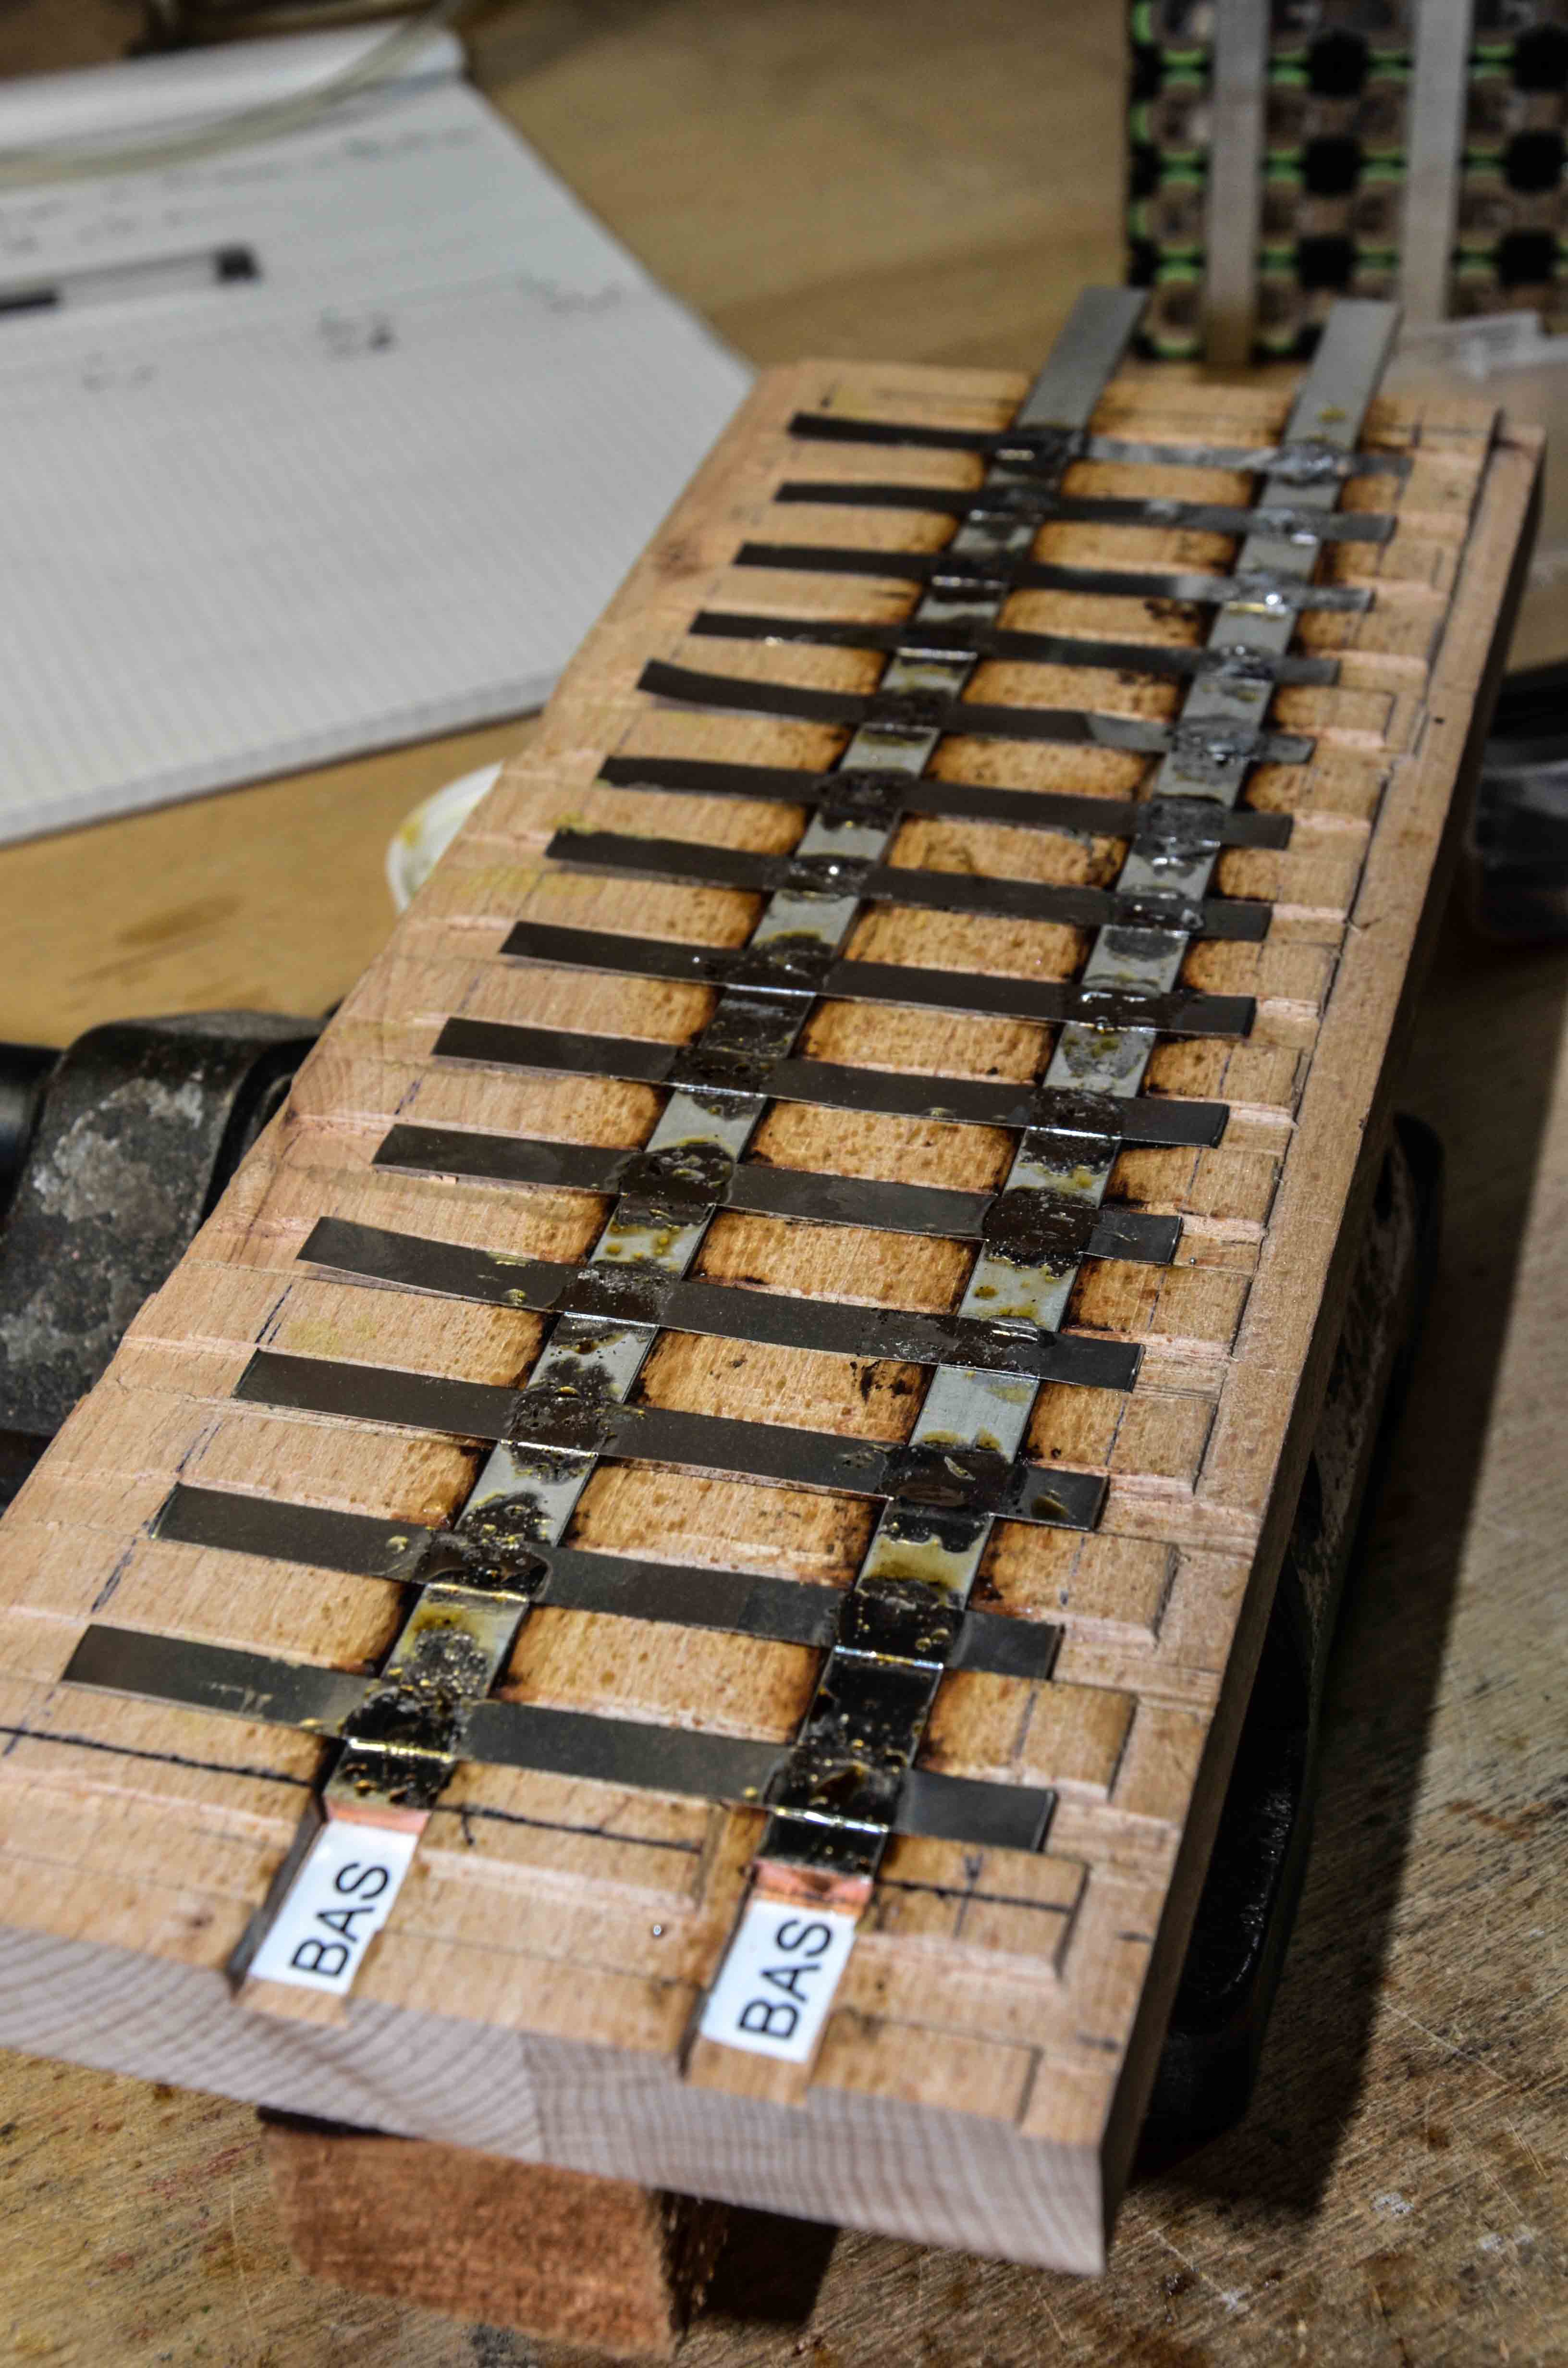
Once removed from the jig, the "fishbone" looks like this:
(Two such fishbones are needed for one module, one for each pole)
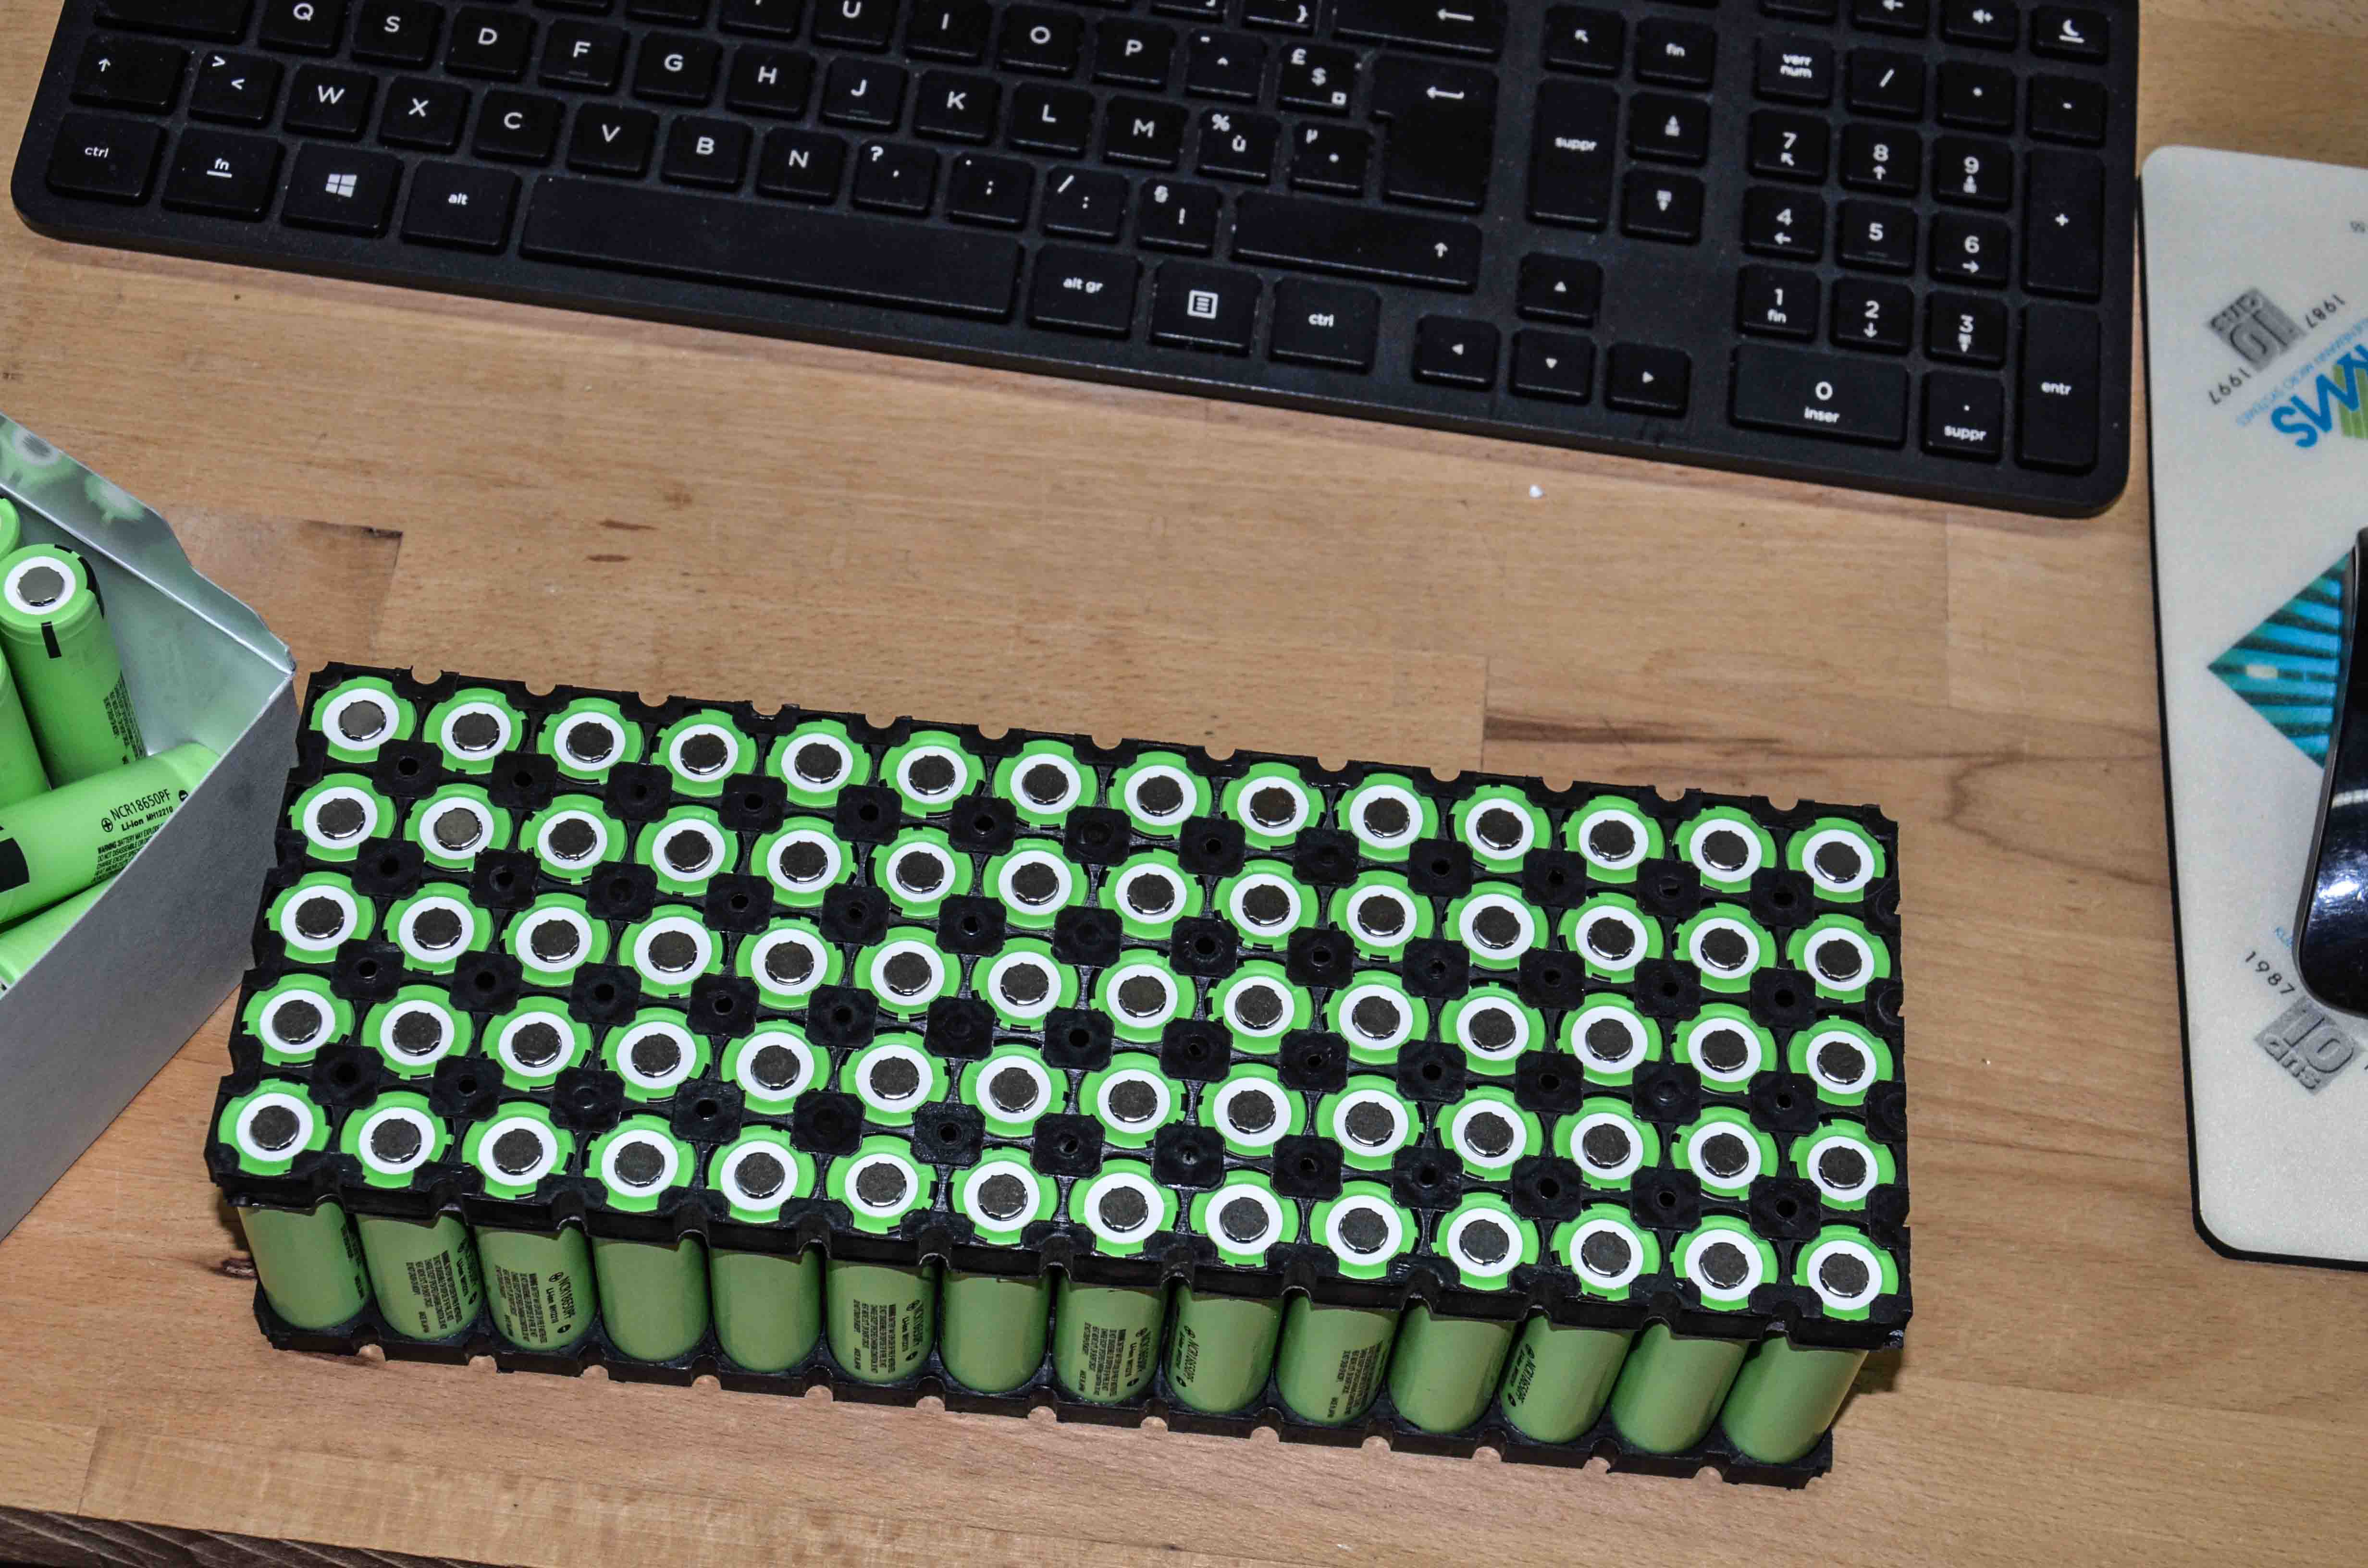
Assembly Step 4: Populate battery holders
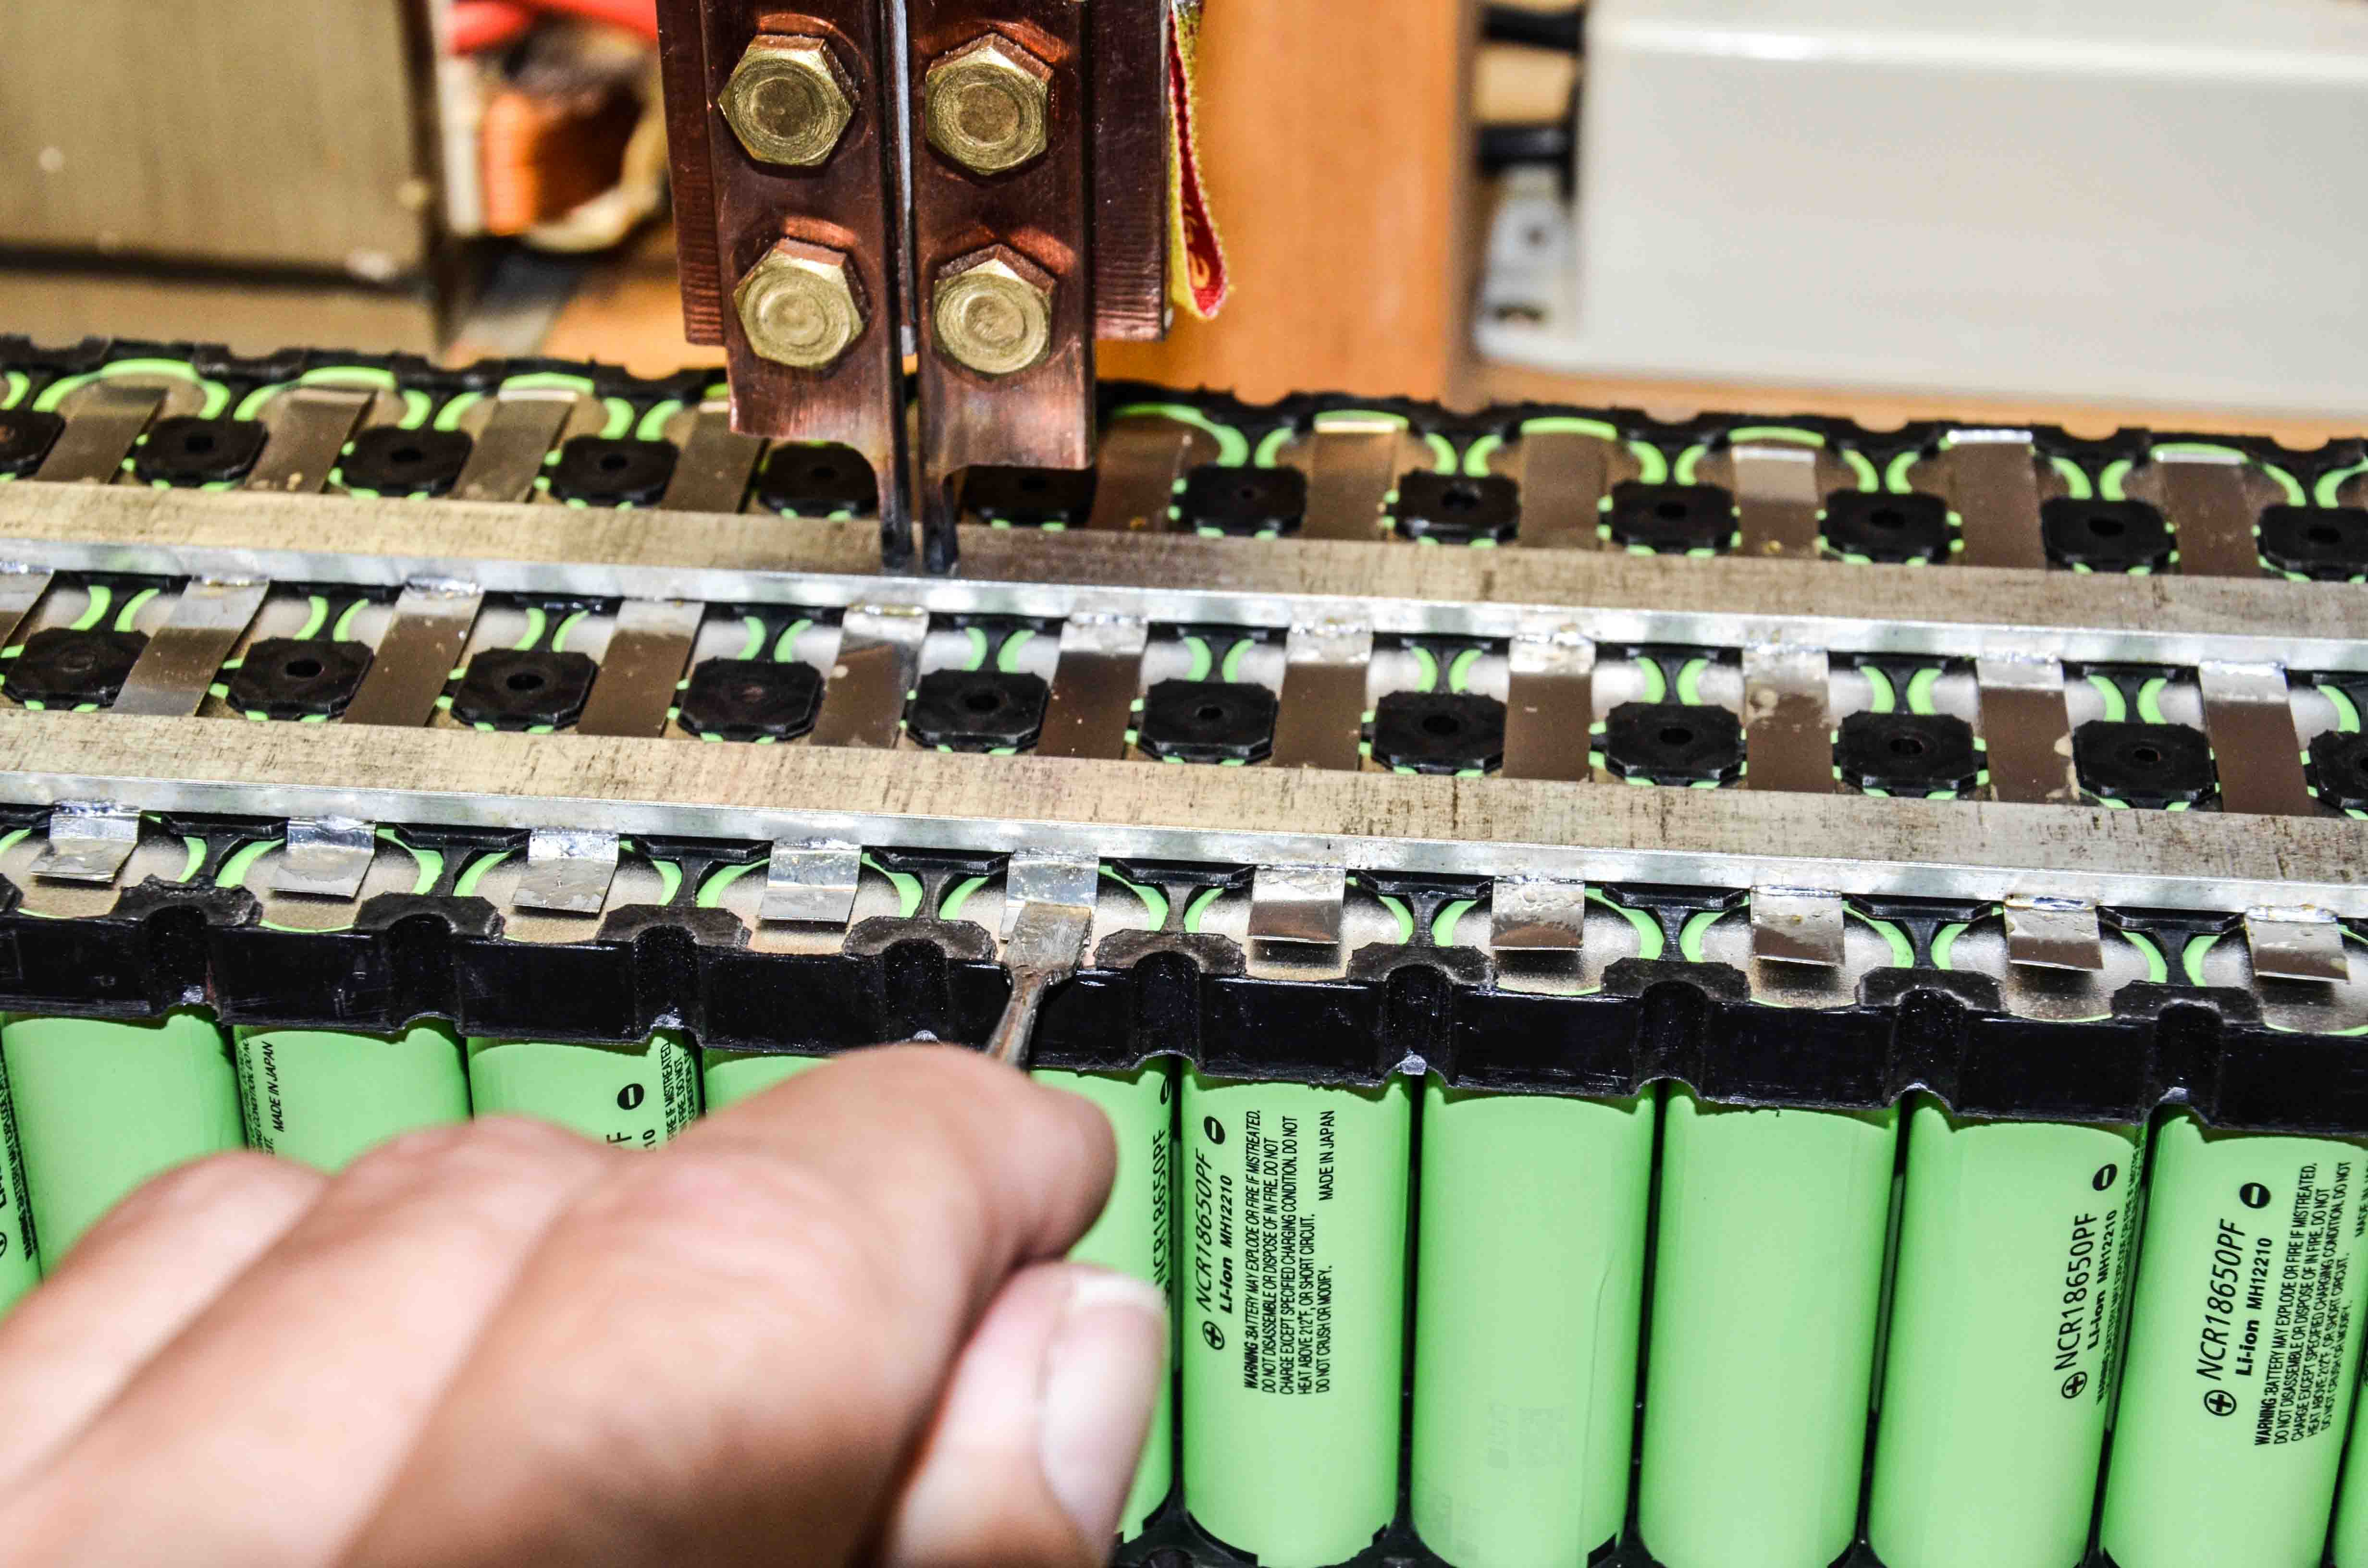
Assembly Step 5: Spot welding the positive and negative fishbones
The fishbones must be precisely positionned on the battery frame before welding starts.
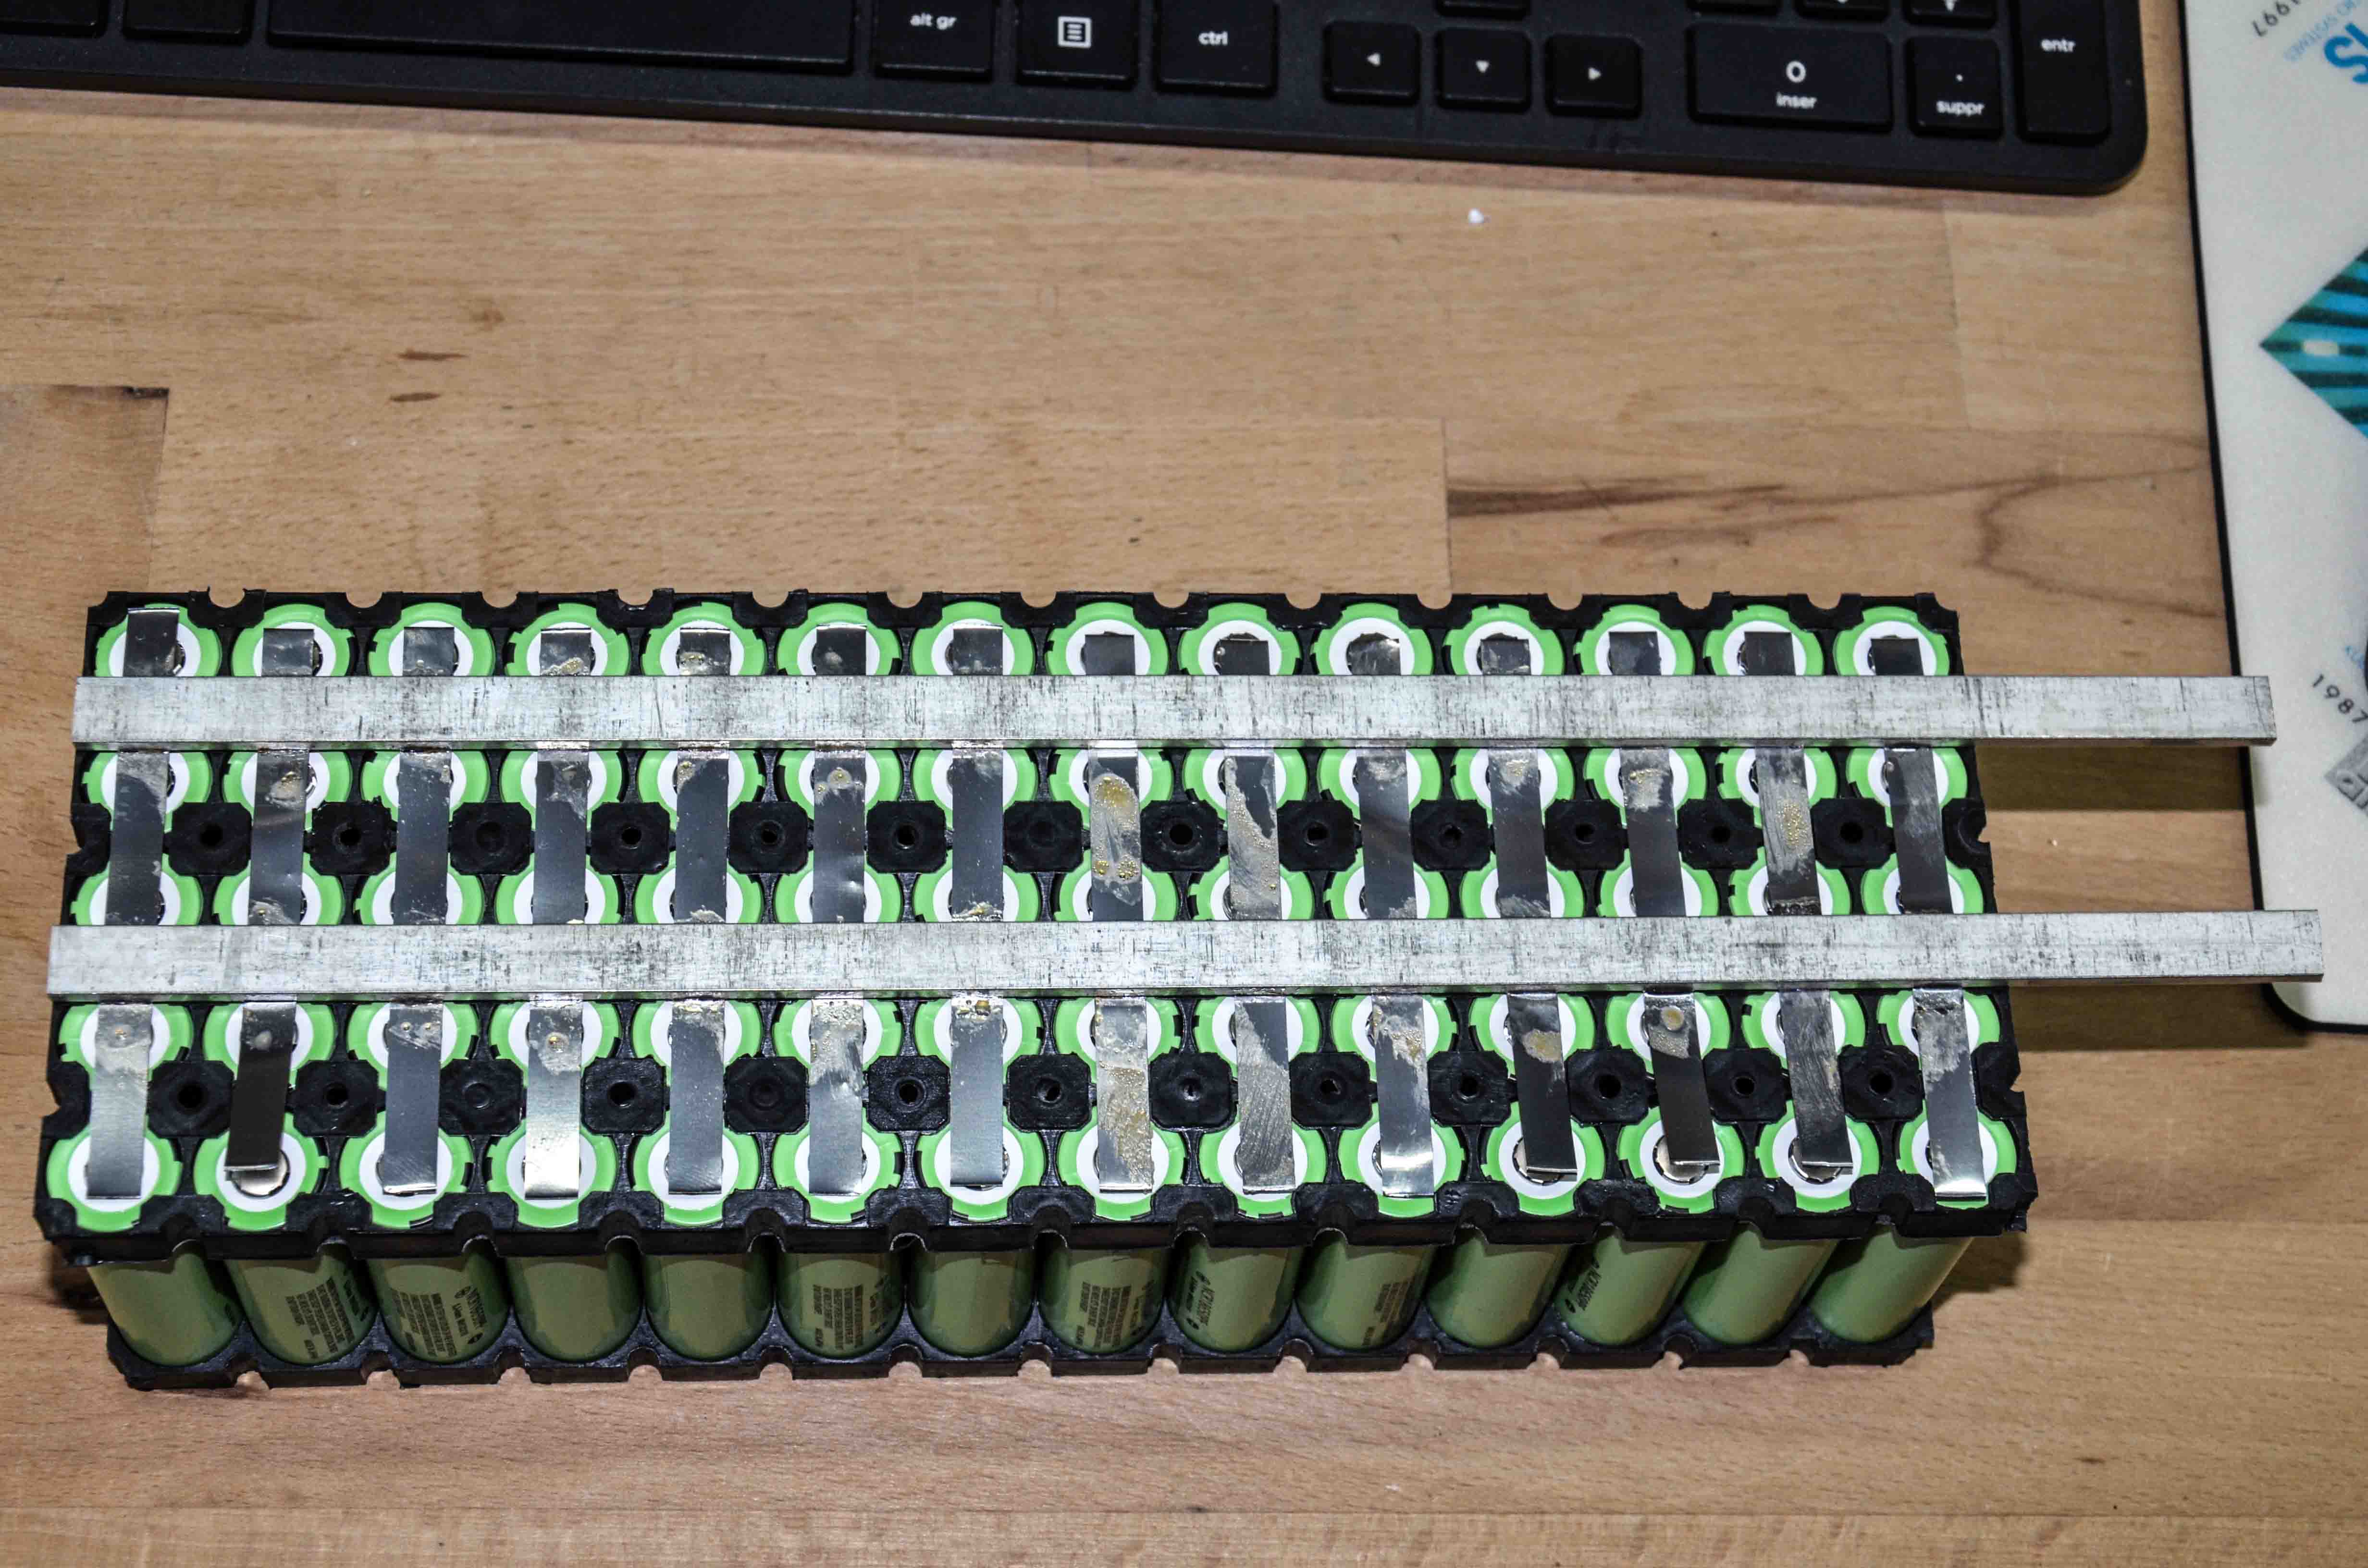
The strips are manually pushed down on the batteries terminals to facilitate welding
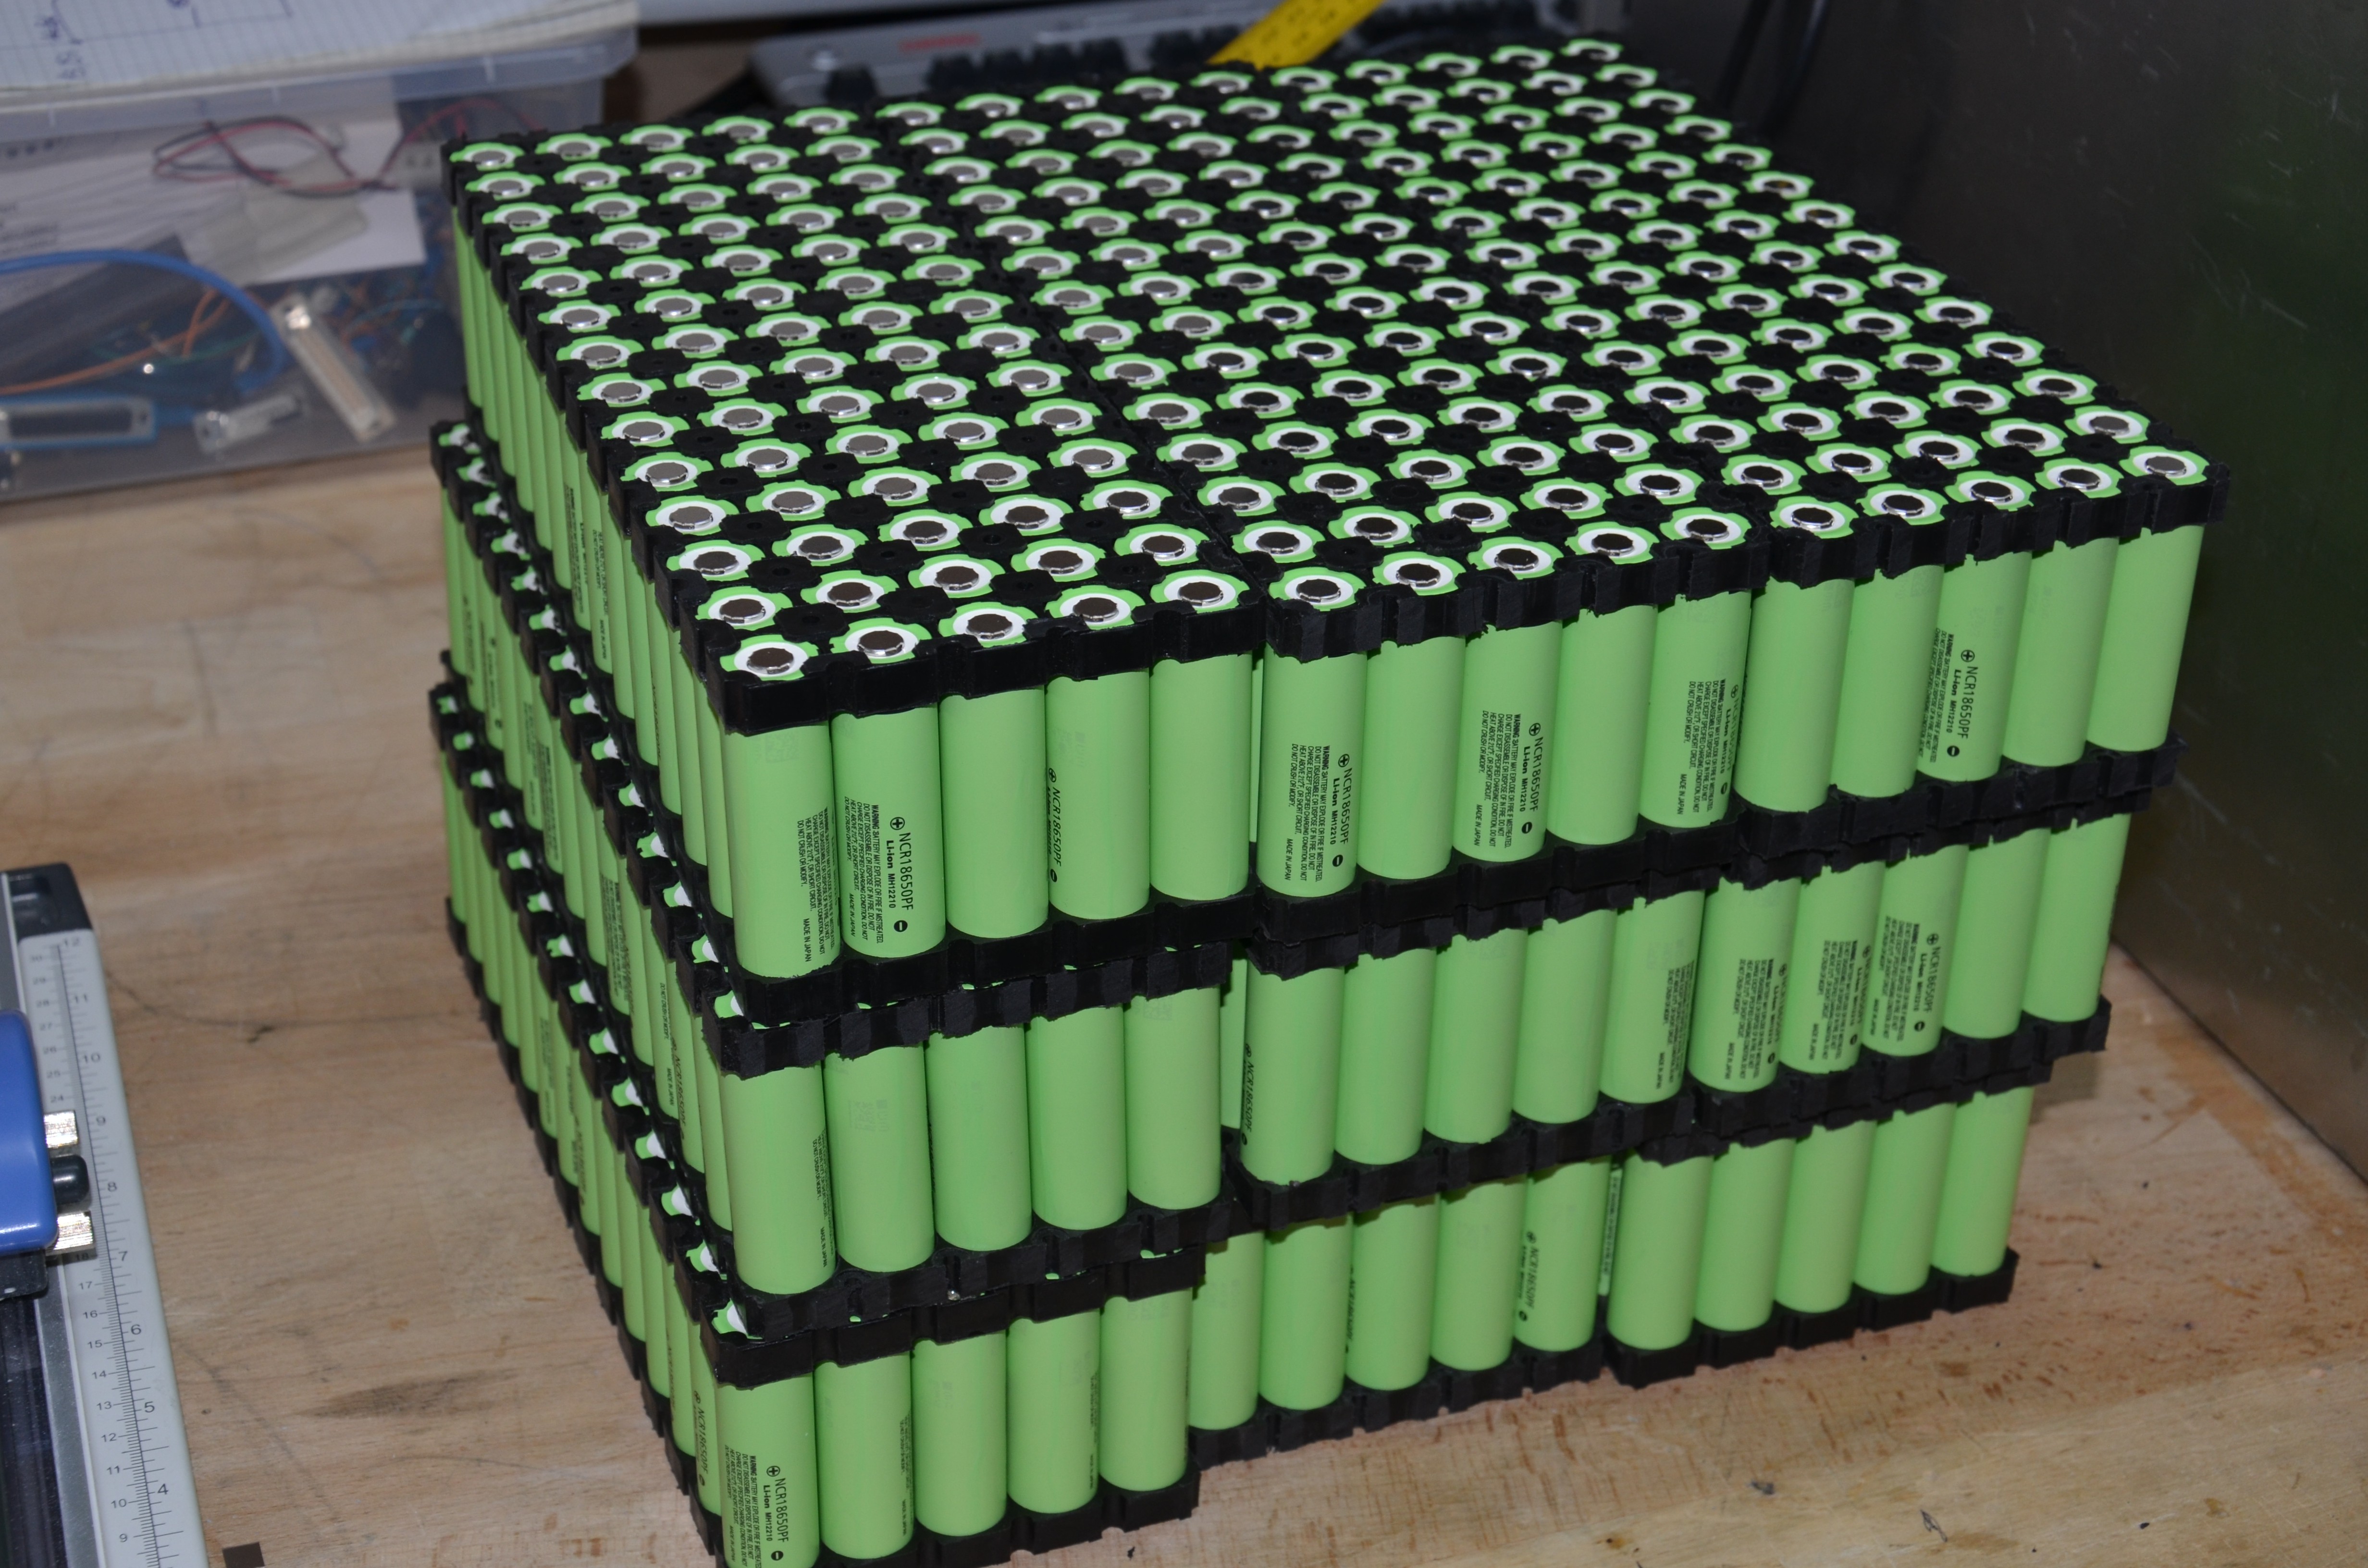
6 finished modules, ready for use
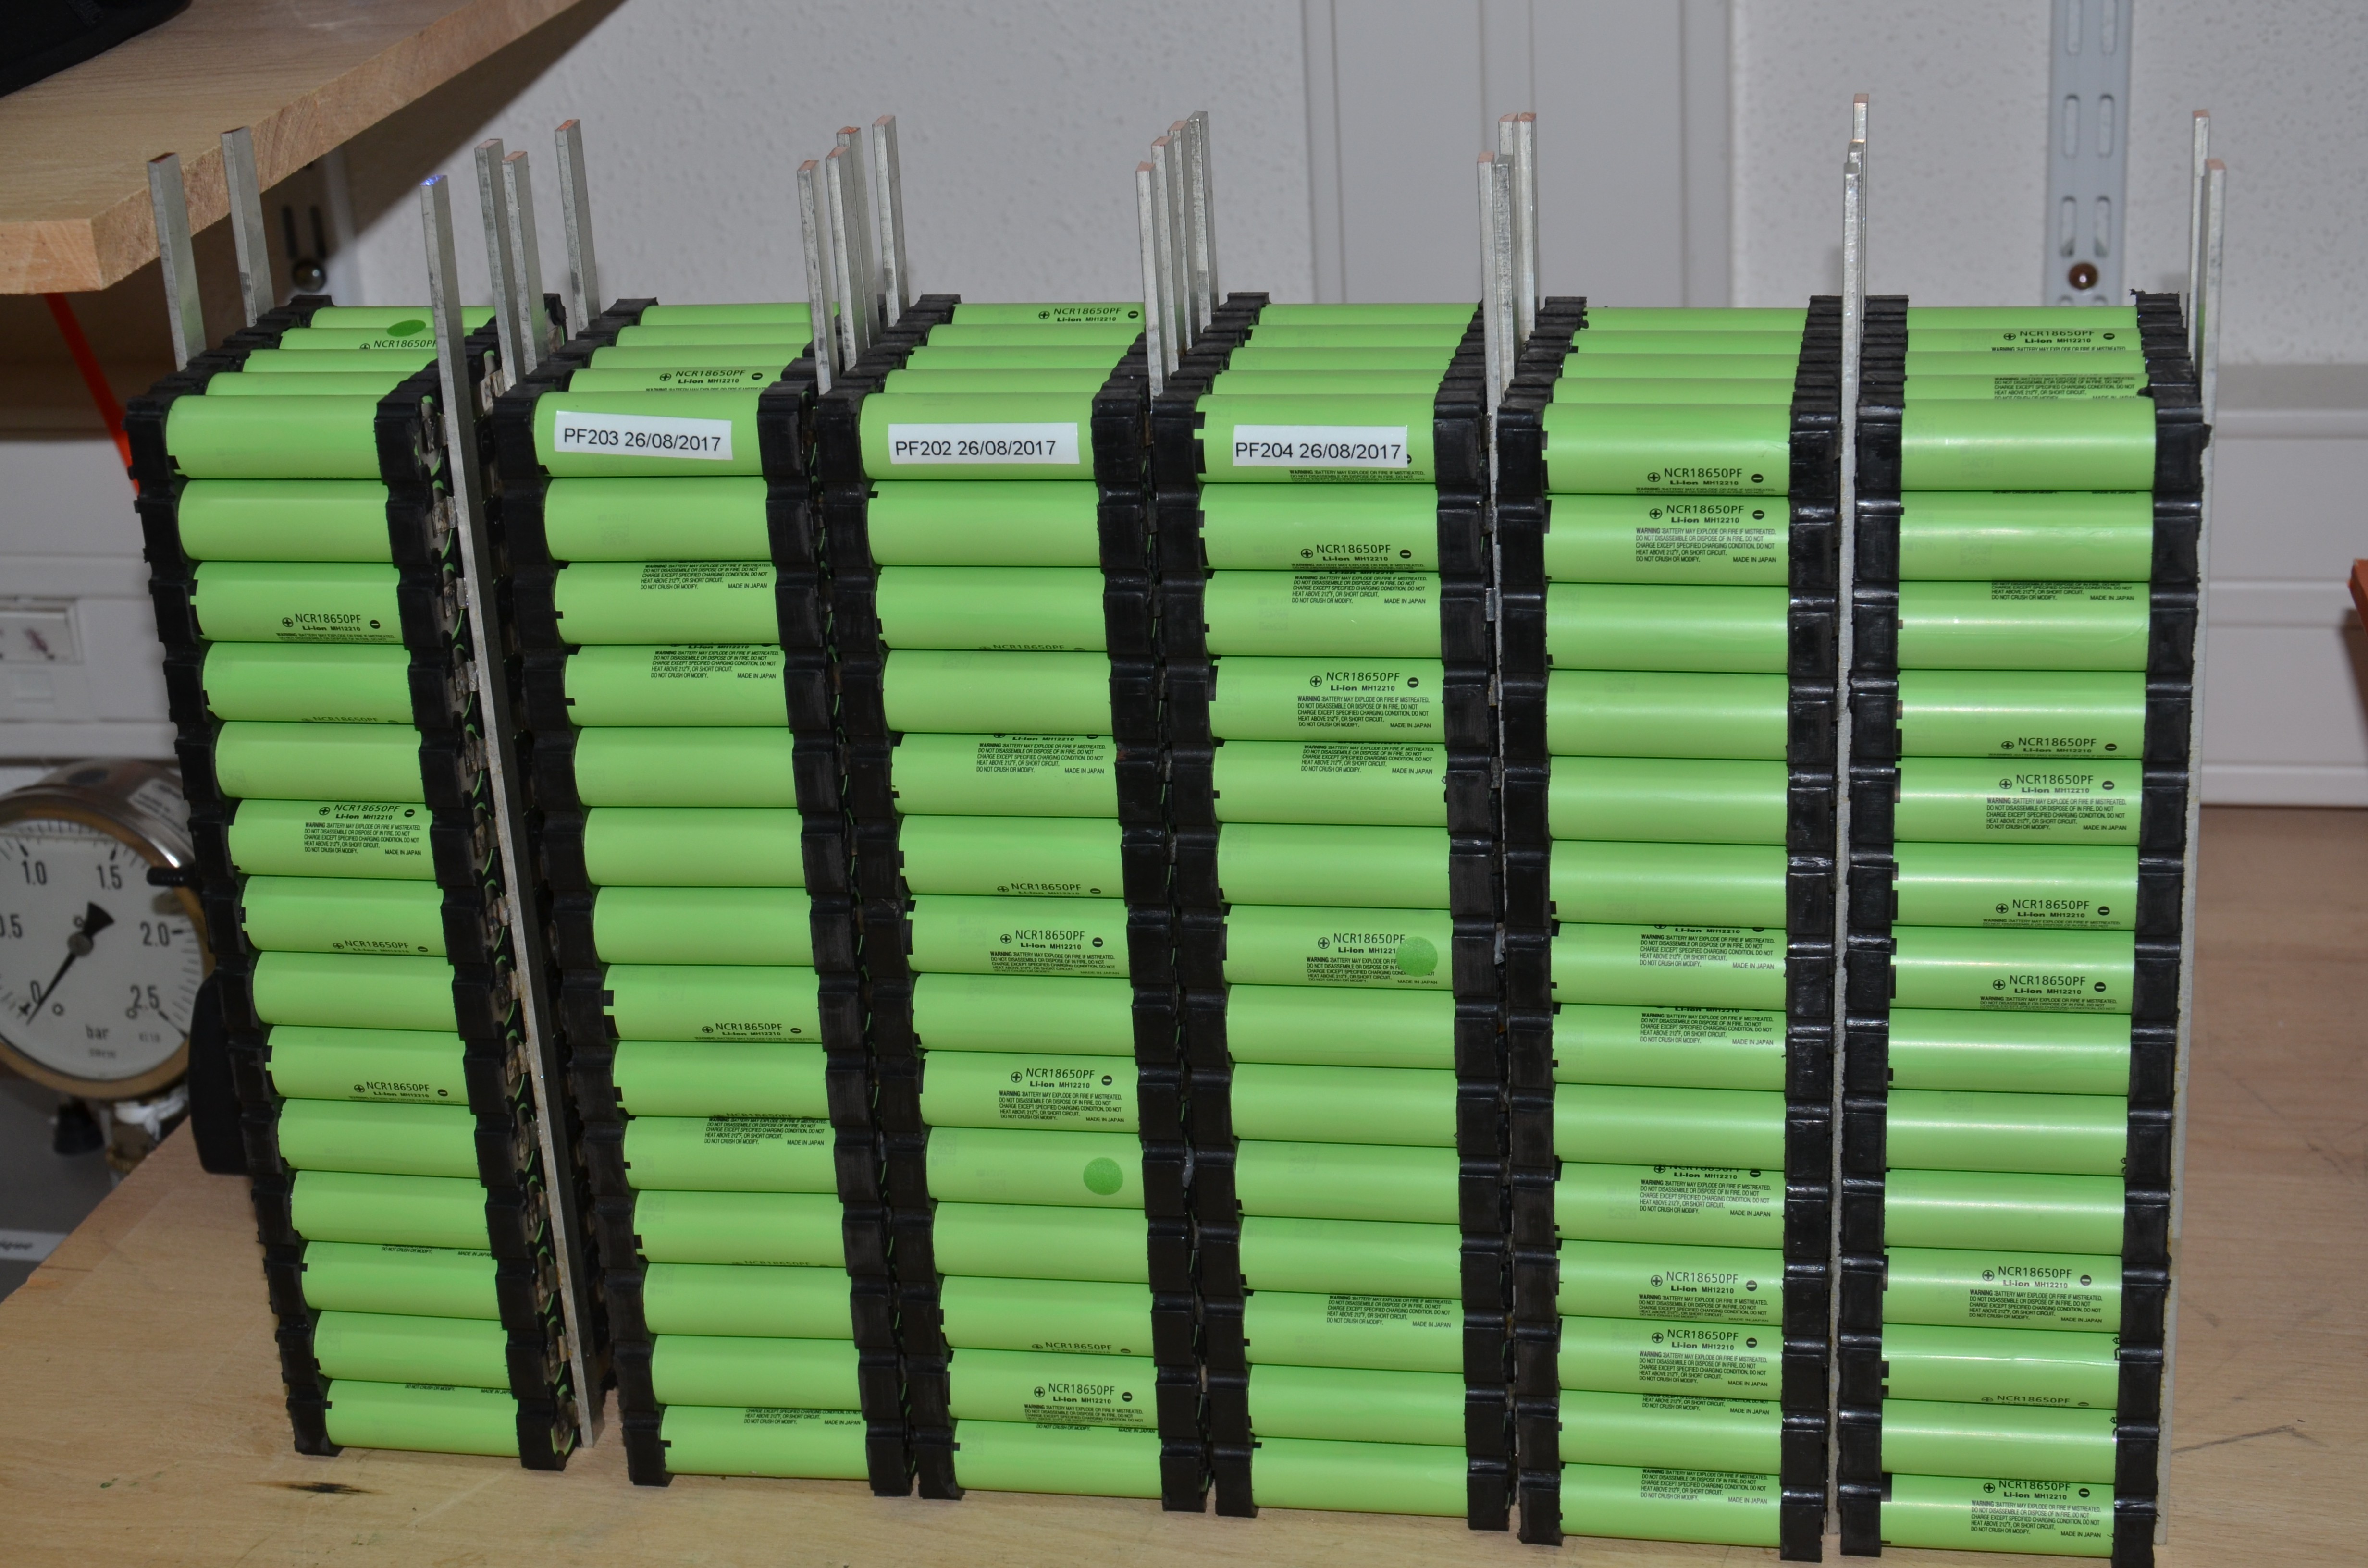
9 Modules ready for welding
Discussions
Become a Hackaday.io Member
Create an account to leave a comment. Already have an account? Log In.