 Peter McCloud
The process of building the Mk. II vehicle is going smoothly and the upper part of the frame is now complete.
 The build process has been documented in step 3 of the instructions, but here's a brief overview of the build process.
After finalizing the structure design, it became clear that a jig was going to be needed to accurately align the pieces and do the actual assembly. It appeared too complex to build a single jig for the entire frame, so the frame was broken down into upper and lower pieces.
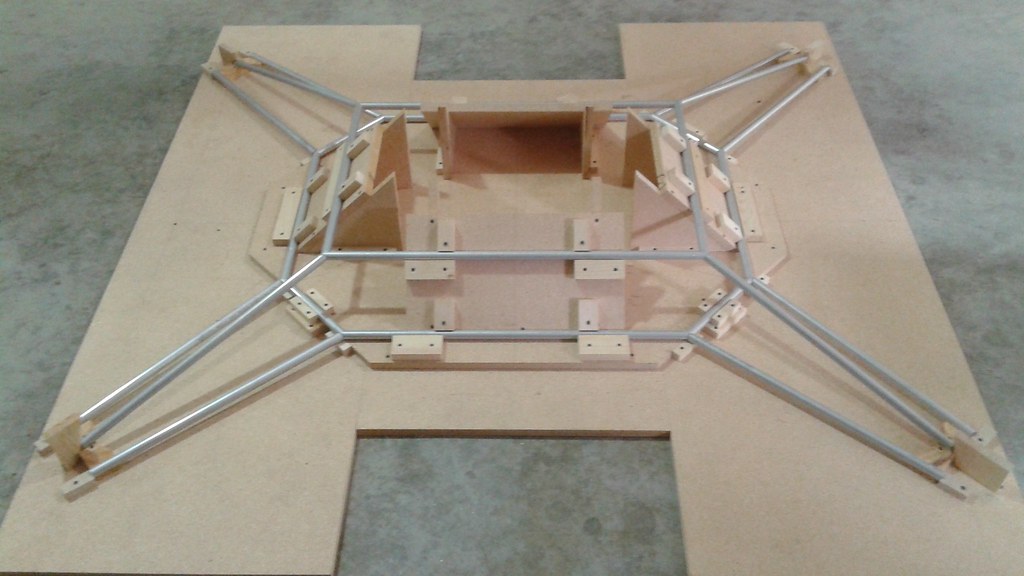
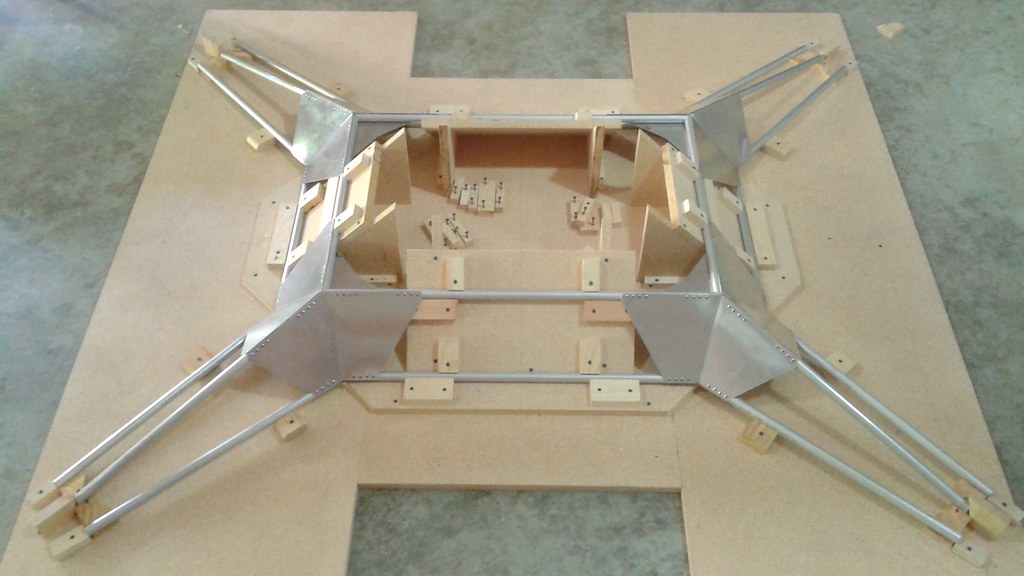
The jig for the upper frame was assembled out of two 4'x8' sheets of particle board. Not an ideal material for a jig, since it doesn't have the greatest dimensional stability, but it's in-expensive for building the large jig. Scrap wood was used for adding joints and for holding the frame elements in place. The frame elements were cut as the jig was being built, so the picture of the final assembled jig also shows the frame elements in place.
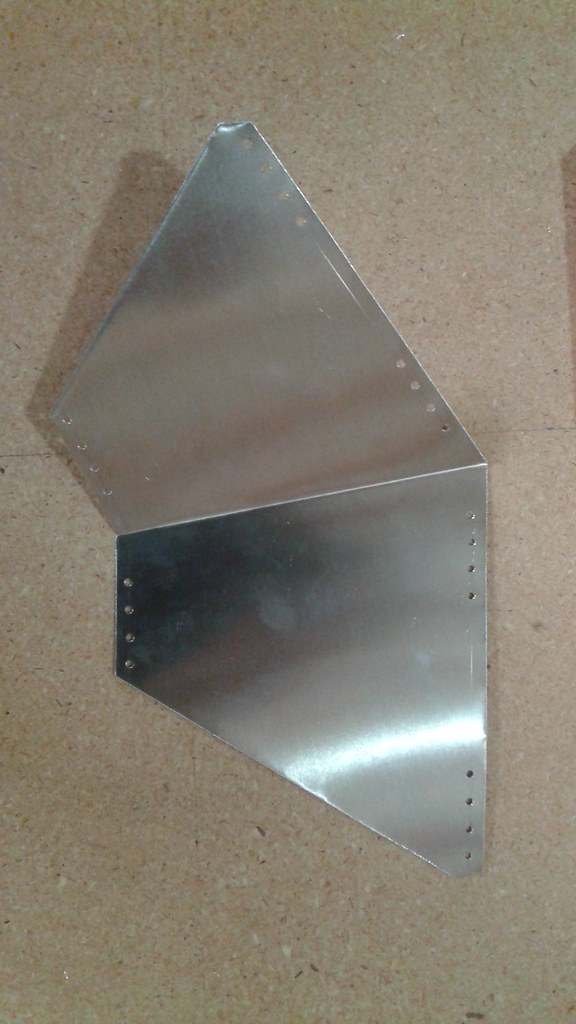
 With the jig complete and the frame pieces cut, the next step was to start designing the gussets. Typically templates were cut out of card stock and refined until the shape was correct.
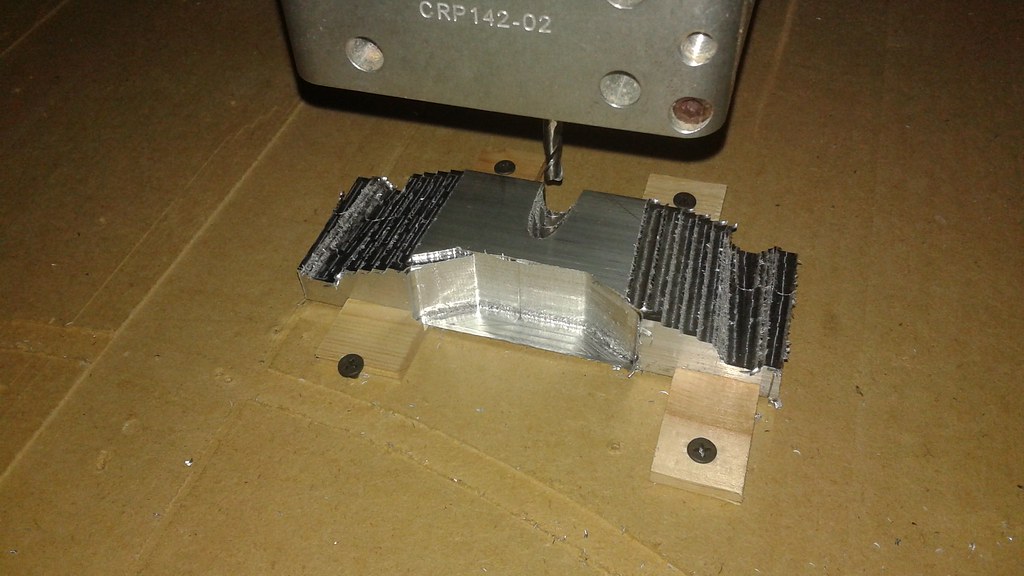
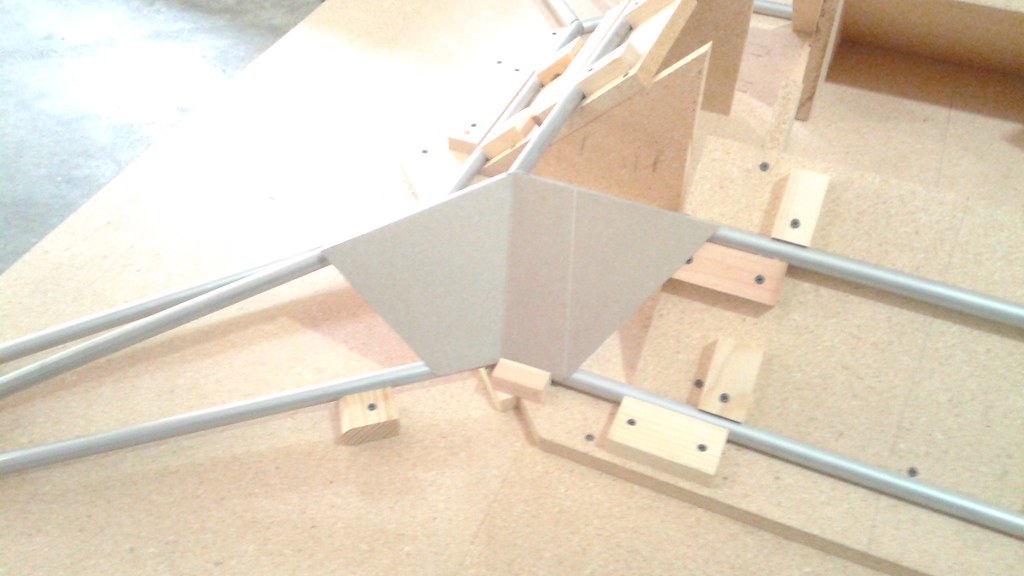 The templates were then used to trace out the shape on the 0.040" thick sheet metal and cut out with either tin snips or a jigsaw depending on the shape.
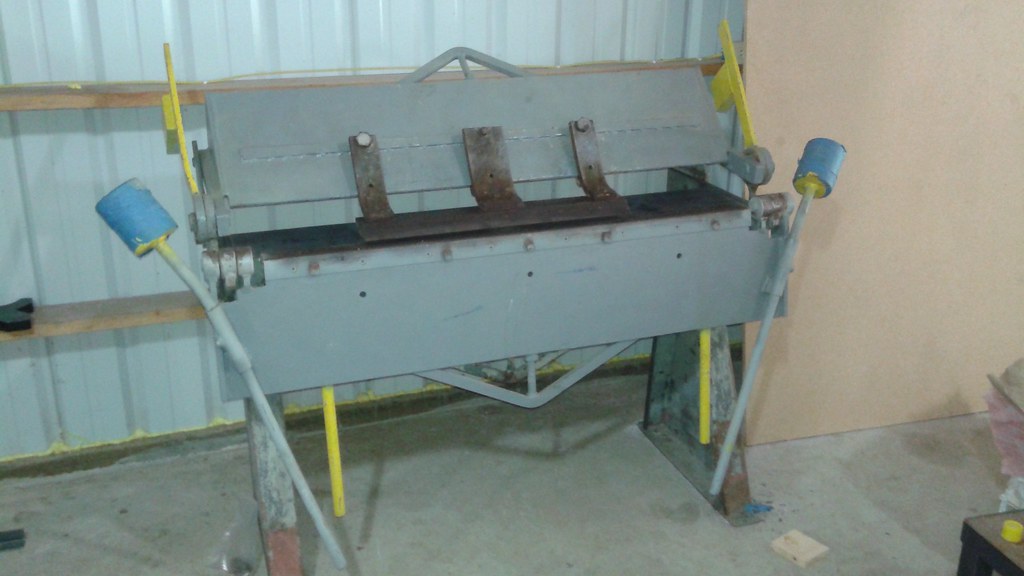
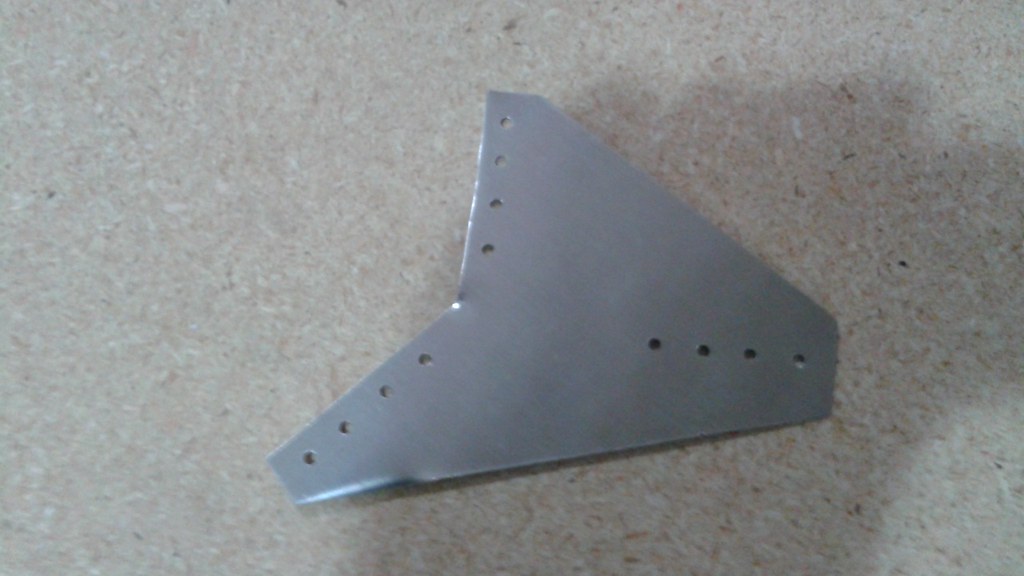 At this point there was a detour into another side project. The angle gussets needed to be bent using a press brake. Several years ago I obtained one cheap off of Craigslist and began to tear it down to clean it off since it had rust and lots of flaking paint. I got half way done cleaning it and then forgot about it. Then all the parts got packed up and moved across the country and the parts scattered about. So in order to use it, I first had to find all the parts and then remember how it went back together. Luckily after a bit of searching all of the parts were found
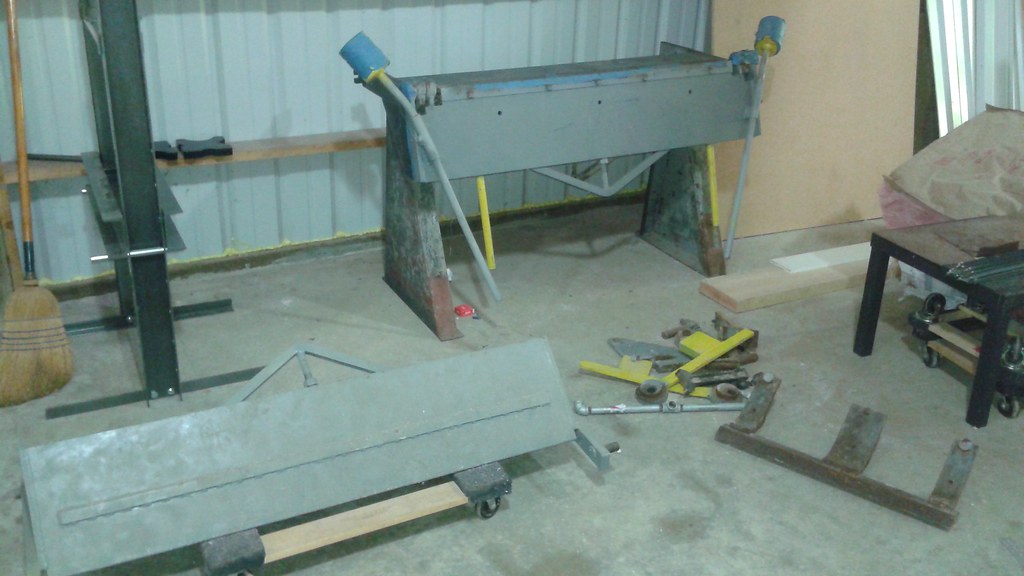 And even more fortunately, I remembered how it went back together after 4 years.
 After completing the side project. The angle gussets were able to be completed.
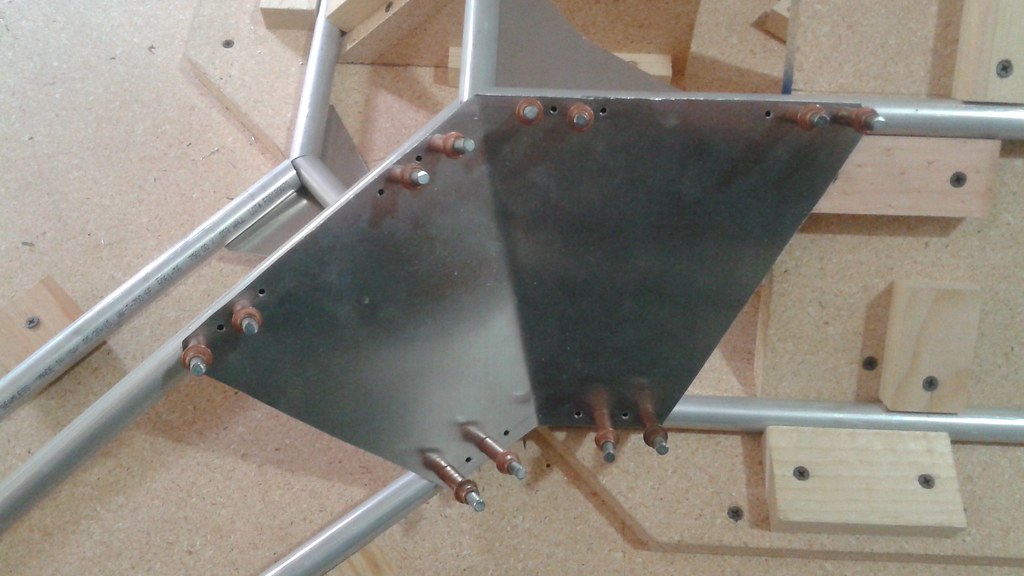
 With the gussets completed, it was a matter of assembling all the parts. To get the best alignment, Clecos are used to hold the parts in place while other holes are drilled. Clecos are spring loaded and a special pair of pliers are used to insert them and remove them. Every other hole gets a Cleco and then the remaining holes get riveted together.
Finally the Clecos are removed and the remaining holes are filled with rivets.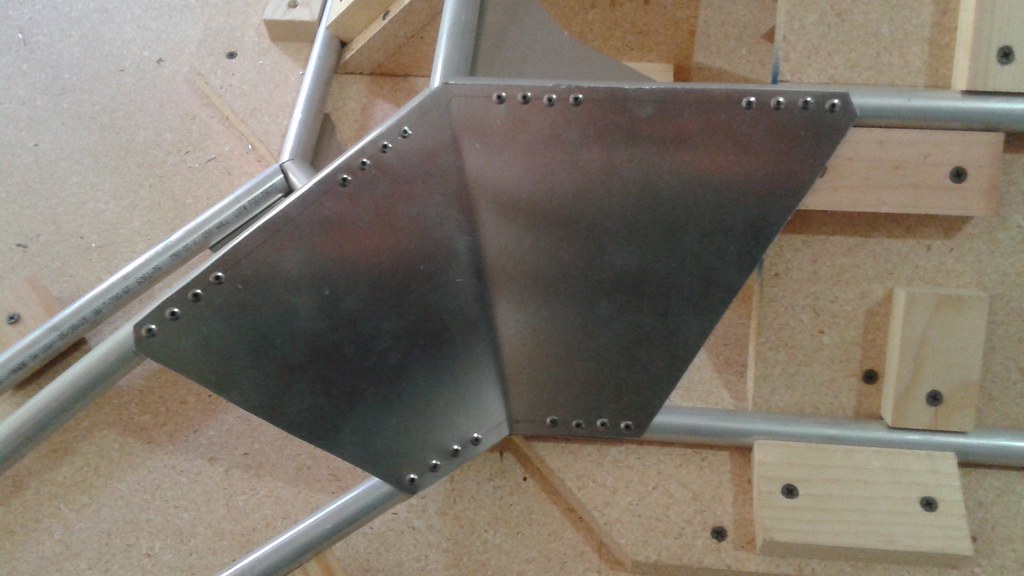
Drill, rivet, repeat x300 and then the upper frame is complete:
 Again, the step by step process is documented in the instructions. The next steps are to build the lower frame and to machine the rotor shaft mounts. More on the rotor shaft mounts next time.
Discussions
Become a Hackaday.io Member
Create an account to leave a comment. Already have an account? Log In.