 Peter McCloud
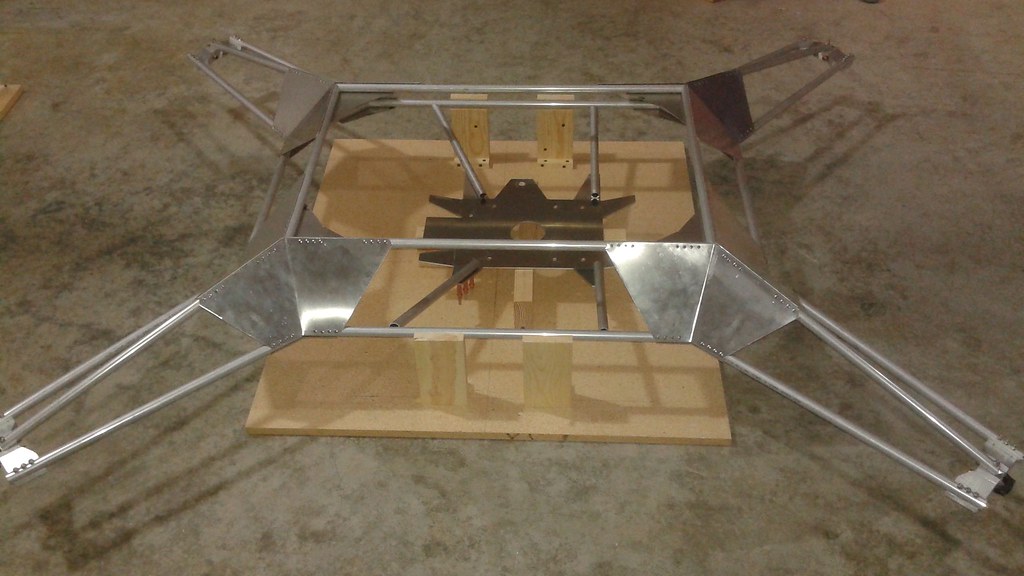
Progress on the Mk. II vehicle is moving along and the engine mounting plate is now attached to the upper frame.
 The first step was to start measuring and cutting the tubing that attach the engine mounting plate to the upper frame. This was starting by making a simple jig to hold the pieces at the right elevation to each other.
 This worked for doing some preliminary alignment, but to make sure everything fit well, it was decided to redo the jig so that the engine could be placed on the vehicle while it was in the jig. This was done by further elevate all the pieces, with 2x4 blocks holding up the engine mounting plate.
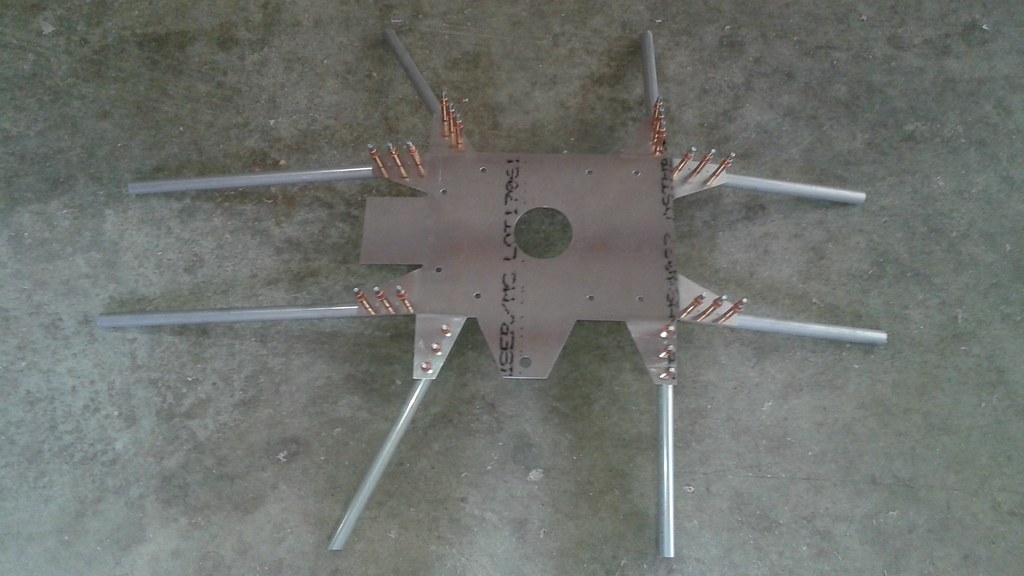
 When all of the tubing was cut, the holes were drilled on the ends attached to the mounting plate and the parts were held together with Clecos.
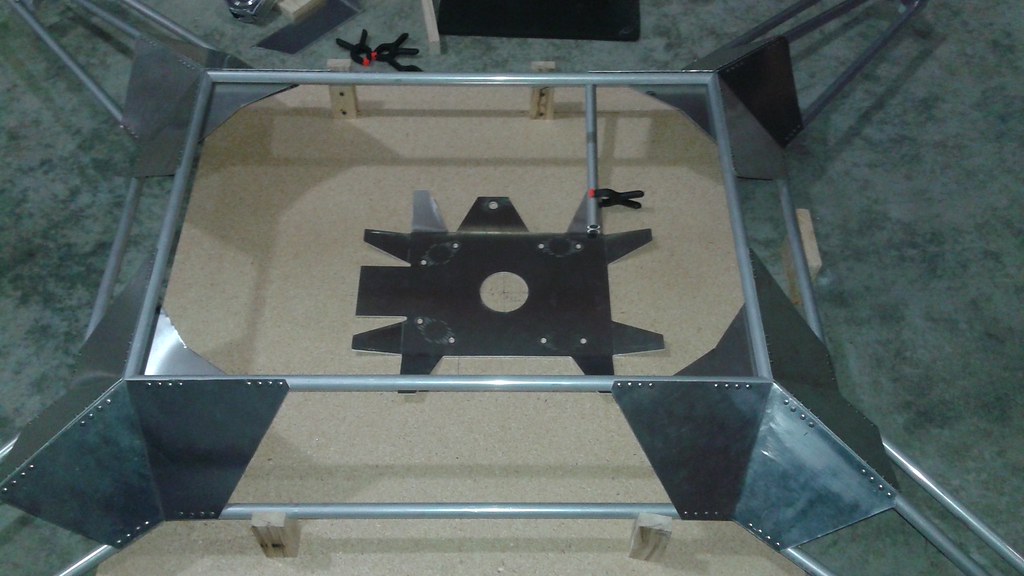
 The plate with the tubes attached was put back in the jig and aligned with the upper frame. Then the gussets for the remaining joints were made and attached with more Clecos.
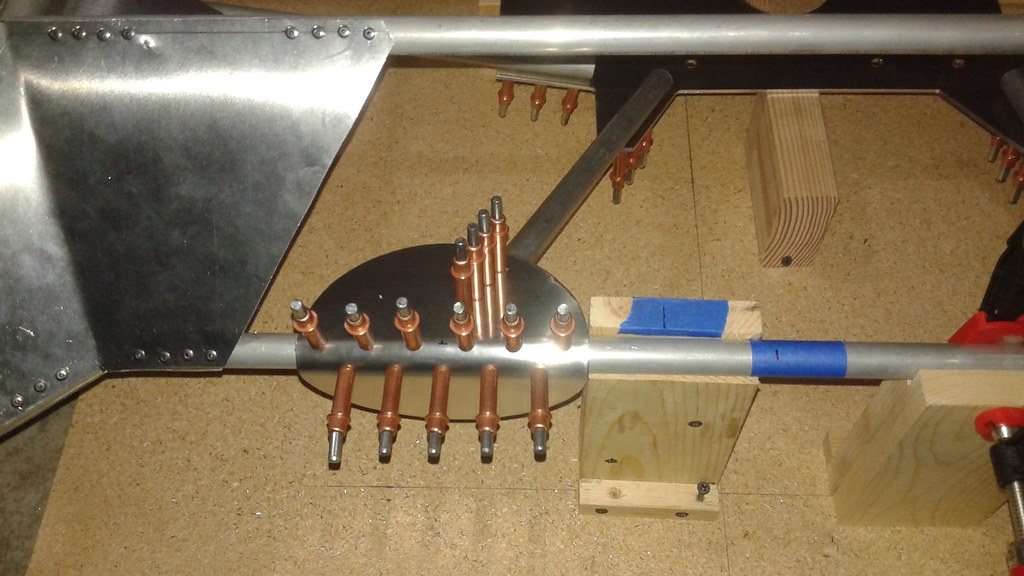 The gussets are wrapped around the tubing and will also serve as the attachment points between the upper and lower halves of the frame. This required bending the gussets with a larger 3/4" radius. To get a good radius bend, the press brake was used with a 3/4" diameter steel bar placed along side the sheet metal to provide the right shape for bending.
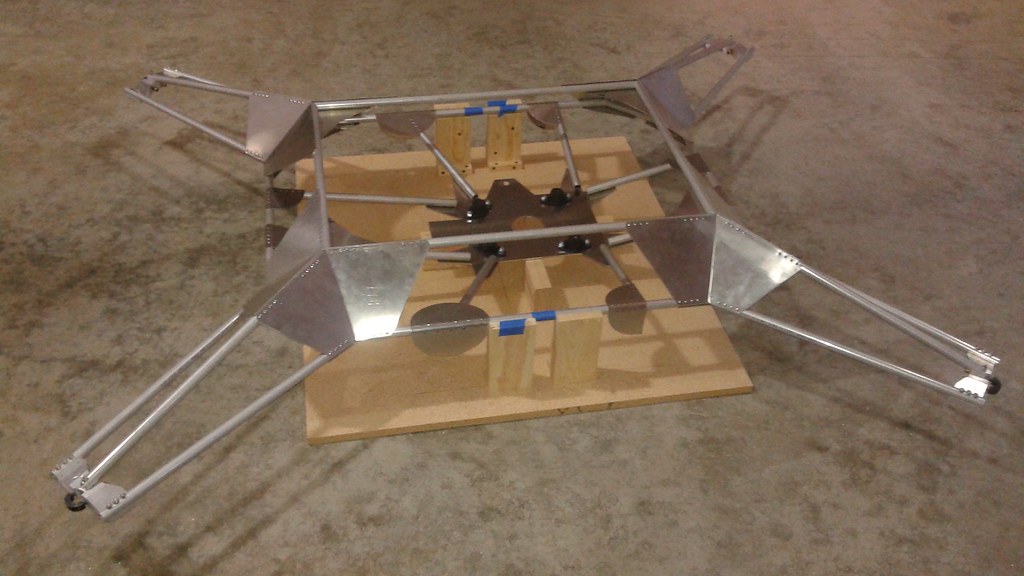
 Once all the gussets were in place, the engine was mounted to double check that there was adequate clearance, before permanently attaching the plate to the frame.
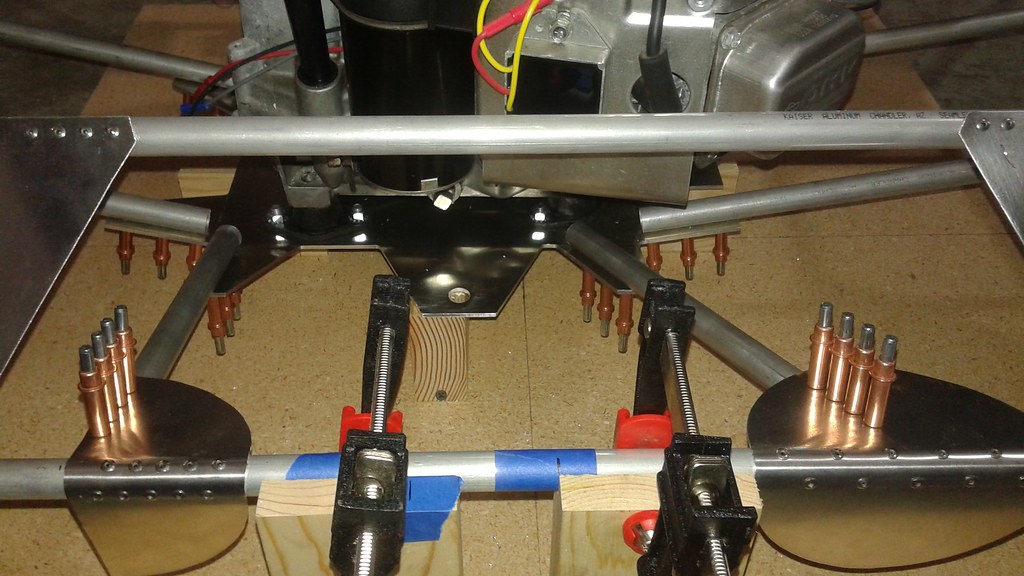 All of the clearances checked out and with no glaring design issues present, the rest of the rivets were pulled on the frame side of the tubes. Since there wasn't enough clearance to pull the rivets under the engine mounting plate, the frame was flipped over and the last of the rivets in the plate were installed.
 A quick note on the rivets for the engine plate. Rivets are designed to join a specific thickness of material. The 1/8" thick plate is thicker than the gussets, so slightly longer rivets had to be used. So care has to be taken to make sure the right rivets are used in the different locations.
At this point, the frame is about 50% complete. The frame was weighed in it's current configuration (without the engine) and weighs 14 lbs, 2 oz. This means that the final structure weight is sill on track to weigh around 30 lbs.
Next up for the Mk. II vehicle is to build the lower half of the frame and machine the lower rotor shaft mounts. Once that work is complete, the two halves of the frames can be joined together.

Discussions
Become a Hackaday.io Member
Create an account to leave a comment. Already have an account? Log In.
Great build, you're doing a kick-ass job. Love to watch the iterations and improvements. I've constructed a number of lightweight composite aluminum structures and I wanted to recommend a handy tool for you - 3M body panel adhesive. If used in conjunction with your rivets, it will give your gusset joints strength equal or greater than some welding methods. https://www.amazon.com/3M-08116-Bonding-Adhesive-Cartridge/dp/B00063WASQ/ They make a special mixing gun for it too. Not cheap, but it's incredibly strong. Kinda like industrial strength hot glue.
Are you sure? yes | no