 peter jansen
A quick update, with two freshly-wound coils.
One of the tasks that I'd completely underestimated the difficulty of when I first began this project is coil winding. On the surface it looks very easy -- just winding a wire around a cylinder, many many times -- but keeping track of the number of turns, making multilayered coils, and keeping enough tension that the whole thing doesn't fly apart and uncoil in a fury of wire and tears (which has happened more than once) is all more challenging than it first appears. That's why it's comforting to feel like I'm finally getting the hang of this whole coil winding thing.
While I'd previously wound my first sensor coil, this was more of a practice coil, and the first multilayer coil that I'd attempted to wind. A proton precession magnetometer (and, presumably, a spatially resolved PPM) generally needs at least two coils: the sensor coil, which receives the very low-intensity signals, and a polarizing coil, which pulses a large 100+ Gauss field around the sample immediately before recording from the sensor coil. Some PPM designs use the same coil for the polarizing field and sensor coil, but here we've decided to break them out into two separate coils. This is largely because if the design works, it'd be wonderful to be able to experiment with different coil geometries, to see how open (as in spatially) the system could be while still working.
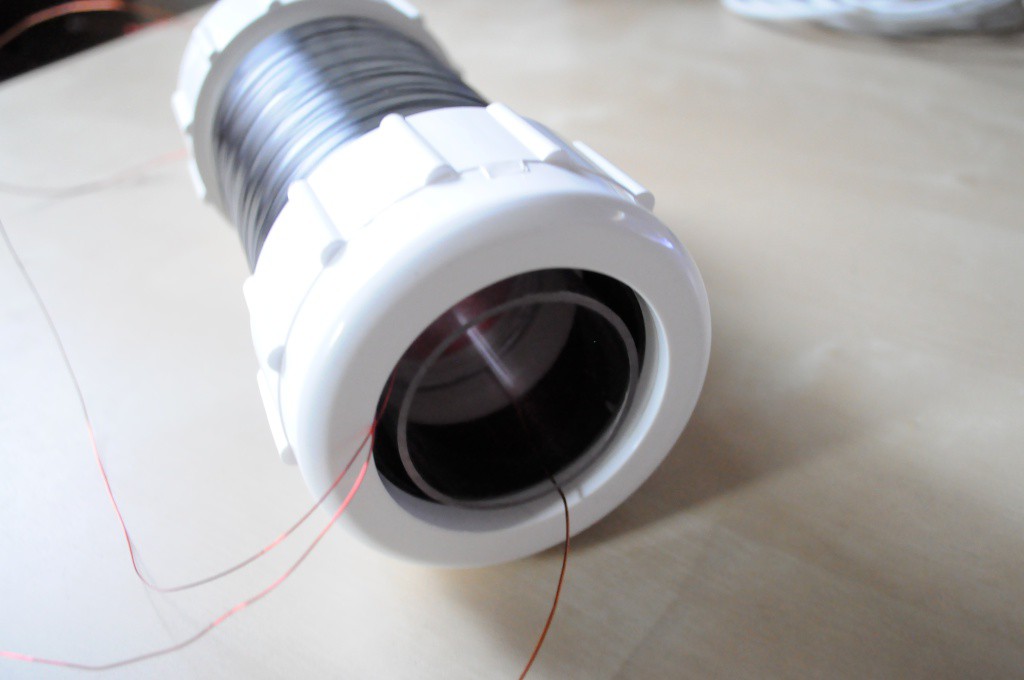
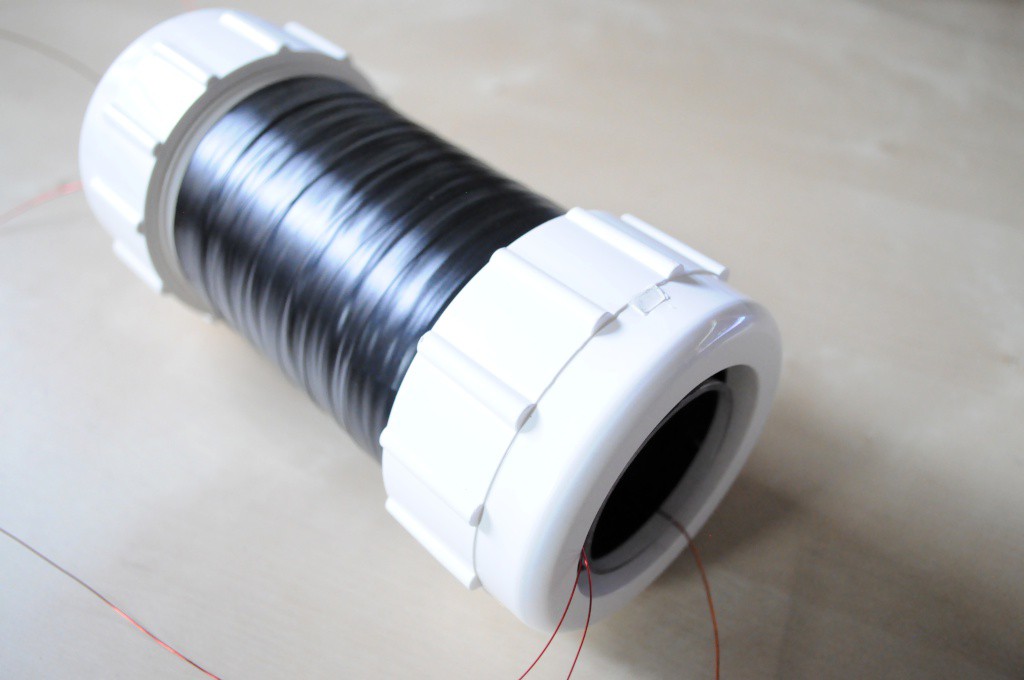
With a minimum field intensity of 100 Gauss and a desired power supply voltage of 12V and ideally somewhere in the range of 2 amps, the constraints were so specific that the prepolarizing coil nearly designed itself. The coil could only have a diameter slightly larger than the sensor coil, so I set off to find a coil form with a diameter of about 2.5 inches. After roaming the plumbing aisle of Home Depot, I stumbled across a beautiful coupler (above) with a ~2.5 inch inner diameter, about 10cm of length for the prepolarizing coil windings, and some wonderful screwable caps with rubber gaskets that allow the sensor coil to be both firmly held in place, and easily disassembled. Great! David popped this on the lathe to smooth out/remove some nubs and markings on the outter surface, then it was time to head on down to coil winding town.
This coil has three layers of 22 AWG wire, at about 128 winds each. This is about 10% less than the theoretical density per layer for this coil form (about 145), but I've found in practice that small kinks in the wire tend to lower the density yield a small amount. I think professional coil winders likely include a jig to straighten the tiny kinks out of magnet wire coming from the spool, but I don't suspect that it'll be an issue here.
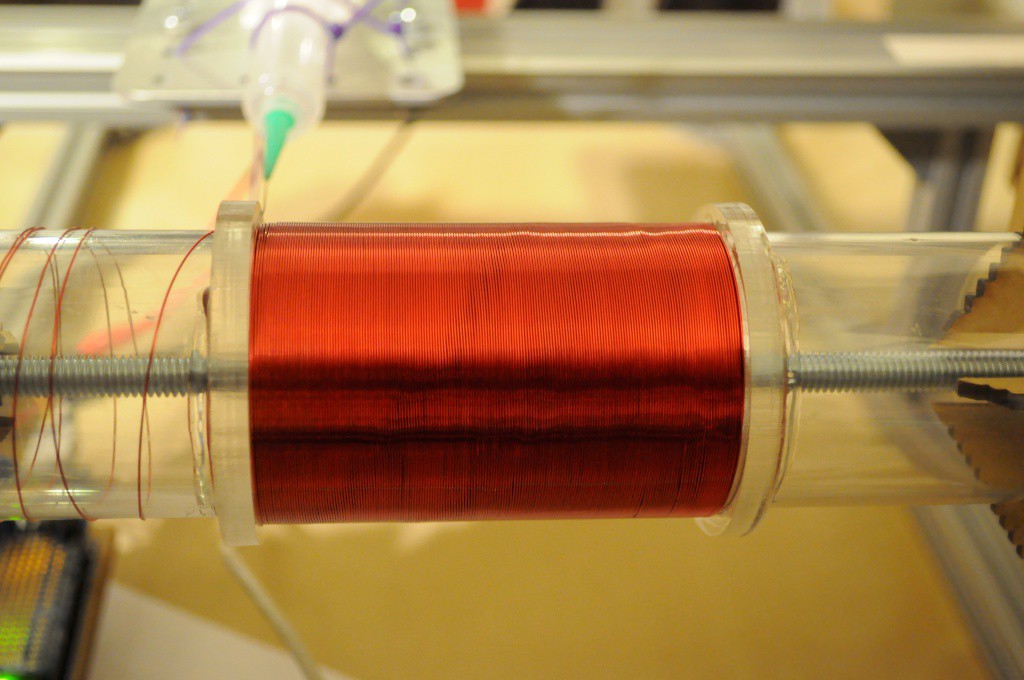
While we were at it, we put together a coil form for a second sensor coil, that perfectly fits inside the polarizing coil. Using the lessons I learned from the first sensor coil, I used wider 1/4 inch acrylic to make the ends for this coil form, and paid very close attention to the distance (exactly 81mm) between the two ends at all points around the circumference. I hadn't appreciated that this would be an issue with the first coil, and the end plates are unfortunately a tiny bit uneven, which makes the tricky bit of stacking one layer atop another extra tricky. At 81mm, this coil form is also about 25% longer than the original, and uses 740 winds of 26 AWG magnet wire, at with 4 layers at 185 turns each.
With these two coils complete, I think we're starting to get very close to having a proton precession magnetometer, and observing the first PPM signal. I'm hoping to connect a relay to the prepolarizing coil, adding a bit of code to the firmware to pulse this, and see if we can't observe our first signals from the subatomic world!
Discussions
Become a Hackaday.io Member
Create an account to leave a comment. Already have an account? Log In.