
Break
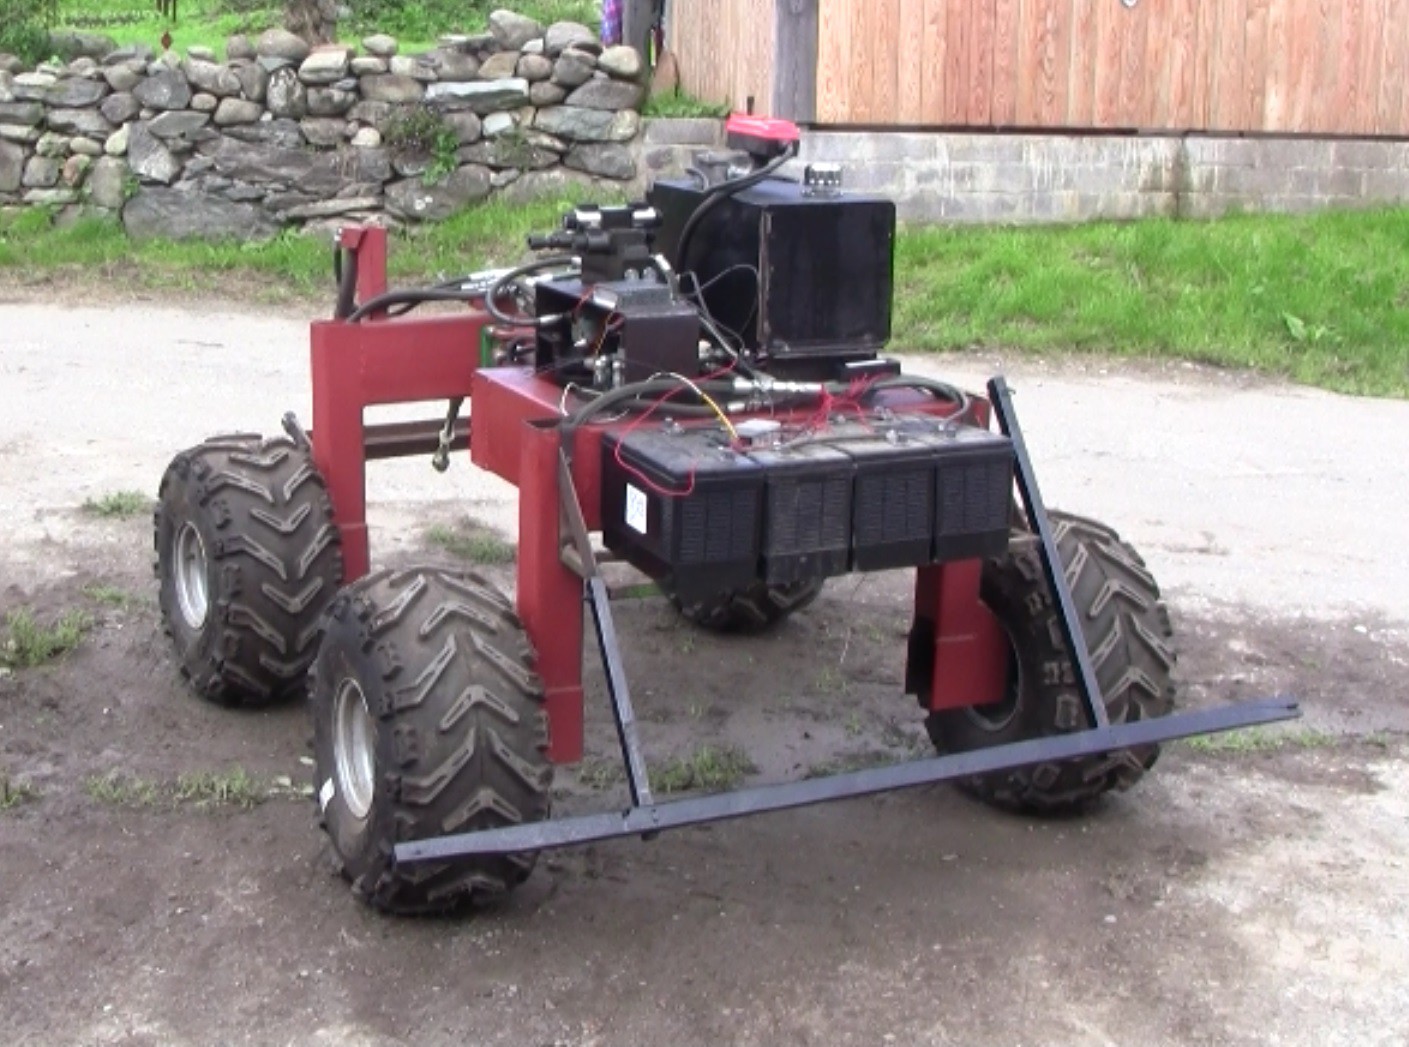
We are building an autonomous electric tractor to make our organic vegetable farm more profitable and reduce co2 emissions.
Already have an account? Log in.
To make the experience fit your profile, pick a username and tell us what interests you.
Break
mk2hitch.FCStdThis is an idea about how to do a more functional implement hitch. the idea still uses a standard triangle quick hitch, but it has a side to side actuator, as well as an up and down actuator where the arm joins the machine, as well as three actuators on the implement side of the hitch to give roll, pitch and yaw control over the implement. The concept would use the same pillow block bearings that my chassis design uses for the steering and suspension jointsfcstd - 222.85 kB - 10/01/2020 at 11:41 |
|
|
chassis.FCStdThis is the chassis design i used, in the standard FreeCAD file format. the sketches 'steering' and 'hitch' are what i used to work out how a hydraulic cylinder with a retracted and extended length would work, and manipulate the locations of the pins for those cylinders to get the desired result.fcstd - 46.66 kB - 10/01/2020 at 11:27 |
|
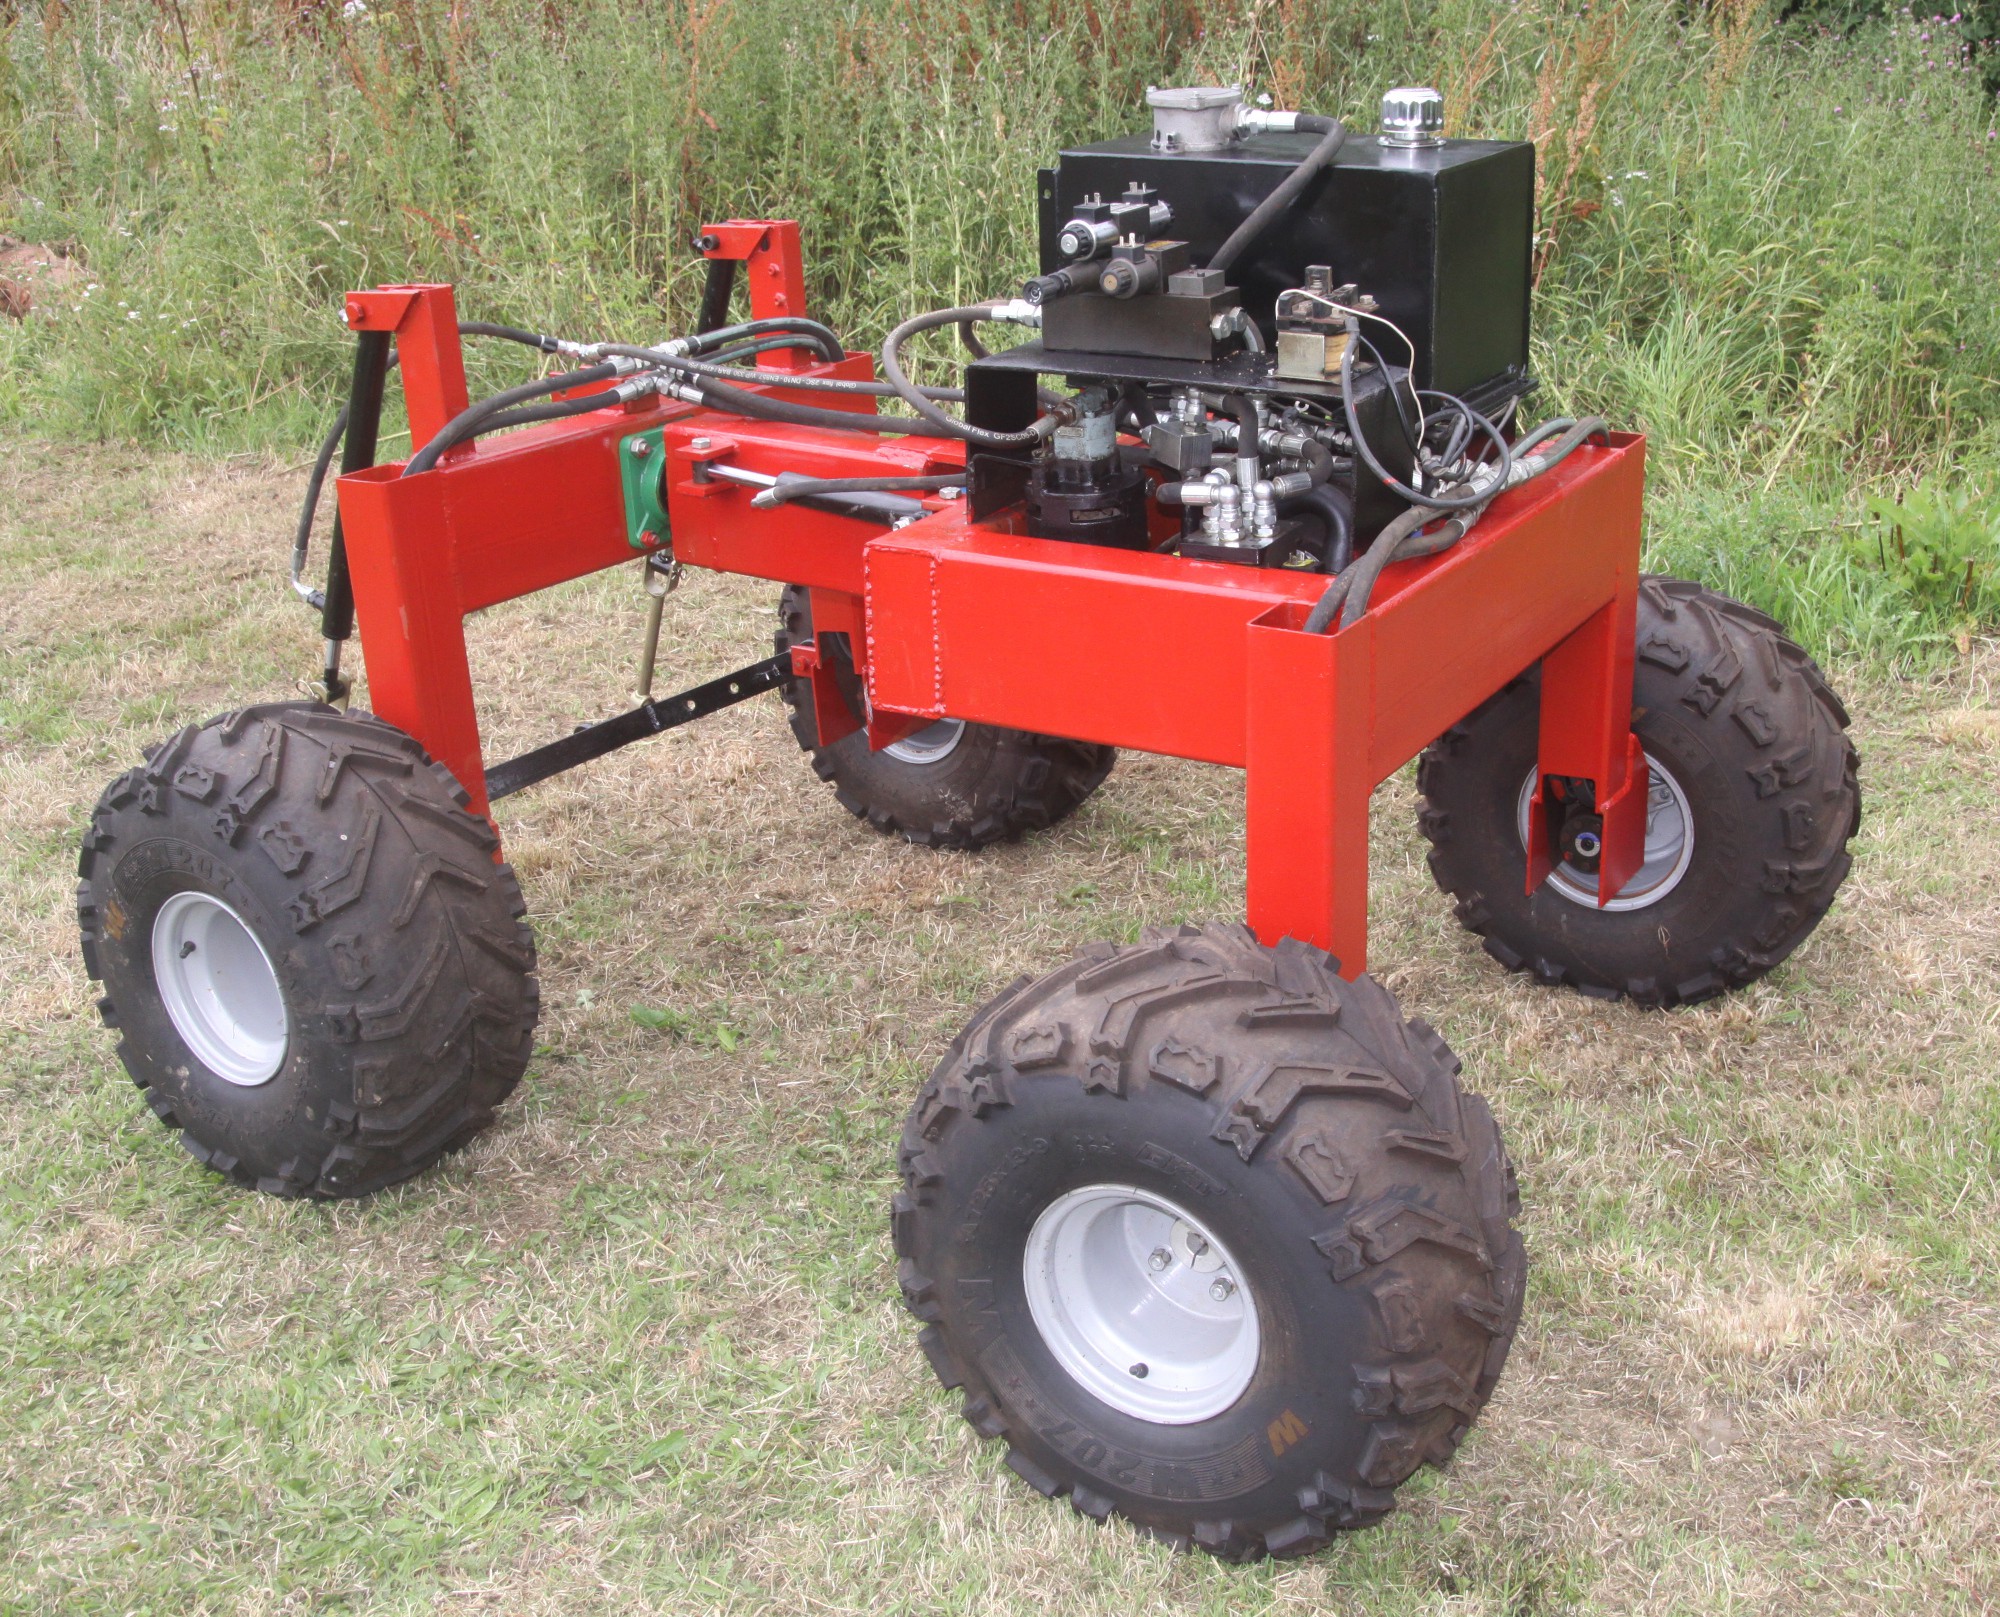
I started by cutting all the lengths of steel box section to length according to the chassis design. Next i made the hydraulic wheel motor mounting plates. I used a compass and pencil to mark up for the large holes that took the body of the hydraulic motors, roughly cut these out with an angle grinder, then used a small grinding disc to enlarge them to the right size. i then sharpened 4 studs of threaded bar, threaded them into the bolt holes on the hydraulic motor, put the plates on the motors and tapped with a hammer to mark the centers of the bolt holes on the mounting plates. I drilled the bolt holes, test fit, and made small adjustments with a grinding bit on a drill. next i cut the side and top pieces of the box to attach these motor mounting plates to the legs with the correct amount of offset to prevent the wheels interfering with the legs, and welded these on to the legs. This was the hardest and most time consuming part of the whole build. If i were to do it again, i would design these structures in freecad, with locating tabs, then get all these plates cut by a local cnc plasma cutting service.
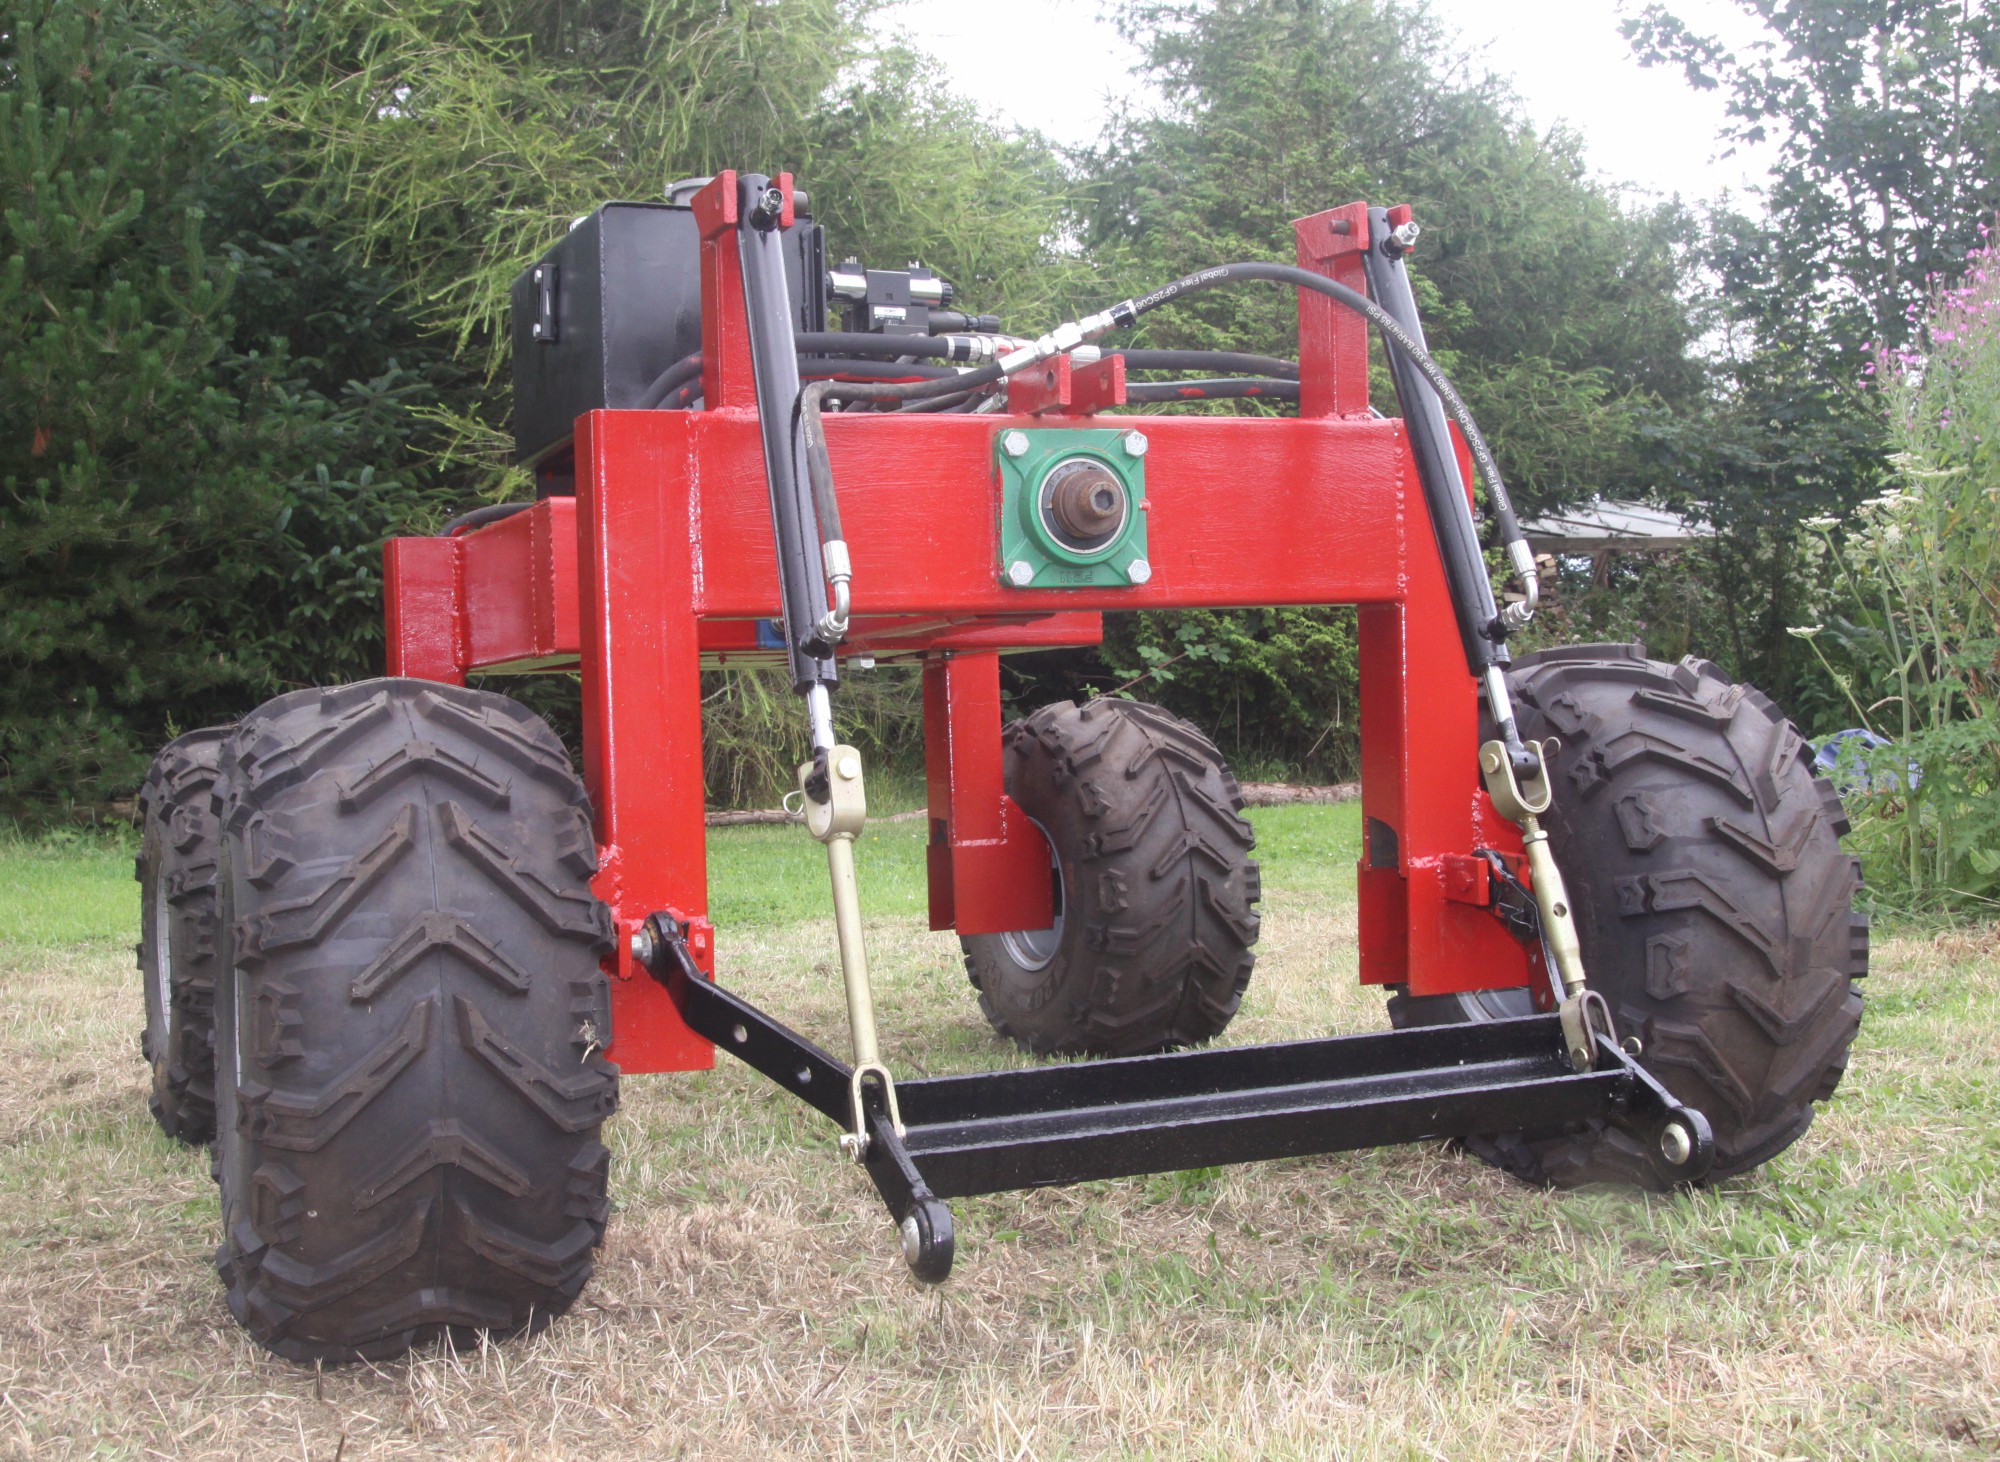
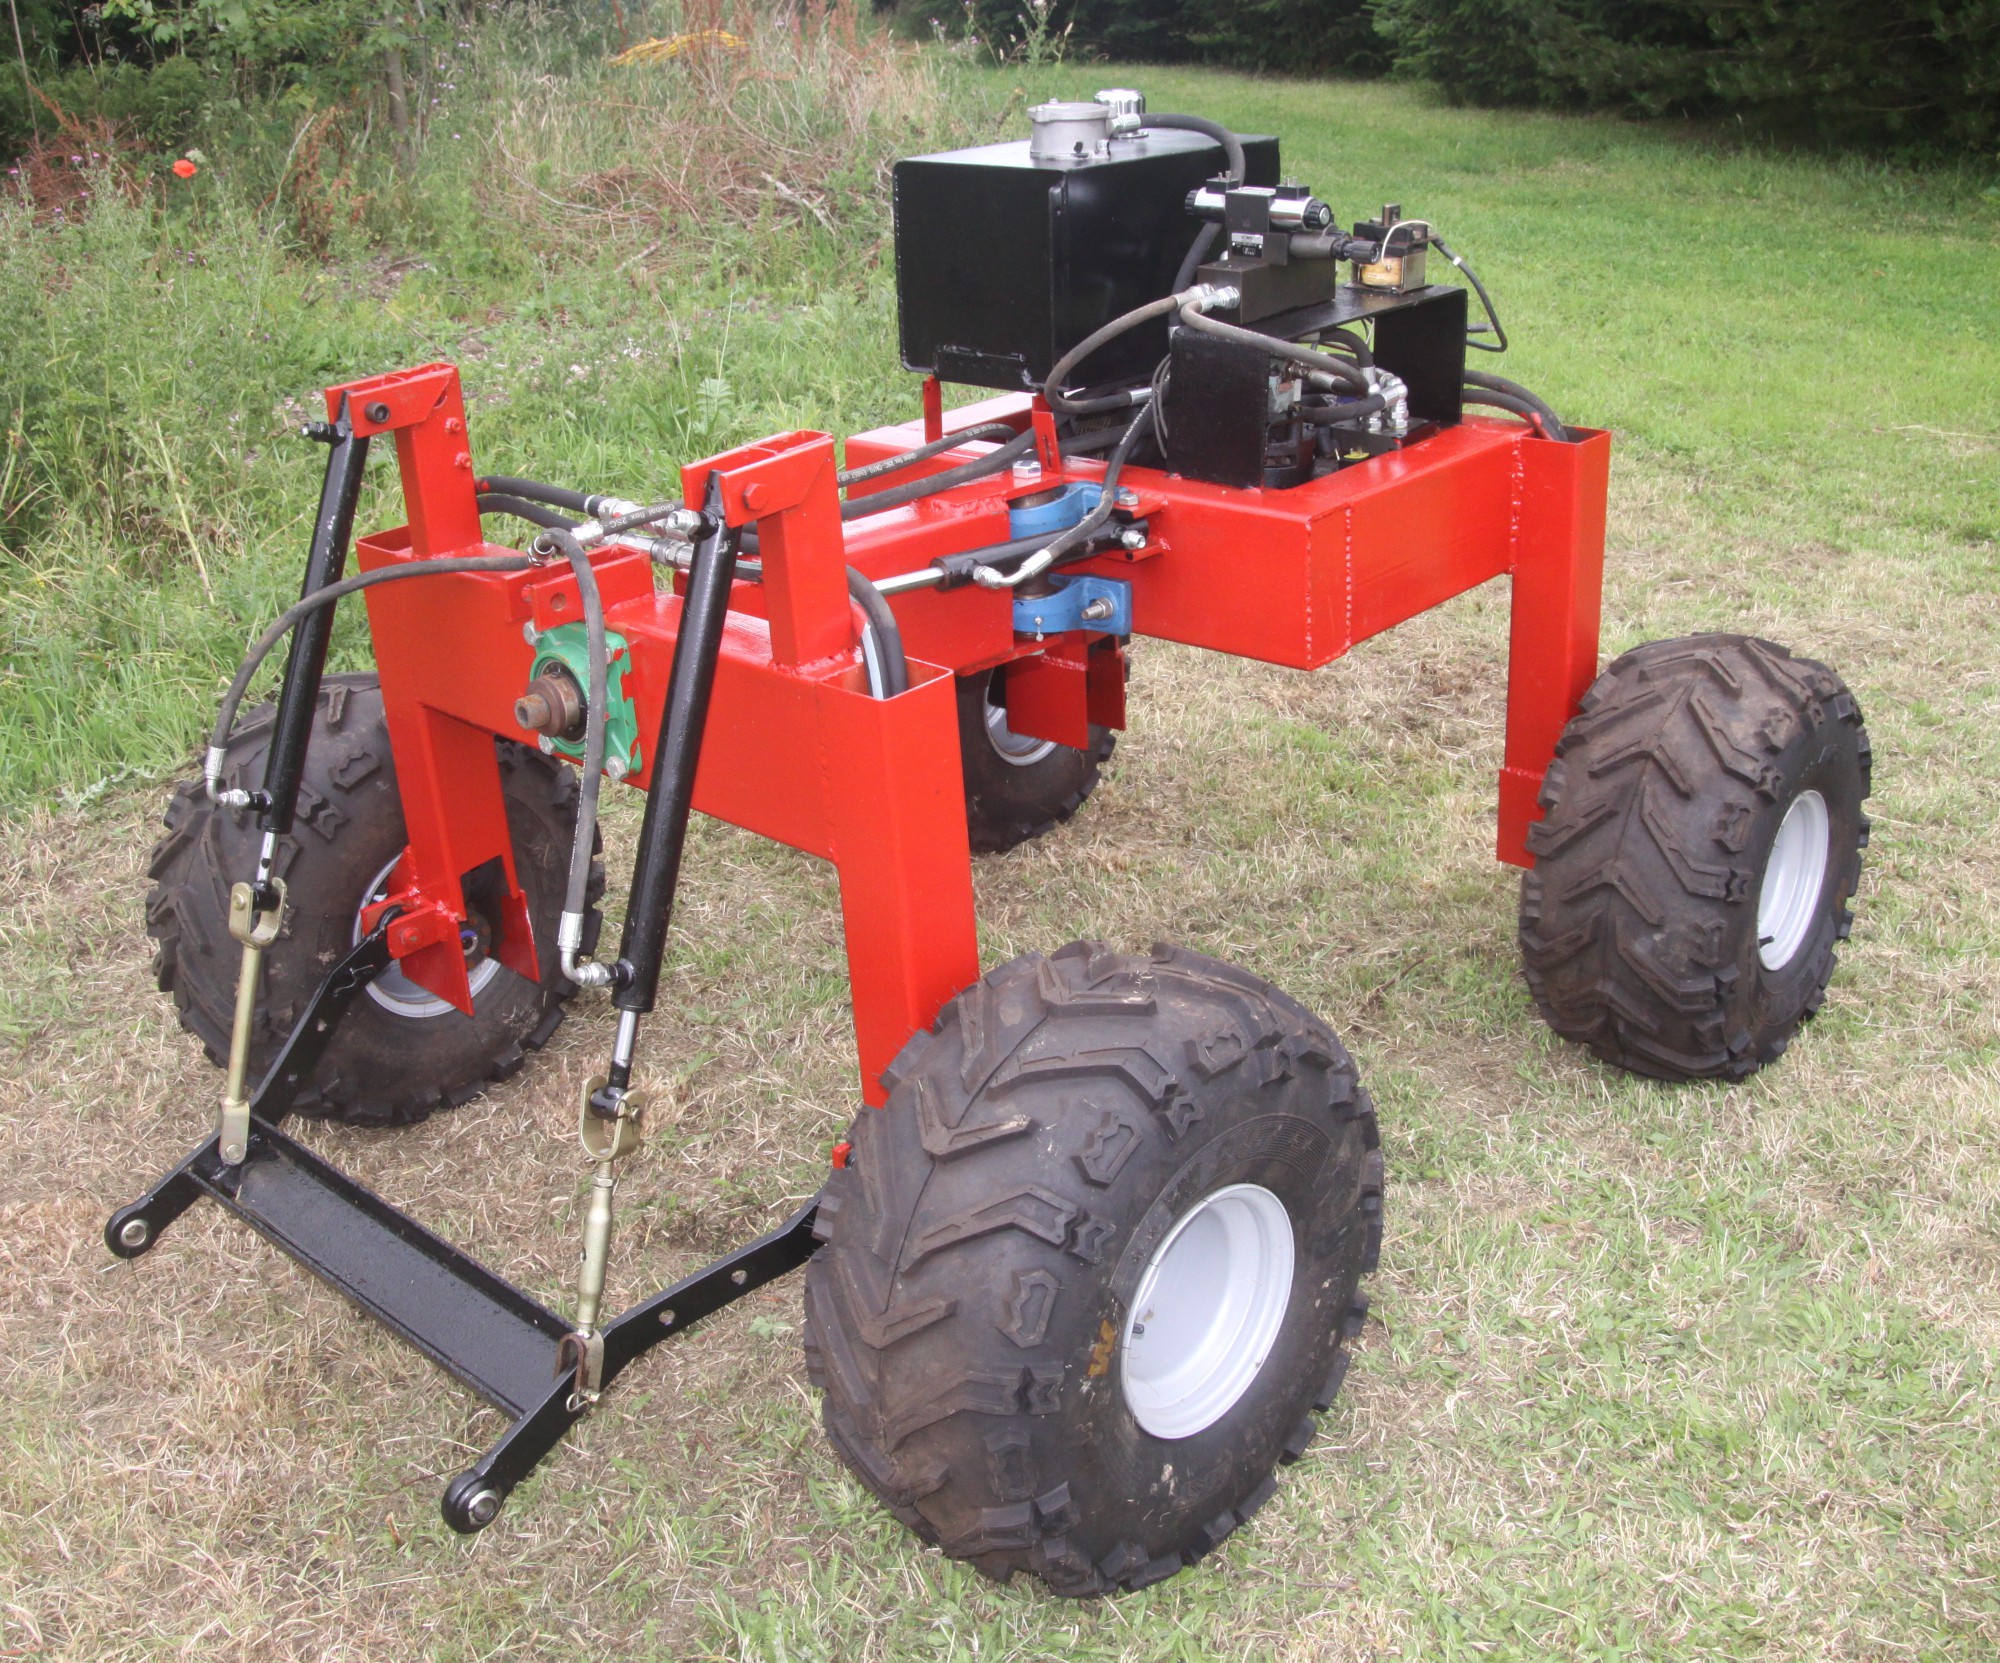
The next part of the process was welding the parts of the chassis together. I used a flat-ish concrete slab, a large timber framers square, and a steel ruler to square everything up. The chassis only has three moving parts. Perhaps the most complicated part is the center piece. this is made of a single length of 100x200mm steel box. At one end of this piece I made a large (200mm wide) clevis, by drilling holes in two lengths of steel plate, and welding these bits of plate to the box section. This clevis bolts on to the 2" round bar that is held by the pillow block bearings that are bolted to the main (largest) chassis. This provides the steering. Accuracy is reasonably important here to ensure that the steering moves freely and in a horizontal plane with respect to the rest of the machine. At the other end of this center piece another length of 2" bar, this time welded into the center piece projecting forward. the bearings that support the third part of the chassis slide onto this bar. this bar requires an internal support plate within the box section. This is the suspension system (it is not shock absorbing in any way, but the weight of the machine is suspended on these bearings, such that it can conform to undulations in the landscape, keeping all four wheels in contact with the ground).
If you do not have access to a substantial pillar drill, you will need to get the plates for the clevis, and the plates that support the projecting bar cut by the cnc service you use to make the hydraulic wheel motor mounts to make these parts for you. Also, though i used solid 2" bar, you could use thick walled steel tube with an appropriate external diameter to fit your bearings, and an appropriate internal diameter to take a tap to make the threads for the large bolts you will need to assemble the machine.


 txyz.info
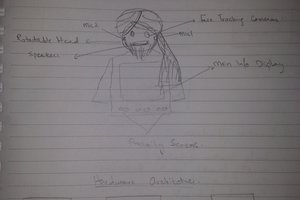
 shamylmansoor
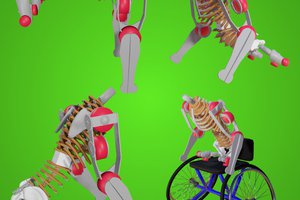

 Ashraf Minhaj
Please take a look at our latest work at https://wiki.opensourceecology.org/wiki/LifeTrac_Genealogy and contact info at opensourceecology dot org to collaborate.