Okay as promised: LEDs !!
ok, maybe not a lot of them, but they are rated for 100Watt power consumption.
To simulate sunlight during short winter days, i decided to build a LED light for my plants.
I had 3 big aspects: Price, Efficiency and Cooling (LEDs do get hot!)
ok first the Budged: a lot of growers use full-spectrum Leds. They have a combination of red,blue, IR, and UV light, specially designed for plants. BUT, they are pretty expensive (about 2-5€ per Watt)
My chinese electronics shop of trust, sells 100 Watt led chips for under 10€ and they even have cheaper deals. But in case of a failure, it is easier to replace one 10€ led instead of testing hundreds of 1watt leds. And for my design, few big chips are easier to install. ( i allready soldered thousand of leds by hand, getting tired of it... )
Efficiency: The spectrum of the white leds doesnt have to much of green light (wich is mostly reflected by green plants), but full spectrum LEDs waste almost no Energy.
That said, i think the Photon Blaster is way better than a High Pressure Sodium Lamp of the same Power, because it radiates way less heat, more Lumen and can be dimmed or pulsed.
Cooling: Since this isnt my first LED light, not even the first with these 100 Watt chips, i know these chips use some serious Cooling. There are people on the net, building Flashlights with these chips. The cooling is usually to small, but it doesnt matter because the Batteries are dead, before the Flashlight gets hot.
In my case, the Light will be running at least 16h without cooldown. So the cooling system should be able to hold the chips cool forever. First i tried CPU cooler, because the chips are a similar size than CPUs, but they are a pain to mount. So for this build i went to the local scrapyard and got some massive Aluminium Heatsinks. For future builds i would love to try water cooling, but im still looking for cheap parts.
ok enough talk, lets build a Light:

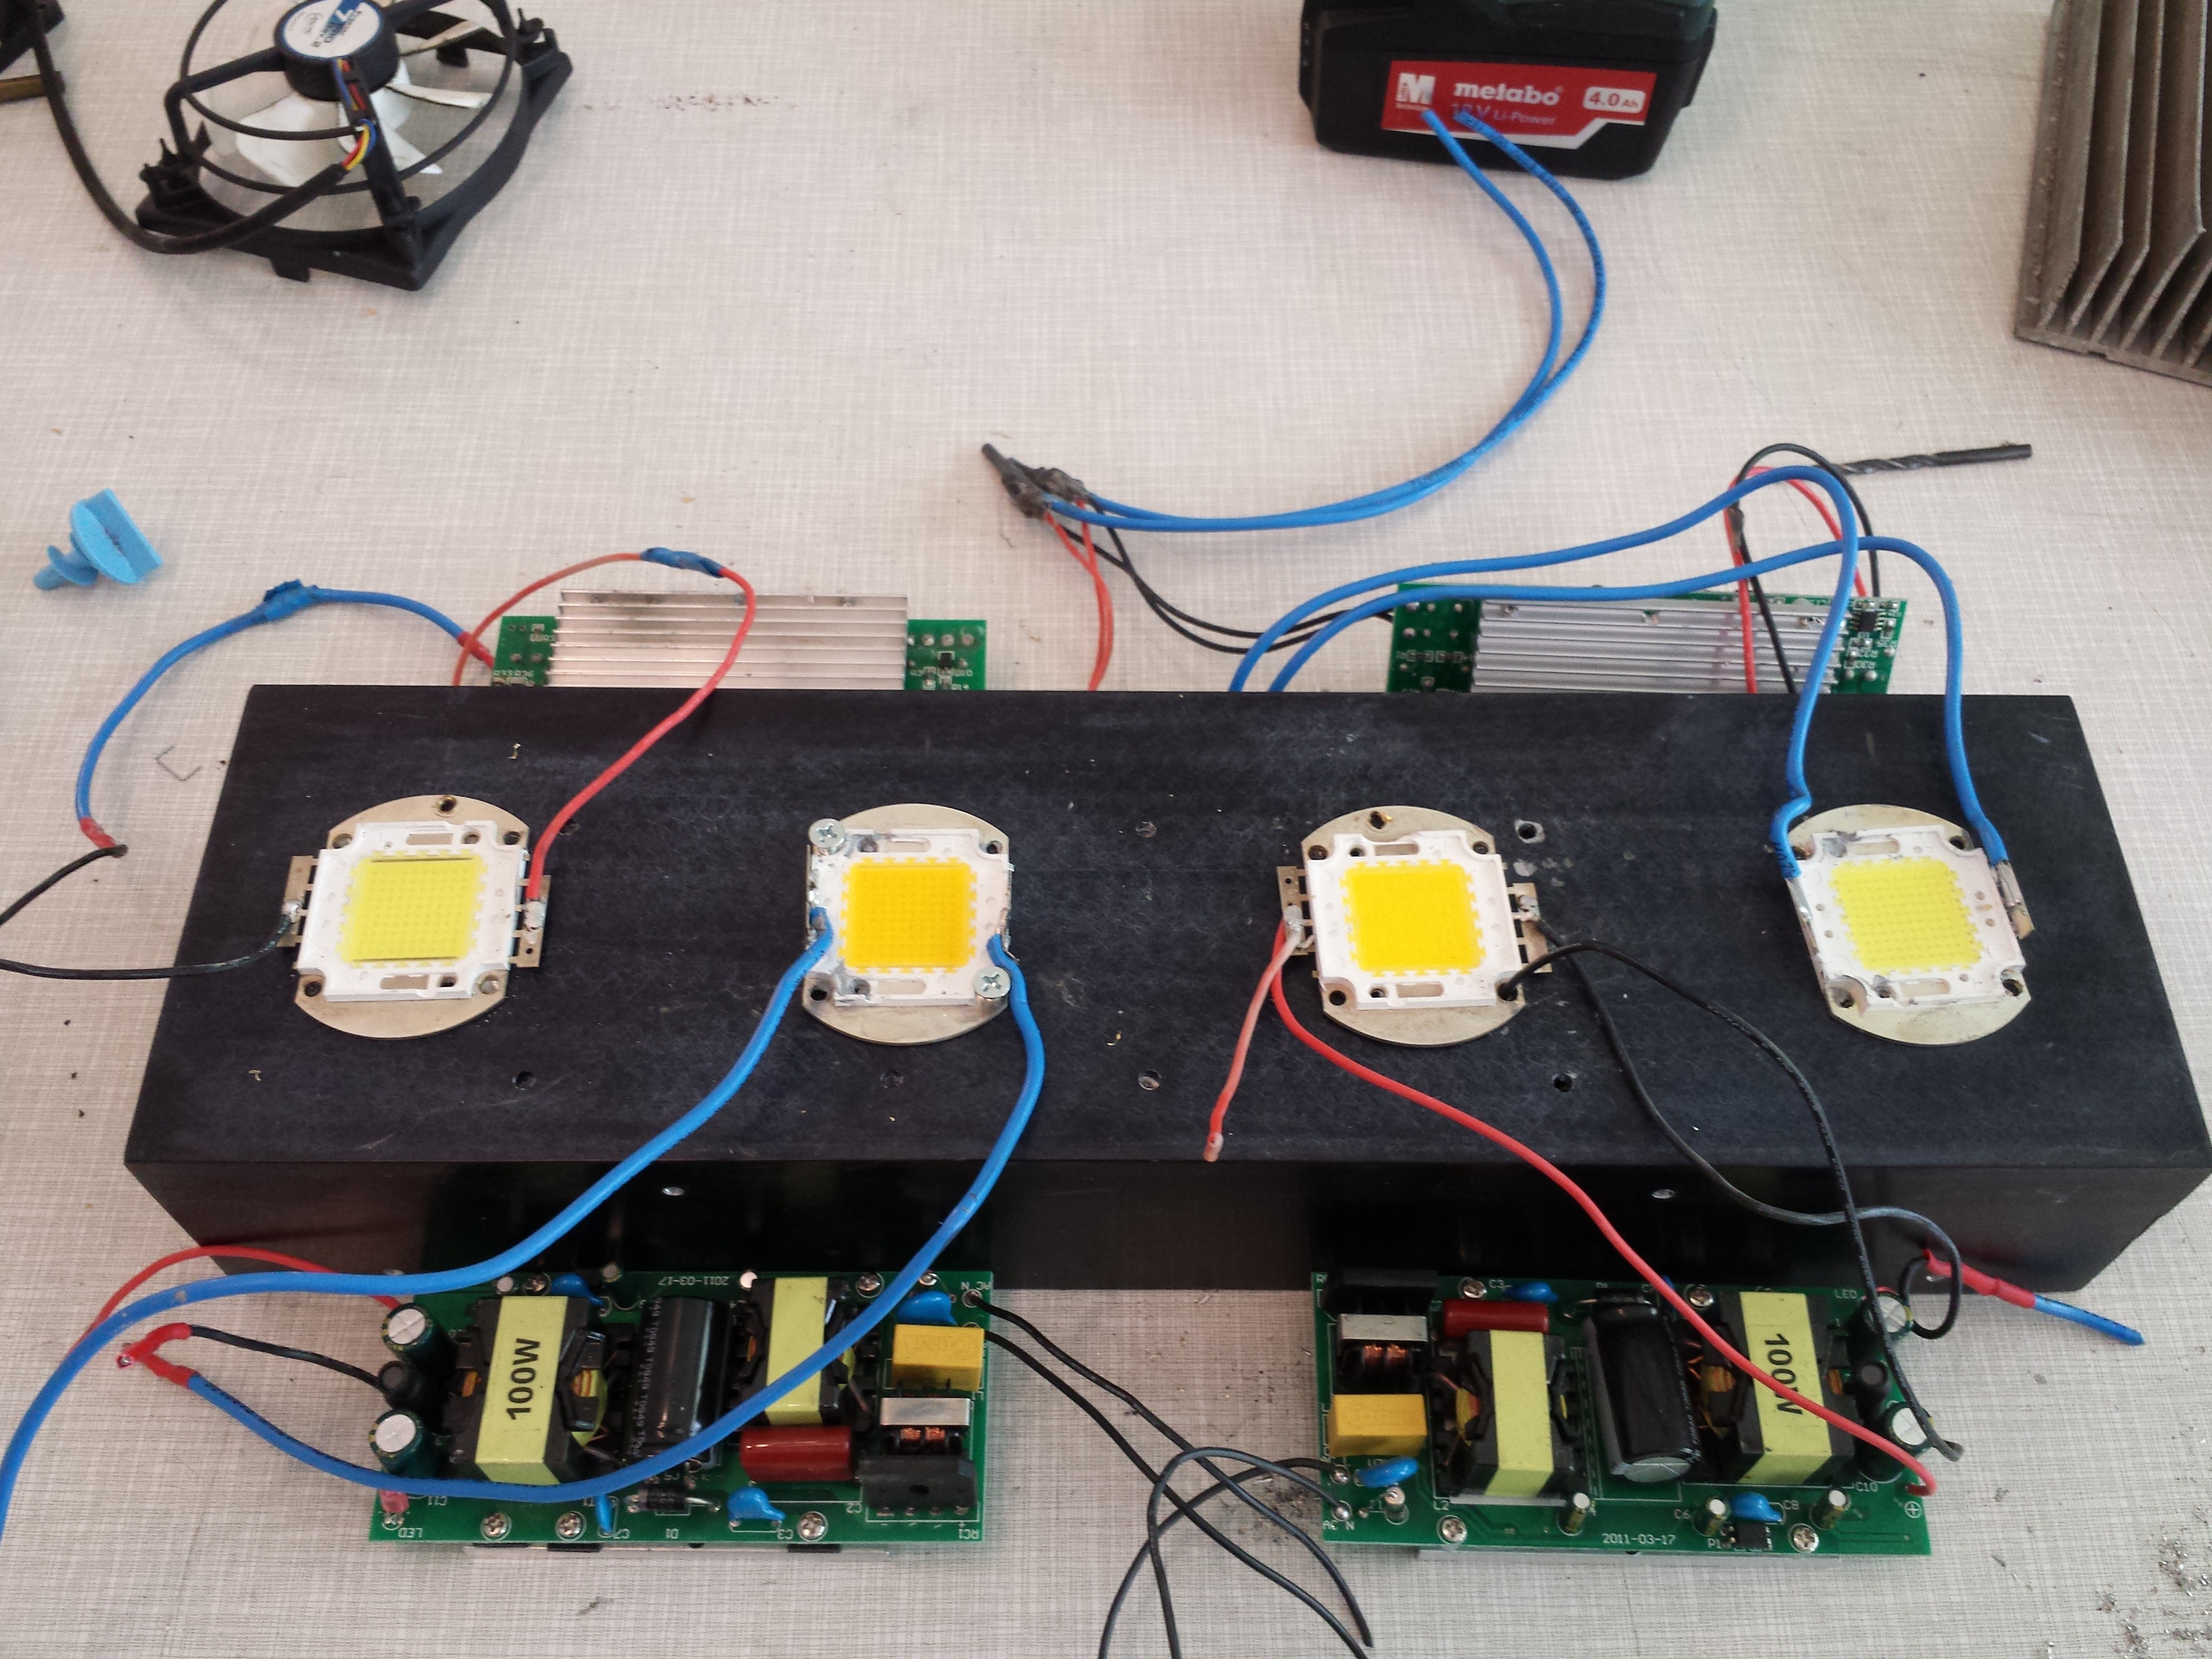
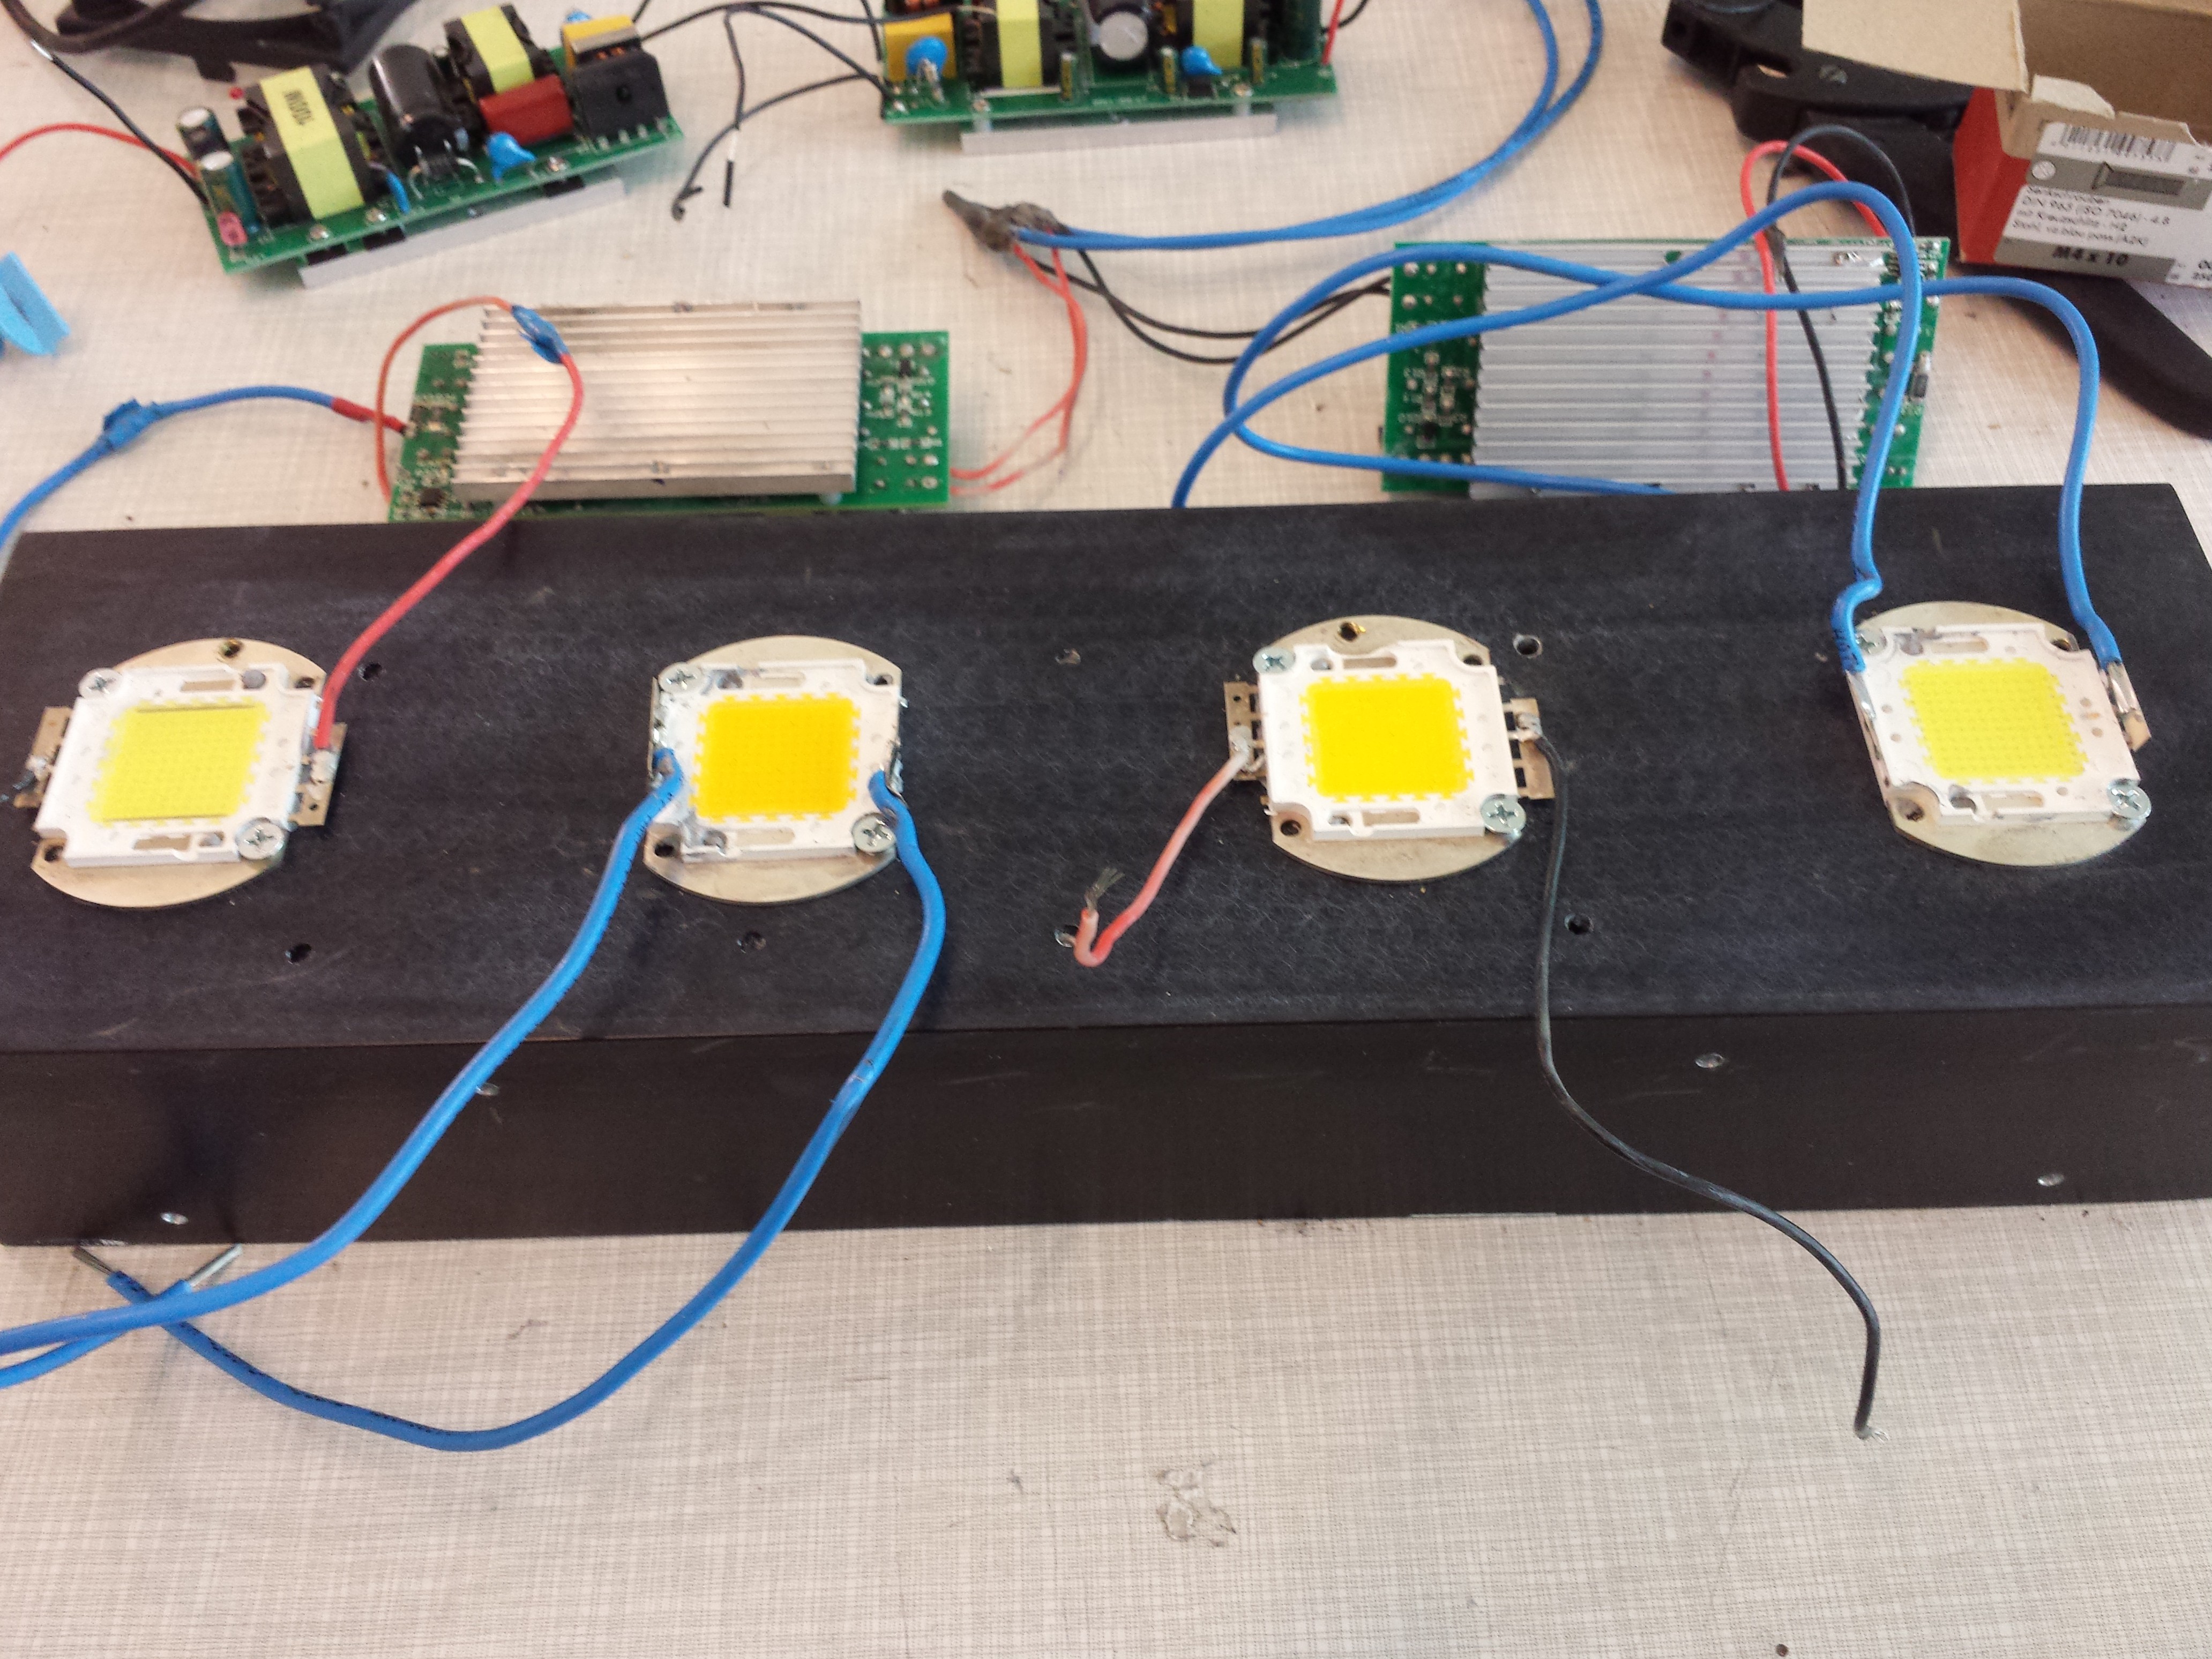
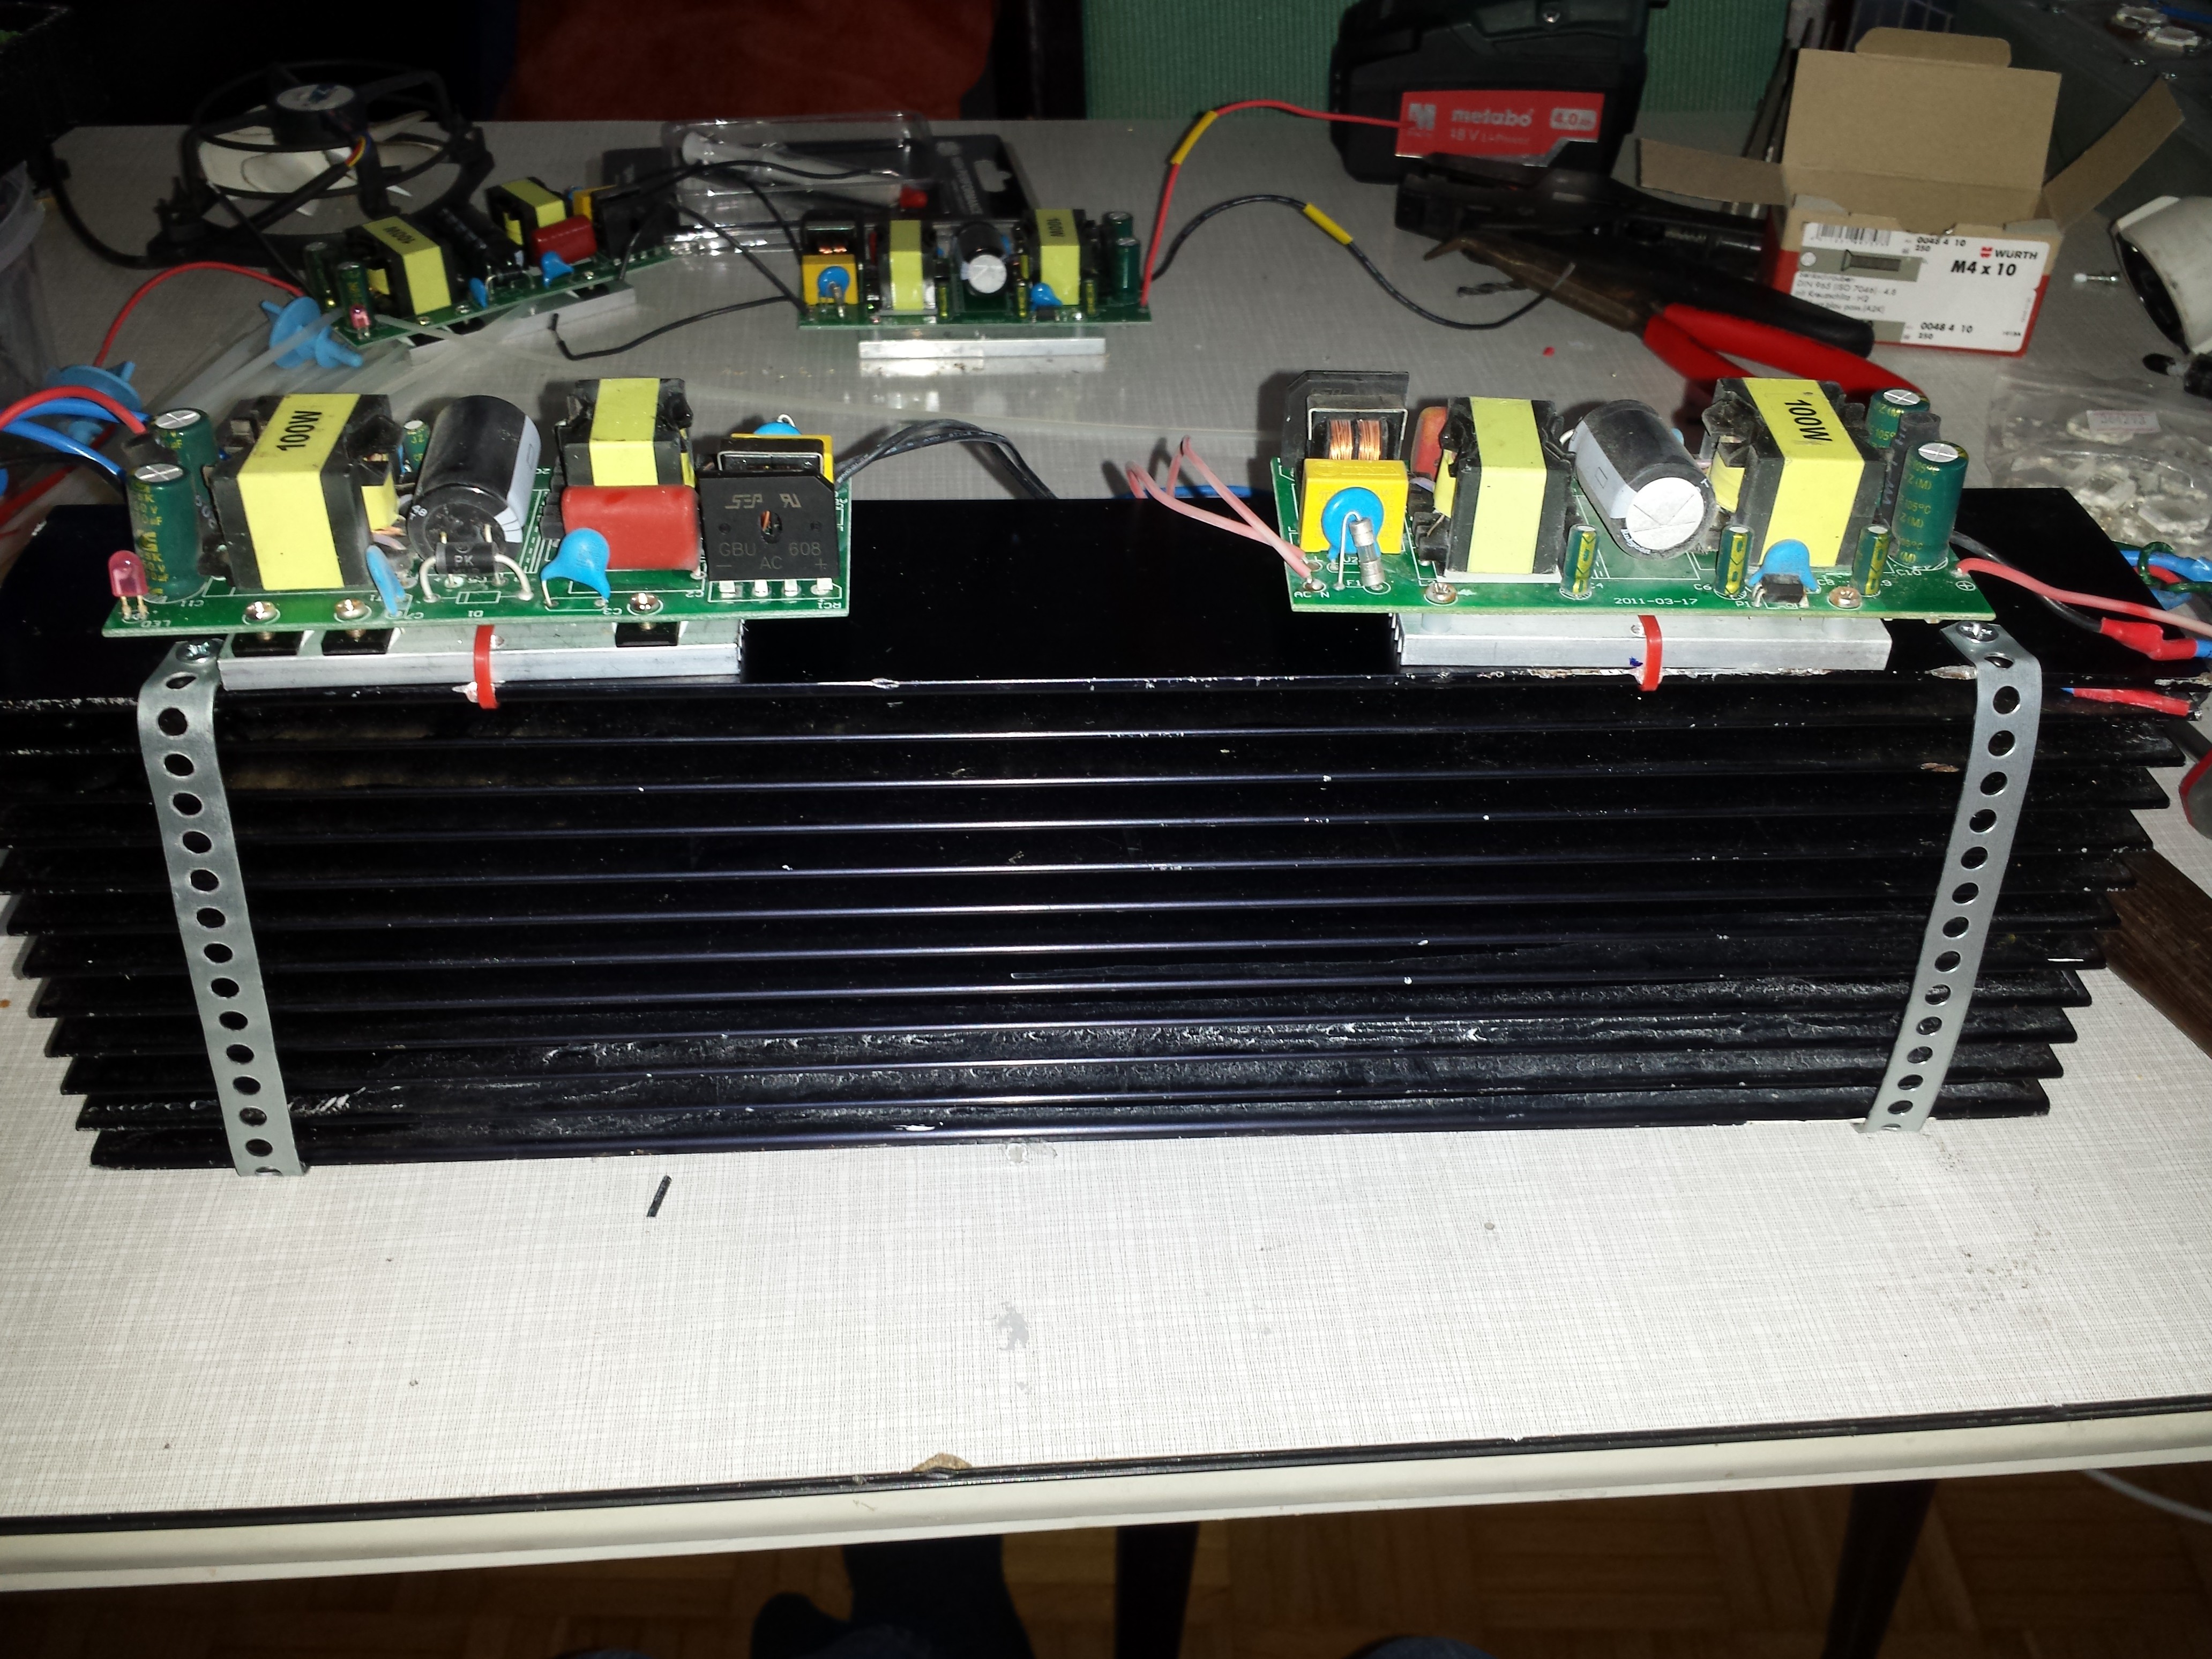
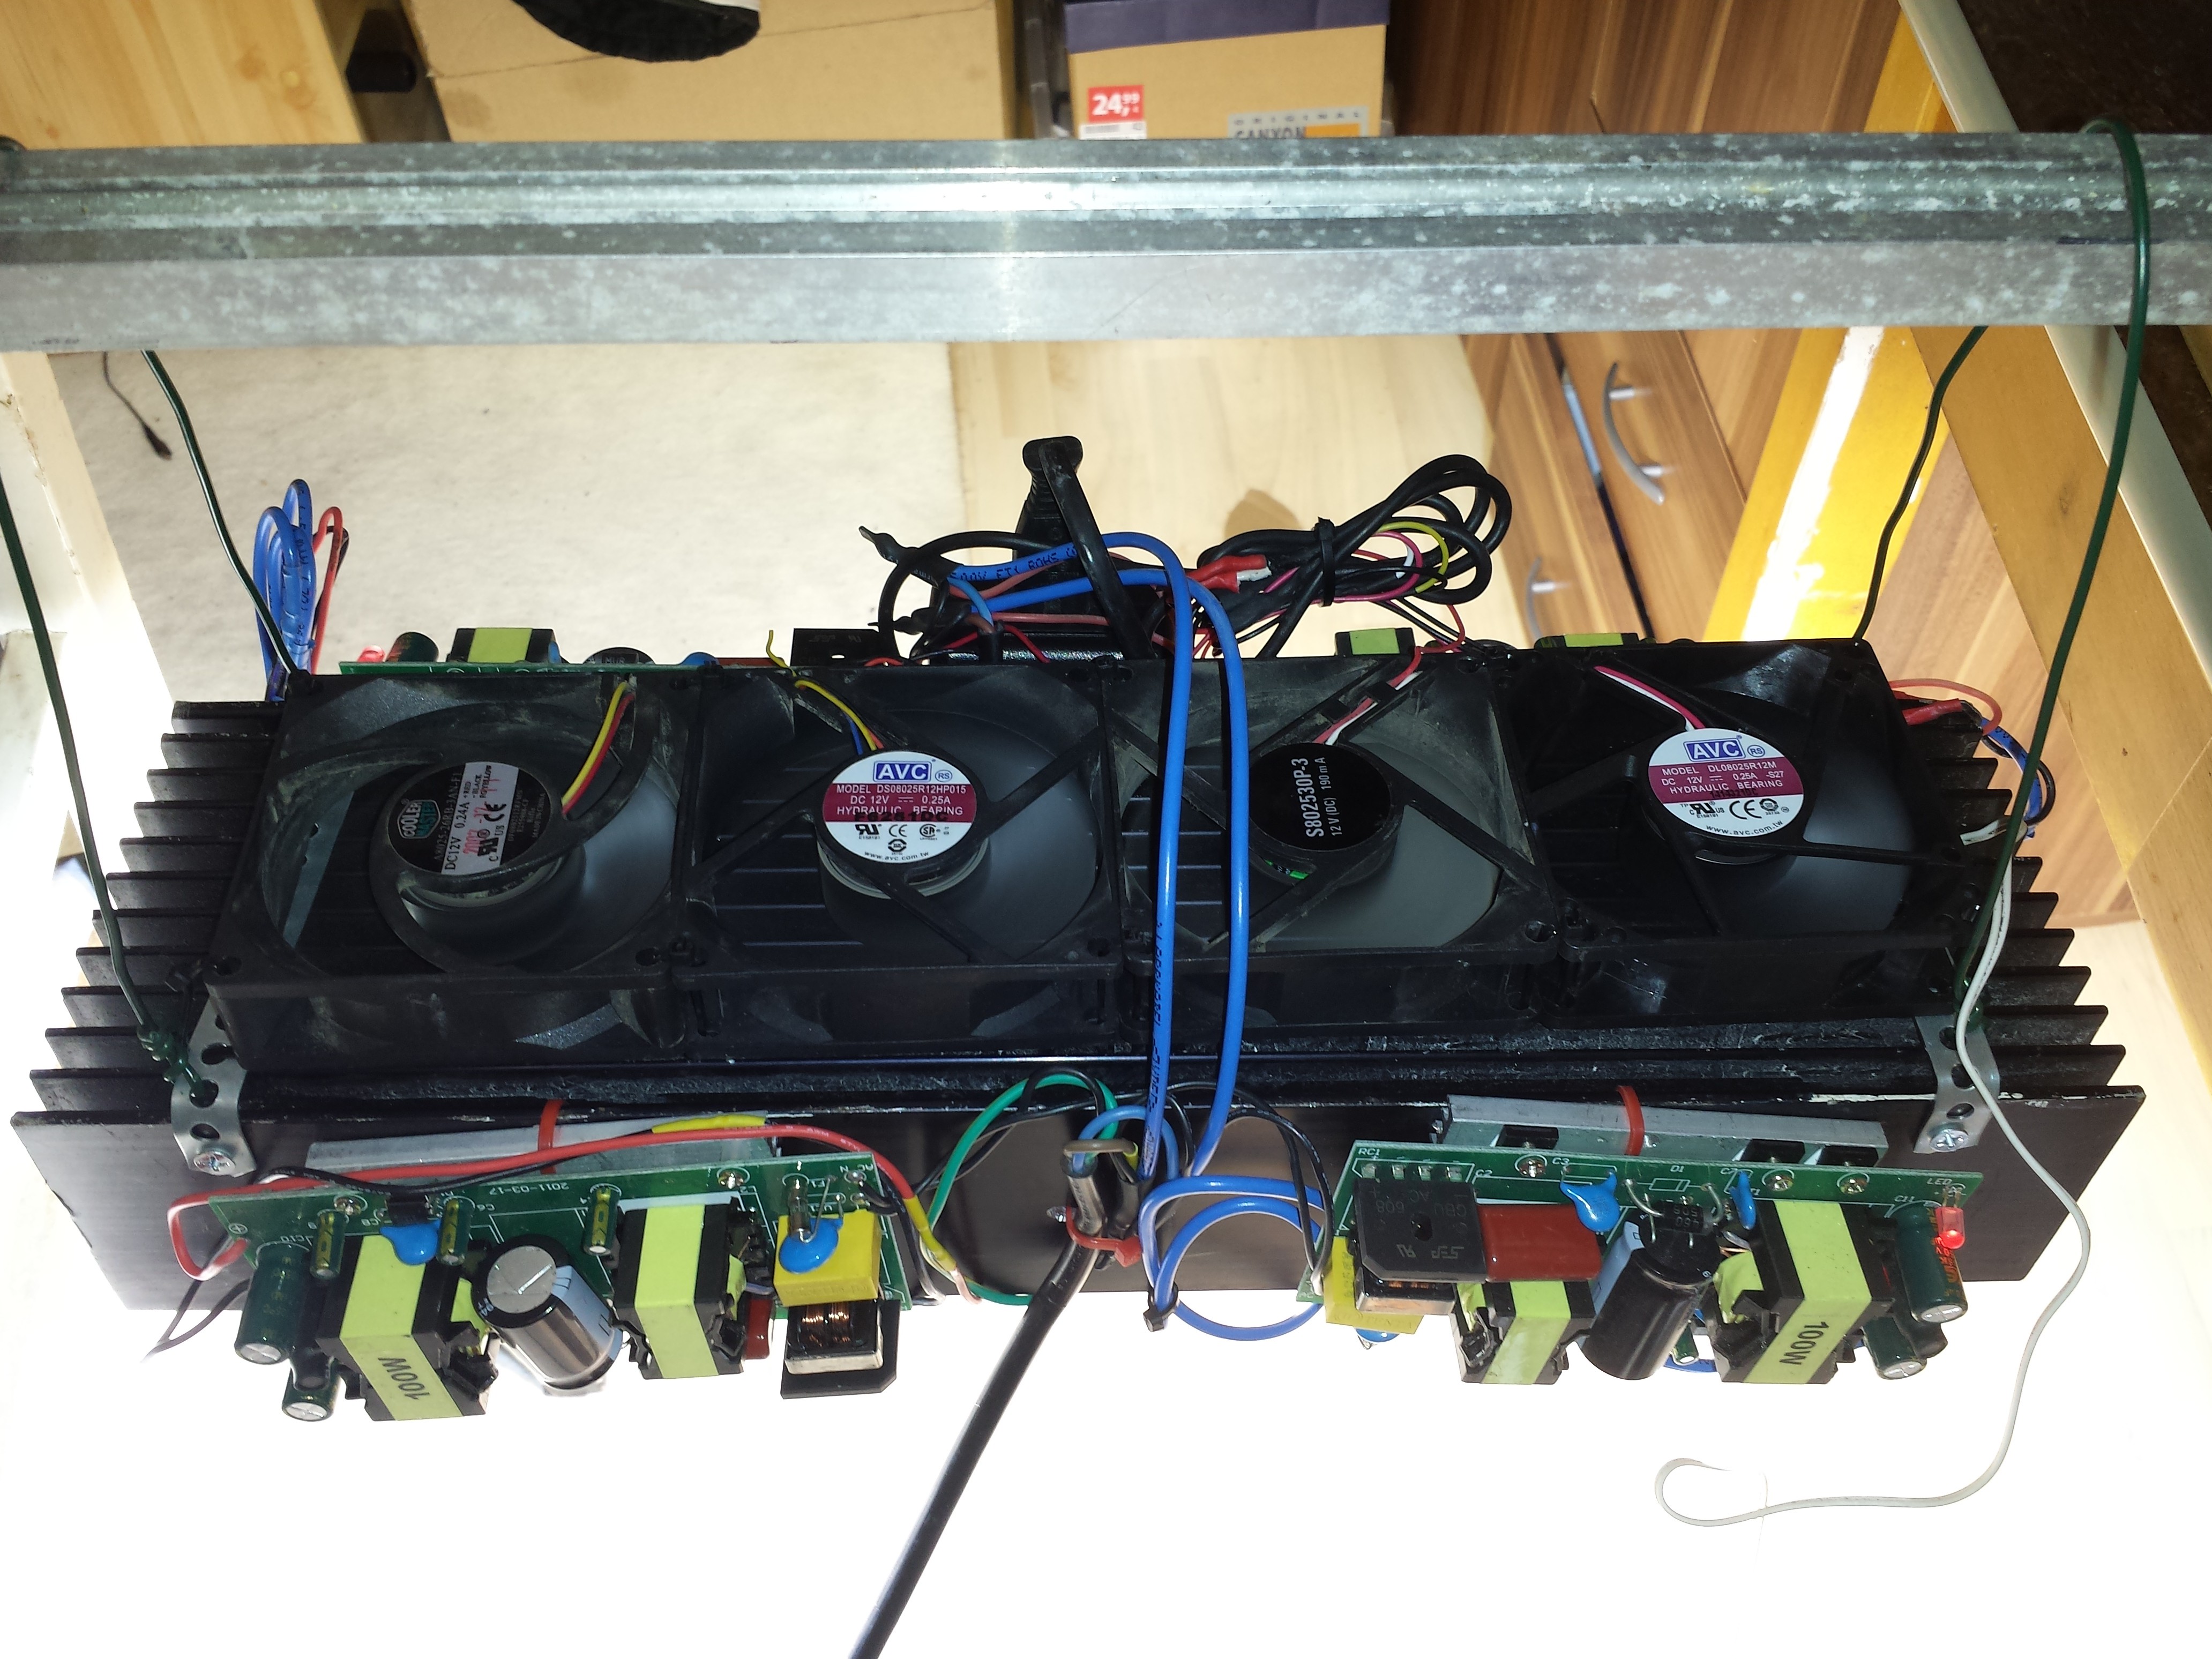
In the picture above you see my big ass heatsink, the LEDs and the LED-Drivers.
Since im re-using some of the LEDs and Drivers from the Photon Blaster V2 (R.I.P.), they are still wired together. The wiring is super simple: all AC lines together to a Standard EU-Plug and every driver has Positive and Negative Wire clearly marked. Solder them to the LEDs, while not attached to the Heatsink.
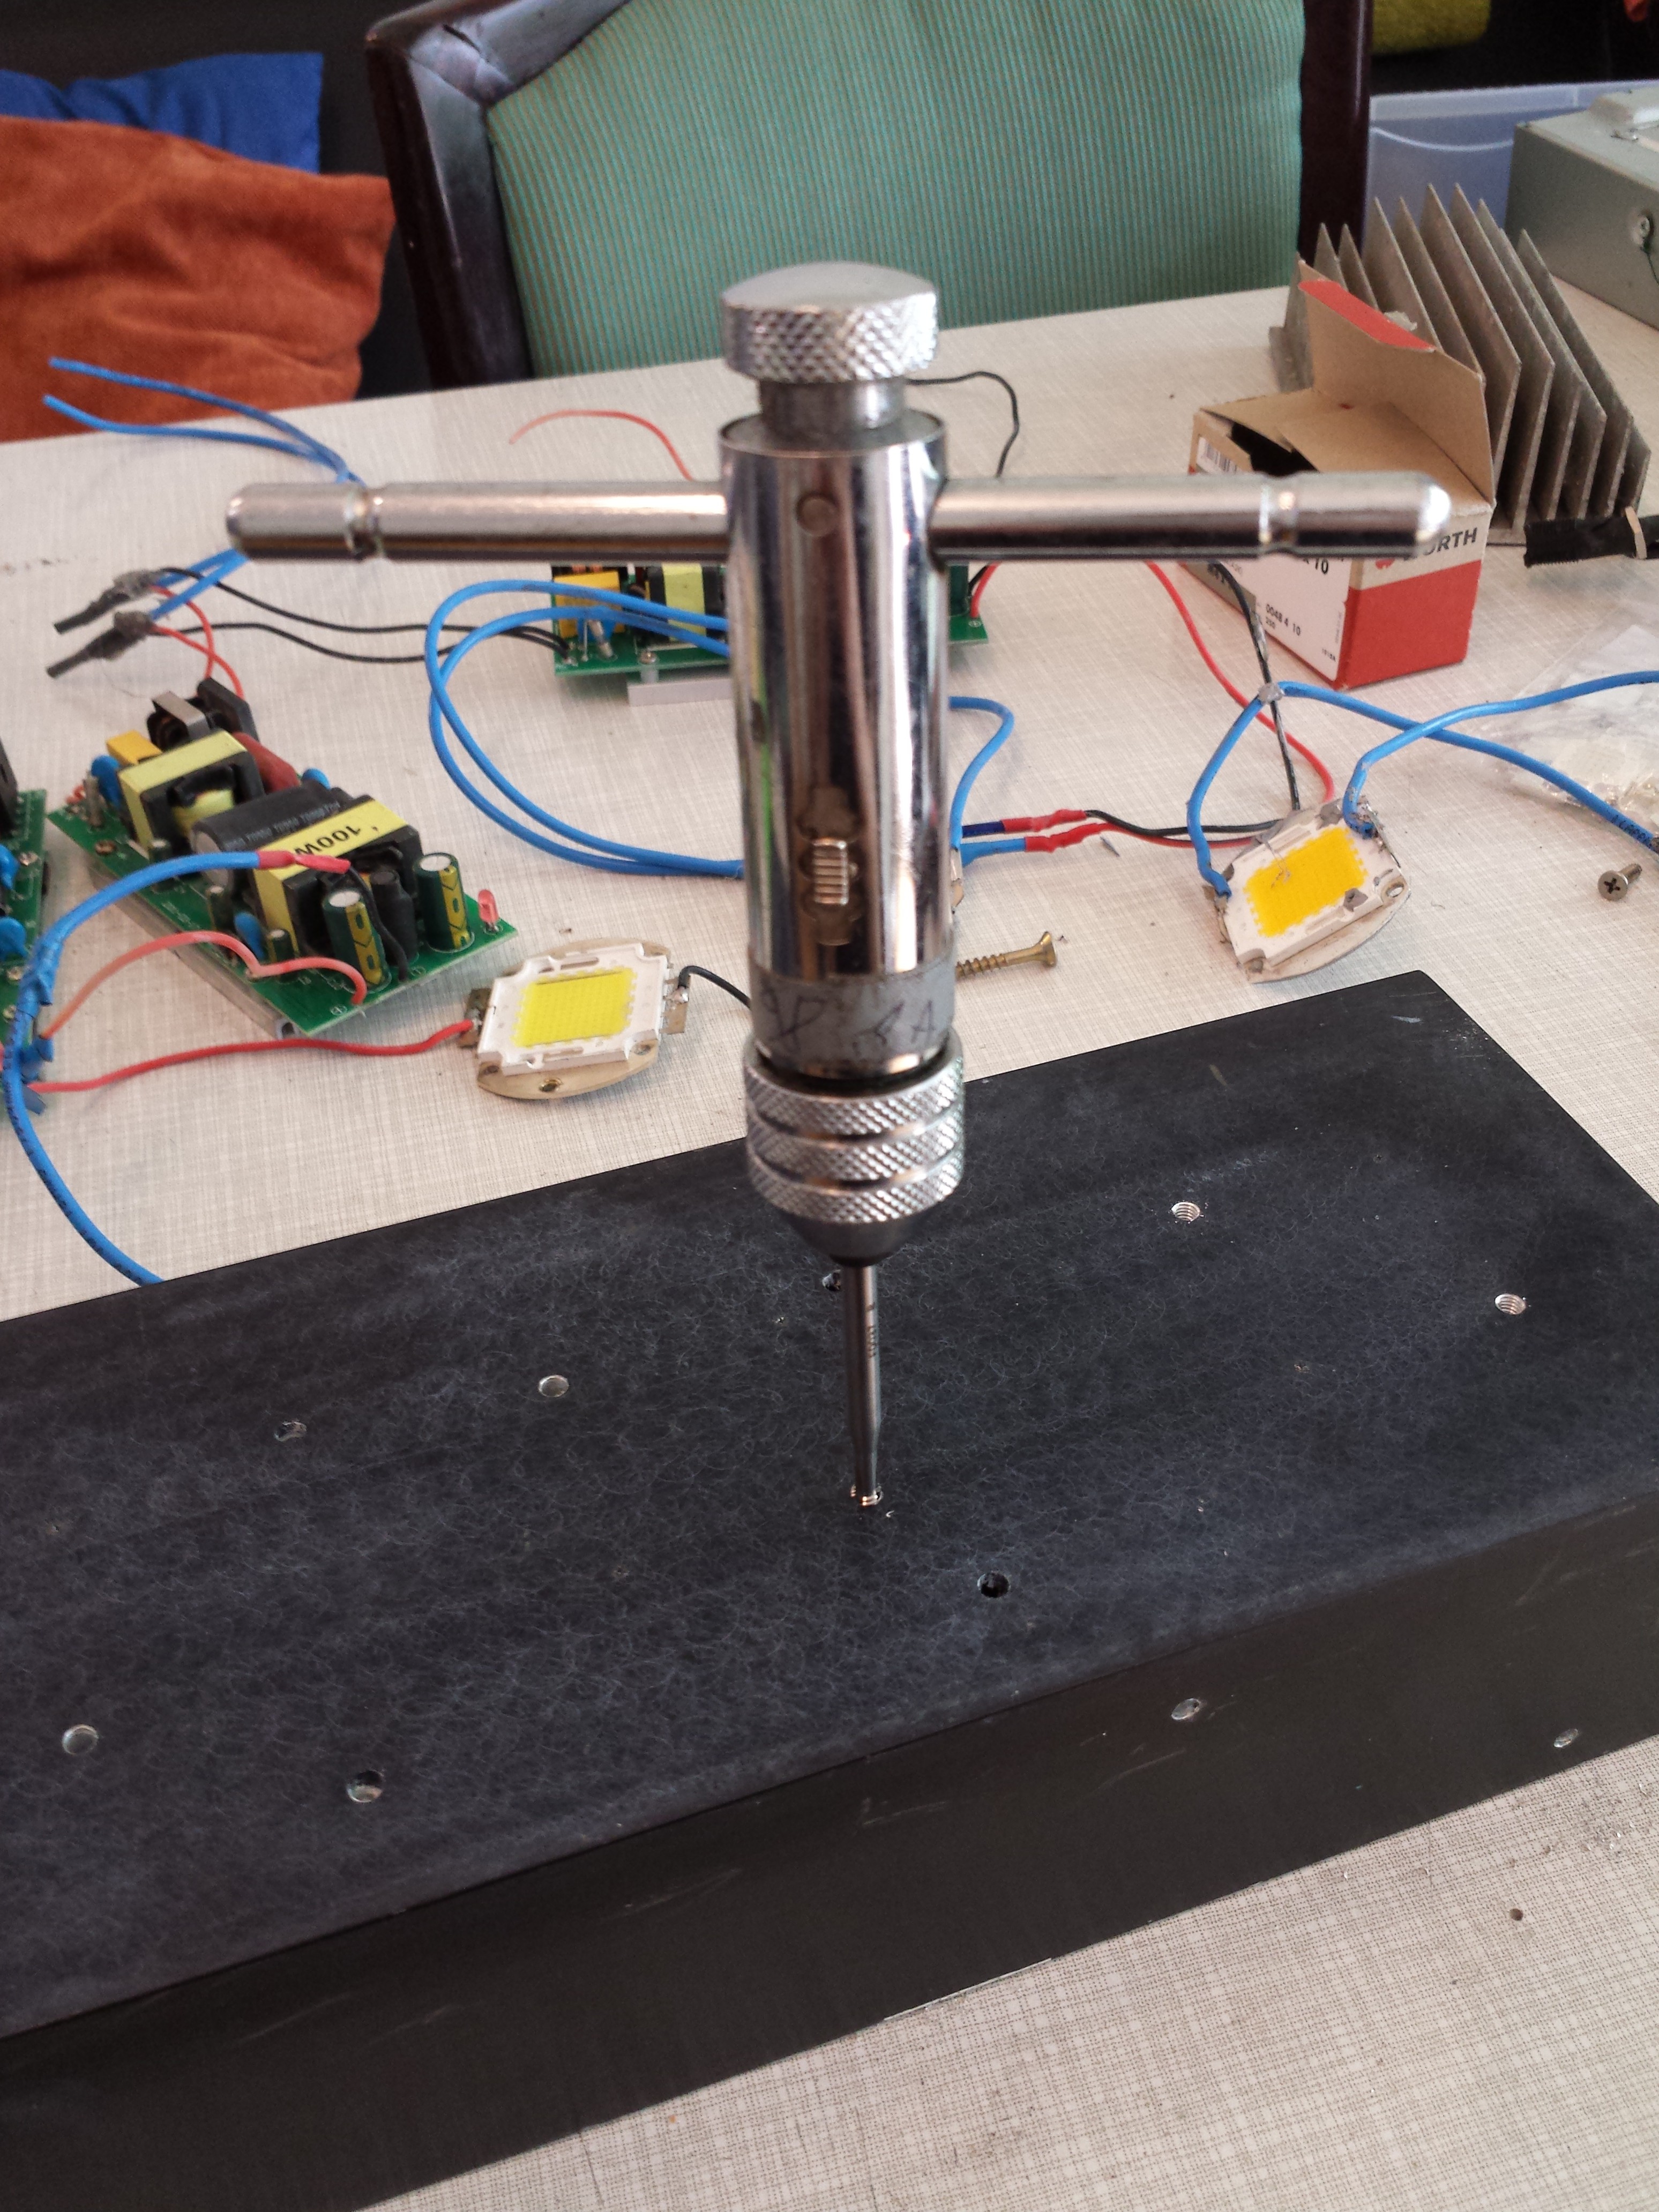
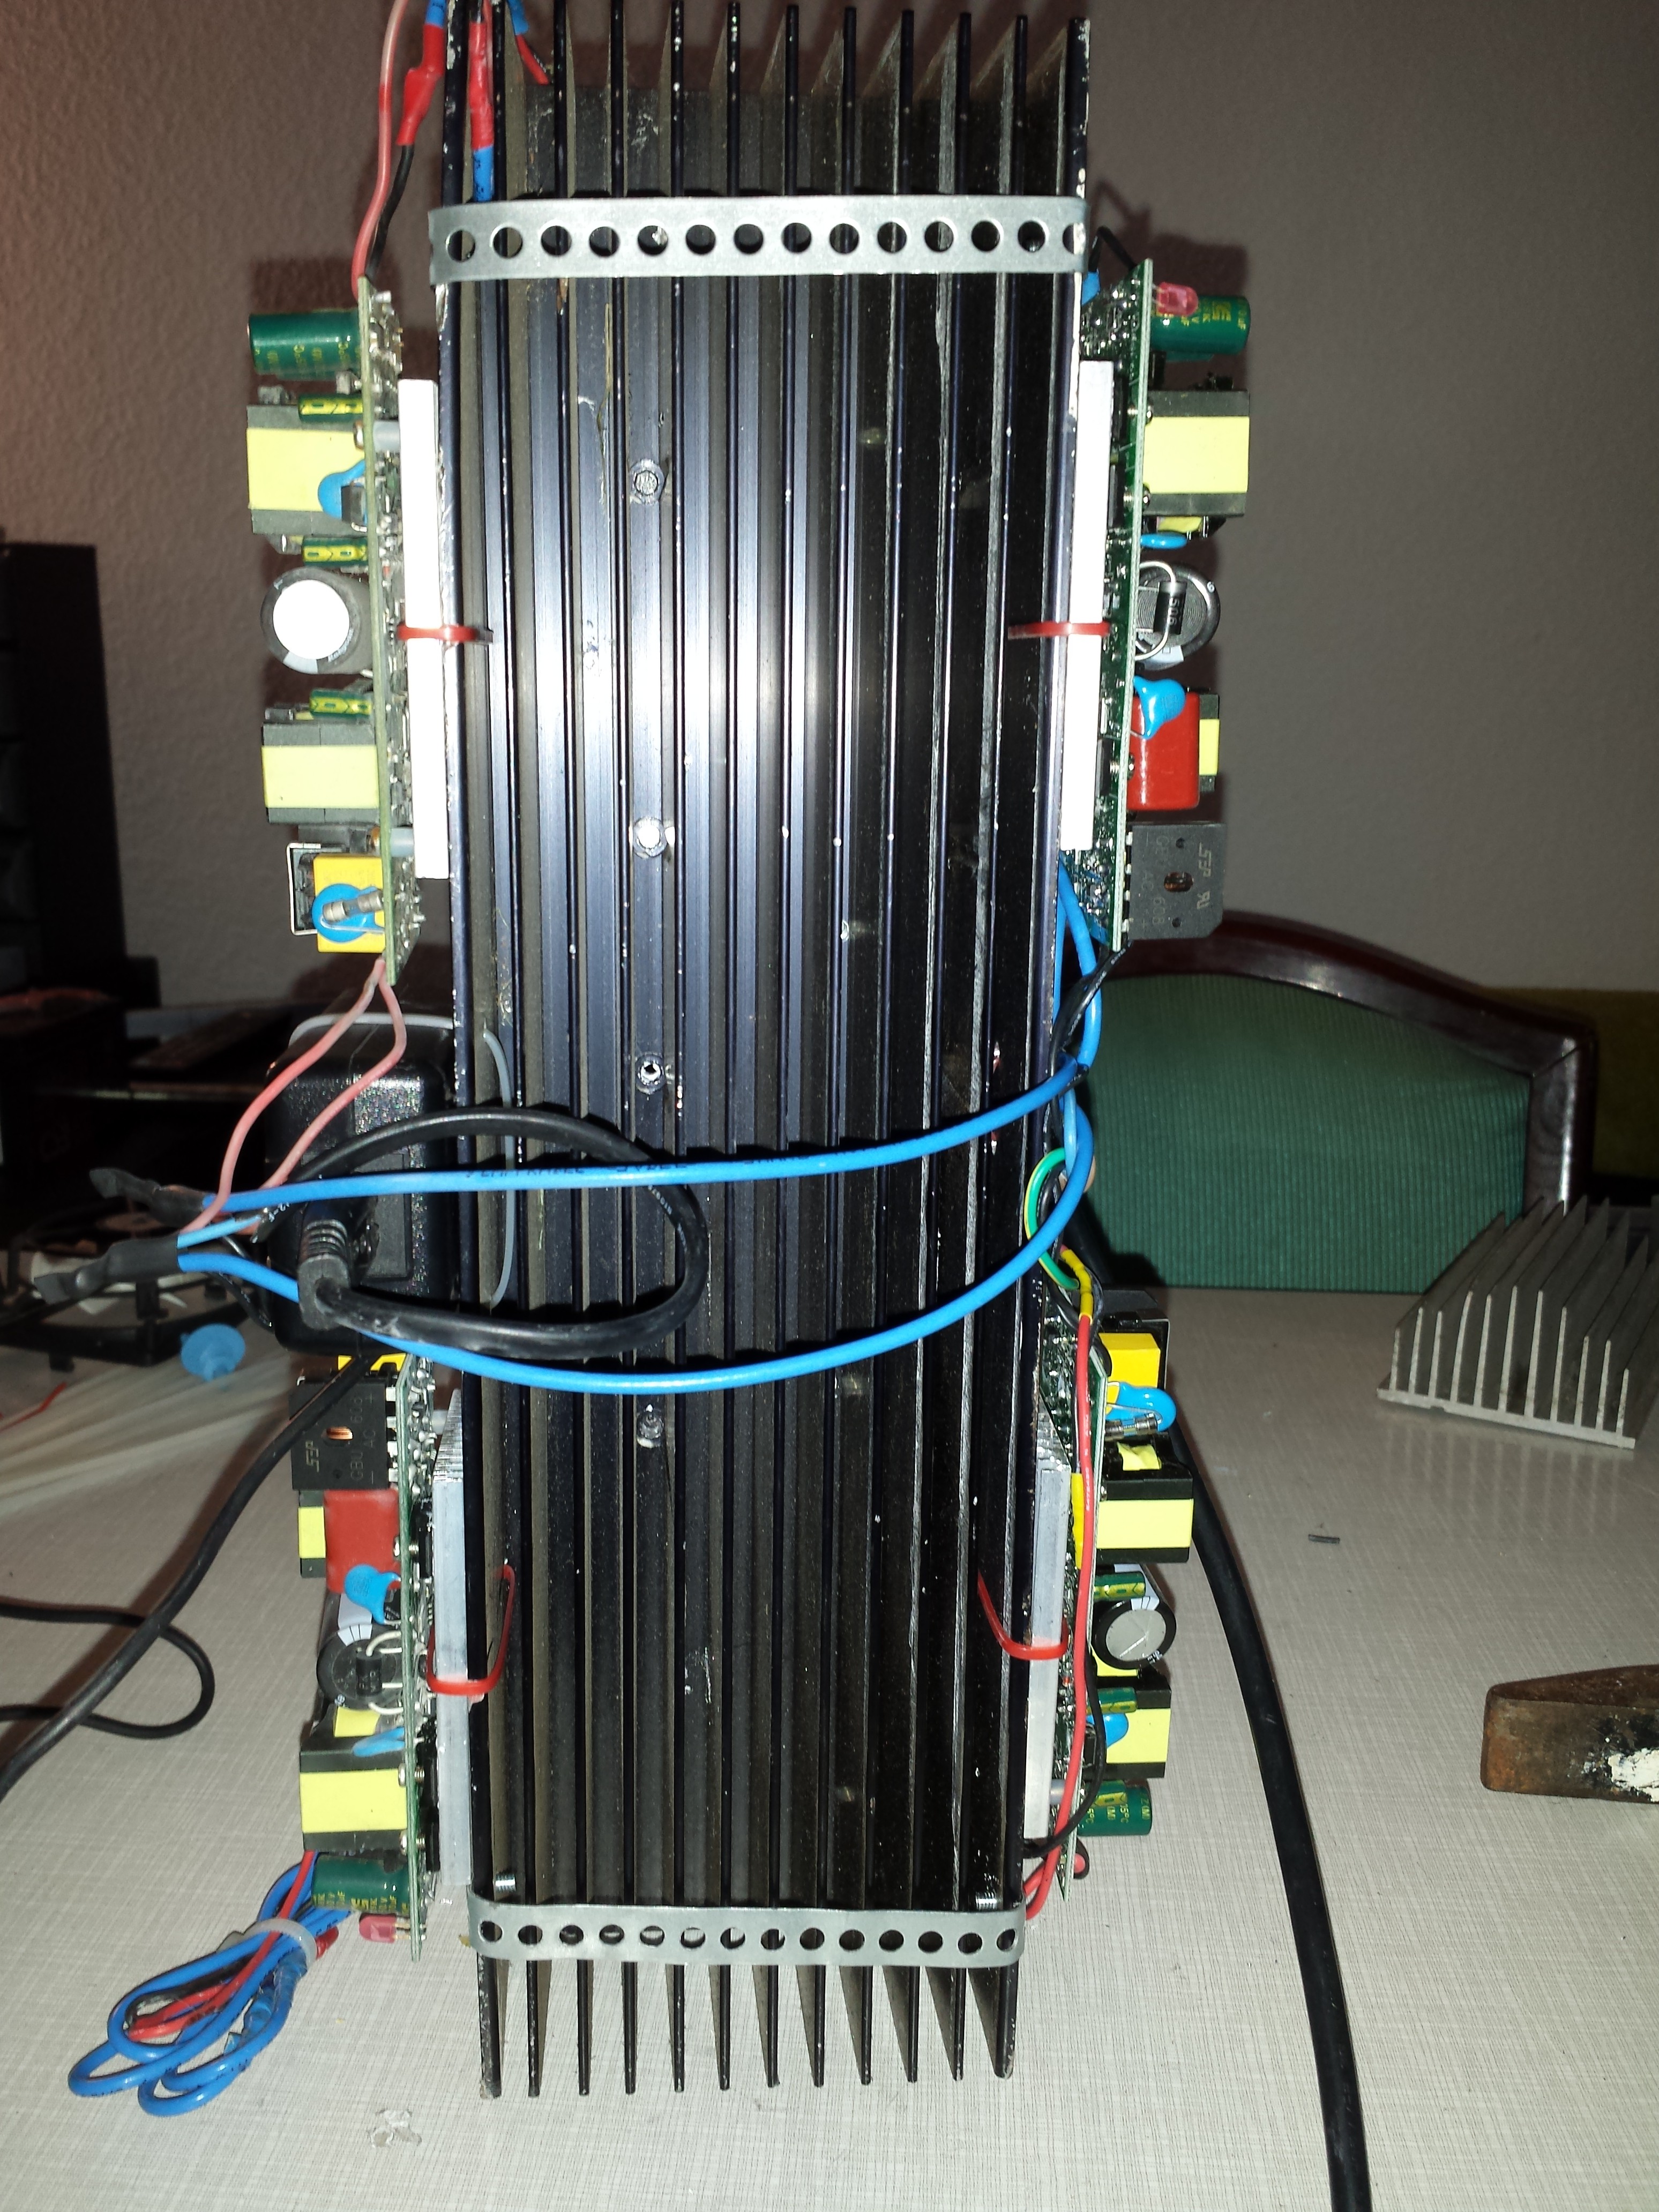
Next i marked all my holes to drill. 3.5mm Holes were Drilled (picture below)
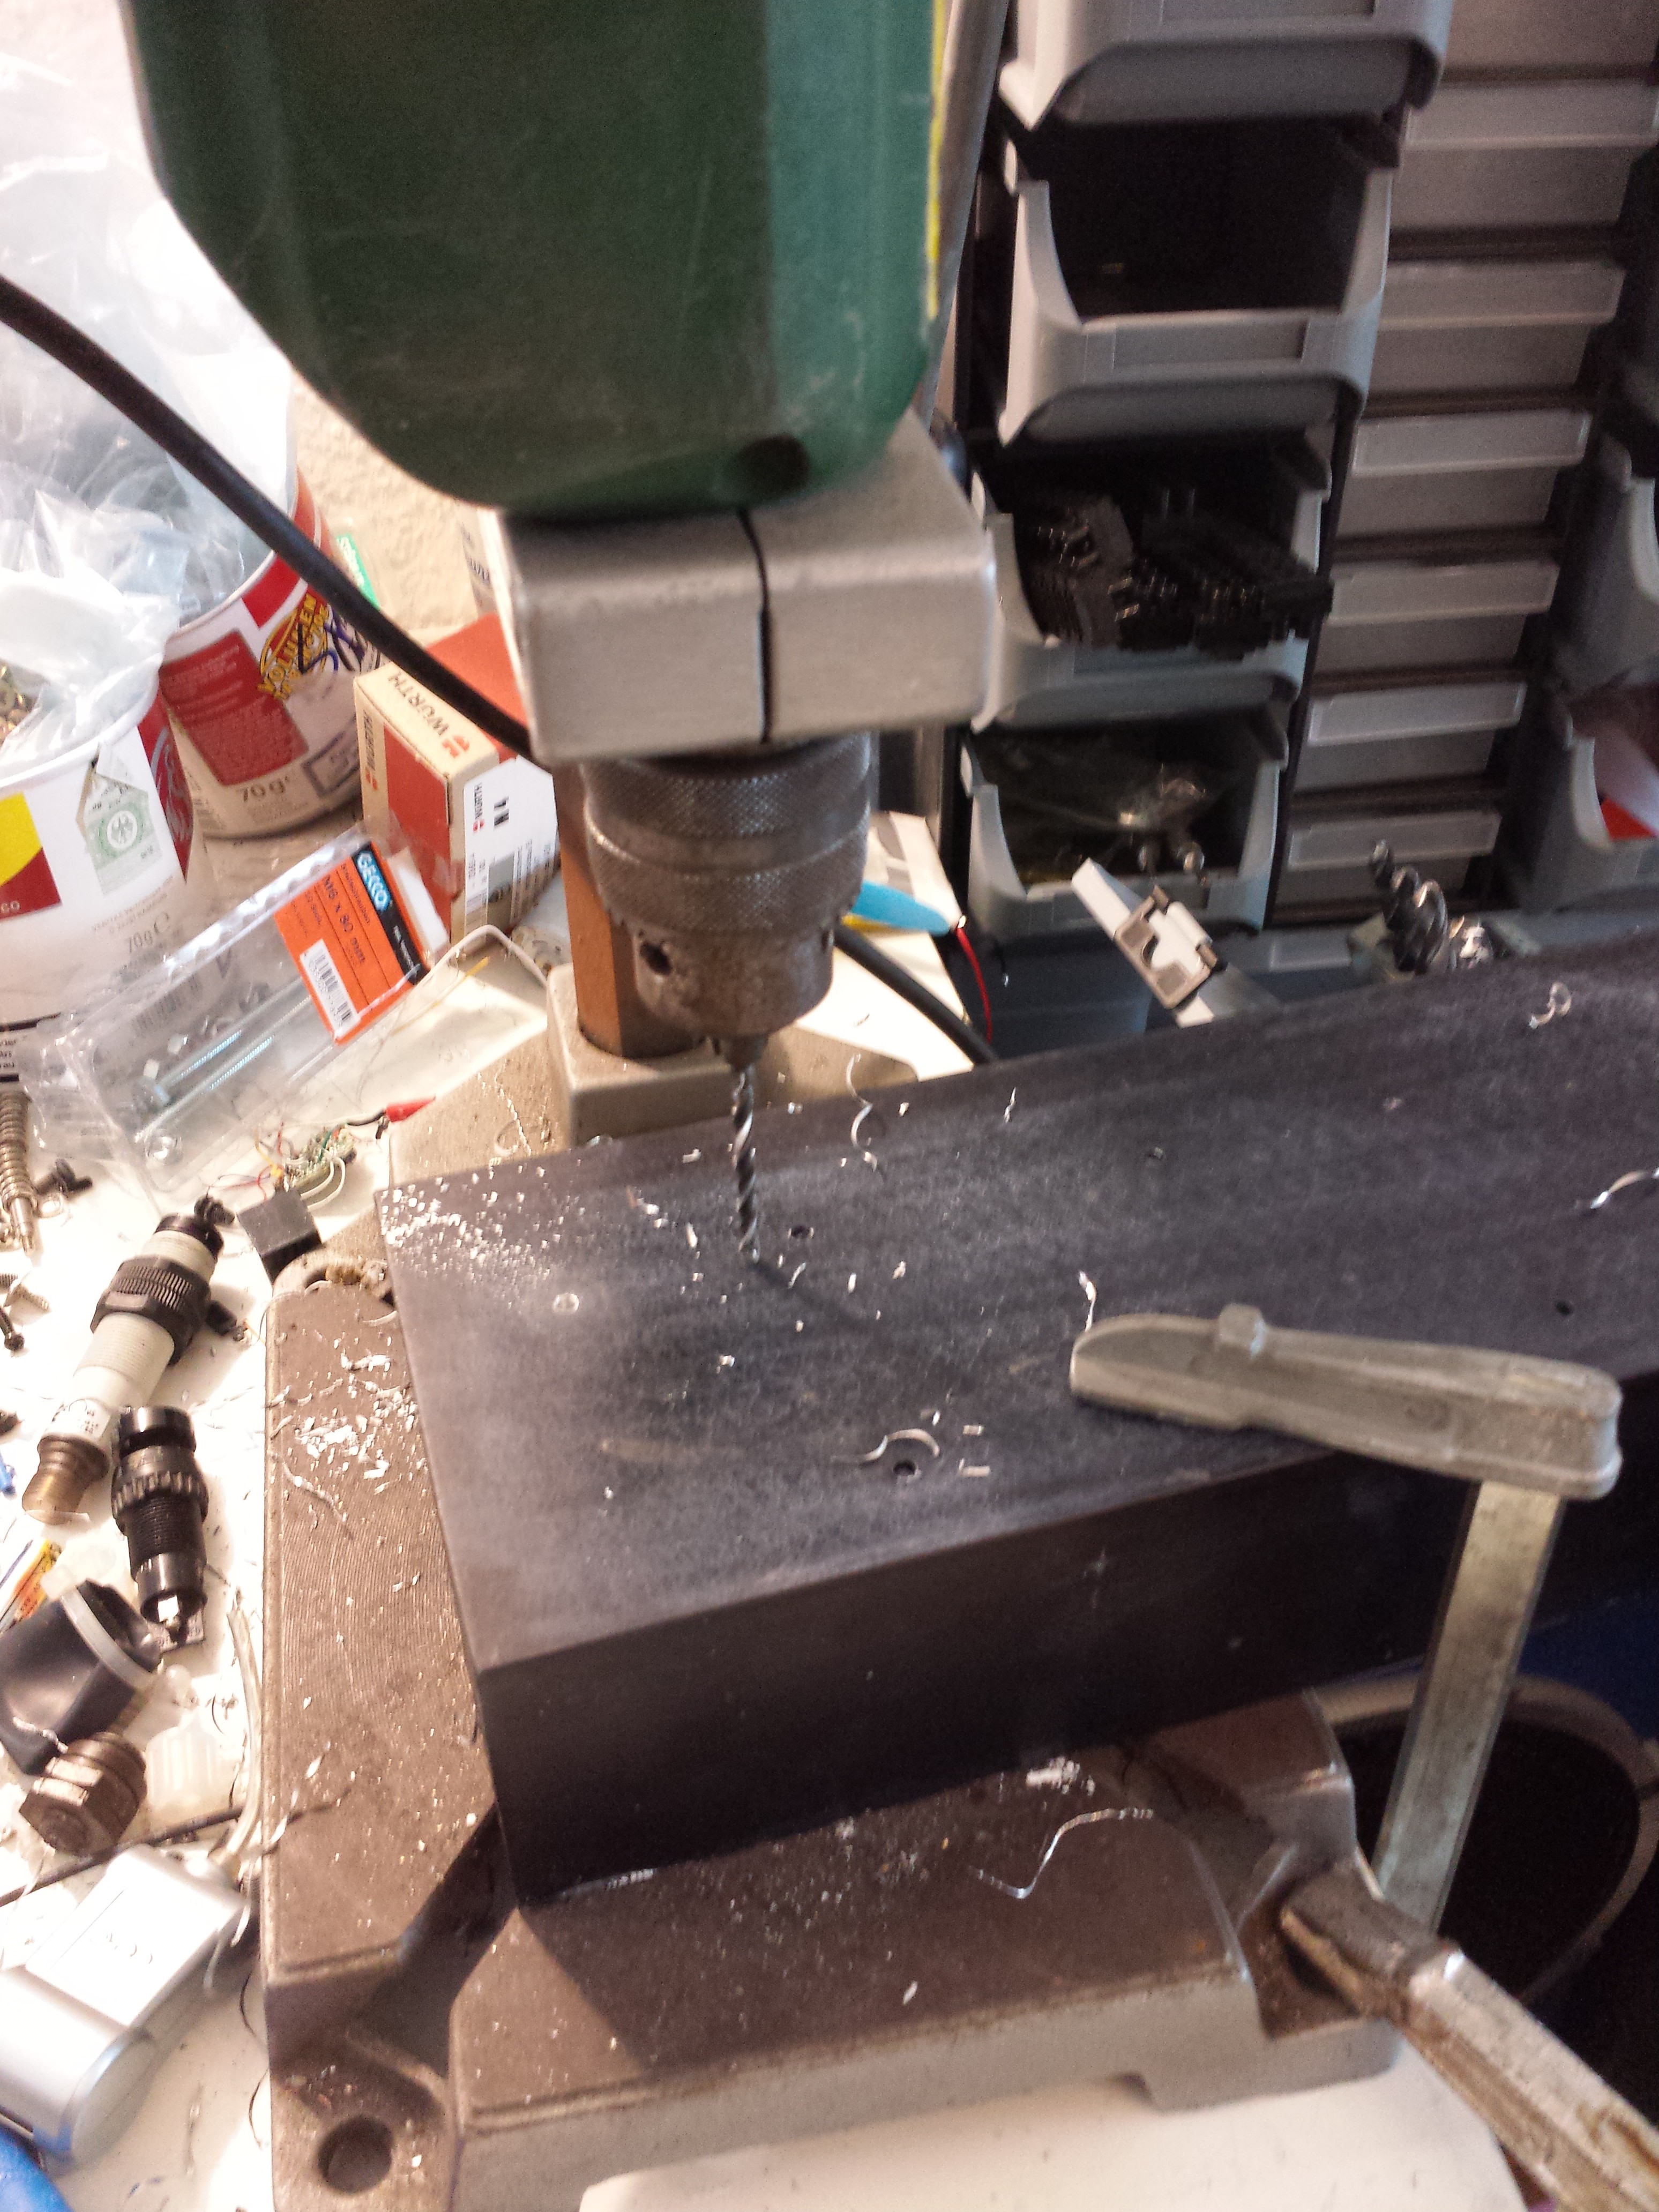
The Heatsink was quite big and heavy, but i got it clamped down to drill.

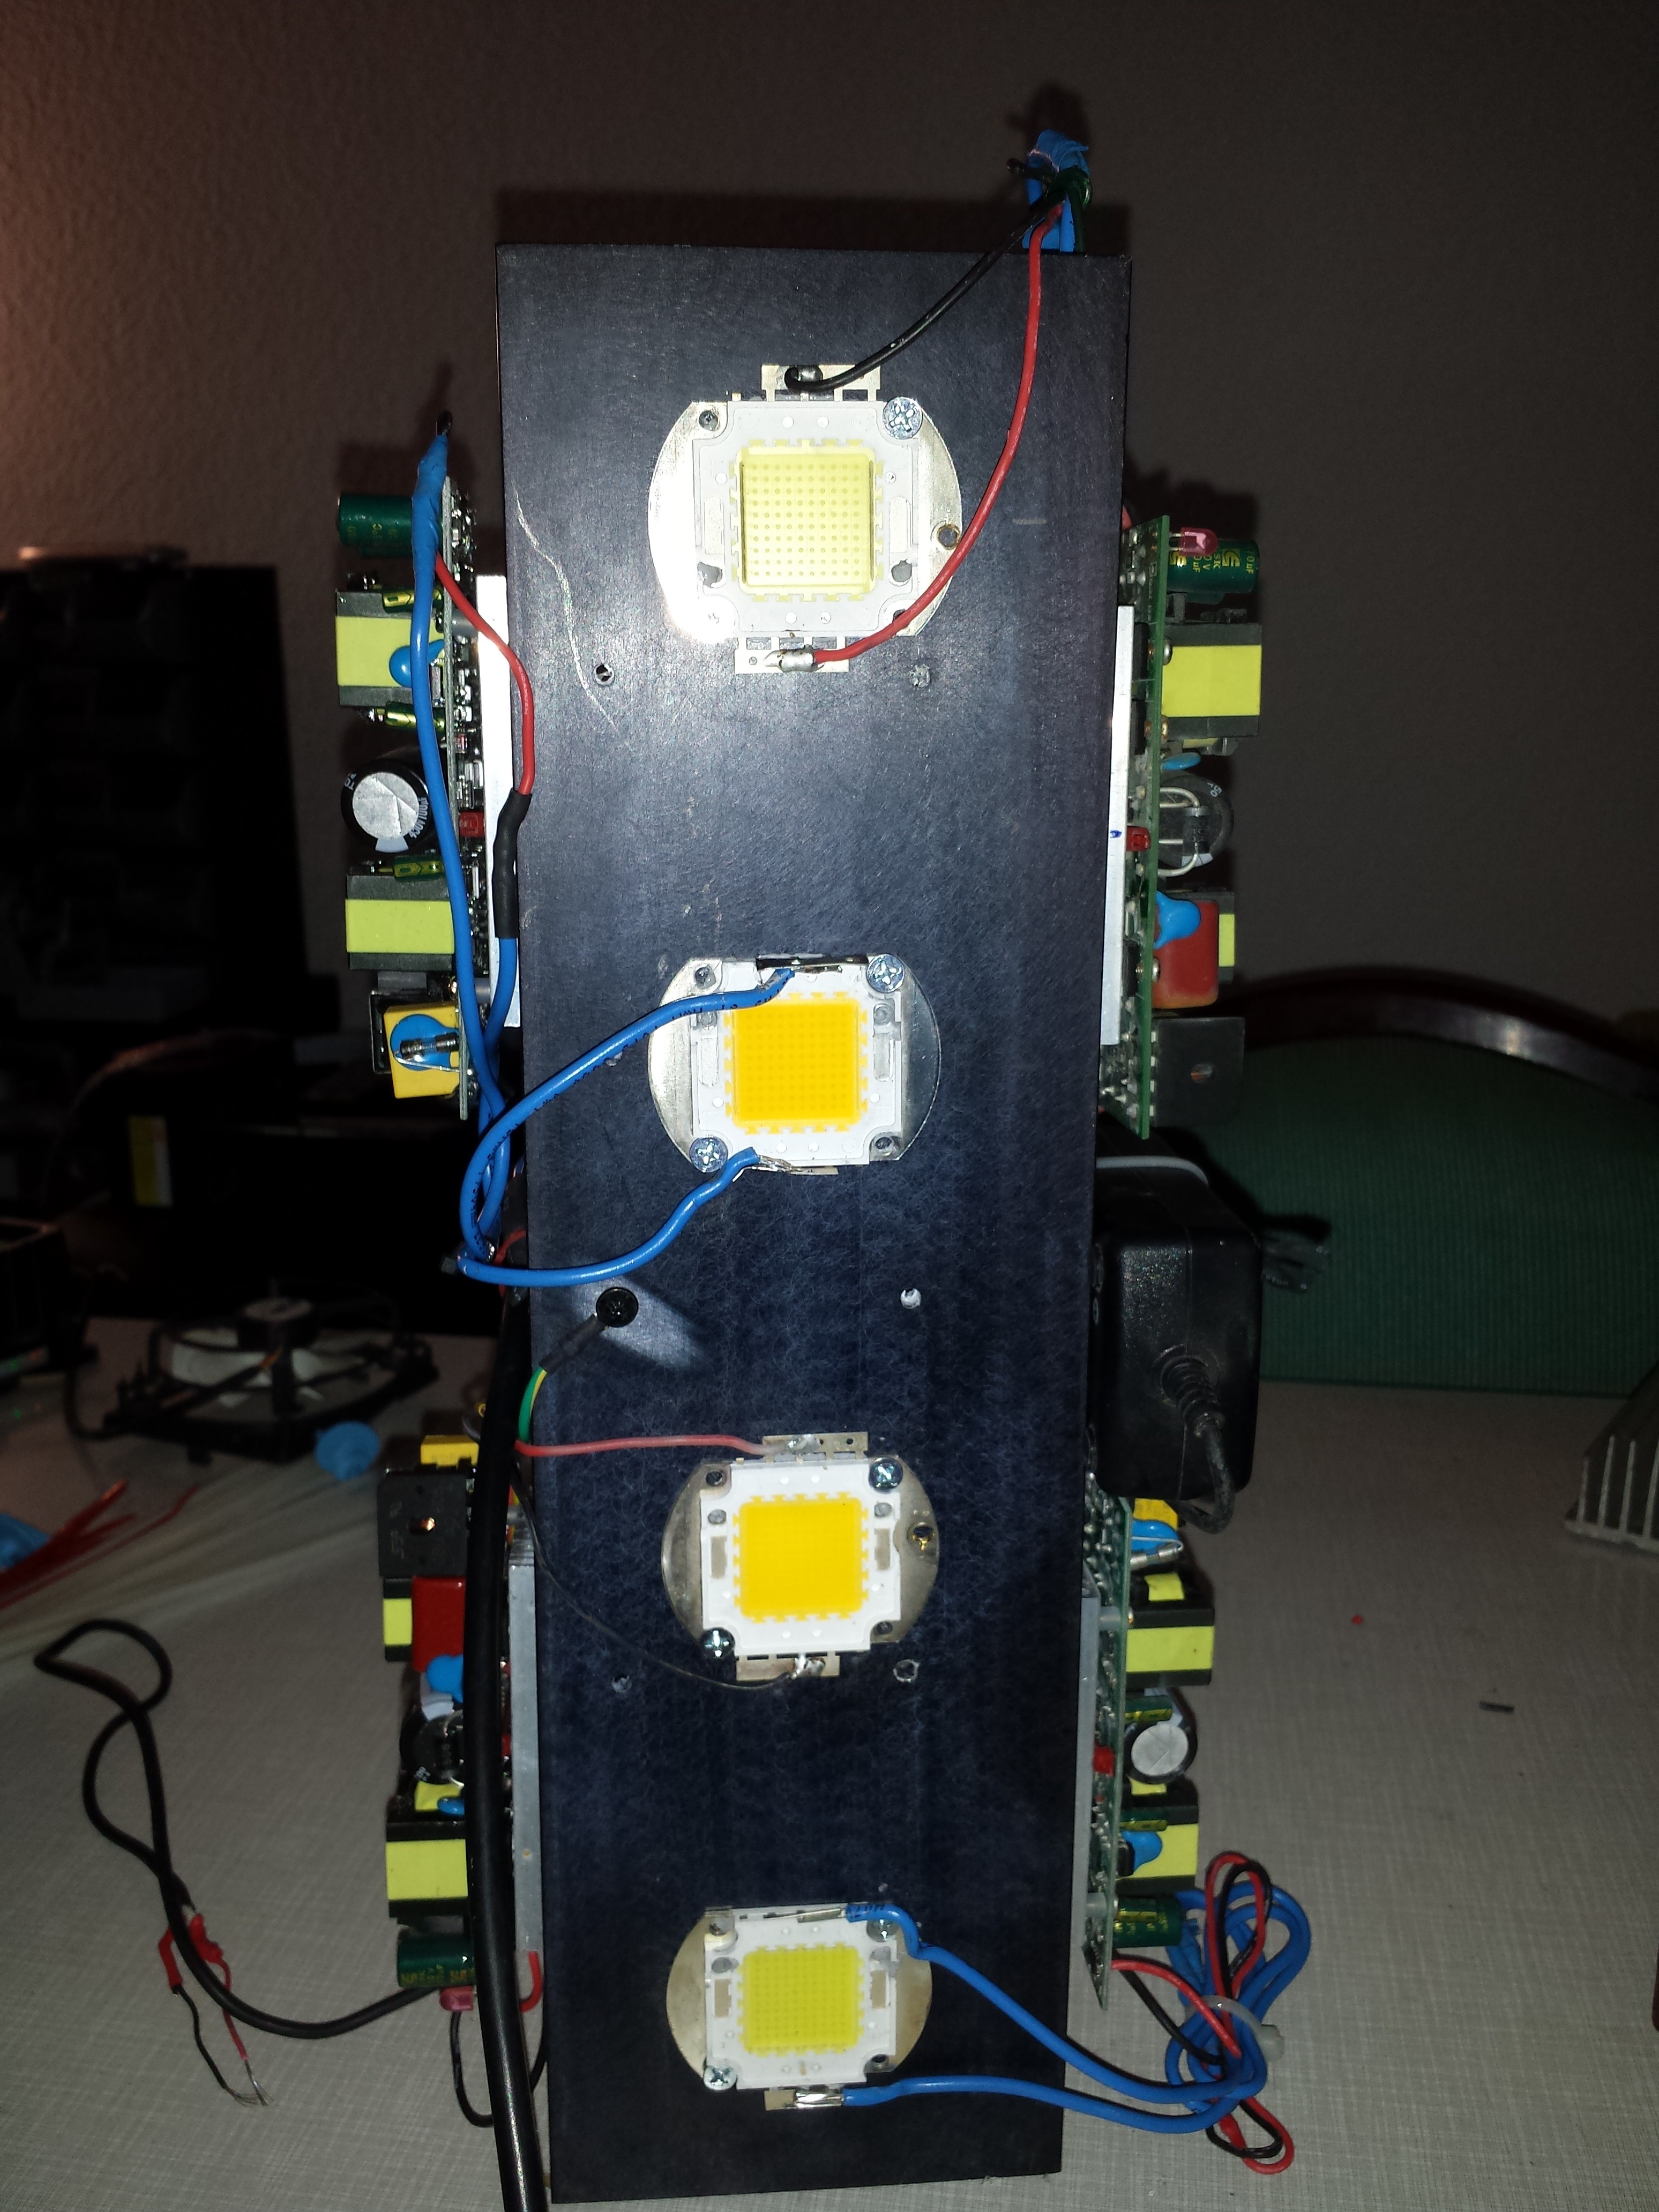
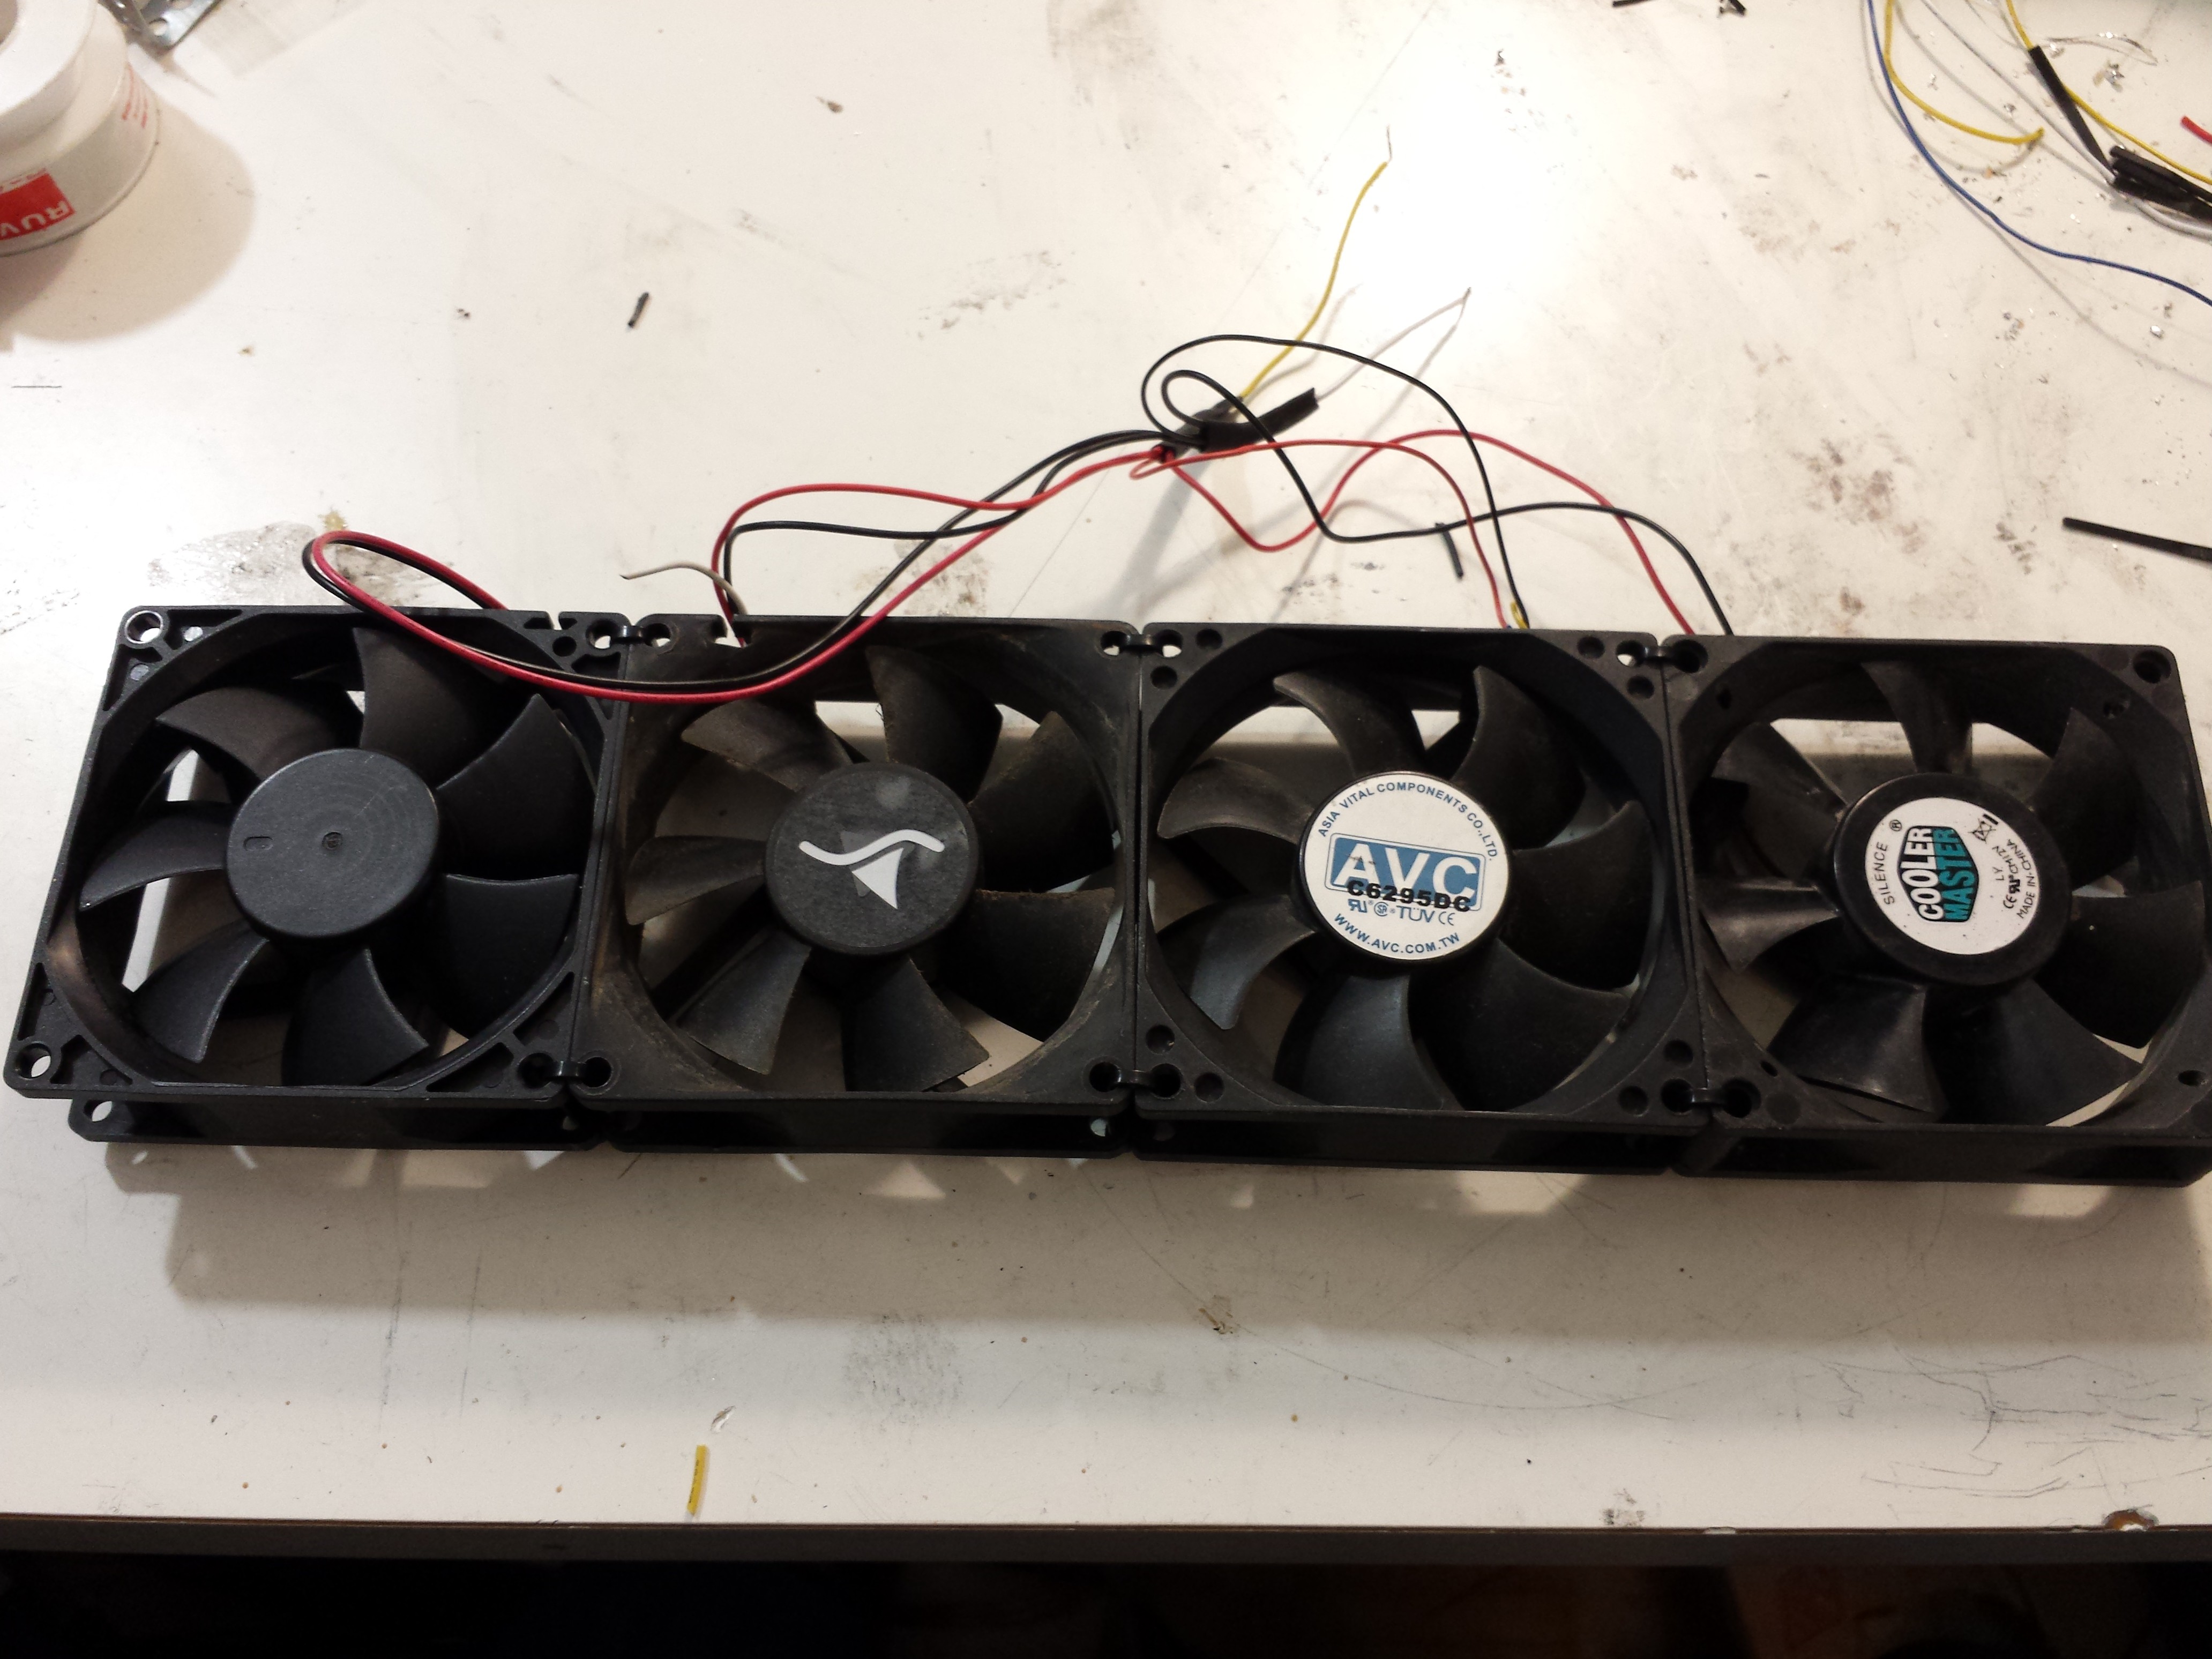
The Fans are installed and for the first test i had a close look at the Temperature. The Heatsink stays steady at about 36°C after 1 Hour. Longterm Tests will continue.
With a distance of about 65cm, i measured about 30.000 Lux. I Measured the Sun with about 100.000-150.000 Lux in Summer. Not quite as bright as the Sun, but maybe enouth to fool my plants.
I want to build another Light soon. This time with a big blue LED and some smaller red ones. Trying to clone the Full-spectrum LEDs on the Cheap.
Also im gonna build 3 Test chambers to play around with different light combinations, to see wich is the best for my plants. So stay tuned.
-see you next Mission
aka
Discussions
Become a Hackaday.io Member
Create an account to leave a comment. Already have an account? Log In.