Close
0%
0%

Easy cyclone for your shopvac with 3D printing

quickly create a cyclone dust separator with 2 buckets and a few 3D printed parts.

Public Chat
Similar projects worth following
Cyclone dust separators are super useful. To make one requires som labor (cutting and gluing PVC pipe, creating seals, etc).

The goal of this project is to be able to use common 18L (6gallons) buckets, those with a clip on cover that are both cheap and sturdy.

On top of that, we'll design and 3D print a few parts that will be added to the bucket to add a vacum cleaner inlet and outlet.

The idea is to have as little labor as possible :
-make 2 holes in the bucket;
-glue the air inlet 3D printed part with silicon;
-screw on the air outlet part (with some silicon to make a airtight seal);
-cut the bucket caps to make a baffle;
-screw or glue the two caps to join the 2 buckets.

Then use it :)

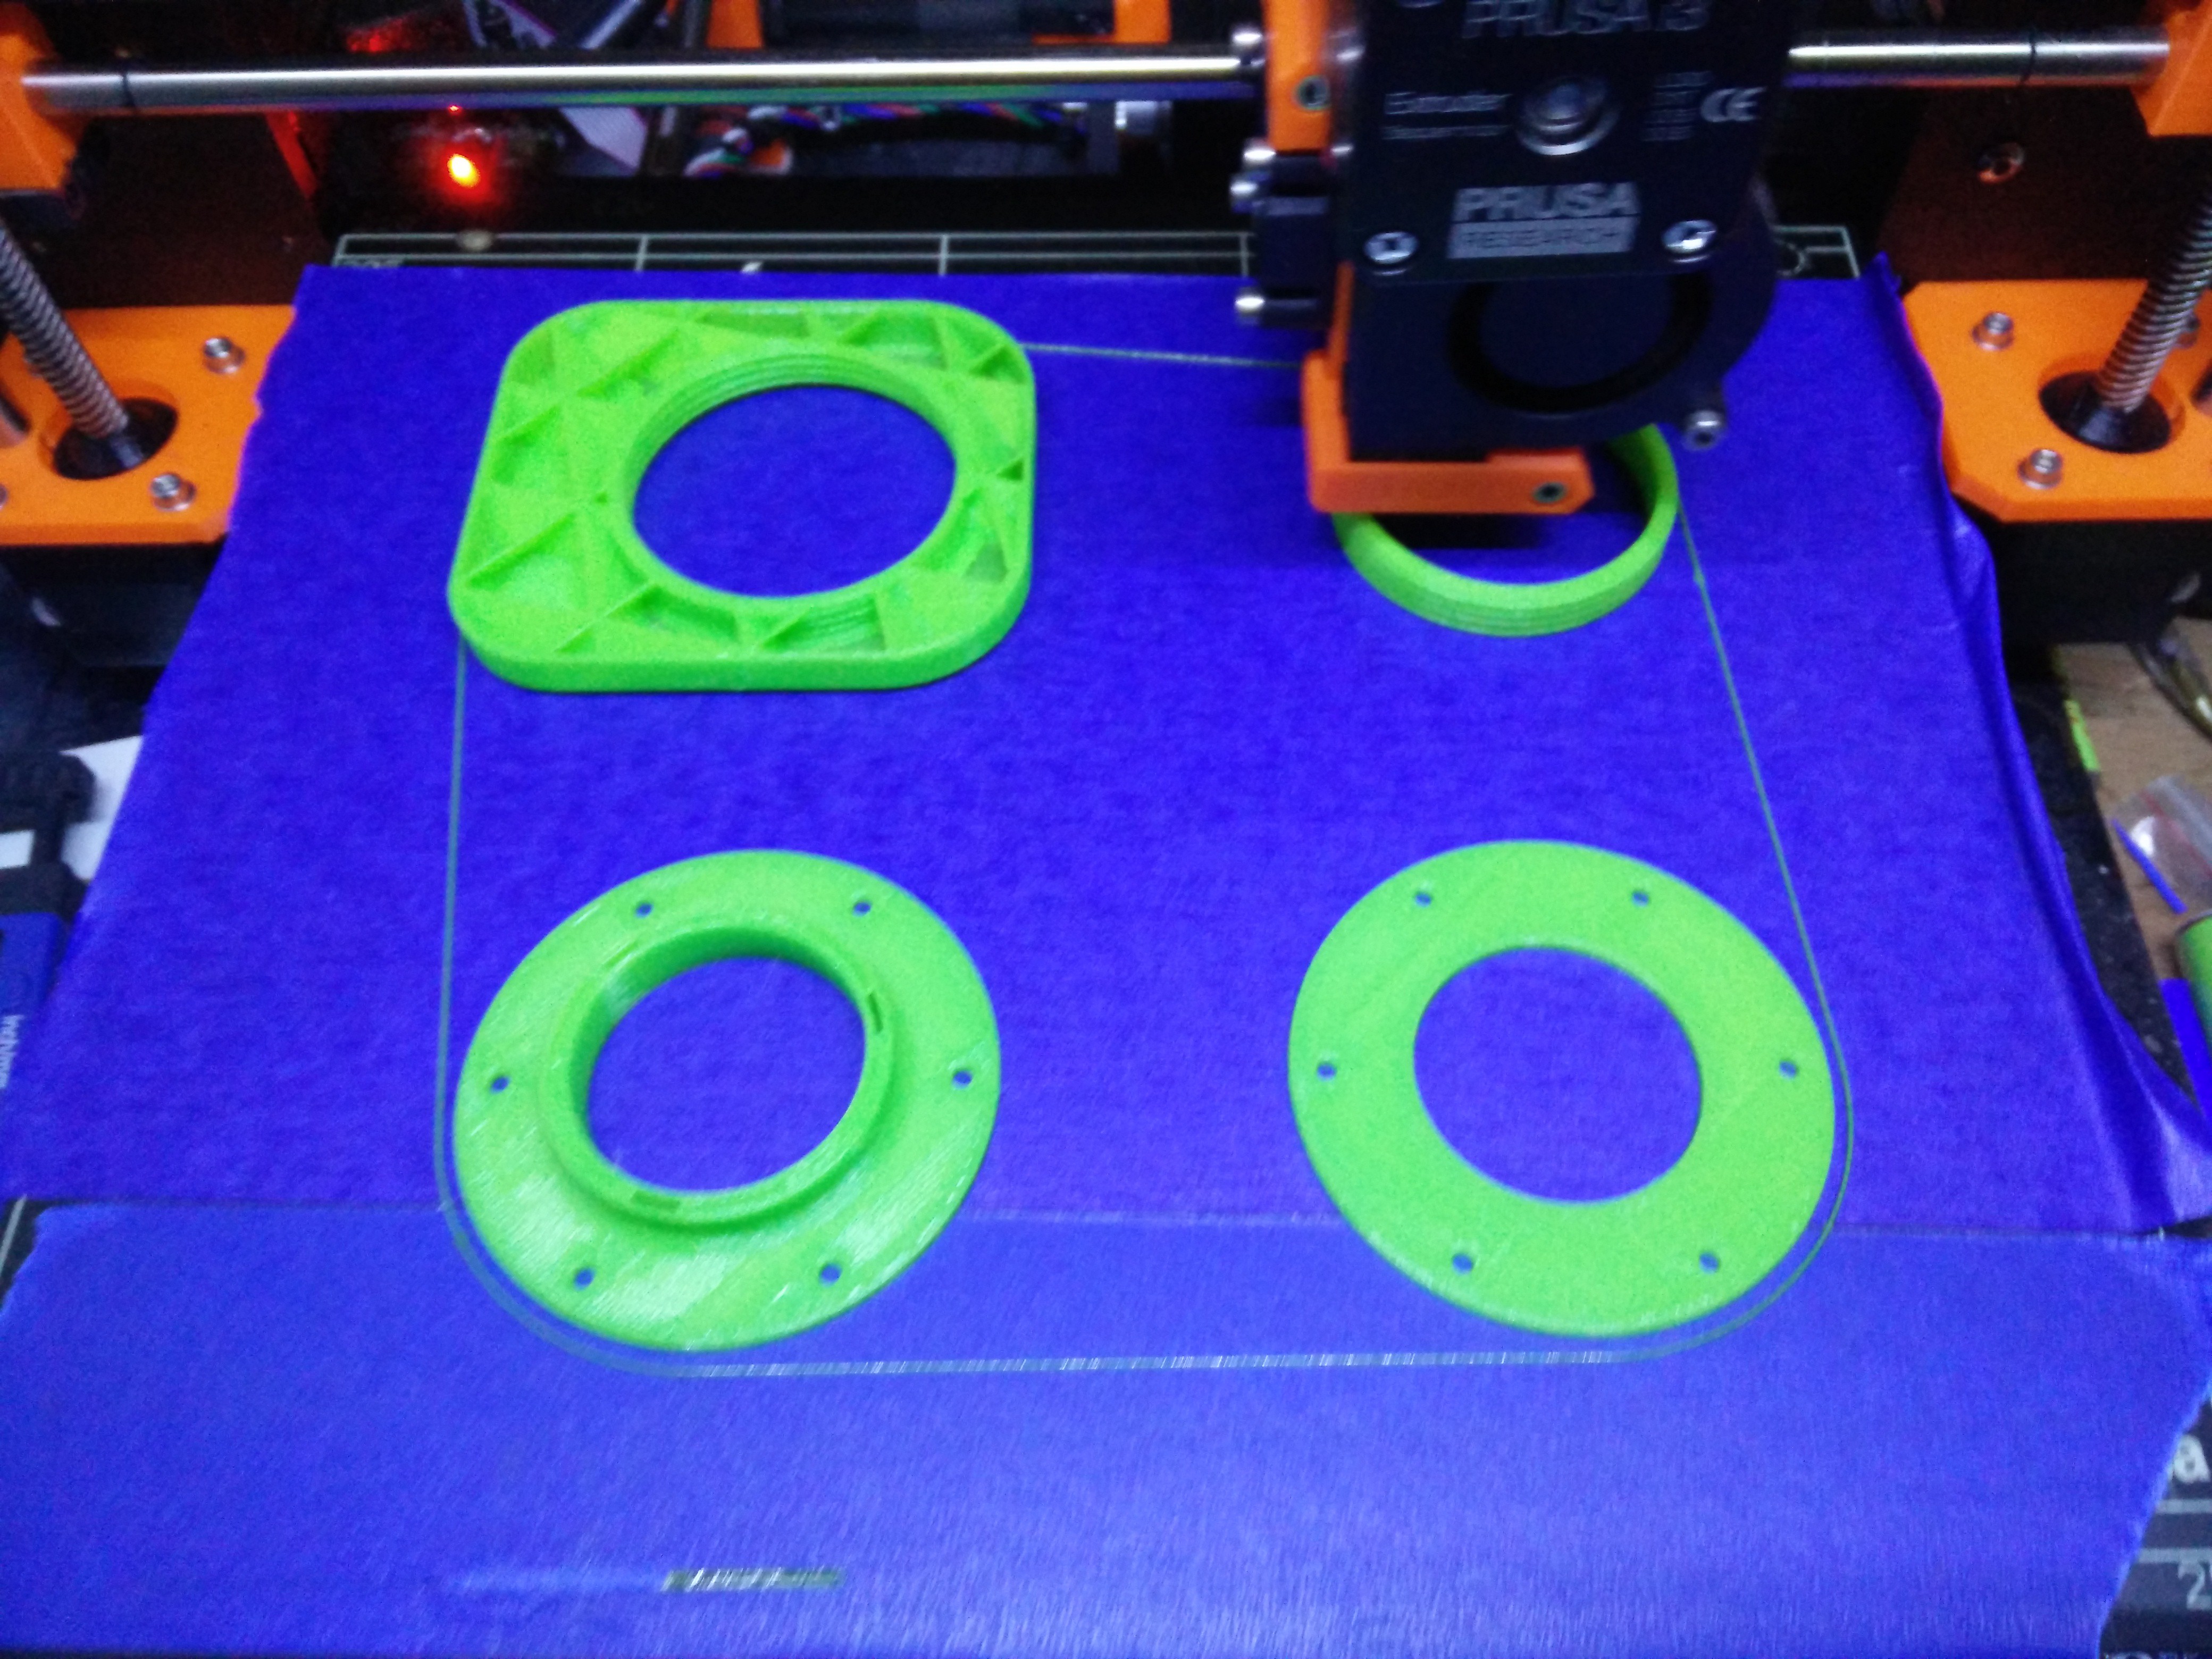
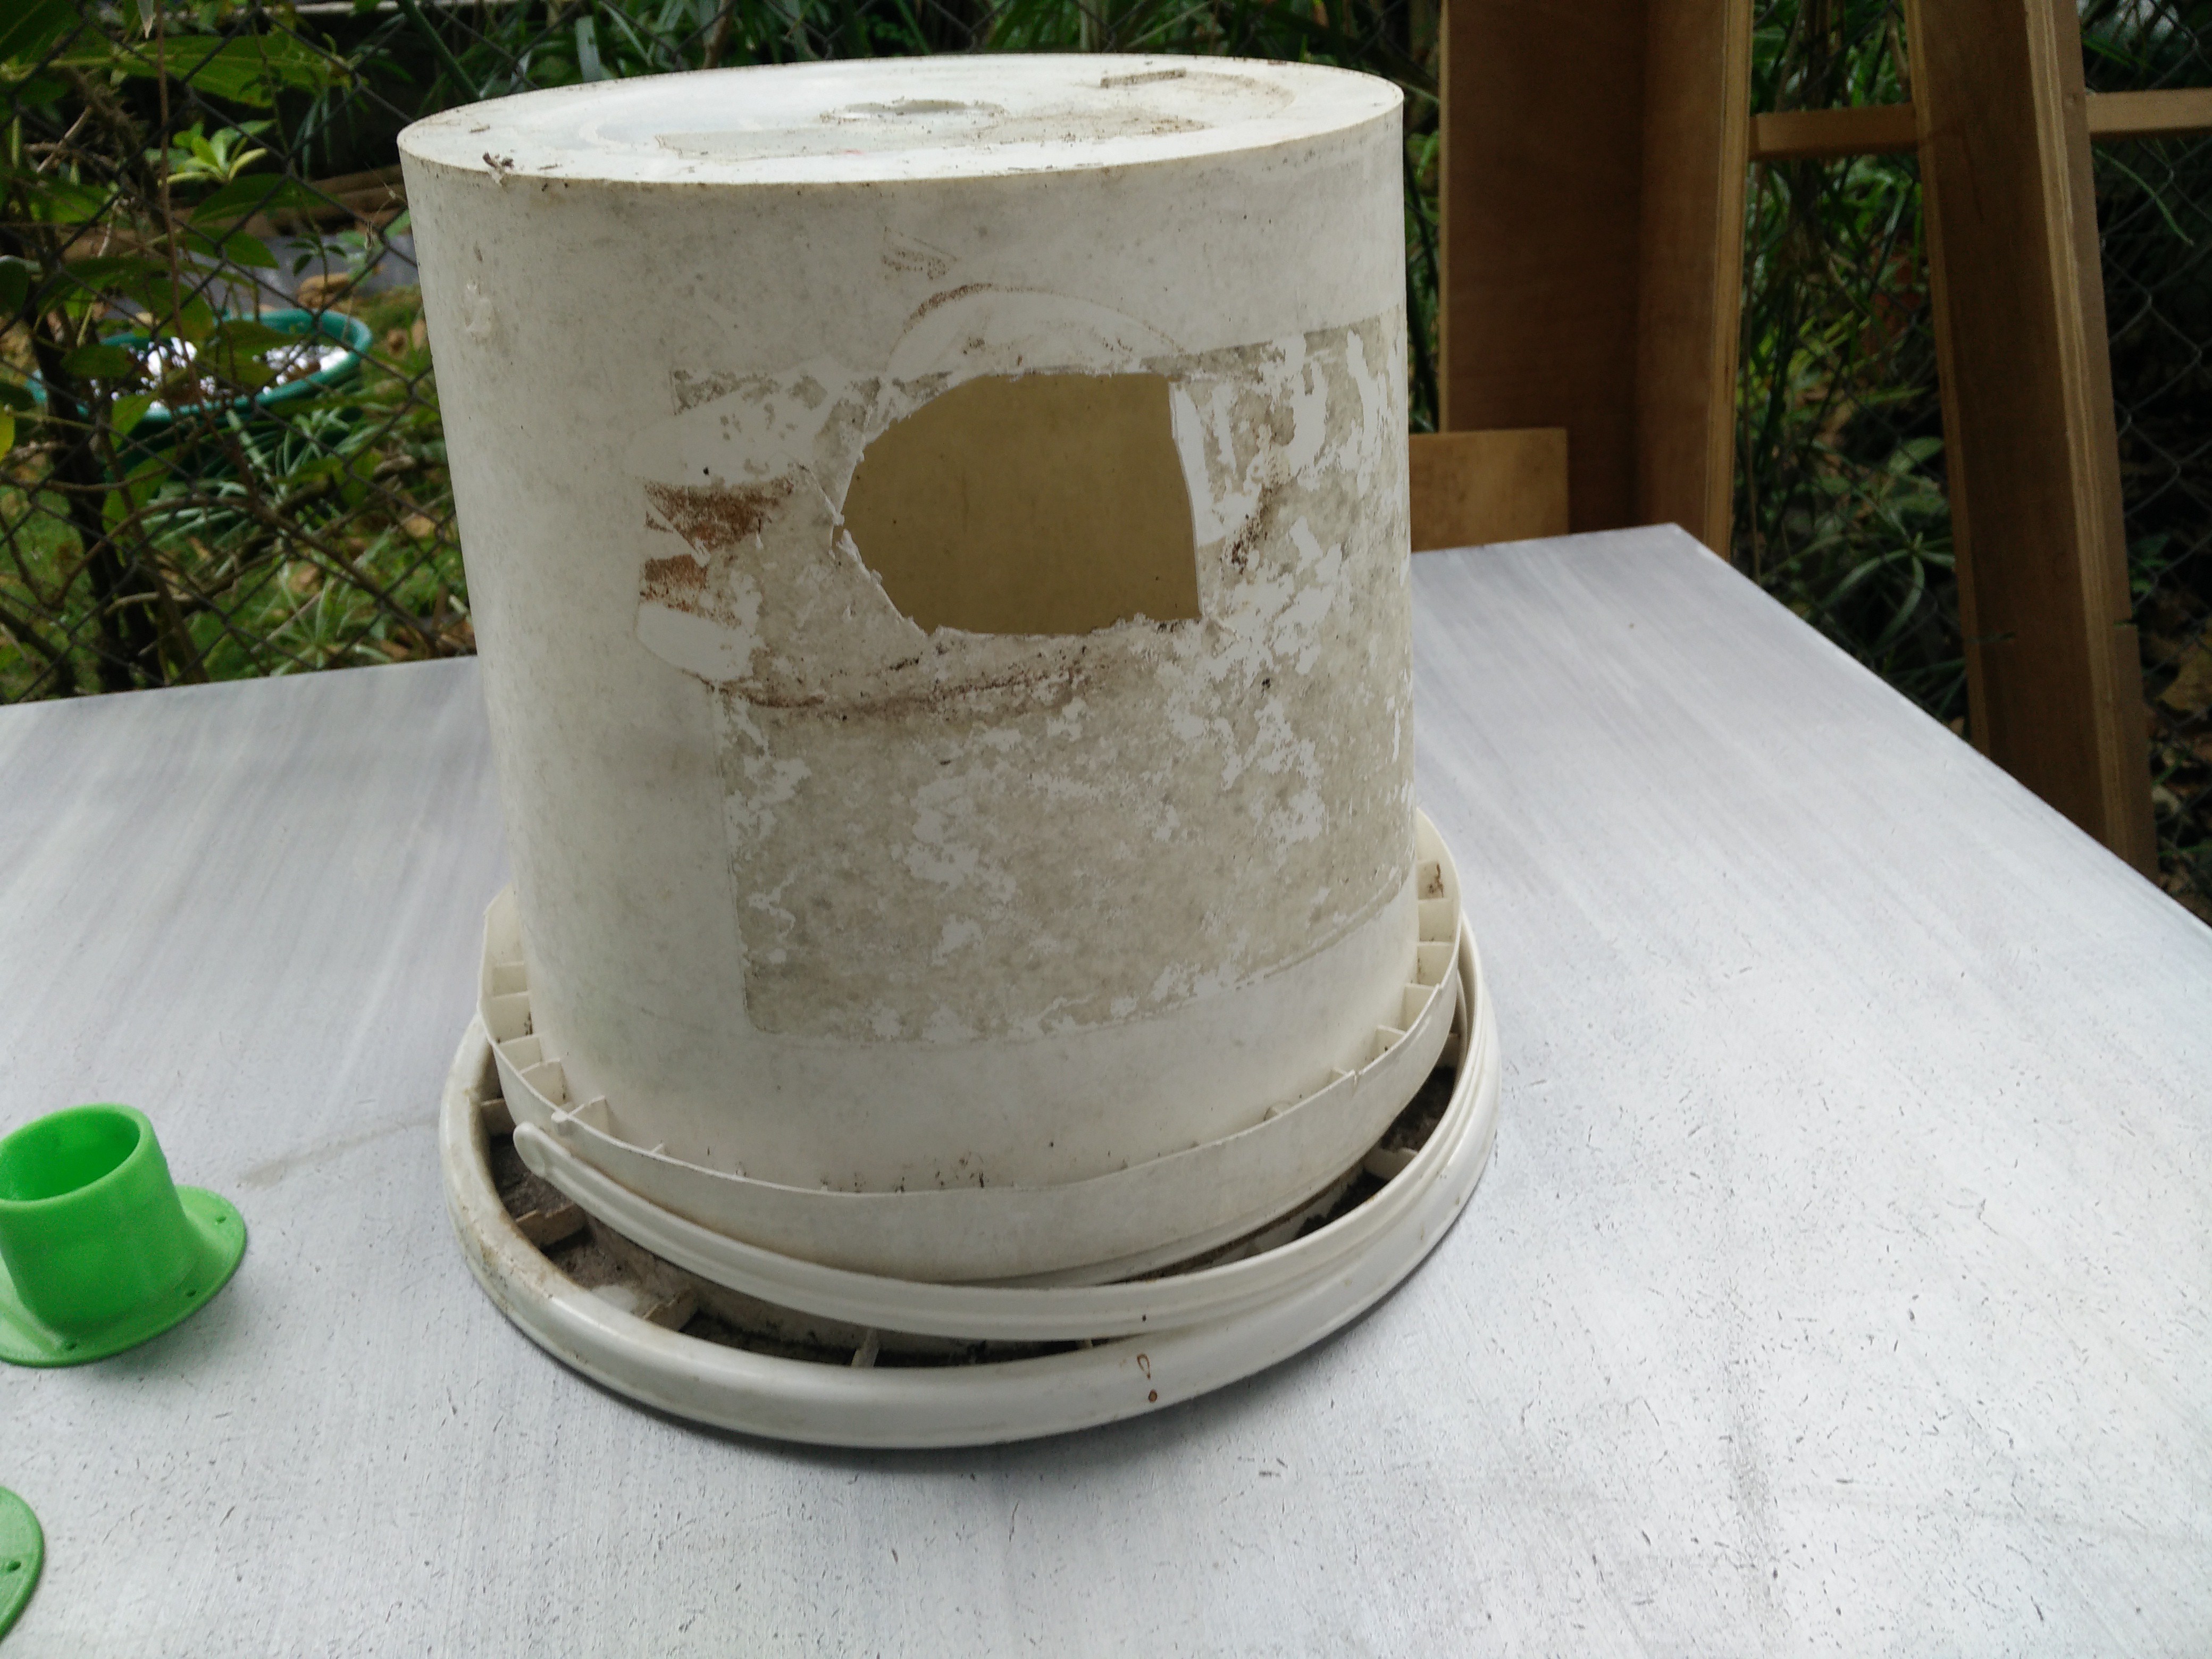
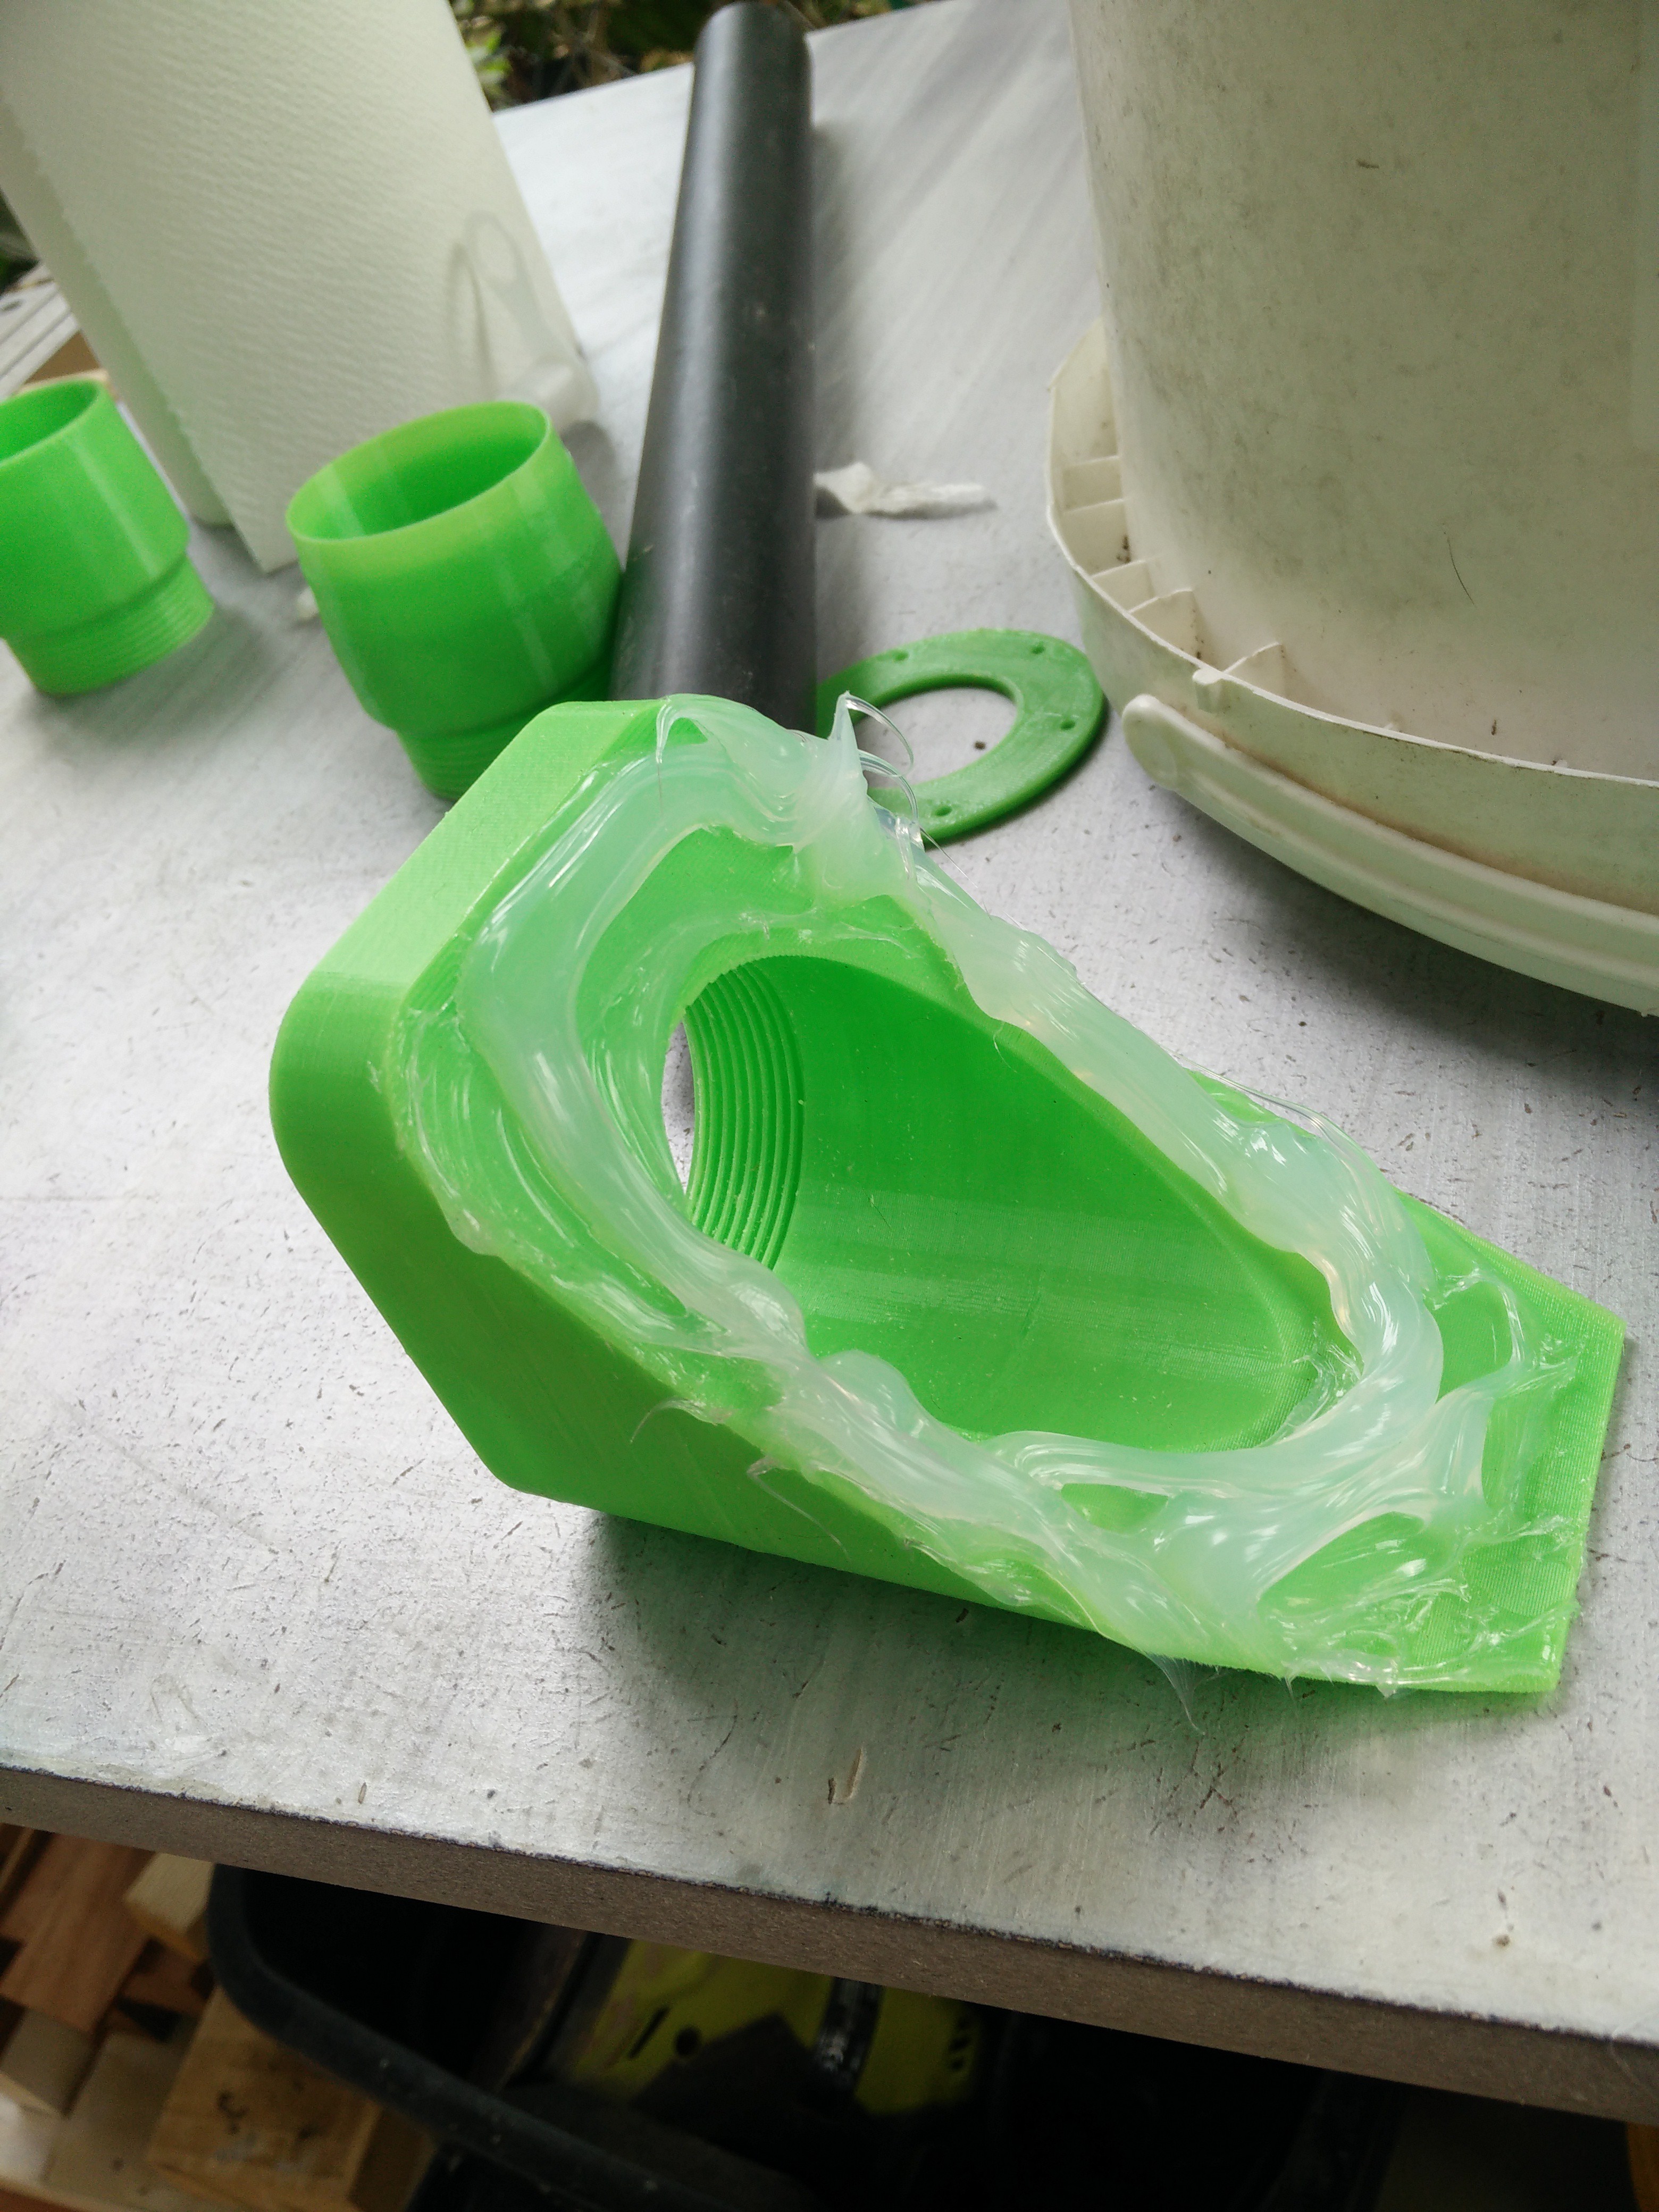
This is a dust separator. We make it using two buckets :

-one for the cyclone part, that we modify to add holes and parts,

-one for the dust bin, that is unmodified.

The idea is to reduce the amount of labor required to make a functionnal and sturdy cyclone.

To do so, we rely on 3D printing to obtain the inlet and outlet of the system, and use integrated threads in the model to have a removable inlet hose, and/or create another inlet fitting for another size of hose.

The outlet also have a thread on, so you can design and 3D print an adapter for many vacuum cleaner hoses/pipes.

I created a GitHub repository containing all the STL files to make this, but the fusion360 source file is also there if you want to tweak things.

In this version, the thread specification is marked on the part, so you can simply design adapters for it without having to open the fusion360 file, or within another software.

I would have preferred to provide an openscad file, but i don't know how to generate threads with OpenScad, and i have not yet learned how to use freeCad.

Anyway, for now, you have the basis, you may just have to adjust the inlet and outlet to your pipe sizes or use/make adapters.

Everything is released under the GNU GPL licence, so enjoy :)

  • 2 × 18L(6 gallons) buckets plastic water buckets used for masonery
  • 2 × lids for the buckets snap on buckets lids, plastic to be able to cut it
  • 1 × 3D printed inlet the 3D printed inlet that will be blued on the side of the bucket
  • 1 × 3D printed inlet hose adapter The 3D printed hose adapter that goes on your pipe and screw on the inlet
  • 1 × 3D printed vacum outlet 3D printed outlet that goes on top of the bucket to your vacum cleaner

View all 6 components

  • 1
    3D print the parts

    You have 4 parts to print, whose STL can be found here on the github repository.

    Orient the parts properly to have no steep overhangs, and slice at 0.3mm layer height (it work for me at 0.3, you can go finer if you want, and i did not tested coarser prints).

    I printed the parts in PLA on a prusa I3 MK2, but it should work with most rigid plastics.

    On my prusa it took aproximately 5 hours with a 20% infill.

  • 2
    Cut your bucket to have holes for the inlet and the outlet

    -Cut a circular hole at the top of your bucket, large enough to have the 3D printed part #1 go trough it (the screw section only, the flat section remains IN the bucket)

    -Near the top of the bucket, cut a hole to transfer the hole in the part #3 to the side of your bucket. To to so, you can simply place the part on the side of the bucket, and trace the hole. It should simply fit properly the right way.

  • 3
    Glue part #3 on the side of the bucket with silicone

    Put generous amount of silicon on the surface of part #3 that mates with the bucket :

    Then align the hole with the opening on the side of the bucket, and press firmly.
    You can also add extra silicone around to ensure a better air tight joint.

View all 8 instructions

Enjoy this project?

Share

Discussions

[deleted]

[this comment has been deleted]

Morning.Star wrote 05/22/2018 at 21:50 point

Awwww lol, brilliant :-D

  Are you sure? yes | no

Audrey Robinel wrote 05/23/2018 at 16:31 point

didn't notice at the time, but now that you say it, they are super best friends :)

  Are you sure? yes | no

Similar Projects

Does this project spark your interest?

Become a member to follow this project and never miss any updates