To be able to create multiple nixie tubes ( the ultimate goal is... of course.... a clock) I decided to create some moulds that the PETG can be formed into and then I would get consistency between the tubes.
I designed them in GIMP 2.8, using the LOGO-Typewriter Font option. as this was the quickest way to make clean numbers.
Each number was created separately and the additional vertical line added to route the PETG to where the LED will be.
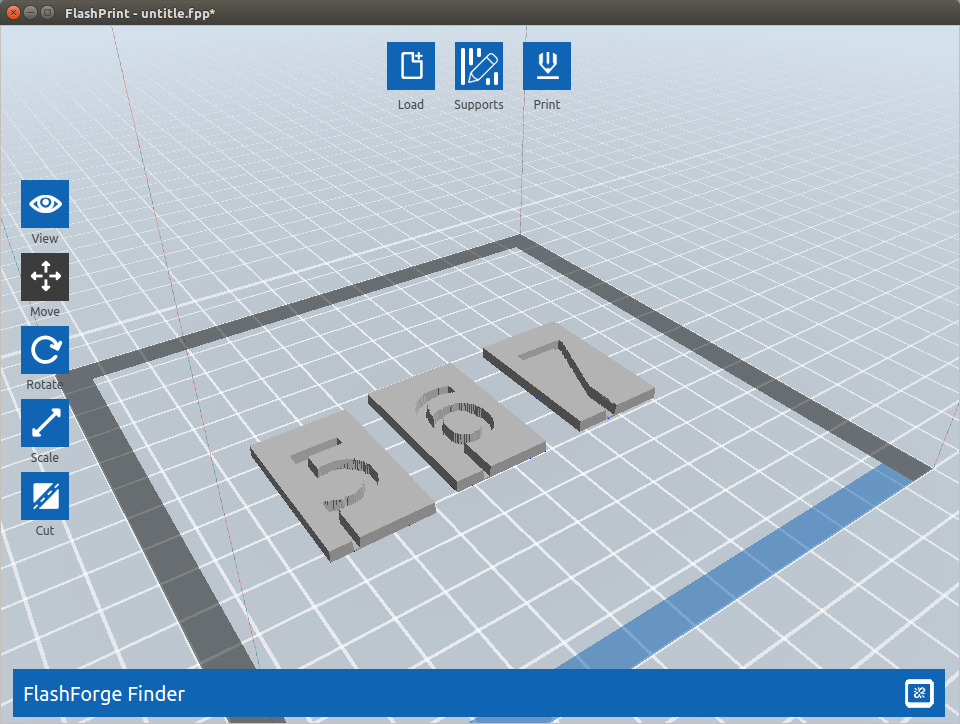
With these PNG files, I loaded them into the FlashPrint software and it has this really cool function that converts 2D images into 3D objects using the color in the picture to determine the height. So using only black and white, I get a cool mould. Where the height of anything white is 4mm and anything black is 0.5mm - then under that all is a base of 0.5mm. This gives me a mould of 4.5mm where the cutout is 3.5mm deep.
Each mould takes about 10 minutes to print in High-Res ( it's only 25mm wide and 35 high).
Here is the mould for the number 7 with the PETG in place:
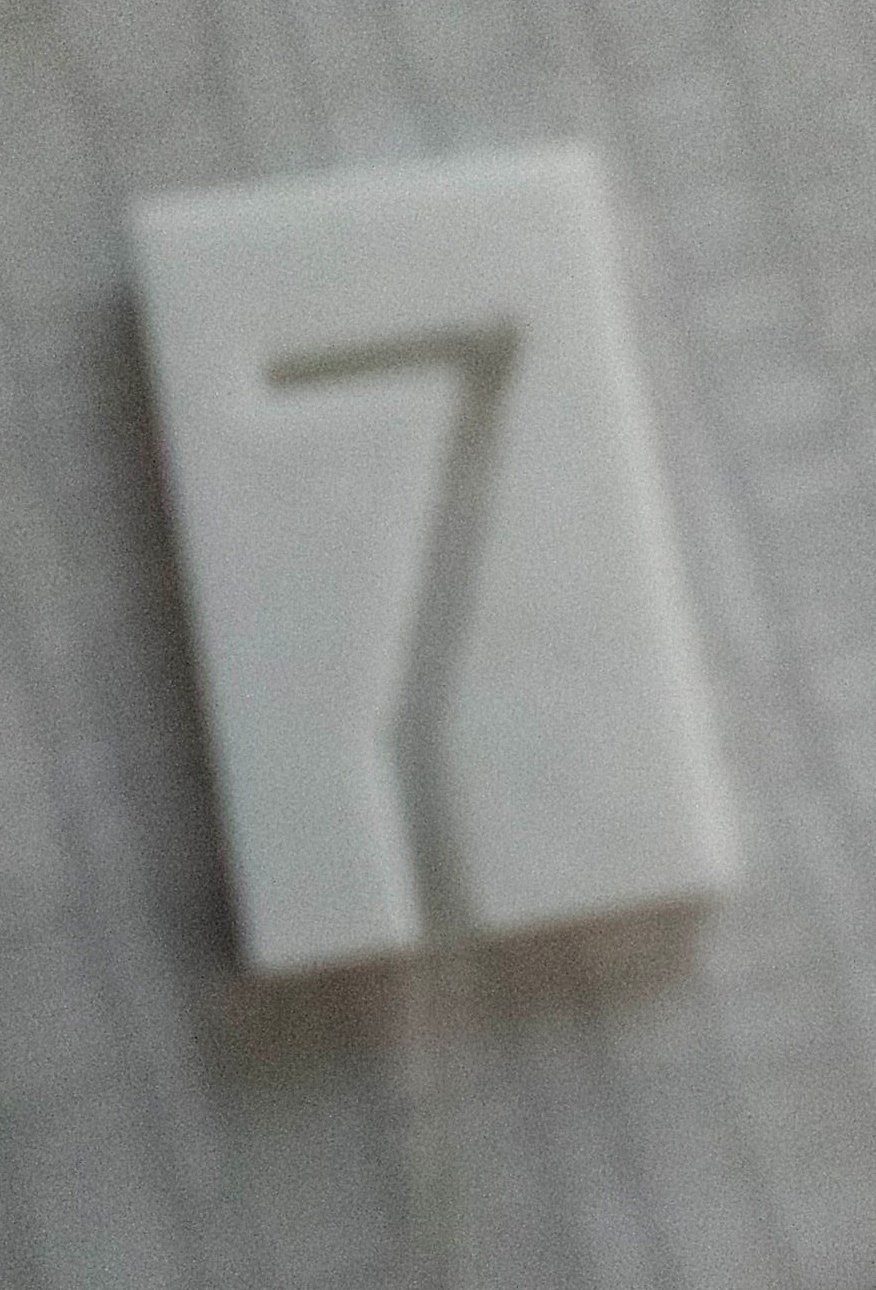
I warm the PETG with a hairdryer until it is a bit flexible and then form it into the mould. Wait a few minutes for it to cool and out pops a transparent PETG '7'.
I made moulds for all the numbers.
Discussions
Become a Hackaday.io Member
Create an account to leave a comment. Already have an account? Log In.