 Scott Clandinin
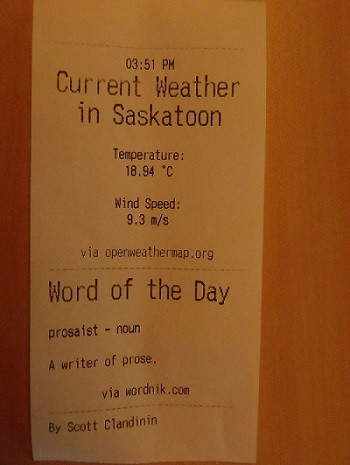
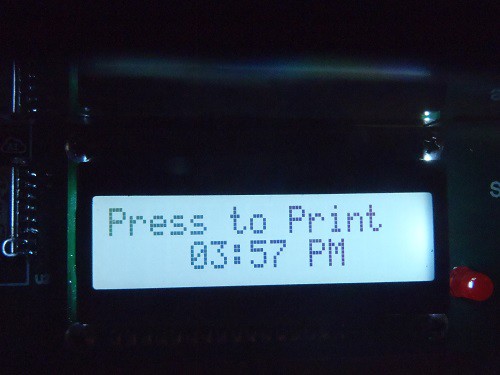
With the press of a button this device will connect to your Wi-Fi, search a couple API sites, and print out the data of interest out on receipt paper. If the printer runs out of paper, the user will be alerted, and can not print until the paper has been replaced. The device makes use of a PIC18F microcontroller, ESP8266 Wi-Fi module, and CSN-A2 thermal receipt printer. Due to time constraints, and the complexity of this project, there is much room for improvement in future versions. This doesn't go into too much detail, but explains the general design process and challenges. Hopefully it can still be of some value to people. Check out the code at Github if you want to see how the code fits together.
Revision 1:
General Improvements:
- Current time updated to LCD every minute
- Programmed to print off weather every day at 6:30 AM
- Time to processed print request halved
- 3-day weather forecast
- high and low
- conditions descriptions
- percent chance of precipitation
- max wind speed
For development process see project logs.
Original
API Configuration:
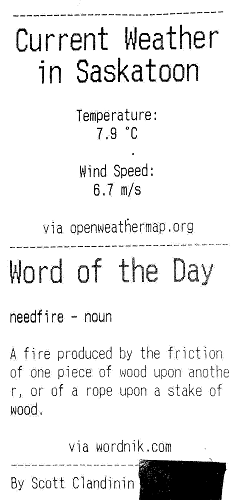
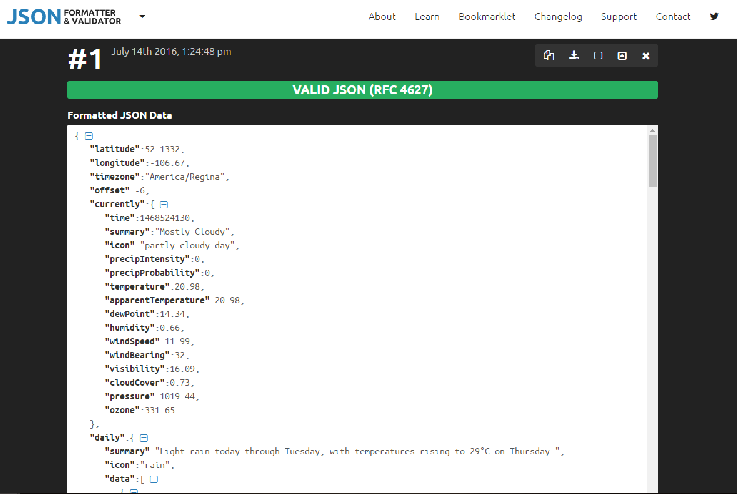
Weather data was retrieved from OpenWeatherMap, and word data was retrieved by Wordnik. These are both free services that are quick to set up and easy to use. The data format returned by these are JSON.
Example of call from OpenWeatherMap:
http://api.openweathermap.org/data/2.5/find?q=<city>&units=metric&appid=<API-Key>
Example of call from Wordnik:
http://api.wordnik.com/v4/words.json/wordOfTheDay?api_key=<API-Key>
HTTP Communication
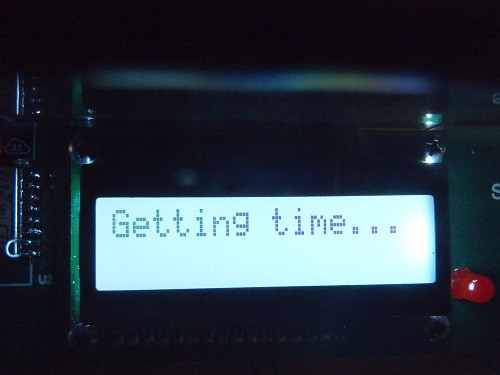
To be able to communicate with the servers to request data, some basic understanding of HTTP is needed. To ask the server for the data at our URL of interest, we need to make a GET request. The full GET request format can be found in the Github code, but there are 3 steps to make the API call. First, begin the connection with the server and wait for response. Next, tell the server how many bytes of data you will send it and wait the for the response. Finally make the GET request, and wait for the server to send the data.
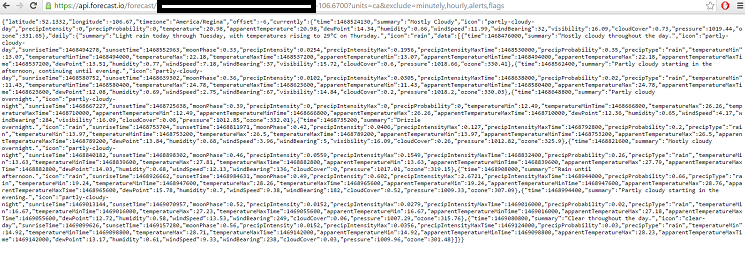
Parsing Data
The trickiest part of the project was parsing the JSON data. Below is an example of how to find temperature and wind speed from the OpenWeatherMap data:
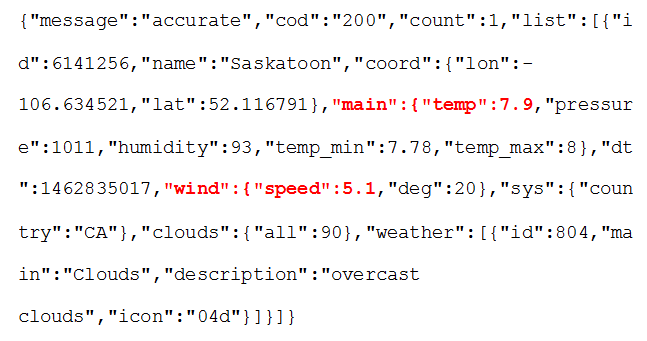
The amount of data in a JSON response is dynamic, but the objects (**usually**) come in the same order. So to find the temperature value of 7.9, I can read each byte, and once I had read 4 "{" characters, I will be expecting "temp": next. I can then skip bytes until a ":" appears, and then record data until a comma appears.
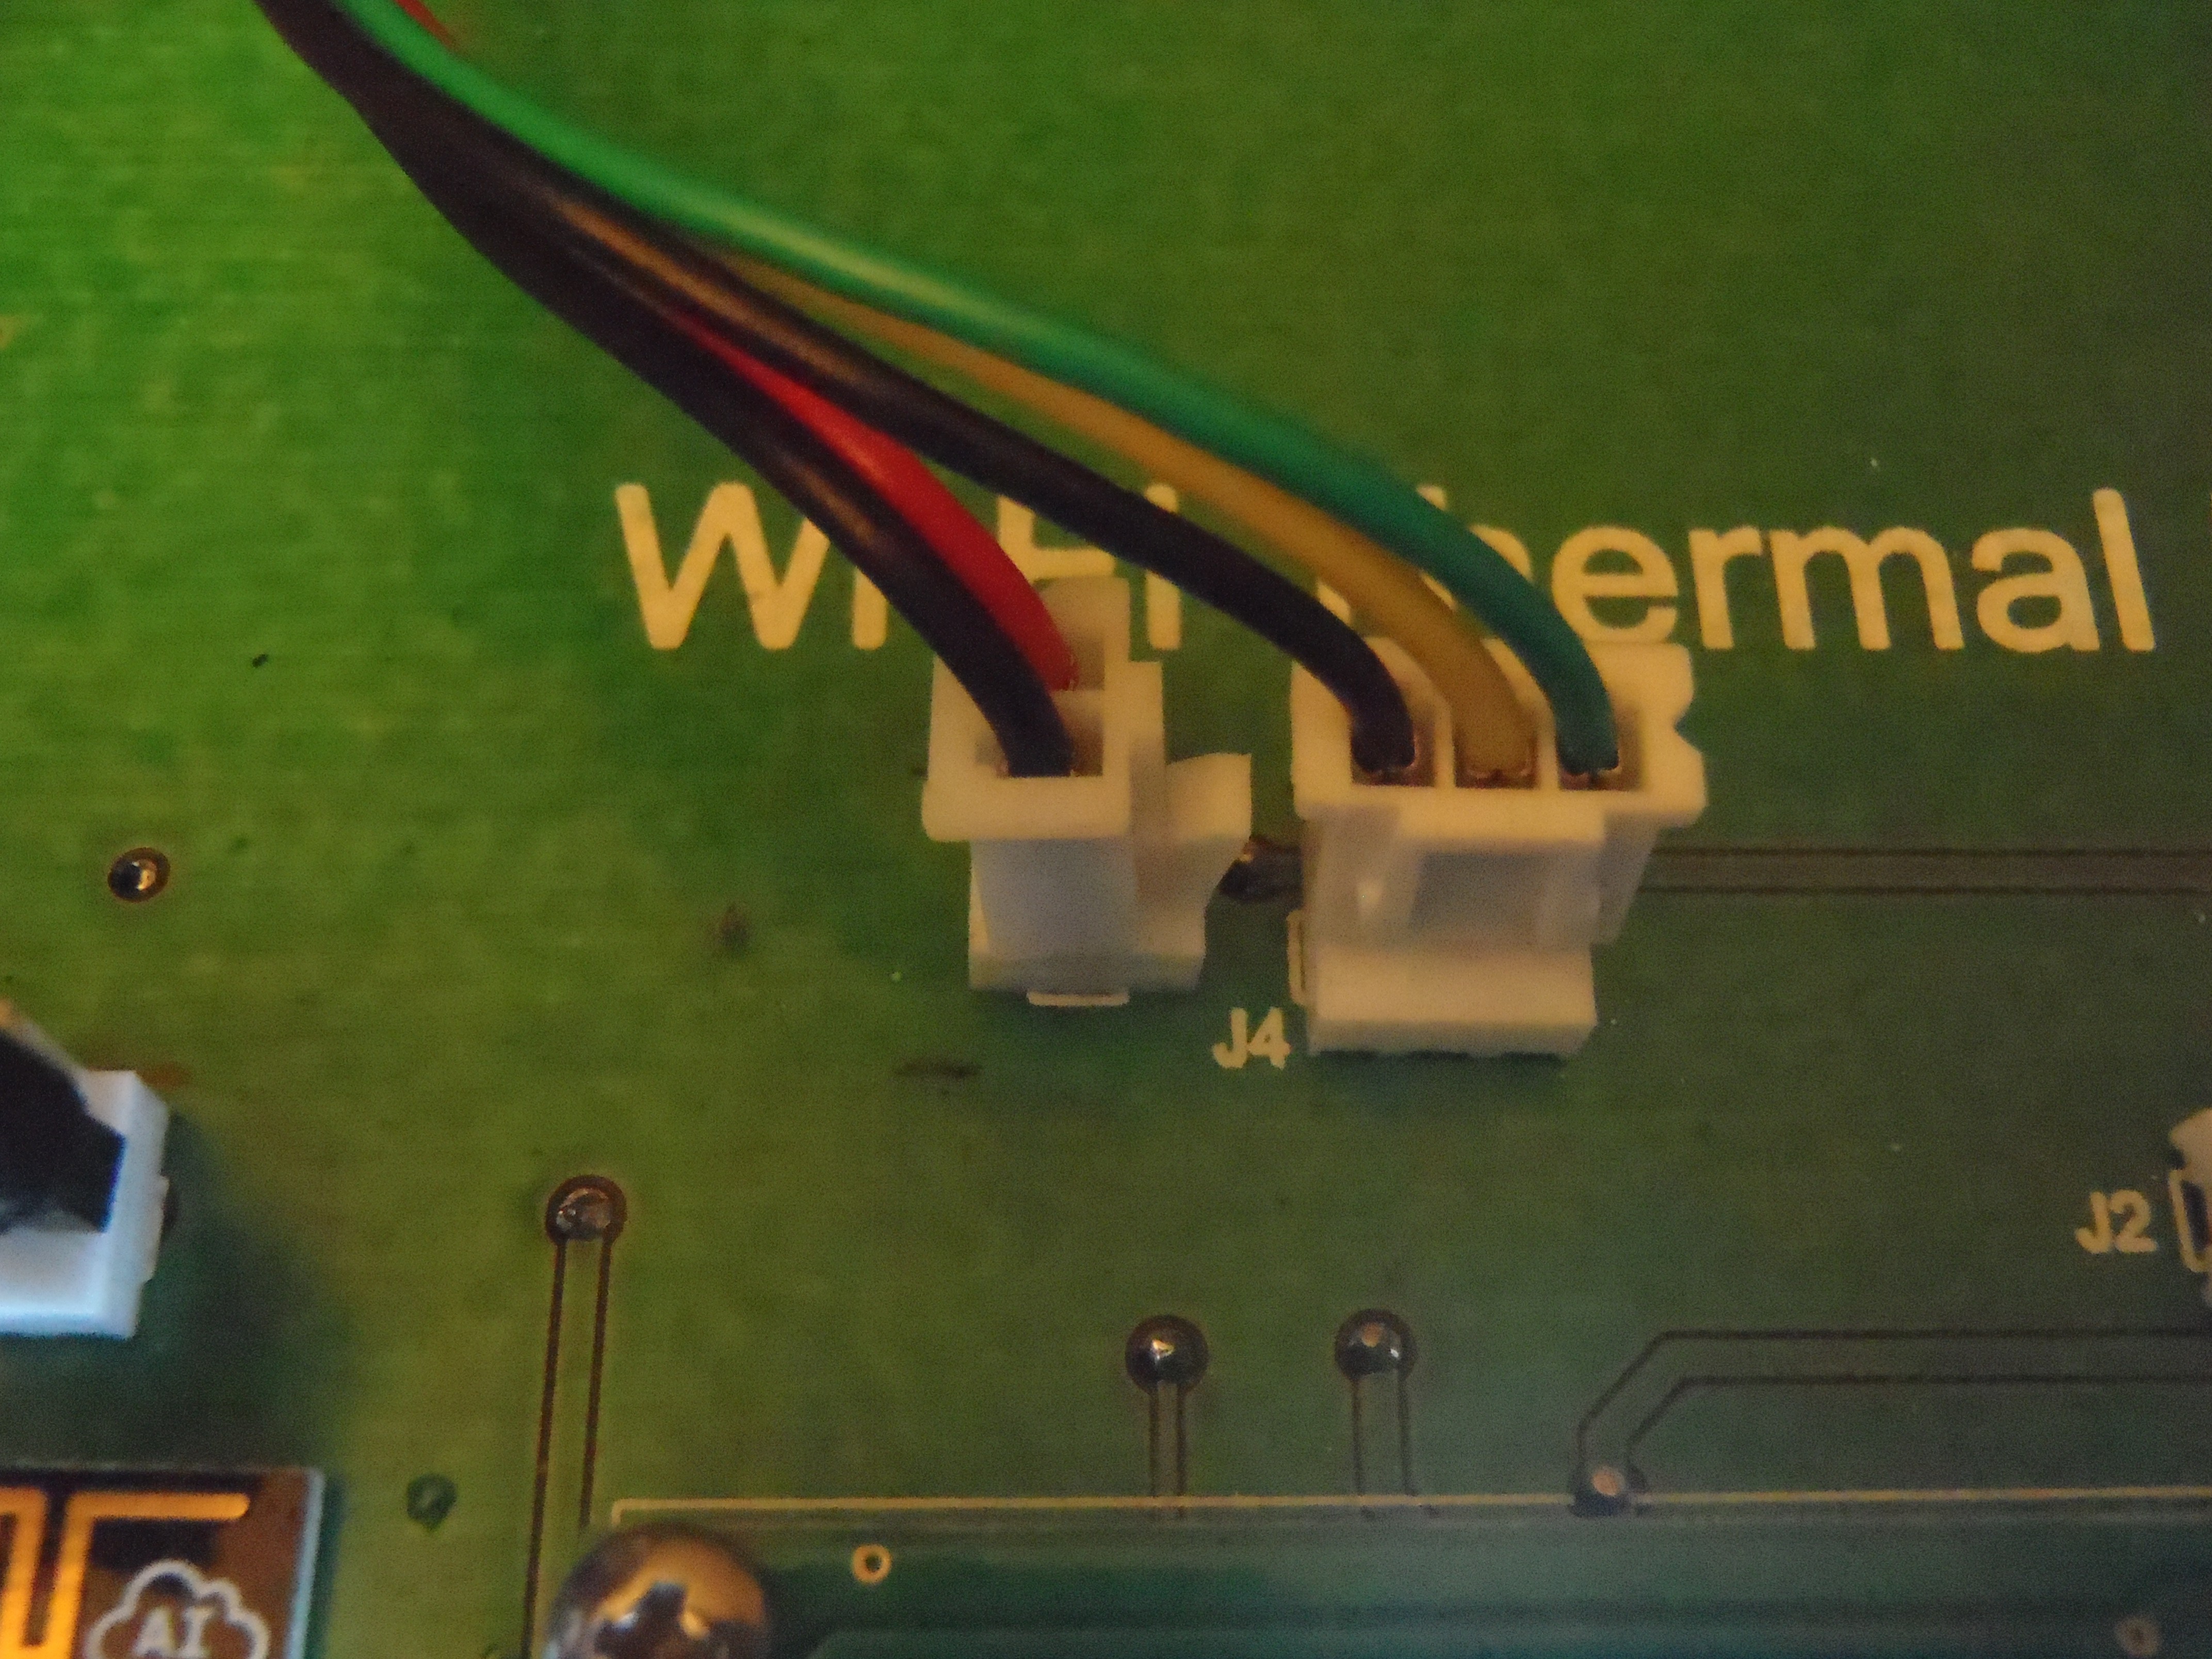
Wi-Fi Module and Thermal Printer
Both of these devices used serial RS232 communication, and had their own unique command set. The ESP8266 command set can be found here. The CSN-A2 printer used the ESC-POS (Epson Standard Code - Point of Sale) command set which can be found here.
PIC Microcontroller
In our classes, we studied Microchips PIC18F series of microcontrollers, so it made sense to use a microcontroller from this family for my project. I used Microchip’s search function to narrow down the search based on my needs. I need a microcontroller with a 3.3 Volt operating voltage as communication with my chosen Wi-Fi module needs to be done with 3.3 Volts. Two onboard USART modules are needed for this project, one for the printer and one for the Wi-Fi module. The microcontroller that best fits the needs of this project is the PIC18LF25K22. It fits the specifications listed above, and has mid-range program memory and RAM. I ran the micro at 16MHz.
USART Comm Speed
To communicate with the ESP8266 (variable...
Read more »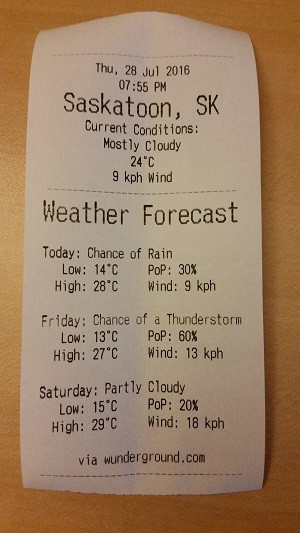
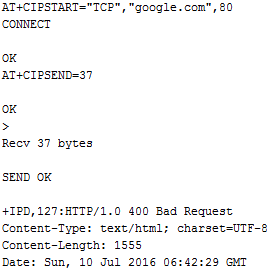 I tested this theory out with a serial monitor too see what returns when I made an HTTP HEAD request to "

 Dalton Oliveira
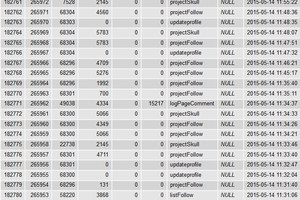
 Bob Blake
 Piotr Gaczkowski