 Jithin
Last year, I was set on using Acrylic for housing the project. I had however, also tried out a 3D printed case , but 3D printing is not for mass production.
Injection Moulding , a process where fully formed enclosures are churned out by the minute, is more suitable for larger quantities. Although it involves an initial effort of CNCing a metallic mould for molten plastic to flow through, the results are worth it.
Here's a picture of the mould we made. The larger cavities have been dug out by a CNC , and the finer features will be machined using a conventional milling machine and sandblasting tools The sliding structures on the sides will lock into place while the plastic flows, and will create holes for USB ports, AUX sockets etc in the side walls. After this, they withdraw automatically so that the piece can be ejected without breaking

And here's a partial segment of the counter mould which will fit into this cavity, and leave a 1.5mm gap all around.
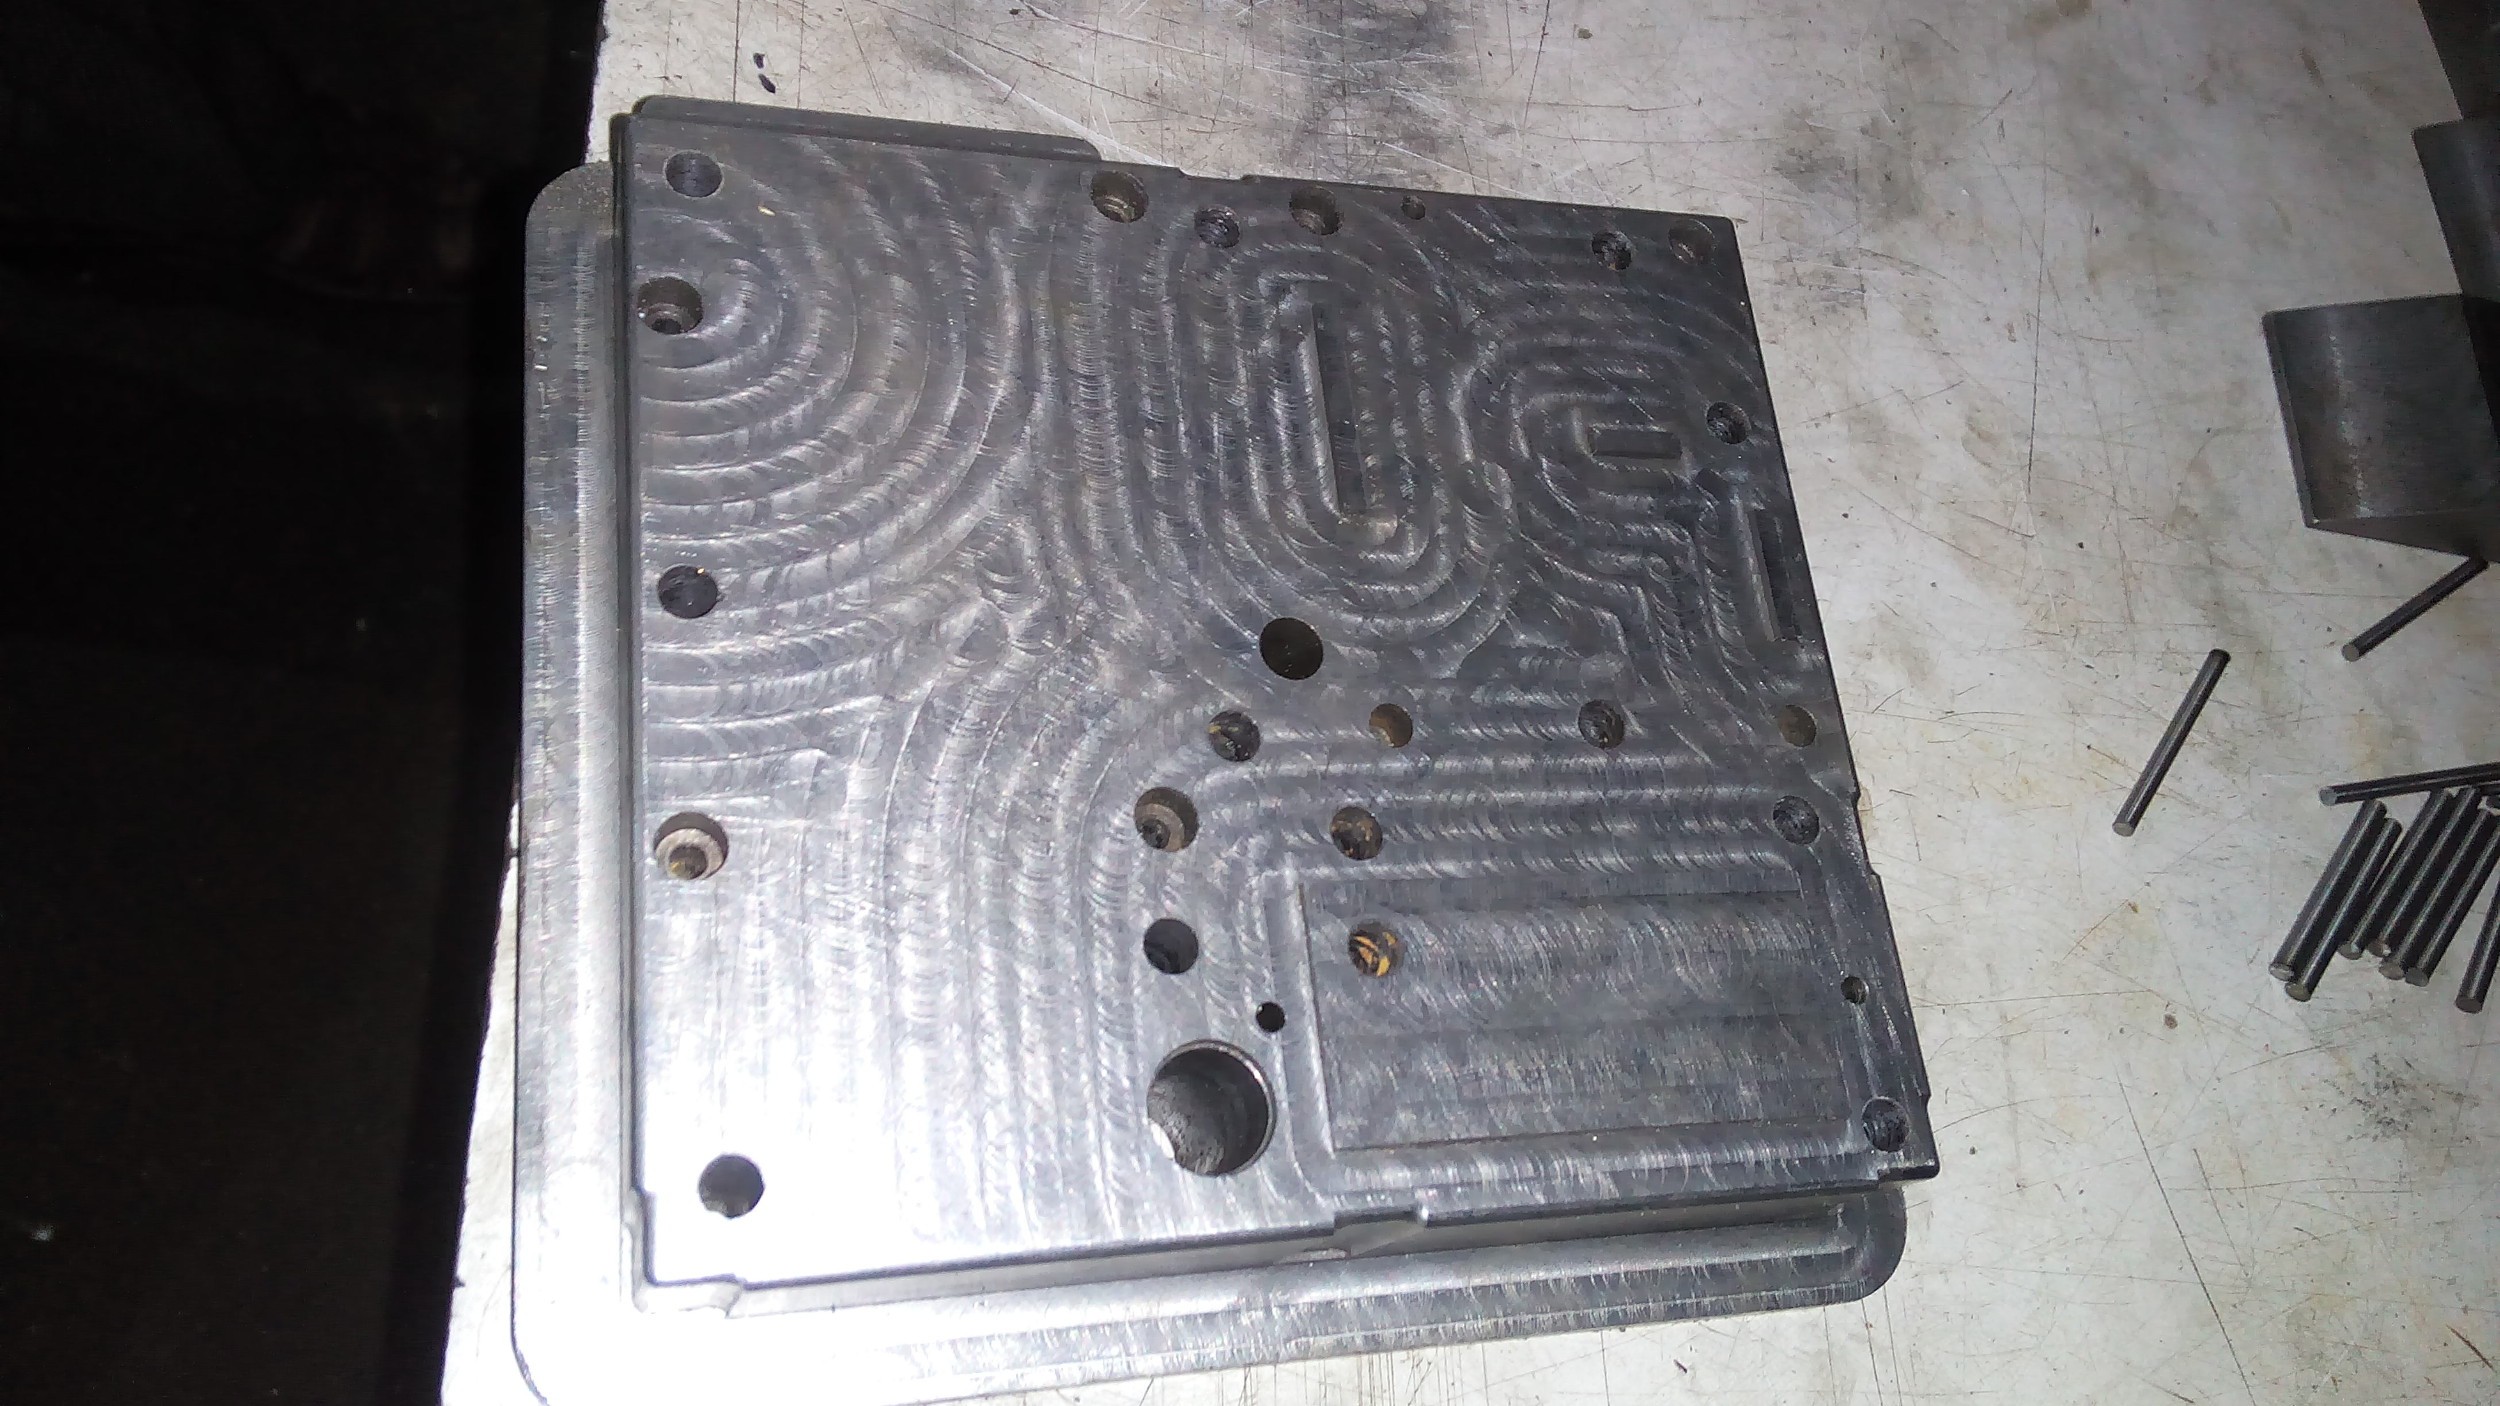
Most of the holes are for ejector pins. Once the plastic has flown through the gaps, and the mould has cooled and separated into the two separate halves by a large hydraulic assembly, they push against the plastic enclosure in order to separate it from the mould.
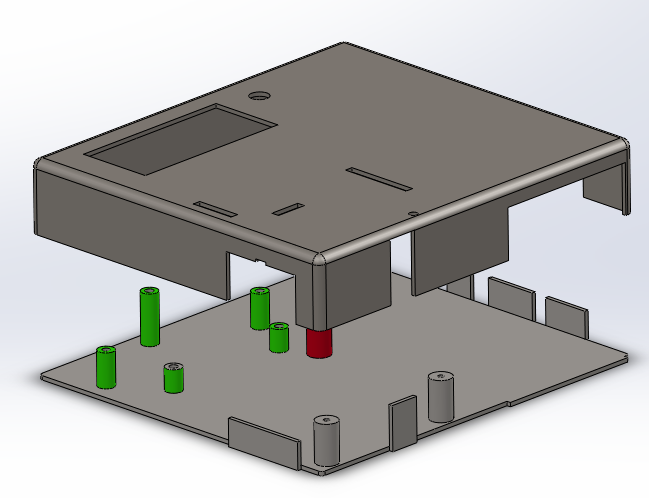
A CAD Render of the box. The side slots were later replaced with sliding inserts.
Discussions
Become a Hackaday.io Member
Create an account to leave a comment. Already have an account? Log In.