 Dan Kisling
For this project I designed my first enclosure. Up to this point I had been carving cigar boxes or cutting cardboard boxes. I had already done some 3-D prints up to this point, but I thought a 3-D printer was a poor choice for this enclosure. After all, I basically want a large box to stare at. 3-D printers are much better suited for smaller more intricate designs in my opinion.
So for this project I chose laser cut my enclosure from plywood. I've always wanted to learn how, so this seemed like a great opportunity to try it out. I still cheated to create the design, as we were under tight deadlines, and I didn't really know my way around Autocad. I used a python script to create a tabbed enclosure (I believe this is where I got it). From there I edited it to include our logo (my graphic designer friend helped me create the file), and cutouts for the screen and some cables and switches. I sent it off to our design labs on campus to create it and within minutes I had it all laser cut.
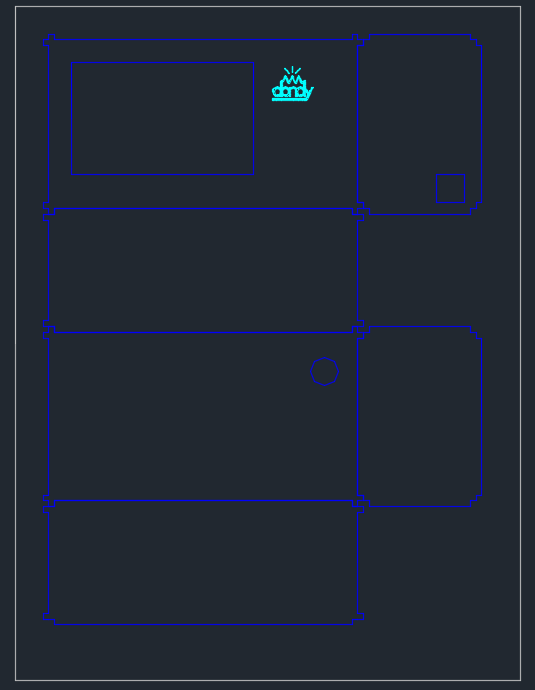
Link to enclosure I designed here (github).
Below is a quick video of me gluing it together. I just used some wood glue and tie line (since that's what I had on hand.
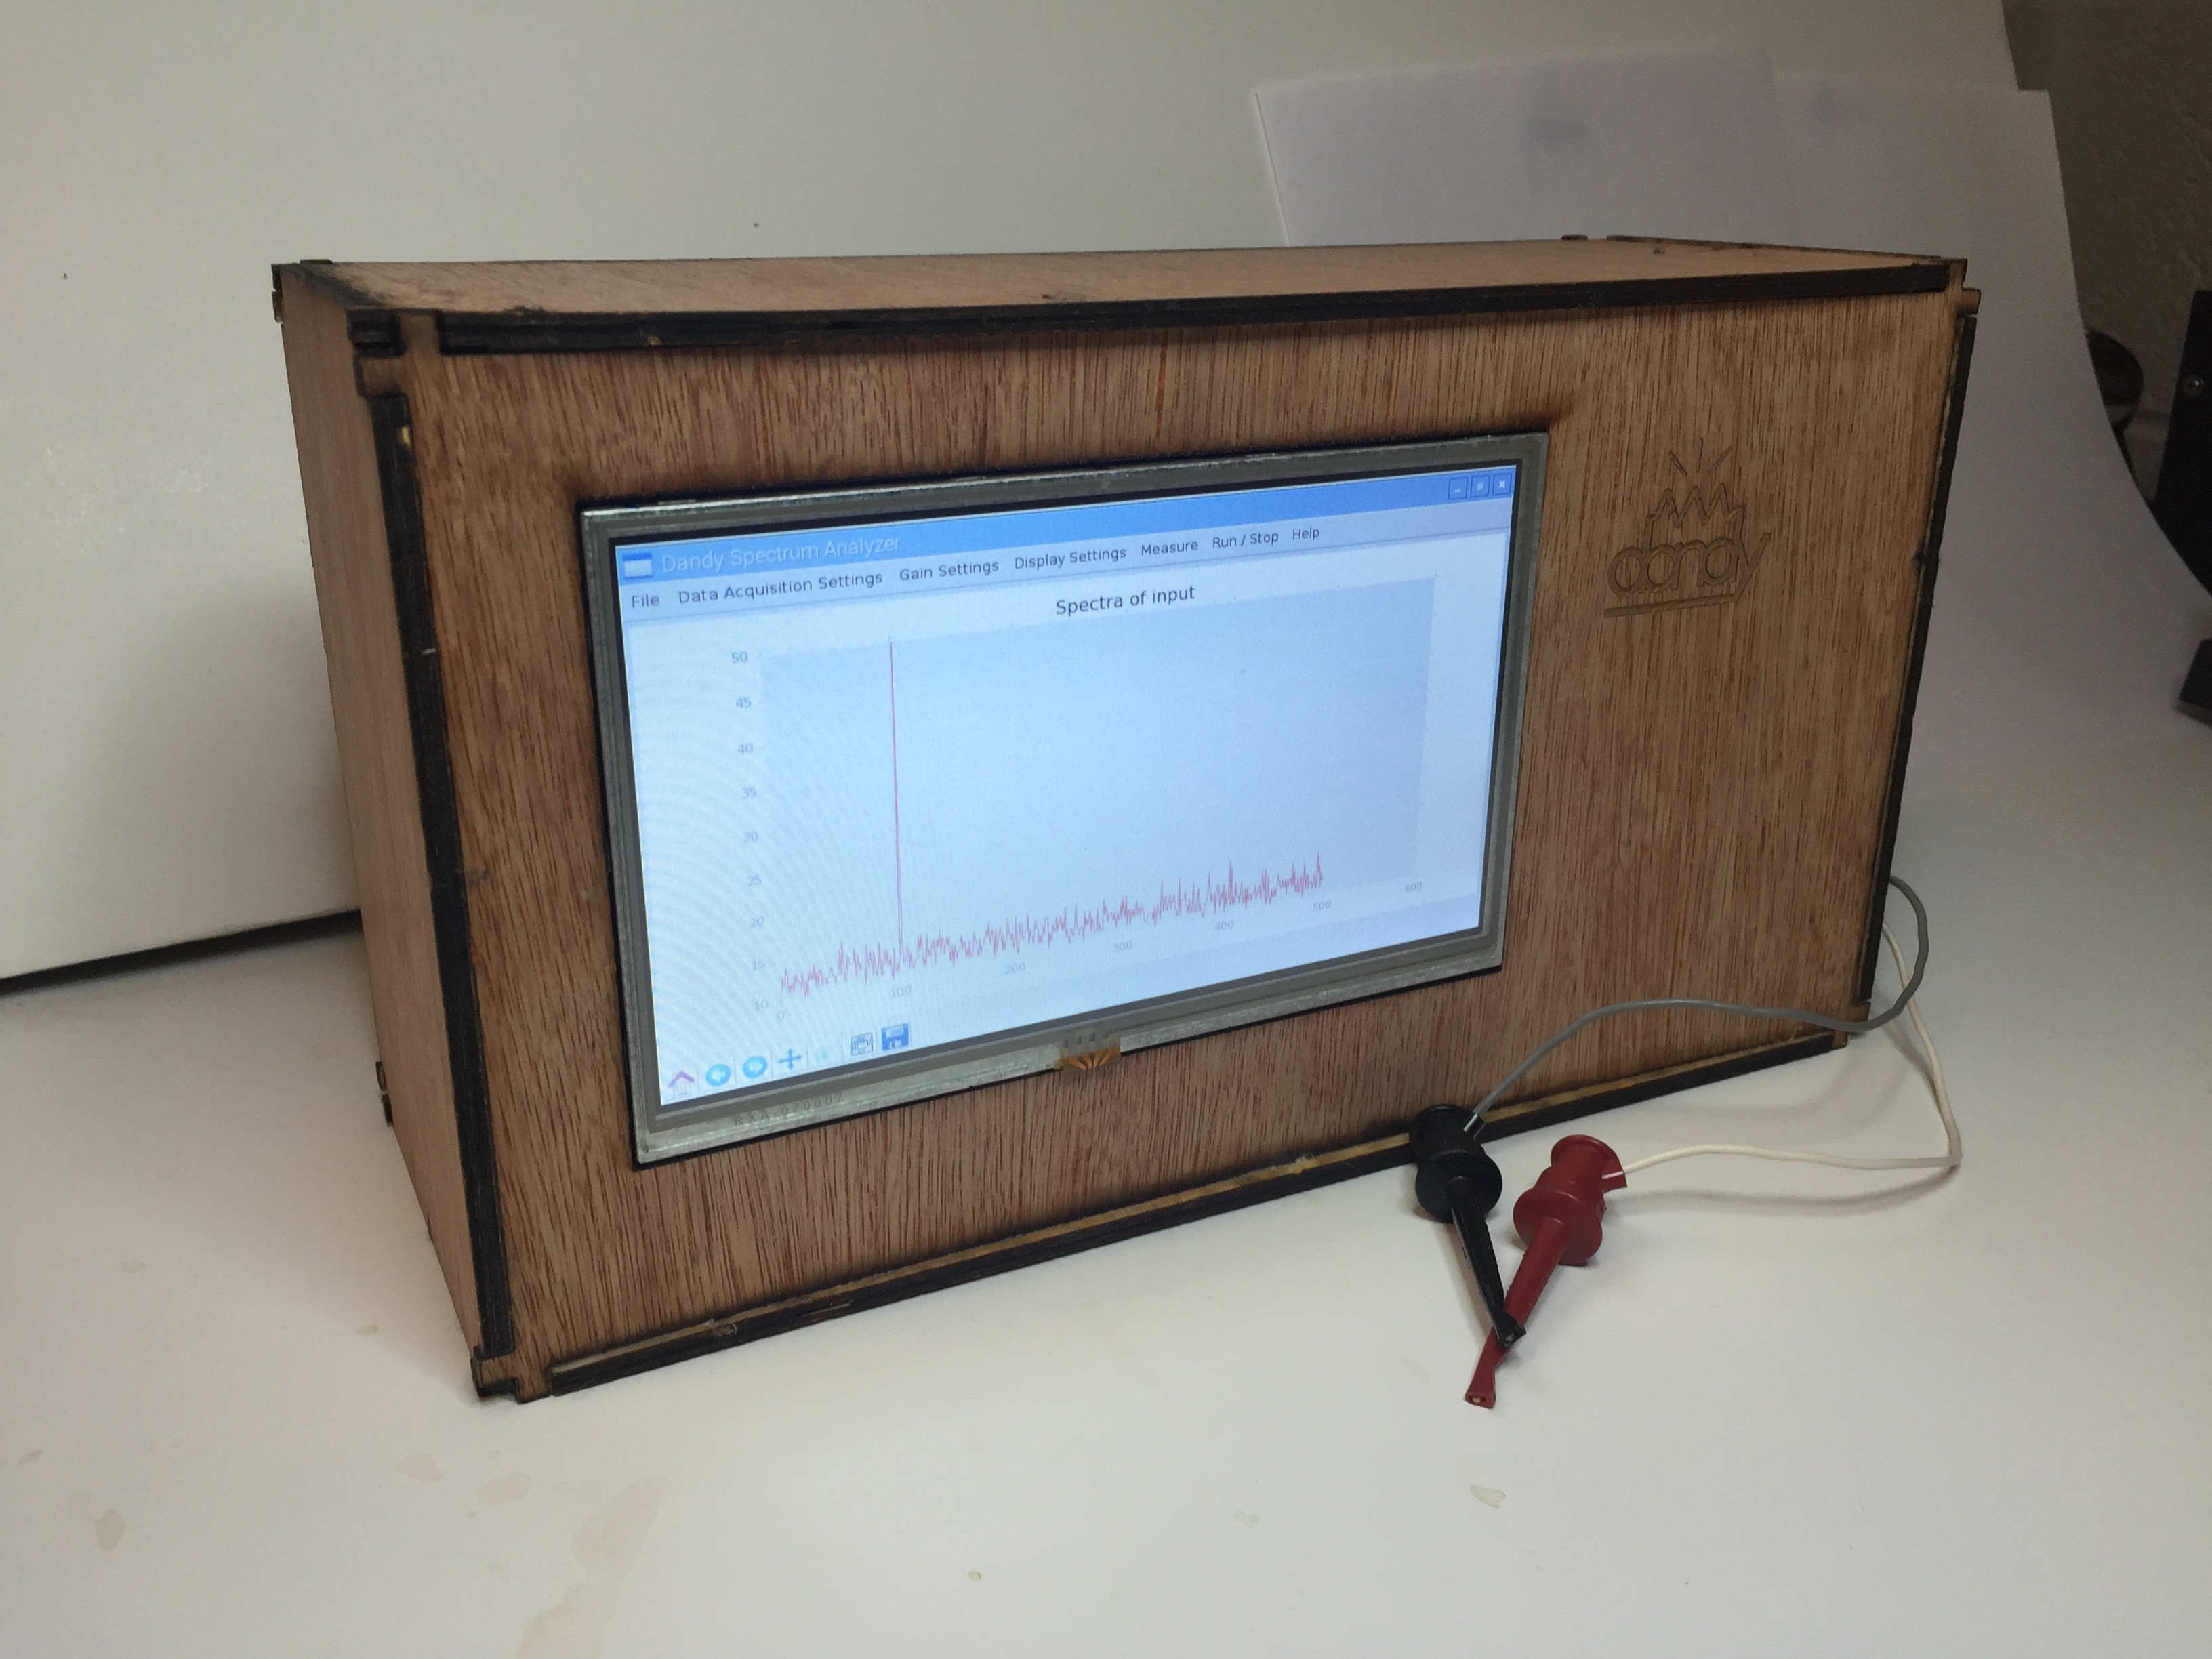
I left off the back panel that way I can get inside. Lucky for me, the wood was warped in such a direction that the back panel fit snug inside without any glue or screws. Here's a picture of the enclosure with the screen inside. I used some cheap M2.5 screws and nuts to attach the screen.
Discussions
Become a Hackaday.io Member
Create an account to leave a comment. Already have an account? Log In.