 Mike Machado
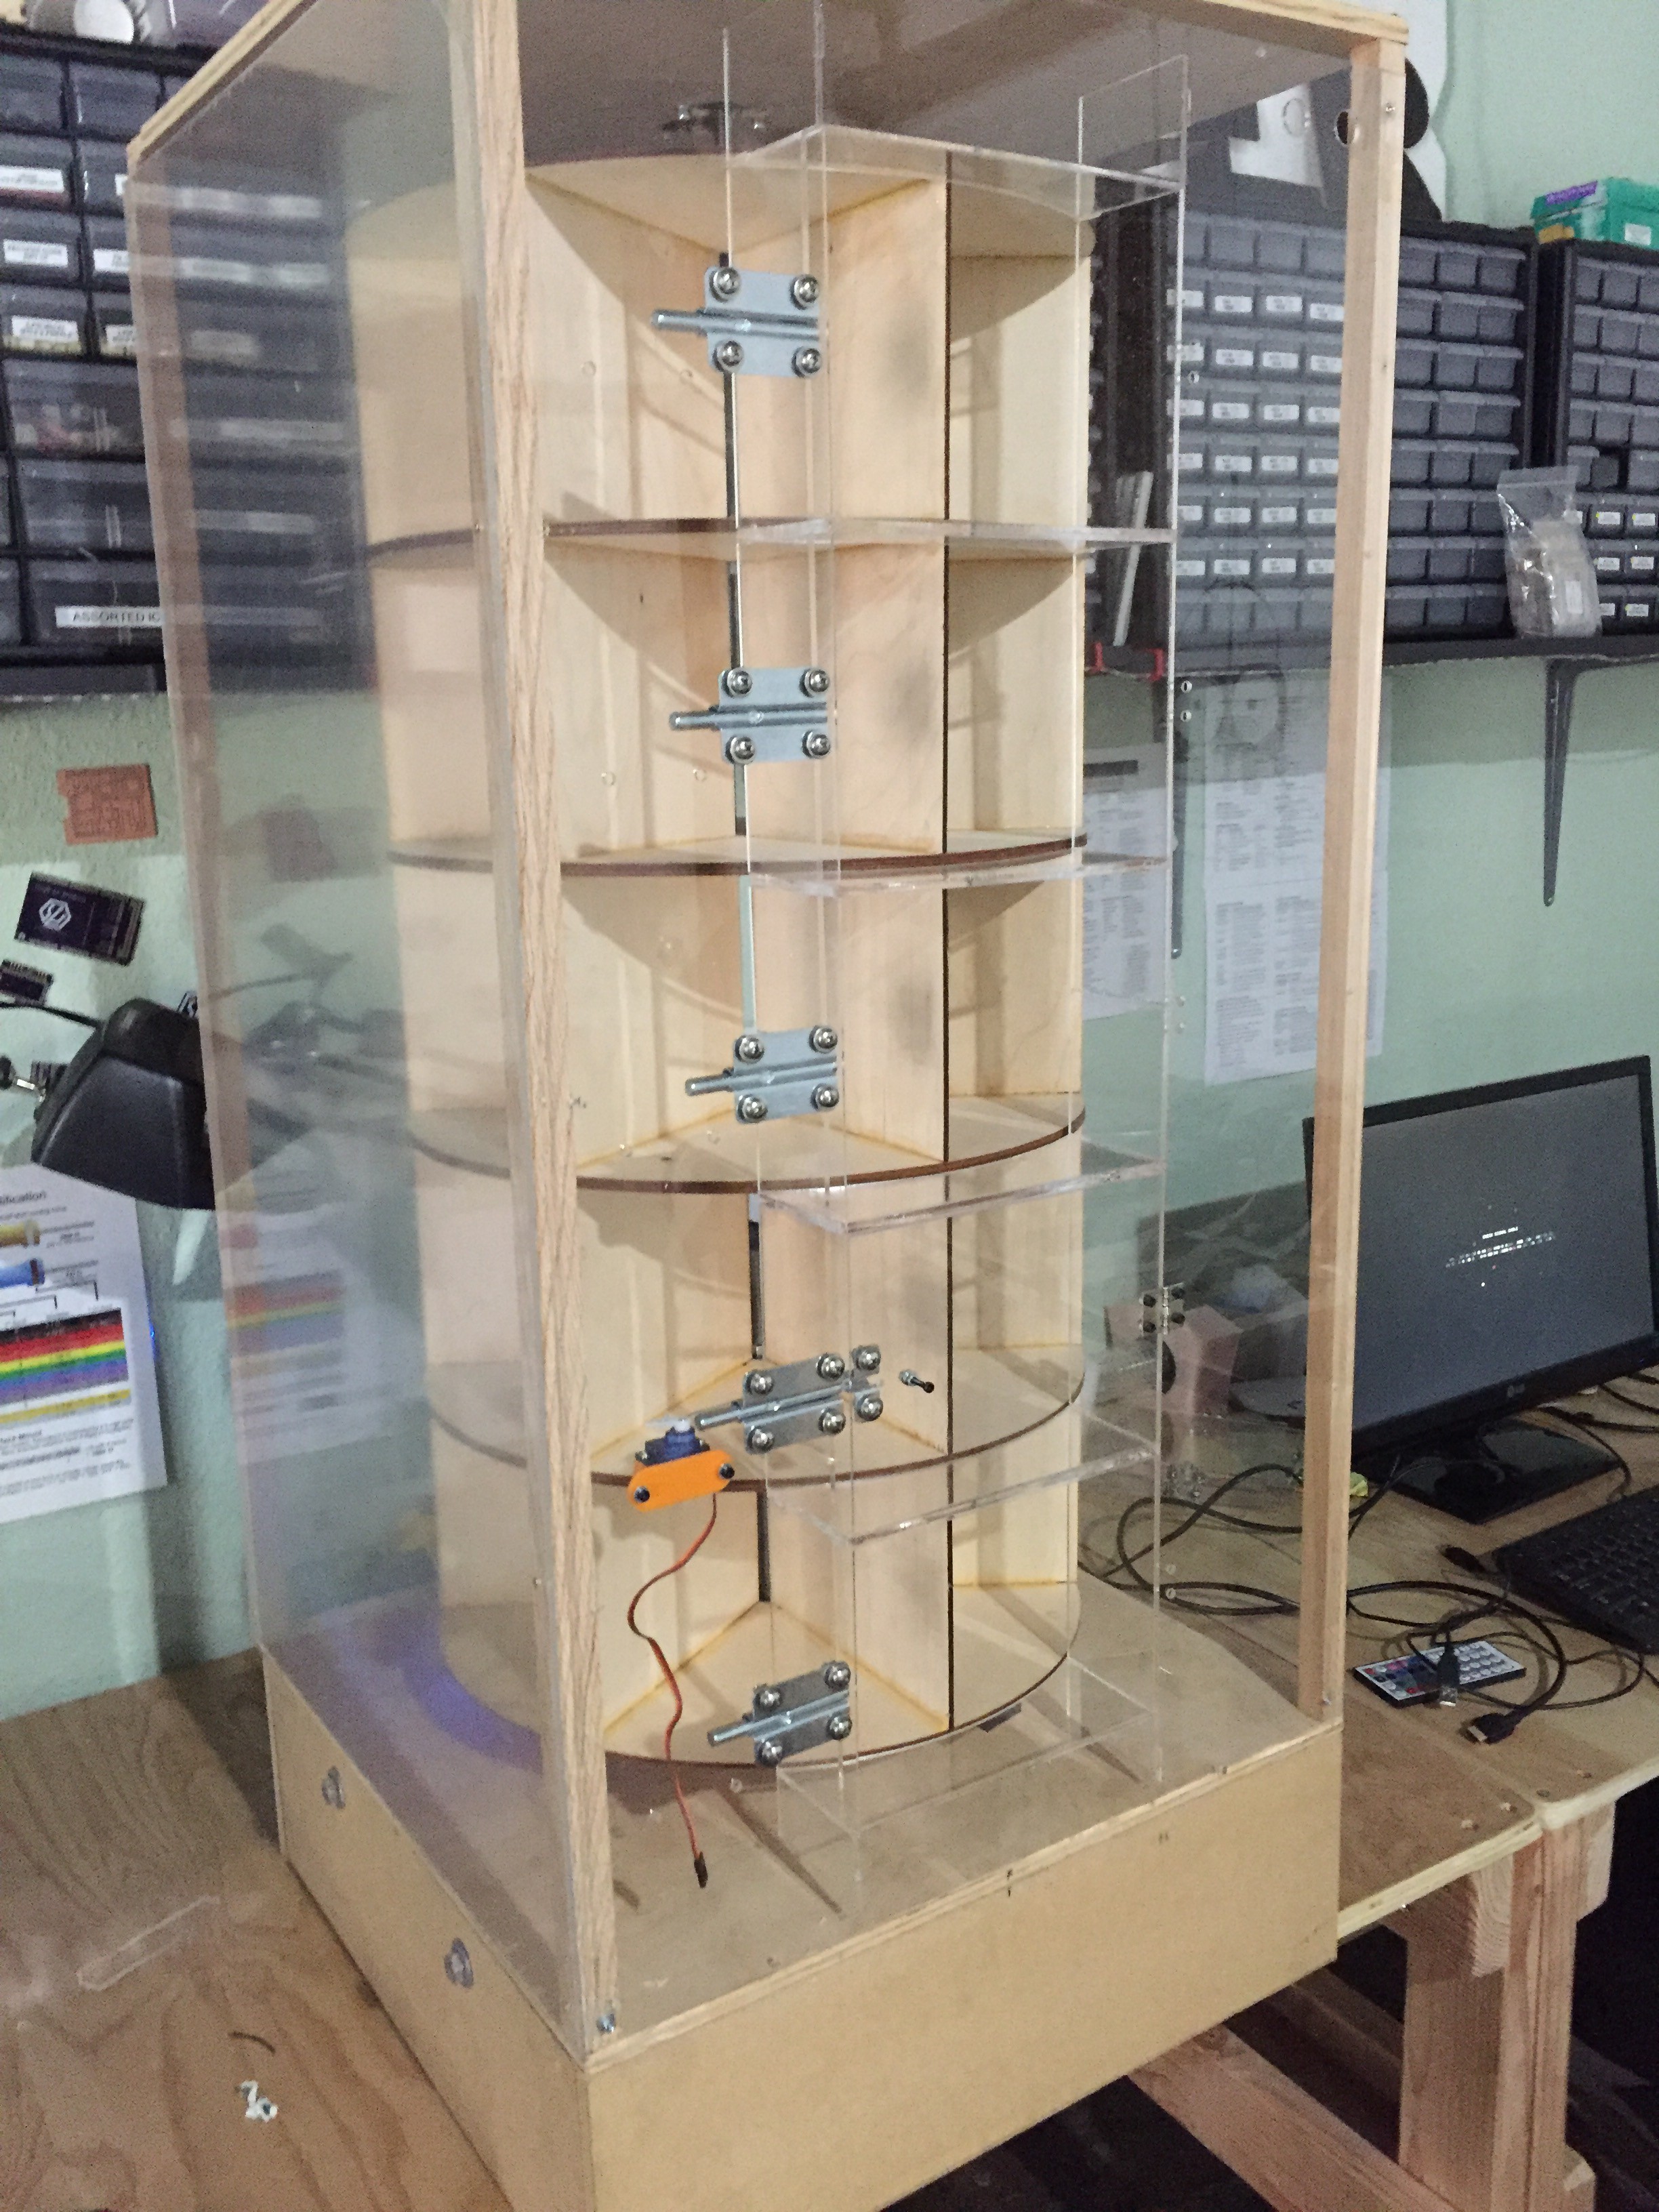
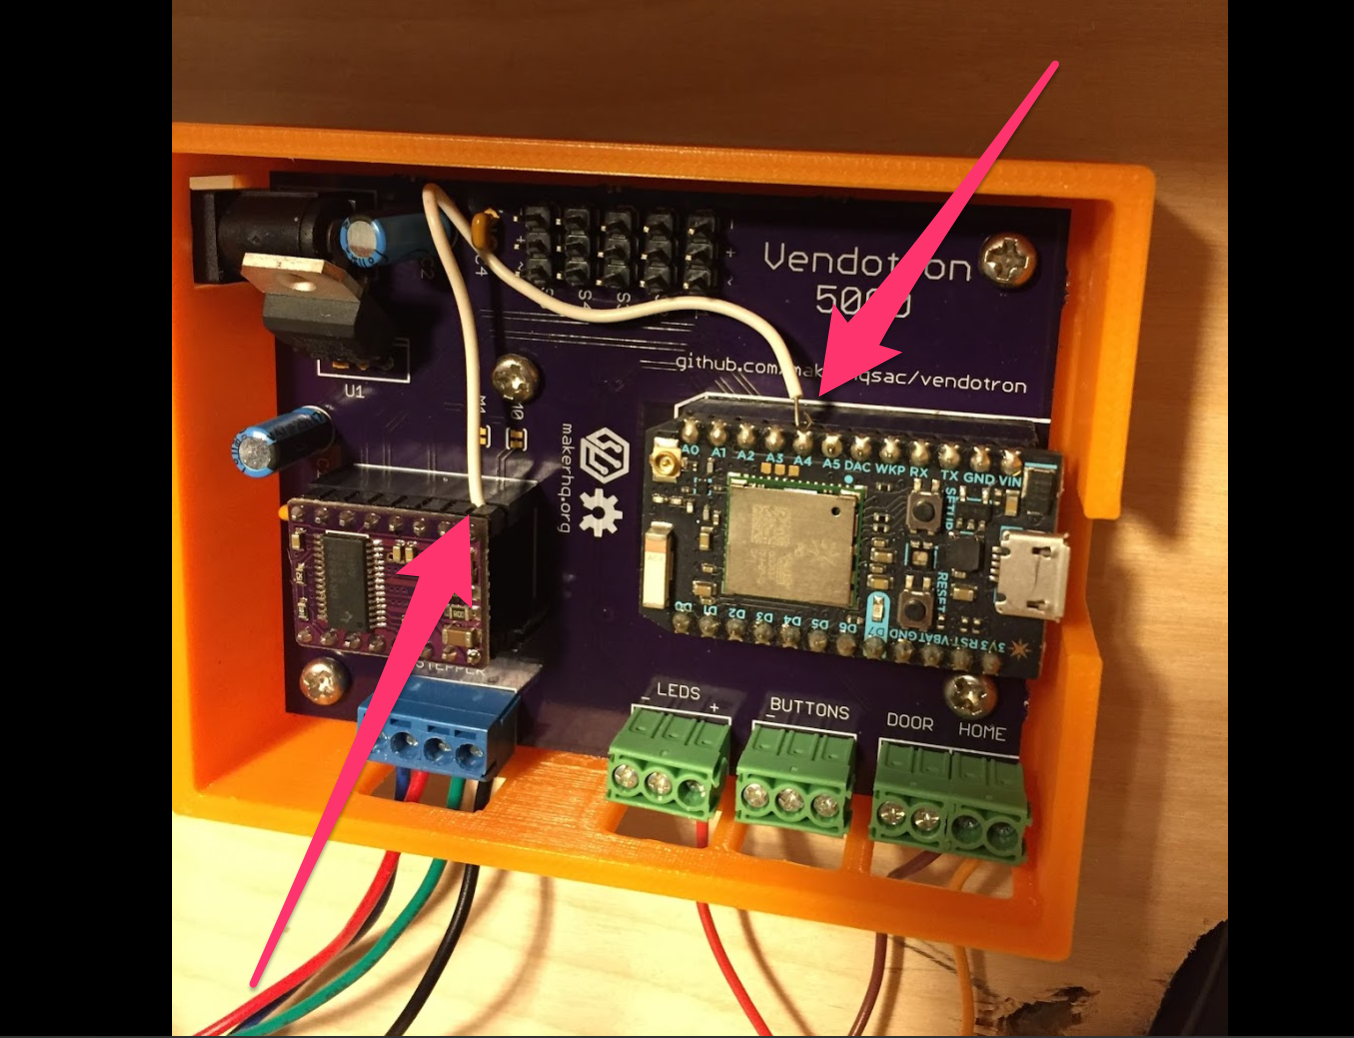
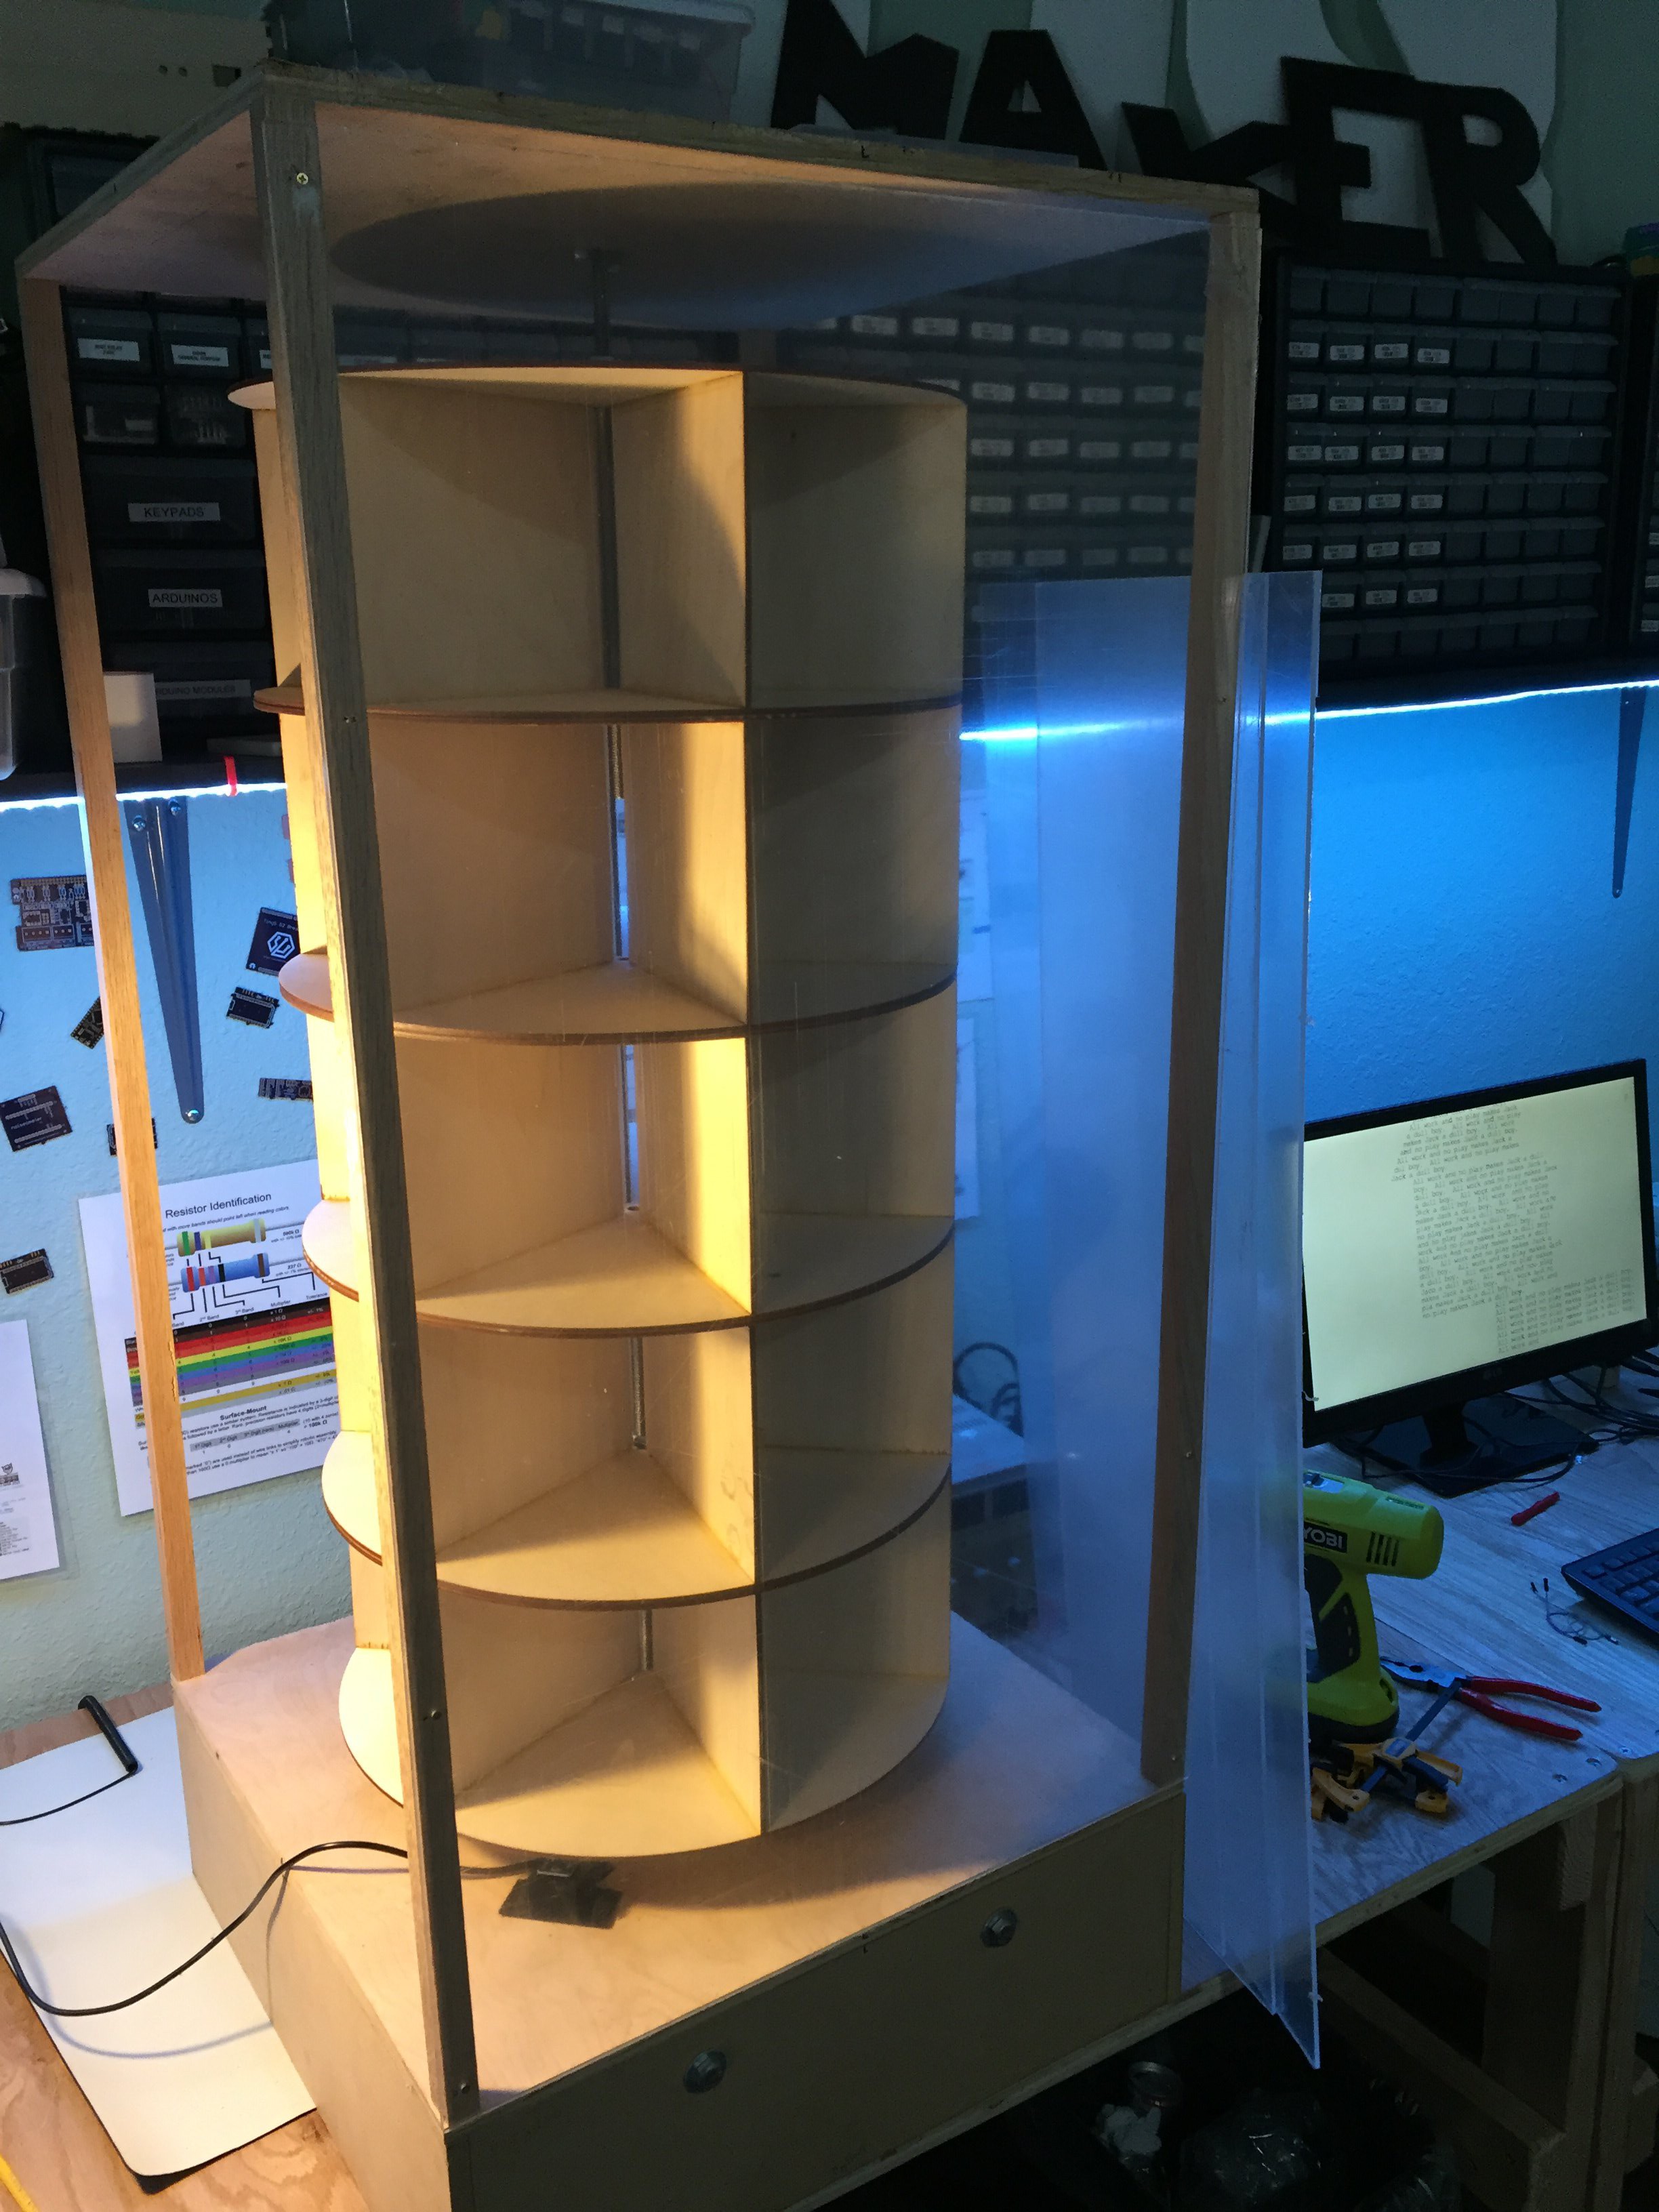
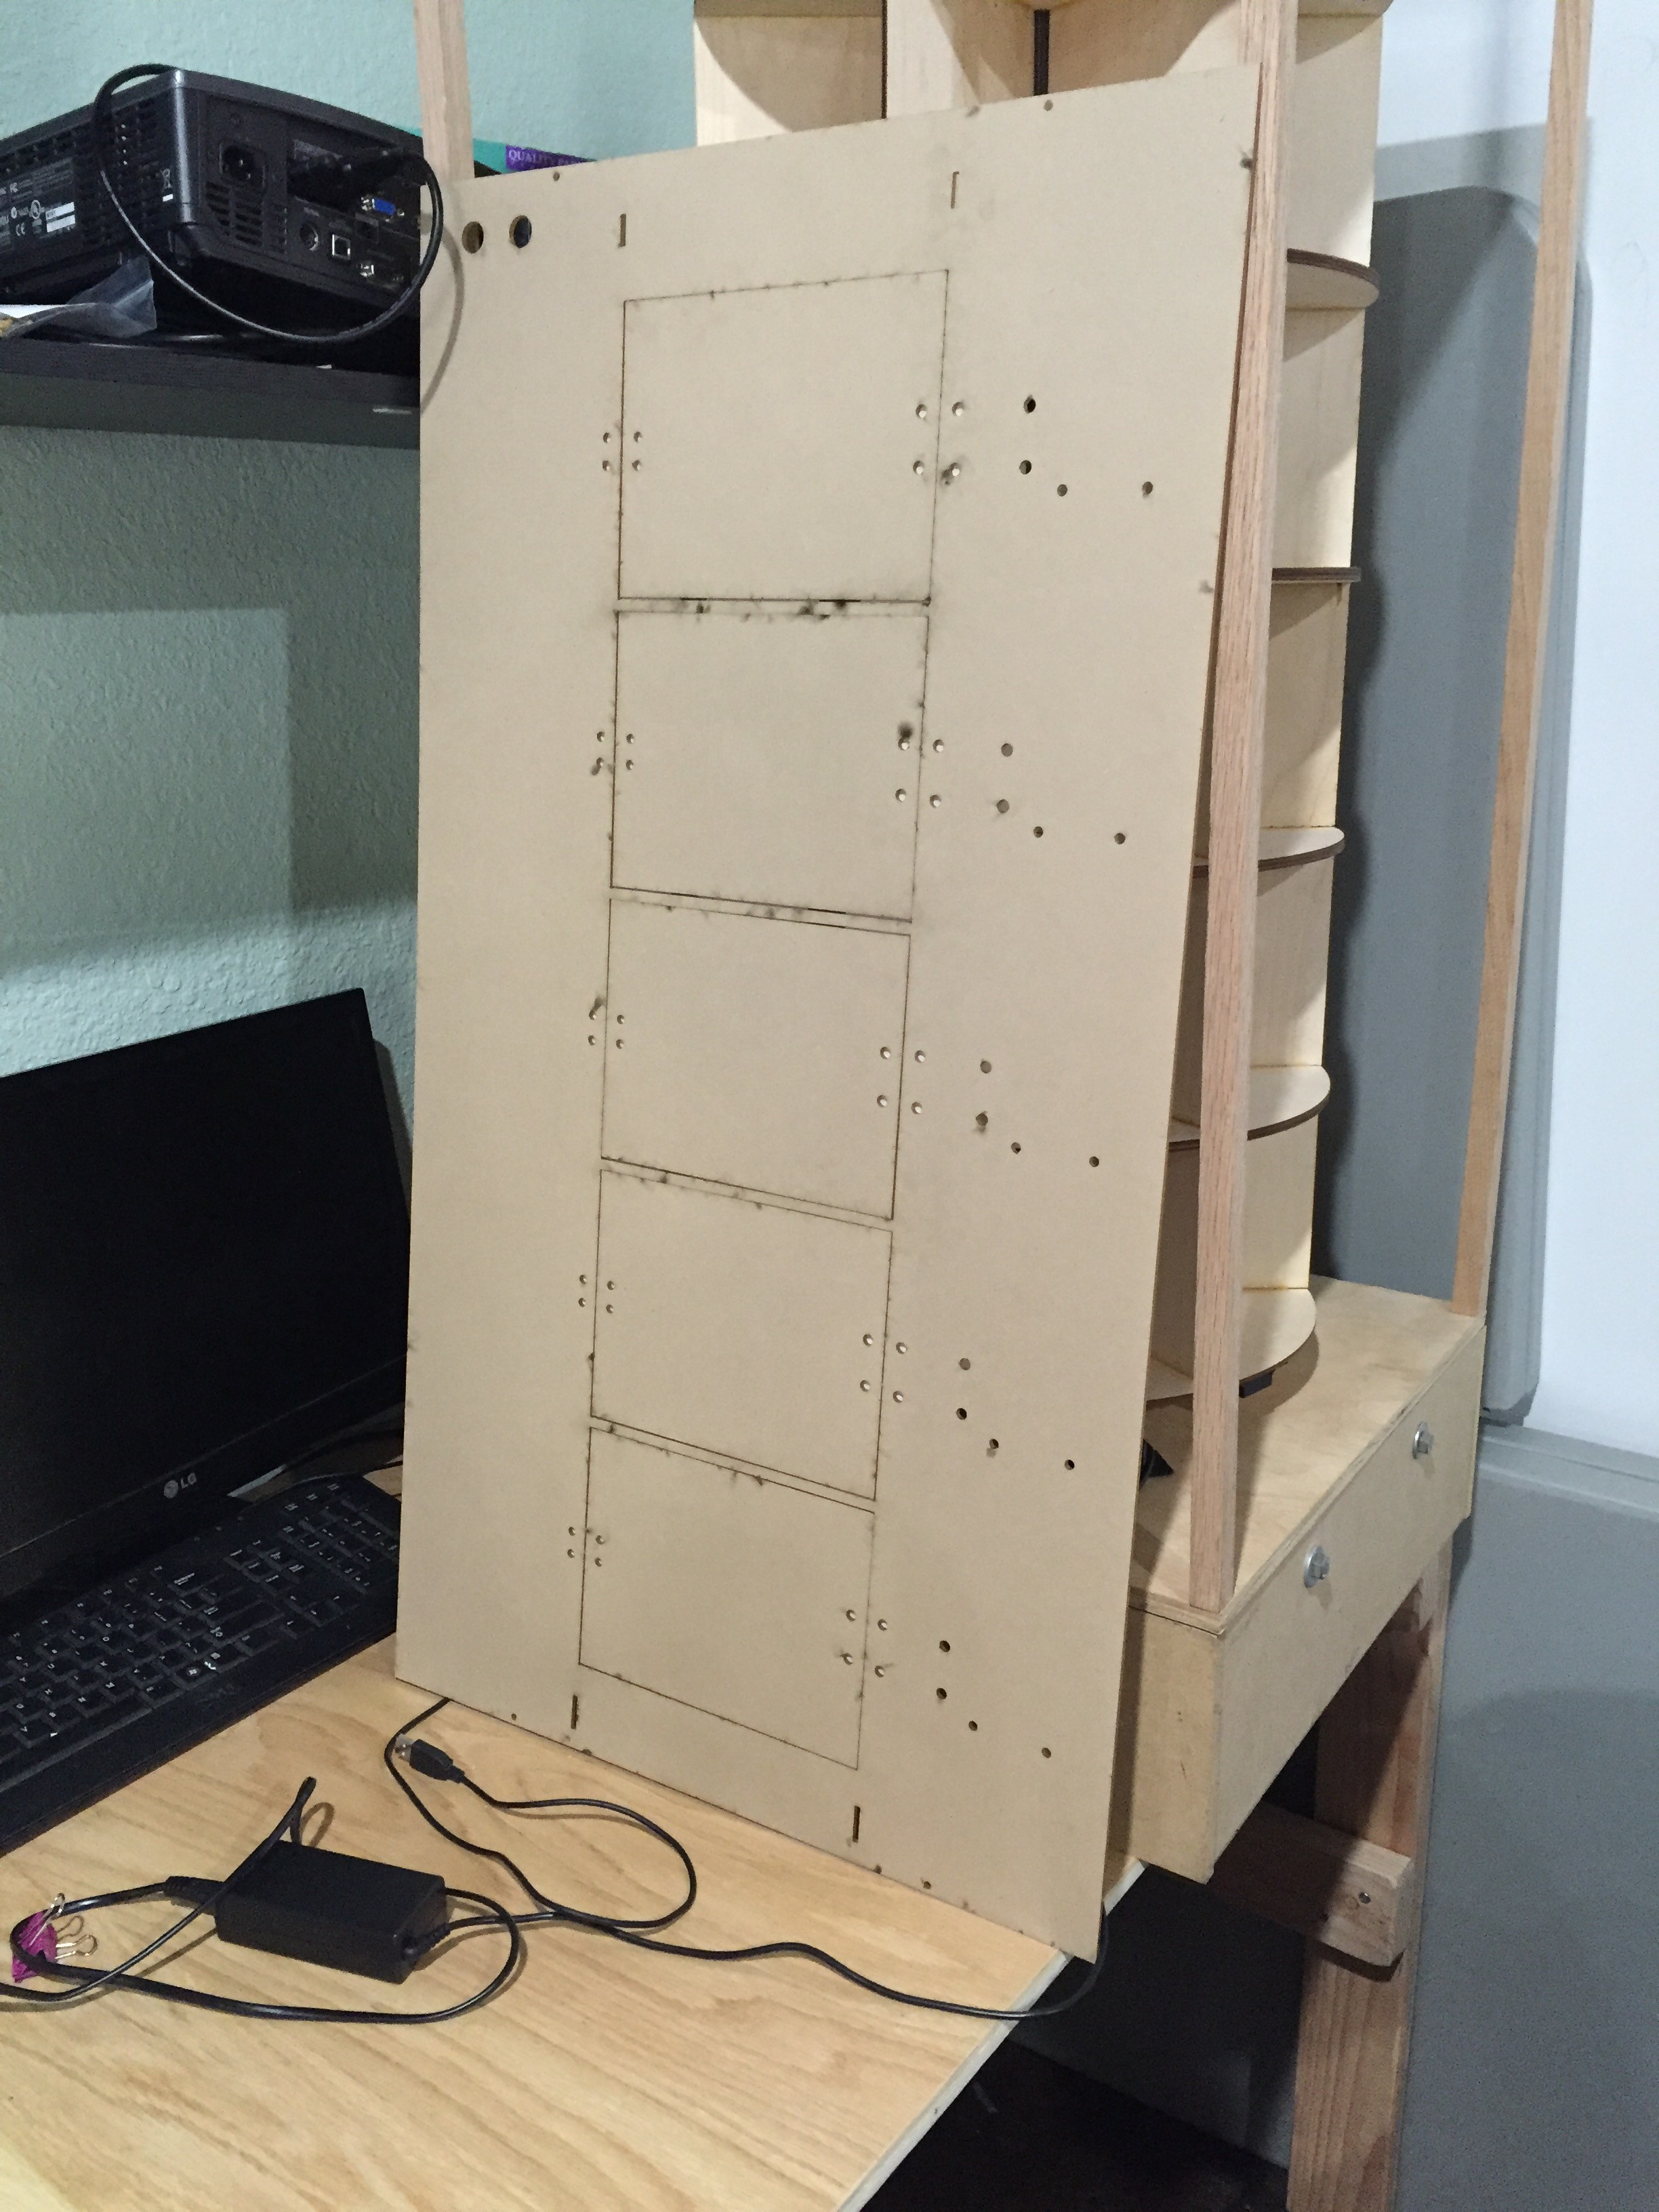
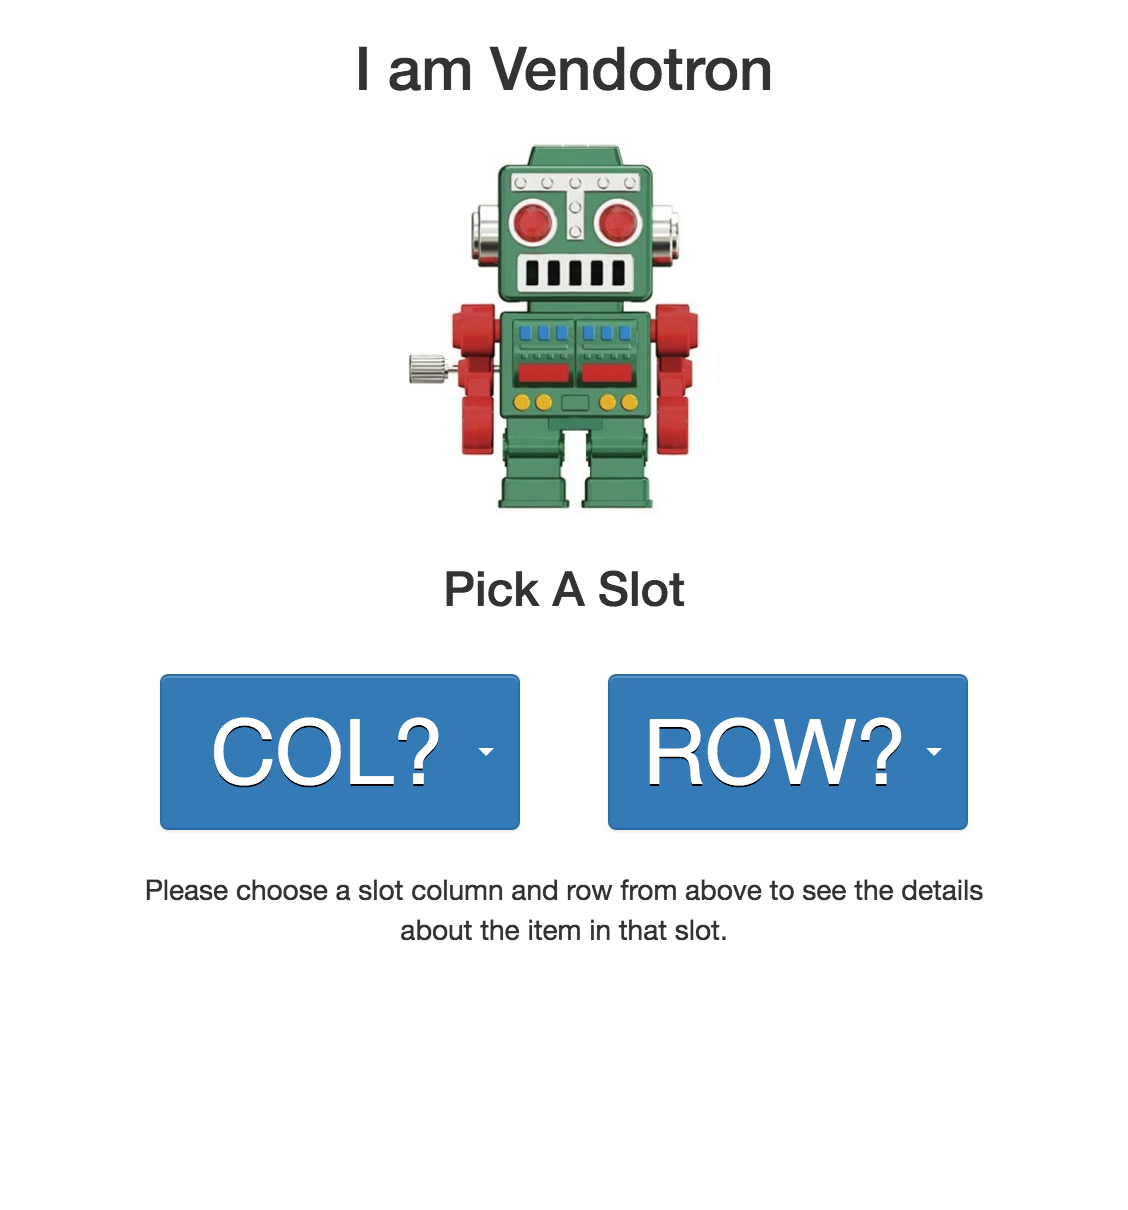
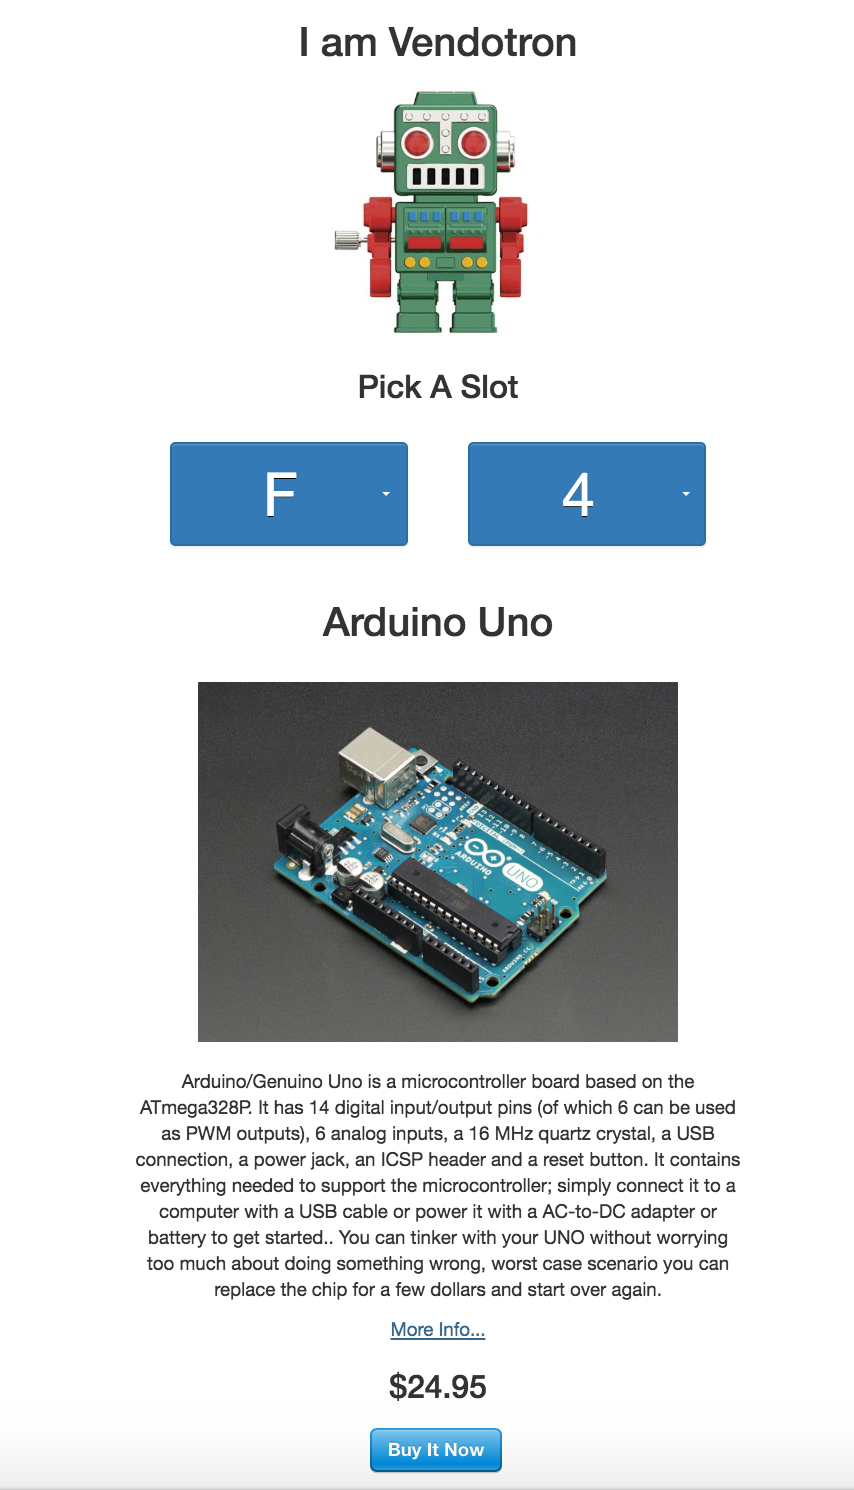
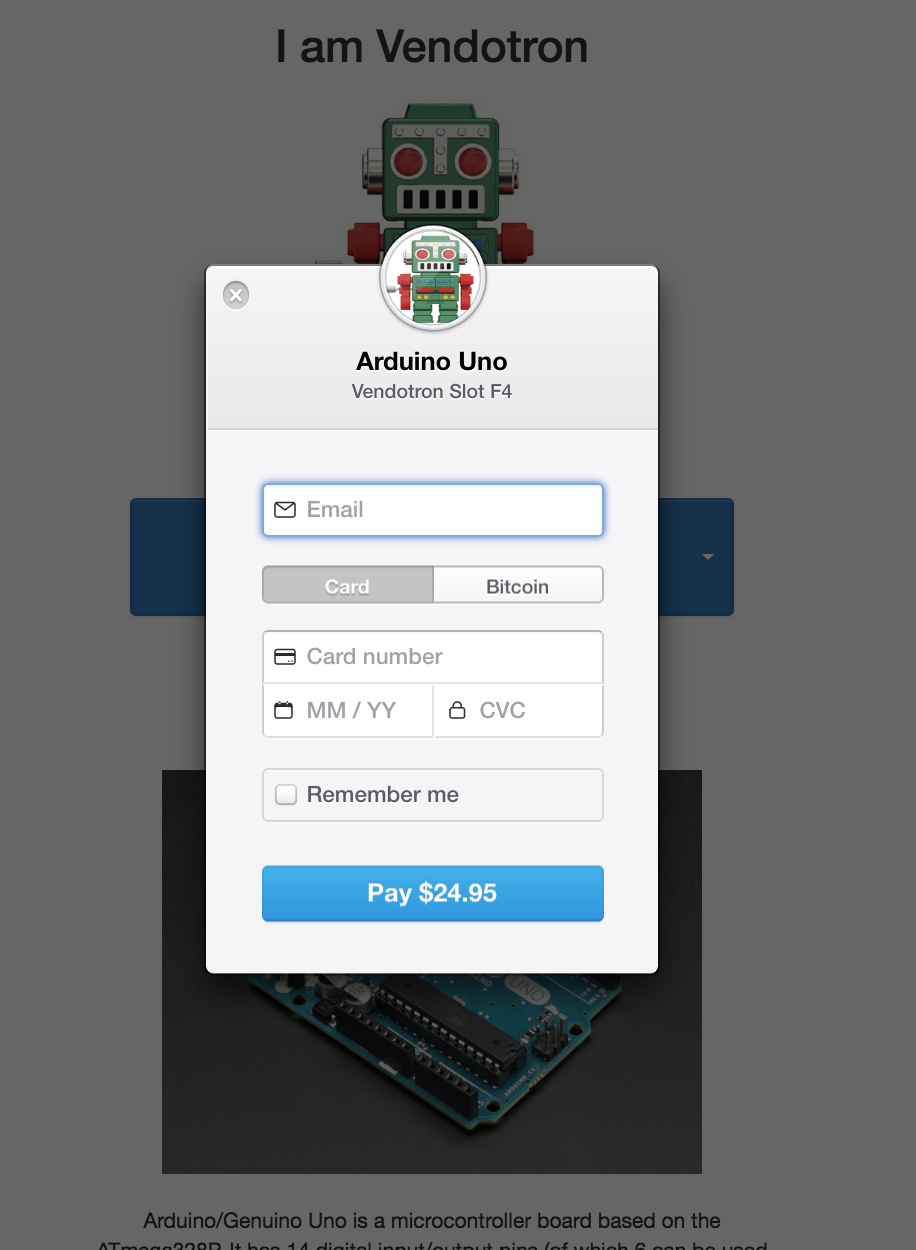
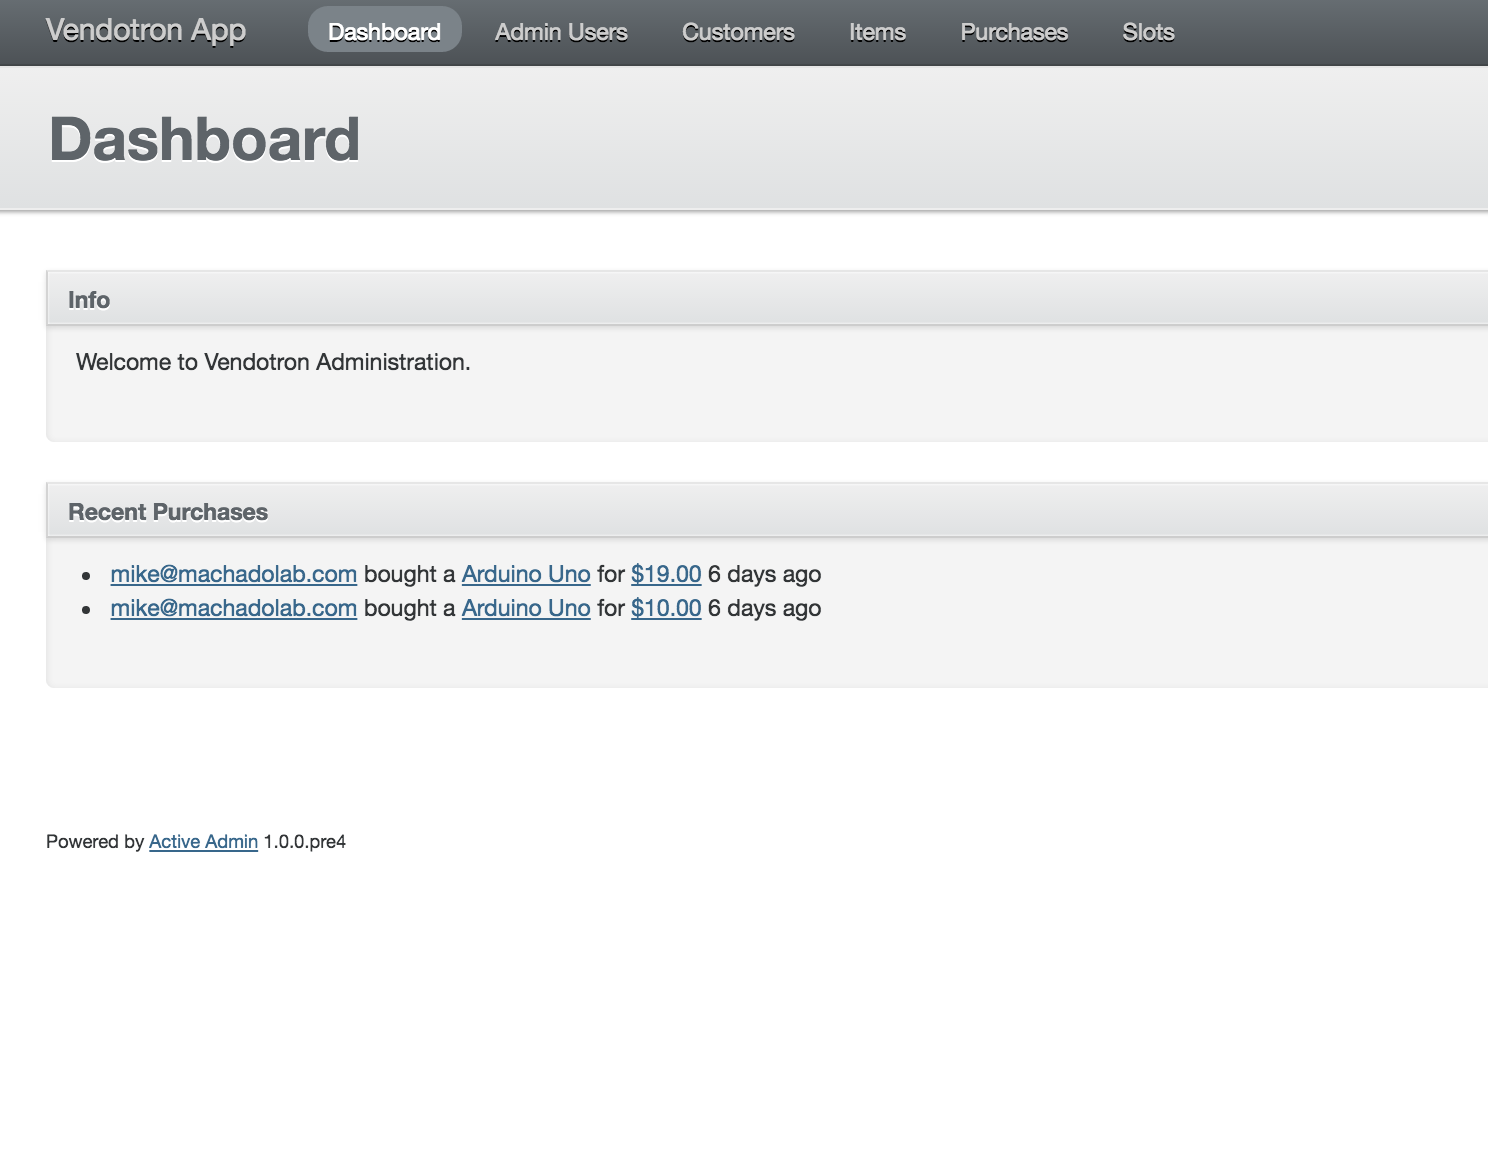
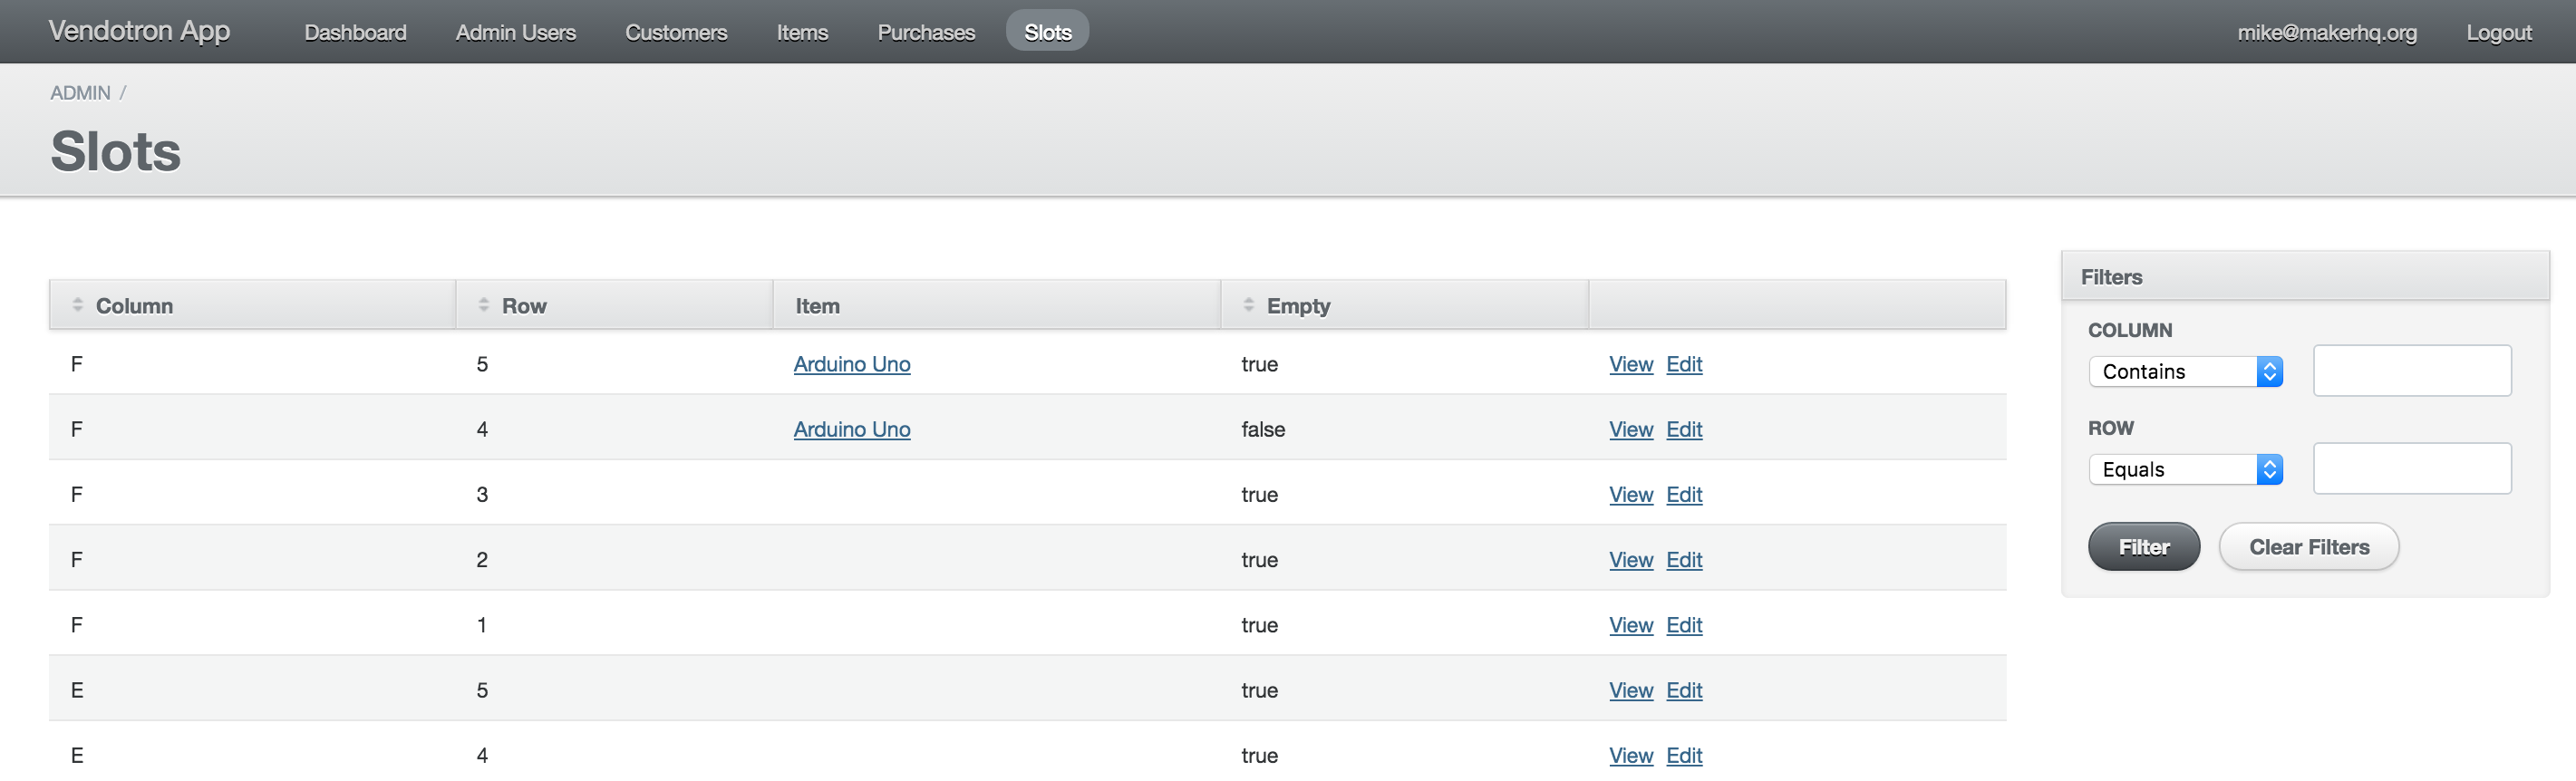
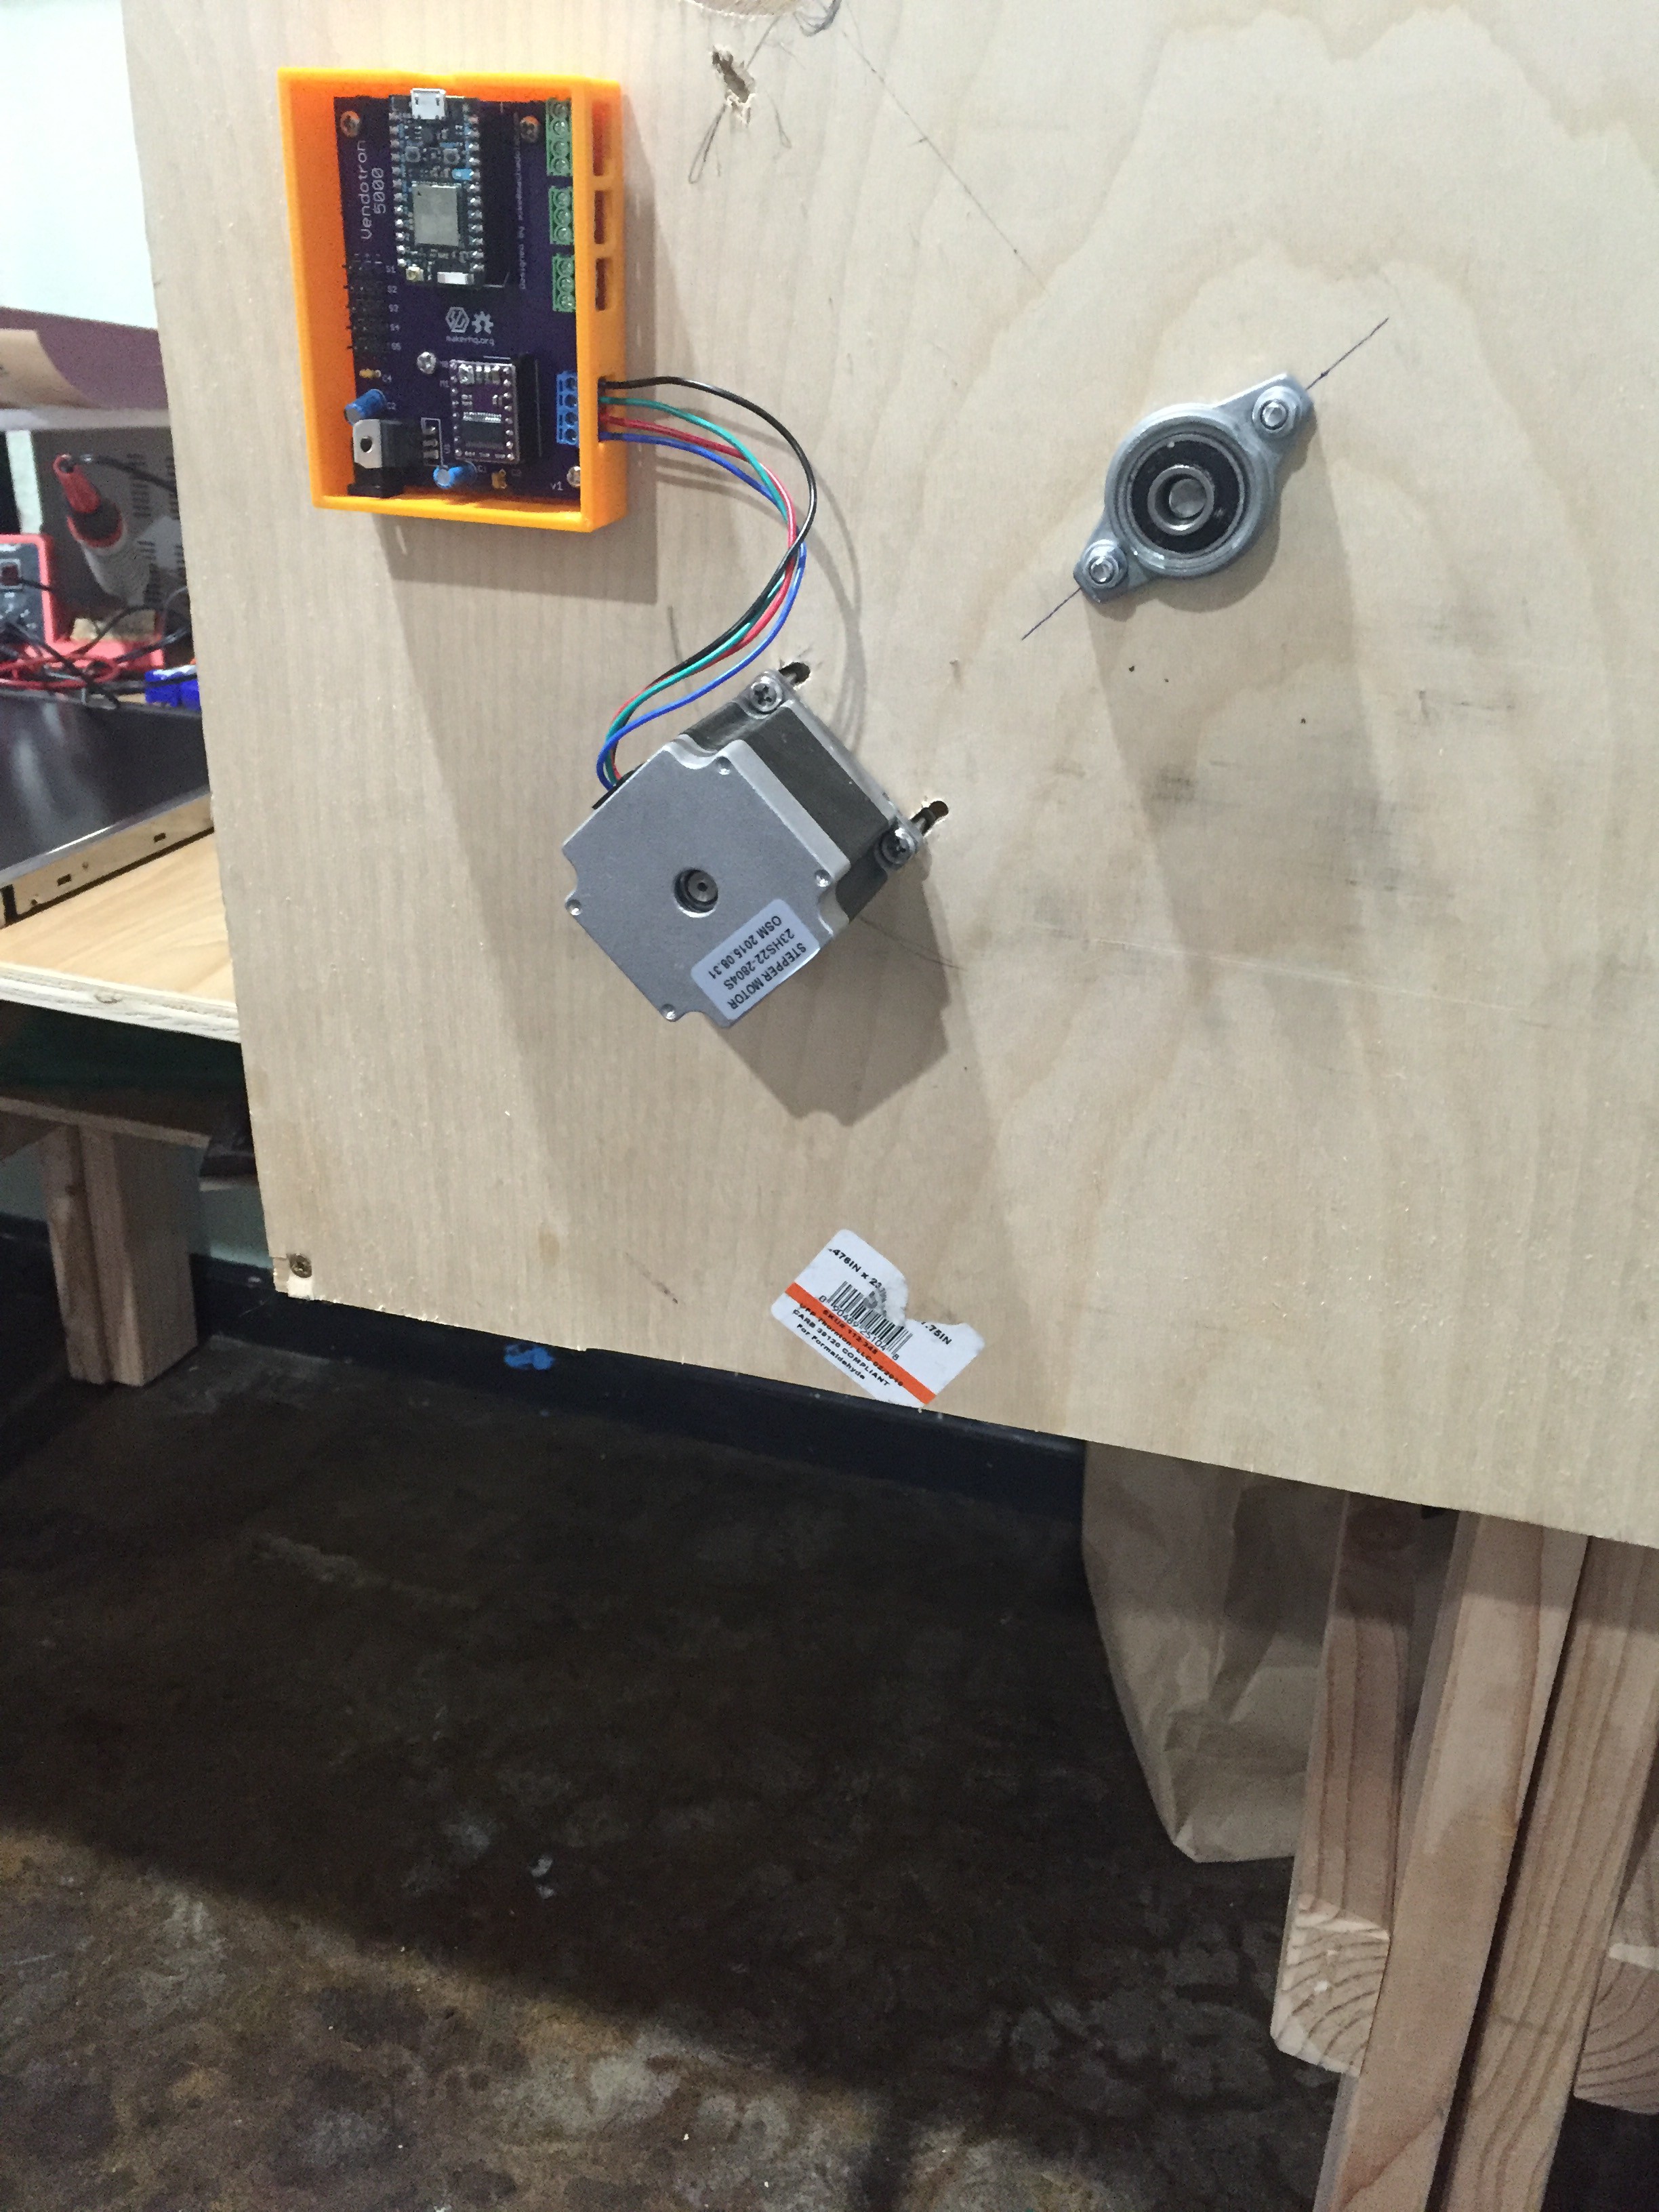
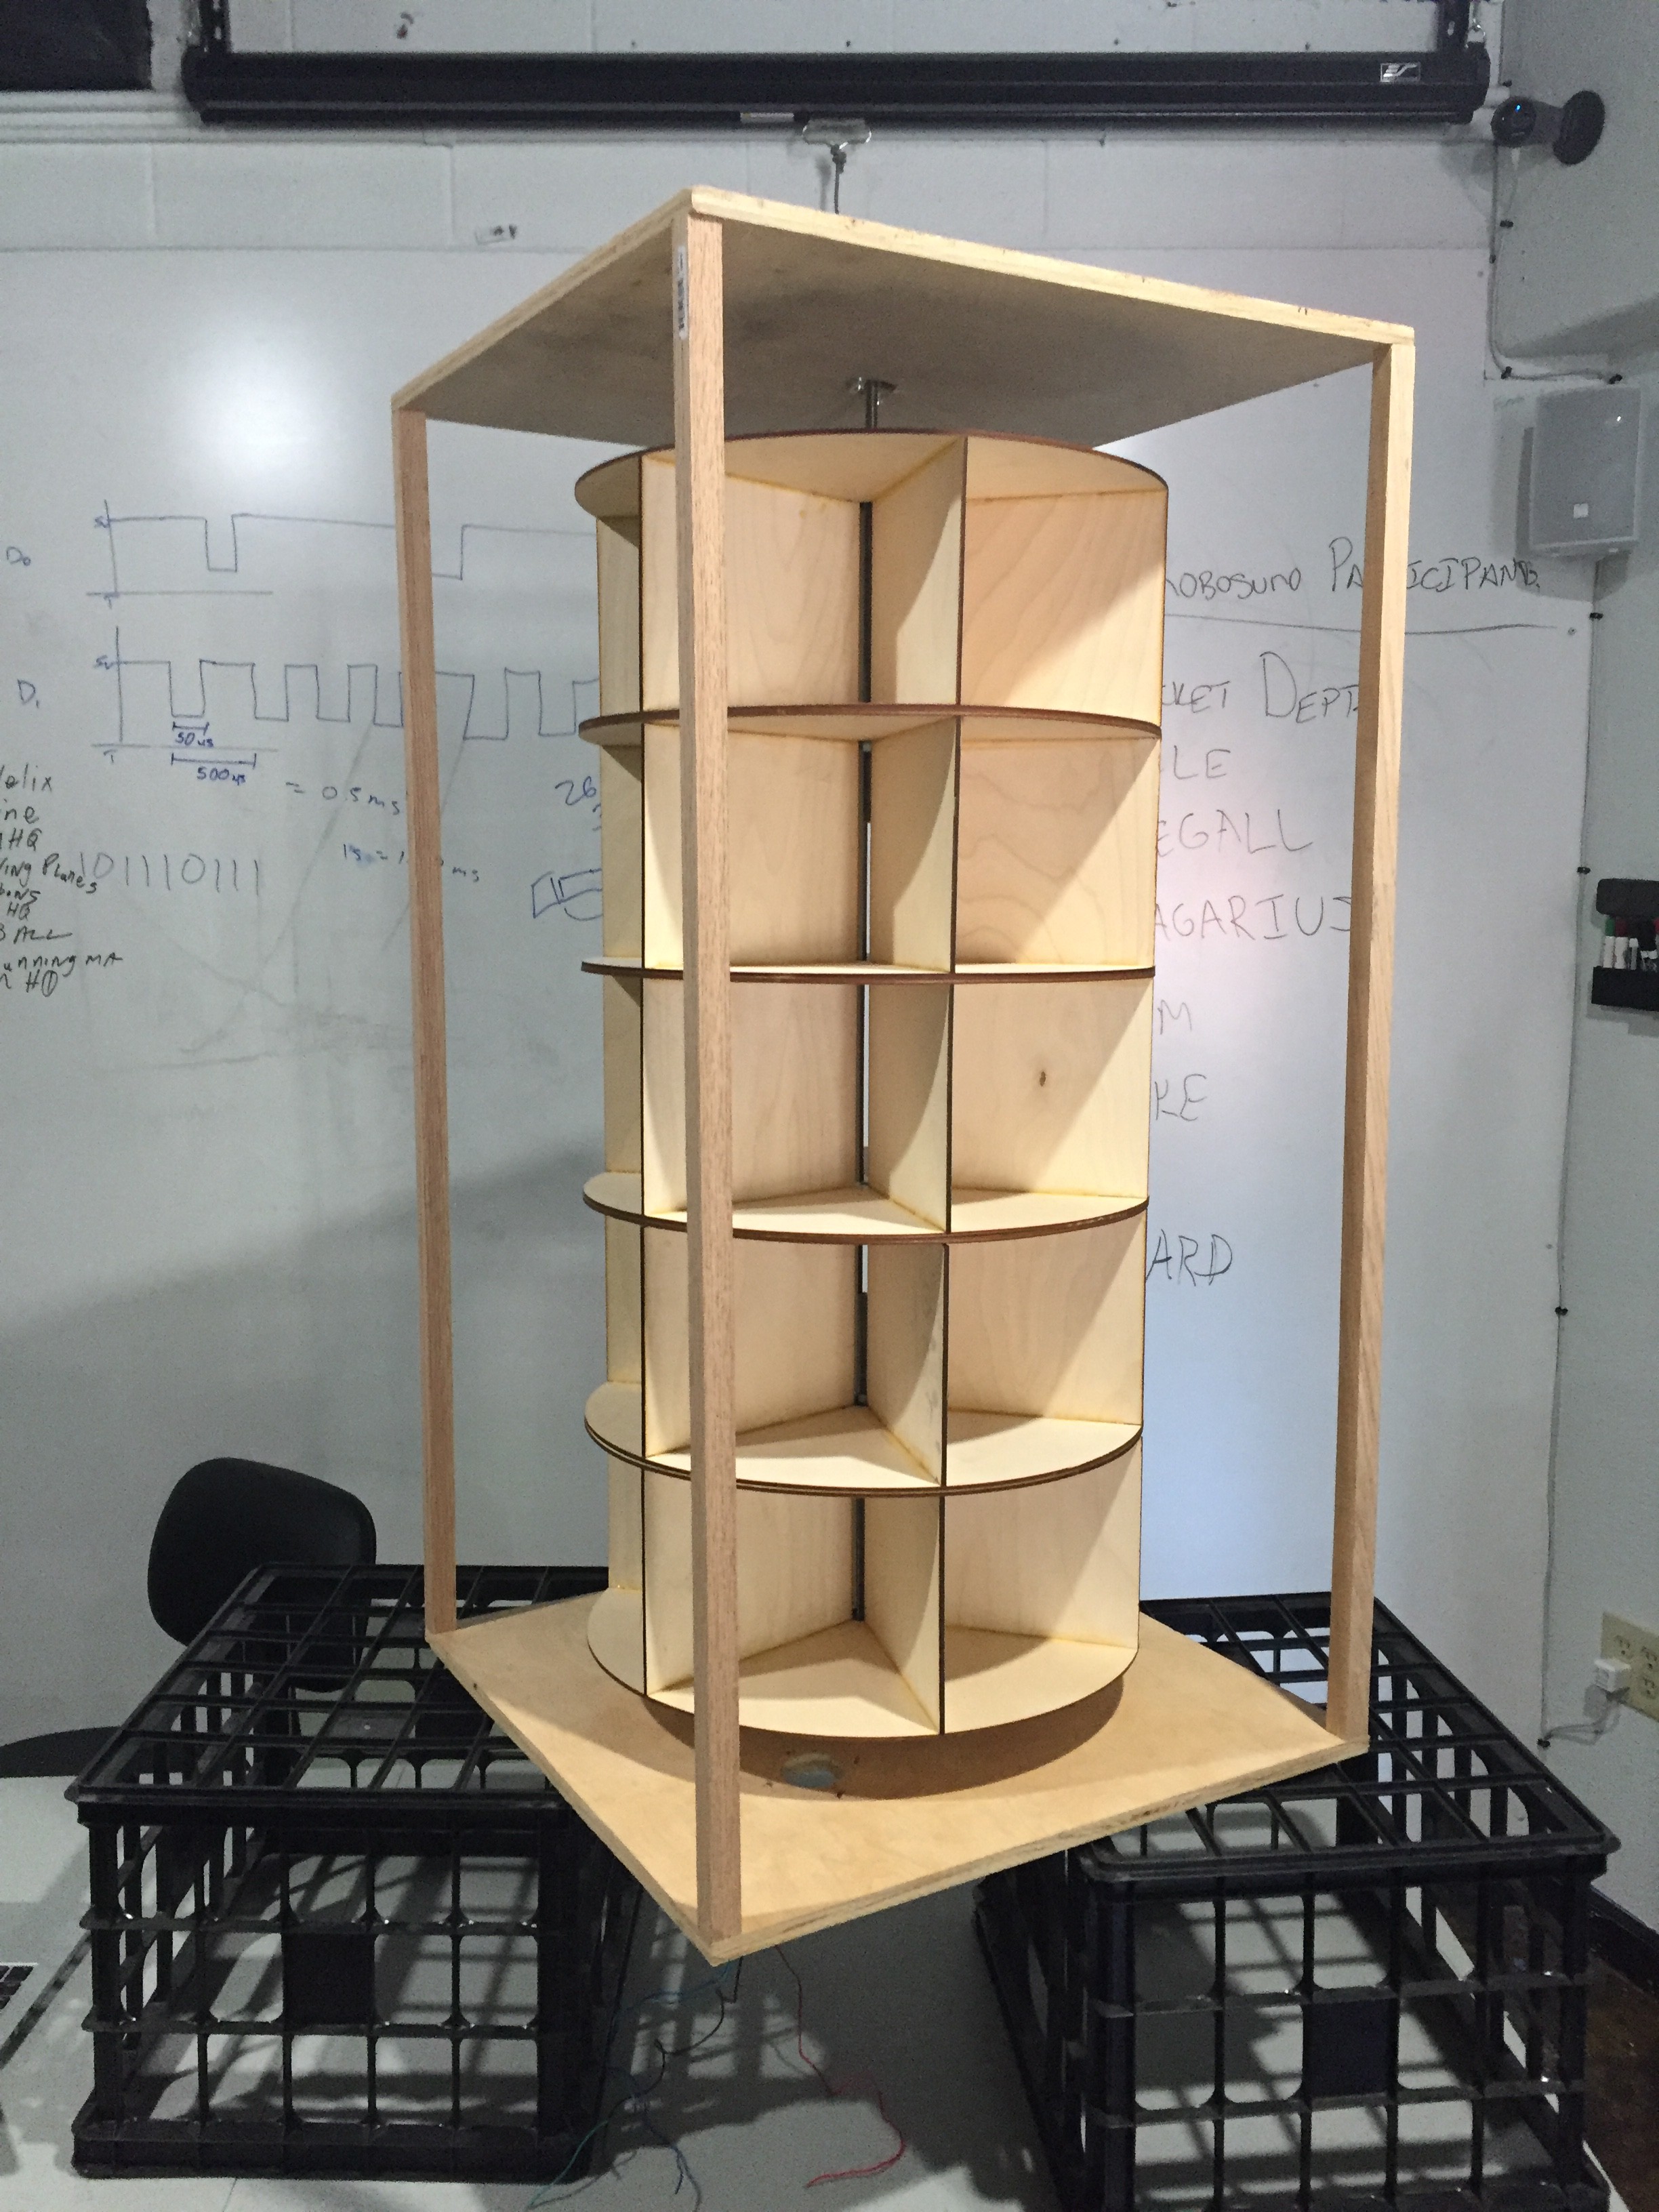
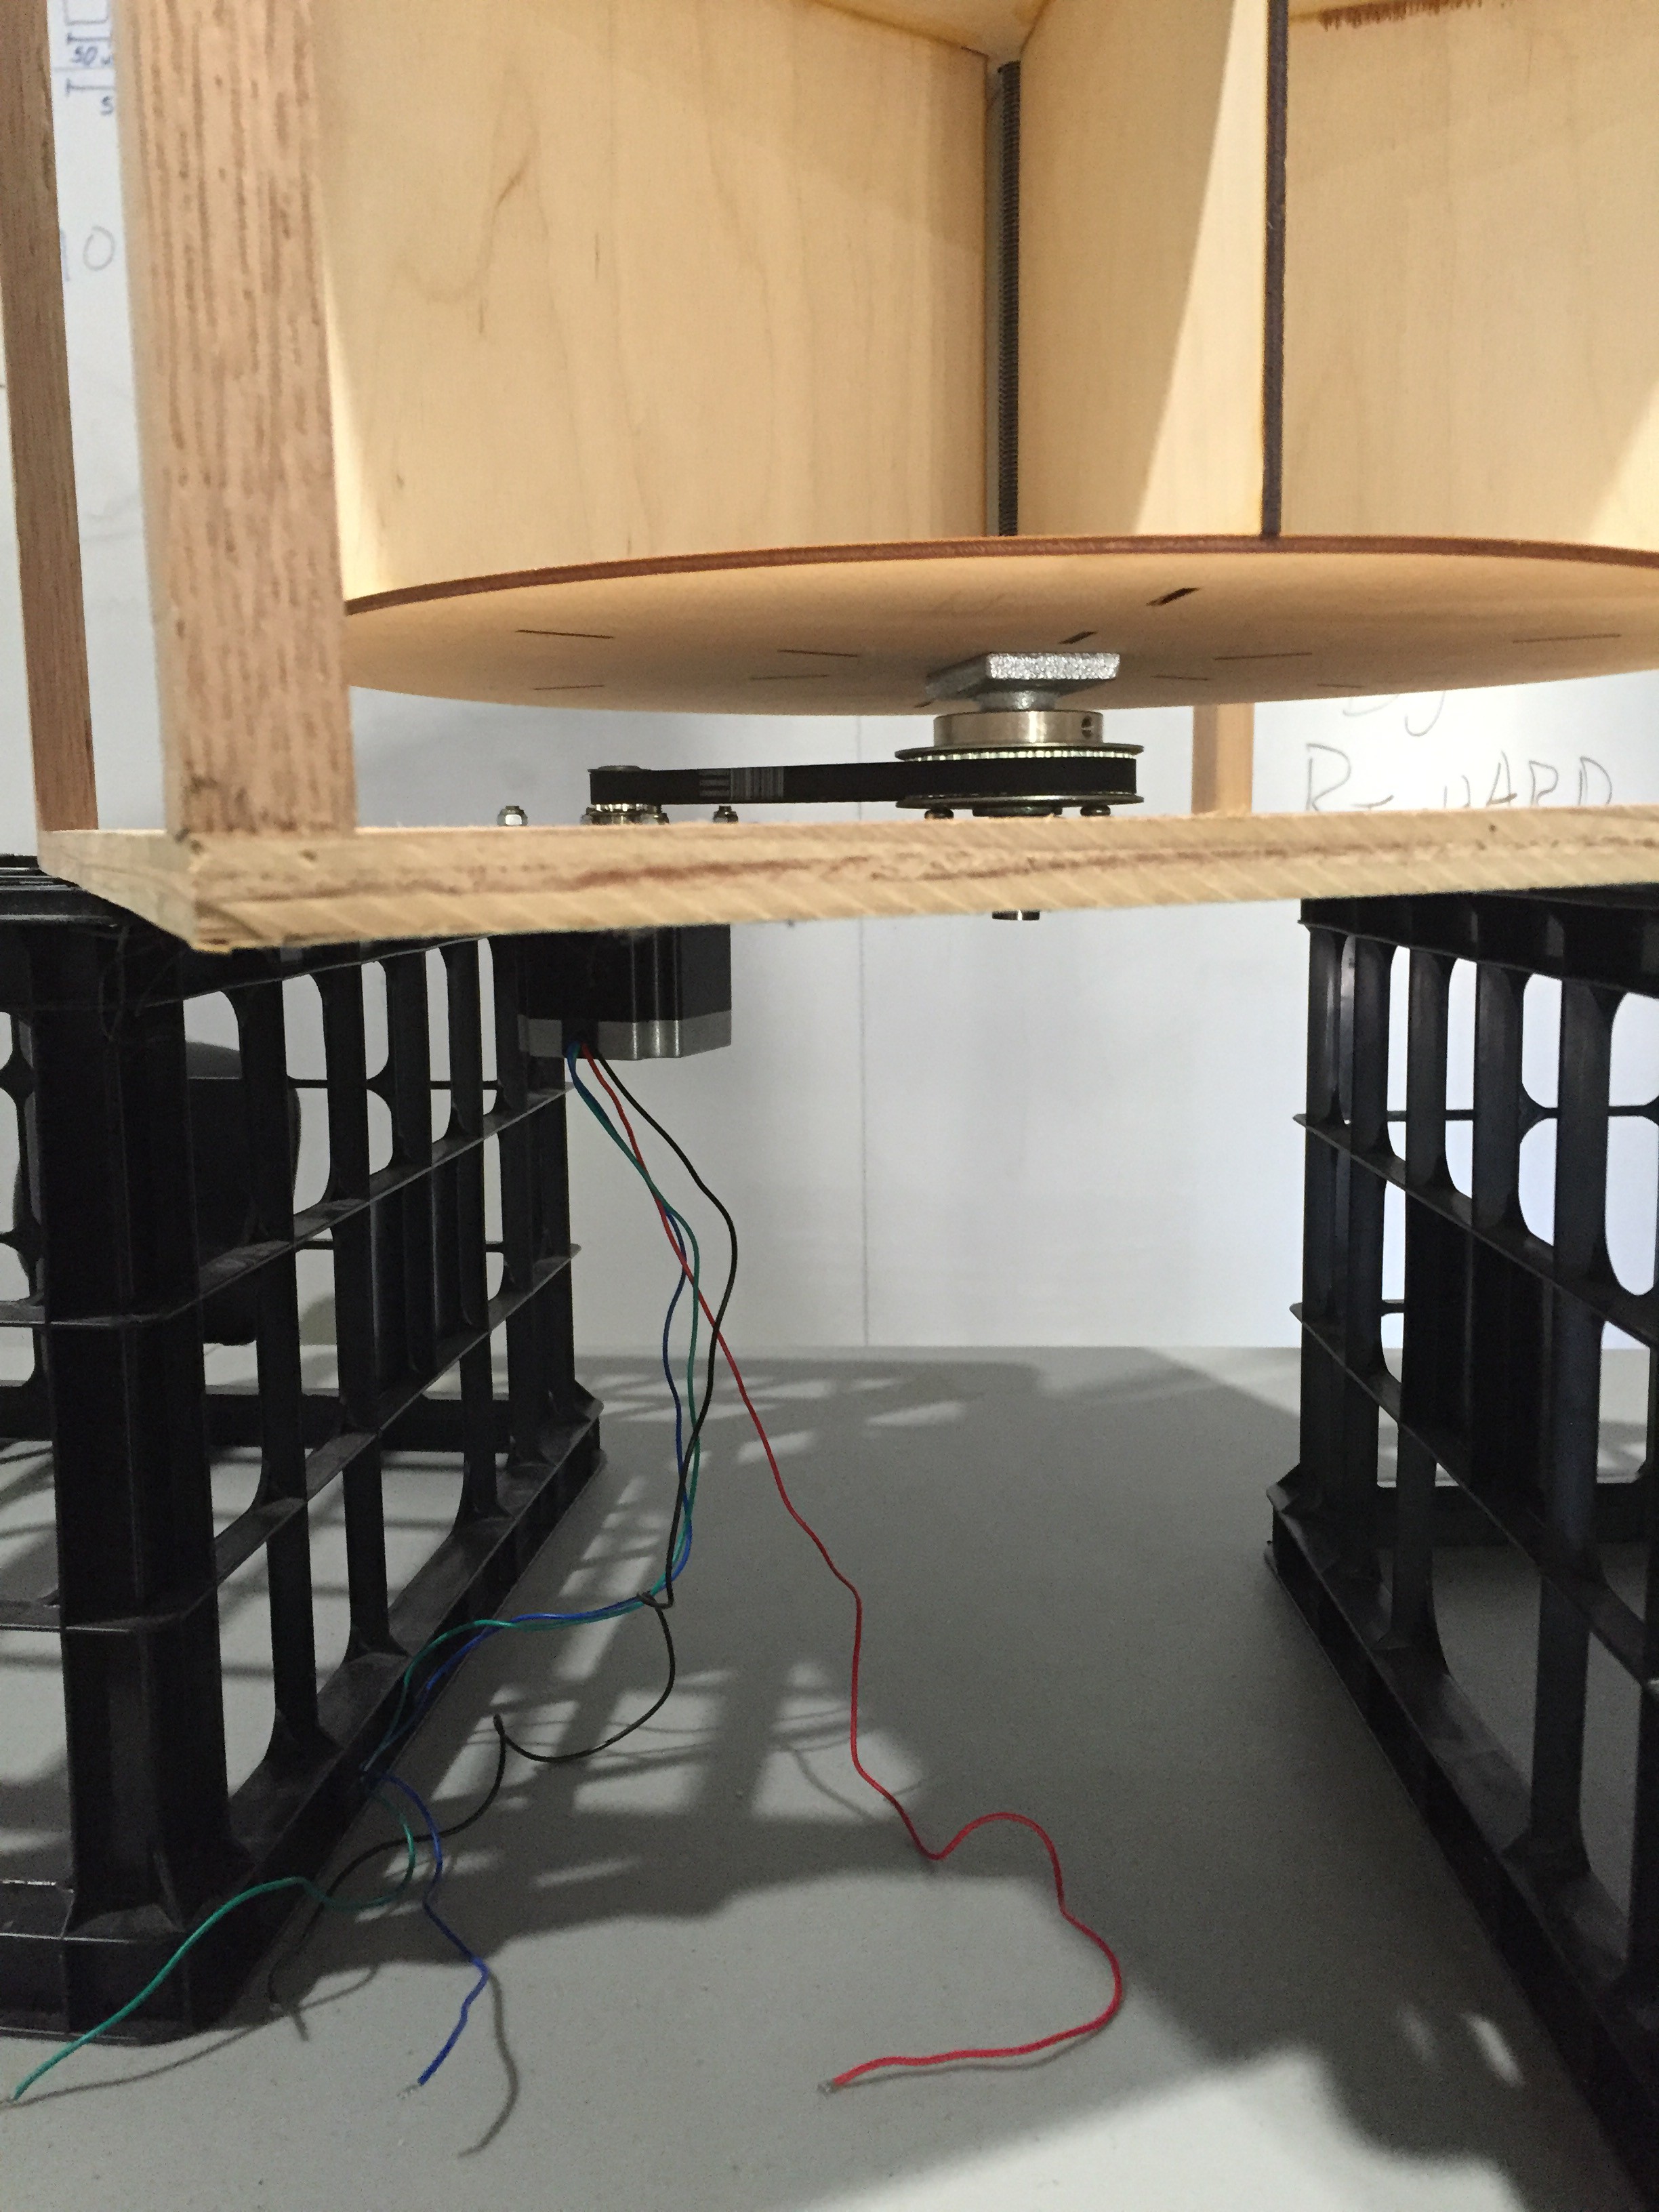
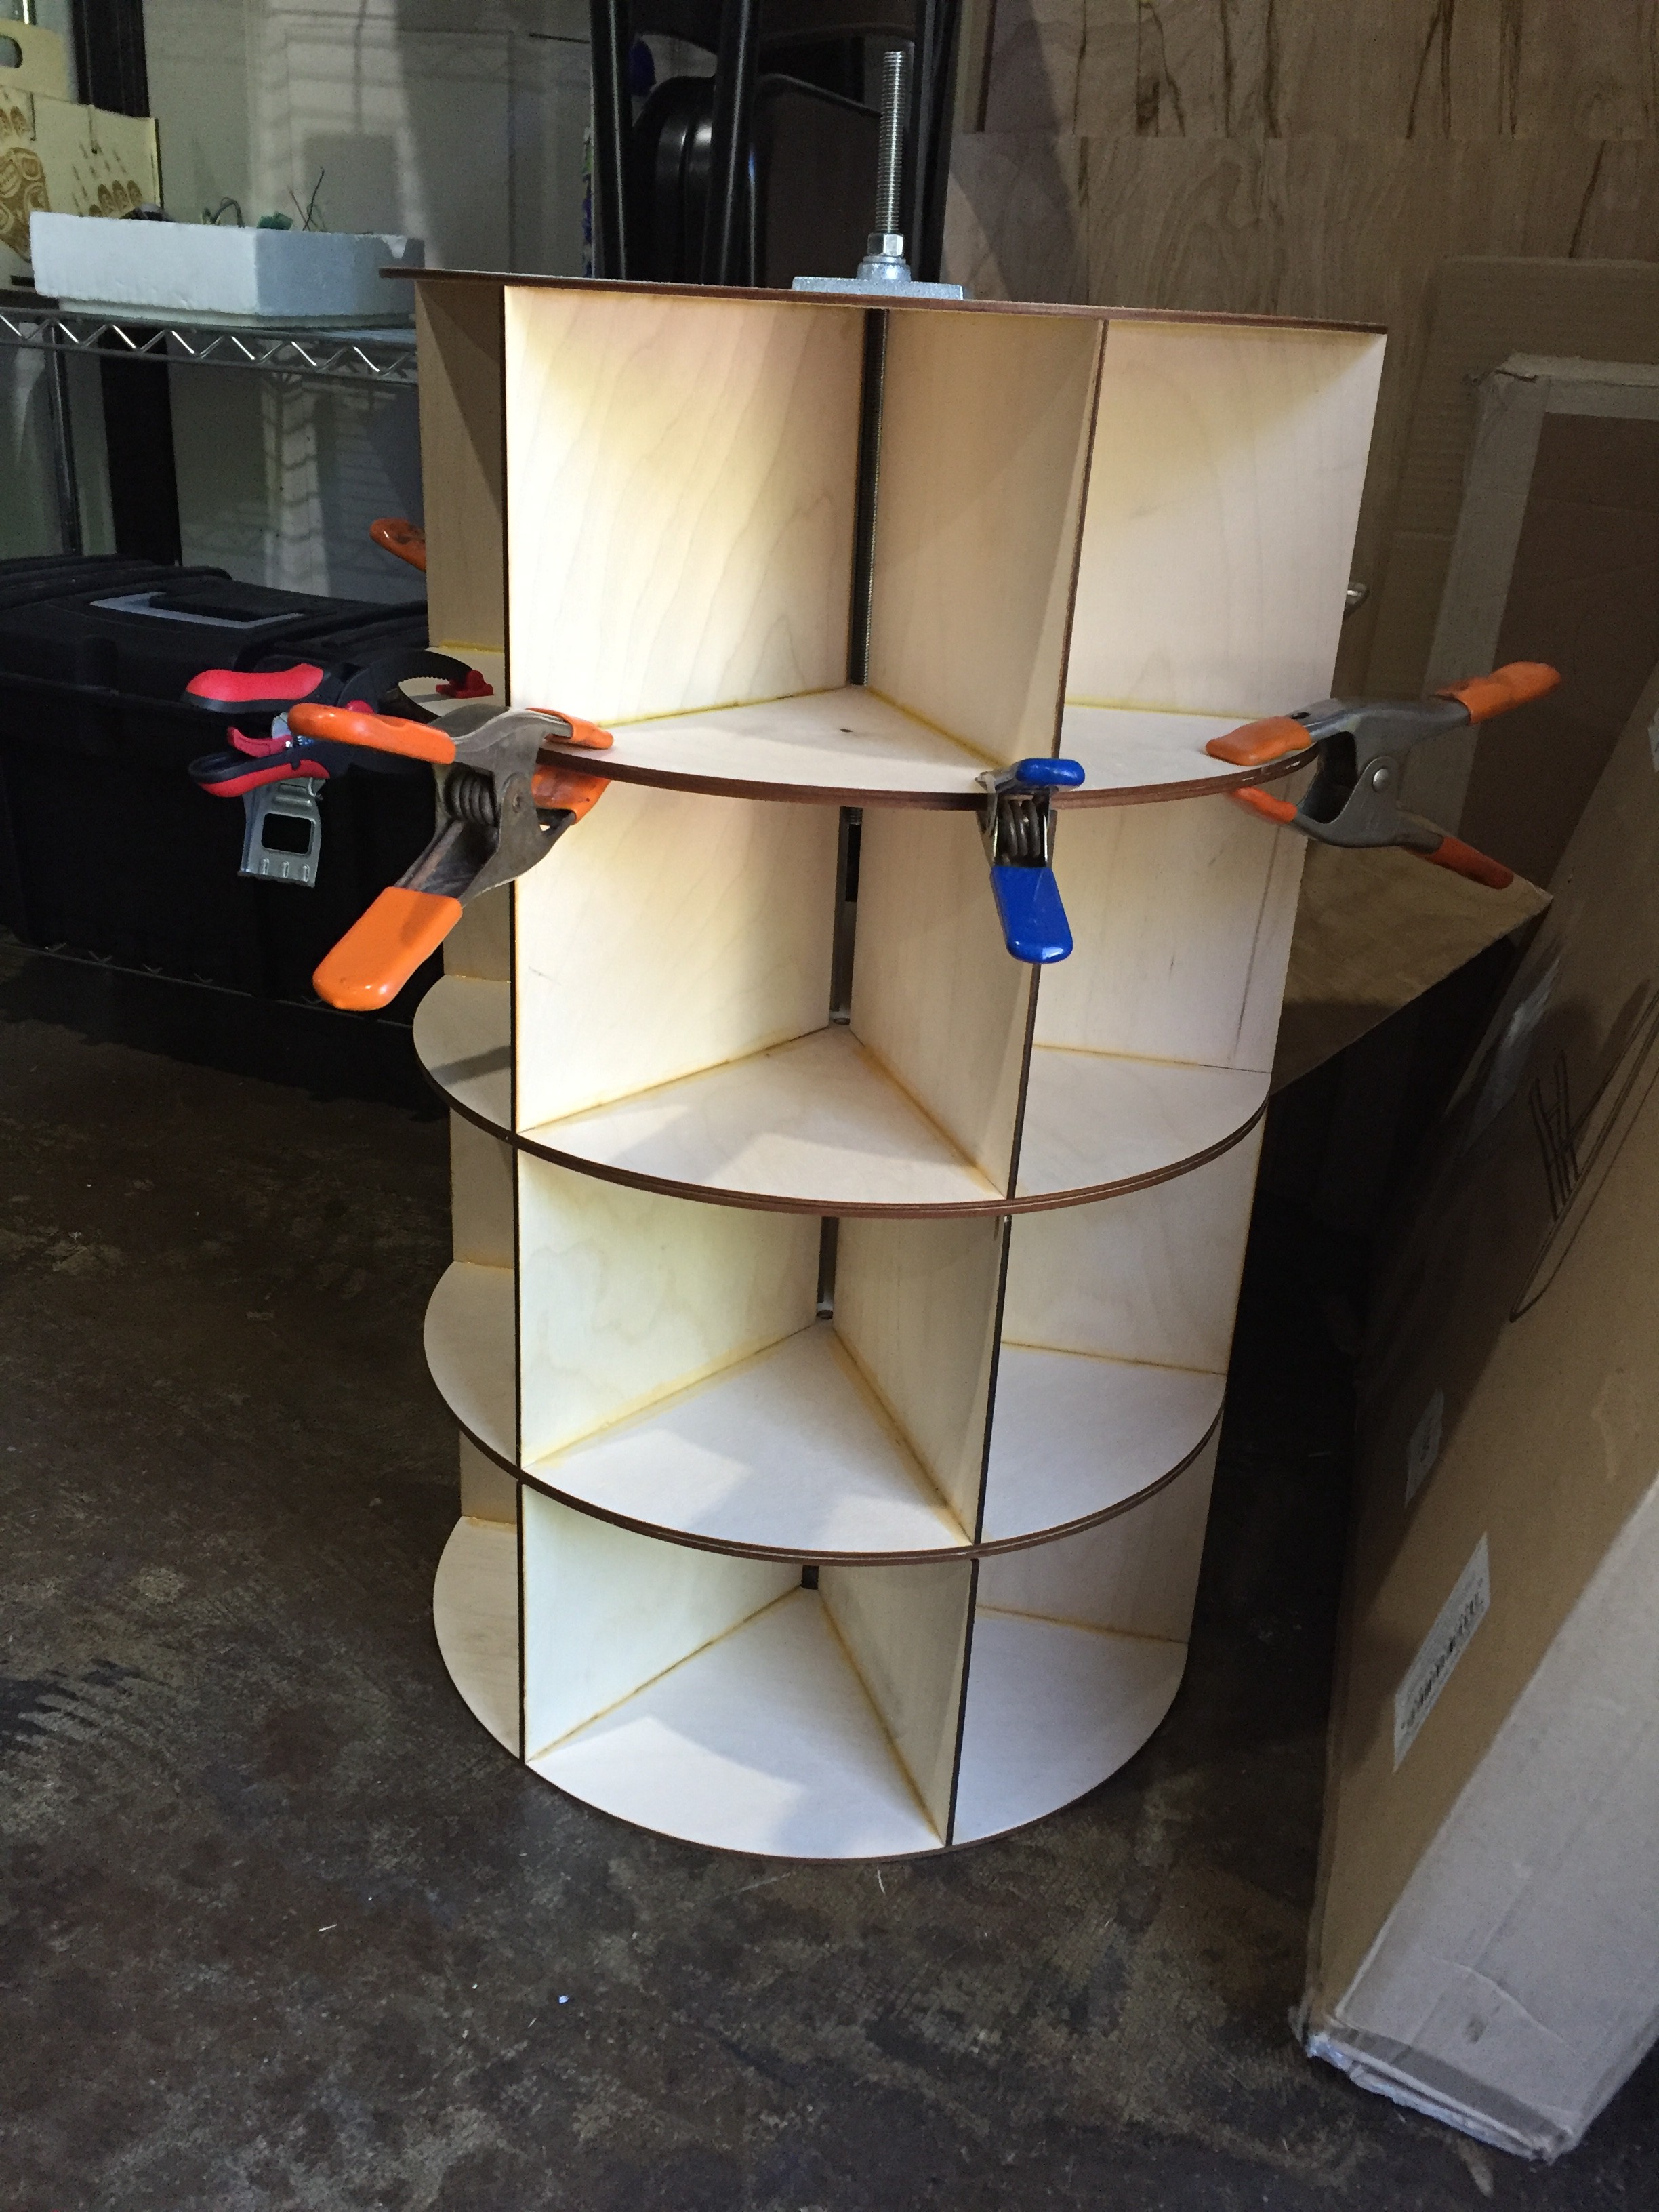
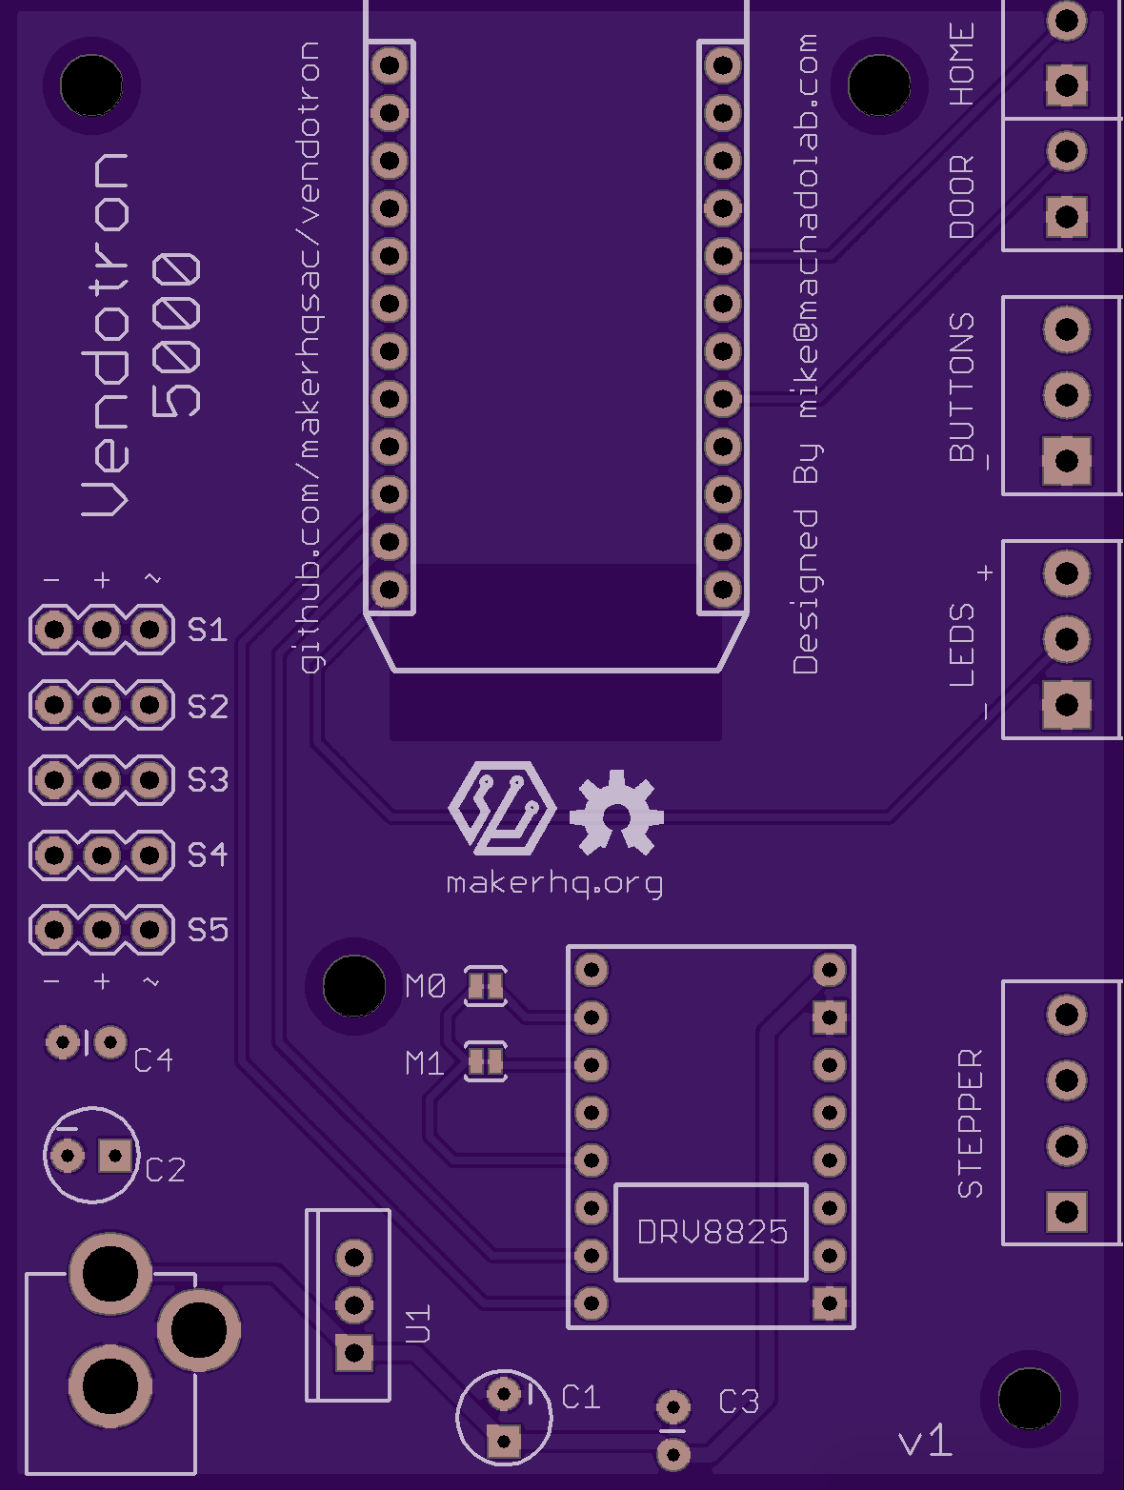
Vendotron is a carousel-style machine with a belt driven gear system to control the rotation. It is connected to a stepper motor driven by a pololu stepper driver on a custom circuit board. The microcontroller is a particle photon. The idea is that one can browse the inventory available on their mobile device, pick an item, see the details about it, and then make the purchase. The backend app will then perform the payment transaction and then send an event to the photon, indicating which column/row was purchased, and then spin the machine to that column, and then unlock the door for that row.
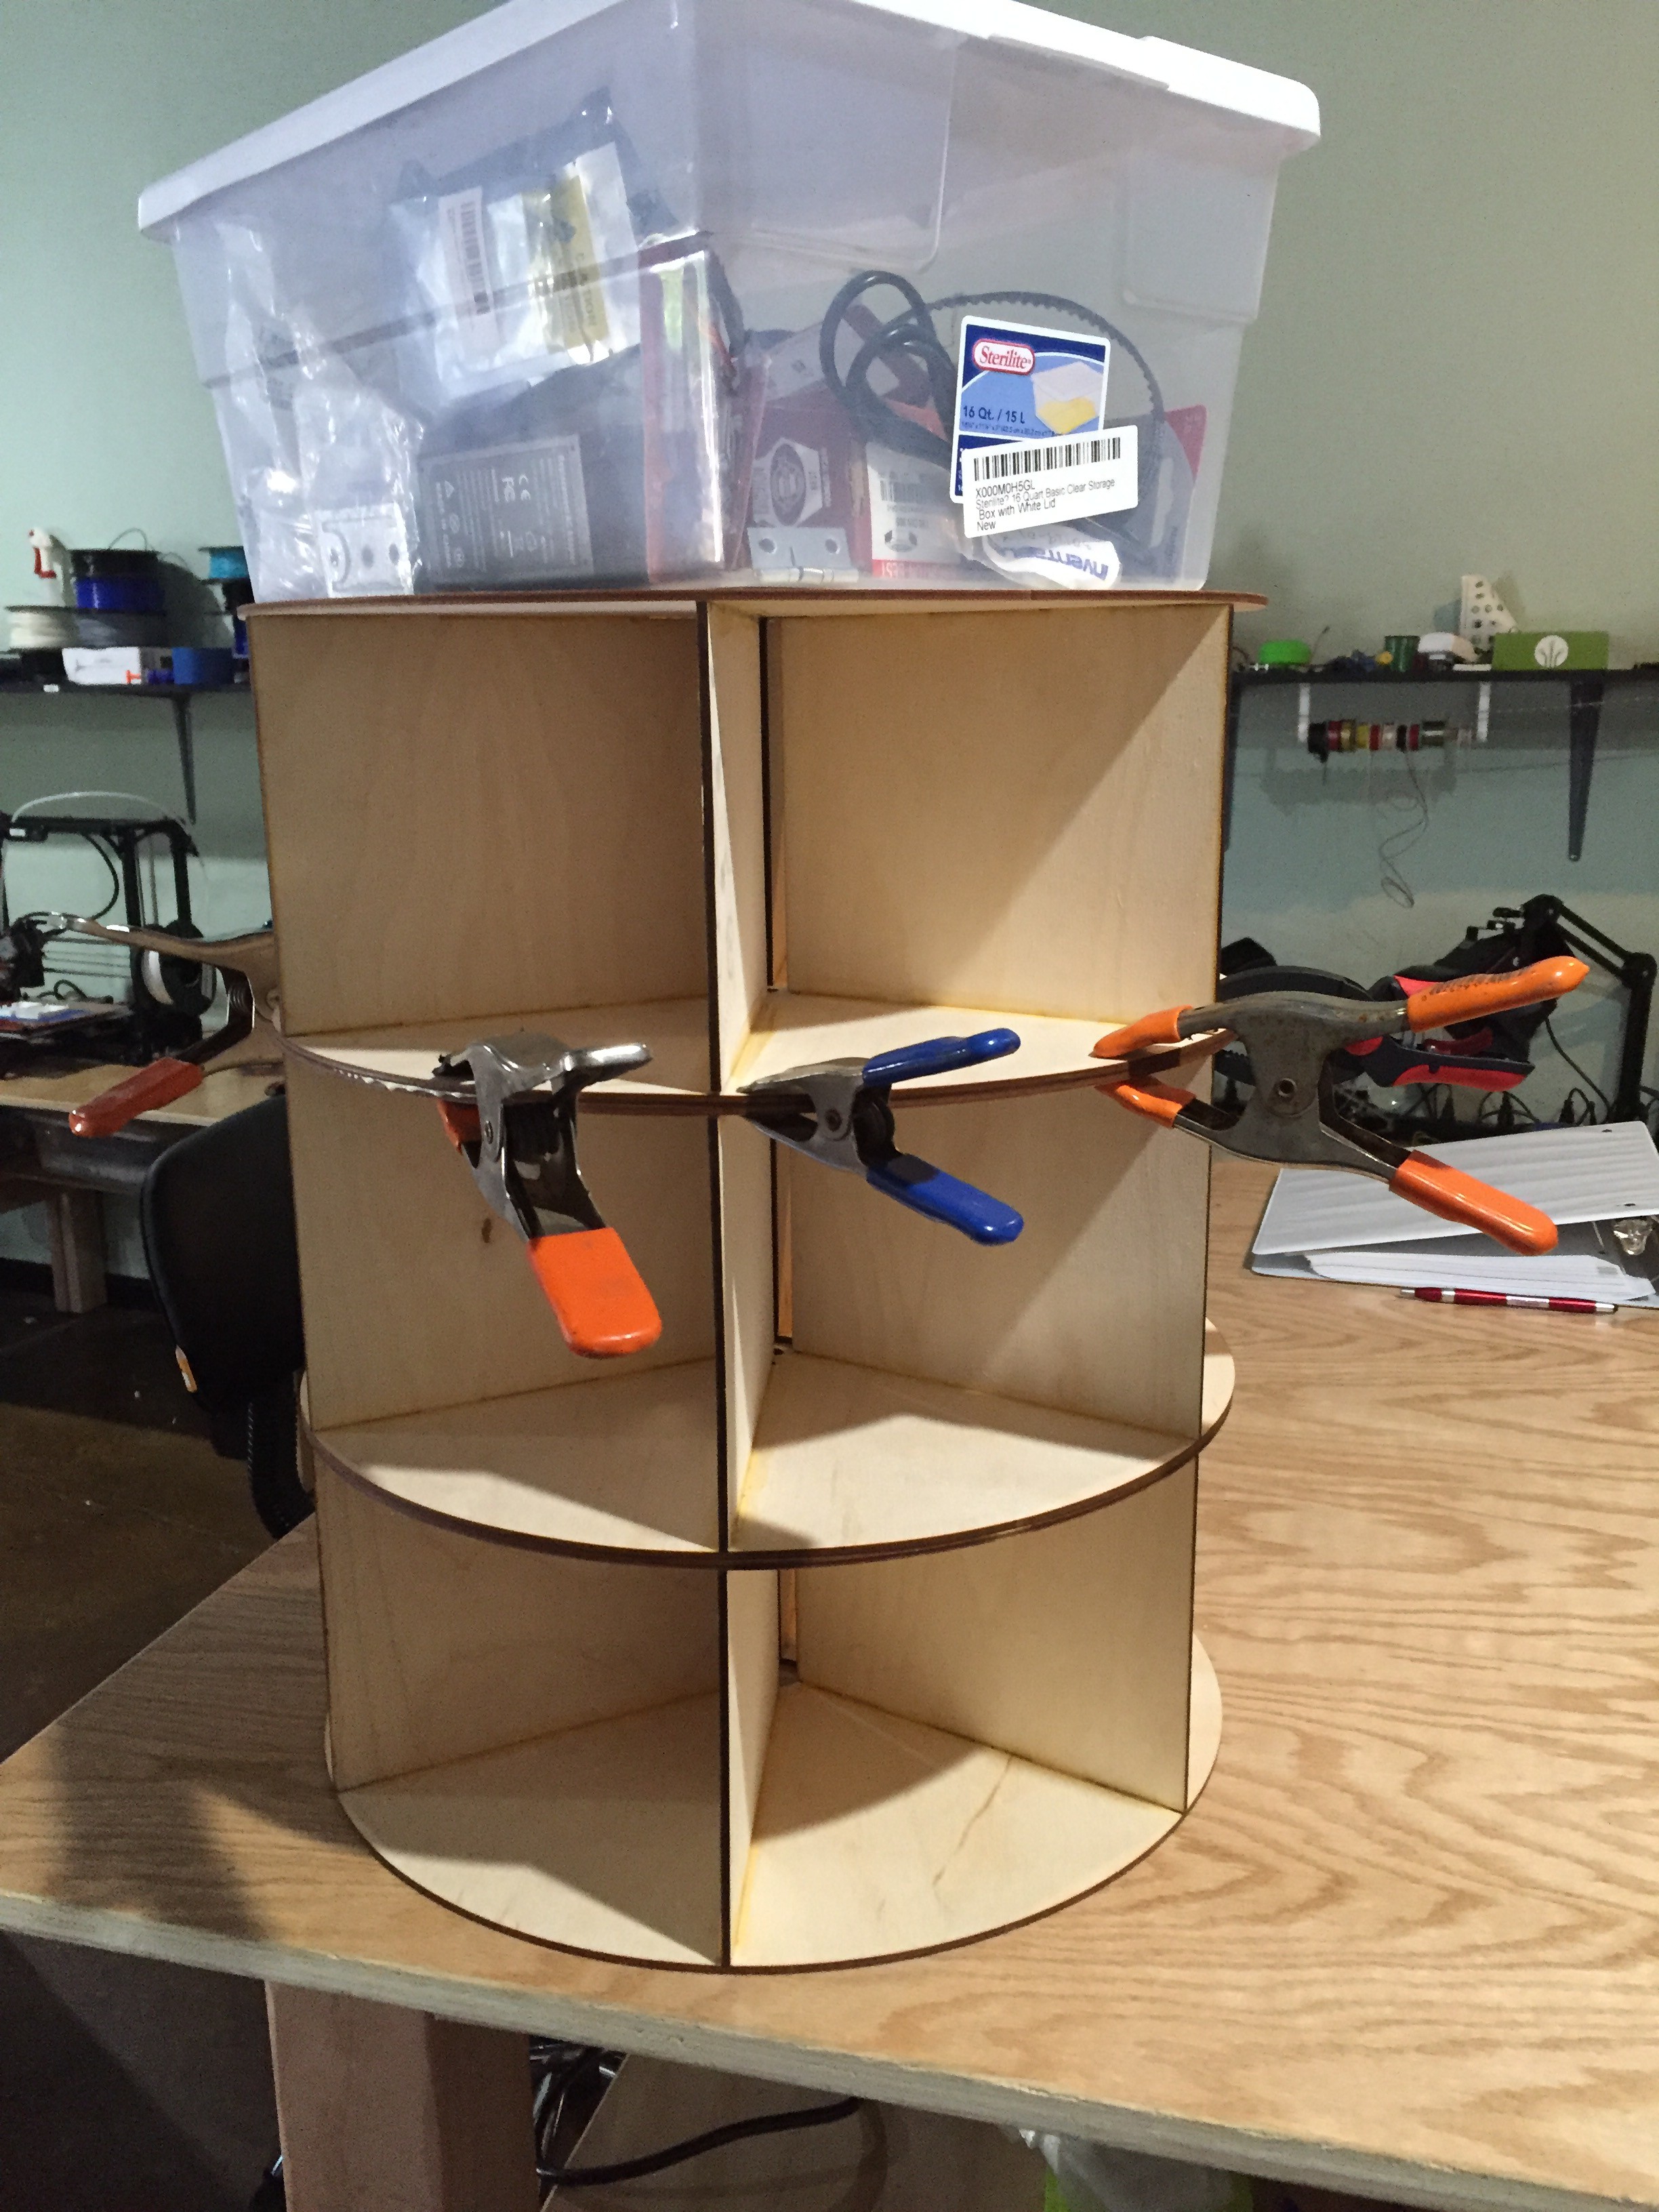
Once the item is removed from the machine, and it detects all the doors are latched, it will go back into browse mode where one can use the front buttons to spin the carousel to see the items, as well as make an additional purchase.
The target audience for this machine is makerspaces that want to offer kits/dev boards to their members such as arduinos, raspberry pi's, learn to solder kits, etc. Rather than having to deal with cash and have someone available to buy the items, members can make purchases and obtain their item all on their own.


 Tsjakka
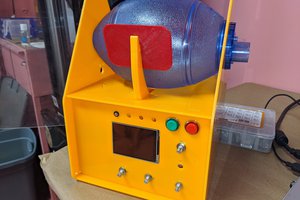
 Daren Schwenke
 Eric Jacob
 caver.adam
As you mentioned bitcoin here so I think it will provide you more benefit in future. Very impressive idea really you can see my vertigovisual webdesign service project here.