 Michael O'Brien
In one of the photos I posted, I have a ducted fan holder for the E3D V6 hotend. This was printed with a 0.6 mm nozzle and 0.1 mm layer height. If you've seen me on the Facebook group, you know I preach about using 0.04375 mm layer heights and this was before I figured that out. What happens if you increase layer resolution but you do not increase extruder resolution? An explanation after the break.
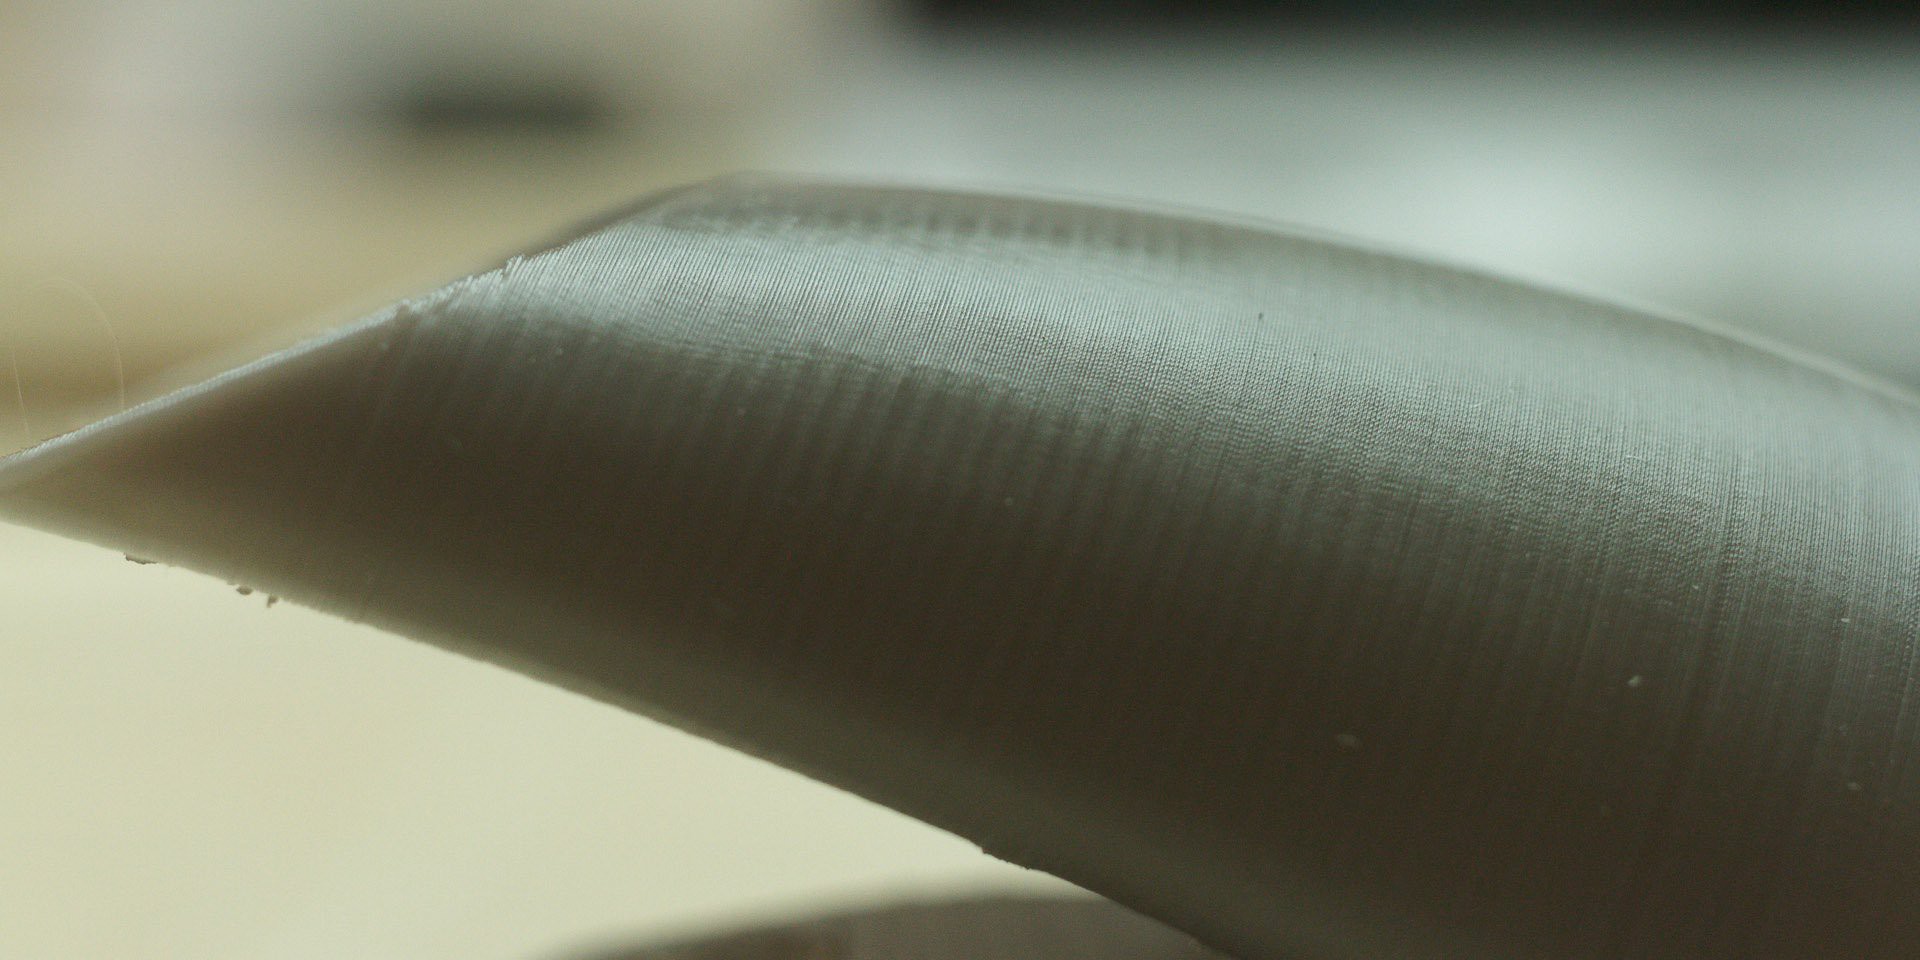
If you view the image full res, there is another detail aside from the aliasing banding. If you recall toys of old, and some new, you'll see a pattern on the layers that resembles what fake stitching looks like. Much like fabric threads on those old toys. This is caused by the momentary increase in flow & pressure as the extruder microsteps one tiny bit at a time. Let's quantify that.
The hobbled bolt has a minimum diameter of ~10.15 mm. This give us a circumference of about 31.8872 mm, aka that amount of travel in 1 revolution. This equates to just over 100 steps/ mm, to which I have my Mini calibrated to 101.6 steps/mm, so all is good. So, in 1 microstep @ 1/16th microstepping of a 200 step motor, how much filament gets pushed out of the nozzle? Almost 85 microns:

From the resolution shown in the photo, I can say that doubling the frequency of the "stitching" would nearly hide it, but quadrupling it will eliminate it. Thankfully, this driver can easily do 1/64th microstepping if you cut the correct trace. This gives you a length of ~21 microns:

If we're lowering our layer height to 43.75% of that print, we'll need to double our microstepping to keep a similarly smooth finish. Egads, we're at 1/128th microstepping!
Now, there is increasing interest over on the FB group for 20 micro layer height. In order to achieve this we need to swap out the drive gear to M5 or M6 rods and due to the slow travel, I'd advise the M6 x 1 mm rod. You should be able to push it at ~4-5 mm/s with 1/2 stepping. Anyhow I digress. If we go from a 43.75 micron height to 20 micron height, we have the same type decrease again. If we're going this small, then it's likely that we'll be using fine nozzles too, such as 0.25 mm. We'll probably want a 0.9˚ stepper too.

Granted, all of this is theoretical and doesn't account for post-processing such as flame brushing, acetone, or the like to clean up the surface. However, the finer you start with, the finer you finish with. If you do not tend to the extruder when you thin the layers, you're not gaining as much as you could.
Discussions
Become a Hackaday.io Member
Create an account to leave a comment. Already have an account? Log In.
I think there is an error in your formulas. From units analysis the right hand side units are length², but your numeric result is in units length¹. I think that the problem is that π×(10.15mm/2)² is the cross-sectional area of the hobbed bolt, which is not the relevant quantity (the effective circumference is)
(I think the numeric result is "right", in that it matches what I get if I use the effective circumference of π×10.55mm) instead of π×(10.5mm/2)²)
You may also want to consider that the cross-sectional area you're trying to produce, (wall width × layer height) may be more relevant than the cross-sectional area of the nozzle (your π×(.6mm/2)²)
Are you sure? yes | no