 Kevin Osuna
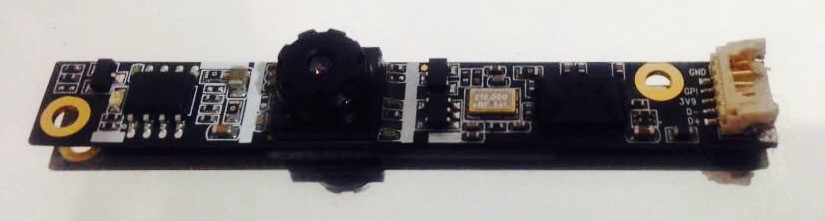
After carefully measuring the camera module, the place where it will seat and the components that lay on top and right next to it, I've decided that it is not only possible but necessary to add this camera. I may be stretching the word necessary a little here... I mean, we could live without it, the thing is that when you find something that fits so well inside of a project like this, you just have to take the risk and see how it turns out. This are the kind of events which make projects like this so fun to work on.
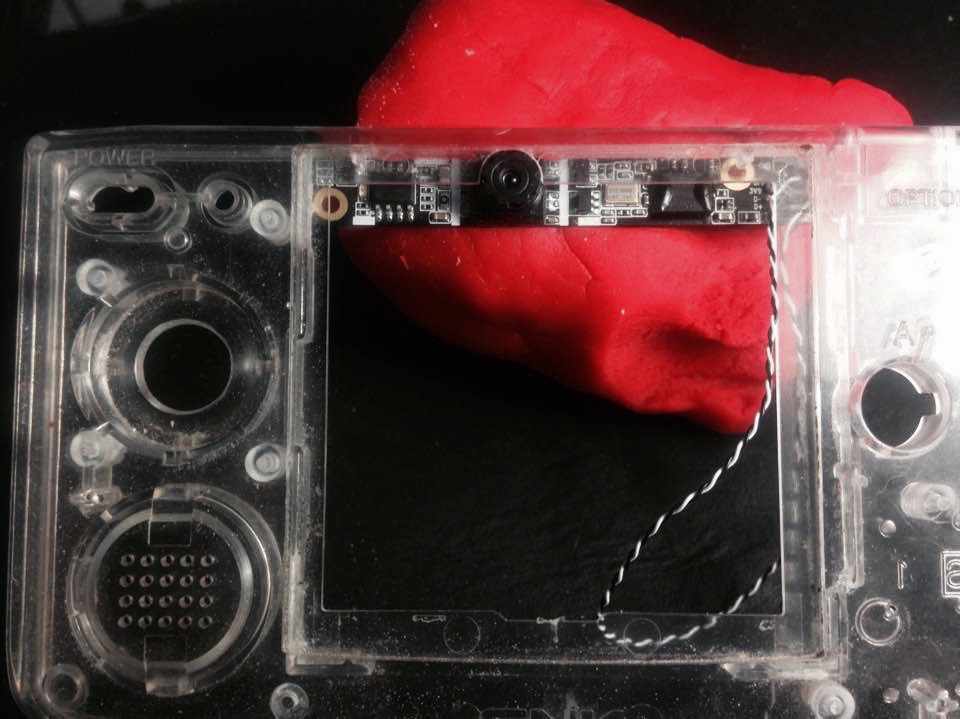
In order to fit the camera module without too many extra modifications to the case, I simply had to remove the white connector and solder wires directly into the terminals. This wasn't as hard as expected.
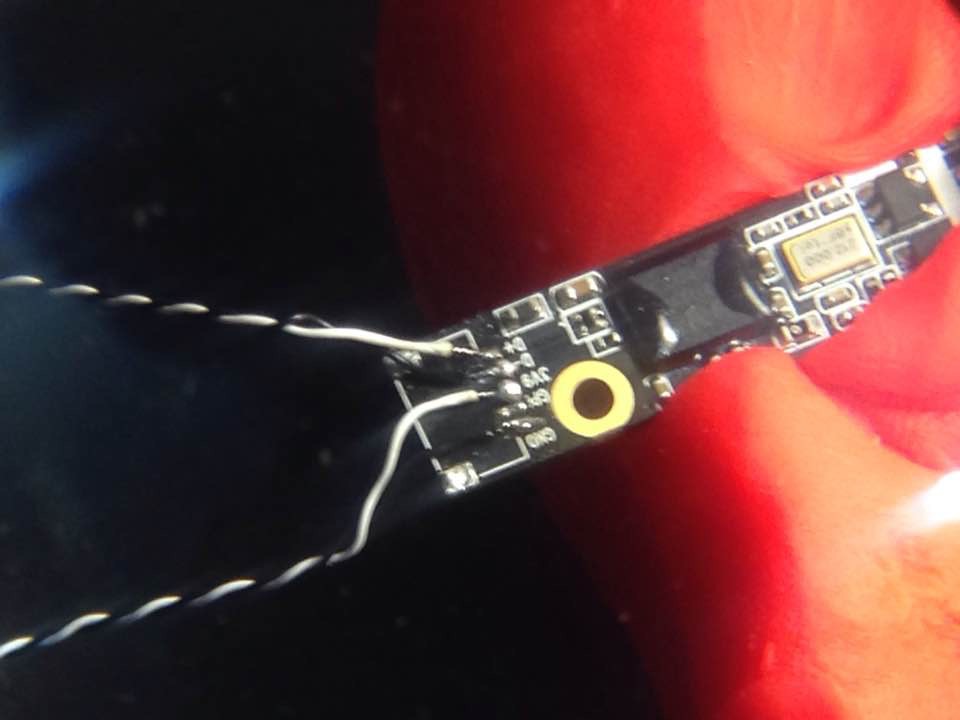
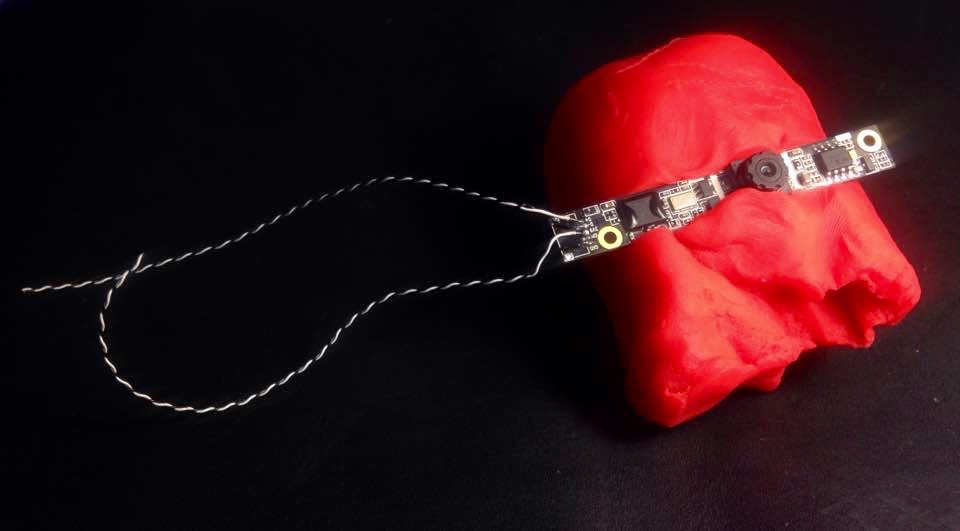 Then I carefully added some hot glue to secure the wires I had just soldered, at the end it looked very clean. After that, using the engraving tool, I made a hole through which the camera lense could go. I had to be very precise on how far I had to dig, I wanted it to be the perfectly sized and shaped. That way, there would be no need for glue on that part, after all, this is a very visible part but even if a had made a mistake, that can be covered with a custom, acrylic faceplate.
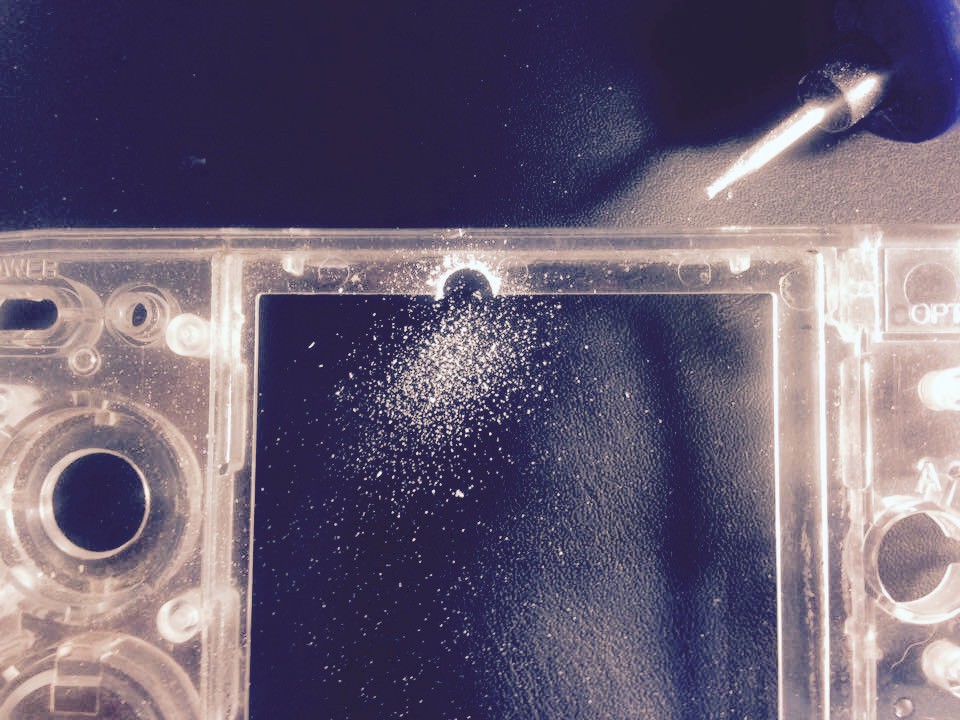
The hole had to reach the edge of the "front bezel" (let's call it that way) without damaging it. I'm referring to the part in which the faceplate seats. As you can see in the picture, I still had a long way to go.
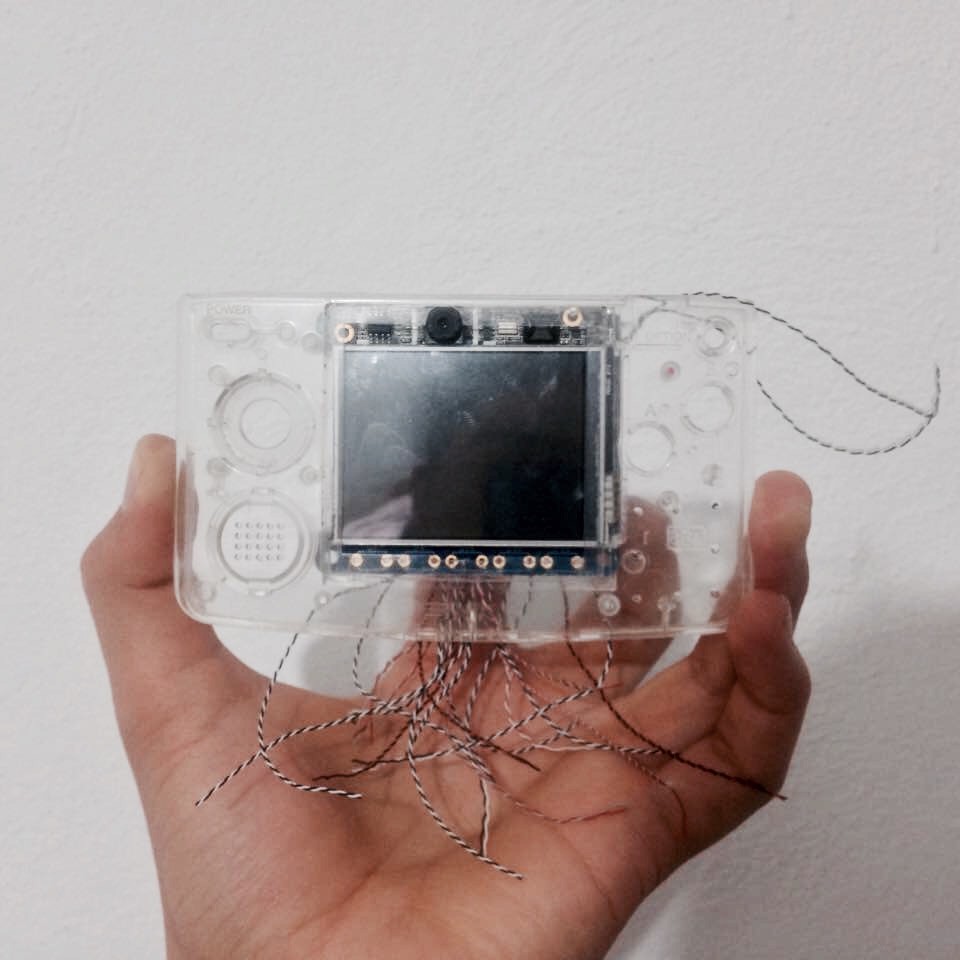
Now, in the picture below, you can see how everything fits quite well after it is assembled:
 Please leave a comment or question, your feedback is of big interest to me. that's all for today! Thanks a lot
Discussions
Become a Hackaday.io Member
Create an account to leave a comment. Already have an account? Log In.