 Jonathan Buchanan
Recently I've been working on the software side of things. Huge shoutout to my government teacher for all the work he's let me do during his class (albeit unknowingly).
The primary part of this project that is supposed to elevate my meter over commercial ones is the quality of its programming. With that consideration, I have put a lot of thought into the design of the UI, and I would welcome anyone's suggestions on how to make it better.
The place to start would logically be the home screen then. On my accu-chek meter, the system dumps you on a menu screen when it starts. I rejected that idea because it is a waste of space and time to go through a menu when I could display relevant information on the startup. Here is the first draft of the home screen.
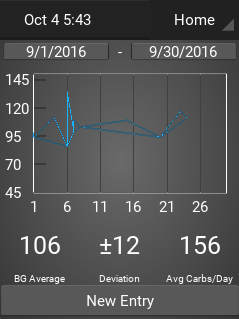
Right away, the largest items are the graph, and the averages, data that is helpful and relevant, but maybe not something that I would intentionally seek out regularly. This way, it is displayed easily for me whenever I start up the meter. The two dropdown menus near the top allow you to select the date range the graph and averages run over, and defaults to a week before the current day.
Also there is a large button for adding new data, possibly only carb and insulin information, which will be the most common reason I'll power on the meter in the first place.
The next screen is the BG testing screen.
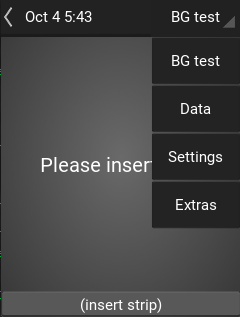
The "(insert strip)" button is for simulating the strip insertion without the actual hardware.
I can get to other screens using the dropdown menu on the right side of the menu bar, and the BG test screen is at the top.
This screen is largely unnecessary because at least currently, the meter can open the testing dialogue popup from any screen.

I think it will be included in the final version though, because it is helpful for prompting users unfamiliar with the system. Please remember all art (or lack thereof) you see in these images is placeholder; I'm just working on the programming at the moment.
The next screen is the data screen.
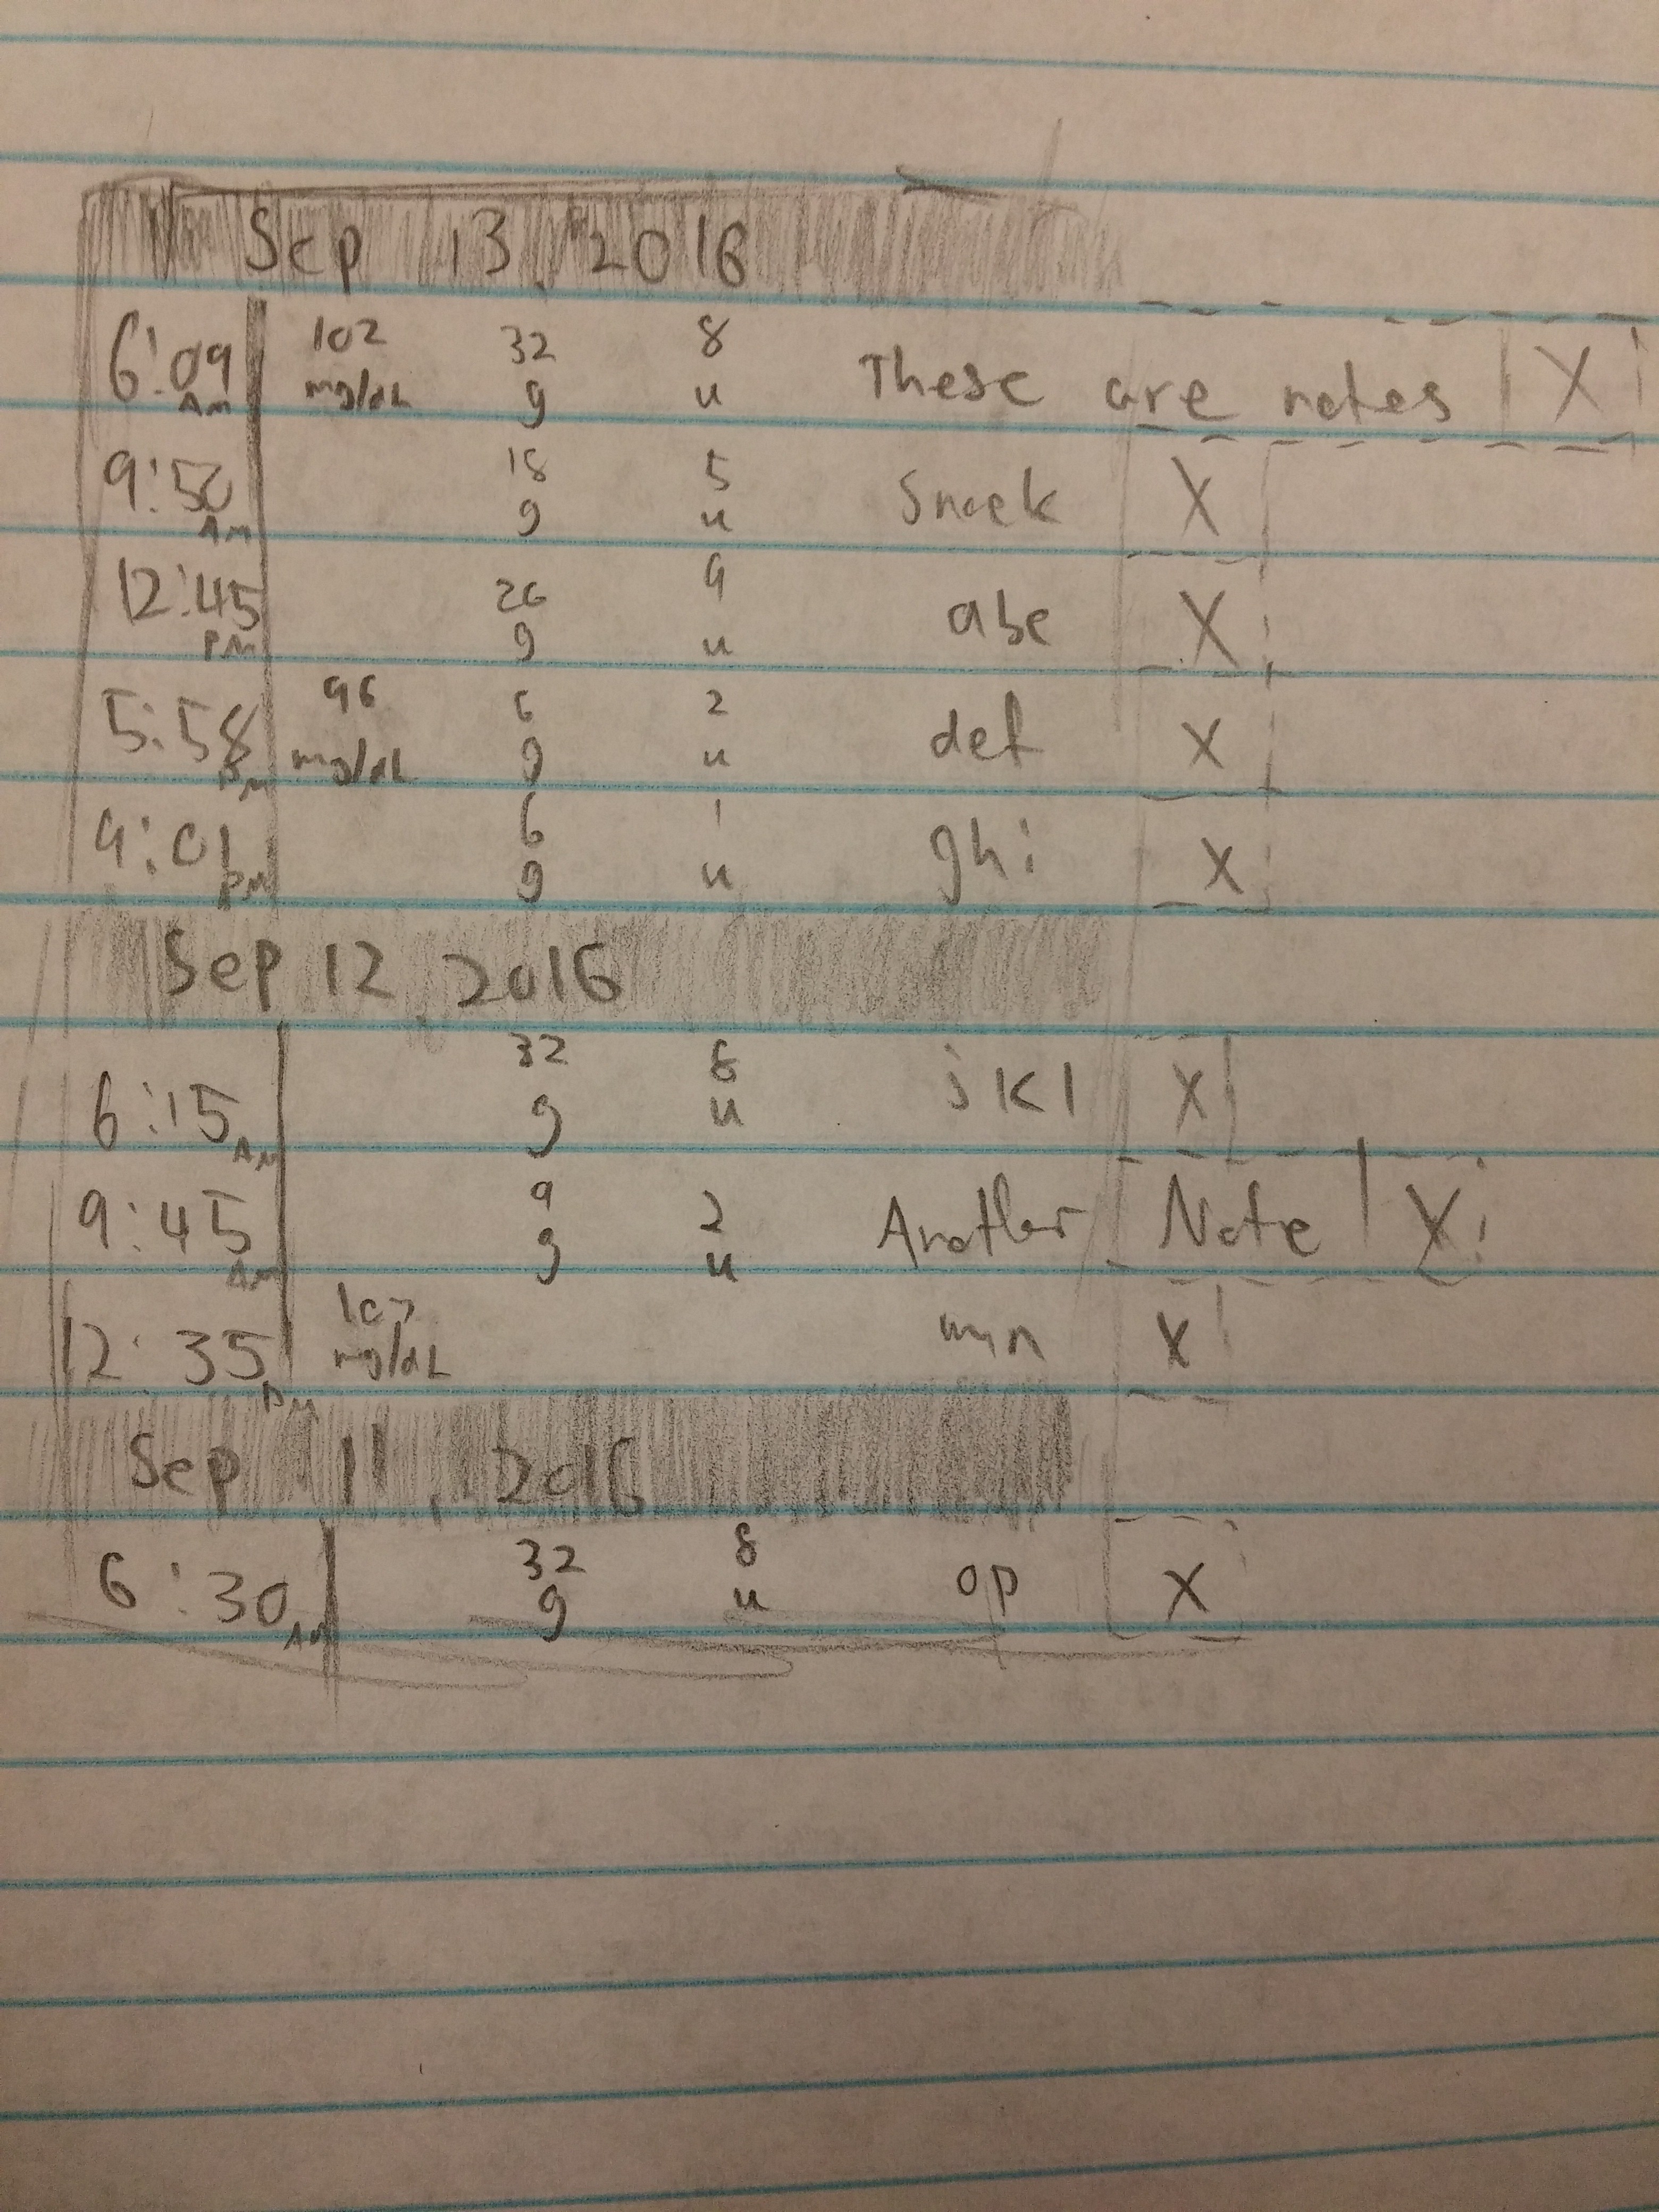
This is the drawing I made of what I wanted the layout to look like. The dark bars represent separate days, and the rows represent individual entries which can include blood glucose reading, carbs, insulin, notes, or any combination thereof. The delete button is always off the screen regardless of the length of the entry so that you have to swipe the row over to delete it.
This is what I have so far:

This layout is intended to be easy to read, and intuitive to use. The shaded rows represent each day that there is a record for, and the lighter rows represent a data entry that can include time, blood sugar, carbs eaten, units of insulin taken, and some notes.
This data storage has one feature in particular that makes it superior to commercial meters. It is possible to edit a data entry. Any entry. Accu-chek's patented function of dividing the number of carbs I entered by a ratio that I gave it is all well and good except for one problem. Any entry that includes their "bolus advice", cannot be edited. I suppose this is to prevent lawsuits, but it is rather annoying if I enter something incorrectly or discover I don't have enough insulin after I've already pressed "submit", and the records will forever be incorrect.
The last significant screen to mention is the setting screen.
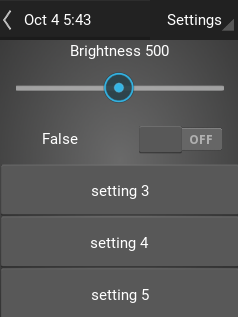
There's not much to show here yet (though the brightness slider does work on the actual hardware), but I included it so I could discuss some of the things I will put here soon.
It will obviously include device settings such as brightness and date and time. It will also include settings such as disabling/enabling the BG screen (some people might find it extraneous), setting default date ranges on the home screen, and turning on calibration mode, which will prompt the user for a control value after each BG test that it will use to calculate glucose concentrations next time.
The settings screen will also be where you would set the carb ratio (the number you divide carbs by to get units of insulin required), the correction factor (the amount one unit of insulin lowers blood sugar), and hopefully in the future, things like fat and protein ratios that will allow for a more accurate prediction of the correct dosage of insulin, and put some of that computational power to good use.
For behind the scenes stuff, I should also mention that I have implemented a database that stores the data entries in a separate file, and also records the data used to form the function that turns raw ADC data into actual blood concentration values.
I have also nearly finished the thread that continuously polls the ADC to detect when a strip is inserted and actually tests the blood sugar (an important feature in a glucose meter).
For any who have forgotten, the source code for this project can be found here, and it is all built on the kivy library.
I will continue working on the UI (probably forever), but fall break is approaching rapidly, and I hope to make some progress on the case for the prototype soon.
Discussions
Become a Hackaday.io Member
Create an account to leave a comment. Already have an account? Log In.